We are half way through finishing our basement and we have a lot to catch you up on!
* Please Note - Some links in this blog post are affiliate links *
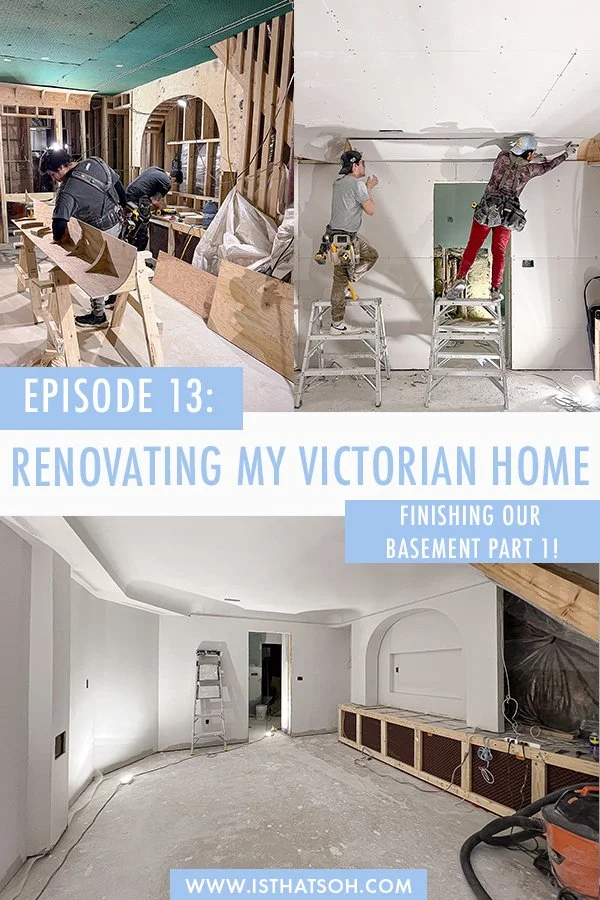
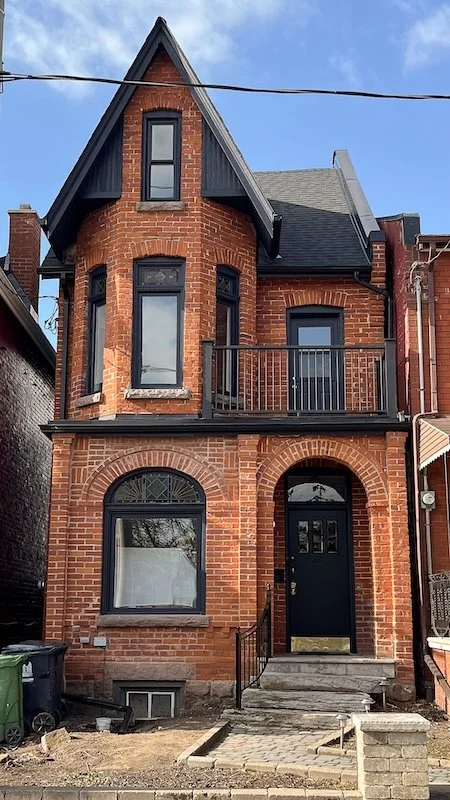
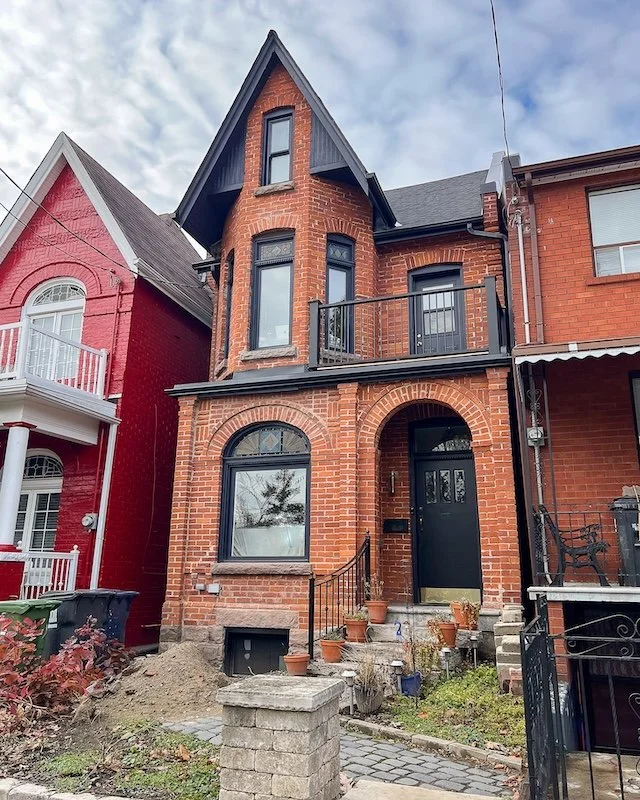
Renovating My Toronto Victorian Home - Episode 13!
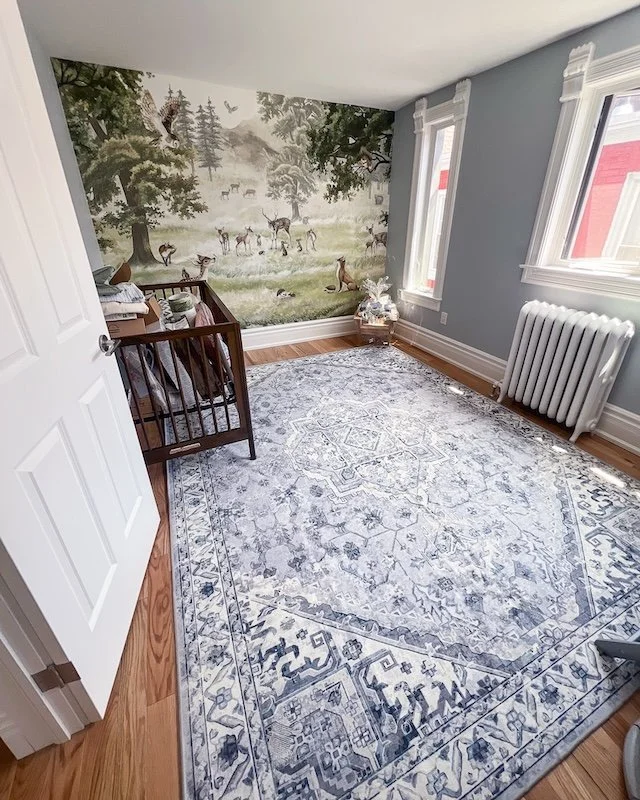
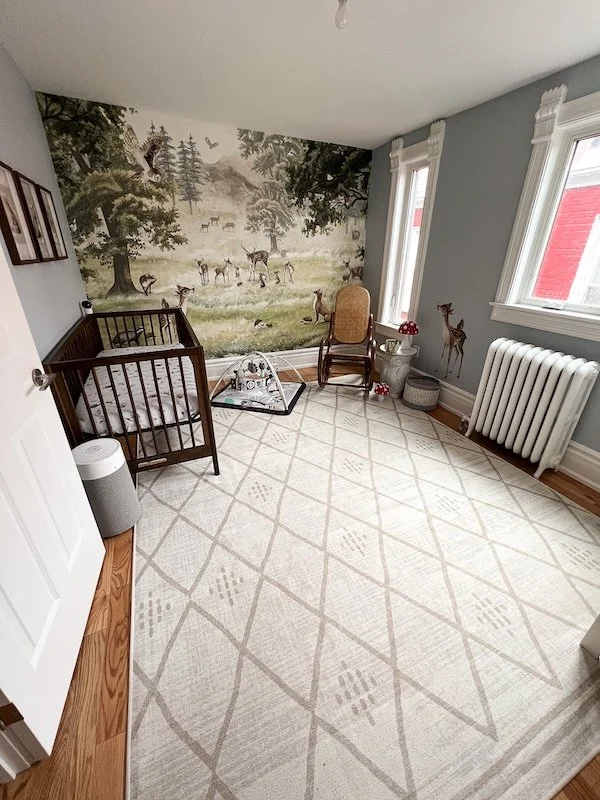
After a 6-month ‘new baby break’, we are back!
In the last episode we finished a basement underpin on our Toronto Victorian home (a much needed transformation from the ‘scary sandbox’ below it once was) and in today’s episode we begin work on finishing the basement!

From framing to HVAC, plumbing, and electrical, we have made some really great progress on our basement renovation over the last few months so first things first, let’s bring you up to speed.
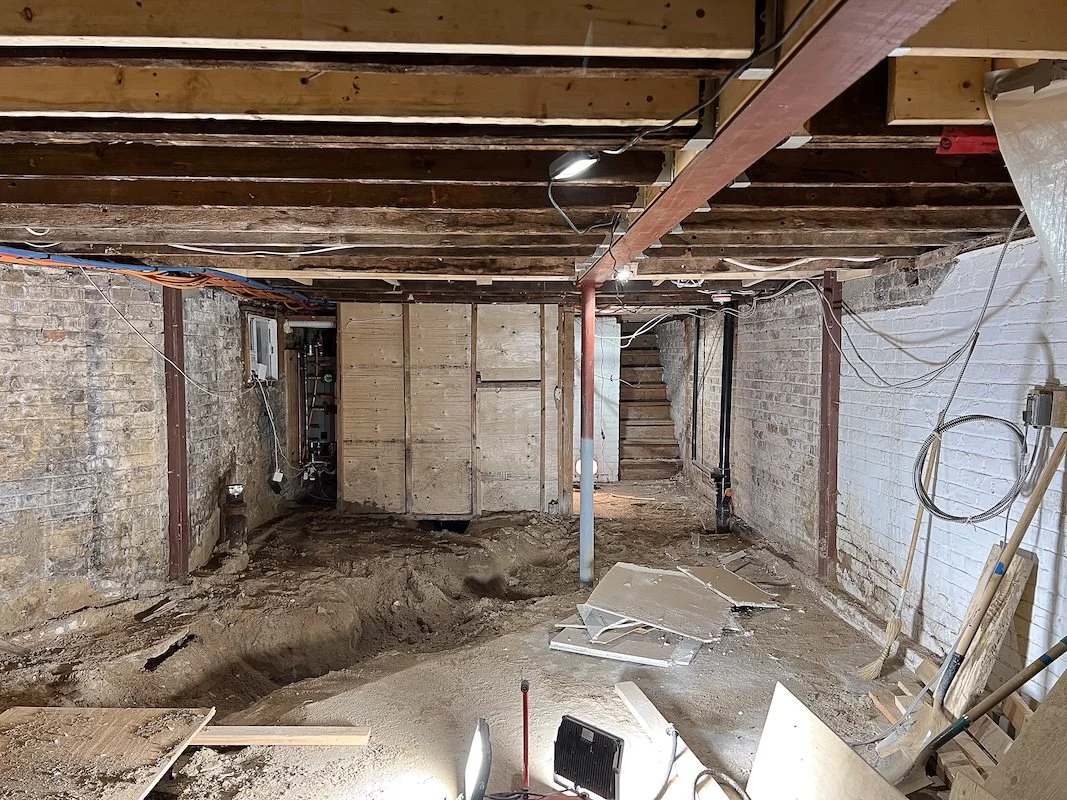
Come fall we were itching to get back at it and begin basement renovations again on our Toronto Victorian home
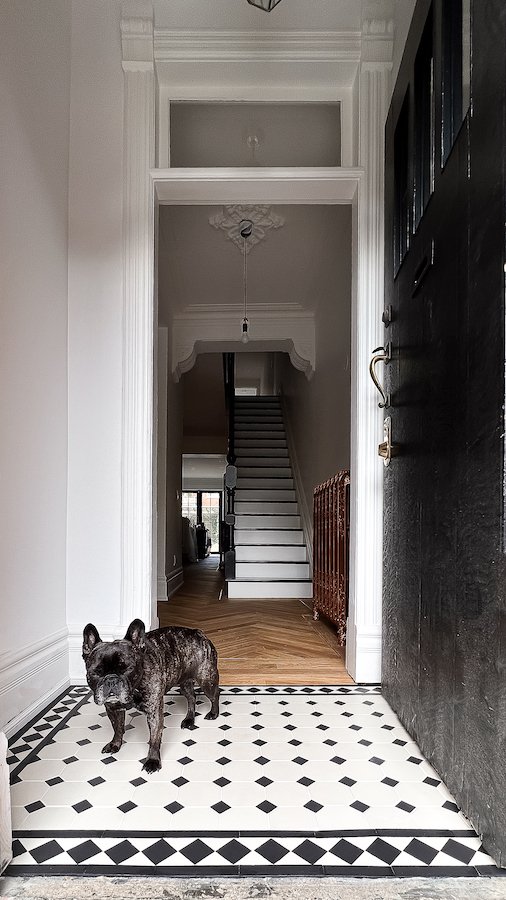
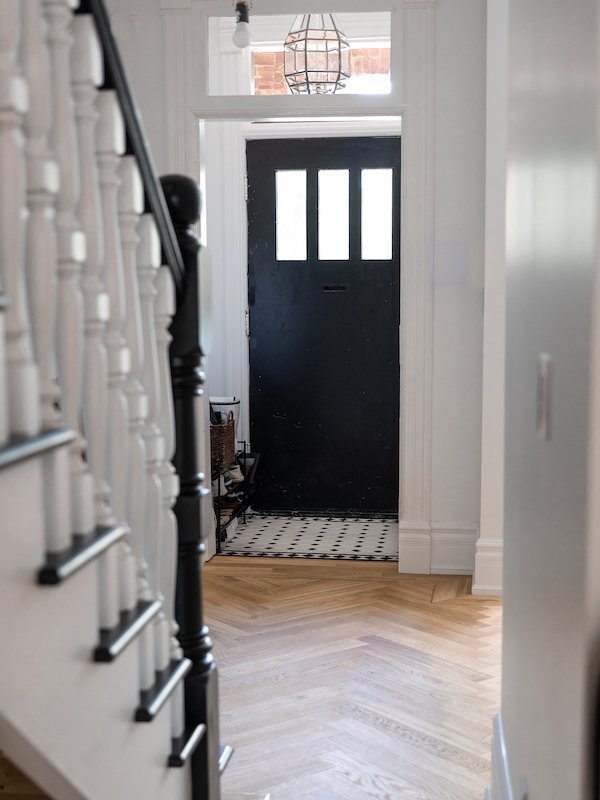
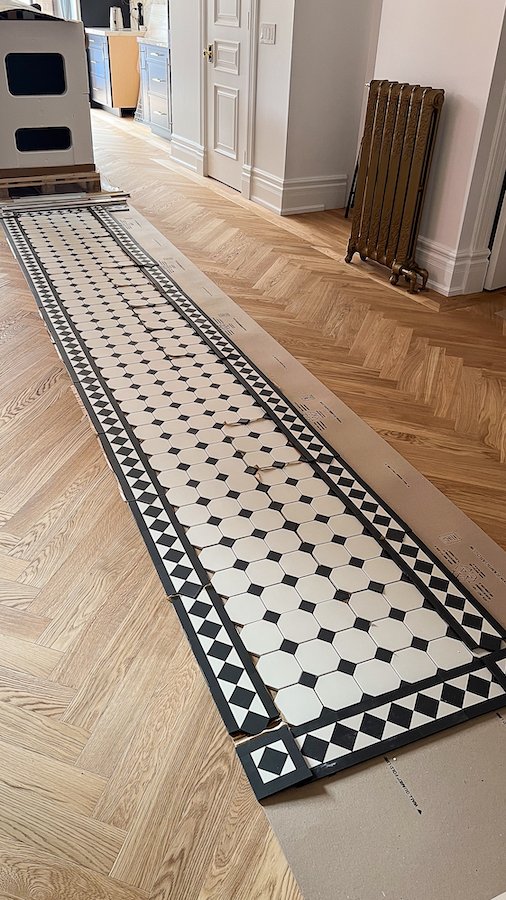
BASEMENT RENOVATION
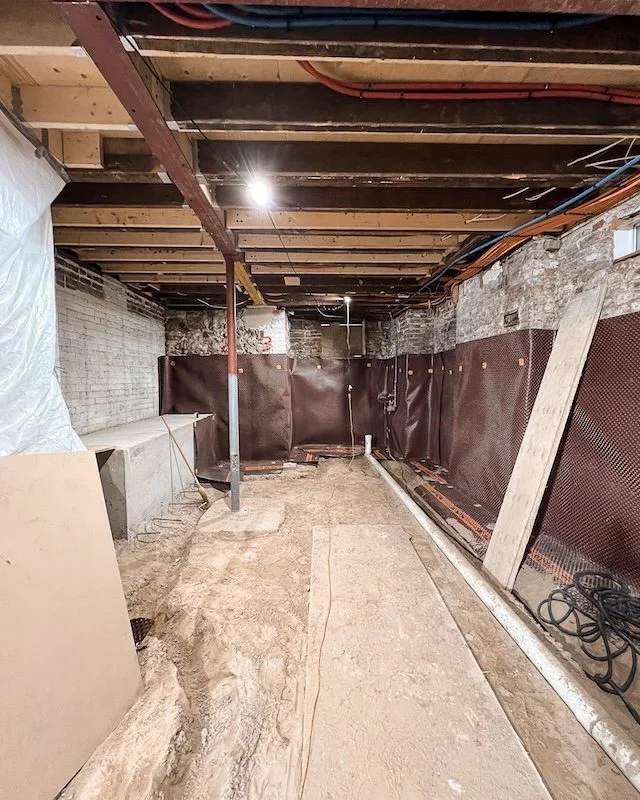
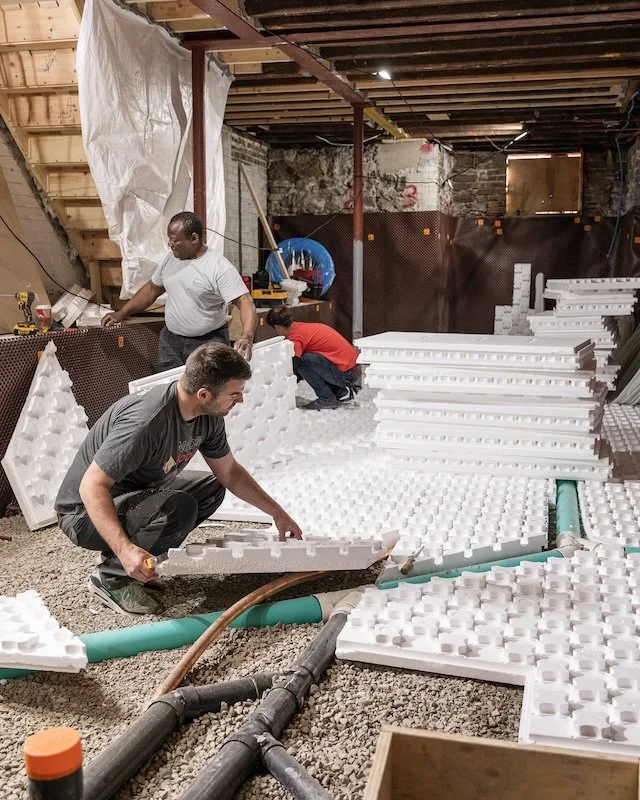
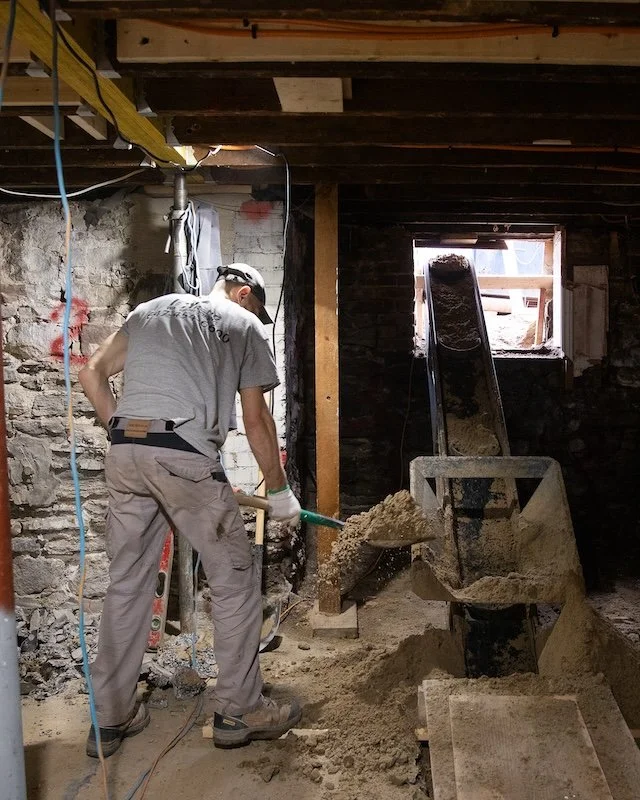
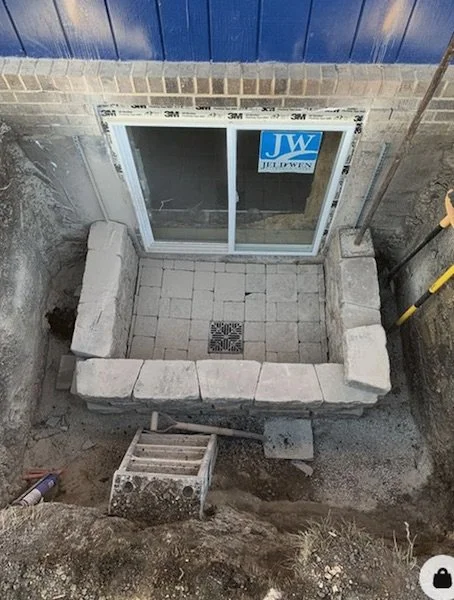
Adam and I always planned to renovate our basement. The structural work we did at the beginning of our Toronto home renovation left it in complete disarray. So 10 months after we moved in and found out I was pregnant, we decided to pull the trigger on underpinning our basement. With a baby on the way we were eager to make the basement space livable and inviting, especially now that the room we used as our ‘at home office’ was about to be transformed into a nursery. The plan has always been to divide the finished basement up into multiple rooms, a front office for Adam with a Murphy bed so it can double as a spare bedroom should we need it; a large TV/basement theatre room with a kid corner for toys; and finally a bathroom and laundry room combo. To put into words my excitement, Adam and I haven’t had a working laundry machine in the house since we took possession three years ago, so the concept of actually having a laundry room feels like such a luxury! Once the underpin was complete our basement went from a chaotic 6 feet to nearly 8’4” with radiant floor heating and a newly poured concrete floor.

FULL SPEED AHEAD!
Come November, Adam and I were finally getting the hang of being new parents and felt we MIGHT have the bandwidth again to continue working on the project… along with other house things we had on our running to-do list.
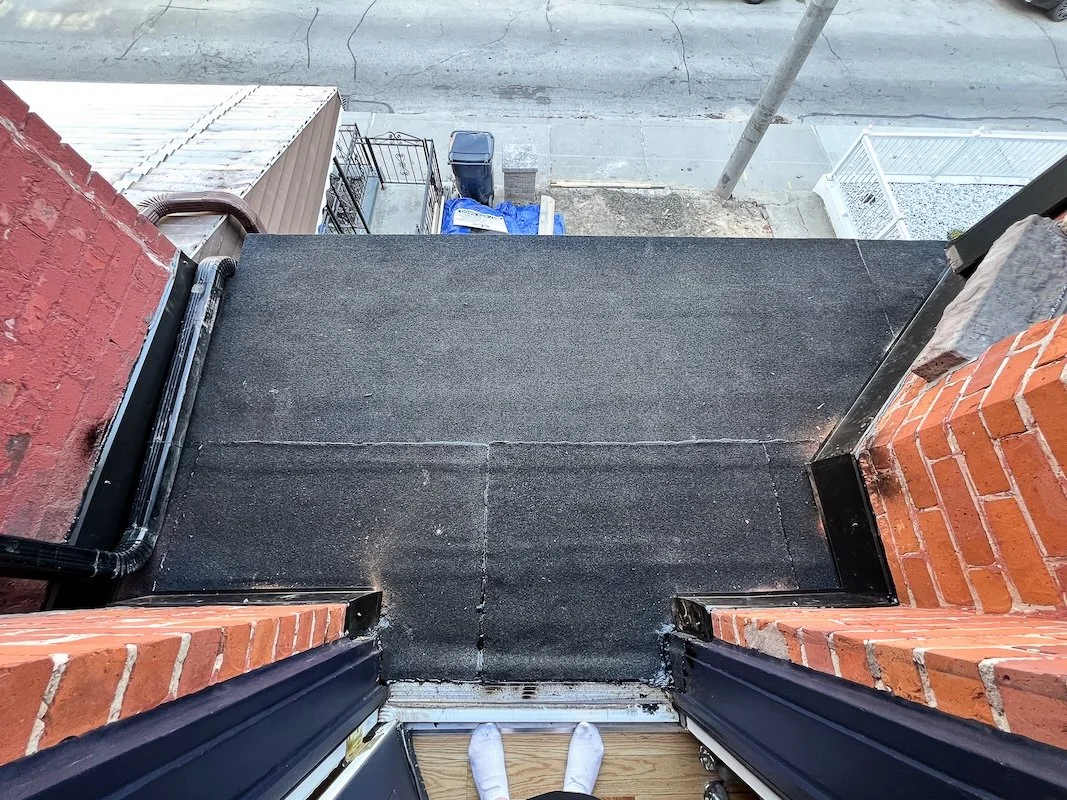
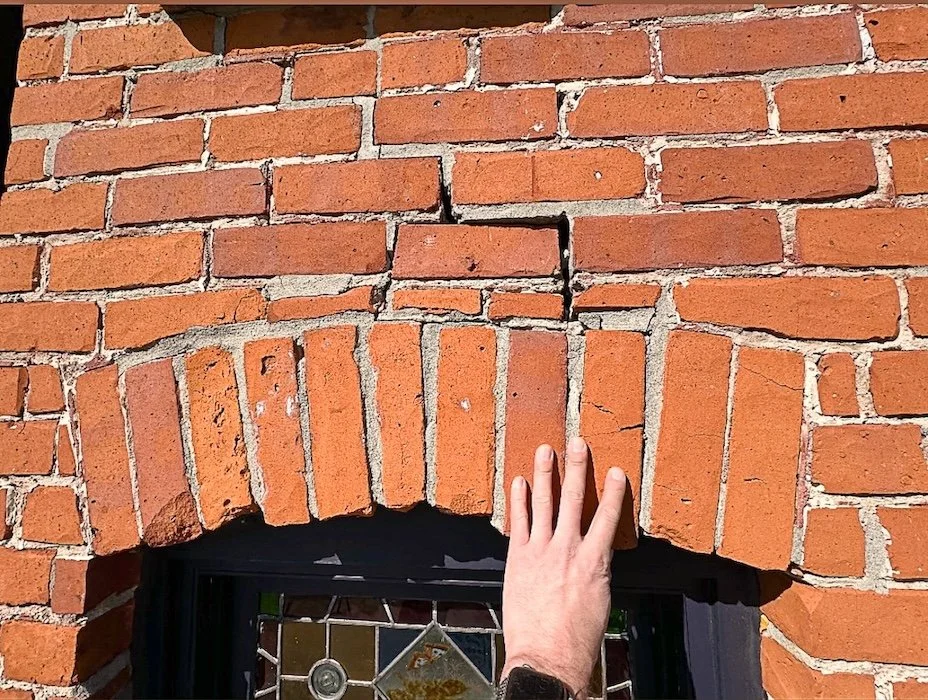
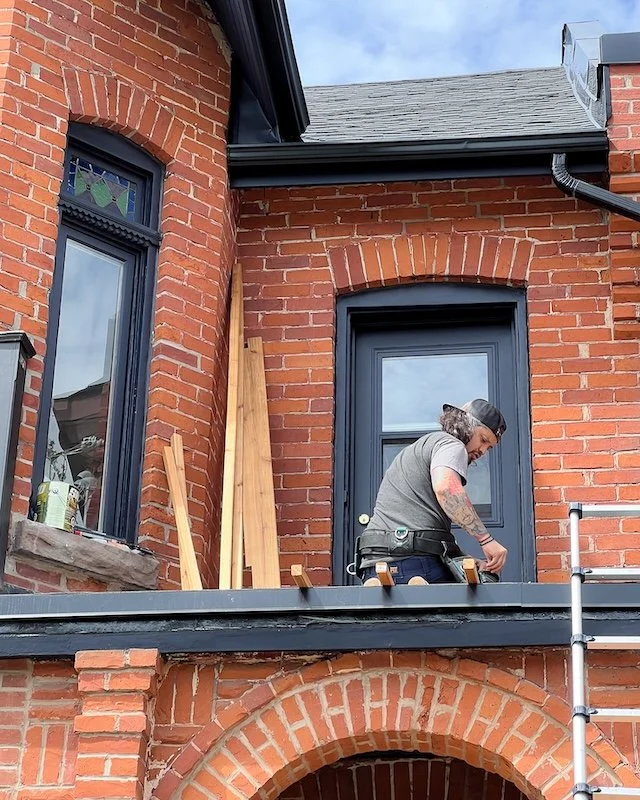
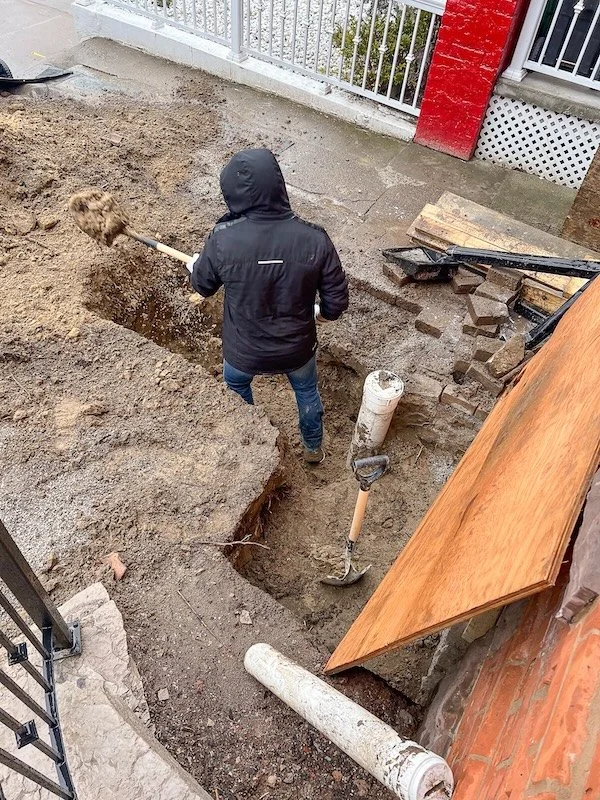
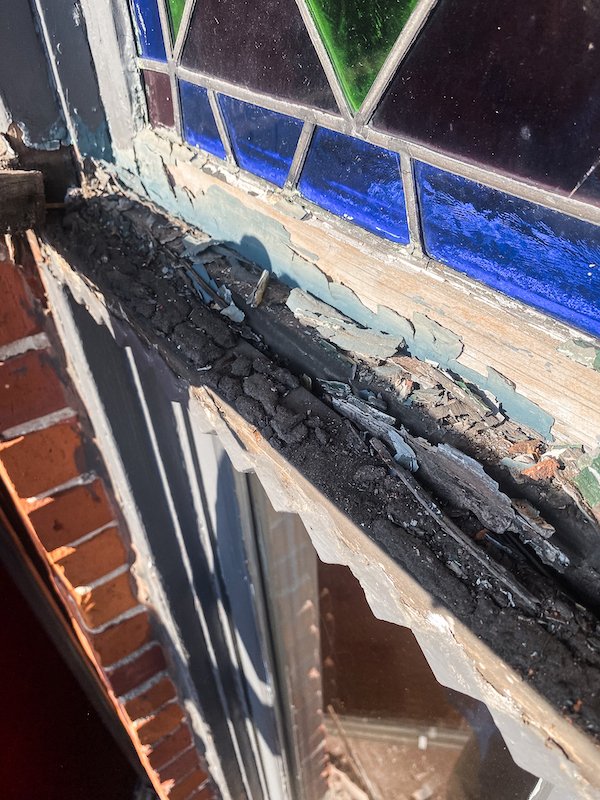
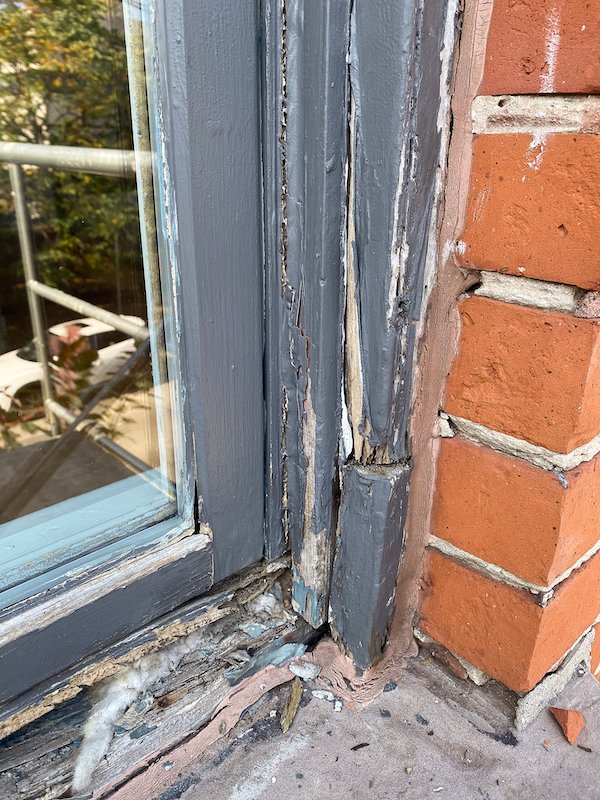
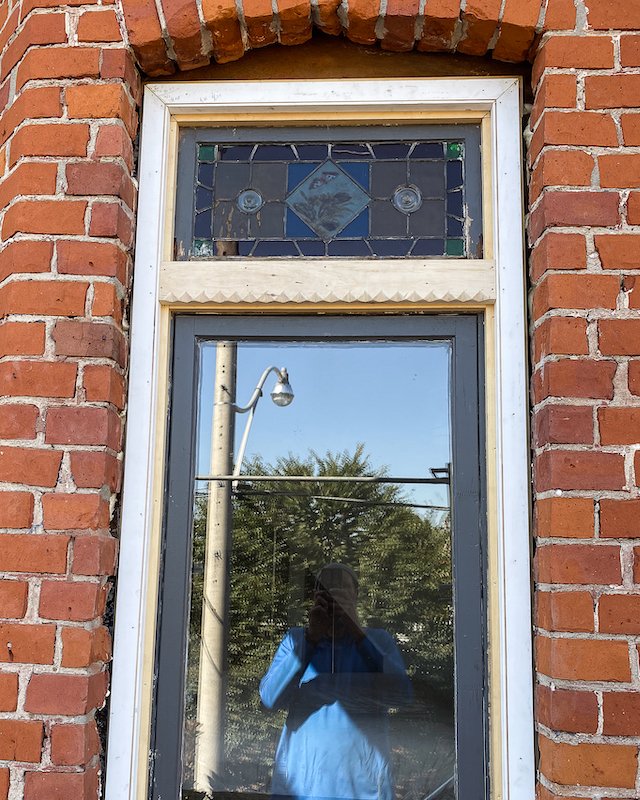
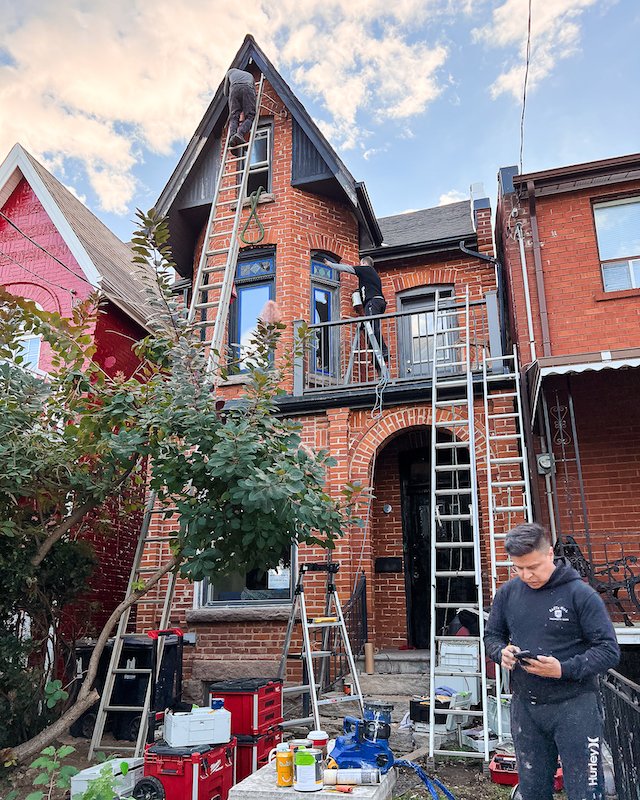
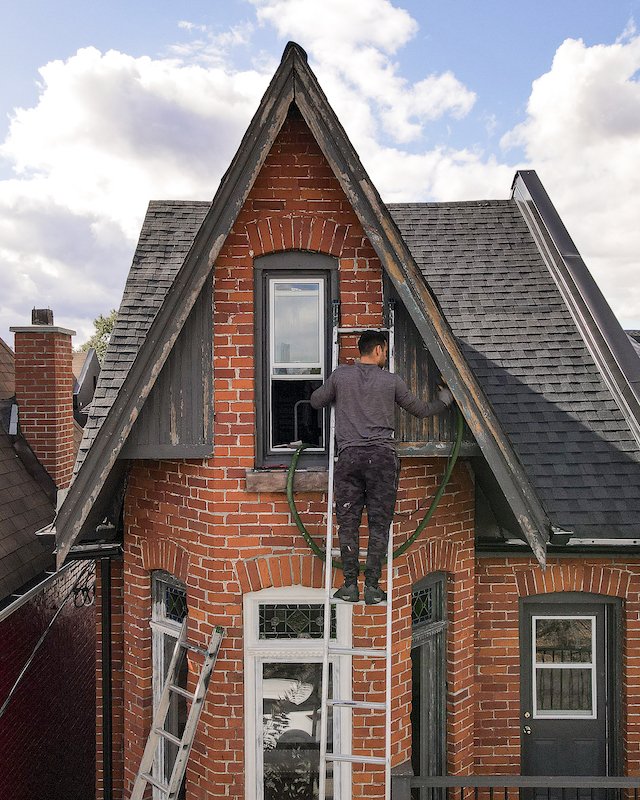
One such item included some masonry work on the side of a house - adding a lentil to a window, replacing a few bricks, and doing some much needed tuck pointing.
INTRODUCING OUR NEW KITCHEN CHANDELIER
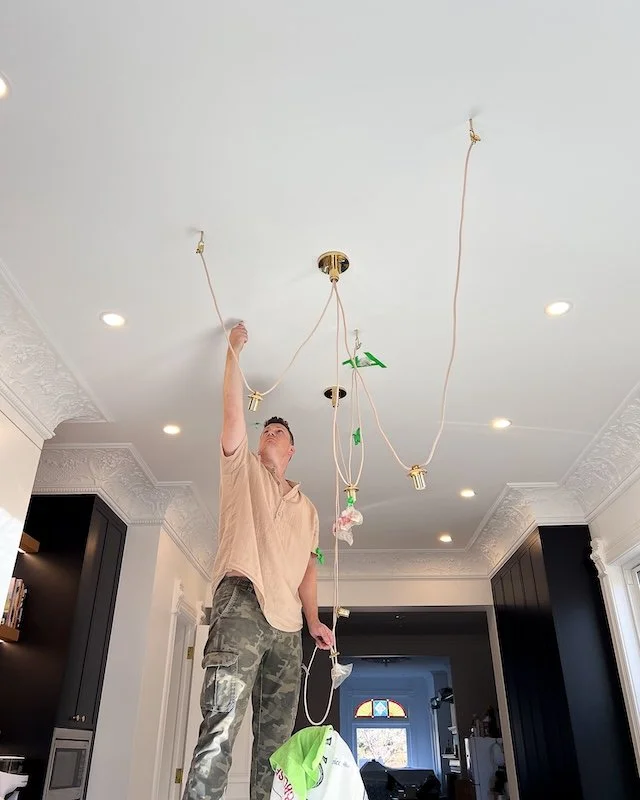

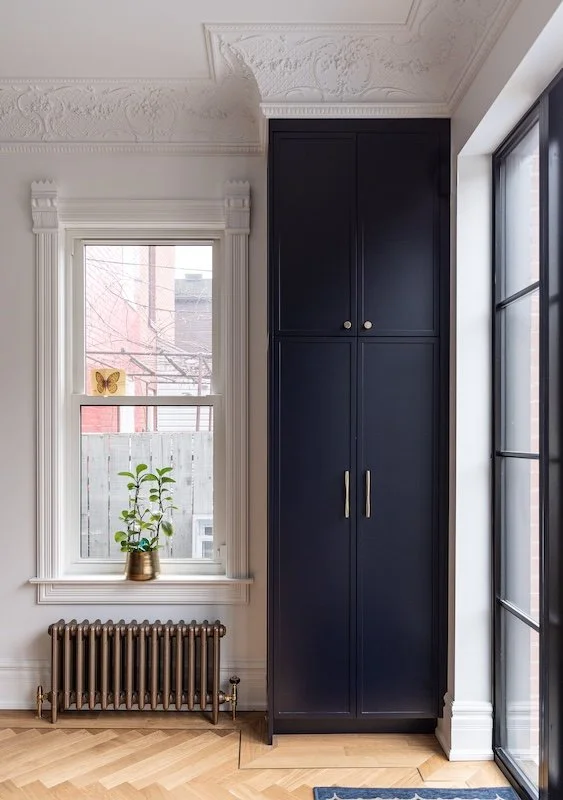
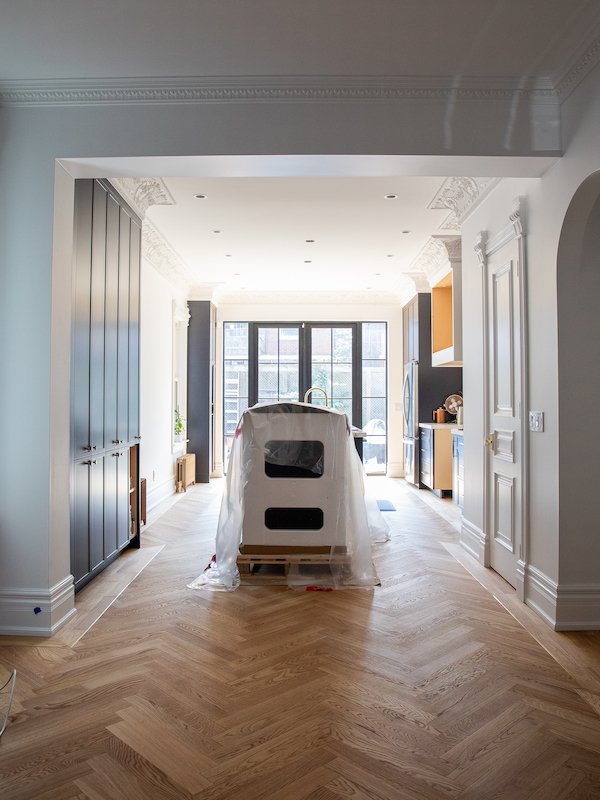
Adam and I also finally purchased some more lighting! Haha! It’s comical how slow I am on buying light fixtures but we finally found the perfect kitchen chandelier for over the island. A push-and-pull between organization and chaos, it hangs like a necklace from the ceiling. With delicate oval-shaped milk glass globes and polished unlacquered brass elements, it adds the je ne sais quoi we were looking for. Not too much to overpower our gorgeous crown mouldings or make the room feel stubby, and just elegant enough to hold your gaze.
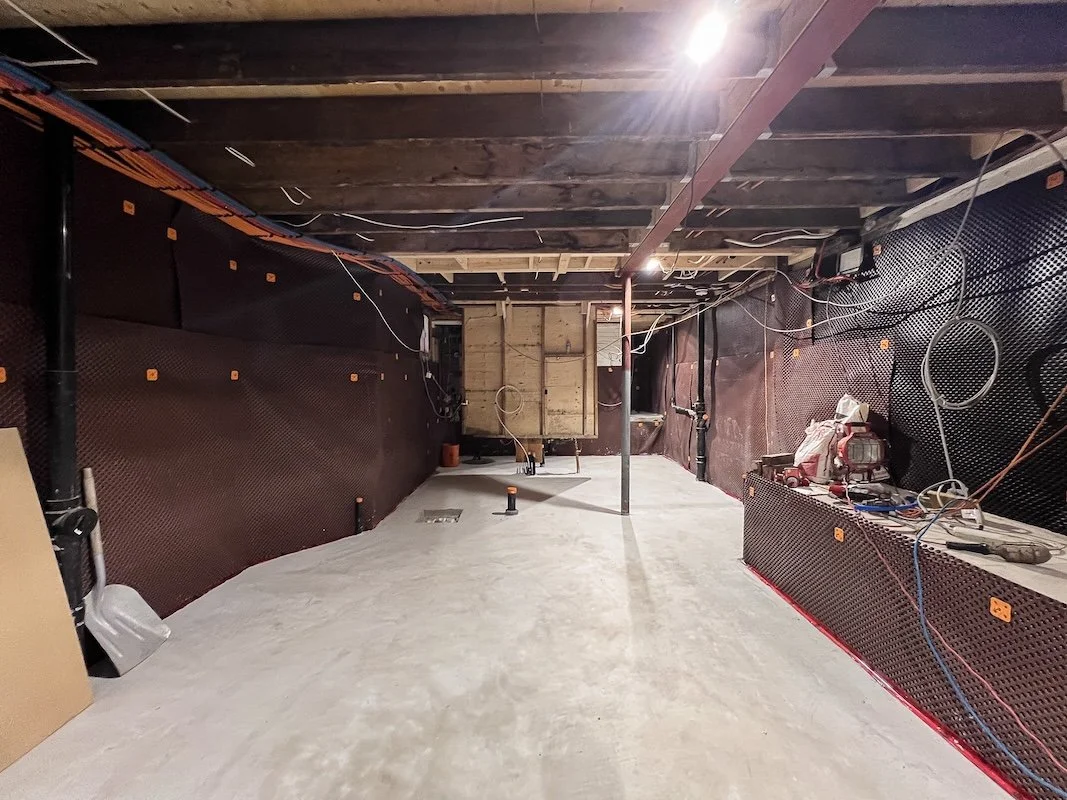
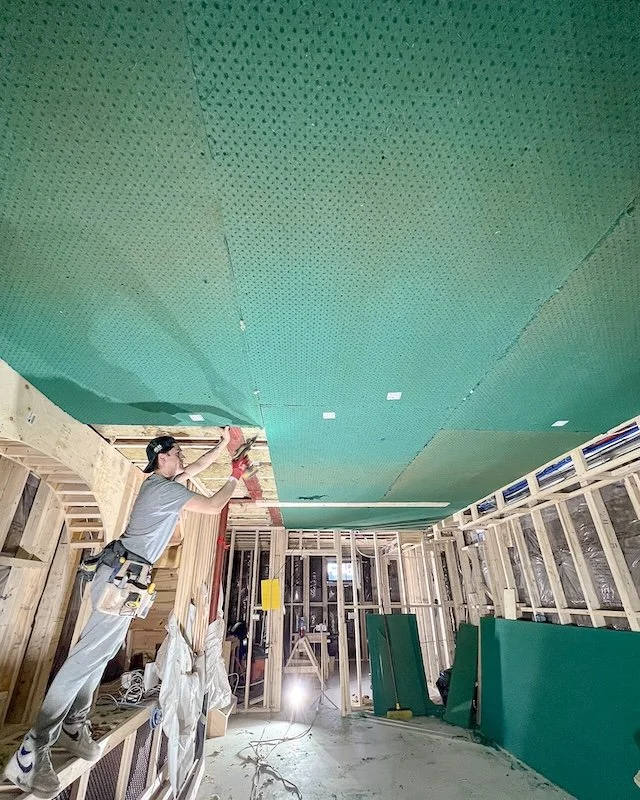
Lastly and in preparation for framing, we had blanket insulation installed on all exterior walls in the basement.

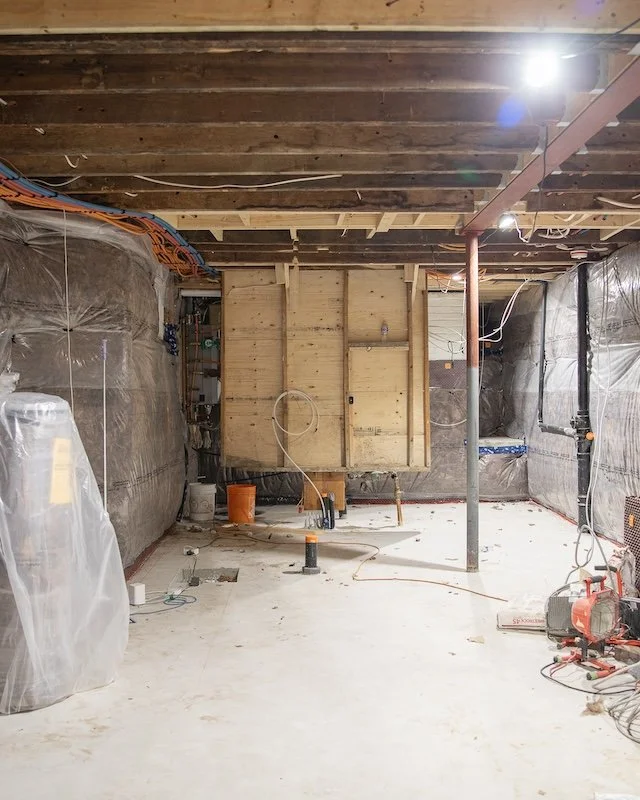
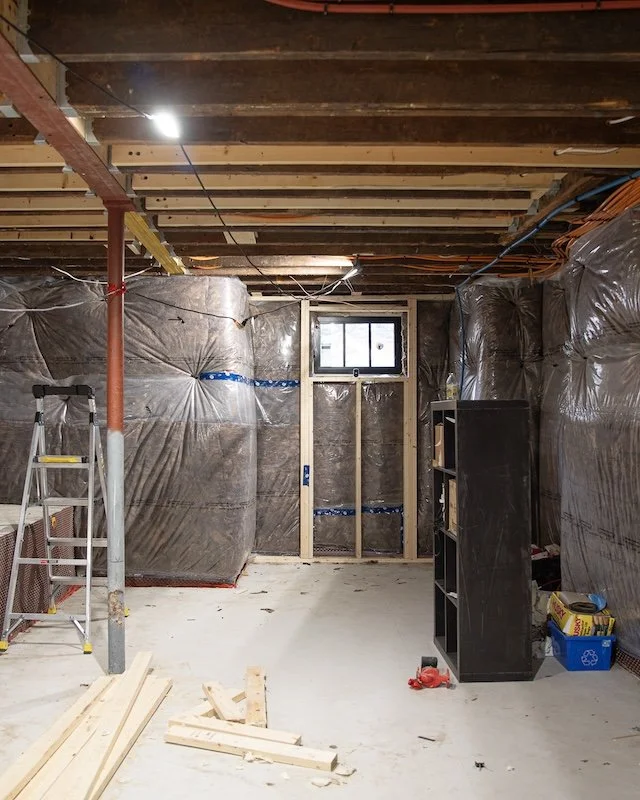

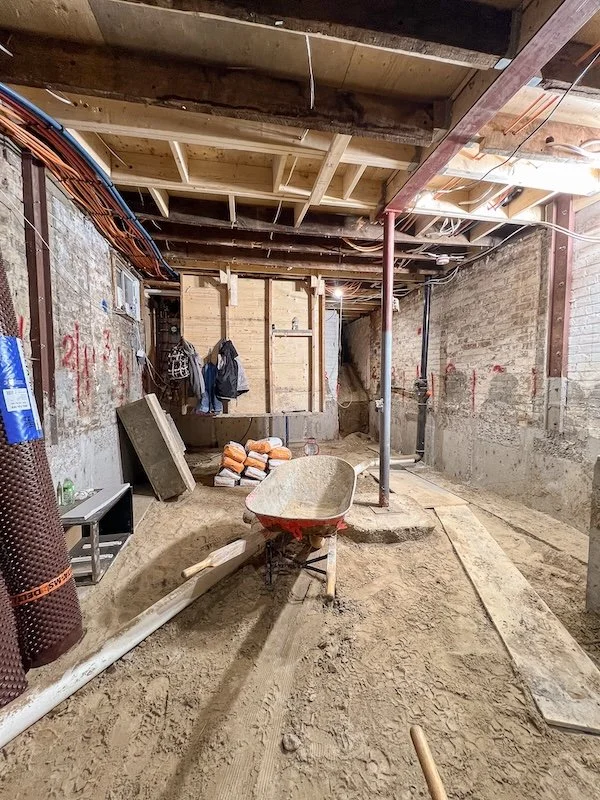
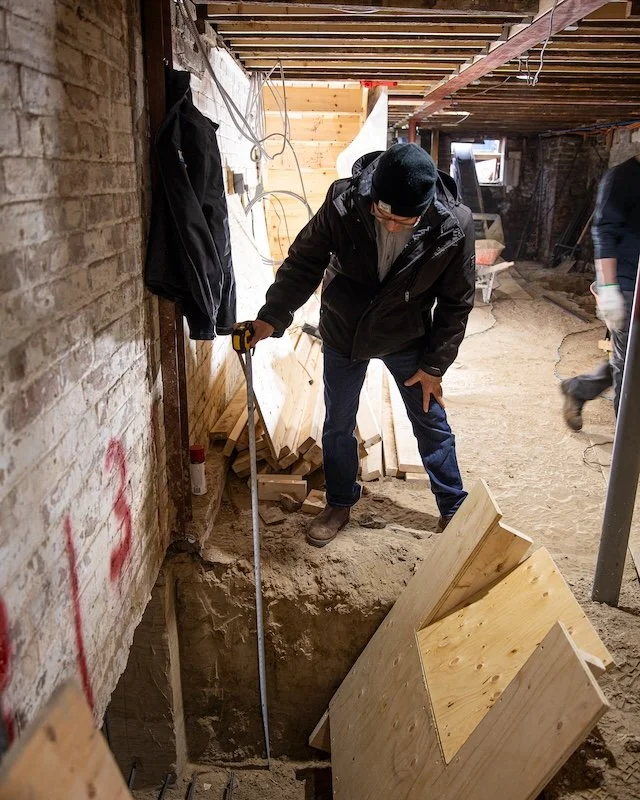
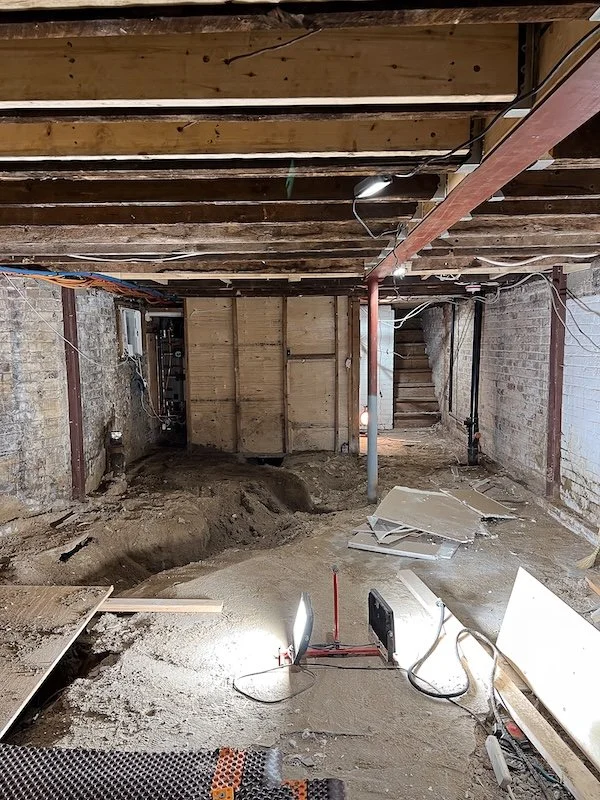
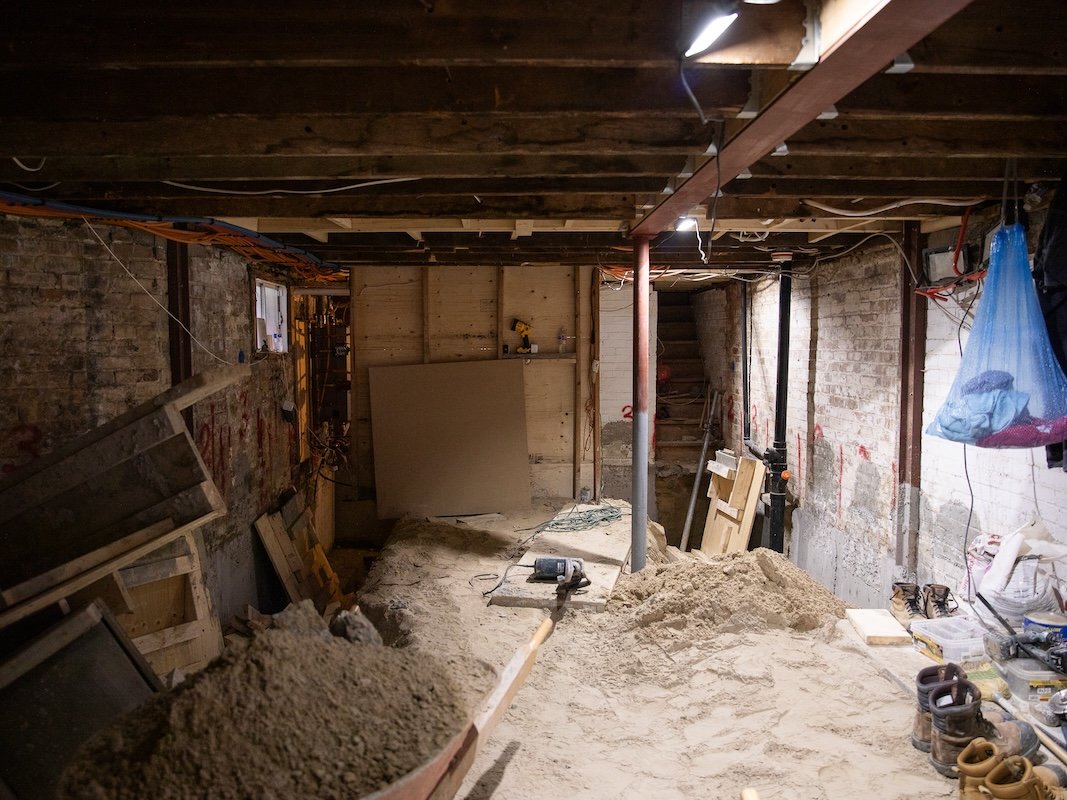
Once December rolled around we were full speed ahead with finishing the basement. The first crew that arrived were the framers. They had quiet a challenge ahead of them because not only did they need to build all exterior and interior walls but until the HVAC guys turned on the radiant floors, they couldn’t 100% secure the bottom plates into the concrete.


As soon as we had a few walls to work with, our HVAC crew were able to come through and within a few hours we could see exactly where all the radiant floor loops were. With the framing secured down our HVAC contractor could rig up the basement HRV system, install air vents and drill holes for a new bathroom fan and laundry dryer exhausts.

FOLLOW ME ON INSTAGRAM @ISTHATSOH


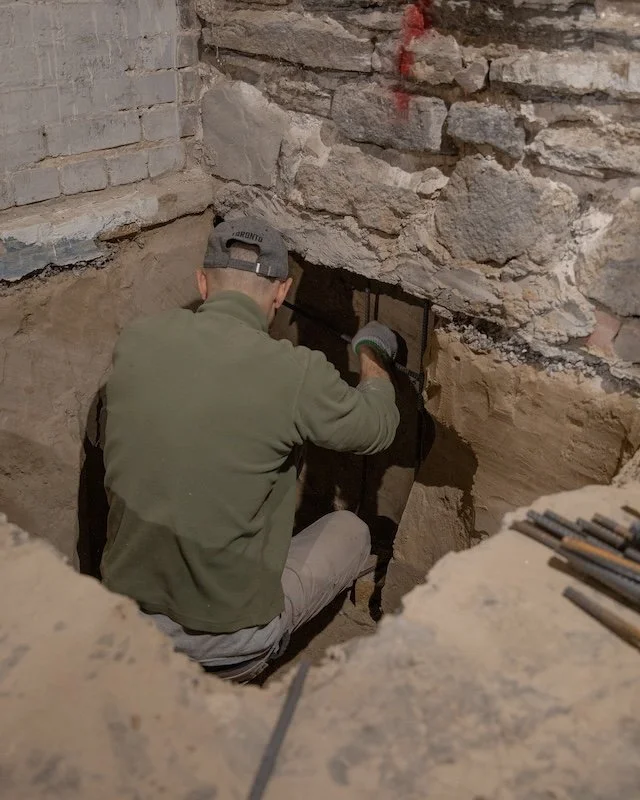
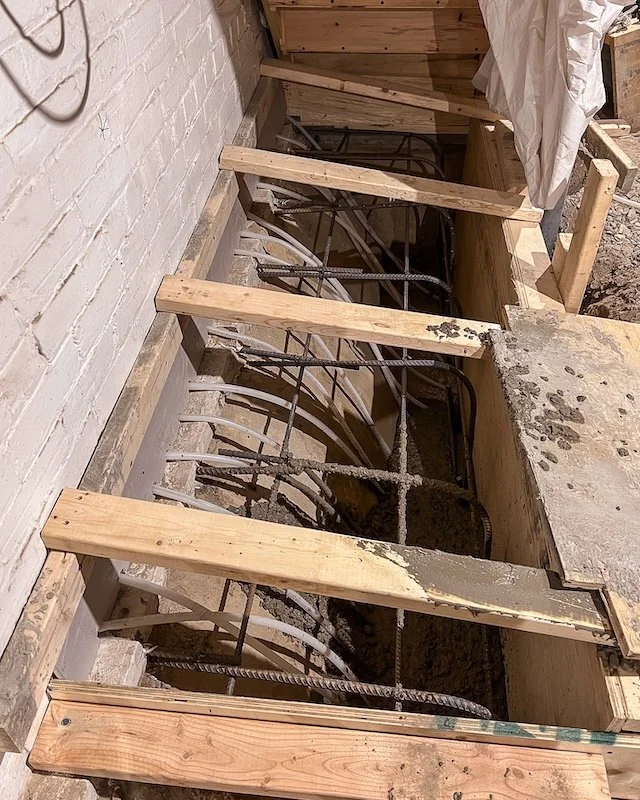
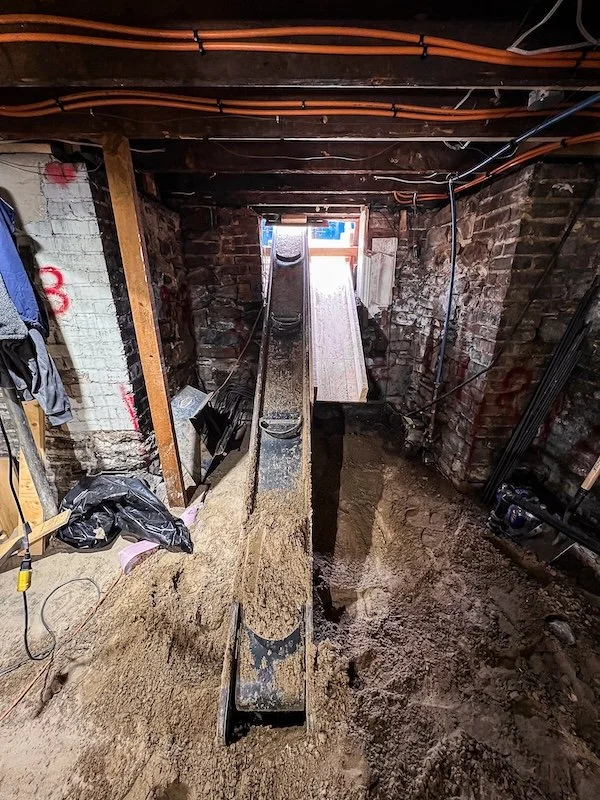
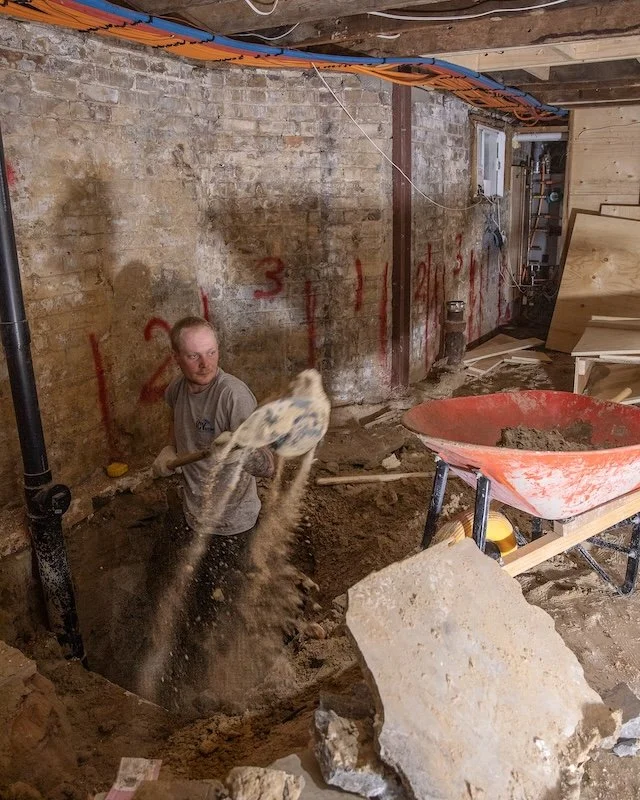
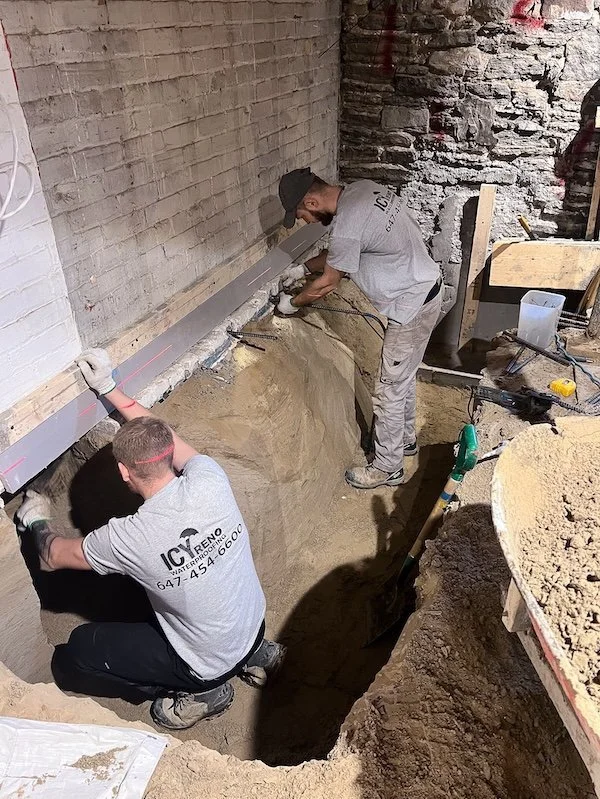
During week one of ‘finishing our basement‘ the plumbers did a site visit and pointed out that the drain hole we had left open during the concrete pour was 2 inches too far into the room. If we wanted to place our bathroom wall where we were planning, we needed to remove a chunk of it so the plumbers could actually hook up the tub drain. If you have never cut concrete before, it is a messy and unpleasant job… you do not want to be breathing that stuff in. Thankfully Pablo come in over the weekend to carefully grind down and chip away at the concrete so on Monday the framers could finish all interior walls and the plumbers could begin working on the tub insulation, waterlines, venting and pipes.

The hole for the tub drain that we needed to grind away at for the plumbers
SIDE ITEM: Since we never actually vented the plumbing system out of the roof and since everyone was on site at the same time, we finally checked that task off our to-do list too!


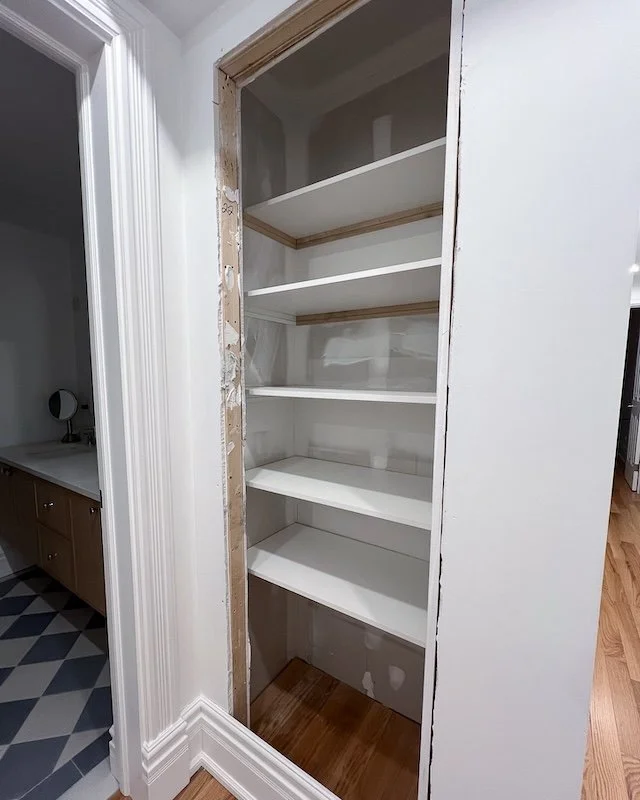
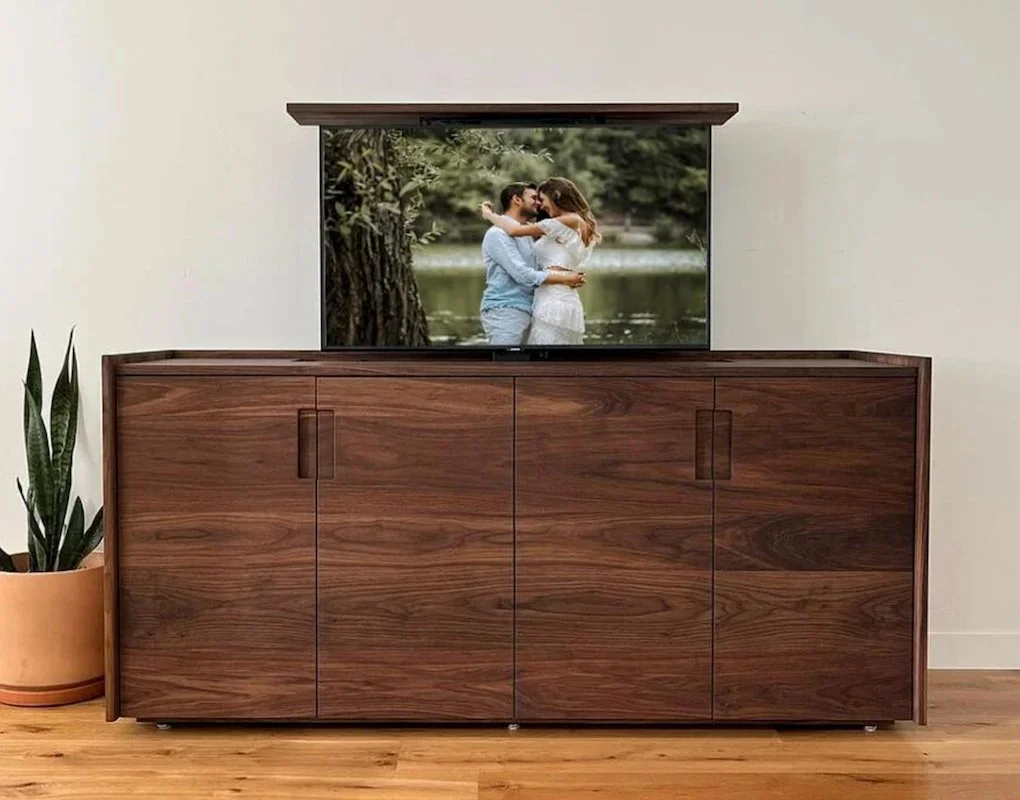
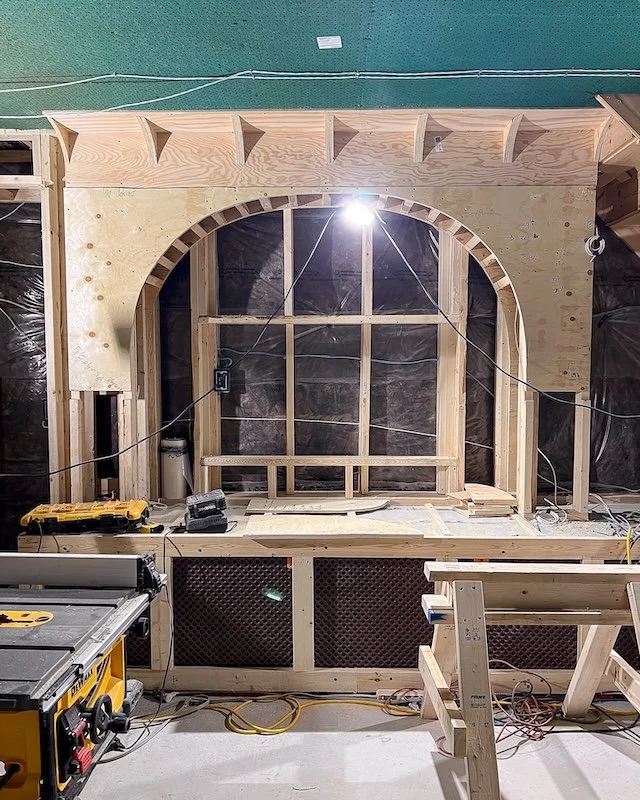
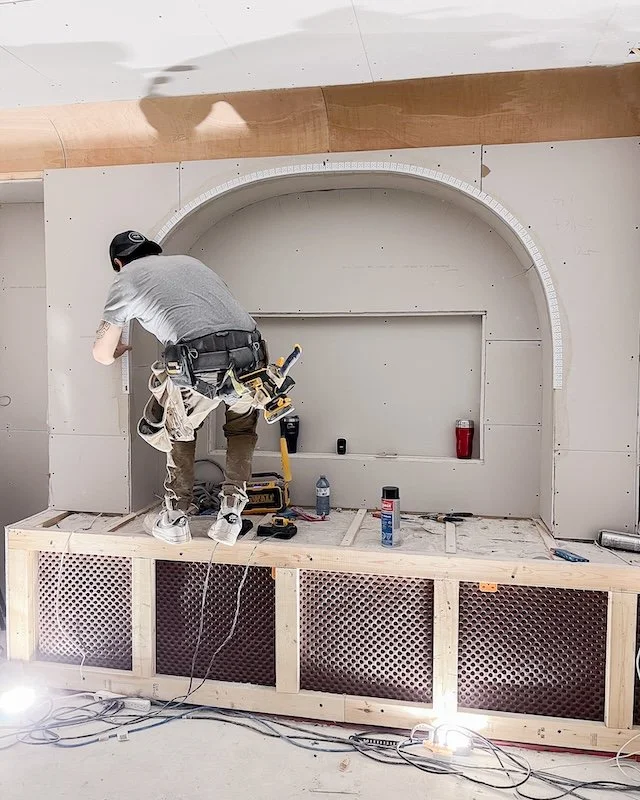
Once the plumbing was complete, the framers could continue their work starting with building the TV arch and framing out the concrete bench. Adam and I want to conceal the concrete bench as much as possible so we thought using it as a stand for our TV would be the perfect way to do just that in our fancy new ‘basement theatre room’. In the office we will hide it with some built-in cabinetry that will house the Murphy bed. Ideally we want to get a Murphy bed with a desk so that I can also set up my home office to edit videos and write blog posts like this one. With Christmas around the corner though there was only so much we could accomplish. We did manage to complete the arched shower niche, frame the tub and level the ceilings but the TV room cove ceiling detail needed to wait until the new year.

Like a horse out of the gate, 2025 began with us closing all our remaining permits!
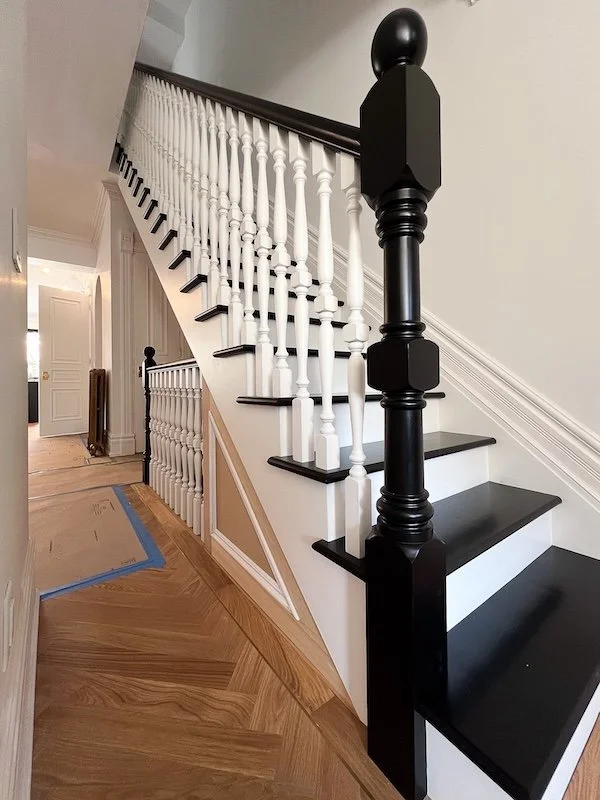
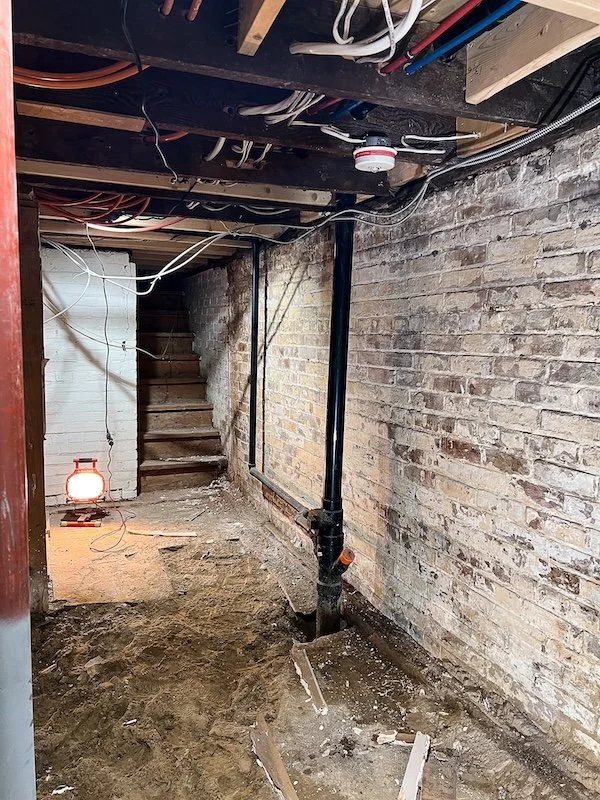
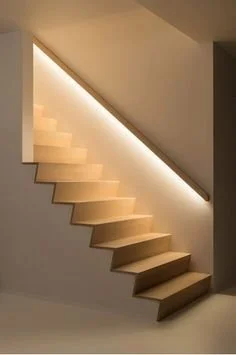
Our electricians also arrived to completely wire up the basement in just a few short days. During this time we also had our stair guy do a site visit. Now that we had completed an underpin we had to build an extension for our exiting staircase. Not only was he able to measure up the space for our new extension but I was also able to share some design ideas I had been noodling and iron out the details with him.


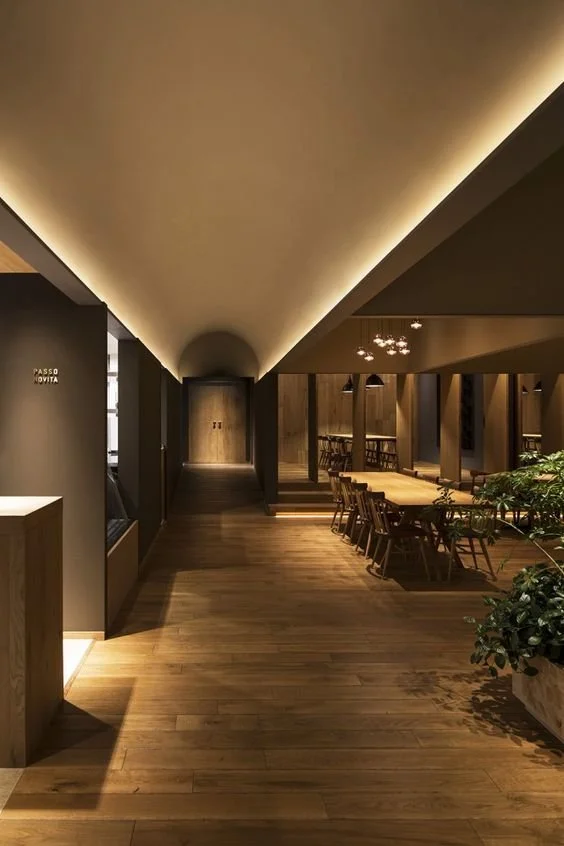
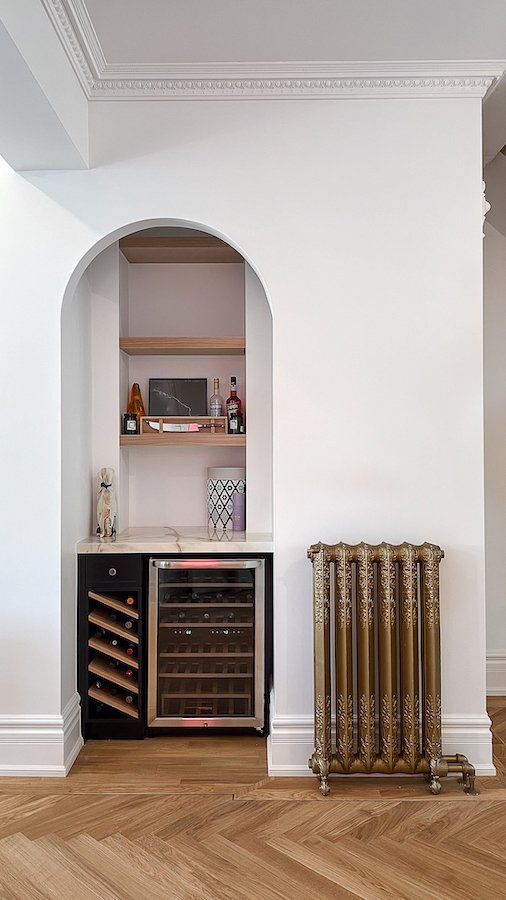
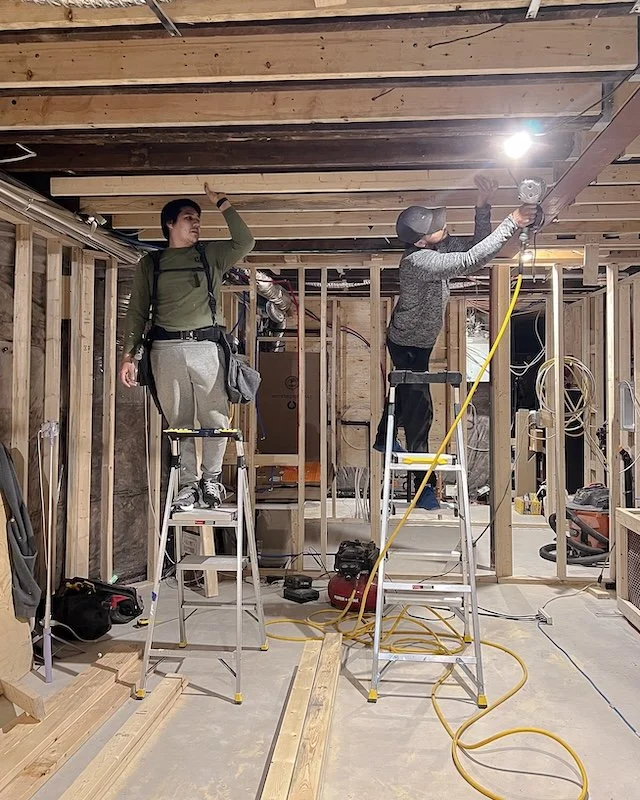
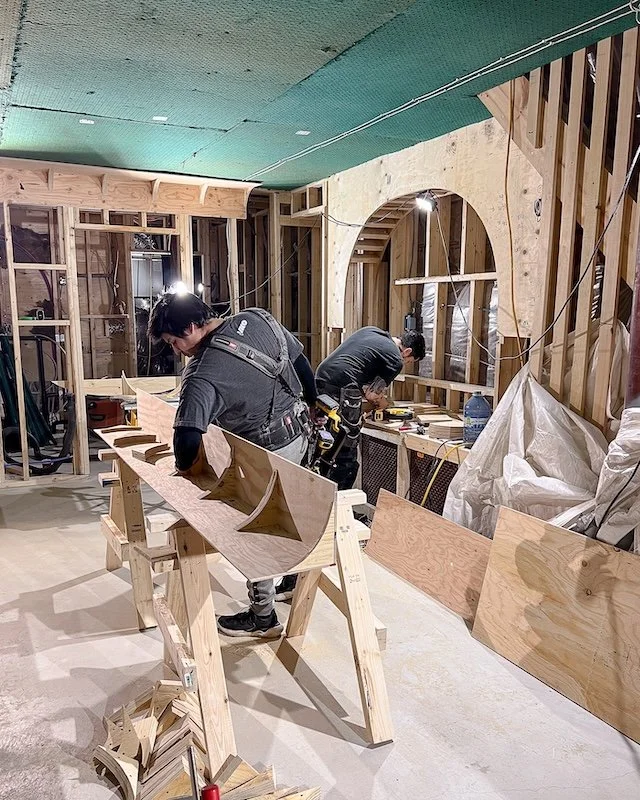
With the majority of the framing now complete it was time to begin work on one of the more intricate details I had planned for the basement. Since the middle room was going to be transformed into a TV/Entertainment space, I wanted to create a cozy, theatre feel by utilizing only indirect lighting. To do this I wanted to create a ceiling cove with a recessed LED light channel that projects light upwards, bouncing off the curved ceiling and illuminating the room. This, in addition to recessed LED lighting in the TV arch and floating shelves in the bar, would make up the majority of the lighting in this room, giving it a real relaxing feel.
ENJOYING THIS SERIES? CHECK OUT SOME OF MY PREVIOUS EPISODES & BLOG POSTS!


CEILING SOUNDPROOFING
Before the framers could even begin work on the TV Room ceiling cove, we first needed to finish all the soundproofing in the ceiling of the TV room. This meant our insulation crew needed to come back to pack safe and sound between each joist before securing Sonopan panels directly onto them. Since Adam is going to have his office in the basement we also want to make sure that the sound from the TV room doesn’t travel between floors or rooms as much as possible. To achieve this we would be packing more safe and sound insulation in the walls a few weeks later as well as more Sonopan panels on the interior walls and ceiling.


CEILING COVE WITH RECESSED LED LIGHTING
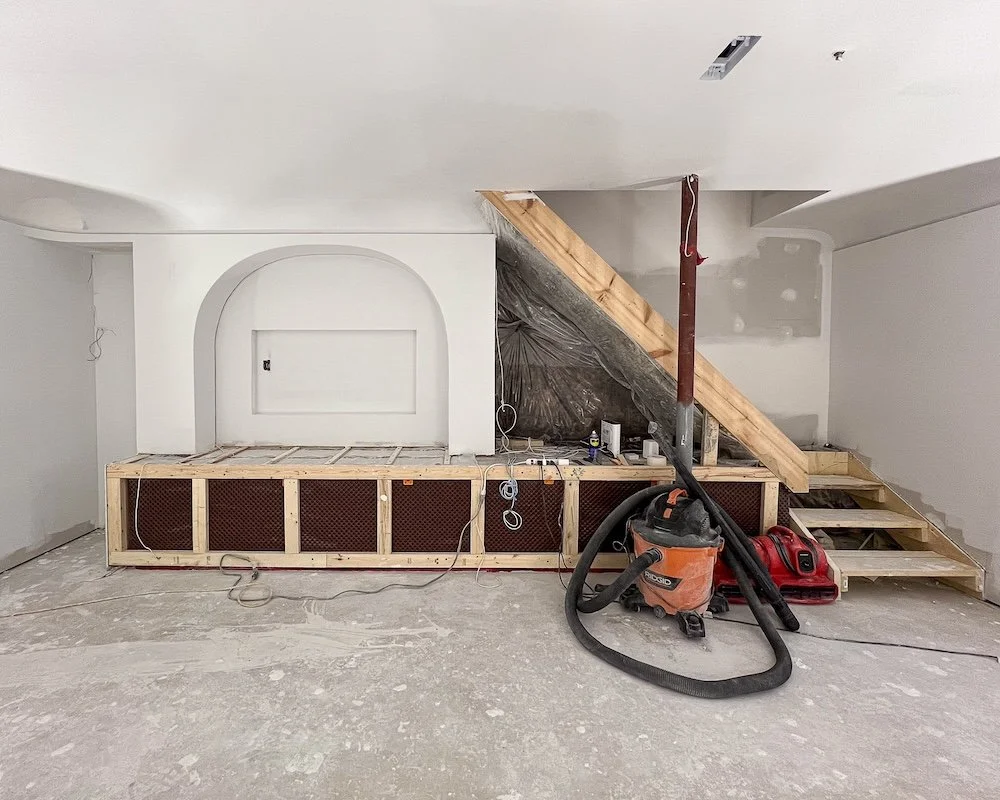
With the ceiling now completely soundproofed, the framers could begin building out walls and creating boxes for our ceiling cove detail. Once several of these boxes were built they would attach them to the walls, ceiling and bulkheads to create our curved ceiling effect. This one design detail alone took over a week to complete and getting those 90 degree corners just right were definitely one of the more challenging part of the entire project.


The basement theatre room is now complete with our cove ceiling detail finished
I also had the guys anchor these heavy duty 360 swing hooks into the steal beam so we could create a little jungle gym for baby. Although he might be a little young for all the attachments now, as he grows we can hang ladders, swings, gymnastic rings, ropes, etc onto them and keep him and his friends entertained when they come over to play.


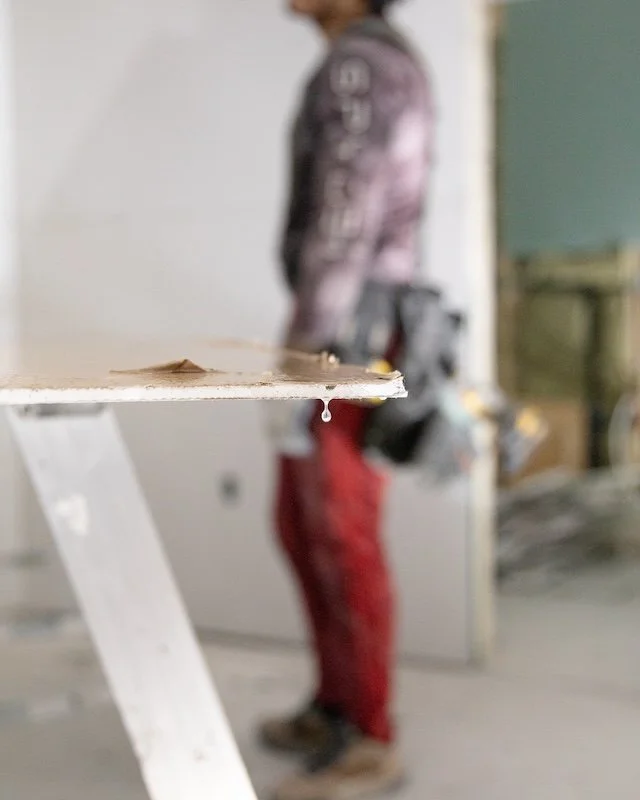
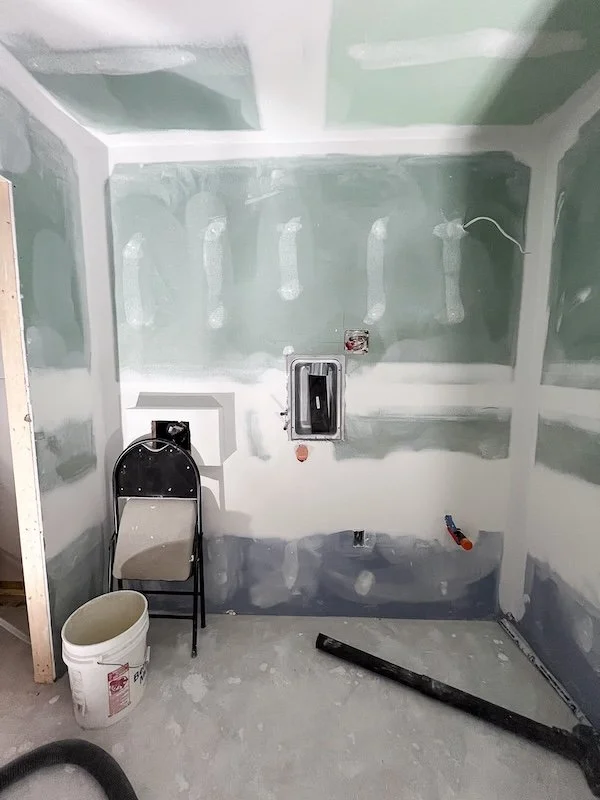
With the framing now behind us and insulation/soundproofing complete, we called our drywall crew in to hang some sheets. I was so ready to close up the walls and begin drywall. We were two months into basement renovations and seeing those drywall sheets go up felt like all our hard work was paying off. Drywall though definitely brought its own set of challenges and required a lot of attention to detail. You’d think drywall would be one of the easier stages in a renovation but Adam always says it’s the hardest because it can cause a lot of headaches down the road if special attention is not paid. Regardless of the challenges it was really cool to see all the little details come together.


Feels so good to see all the little details come together after drywall. I love how the ceiling cove turned out!
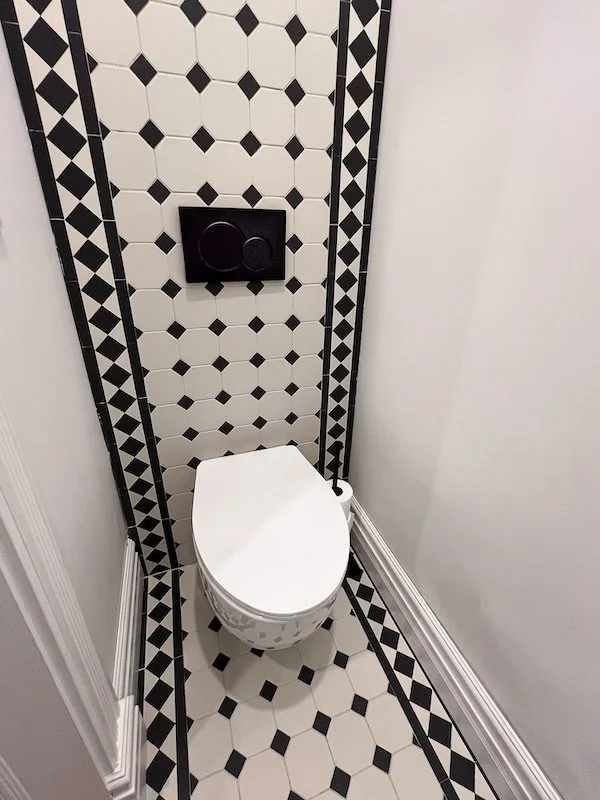
BATHROOM IS PREPPED AND READY FOR MICROCEMENT!

Thank you so much for checking in once again on our Toronto home renovation series and reading this blog post. If you have any questions about renovating a Victorian home, what it’s like to live in Toronto or need recommendations for Toronto contractors/suppliers, hit me up in the comments below!
Until next time,
- Soheila