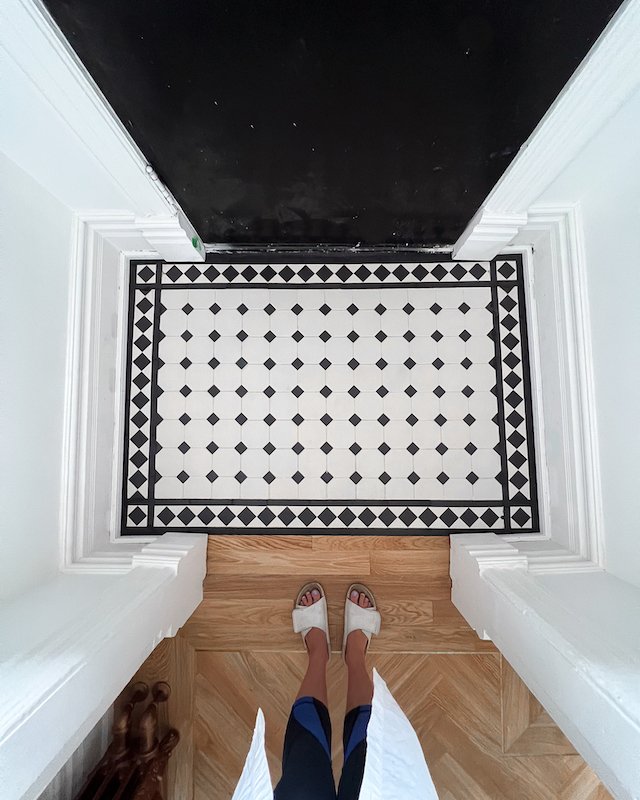
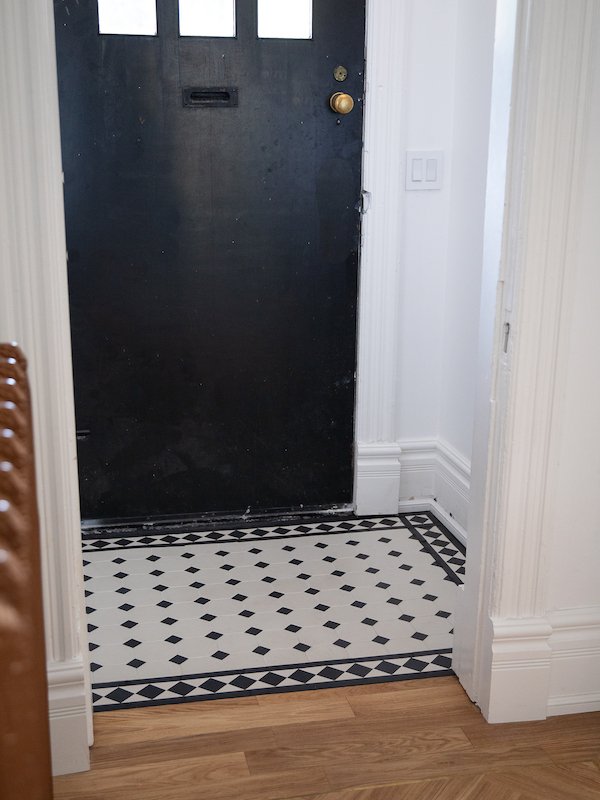
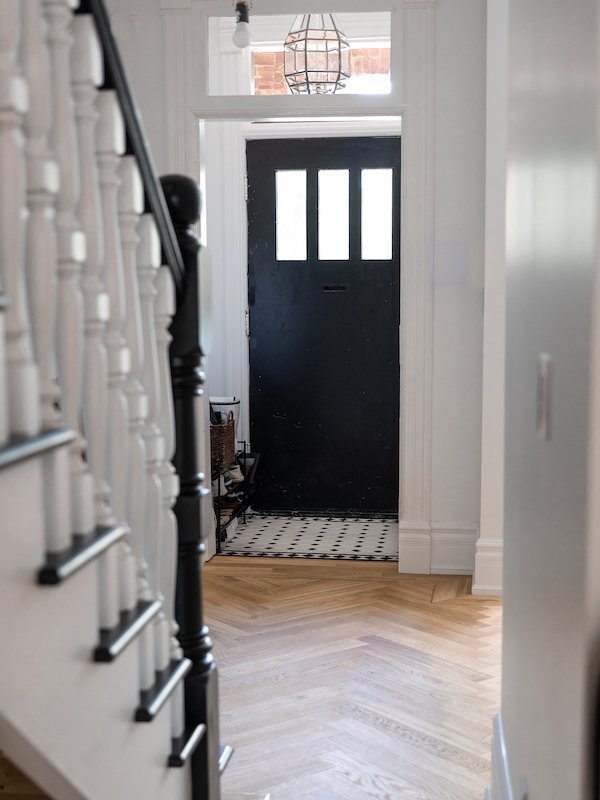
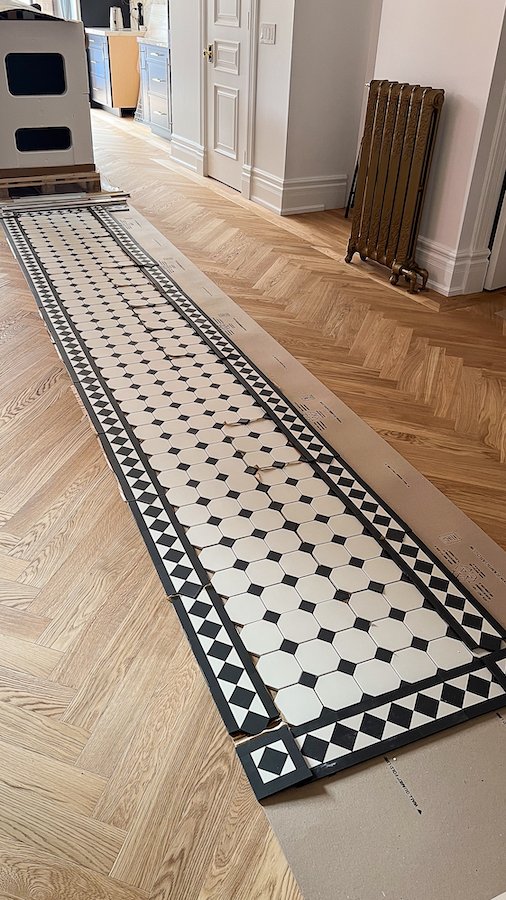
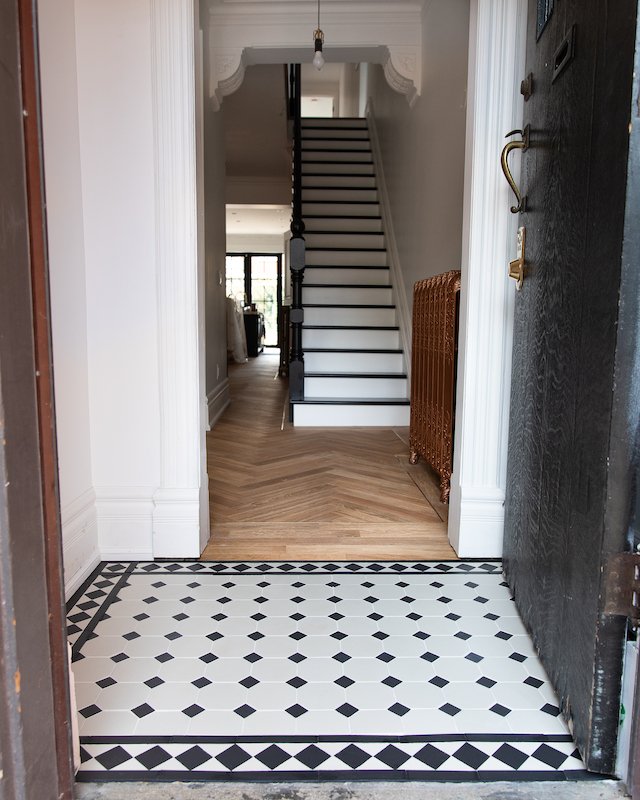
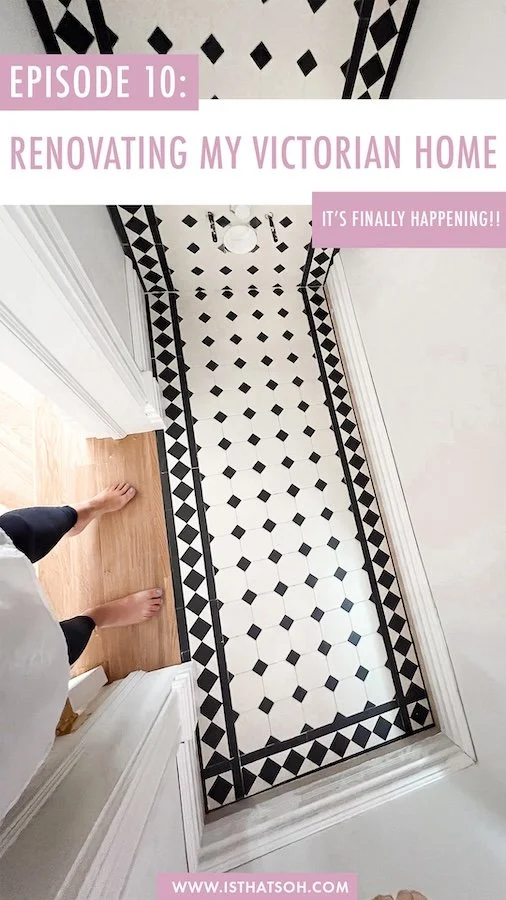
We finally installed the Victorian mosaic tiles I ordered from Winckelmans in the powder room!
RENOVATING MY TORONTO VICTORIAN HOME - EPISODE 10!
I know it’s been a few months since I last released an episode of my home renovation series but that is not because Adam and I have been relaxing and enjoying the summer, quite the contrary! Since moving back into the house and getting ourselves settled in, we have had to put our bigger renovation plans on the back burner and switch gears to concentrate on planning our wedding and getting married in Italy!
If you missed our big news, this past September Adam and I got married in Tuscany at the beautiful San Galgano Abbey. We kicked off our trip with a whirlwind weekend in Florence with friends before heading to Tuscany to check into our wedding villa where we would be hosting the majority of our wedding event. On the first night we hosted a large welcome dinner under the stars for all our guests before getting married the following day in front of all our family and friends. It was such a beautiful wedding and reception - a total dream come true! After one week in Italy, Adam and I headed to Croatia for our honeymoon where we spent a few days at a luxury boutique hotel in Hvar before sailing around to a few Croatian islands and finishing up in Dubrovnik for the last couple nights.
Installation of My Victorian Mosaic Tiles From Winckelmans Tiles
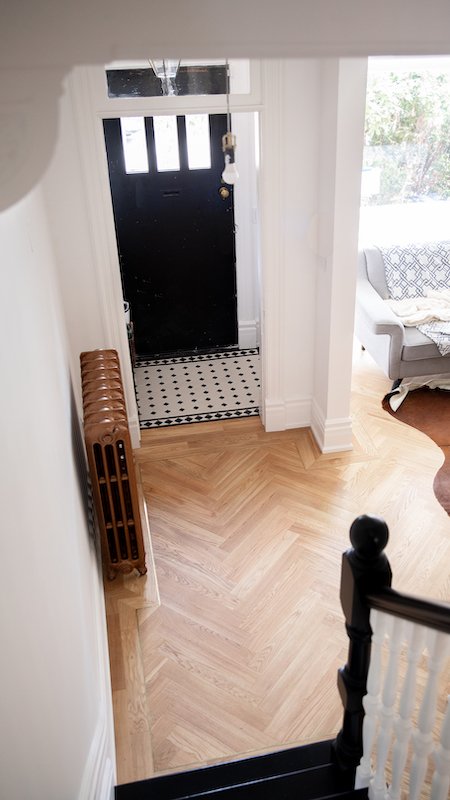
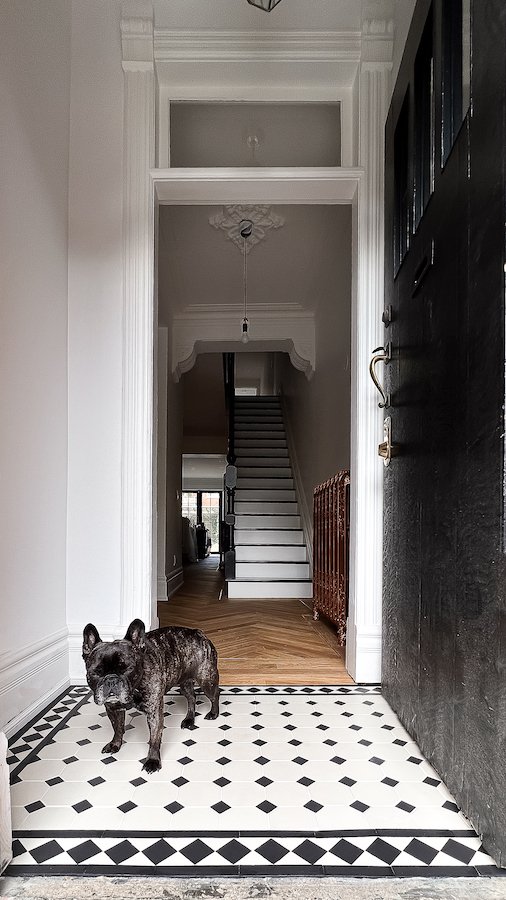
Before leaving for our wedding, we were able to get a few things off our to-do list including the installation of our new Victorian mosaic tiles from Winckelmans Tiles that we had previously picked up from their distributor in Toronto, Deco Tile.
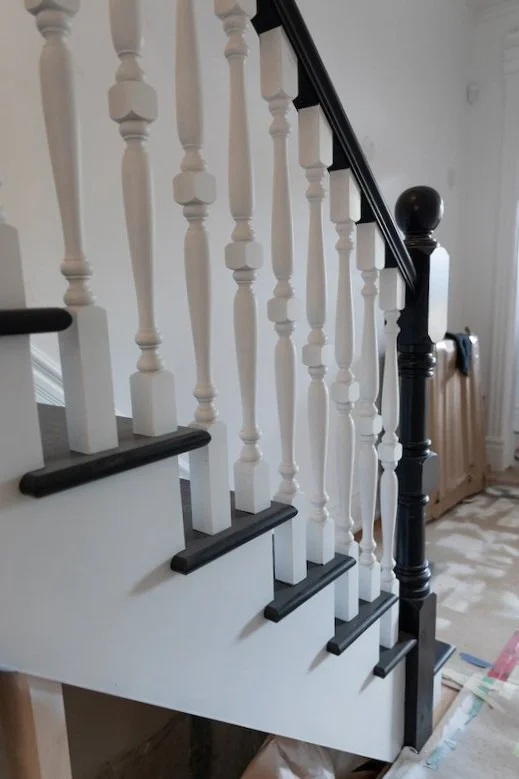
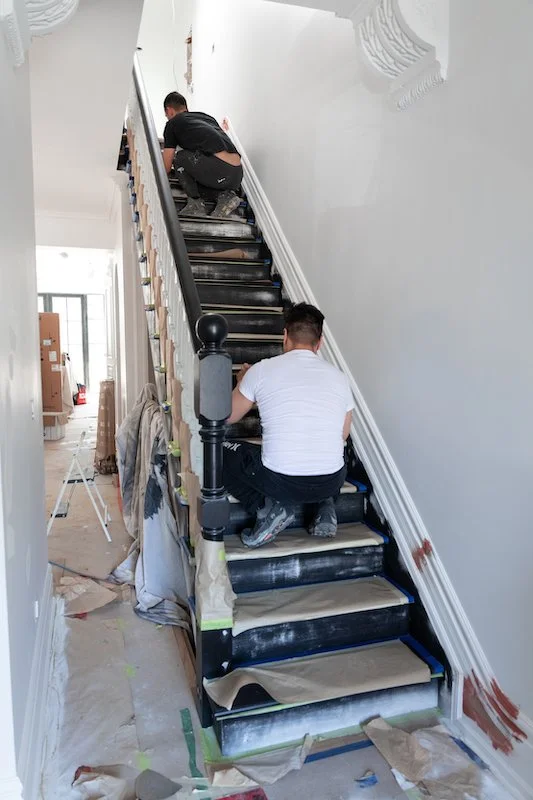
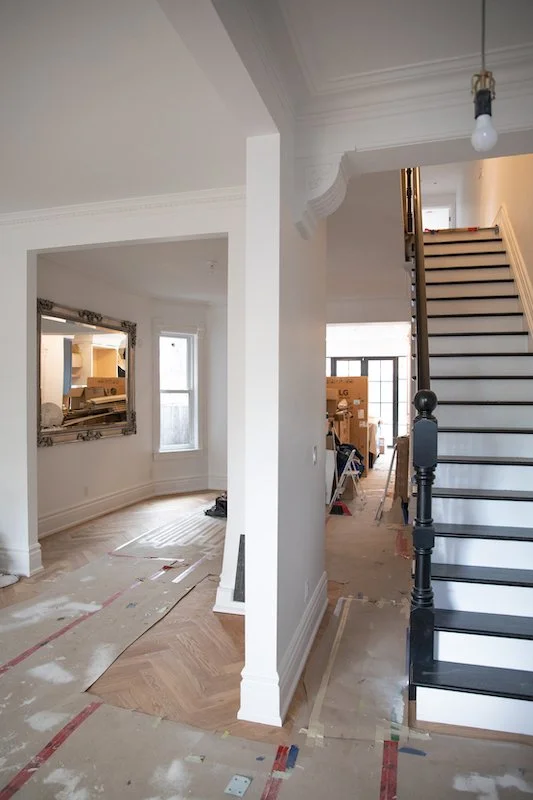
It felt so good to finally have my tiles from Winckelmans installed! Adam’s dad ended up helping me with the foyer install (making sure to add in some Schluter Ditra lining for extra waterproofing protection) while Duran from DuWolf tackled the powder room to ensure we could get both spaces done before we left. Although the sheeted tile format (which my Winckelmans Tiles came in) does make the installation process easier, it still takes a lot of thoughtful planning to make sure everything lines up properly and is measured and cut perfectly, so the install is no easy feat! In the end, both spaces turned out even better then I or Adam could have imagined and the black and white Victorian tiles with a matching boarder design turned out super sophisticated/elegant. I love how when you walk into the house the foyer plays off the black and white staircase in the background too which makes the whole entrance way feel cohesive and inviting.
There is still a lot of work we have to do to the powder room following the tile install on one of the walls and floor but I can already tell it’s going to look great once it’s done and the custom Victorian stained glass window I’m having made is installed. Stay tuned for the final look in the next episode!
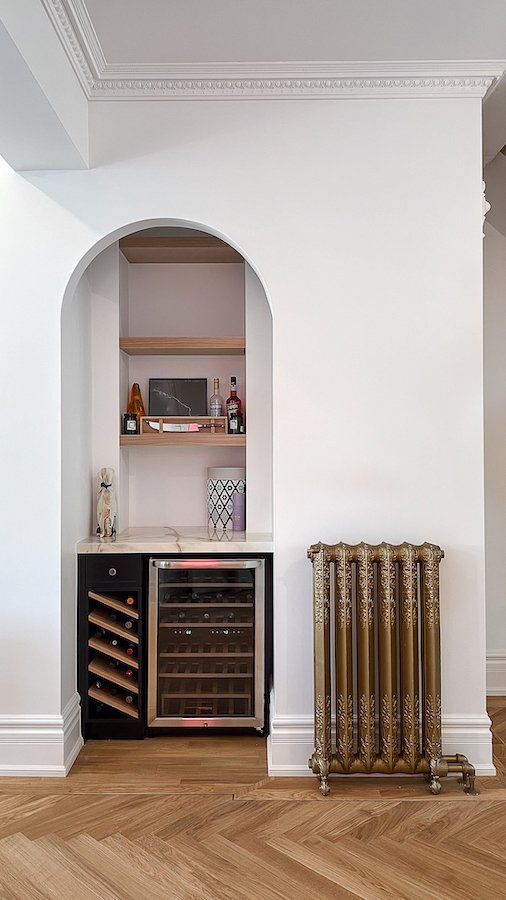
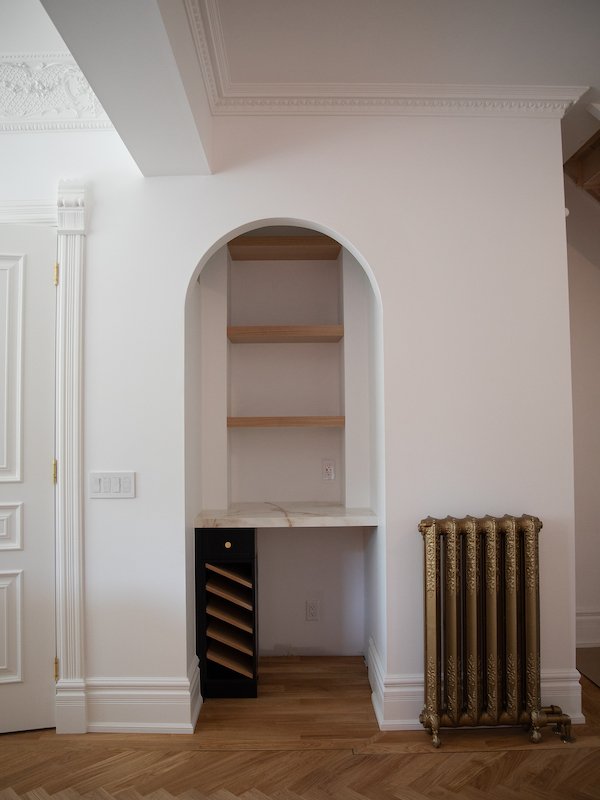
Our arched bar with wine storage is looking better than ever!
Installation of Our Wine Cabinet With Fridge for Our
Home Bar & Coffee Nook
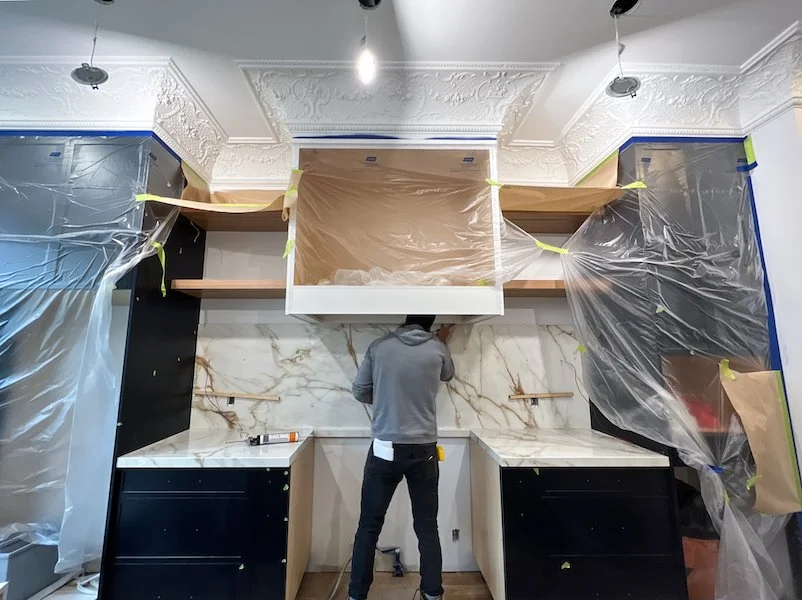
Another job we were able to check off our to-do list before heading to Italy was the installation of our little arched bar/coffee nook!
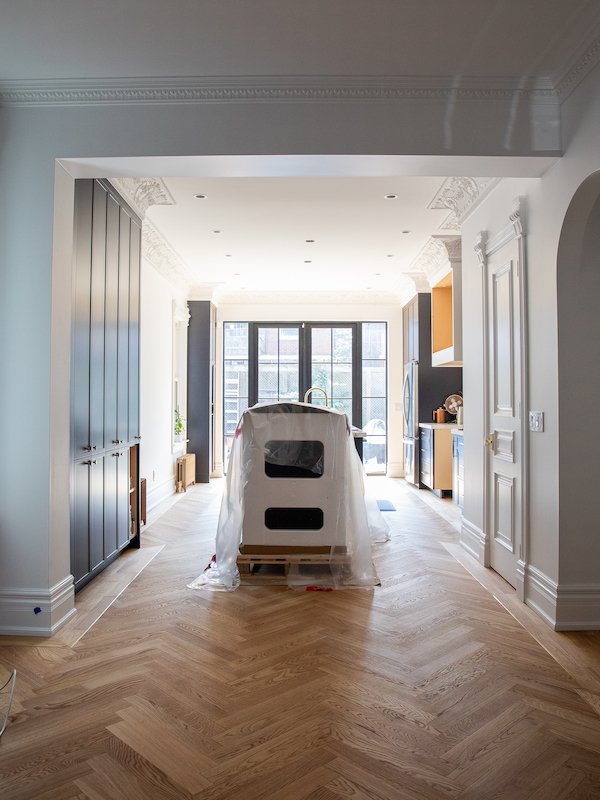
Do you remember back in episode 6 when we started drywall and framed out an interior archway for a future little bar area with wine cabinet and wine fridge? Well the custom cabinetry we had ordered was finally ready for install! I went for a super simple design that played off the kitchen’s navy blue palette by having a small cubby with slanted shelves (perfect for storing wine bottles) made with a small drawer on top to hold bottle openers etc. We used the left over Calacatta Gold porcelain from the kitchen for a counter top and duplicated the natural oak shelves to add additional storage for liquor bottles and bar paraphernalia. All we had to do once the navy blue bar cabinet and shelves were installed was plug in our new dual zone wine fridge and Nespresso machine, and decorate! Adam and I saved a whole case of wine from our wedding that we are planning to stash away and open on future anniversaries so I’m really happy to have a nice space to store them. Not to mention a little area separate from the kitchen to mix cocktails for guests while hosting over the holiday season!
DID YOU KNOW the perfect wine fridge temperature ranges between 50 °F (11°C) and 65 °F (18°C) for red wine and 45 °F (7°C) and 50 °F (11°C) for white wine. Neither did I, I had to look it up. Also, needing to rotate your wine bottles every few months is a total myth. As long as they are stored on their side you’re fine! Learn something new every day! Haha!
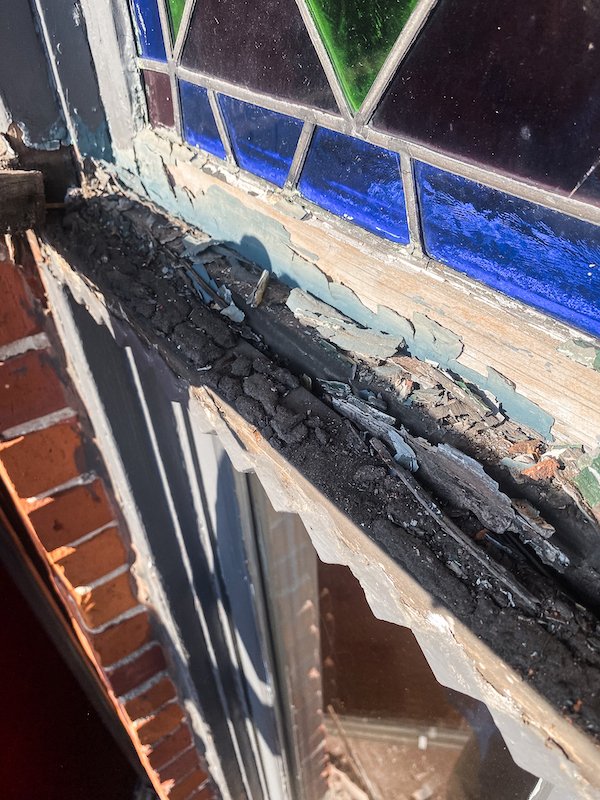
The plastic sheet draped over the front 2nd floor windows was becoming a huge eye sore!
Restoration of Our Original Victorian Windows
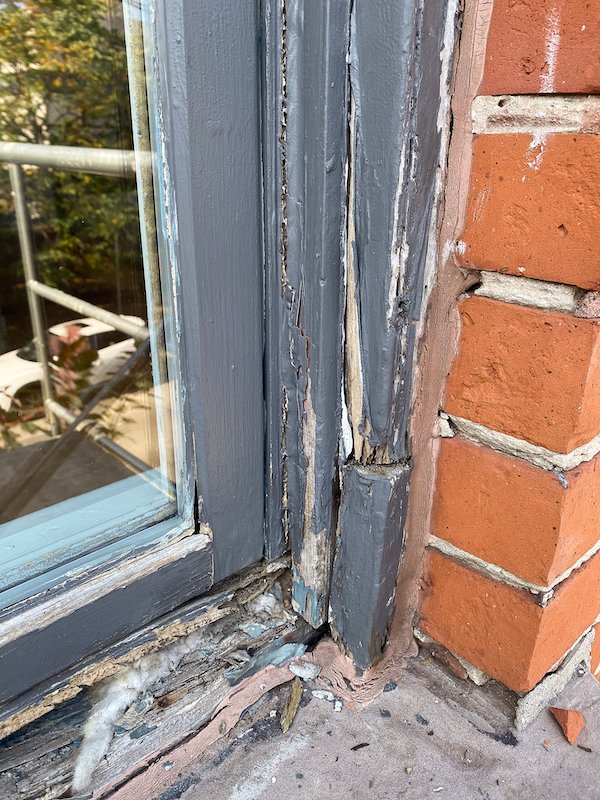
If you’re new to my channel or blog you might have been wondering why there is a big plastic bag draped across the front second floor window of our house. Well, do I have a nightmare story for you!
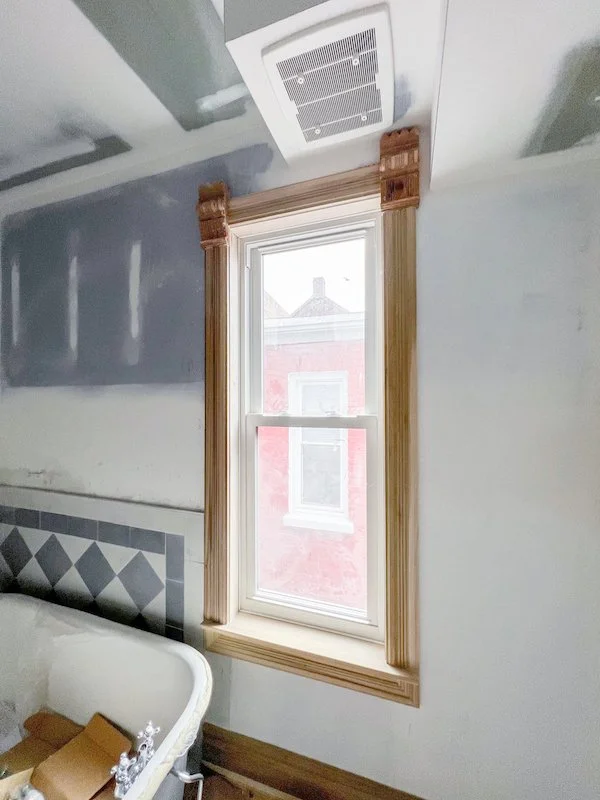
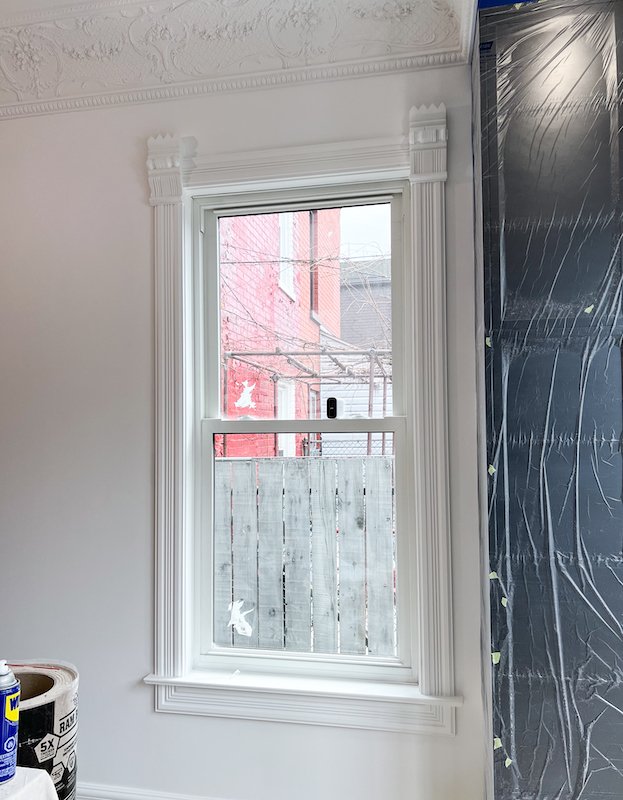
The evening before Adam and I were set to start drywall there was a massive rainstorm that called our attention to the badly deteriorated and rotted state of our 2nd floor windows. The water from the rainstorm was just pouring into our main floor front room and with drywall starting the next morning, we had no choice but to temporary fix it by draping a large plastic sheet of vapour barrier over the 2nd floor window as a way to keep water off of it as much as possible. This temporary solution worked very well. Amazing actually! The leaking instantly stopped but living with a large plastic sheet on the front of our house was a huge eye sore I was getting sick of looking at. So when Adam and I got back from our wedding and honeymoon, I called our carpenter and asked him to come work his magic.
Restoration of our front windows took a couple days but our carpenter quickly identify the obvious culprit. He started with removing all the rotten wood before replacing it with new wood and sealing any remaining gaps around the edges with spray foam. He did a great job replicating the original Victorian trim work and mimicking the original style just as I asked, and even primed the window with some primer paint to seal it in preparation for painting and a fresh outline of caulking.
It felts so good to not only get that plastic sheet off the front of our house but checking this off our to-do list gave me the reassurance I needed to feel confident that this window will no longer be a problem moving into the winter months.
FOLLOW ME ON INSTAGRAM @ISTHATSOH
Giving the front of our house a little refresh!
Exterior Painting of Windows, Gable and Trim
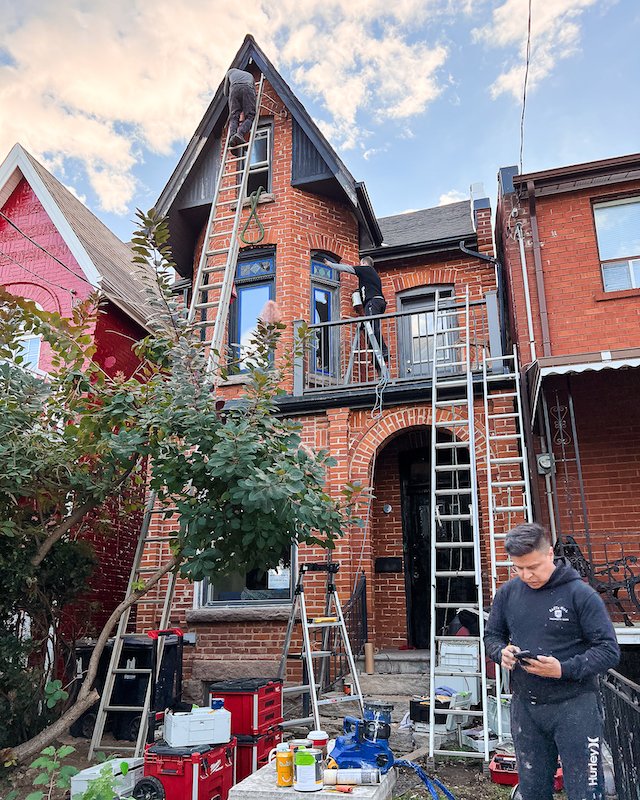
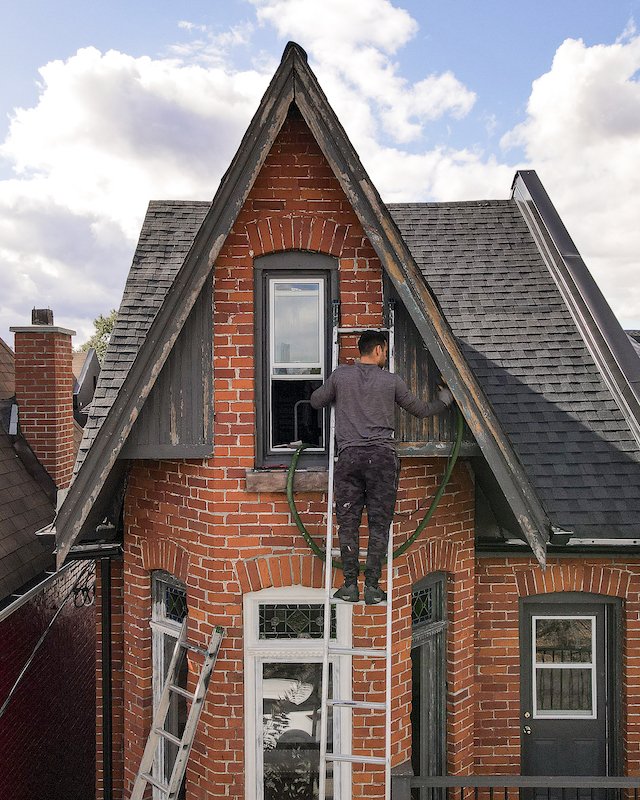
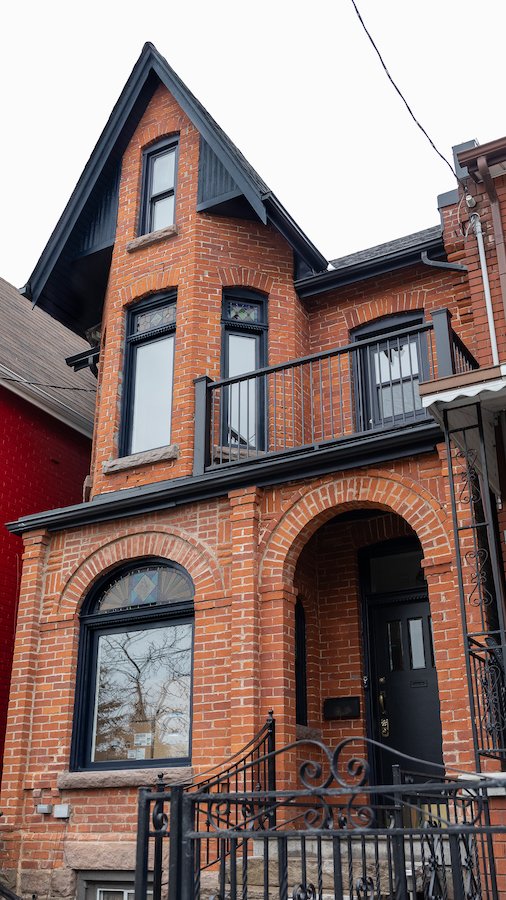
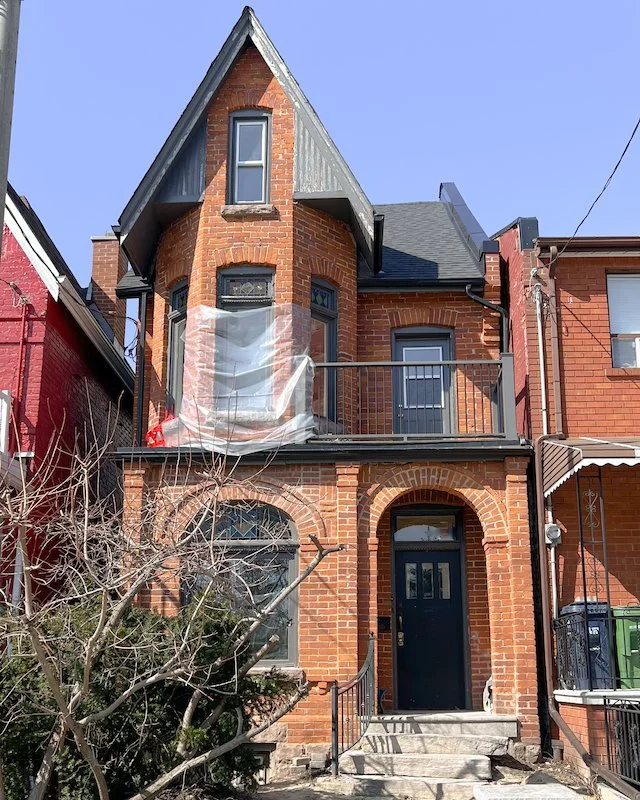
After our carpenter wrapped up his work, Ariel and his painting crew came in to sand down and paint the front windows, gable, balcony and trim before sealing the windows off with some fresh caulking. Originally the gable, windows and trim was this dull grey colour and our front door and balcony spindles were black but none of it did anything to bring out the beautiful orange hue of the brick. I wanted something complimentary, that helped the house stand out and appear vibrant and glorious in its old age, and what better choice for that than orange’s most complimentary colour, blue! It’s my favourite colour after all!
So off I went to the paint store, with one small kitchen cabinet door tucked under my arm to find the perfect matching colour! Imagine my shock then to find out there is no Benjamin Moore colour that matches! The gentleman at the store ended up mixing the paint colour by eye and after a few small tweaks, we landed on the perfect formula! Thank god for paint snobs!
Now that the windows are restored and everything received a fresh coat of paint, the house is looking really sharp! I love how the navy blue paint accentuates the rich orange hue of the brick and how it changes colours (it sometimes almost looks black) depending on what time of day it is. To help underscore the navy blue trim we kept the front door, cast iron railing, 2nd floor balcony and eves/drain spouts black as a way to emphasize the difference in colour despite the navy appearing black at a quick glance.
My Custom Victorian Stained Glass Window Was Delivered!
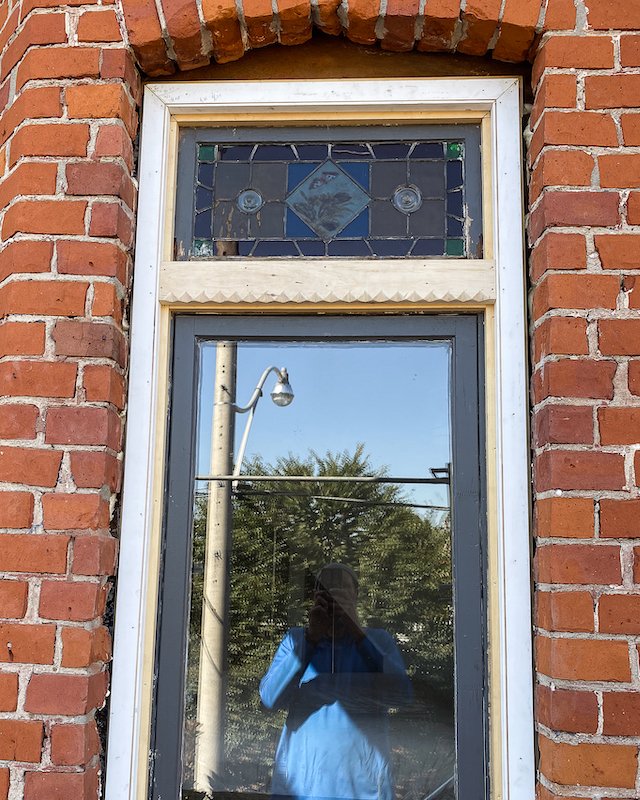
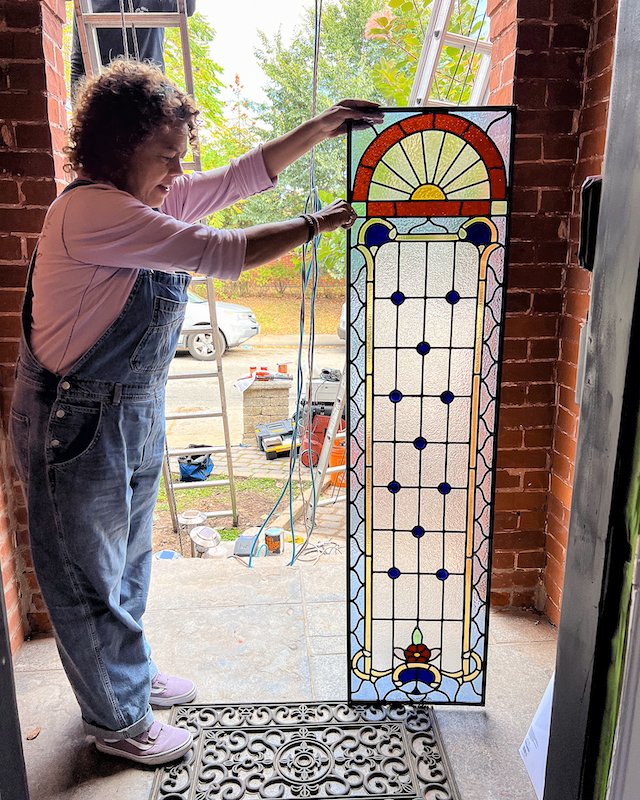
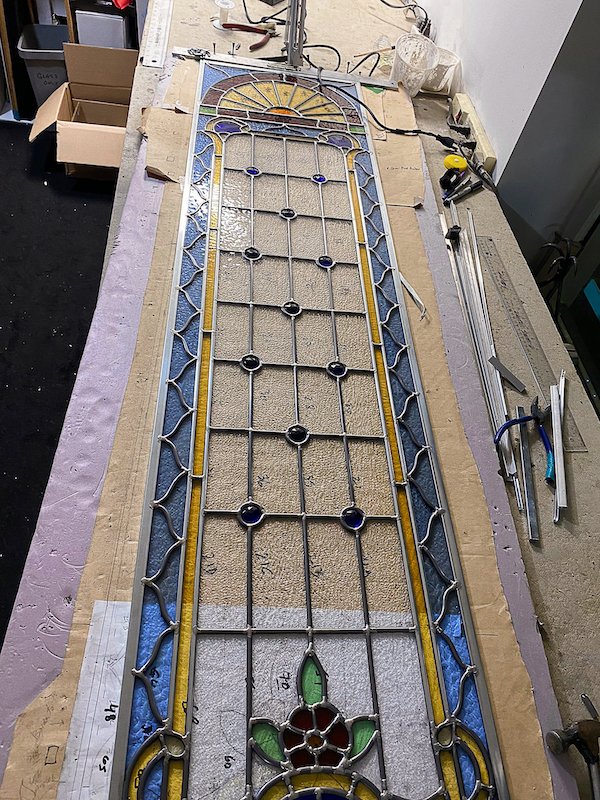
Prior to leaving for the wedding, Louis had invited me to her studio in Etobicoke to finalize the design of the custom stained glass window she was making for the powder room. It was so cool to visit her studio and learn more about the stained glass classes she offers. The pieces she was working on for me looked incredible and exactly like the mock up design I had drawn for her months earlier. During my visit she showed me some final jewel options and glass colours she had selected, and asked me to choose what I liked the best before she began the welding phase of the production.
A few weeks later, while Ariel was still painting the house, Louis stopped by to drop off the finished stained glass window! IT LOOKED SO GOOD and I was so happy to see it installed and in all its glory in the powder room!
ENJOYING THIS CONTENT? CHECK OUT SOME OF MY OTHER EPISODES AND BLOG POSTS!
Our La Cornue Cornufé range was finally installed!
Installation of Our La Cornue Range
It finally happened! After months of waiting for our new vent to arrive, two weeks ago we were able to get not only get it installed but we got our new La Cornue range installed too!
Originally, Adam and I had planned to have our stove installed in May when we moved in but the inspector saw the hole for the vent exhaust and said it was too big and not to code. Pivoting as best we could, we ordered a new vent that required a smaller exhaust hole but the kicker was we had to wait 16 weeks for it to arrive. In the meantime our new La Cornue stove lived in its crate in our dining room while Adam and I cooked all our meals on the BBQ.
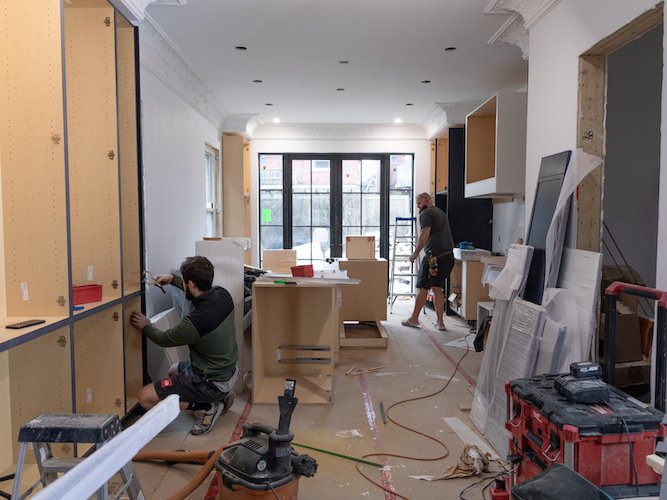
After months of waiting our new vent arrived and we had our kitchen cabinetry maker from Domani Design Group come in to retrofit our range hood cabinet (because of course the new vent had to be a different size than our old vent) before having a professional appliance installer come in to finish the rest of the install.
By the way, if anyone is doing a kitchen renovations and needs a vent, we still have our old, unopened, Elica vent available for purchase! Model number is EAR140S4 if you want to check out the specs!
Now that our La Cornue stove is installed, Adam and I have been cooking up a storm. We love the duel electric ovens and powerful gas range. We also later learned that they discontinued making the La Cornue Cornufé range in the navy blue colour so it’s not even available for purchase anymore which makes me love it even more. I’m so excited to continue to play around with it over the holidays and feel way more confident about hosting family and friends for dinner now that we are not limited to just the BBQ. It’s going to make things so much easier and more enjoyable not to mention it looks like a piece of jewellery!
Overall, I am ECSTATIC about all the progress we’ve made on the house since moving back in. I even bought some lights on Black Friday which I can’t wait to arrive so I can install them! Christmas is also around the corner and I’m looking forward to getting our first Christmas tree and starting to host our friends and family for drinks and dinner.
The current state of our basement - a sandbox!
2024 Plans: Tackling the Basement & Underpinning
In the new year Adam and I have plans to start tackling the basement which is currently a large sandbox. We want to do a big underpin in hopes of achieving an 8+ foot finished basement so it’s a bit more of a functional space and we can actually install our laundry machines (which is the last thing we need to install)! Until then they will continue taking up space in our living room. YAY! * eyeroll *
In preparation for the underpin (and before the ground froze) we had to cut away the bushes and smoke tree out front. Having to get rid of the smoke bush tree broke my heart, I loved that tree! Unfortunately it was so old, overgrown and wild that it produced less blooms each year and blocked all the light making it impossible to grow anything else. We have plans to re-landscape the front in the spring after the underpinning is done but for now we needed to prepare that front area for a demo bin.
The house after window restoration work and a fresh coat of black and navy blue paint!
Thank you so much for joining me today and for checking out my new Toronto home renovation series on Youtube. I am super excited to be modernizing a Victorian home while still keeping the charm of an old Victorian house. If you have any questions about my Victorian house renovations, what it’s like to live in Little Portugal, Toronto or recommendations for Toronto contractors, hit me up in the comments below!
Before I sign off, I’d also like to say a big thank you to Winckelmans Tiles and Deco Tile for partnering with me on this project. I’m so excited to be working with industry experts on our Toronto home renovations but want to reiterate that, like always, all opinions remain my own.
Until next time,
- Soheila


