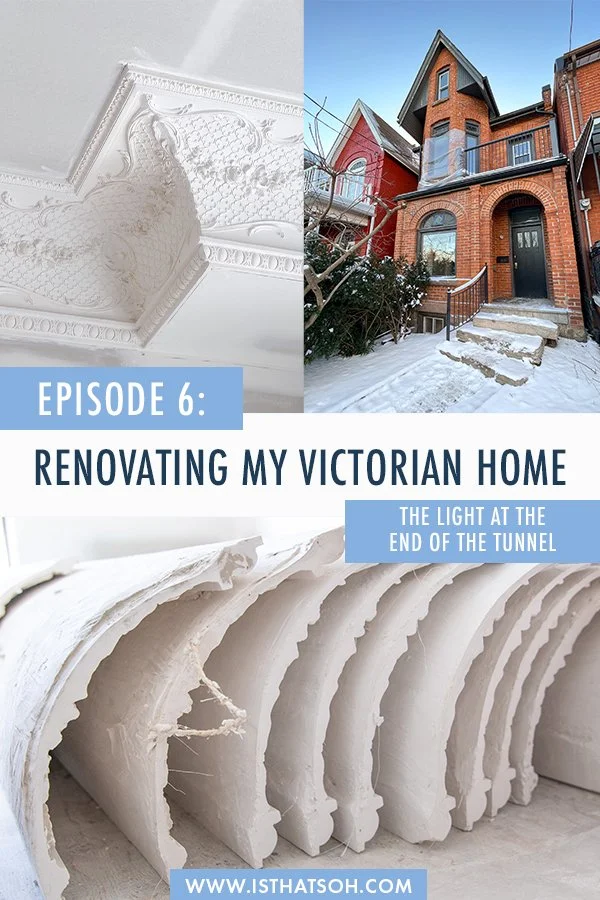
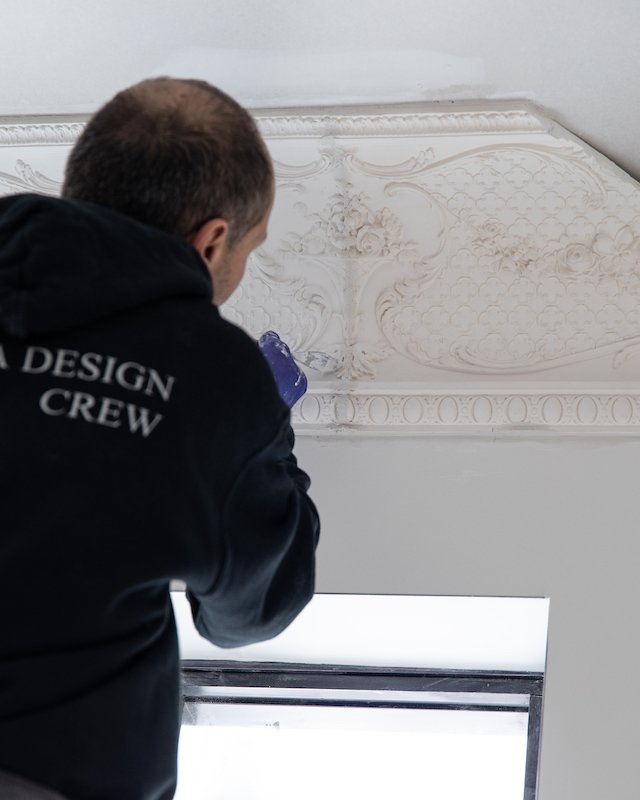
Newly installed ornate plaster mouldings from Parsiena Design
RENOVATING MY TORONTO VICTORIAN HOME - EPISODE 6!
We are officially a month and a half into our finishes and I am already beginning to see the dream home I have been manifesting start to materialize. It’s one thing to dream and pin’ to Pinterest but now that it’s time to pull the trigger on the design elements I have been swooning over for the last year, my heart has begun to flutter with excitement watching it all come together.
Of course the finishes have come with their own set of challenges. Unlike everything that has happened up to this point, being ‘hands off’ means we’ve had to communicate very clearly and leave nothing to chance. There have been a few instances already where small assumptions have led to bigger mistakes and further work in order to correct immediately. Despite these obstacles, Adam and I continue to push our Toronto home renovation forward with bated breath, especially now that we are able to see the light at the end of the tunnel.
If this is your first time tuning into my new Toronto home renovation series and want to start from the beginning, check out Episode Episode 1: Sledgehammer Therapy and keep up with upcoming episodes by subscribing to my YouTube channel!
Since the last episode, a lot has happened at the house! Adam and I are happy to report that we passed our ‘pre-drywall’ inspection. I was so nervous for the inspection because I had to be on site by myself to answer any questions our inspector had. Thankfully I was able to calm my anxiety by keeping busy by cleaning the main floor and installing sound proofing insulation into the walls surrounding the middle bedroom on the 2nd floor.

Soundproofing the interior walls of our new second floor middle bedroom using batt sound proofing insulation
SOUNDPROOFING WALLS
Adam and I did a lot of research around soundproofing walls. Now that we had reconfigured the 2nd floor layout, adding in two new bedrooms and a bathroom, we thought it would be wise to soundproof the middle bedroom now if we hope to one day turn it into a nursery.
Although it is challenging to make a wall 100% soundproof there are a few things you can do to dampen the noise. The first thing we did was install sound proof insulation between the studs in the interior walls surrounding the middle bedroom. Given my recently acquired expertise in batt insulation (watch the last episode to find out what I mean) I was able to do this myself in just a few hours. After that, we had the drywall crew install SONOpan (soundproofing panels) prior to drywall as a way of adding an additional sound absorbing barrier between the rooms. This of course made the wall thicker, but it was a loss we were willing to accept in the name of comfort!
We had to wrap the 2nd floor front window after we found a leak
WE FOUND A LEAK
Of course, nothing goes as planned when it comes to home renovations and the night before drywall was suppose to start we found a leak! There was a massive storm that night and Adam and I were at the house moving things out of the way for the drywall crew, when all of a sudden we spotted water drops coming from main floor ceiling at the the front of the house. Upon further investigation, we figured out that the leak was coming from our second floor windows and had to act quick. I ran to the basement and got a sheet of left over vapour barrier, which Adam and I used to wrap the front window and stop the leak. Thankfully our temporary solution worked and is holding up pretty well, but fixing the front windows is just one more thing to add to the list for spring.

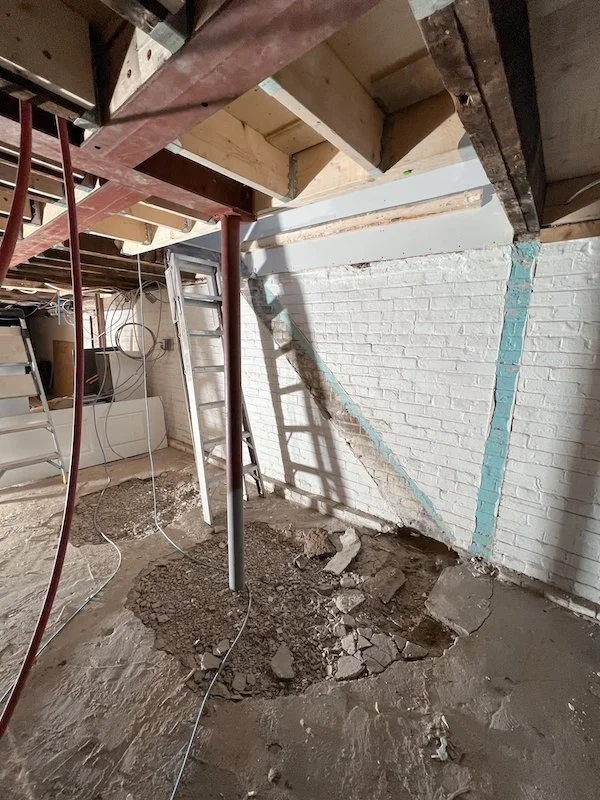
Drywall went up pretty quick and obviously made a huge impact in making our Toronto Victorian home feel livable once again. Part way through, Adam and I did had to demo the existing stairs case and finish up the batt insulation along that wall, but other than that there wasn’t much work required for us to do at the house. Demoing the stairs did result in our basement turning into a bit of a sandbox though. Although we have no plans to start working on it now, we do plan to finish it after the work on the first and second floor is complete.


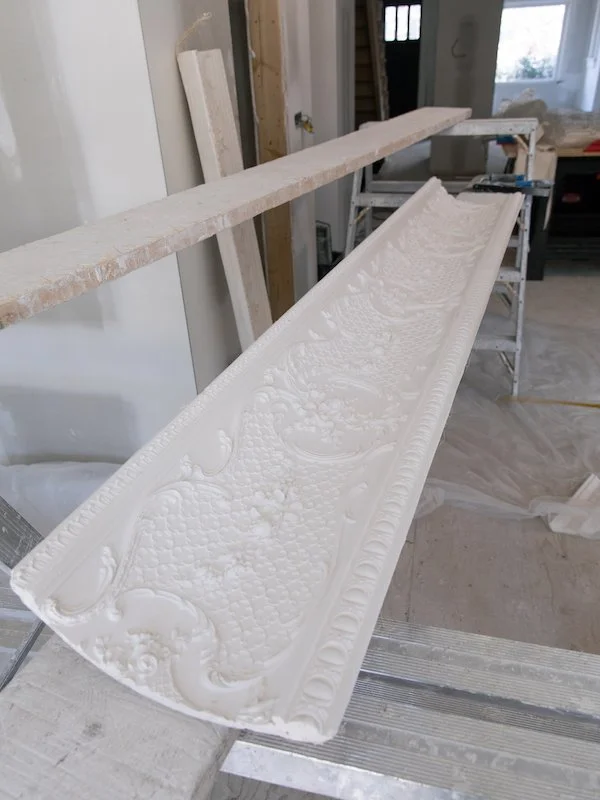
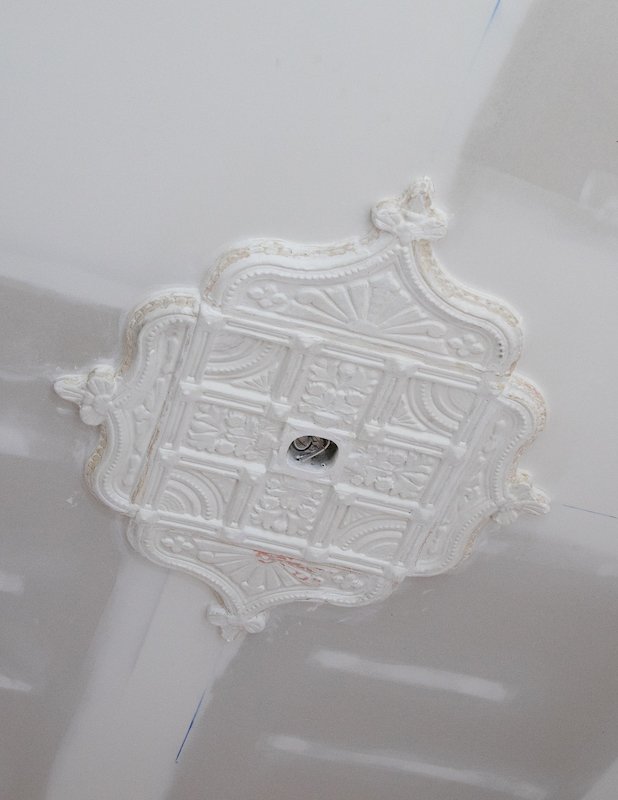
The first cast of the ceiling medallion Parsiana Design made from the silicone mould they created a month earlier
MY VISIT TO PARSIENA DESIGN
Since I didn’t physically have to be working at the house all day, I finally had time to turn my attention to the finishes! It had been a couple weeks since Parsiena Design had made a silicone mould of my ceiling medallion on-site, and although we had the good fortune of successfully removing the original medallion, Parsiena did make a replica using the mould and I was excited to see how it all turned out.
Located just outside Toronto in Vaughan, Parsiena Design’s production house was a feast for the eyes! Specializing in the manufacturing of architect elements, Parsiena is known as the place to go for custom fireplace mantels in Toronto. In addition to fireplace mantels, they also have a extensive catalogue of beautiful ornate plaster crown mouldings, stone range hoods, medallions, rosettes, friezes and trims. Not only can you see their work across the city of Toronto, but they have also done a lot of work internationally and in the US.
One of my favourite parts about my visit to their production studio was seeing their creative process in action! It’s not everyday an artist lets you peak behind the curtain, and I was thrilled to be invited into their workshop to see masters at work. During my visit they not only showed me the replica of my ceiling medallion, but also some beautiful stone fireplace mantels they had recently completed, I also got to see the crown moulding panels they had produced for me which were ready for install once the drywall was complete.
What do you think I should do with the replica of my ceiling medallion? Fell free to let me know in the comments below!

The plaster crown mouldings that were installed in my kitchen
FOLLOW ME ON INSTAGRAM @ISTHATSOH


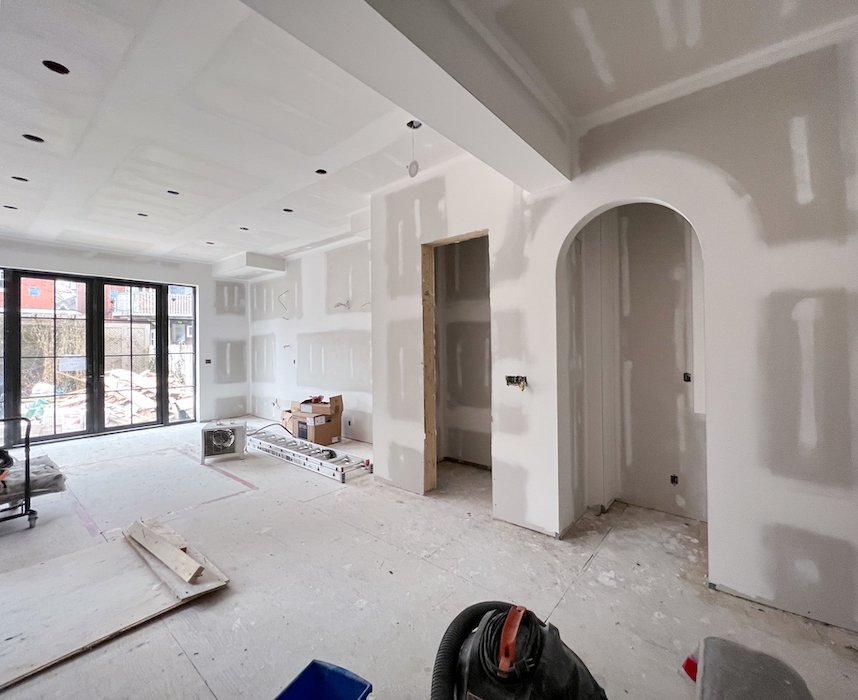
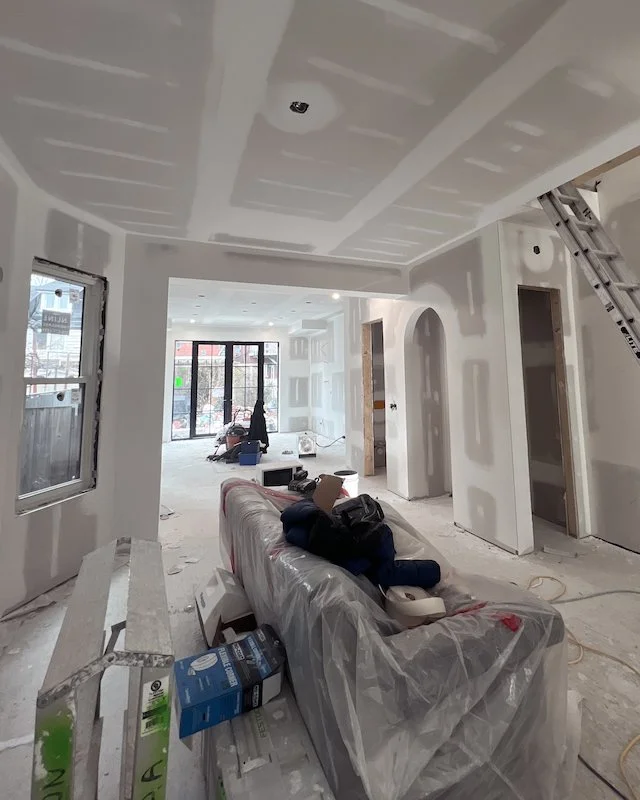
The main floor after drywall is complete! So excited for my new kitchen to be installed!
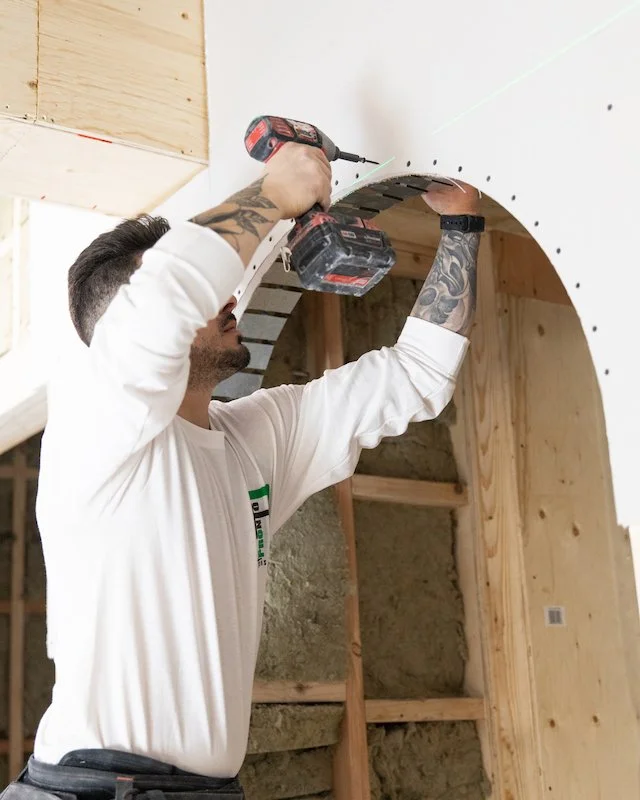
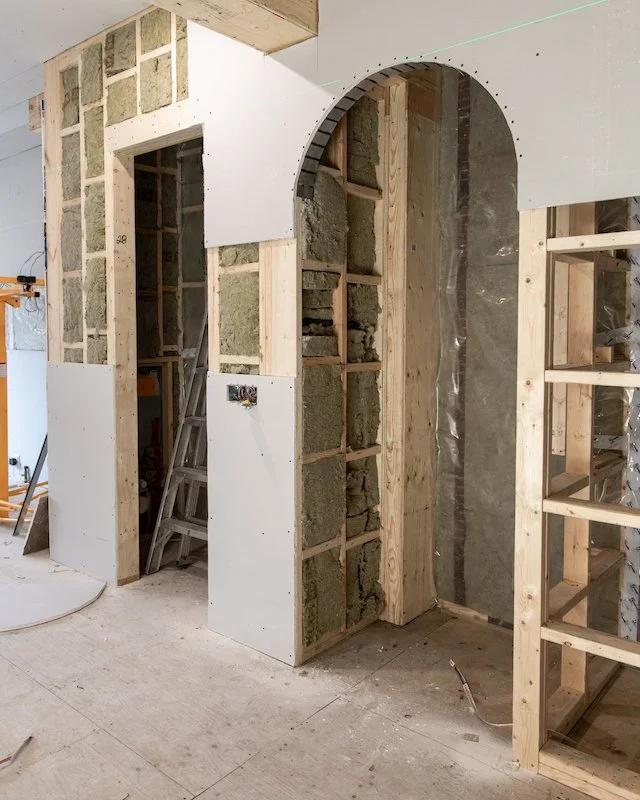
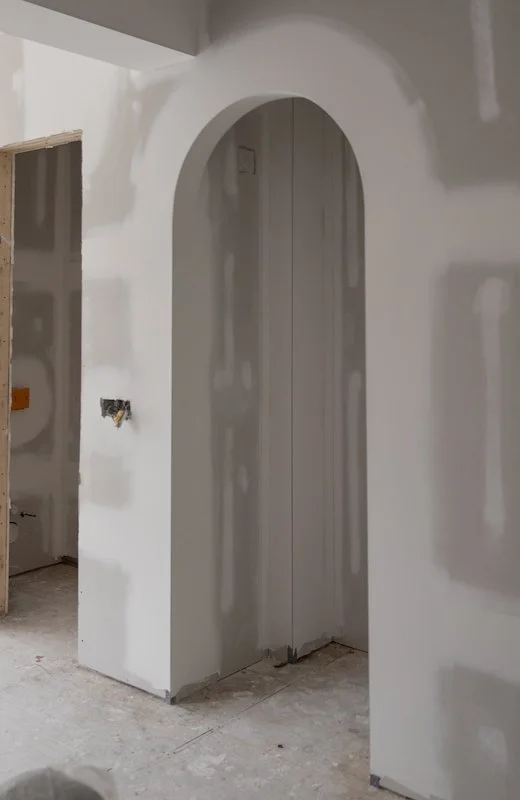
INTERIOR ARCHWAY
By mid January, drywall was wrapping up and the house felt completely transformed. Now that we had walls you could really feel each room beginning to take shape.
One special request I had made prior to drywall was to make an archway where our future dining room bar will be. I was really happy with how it turned out and think it created a really interesting focal point within the room.

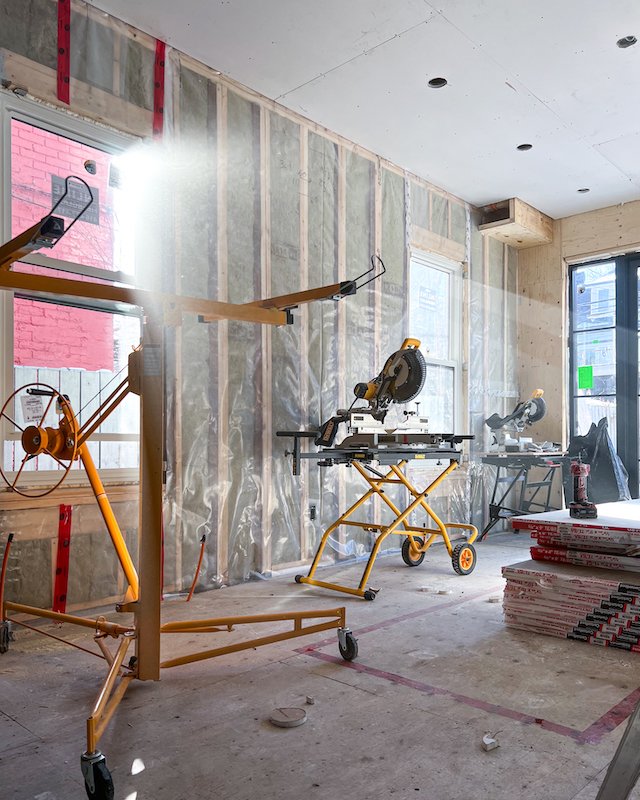
The kitchen area also had me giddy with excitement. With the new back door letting in all this natural light, the first floor looked better than ever.
The second floor was no exception. Our new bathroom was starting to materialize nicely as well as the two new bedrooms we had framed out in the last episode.


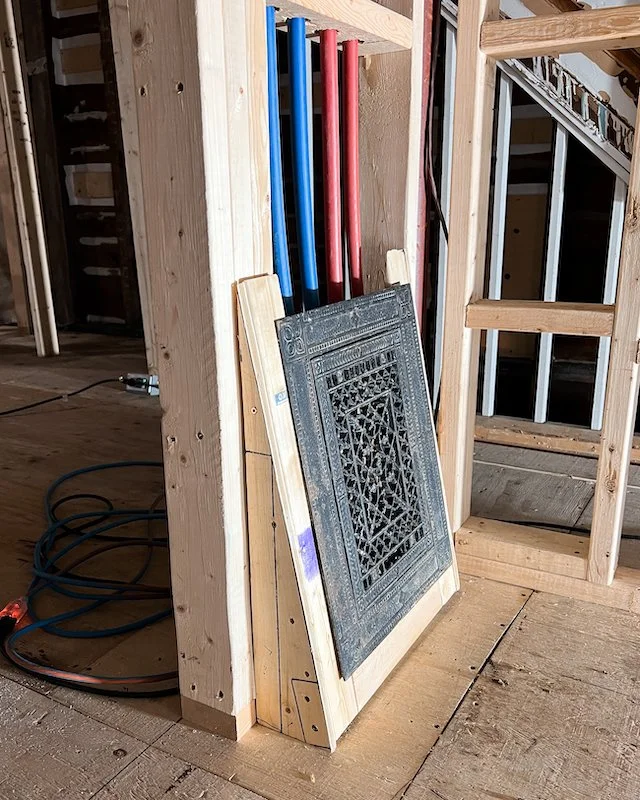
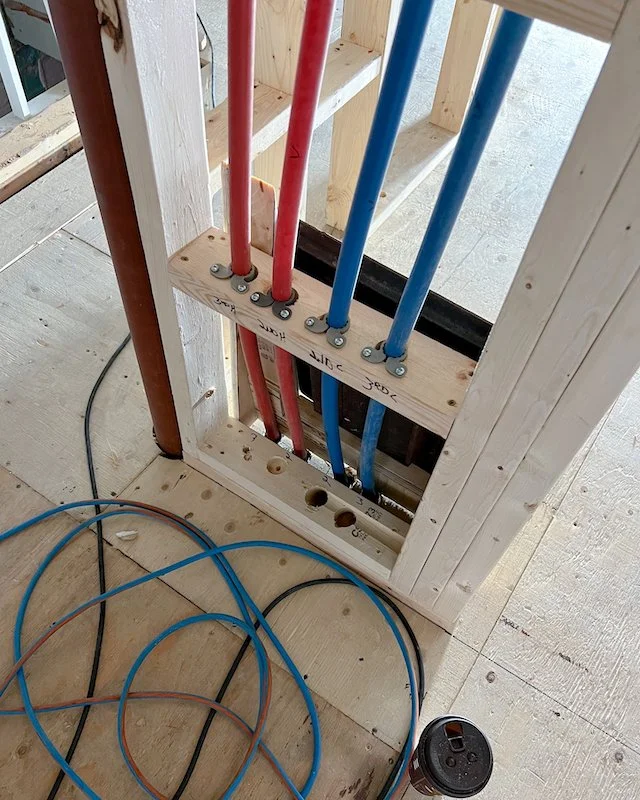
Even the fake vent exchange I had created had been drywalled, and Adam and I reached yet another high as we took in all our accomplishments.

INSTALLATION OF OUR NEW BESPOKE STAIRCASE
With drywall behind us we could finally turn our attention to our new custom staircase!
The first part of the instillation process took two days. However, since there is still a lot of messy work to do in the house we had the carpenters hold off on installing the balusters and railing, and instead had them cover it with a protected sheet.
It’s funny to look back now and think about how much Adam and I agonized over whether or not we should replace/widen the staircase. The original staircase was so skinny and in worse for wear condition with a noticeable dip. It is common for old Toronto Victorian houses like ours to have a skinny staircase but it made it really challenging to get furniture up and down the stairs. Now with the new staircase in and the opening made wider, it seems like a no brainier decision.
More to come on this topic in a future episode!!
REINTRODUCTION OF OUR BULLNOSE CORNERS
While the stairs were being installed, we also had someone come in to reintroduce the bullnose edge detail around the fireplace that was present in the original house. You can still see it in its original plaster form on the corbel in the entrance way, but in order to reintroduce it we actually had to finish the drywall corner using a bullnose corner bead first before adding an additional layer of 1/4 inch thick drywall on top. The results were remarkable and I am so happy with how it turned out! For me, it’s the small details like this that really give a house character!
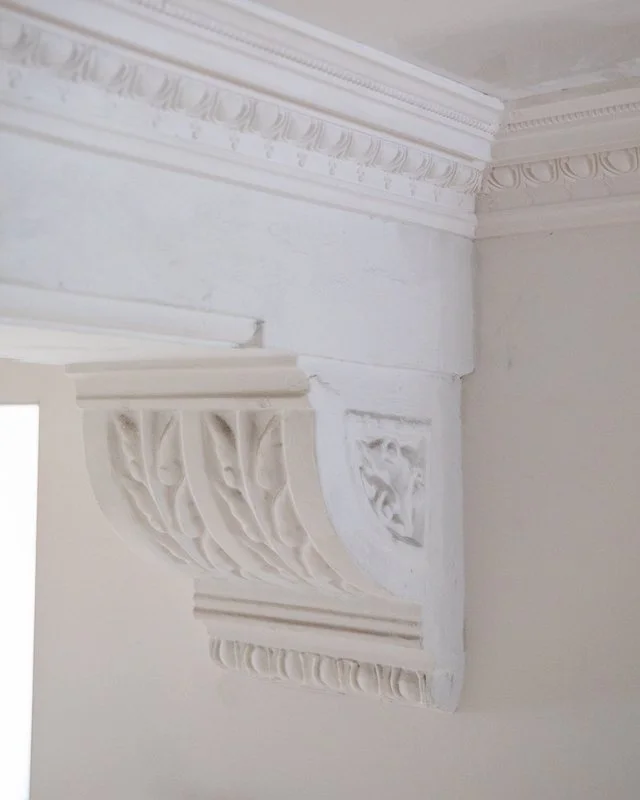
An example of an original bullnose corner that once existed in various places throughout the house.
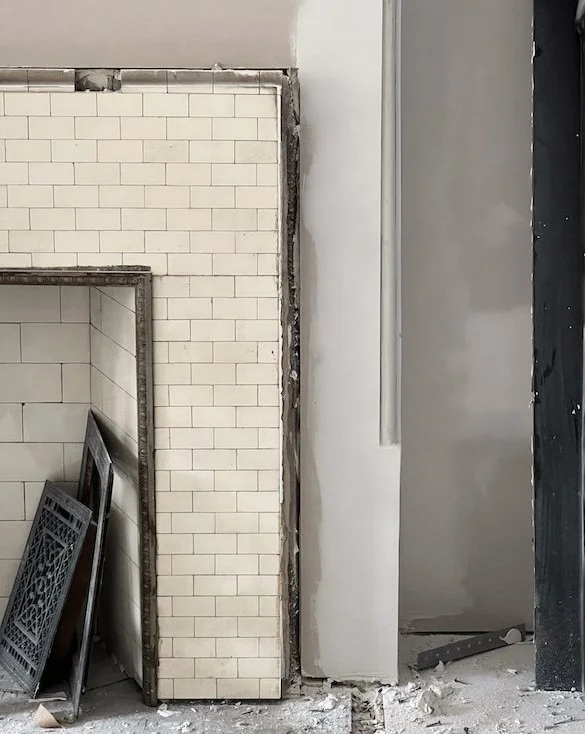
The bullnose corner detail that we reintroduced around the fireplace mantel using a bullnose edge and additional 1/4 inch drywall
ENJOYING THIS CONTENT? CHECK OUT SOME OF MY OTHER EPISODES AND BLOG POSTS!


Installation of our new ornate plaster mouldings from Parsiena Design in our kitchen
INSTALLATION OF OUR CLASSICAL MOULDINGS
Of course, our house wouldn’t be complete without some new crown moulding from Parsiena Design. I could watch them be installed all day and never get bored. The large ornate plaster crown mouldings for the kitchen area were even more beautiful in their full format and took a master with over twenty years of experience to install. Each cut had to be made with such precision so that each corner lined up in perfect harmony and symmetry.

In the dining room and living room we went with a more understated, classic moulding design that echoed the egg and dart motif seen throughout the remaining plaster work in the house. I think the contrast in the size of the crown moulding works beautifully on the main floor because it actually makes the ceilings in the living room and dining room appear higher than the kitchen, when it fact they are slightly lower. I also love how much drama the big plaster crowns bring to the kitchen. I think if we had done them everywhere it would have been too garish and overdone so I’m really happy with my decision to just keep them in the kitchen area.

Halfway through our finishes! Can’t wait to see this room when it’s done!
To end off an incredibly productive week of finishes, Parsiena was also able to delivery the replicated cast and mould of my ceiling medallion and they were able to reinstall the original ceiling medallion, mending it back together piece by piece until it was hole once more. Since we had taken it down, I had some time to work on it in preparation for re-installation, and during this time I had actually discovered a whole extra layer of scalloping detail that was hidden under caulking and plaster. It was an incredible discovery which only adds to its unique character and beauty. I’m thrilled to have it back, not only in it’s rightful place but in all its grandeur.


DELIVERY OF OUR REFURBISHED CAST IRON RADIATORS
As the month came to a close, we also welcomed the delivery of our newly refurbished rads from Ironworks Radiators Inc. Although it is a little premature to install them, once the floors are done we should be close and I can’t wait to see them in their final position and glory!
More to come on this topic in the next episode! Hopefully!
UP NEXT!
Lots more exciting things to come in the next episode of our Toronto home renovation series including the installation of our beautiful herringbone floors from Chestnut Flooring, the tiling of new our master bathroom, and the installation of our custom kitchen from Domani Design Group!
Thank you so much for joining me today and for checking out my new Toronto home renovation series on Youtube. I am super excited to be modernizing a Victorian home while still keeping the charm of an old Victorian house. If you have any questions about my Victorian house renovations, what it’s like to live in Little Portugal, Toronto or recommendations for Toronto contractors, hit me up in the comments below!
Before I sign off, I’d also like to say a big thank you to Parsiena Design and Ironworks Radiator Inc. for partnering with me on this project. I’m so excited to be working with local industry experts on our Toronto home renovations but want to reiterate that, like always, all opinions remain my own.
Before I sign off, I’d also like to say a big thank you to Parsiena Design and Ironworks Radiator Inc for partnering with me on this project. I’m so excited to be working with local industry experts on our Toronto home renovations but want to reiterate that, like always, all opinions remain my own.
Until next time,
- Soheila