Ten 2024 Interior Design Trends
Now that we are almost a quarter of the way through the 21st century we are reconsidering our past interior choices especially as life transitions back to ‘normal’. During COVID we turned our homes around to accommodate ‘stay at home’ policies with new ‘work from home' spaces, but now that more and more people are returning to the office, its time to re-evaluate. Perhaps the dining room table or kitchen island no longer needs to be as multi functional as it used to be, especially now that we realize the practicality of having a quiet small space to take a zoom call. With that being said, are large open concept layouts as appealing as they once were? Time will tell…
With so many of my 2023 Interior design and kitchen trends still holding strong, putting together a fresh list of ten 2024 Interior design trends was no easy task. Yet designing with intention, purpose, and conscience is ever more important so without further ado, here is what I’m seeing, reading and hearing are leading the way for 2024.

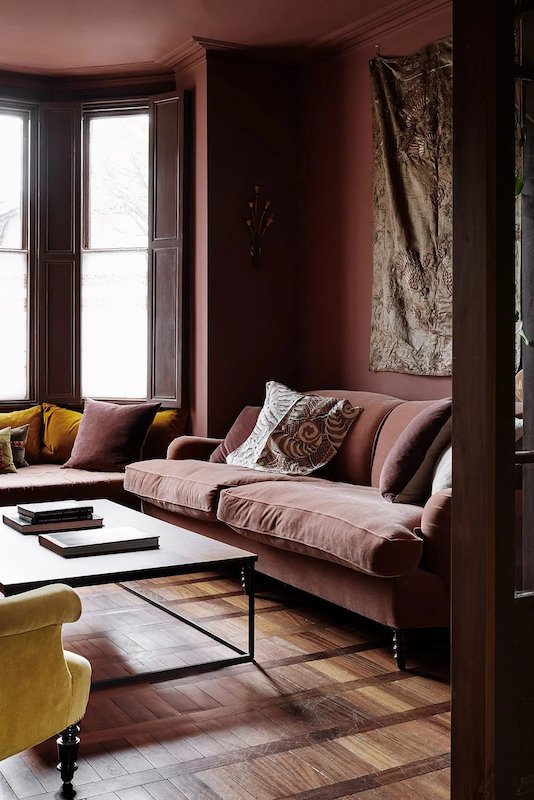
CREDIT: Jono Parker, CTRL Space
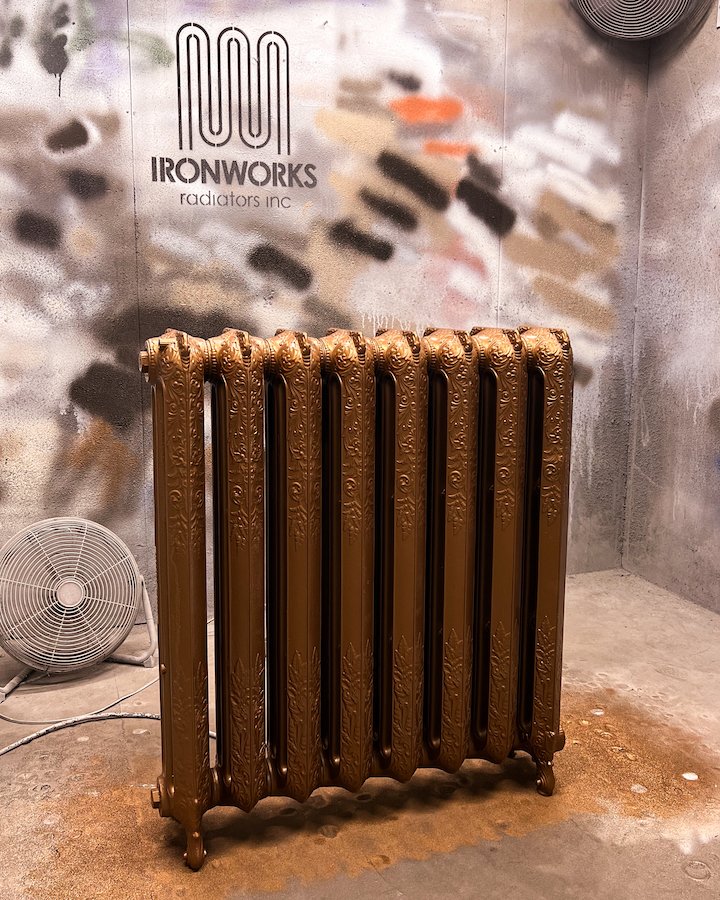
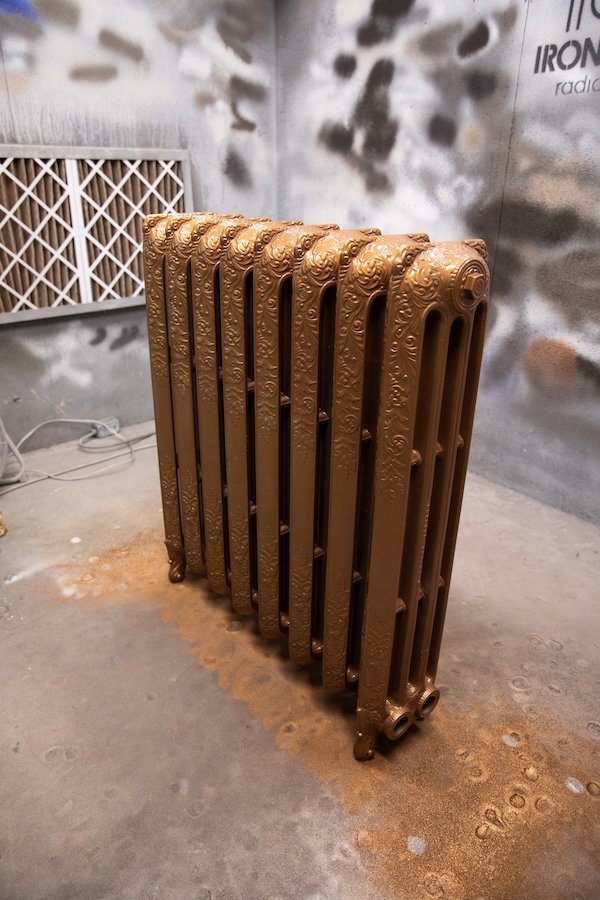
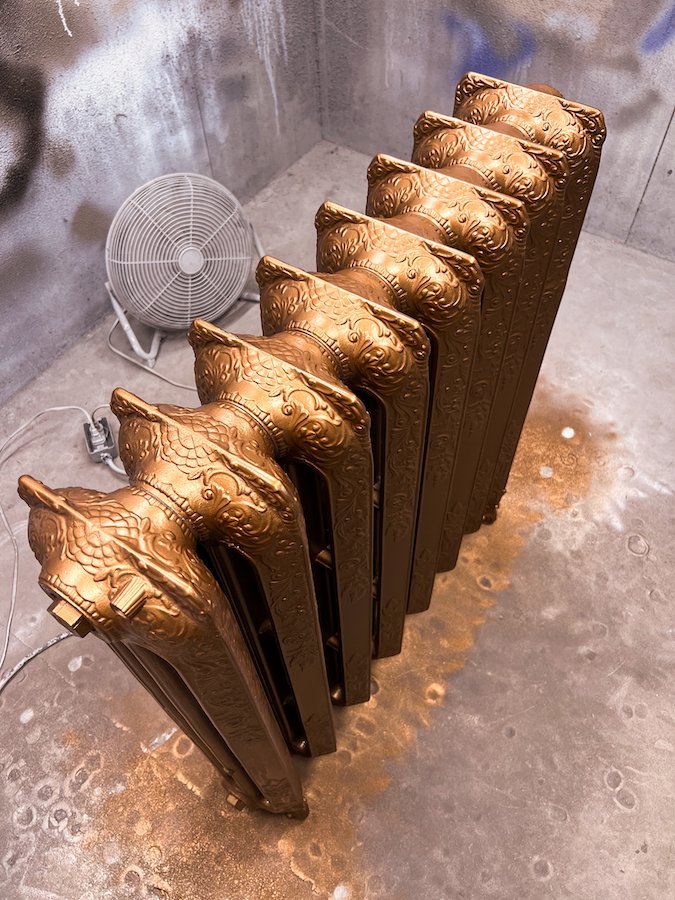
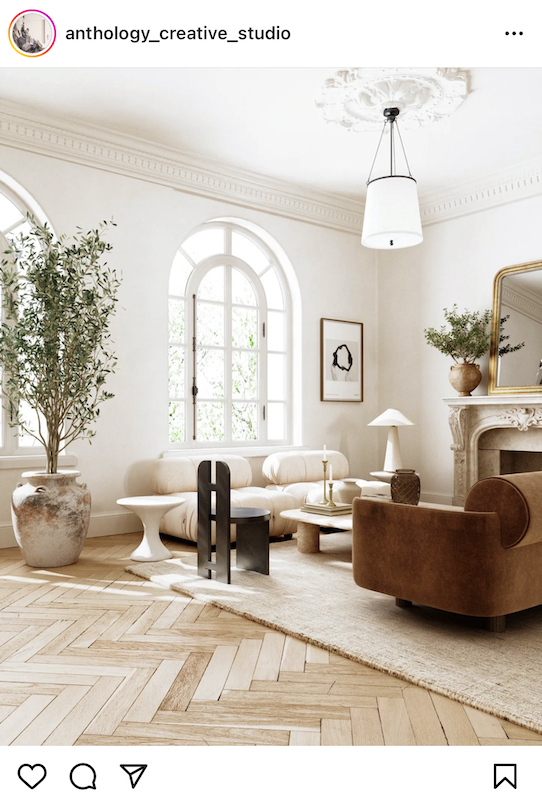
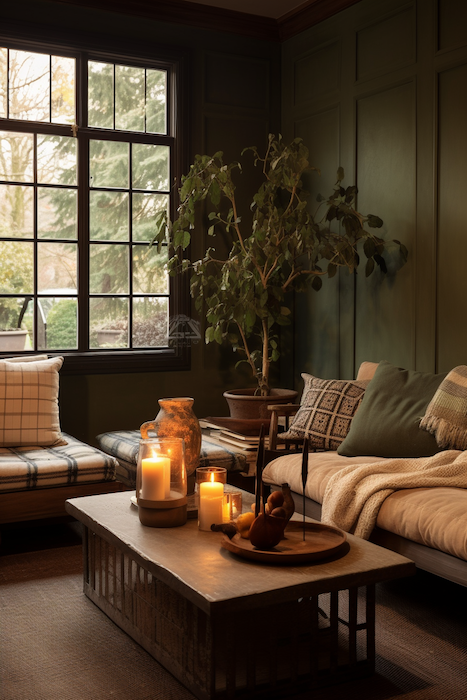
Chocolate Neutrals
Full of warmth and richness, an uprising in a variety of shades of browns can be seen across the board from fabrics to textiles to cabinetry and casegoods. Perhaps just an extension of everyone’s past obsession for terracotta and natural oak, deep golden wheat colours and even rusty brown are becoming more prevalent. Instead of draping a whole room in brown (more on monochromatic colour rooms later) what I am noticing are designers offsetting saturating multi-tone brown rooms by incorporate mid-range nude pinks or olive tones, a gorgeous combination if you ask me.


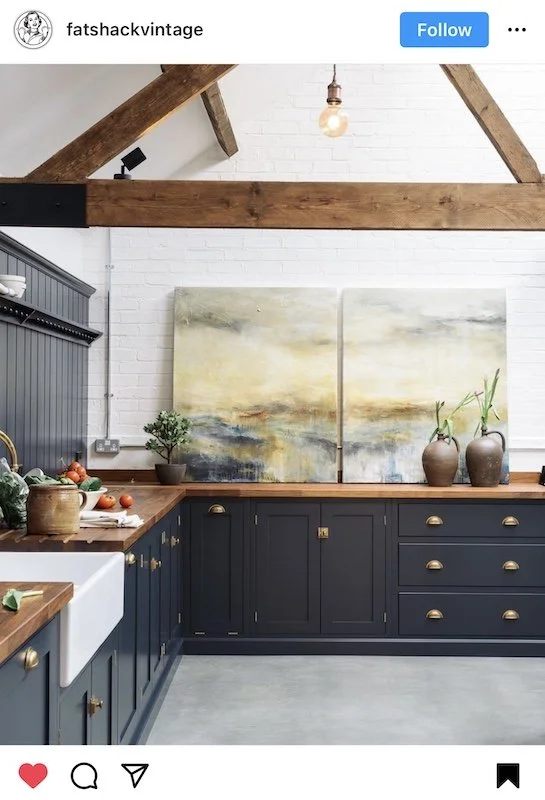
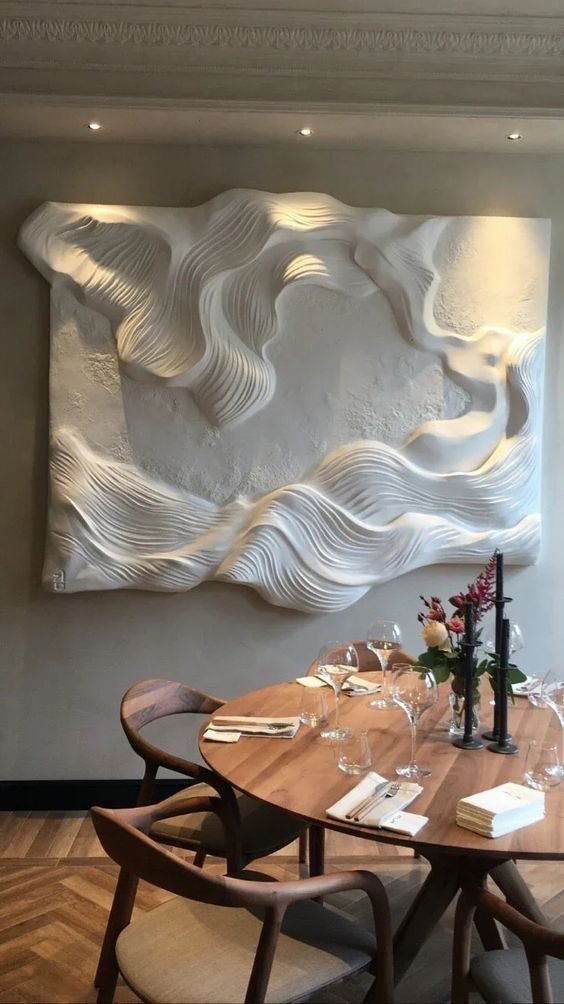
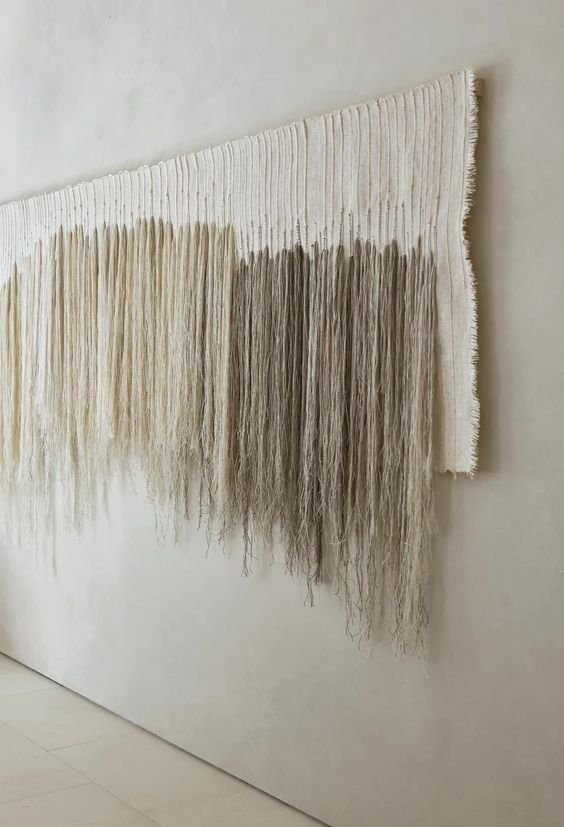
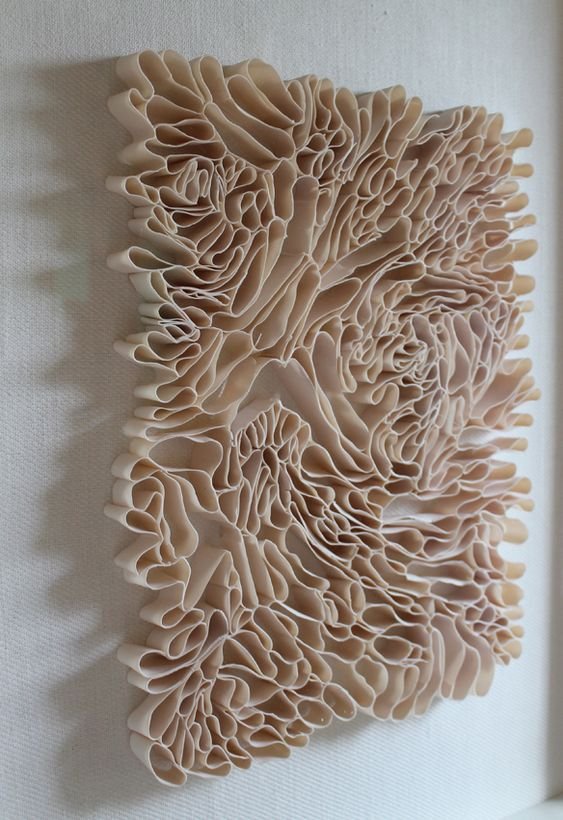
Artwork by Shahla Friberg
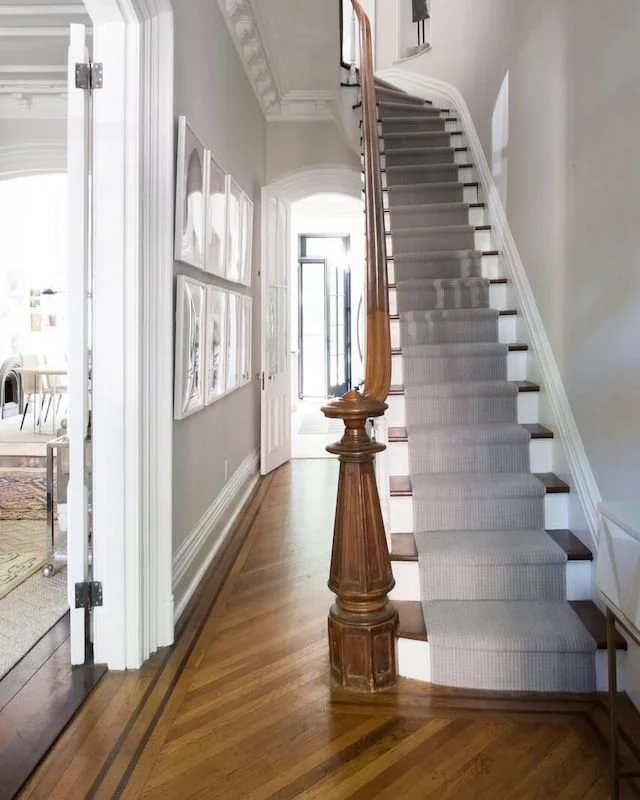
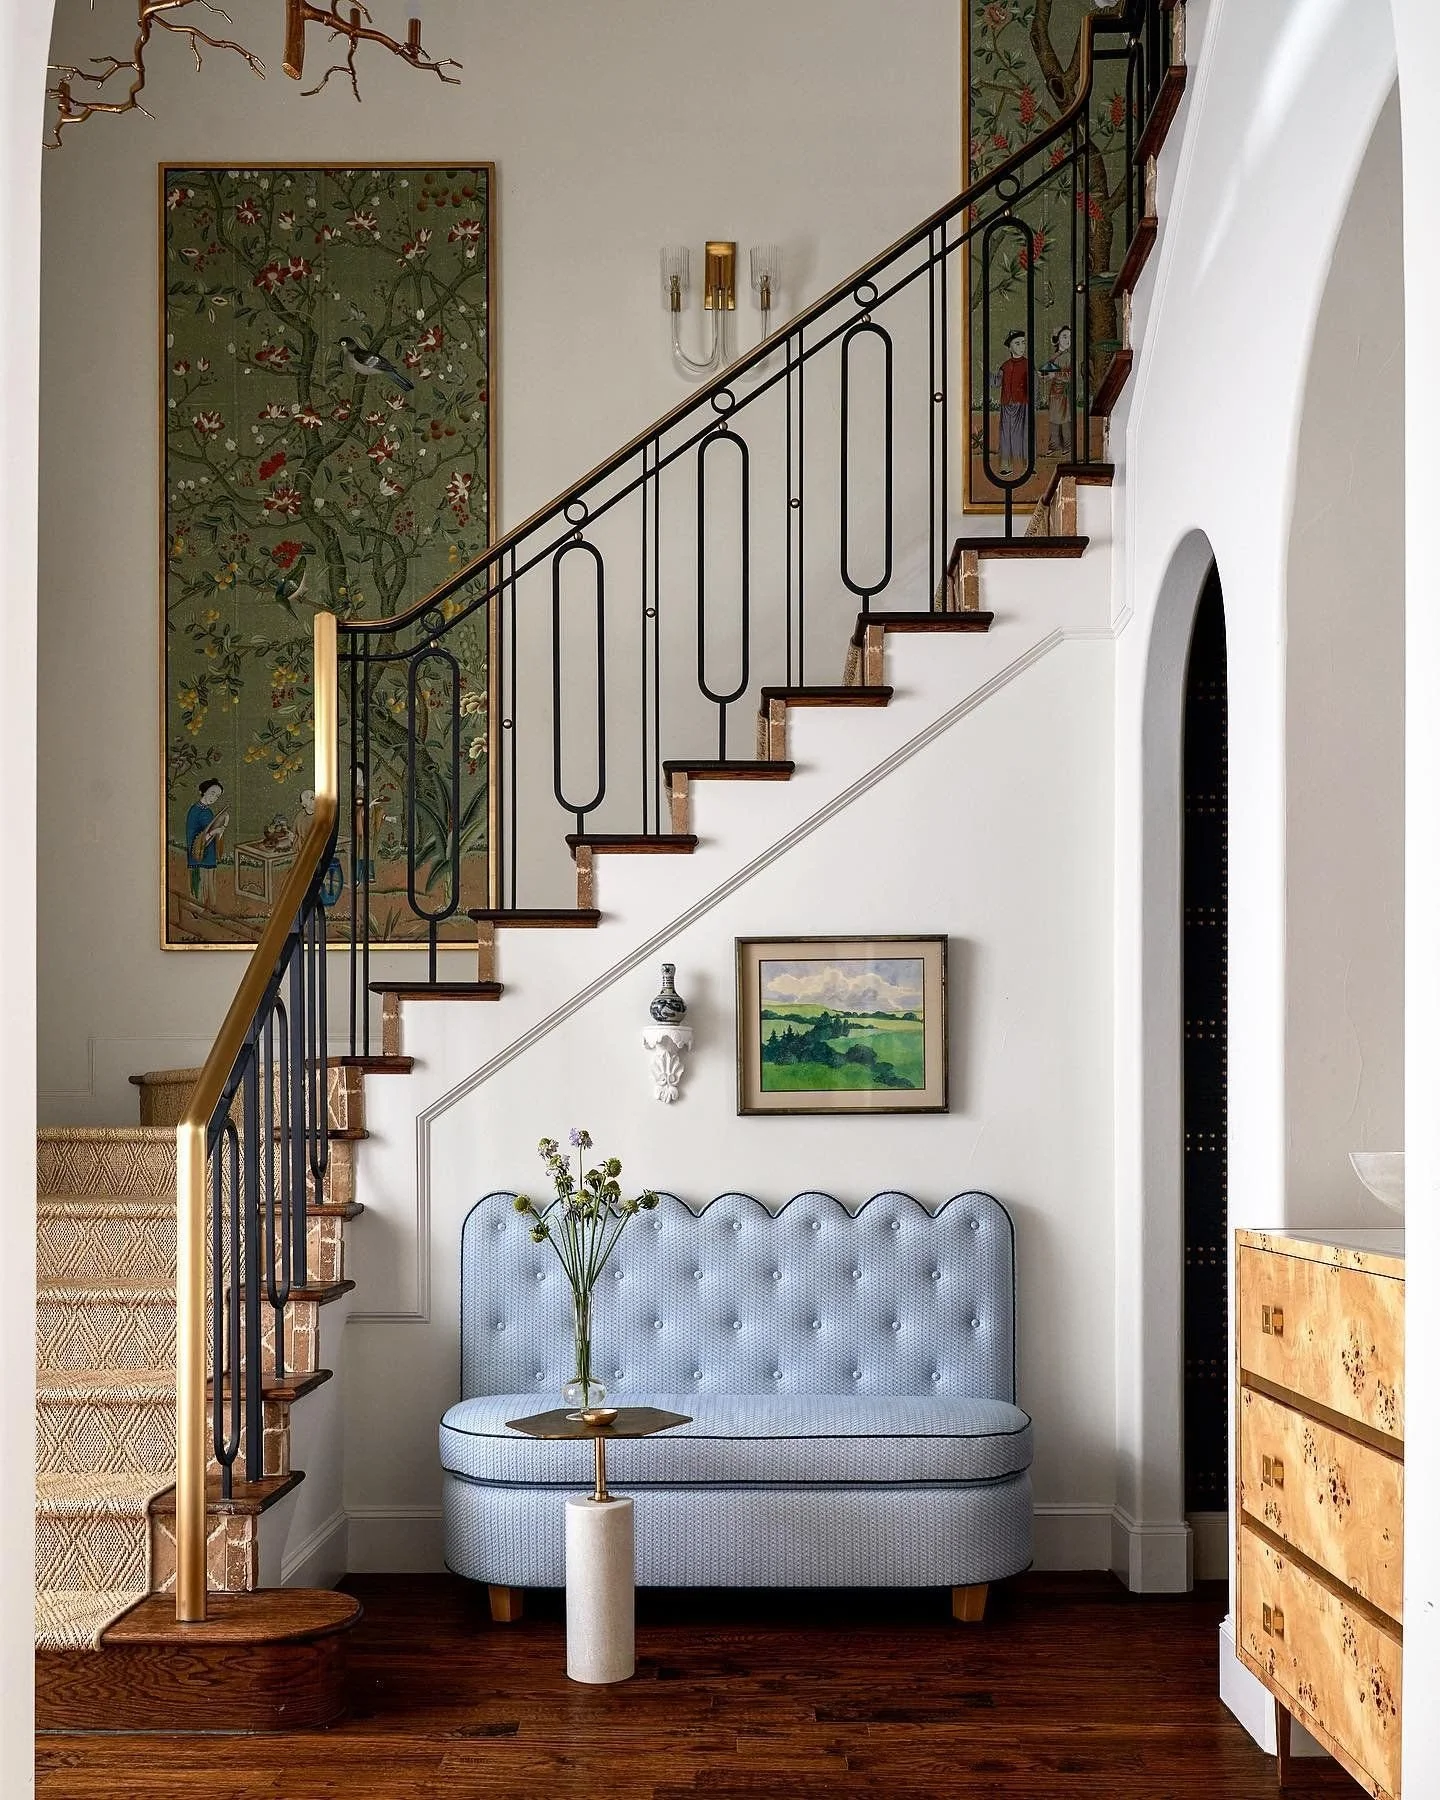
Sculptural Art
Echoing off of my 2023 Interior Design Trends blog post, textural art pieces and wall mounted sculptures continue to be eye catching and a great way to establish a focal point within rooms by adding depth and dimension. Plaster wall murals and decorative motif wall paper in new colour ways are also making a huge splash in 2024 especially around hallways and staircases. Moving from one floor to the next becomes a journey for the eyes as the light, colour and shadows change and play with the walls throughout the day.


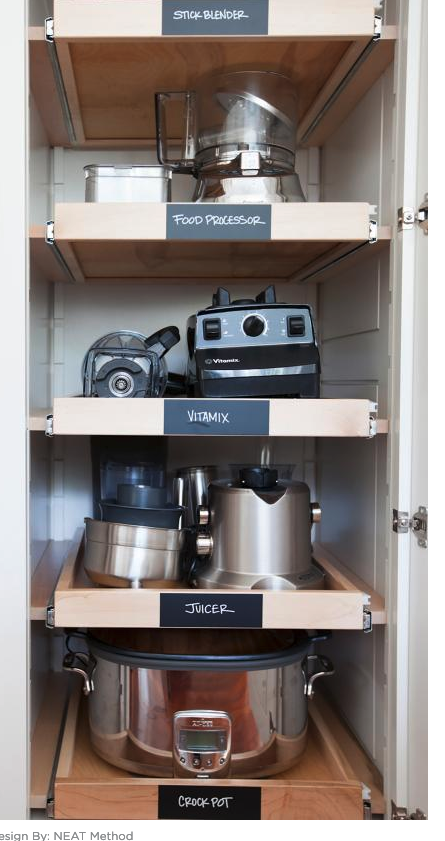
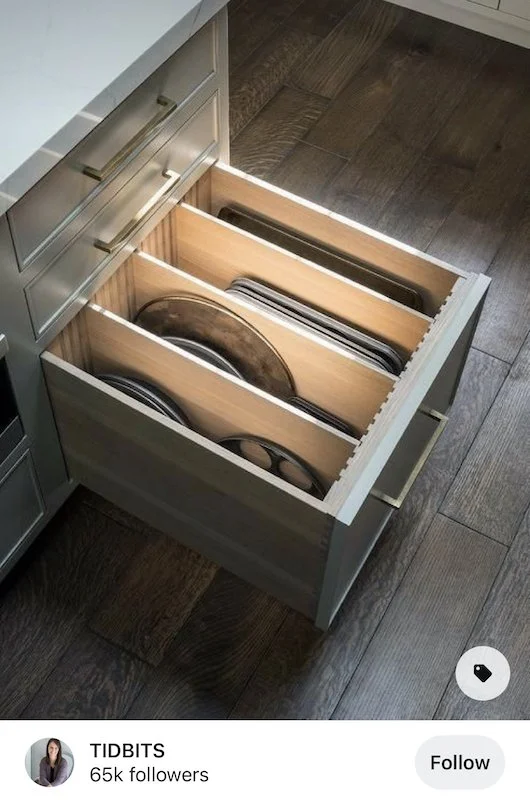
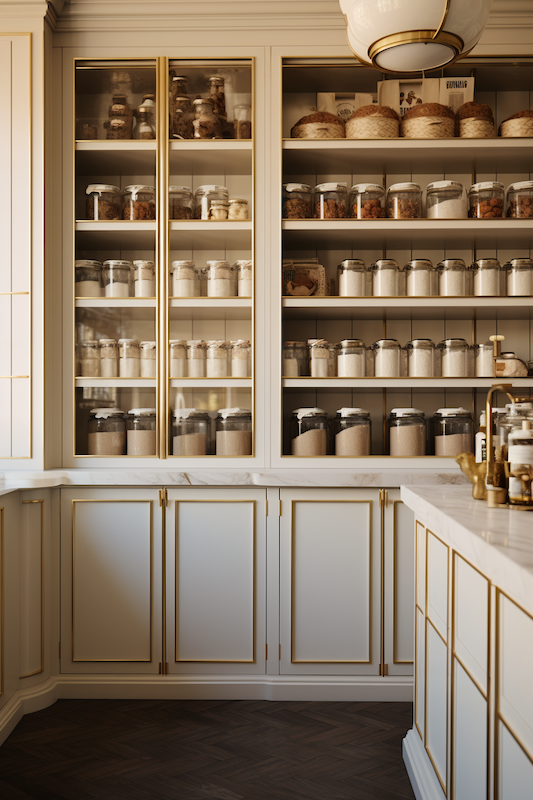
Source: Pinterest
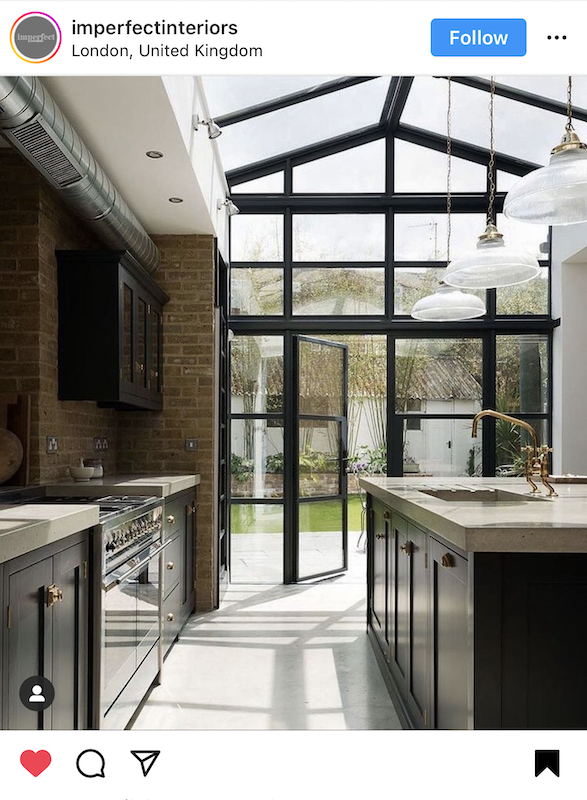
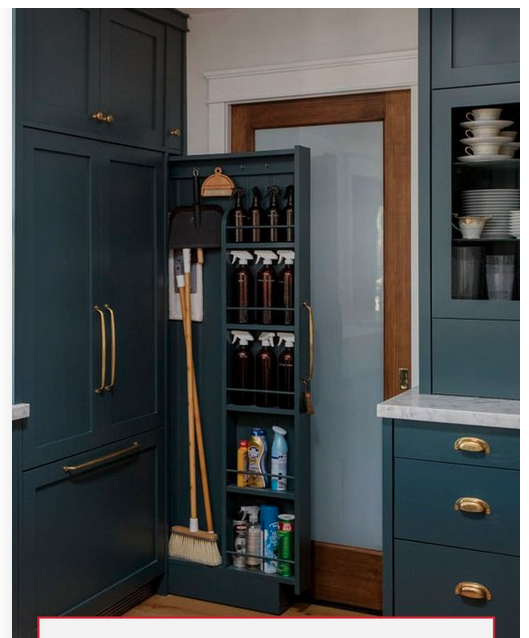
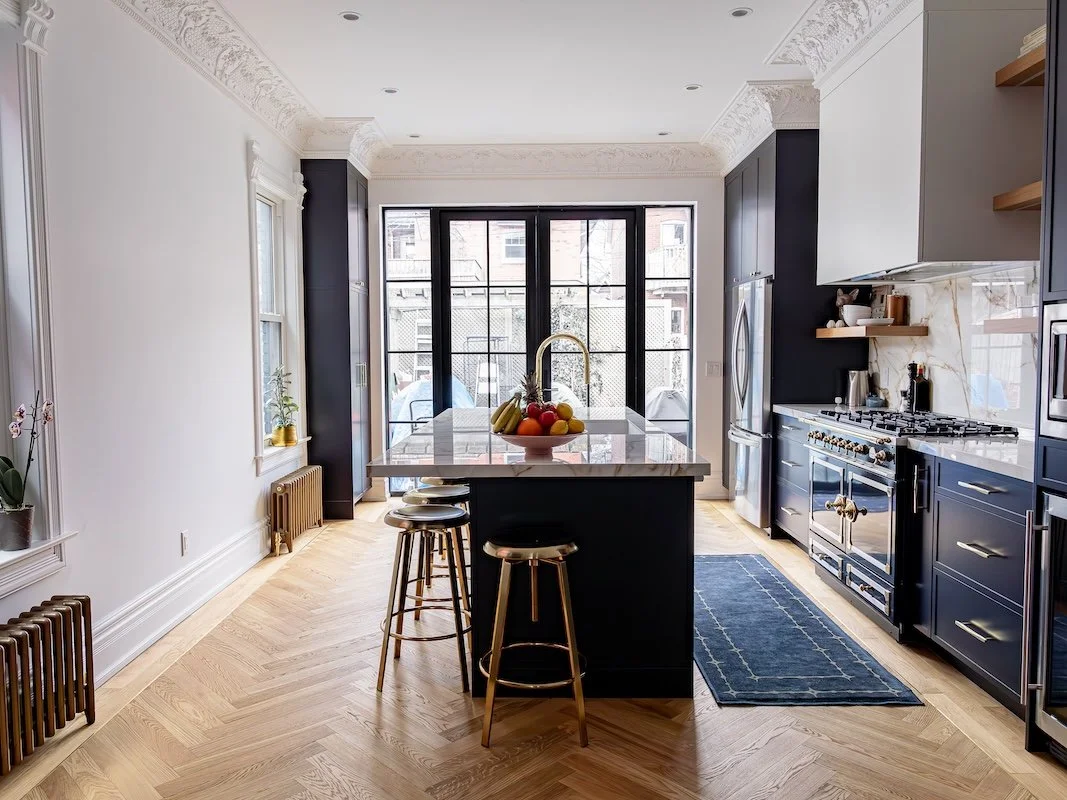
Butler Pantries, Wet Bars, Coffee Nooks and Wine Storage
Functionality, convenience and storage is what all of these spaces have in common. People are no longer interested in having kitchenwares on display and small appliances lining their kitchen counters. Instead they are designating small areas to display their things in a way that not only look beautiful but feel beautiful. If you don’t have the space to designate a small room to a pantry or wine storage, an easy alternative for hiding kitchen appliances is to tuck them away in cabinetry, incorporating appliances garages to give your kitchen a clean and seamless look.


FOLLOW ME ON INSTAGRAM @ISTHATSOH


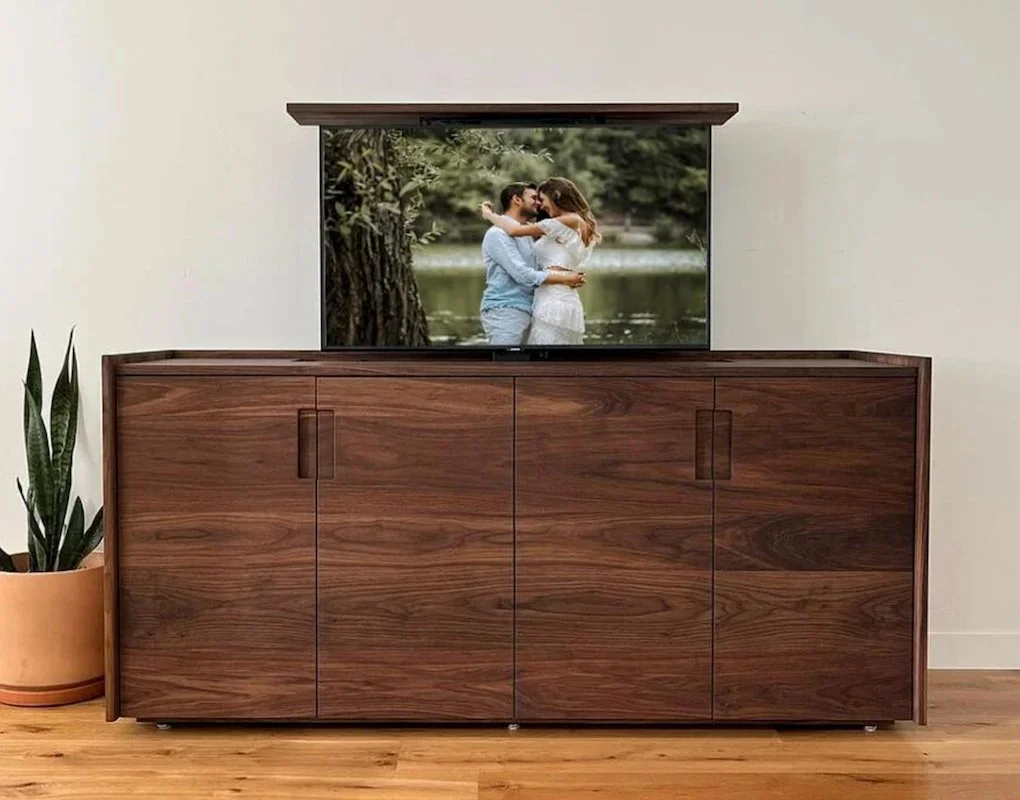
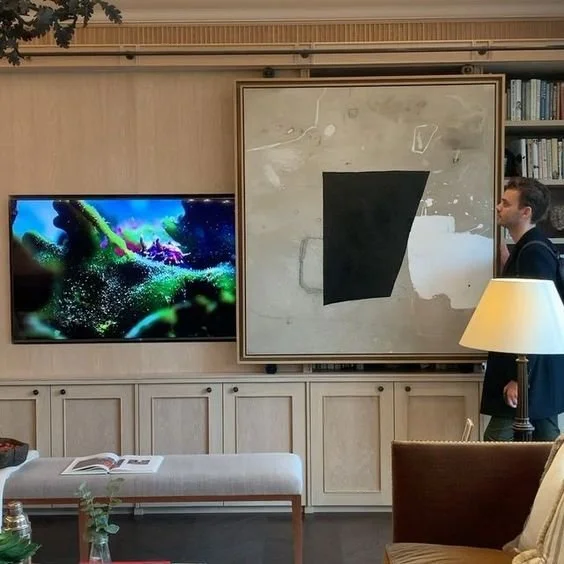
TV lift from Nexus 21
Hide the TV
What may have started with small kitchen appliances has made its way into all forms of technology as heightened efforts are now being made to not just camouflage TV’s but hid them completely. I can’t say I am surprised as there isn’t much appeal a big black box can add to ones living room but what I have noticed is an uptick in DIY’s for reframing your TV to look more like a picture frame or even more recently, hiding it completely behind cabinetry or artwork. I have recently also seem more designers and DIYers incorporating motorized TV lifts that allow you to hide your TV in the ceiling or in a console when you are not using it. Alternatively, projectors that work in bright rooms are becoming more affordable and are much easier to hide. What does this mean for interior design though? Well it allows us to re-orientate our furniture towards socializing vs. soley staring at yet another screen. It also allows your space to become more formal when needed and casual when desired - a win-win.


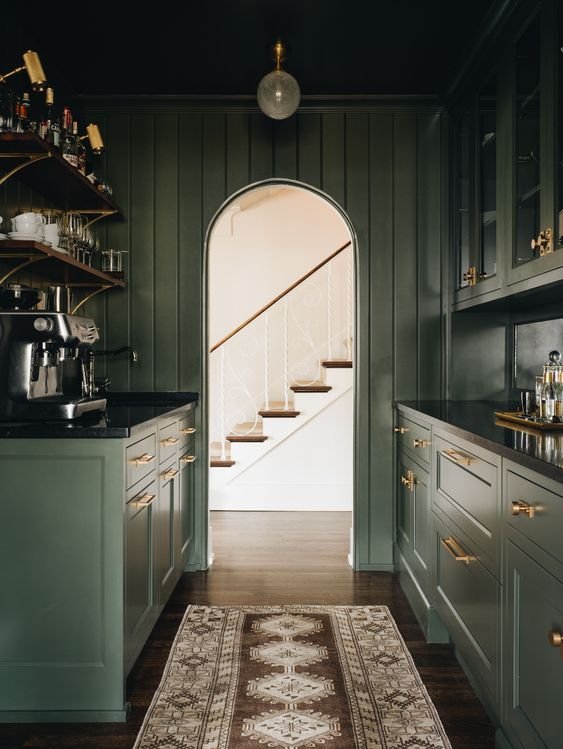
Source: Pinterest
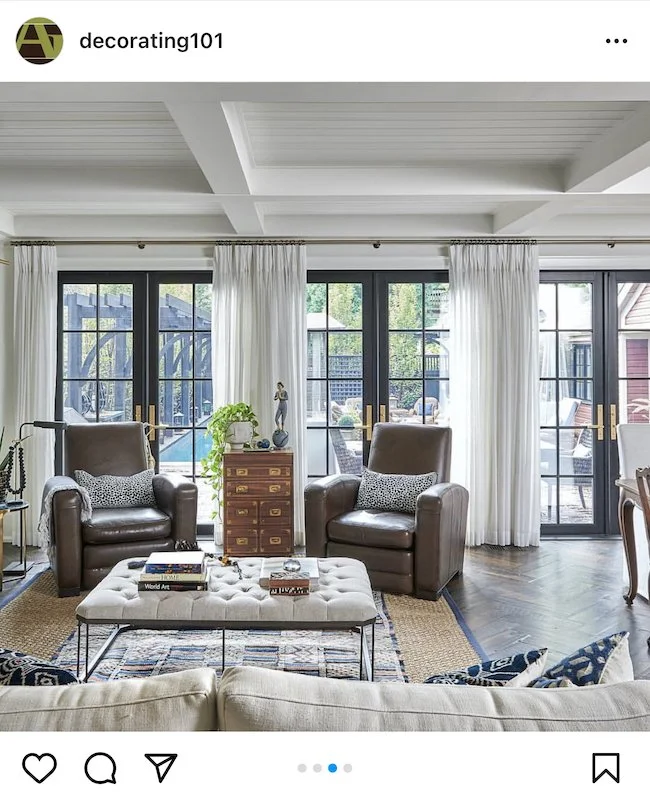
Mixing Eras and Styles
In a world where everything is mass produced, there is something appealing about collecting antiques, vintage pieces, handmade works and heirlooms. Cookie cutter spaces transform into unique places when a mix of patterns, material, textures and periods are introduced. Not only are you contributing towards sustainability but you’re also building your homes personality and charm by adding pieces that can’t easily be replicated or reproduced. Just remember, the hunt for the perfect piece or pairing takes time so be intentional not impulsive!


Laundry Room / Utility Room Makeovers
No longer falling by the wayside, laundry rooms and utility rooms alike are no longer just functional spaces but opportunities to incorporate your design style. More and more people are flipping these spaces into little dreamy, texture and colour drenched spaces that you actually want to spend time in. I’m seeing a lot of colourful statement stone countertops and backsplashes and a bold use of colour and pattern. Statement flooring like mosaic tiles are also a great way to add curb appeal to an otherwise basic room, just make sure they are proportionate to the size and make sense. Further, since the square footage of these spaces tends to be small, opting for those expensive mosaic tiles you’ve had your eye one becomes a little more digestible.


WATCH THE LATEST EPISODE OF MY HOME RENOVATION SERIES!


CREDIT: James May Homes
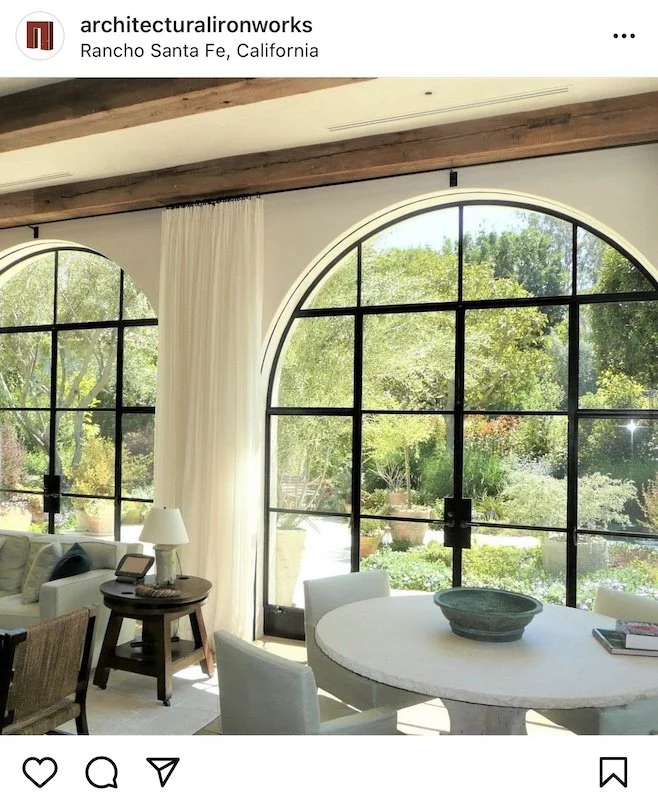
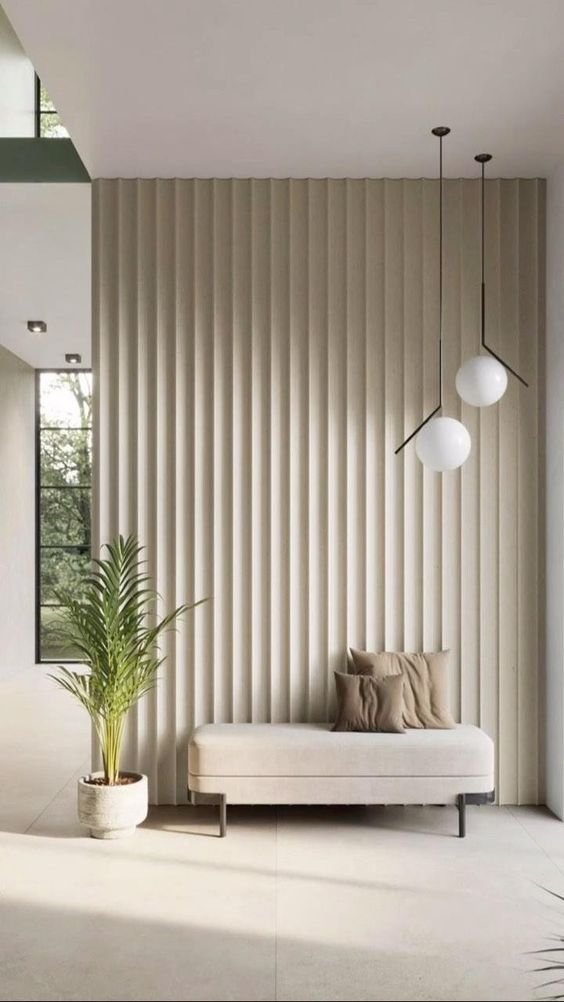
Textured Walls
Limewash, Roman clay, and Venetian plaster walls continue to increase in popularity in 2024 as designers appetite for texture increases. Fluting kitchen islands and ribbed panelling on walls and glass are also being favoured over flat slats and panels which seemed everywhere only a year ago. Perhaps it’s just another nod towards peoples desire to mix eras/styles by taking inspiration from traditional greek columns, construction techniques and architecture but it’s giving timeless elegance that proves some things never go out of style.


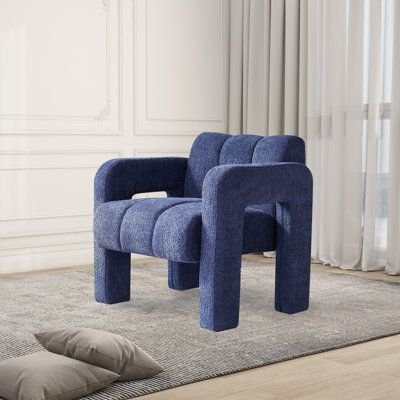
CREDIT: Latitude Run
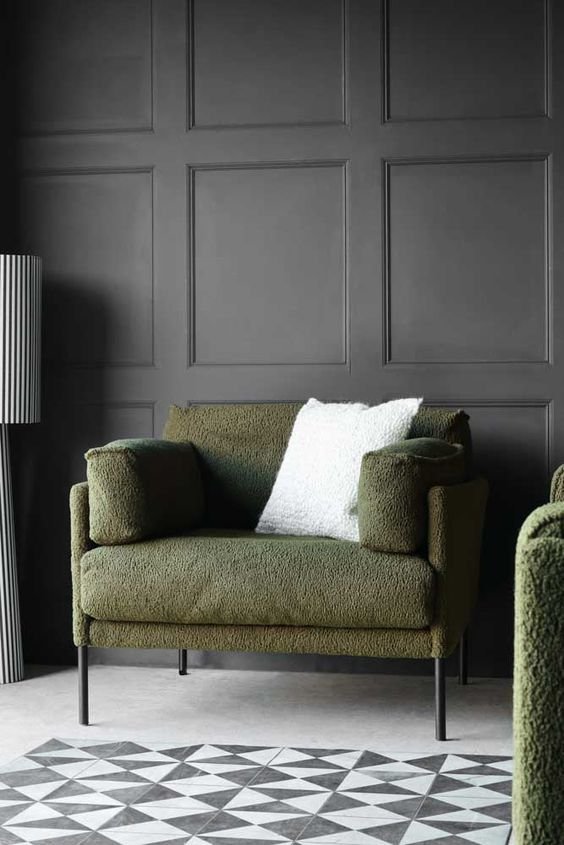
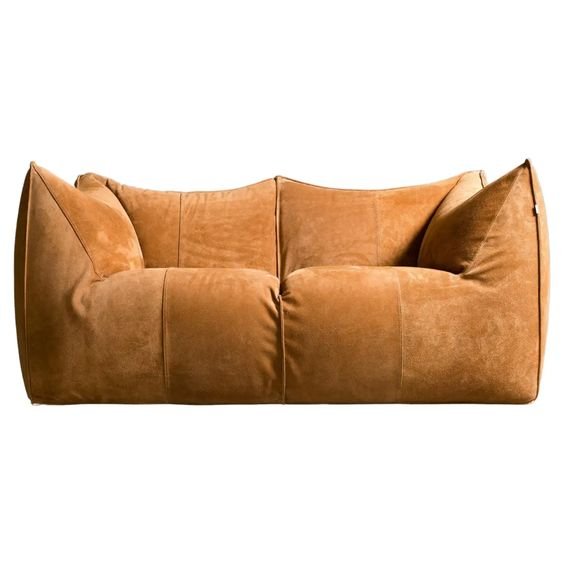
Bouclé But Different
It’s out, it’s in, it’s out it’s in. Designers can’t seem to make up their minds about how they feel about Bouclé and I think it’s because they love the texture, coziness and comfort of the fabric but the white and cream variations have oversaturated the market. What I believe is going to happen is that instead of giving it up completely people are going to start incorporating different Boucle colour ways into furniture and fabrics and begin using thicker piles to create variations. I also see the use of velvet and sueded leather become more and more popular as a way to add a pop of texture and colour to a room and incorporate a new element of interest.


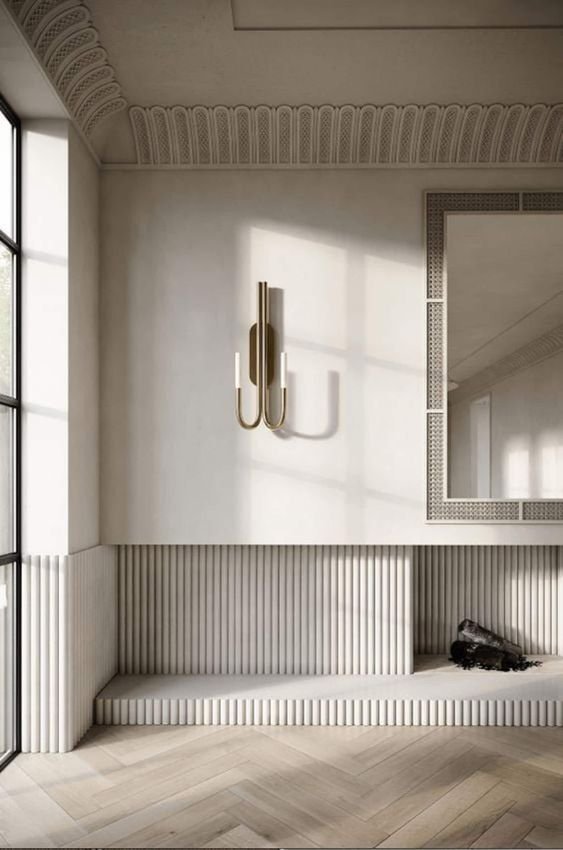
CREDIT: Panels by Sofia on Etsy
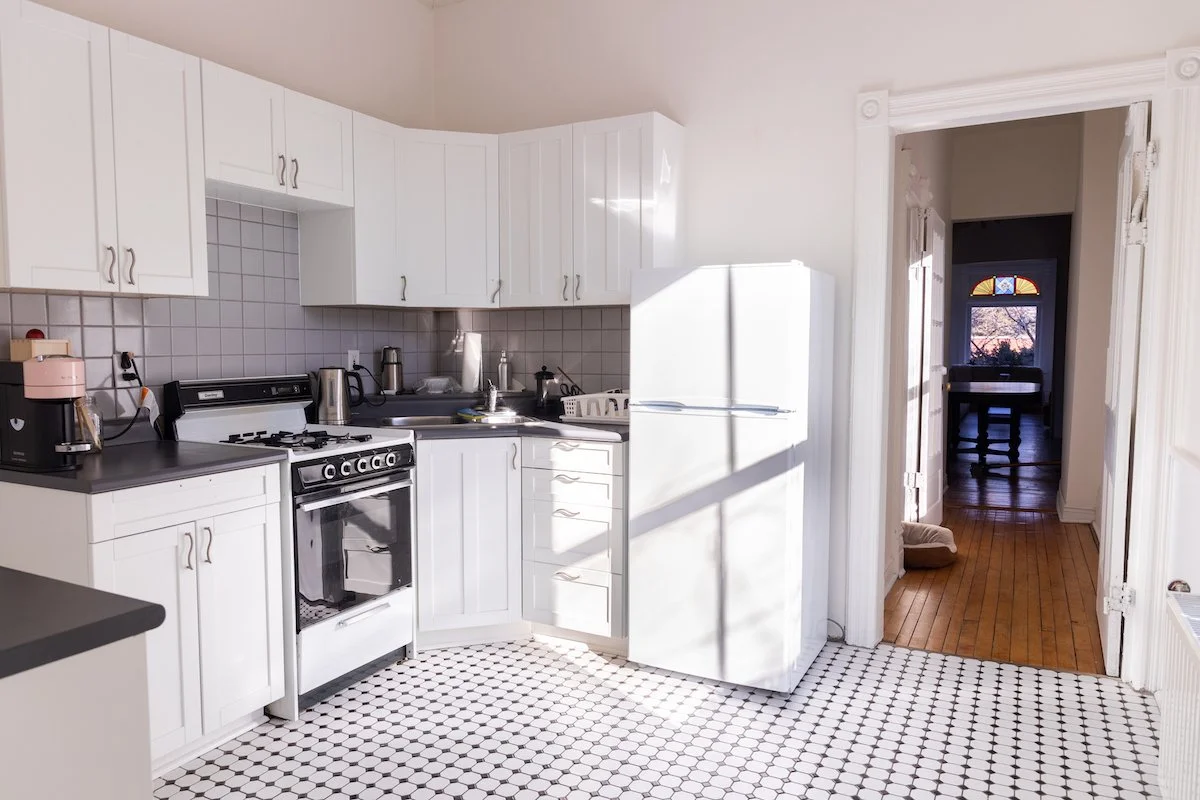
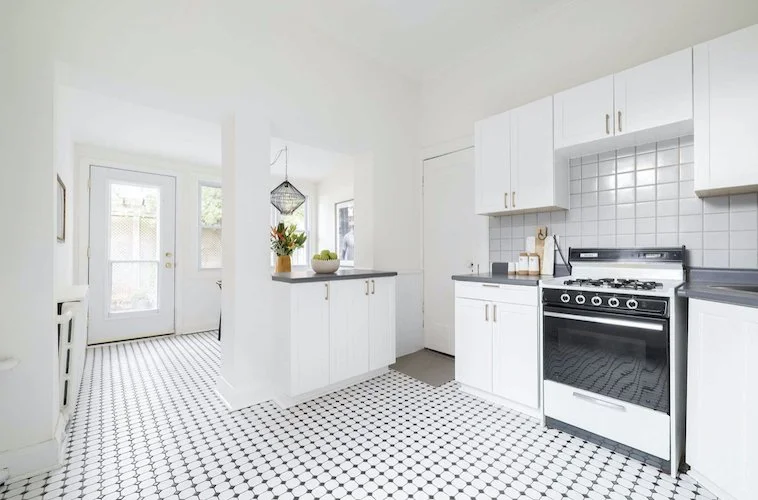
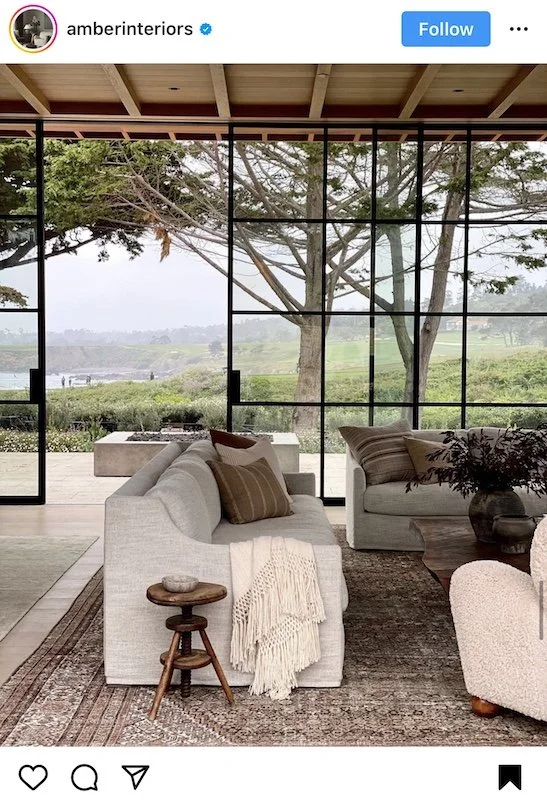
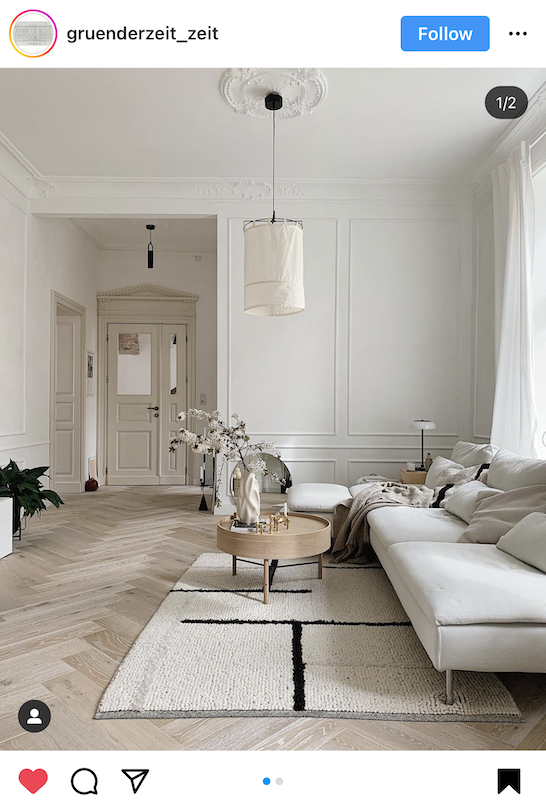
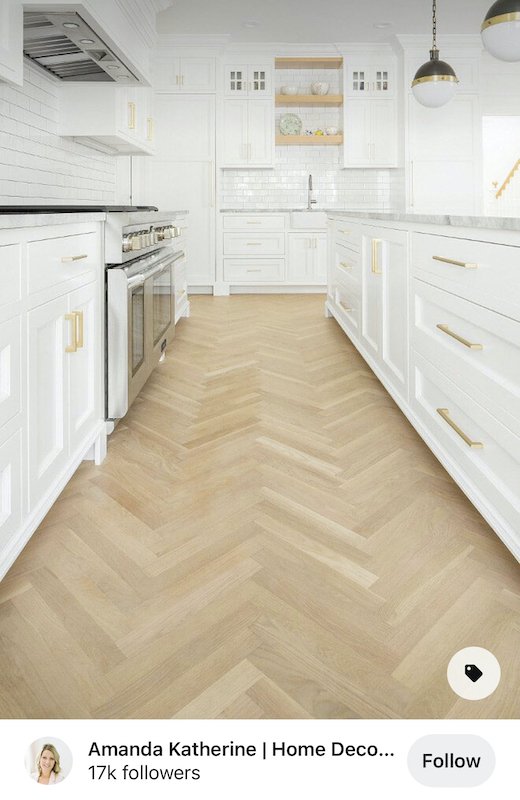
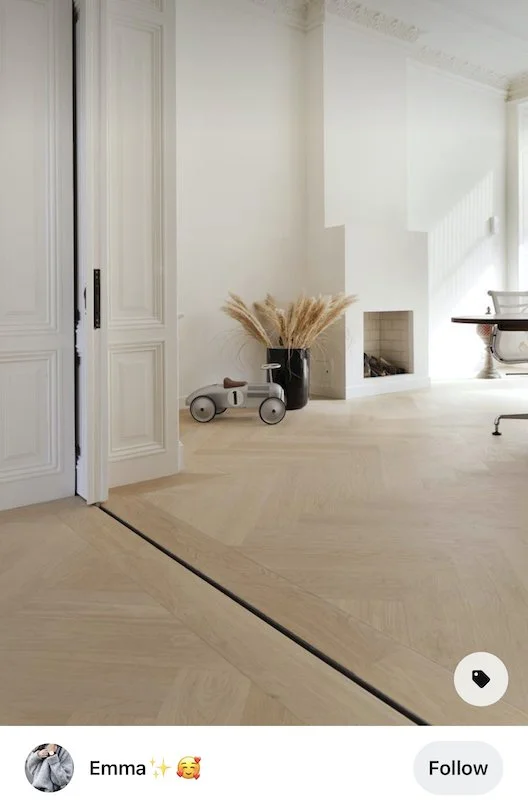
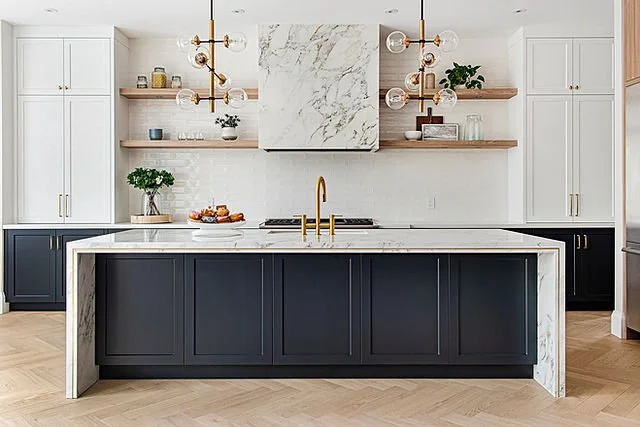
Creams, Taupes and Warm Neutrals
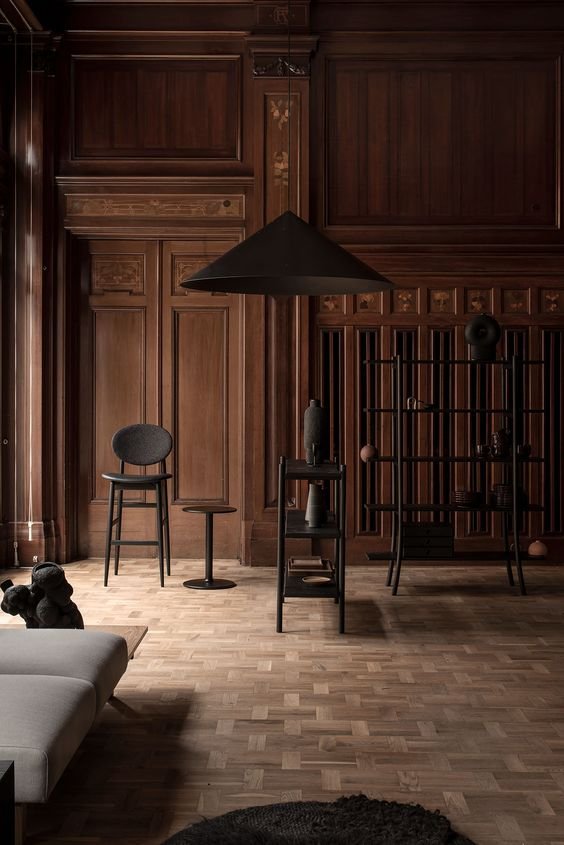
Bright whites are being swapped out for earthy beiges as people combine natural elements like wood furniture with pops of colour and jewel tone accents. Alternatively, monochromatic coloured rooms are also on the rise as a variation of midtown 2024 colour trends are announced by paint suppliers. I’ve seen a few people do this tastefully but definitely don’t think washing your room all in one colour is for everyone. With that being said, paint continues to be one of the easiest and most achievable ways to breathe new life into a room so there’s no reason to refrain from having some fun with it. What’s the worst that could happen? You repaint.


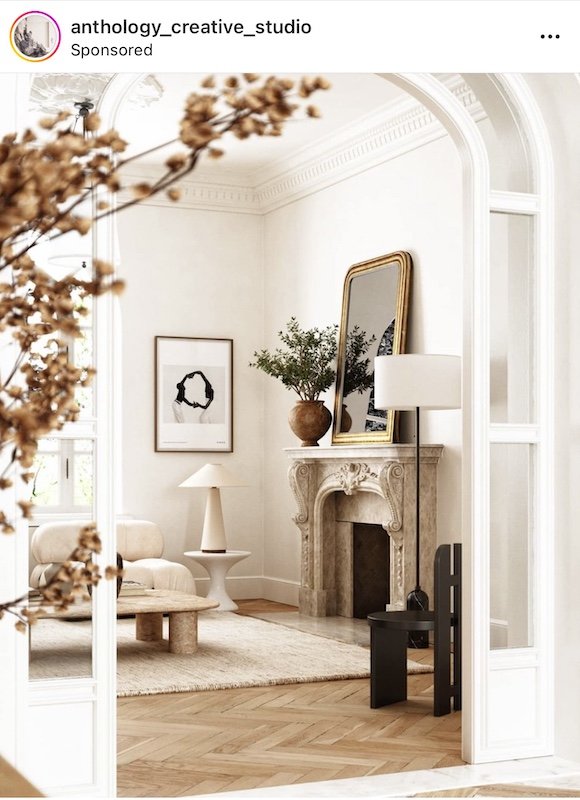
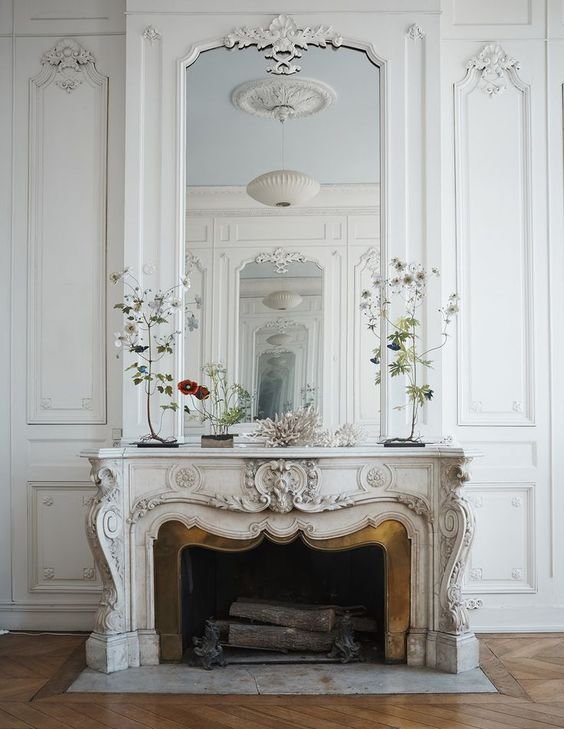
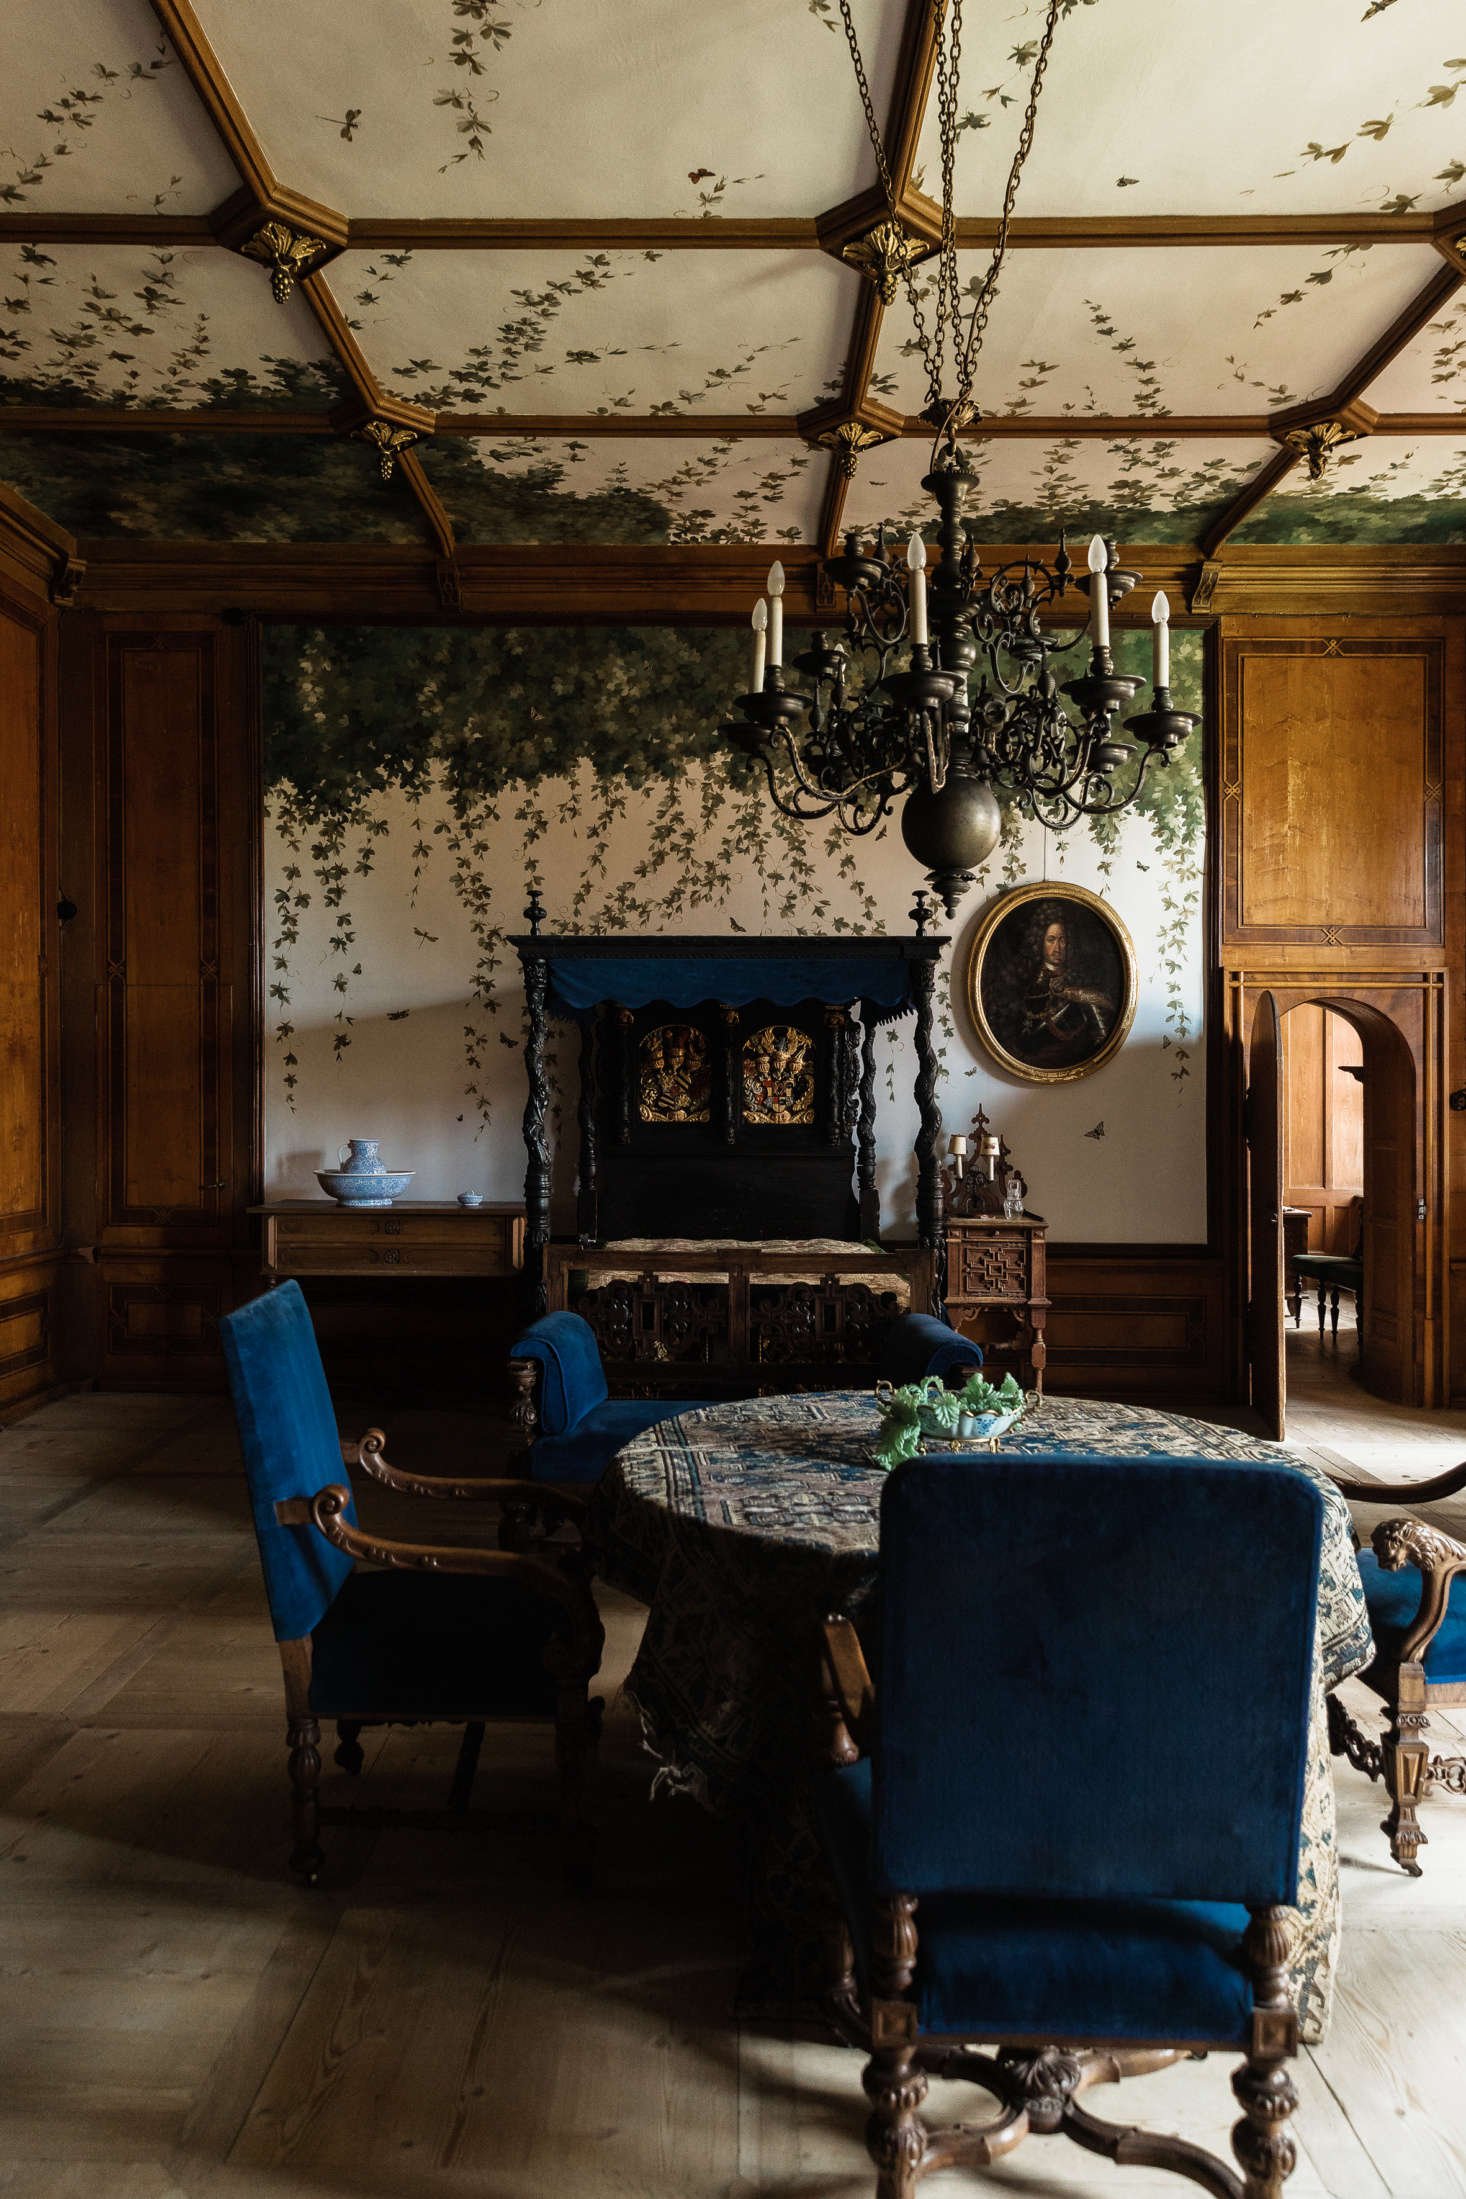
CREDIT: Yann Deret, Olivia Massimi
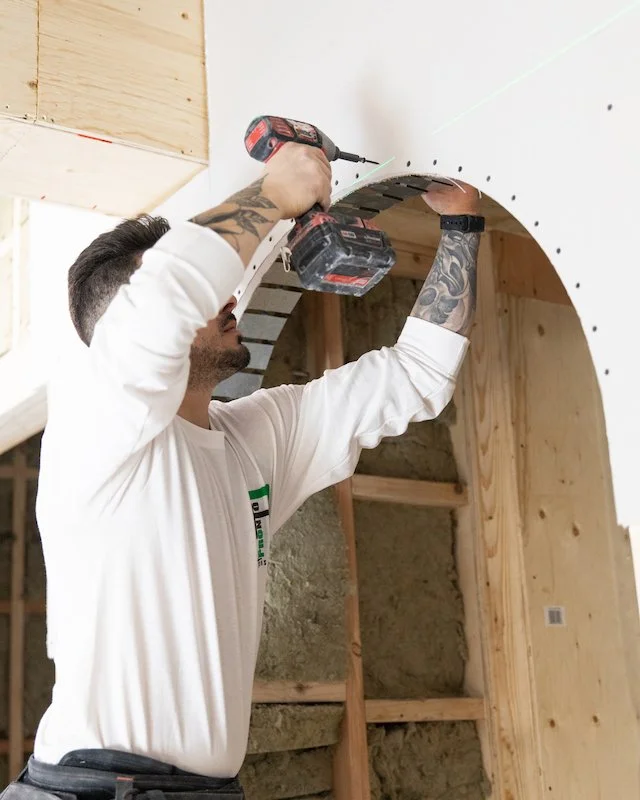
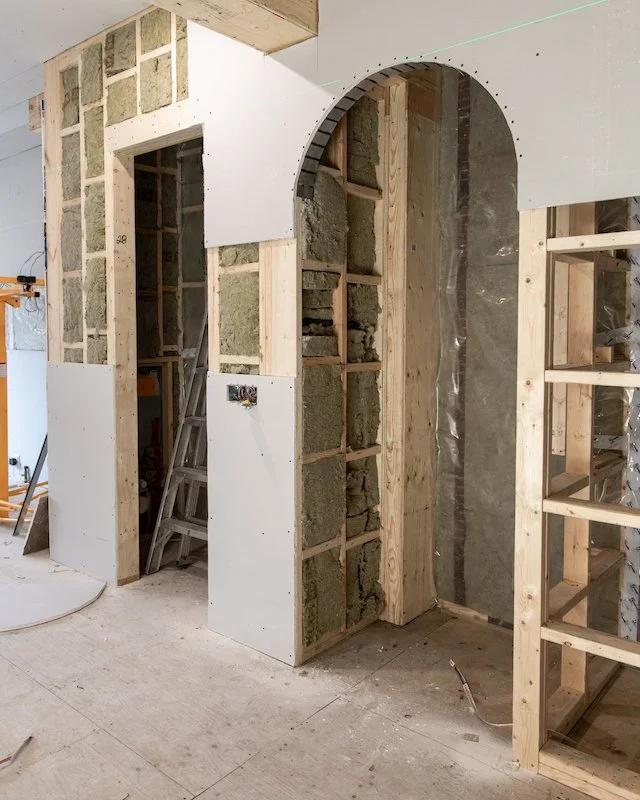
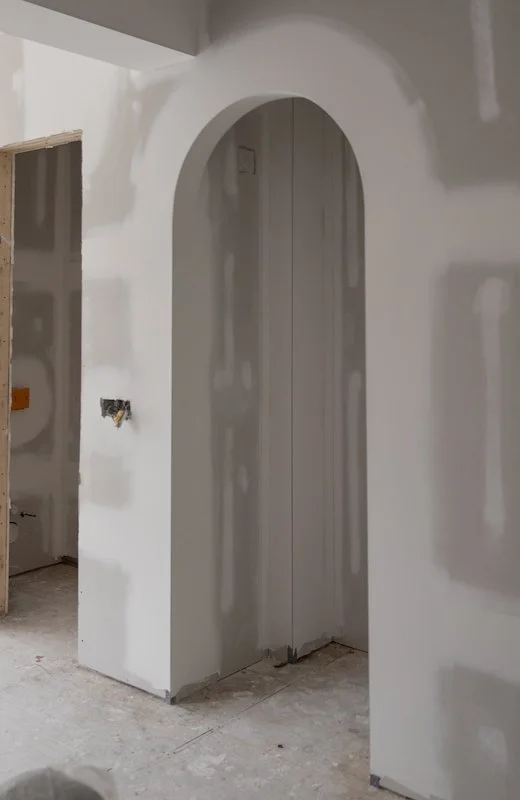
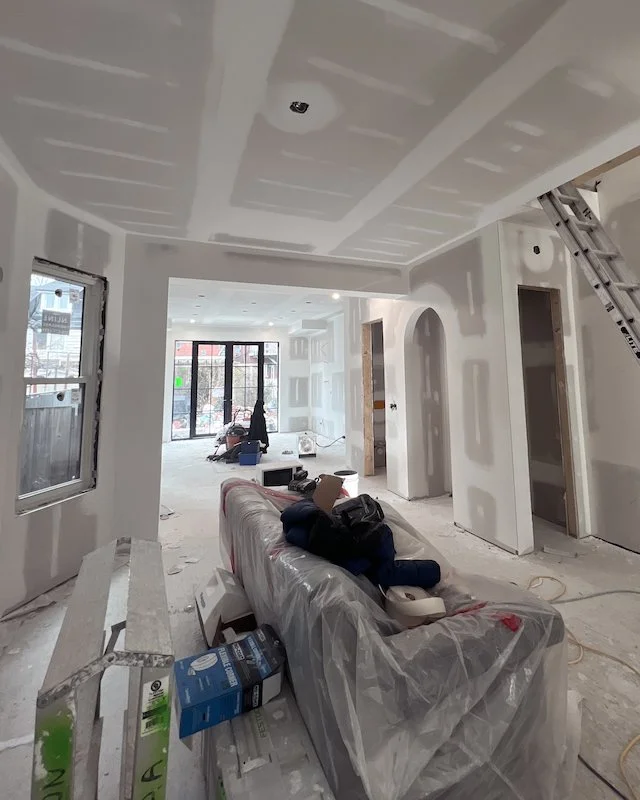
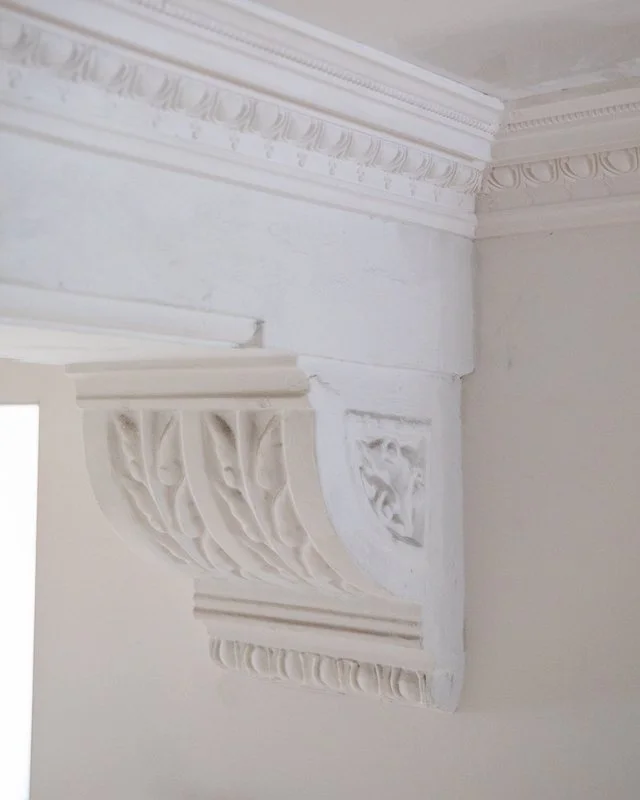
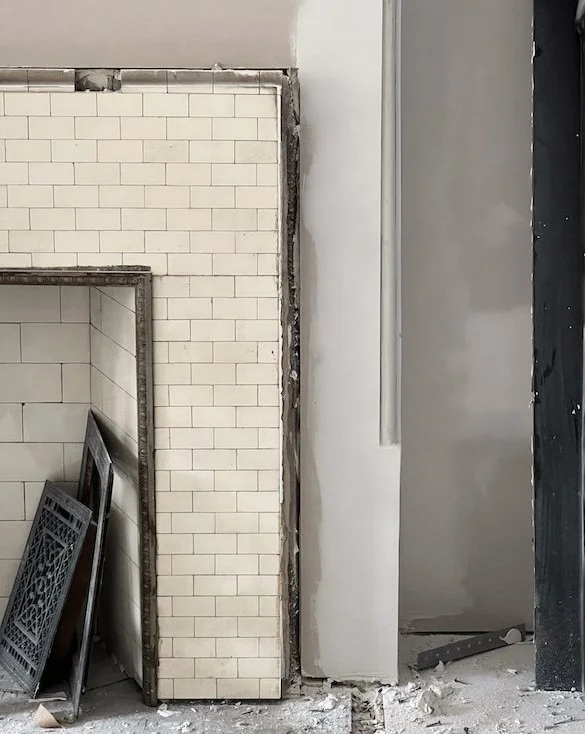
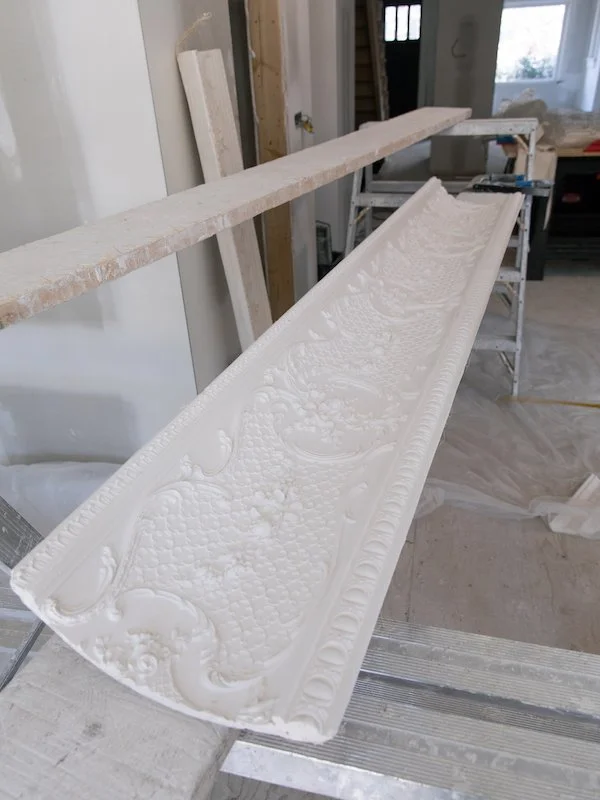
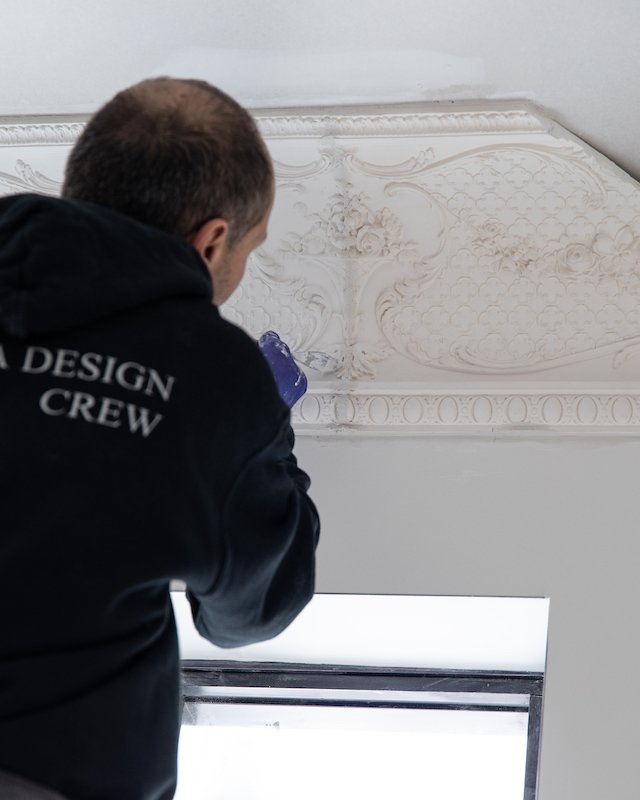
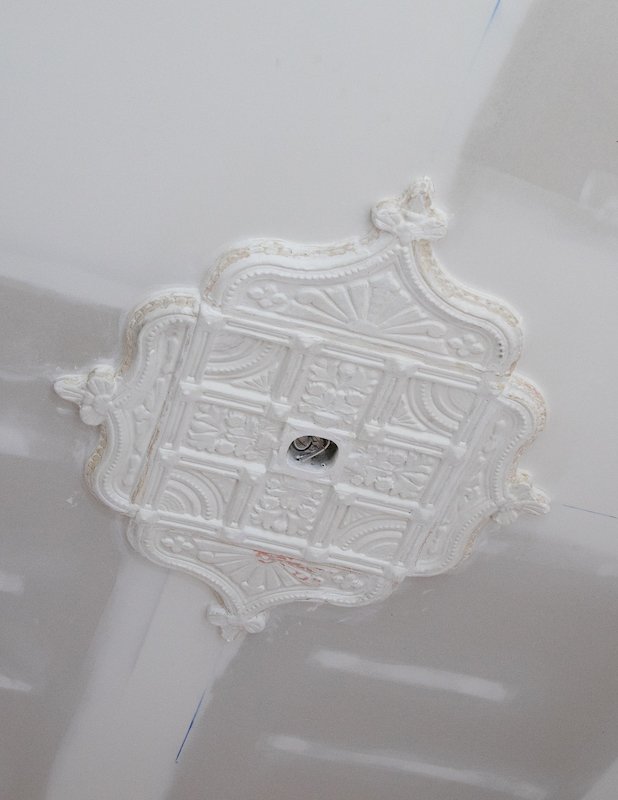
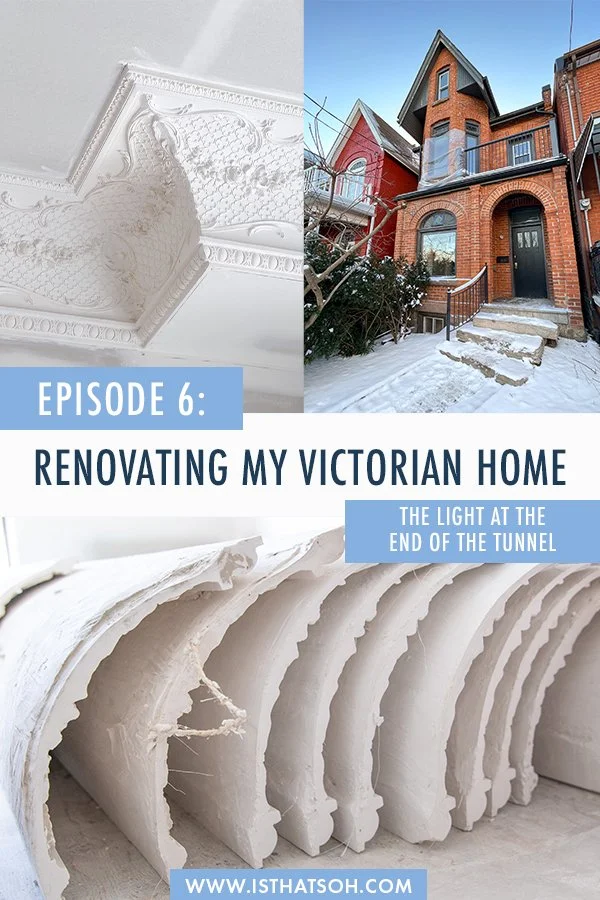
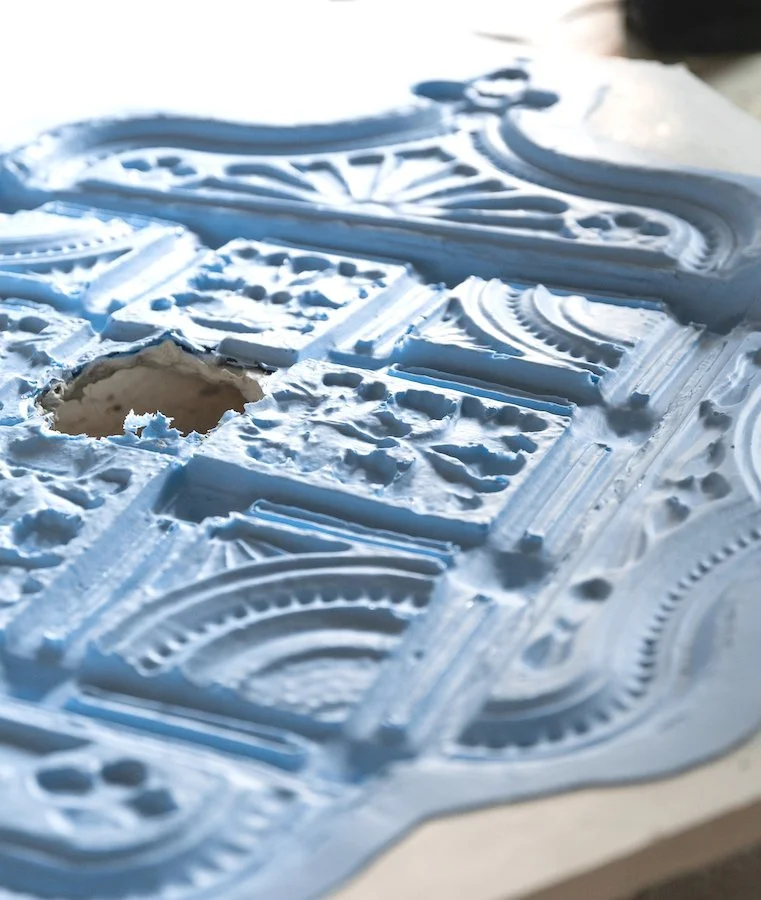
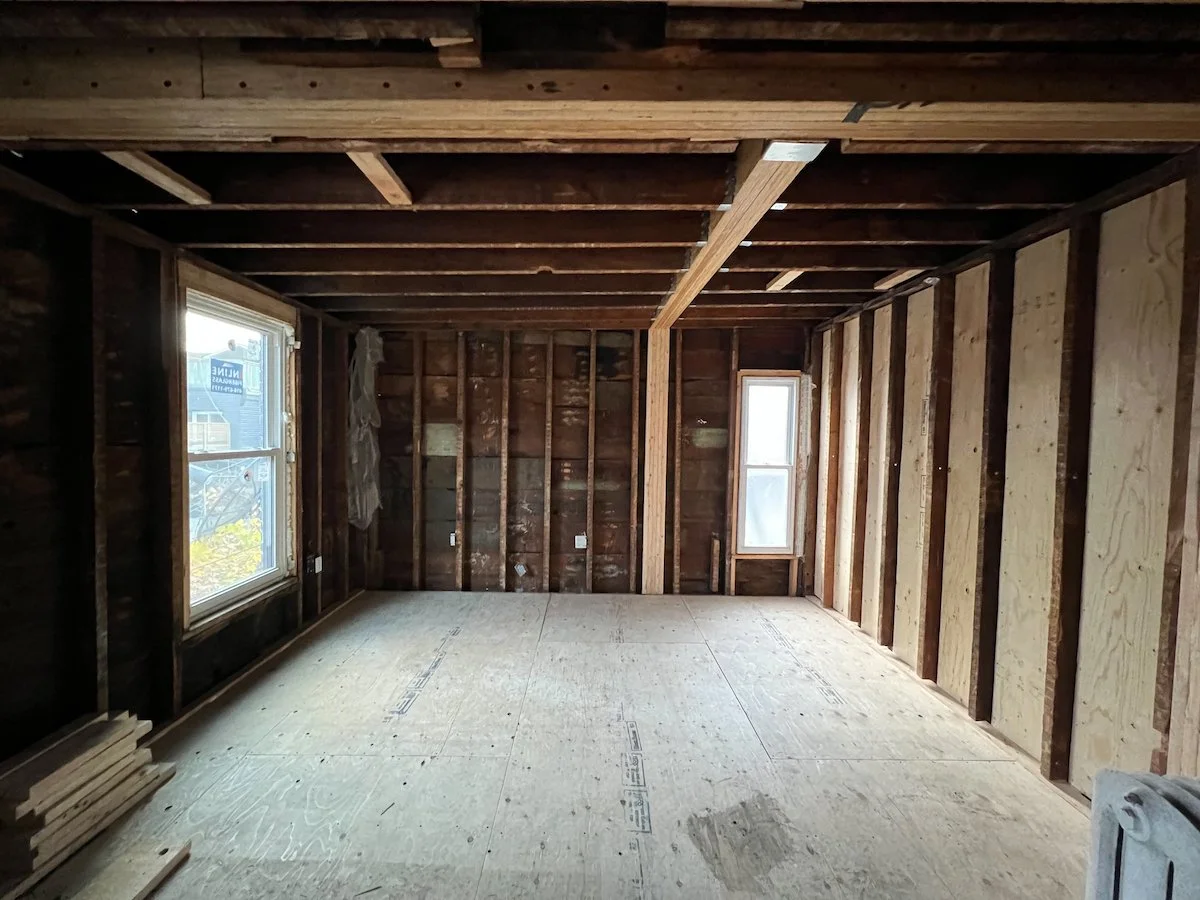
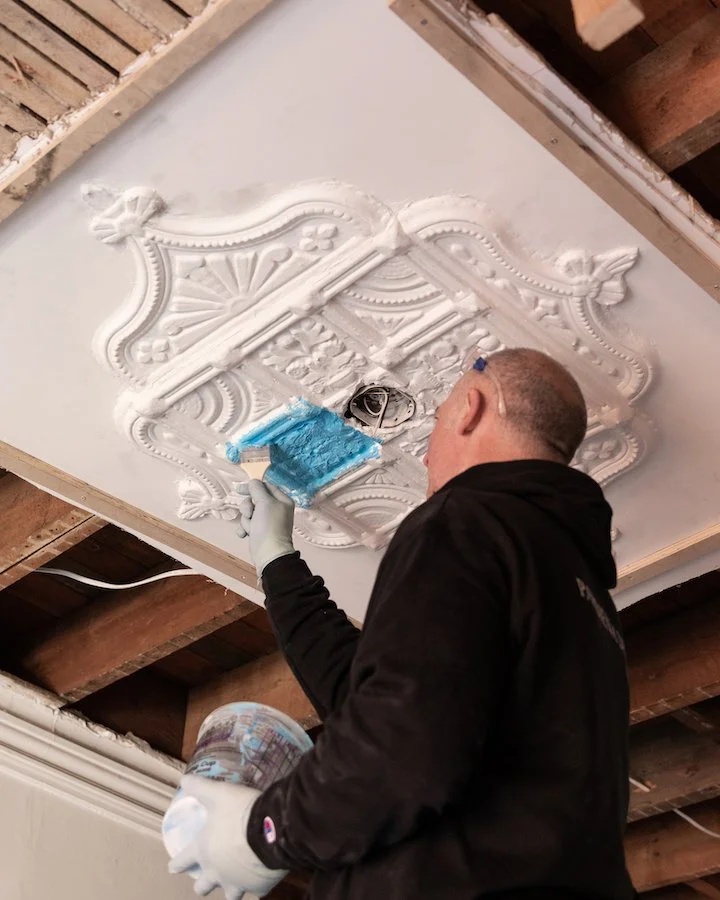
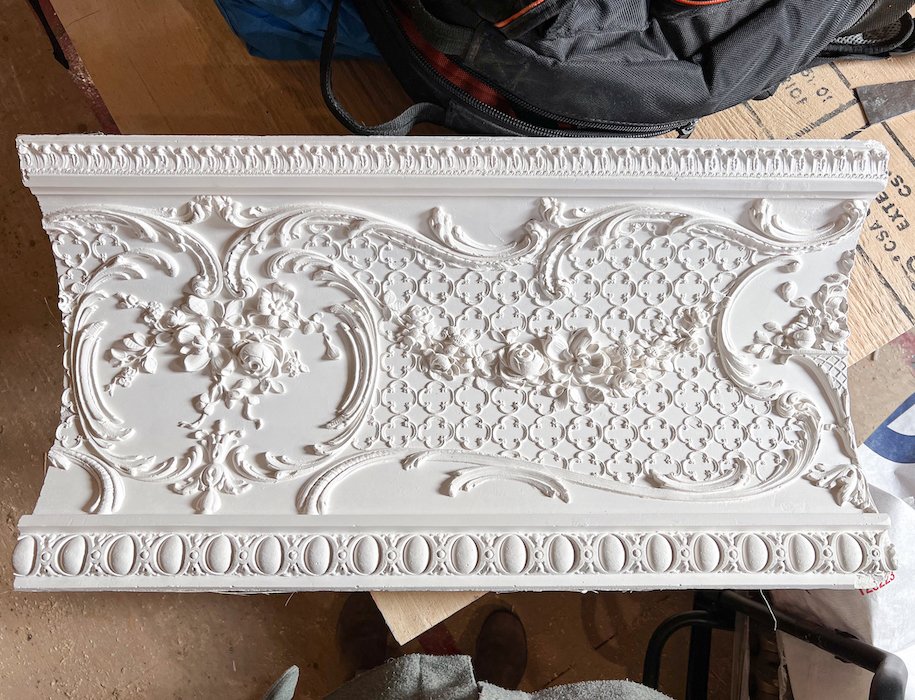
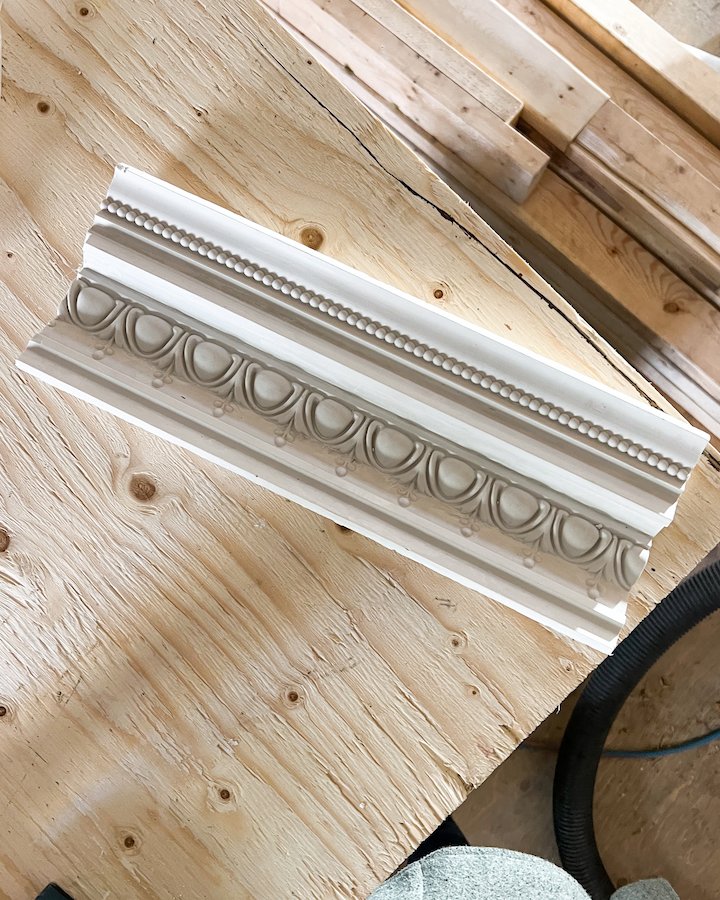
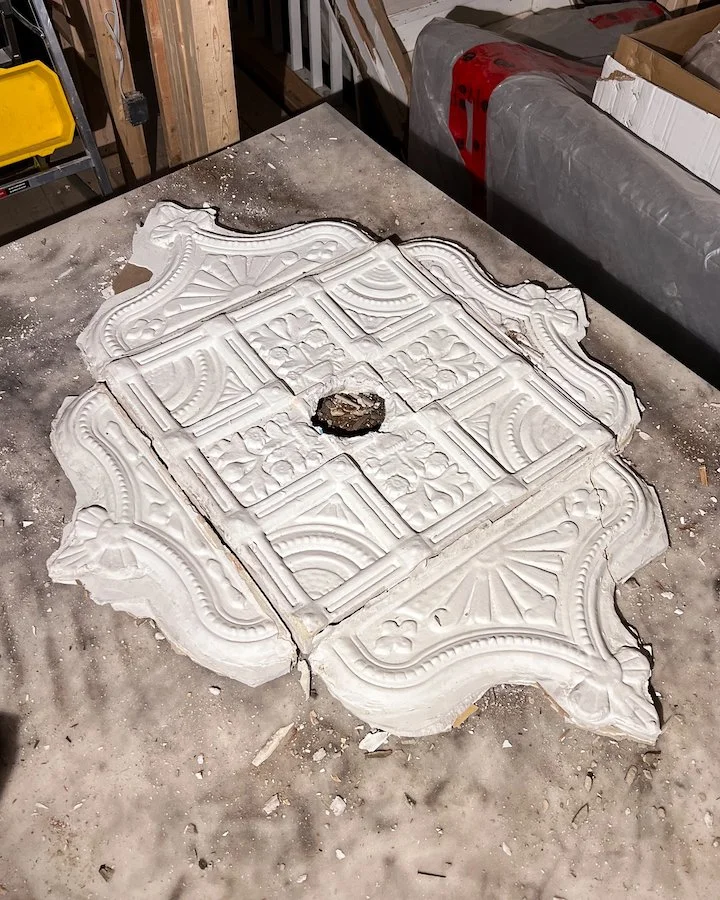
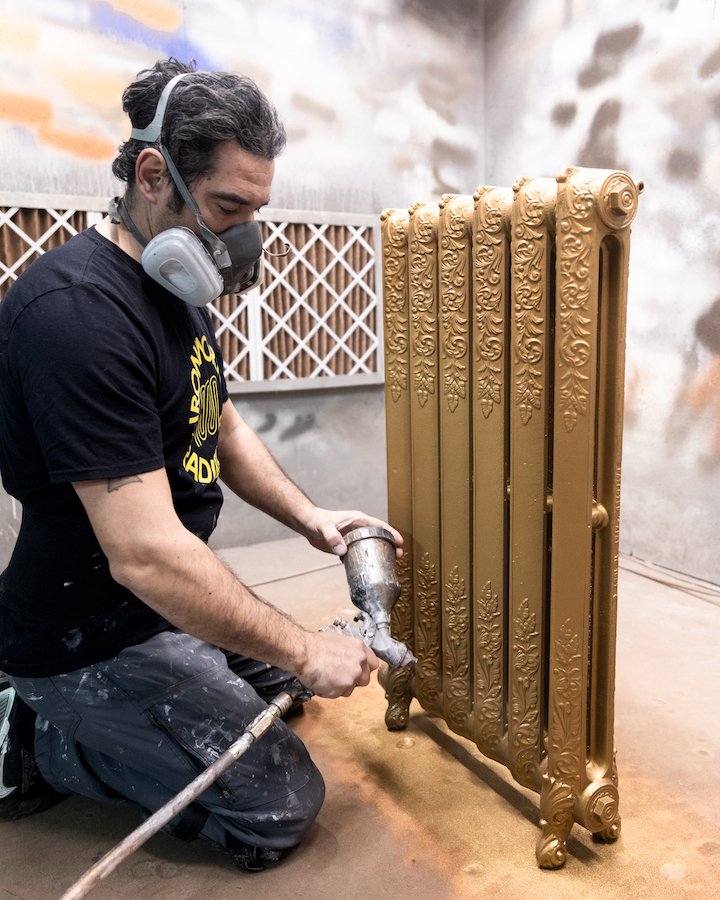
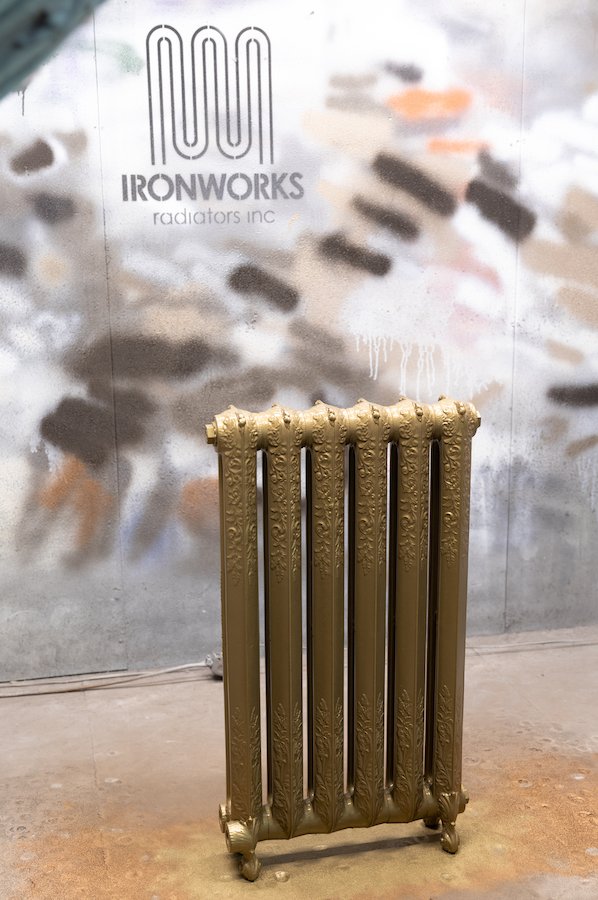
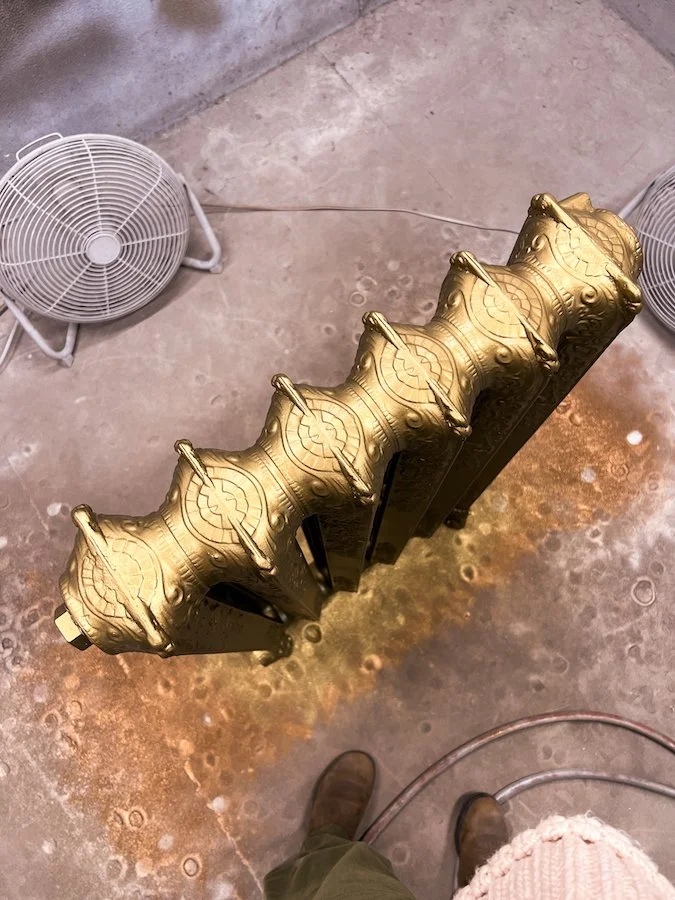
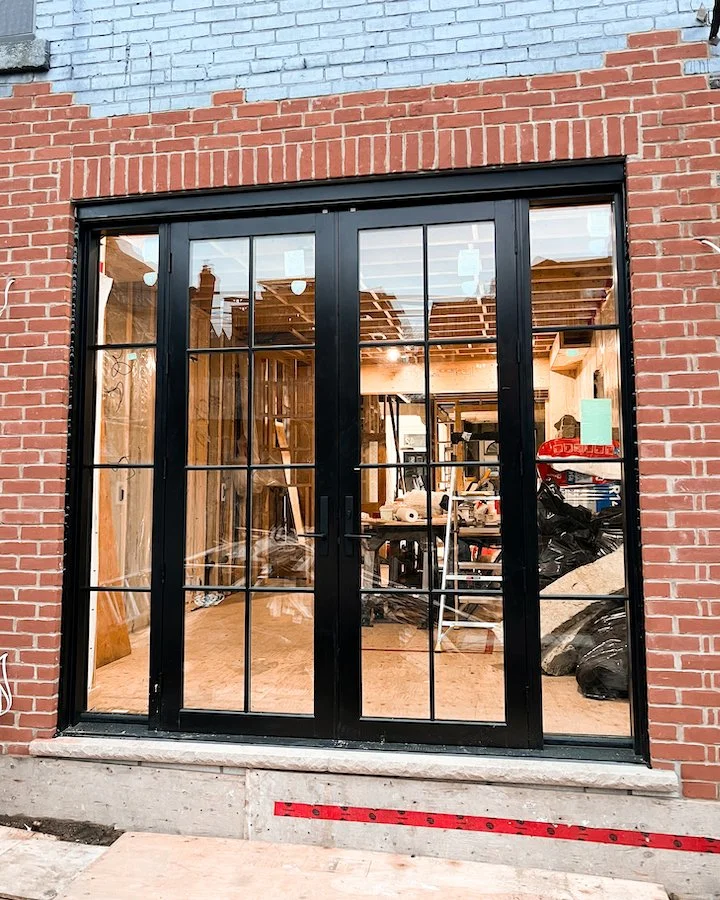
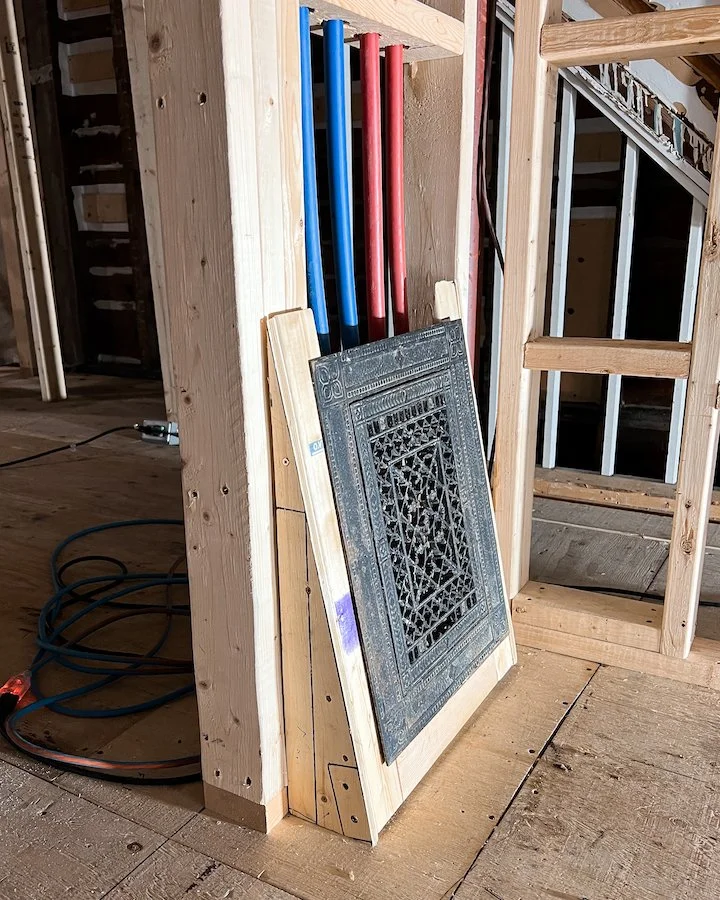
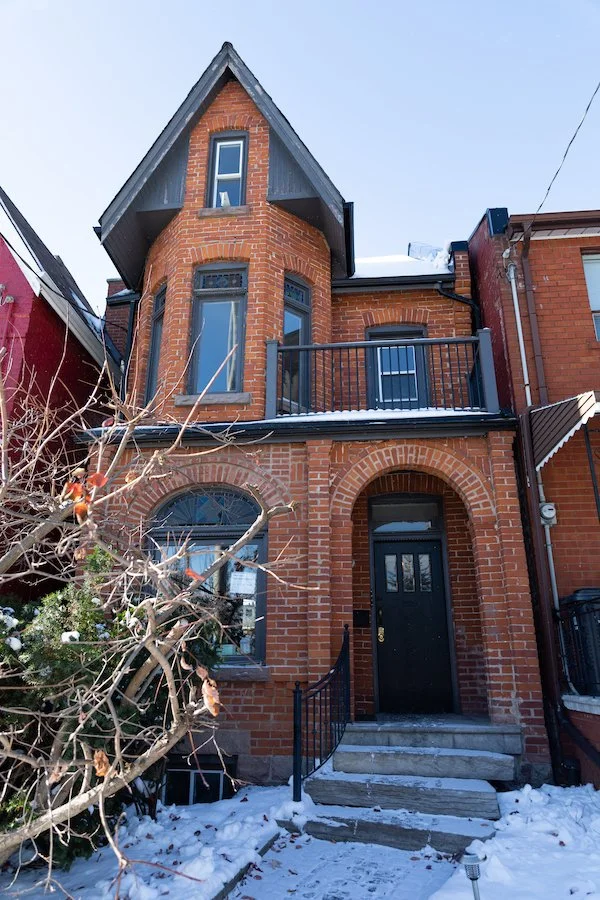
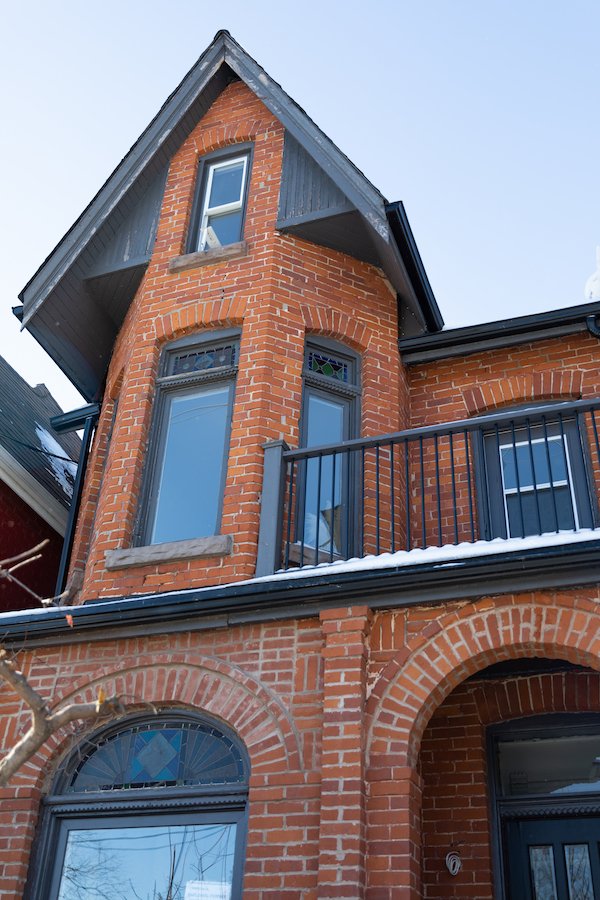
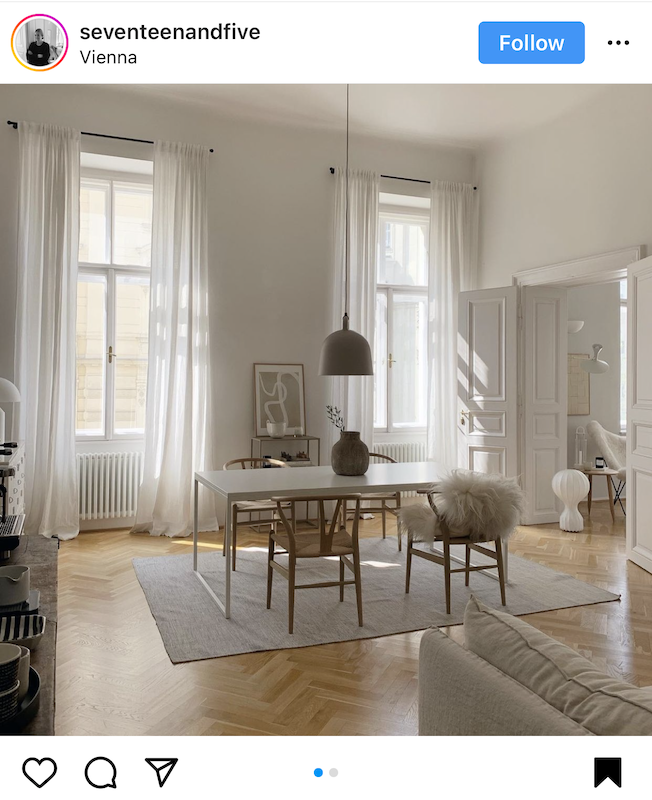
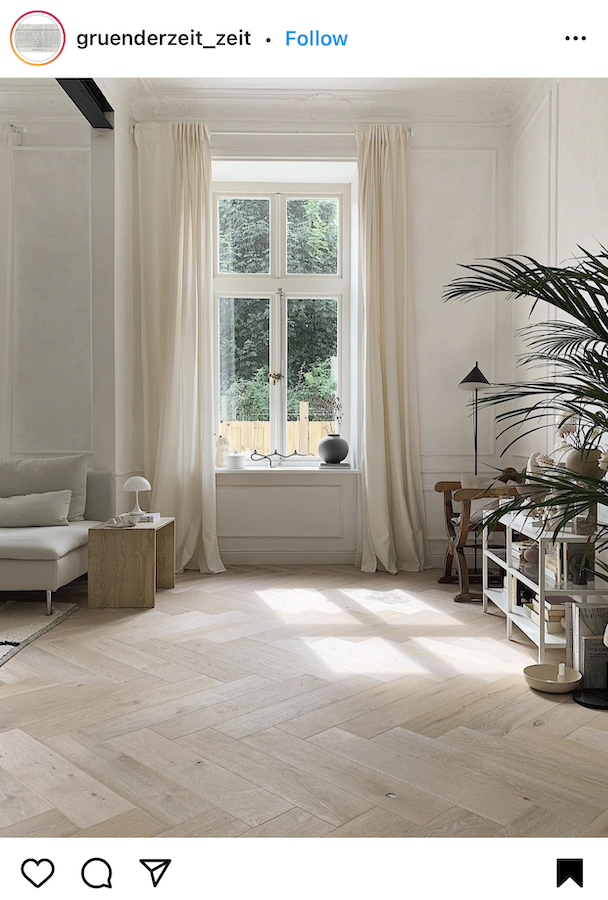
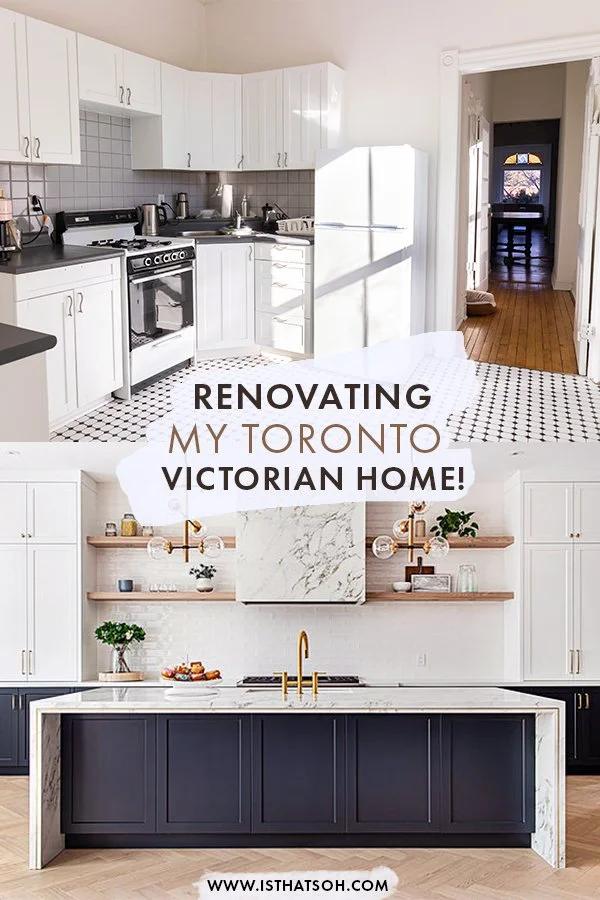
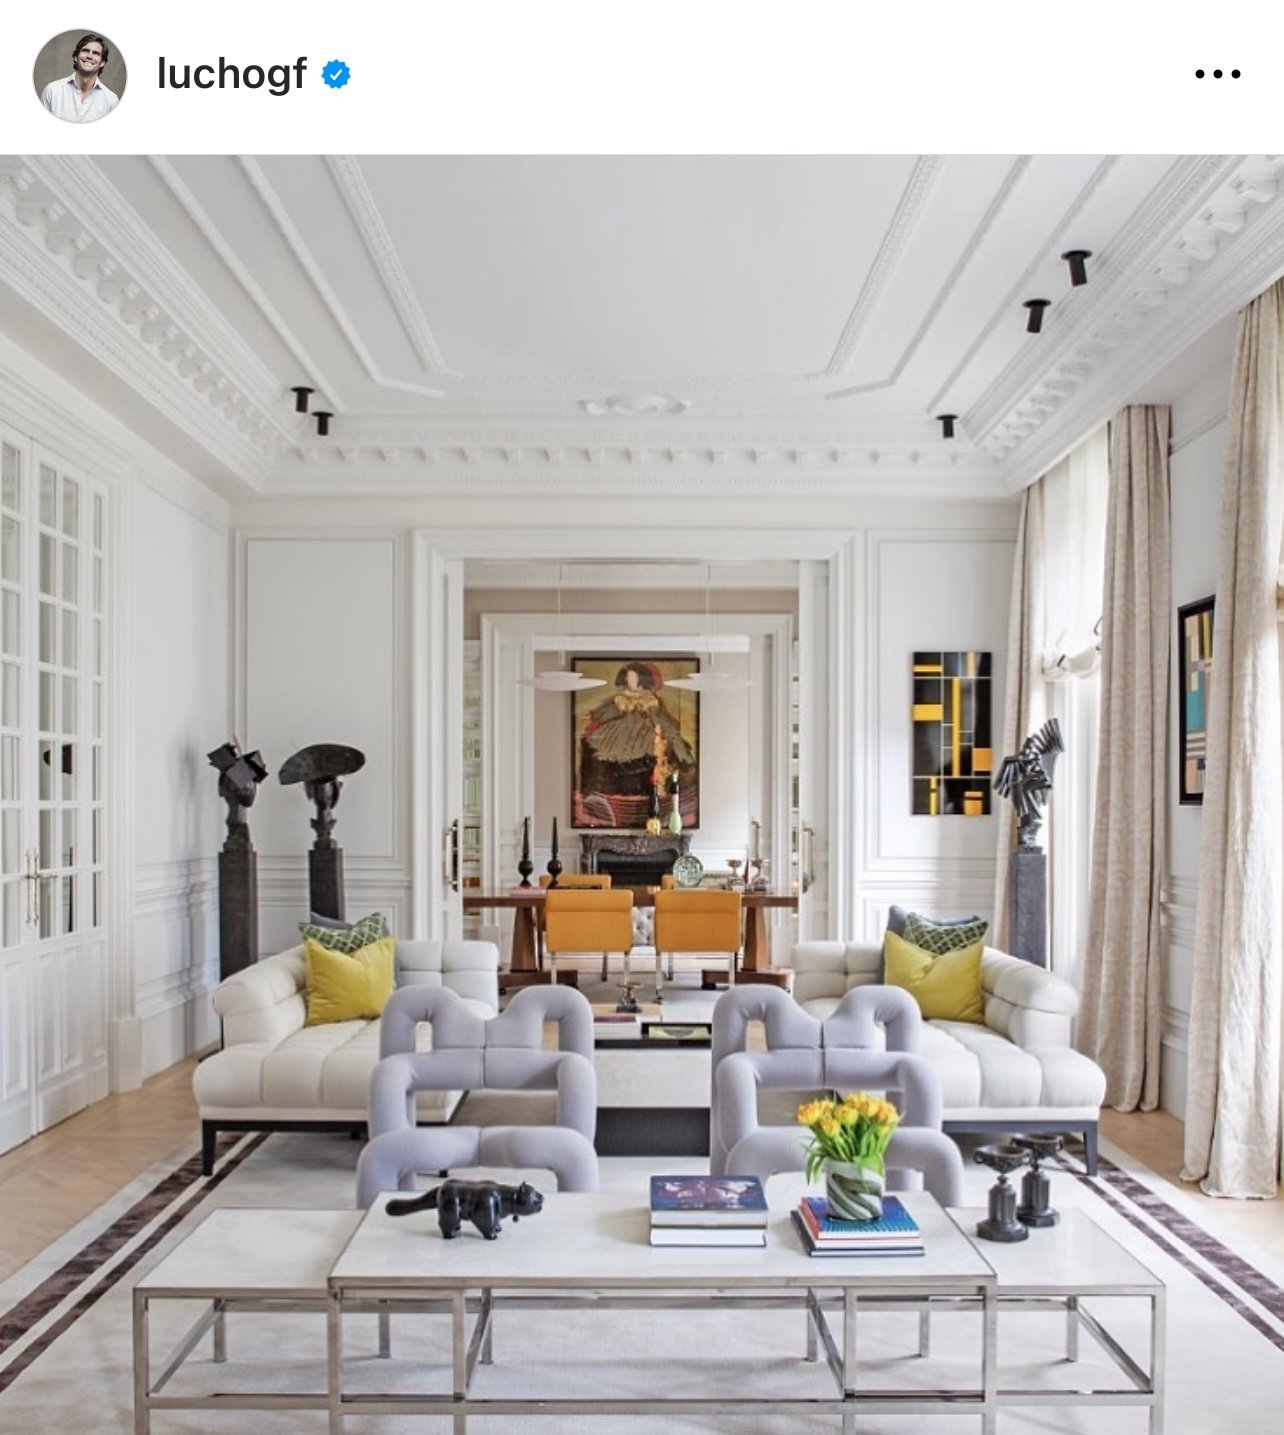
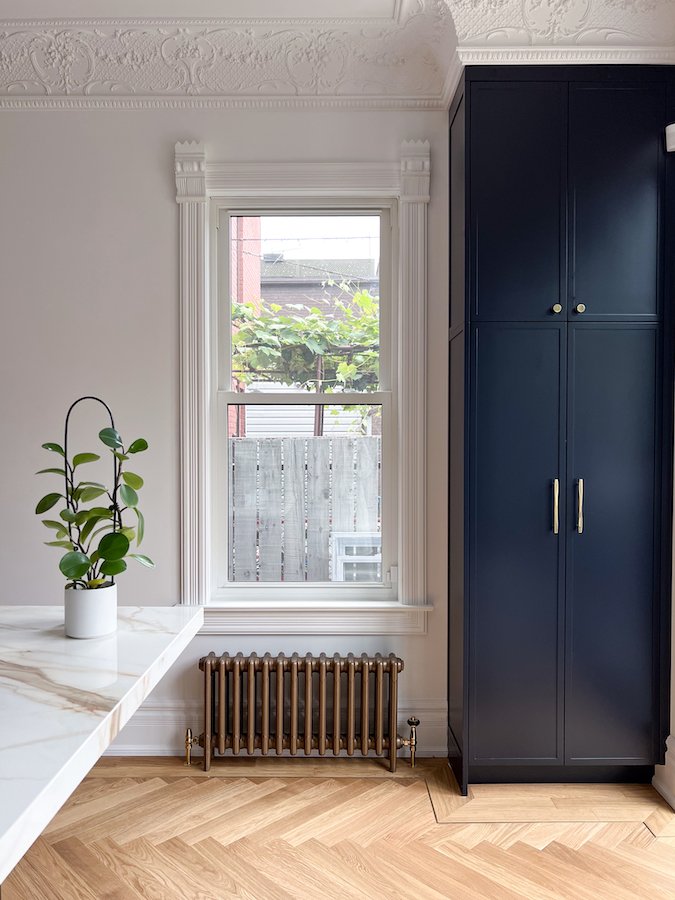
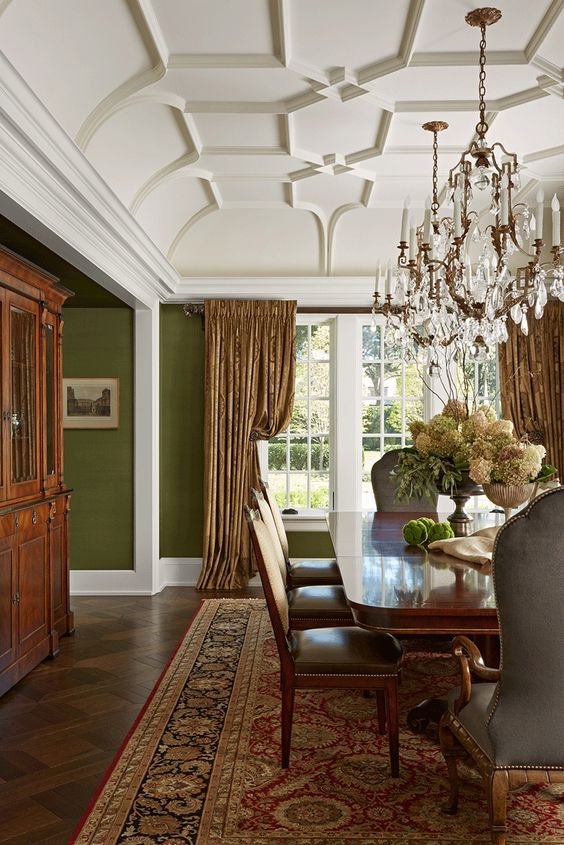
Victorian Revival
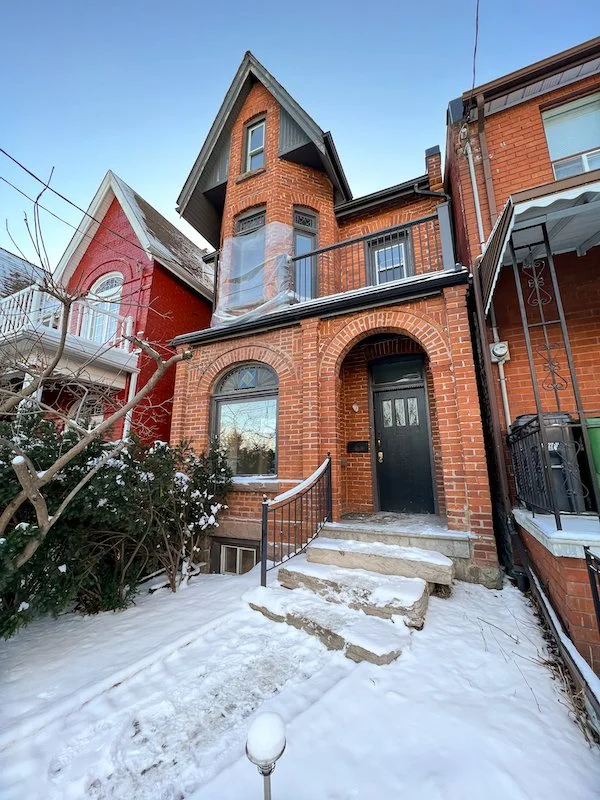
As a proud owner of a Toronto Victorian home, this is definitely my favourite trend for 2024! Coming off of 2023’s hottest trend, Neoclassical opulence continues to trickle down through ornate crown mouldings, decorative ceilings, false ceiling designs, internal archways, picture mouldings and wallpapers featuring historical patterns or landscapes in new colour ways. Designers are no longer only playing with paint but they are using panelling, textures, and wallpapers on ceilings the same way they use false ceiling designs to drag your eye upwards. Parisian apartments are another great place to source inspiration for this trend as many of them illustrate how to mix eras, furniture pieces and trends tastefully.


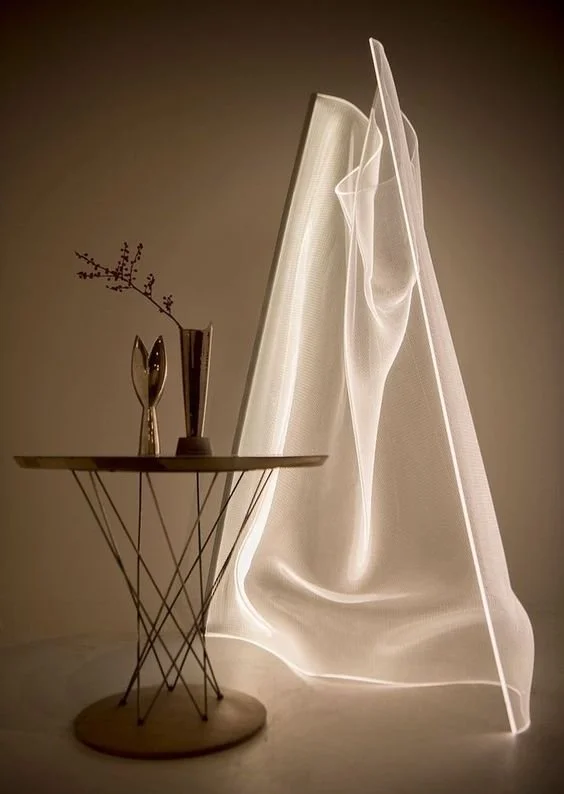
CREDIT: Gweilo by Partisans Toronto
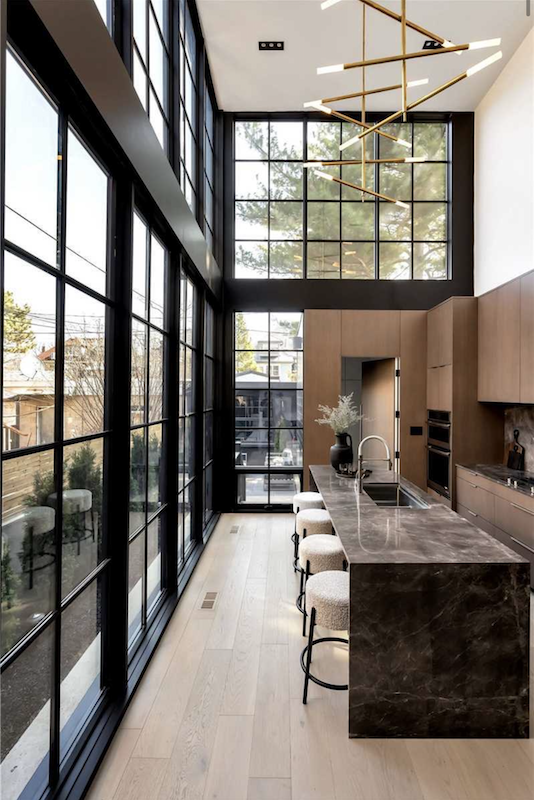
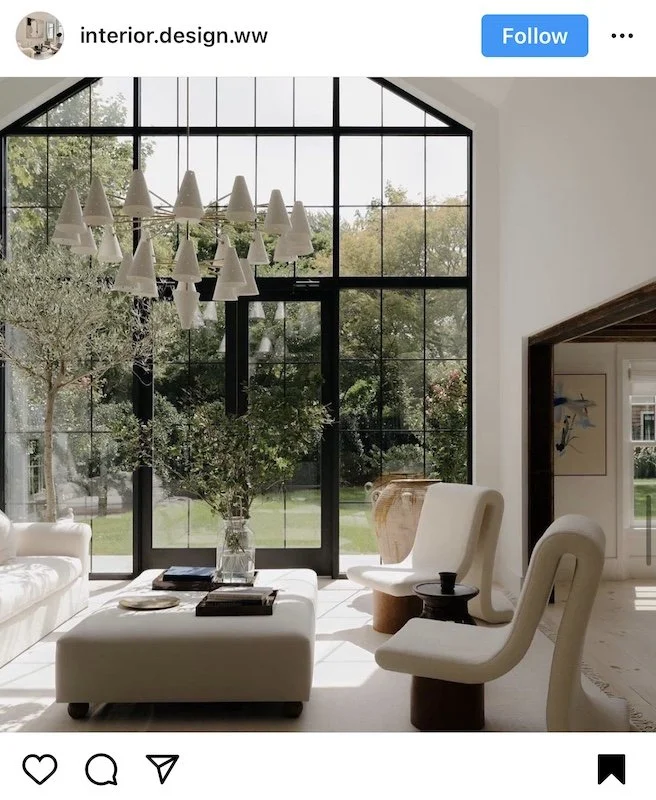
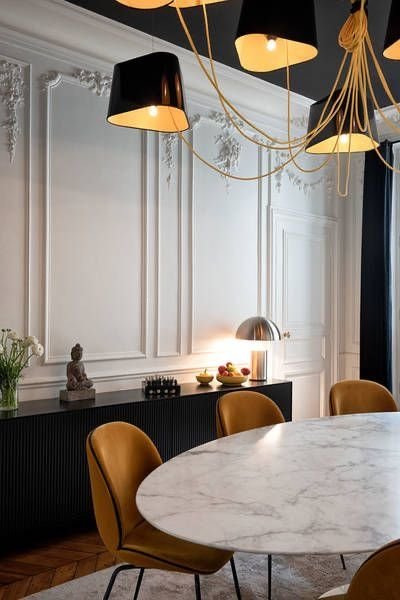
BONUS - Sculptural Lighting
I’ve said it before and I’ll say it again, if it’s a little drama you’re after, a simple lighting update may just be all you need! No longer just functional, unique and interesting lighting has many designers favouring clusters of plaster lighting and over-scaled horizontal LED chandeliers over anything farmhouse. It’s also a super easy way to incorporate artistic features into a room beyond sculptures, murals, wallpaper and your customary framed paintings.


So there you have it! Ten (well 11 with the bonus) 2024 interior design trends that are on the rise!
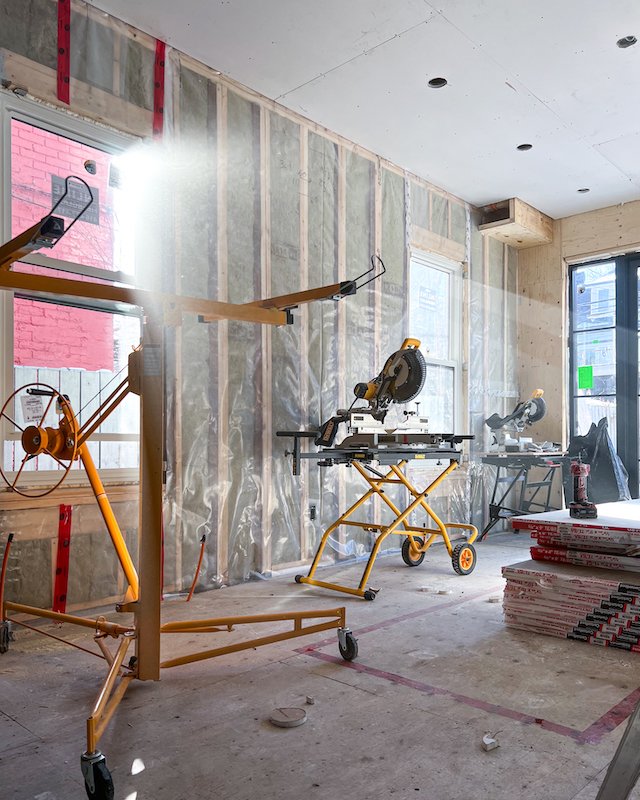
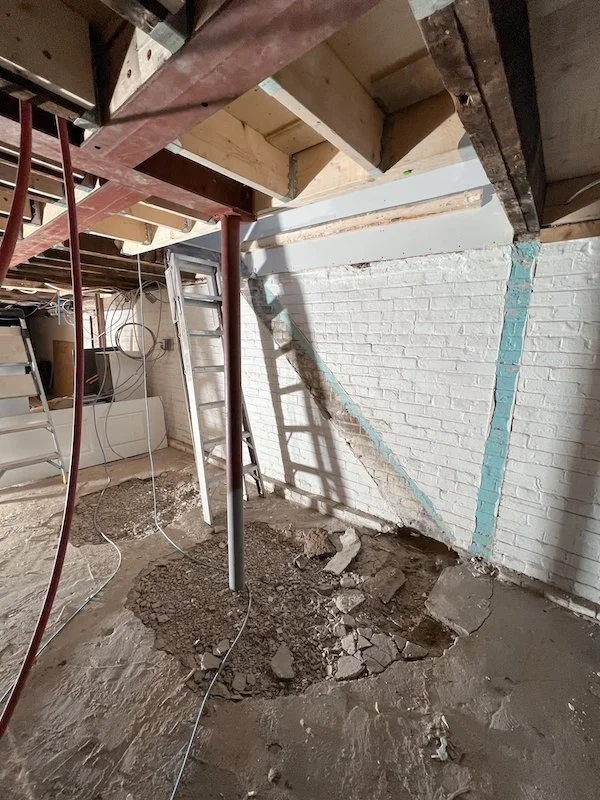
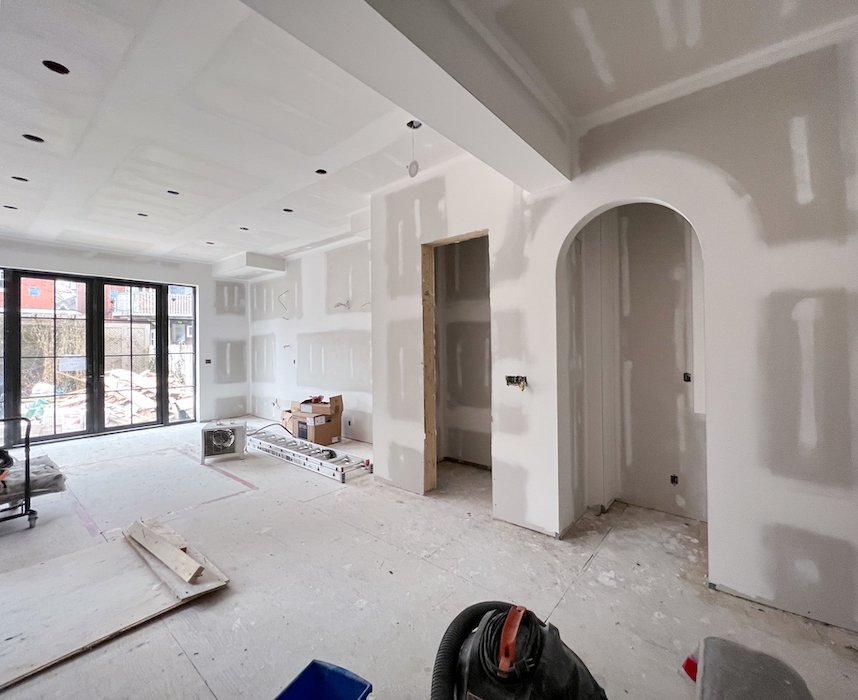
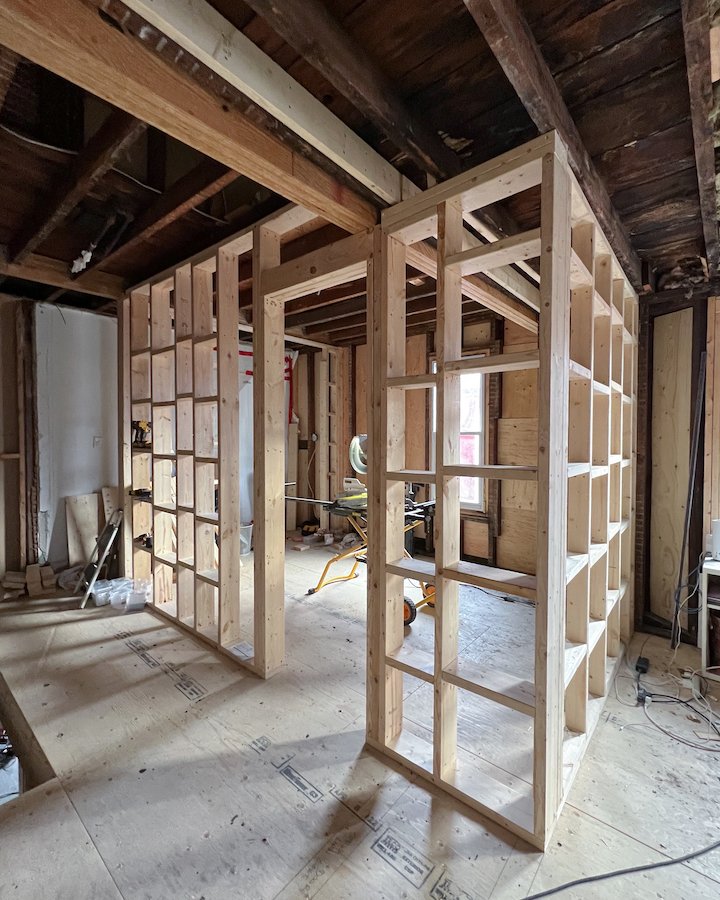
If you are curious to see how my home renovations are turning out and what interior design trends I am incorporating into my Toronto Victorian home, you can subscribe to my Instagram and YouTube channel ! If you think this list is missing any big 2024 trends or you are obsessed with anything I shared above, feel free to let me know in the comments below!
Until next time!
- Soheila