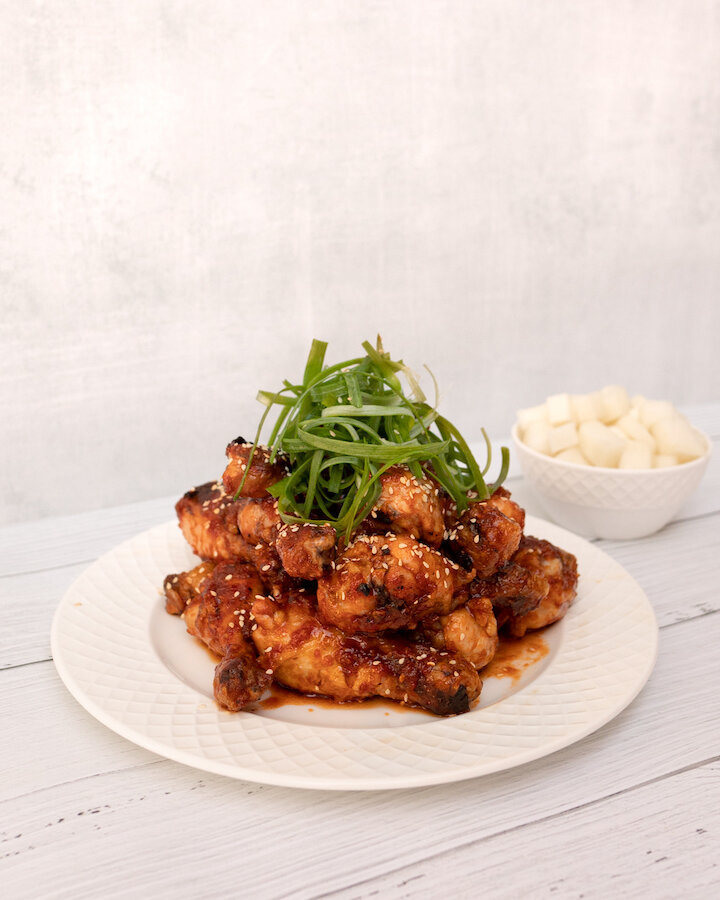
HEALTHY-ISH SPICY KOREAN 'FRIED' CHICKEN (YANGNYEOM)

Yangnyeom (or Yum Yum chicken as we like to call it), is a fried Korean chicken recipe, usually served breaded, and coated in a red, spicy, Korean fried chicken sticky red sauce. My boyfriend’s brother’s Korean girlfriend recently made this fried Korean chicken for the family and we all loved the sweet-salty-spicy flavors. Since we are all health-conscious, slight changes were made to the typical traditional recipe (no flour, frying in oil, and less sugar) but the results were just as tasty. If you feel like making something unique and easy for dinner, I highly recommend giving this recipe a go. It pairs beautifully with Korean pickled radish, a bowl of sticky rice, and of course, a nice cold beer!

Enjoy!

INGREDIENTS:

- BBQ Chicken Marinade -
3 LBS of Drumsticks
Vegetable OIl (enough to coat chicken)

- Korean Sauce -
2 TBSP of Rice Vinegar
2 TSP Ginger (minced or grated)
3 TBSP of Ketchup
2 TBSP of Honey
2 TBSP of Brown Sugar
2 TBSP of Soya Sauce
2 TBSP of Garlic (minced or grated)
1 TBSP of Sesame Oil
2-2.5 TBSP of Hot Chilli Paste (Gochujang) *depending on how hot you want

- Garnish -
Roasted Sesame Seeds
Green Onions, finely shredded


CHECK OUT THESE OTHER ASIAN STYLE RECIPES


DIRECTIONS:

Coat the chicken in vegetable oil and bbq till they are cooked through.

In a deep saucepan or wok create your Korean Chicken Sauce and heat up over low to medium heat, stir well. Once it starts to bubble, reduce heat, add in your bbq chicken and toss until well coated in sauce.

Remove chicken from heat and garnish with roasted sesame seeds and green onion before serving.

Enjoy!

P.S. This recipe is usually served and pairs really well with Korean pickled radish (pictured below)!


FOLLOW ME ON INSTAGRAM @ISTHATSOH


I hope you enjoyed this spicy Korean chicken recipe as much as I do. If you have any comments please leave them below and I'll be happy to answer them as soon as I can! Happy cooking!!!

PIN THIS POST

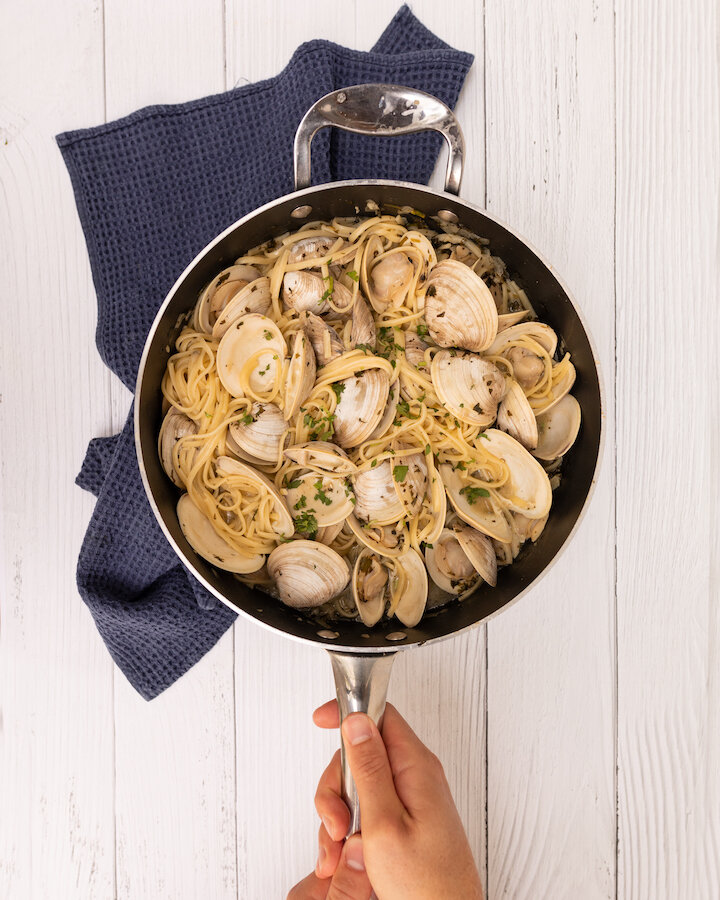
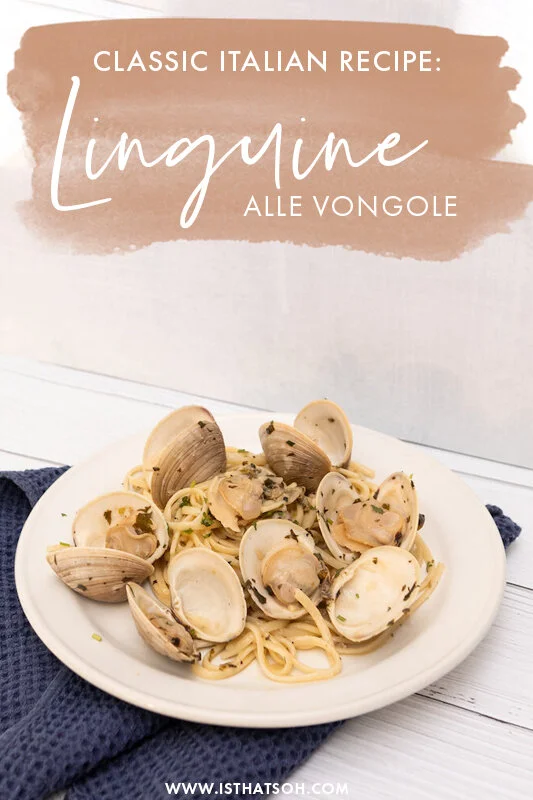
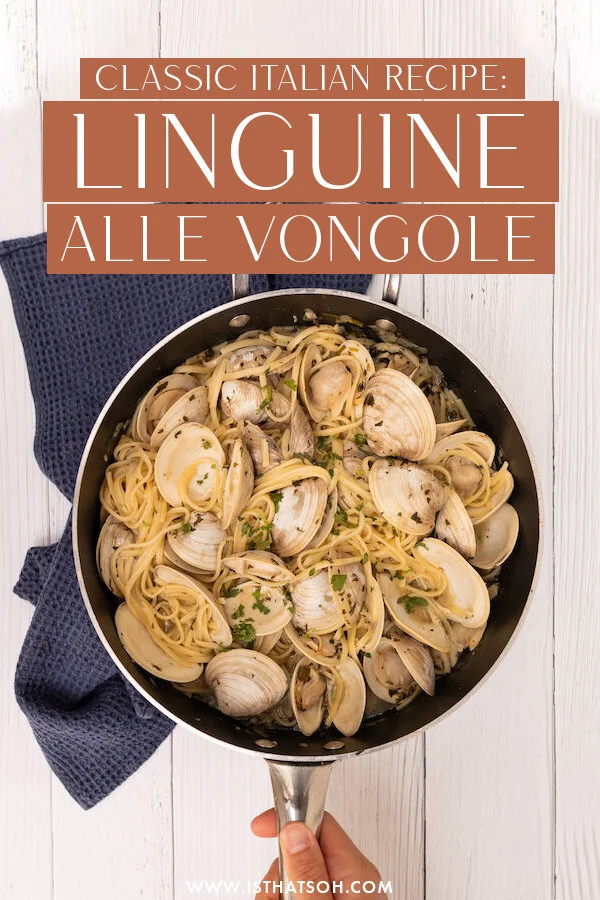
LINGUINE ALLE VONGOLE - PASTA WITH CLAMS

Linguine alle Vongole (clams in Italian) or Spaghetti alle Vongole is a classic dish and one of the first dishes that I ever learned. This pasta alle vongole recipe was originally one of my friend’s moms and she used to make this for us when it was a little colder outside because of the broth base. This is a great and easy (not to mention inexpensive) seafood pasta recipe if you are a new cook. Remember to go easy on the salt as vegetable cubes have a lot of salt in them already and you are salting the water to boil your pasta which will be absorbed by your linguine.

Enjoy

INGREDIENTS:

Serves 2-3 People

4 TBSP of Olive Oil
4 TBSP of Fresh Parsley (chopped) *Save a little as a garnish
2 Large Garlic Cloves (minced)
1 Chopped Shallot (chopped finely)
½ TSP of Pepper
1 CUP of White Wine
1 Vegetable Cube - no need to use them to create a broth beforehand because we use the cubes to flavor the sauce
2 (10oz) Cans of Clams with Juice or 10 Clams Per Person
1 LBS of Cooked Linguine
Grated Parmesan as garnish (optional)
1 French Baguette (Optional)

*Feel free to cook and place a couple of fresh clams still in shells on top for extra esthetic.


CHECK OUT THESE OTHER PASTA DISHES


DIRECTIONS:

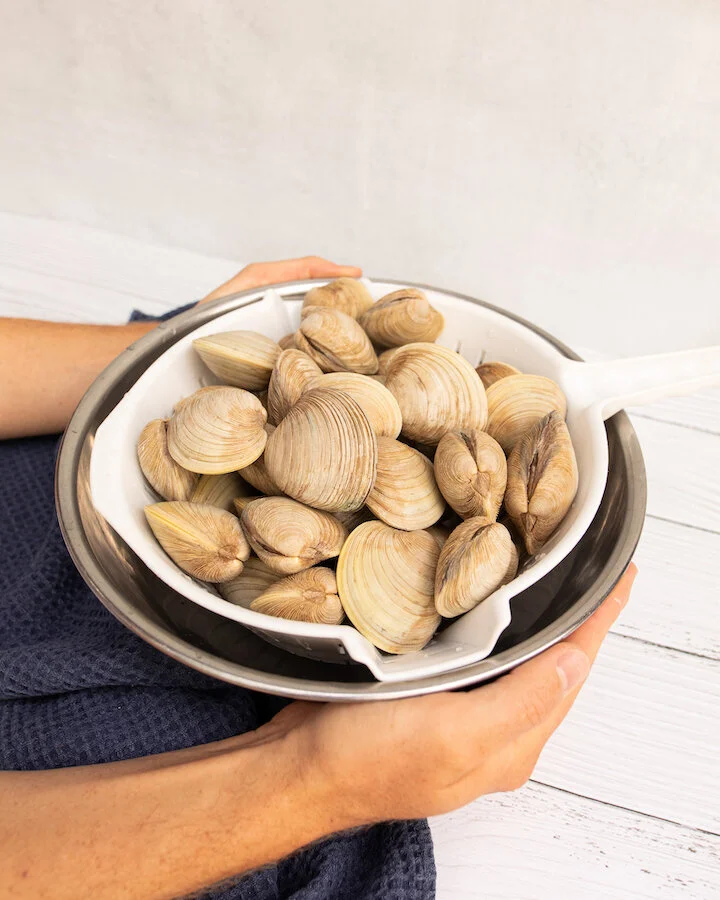
If using fresh clams, soak clams in lukewarm to cold water for 25 minutes before you start so they can open up and release the sand inside. Scrub shells lightly and set aside.

Next, fill a pasta pot with water and place on the stove to boil

Using a sauté pan heat your olive oil and sauté your shallots, garlic and parsley for 4-5 minutes until the shallots become translucent.

Next add the juice from the cans of clams (exempt if using fresh clams), wine and vegetable cube. Once the vegetable cube melts salt and pepper to taste.

Once the water is boiling, salt the water and add in your linguine. Make sure to save some pasta water before you drain it.

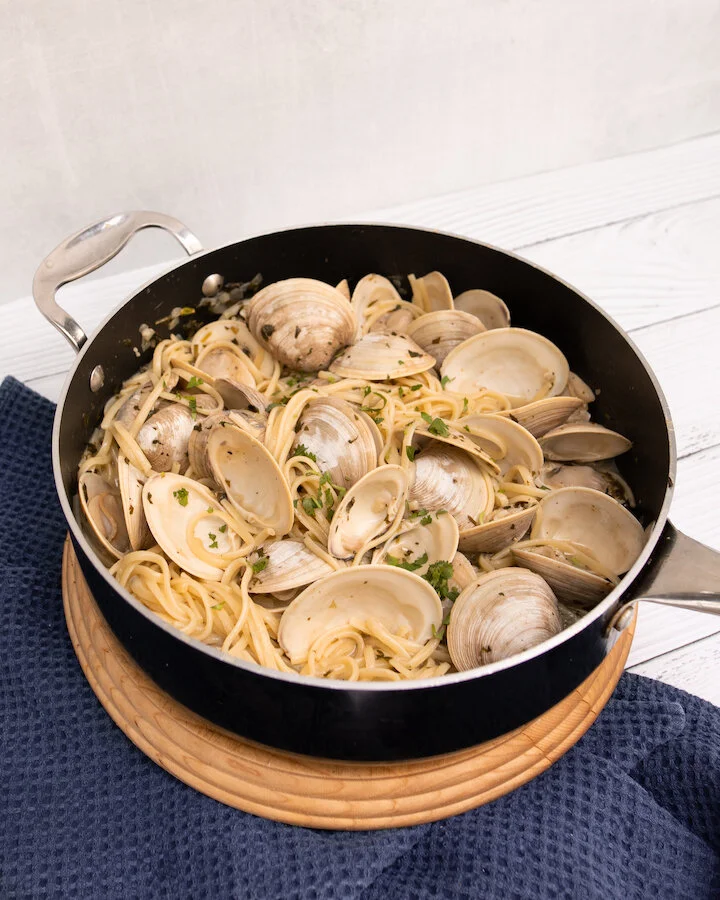
Allow to simmer for 10 minutes to reduce liquid before adding the clams from can and continuing to cook for an additional 5 minutes. If using fresh clams, add clam shells into sauce pan making sure none of them overlap (they wont open as well otherwise), cover and allow to simmer for 10 minutes (or until the majority of the shells are open) so that the clam water can release from shells and mix with the sauce. Once ready, taste the broth and make sure it is seasoned to you liking otheriwse add more salt and pepper.

Drain pasta and toss it in clams and sauce while adding about 1-2 TBSP of pasta water to thicken it. Garnish with parsley and serve.

I love adding and recommend trying this dish with Parmesan but you can do whatever you like.


FOLLOW ME ON INSTAGRAM @ISTHATSOH

Gallery Block
This is an example. To display your Instagram posts, double-click here to add an account or select an existing connected account. Learn more

I hope you enjoyed this spaghetti alla vongole recipe as much as I do. If you have any comments please leave them below and I'll be happy to answer them as soon as I can!  Bon Appetito!!!


PIN THIS POST

DULCE DE LECHE CHEESECAKE WITH SHORTBREAD CRUST

When it comes to cheesecake I’ve got the biggest weak spot! This year, for my birthday I requested my boyfriend’s mom make her famous cheesecake recipe with a dulce de leche topping and shortbread crust and boy was I in heaven. Ever since we went to Argentina together on a family trip I have been obsessed with dulce de leche and to have it on my birthday cake just made all the amazing memories come flooding back. If you are not into dulce de leche, no worries. The cheesecake in this recipe has vanilla in it so it also makes for a great, more subtle vanilla cheesecake recipe.

ENJOY!

INGREDIENTS:

-Shortbread Crust -

1/2 CUP if Butter (softened)
1/4 CUP of Sugar
1 CUP of All-Purpose Flour

- Cheesecake Filling -

1 CUP of Whipping Cream 35% - divided into 2 portions
3 x 8oz Packs of Cream Cheese (softened)
3/4 CUP of Sugar
2 TBSP of Cornstarch
4 Eggs
4 TBSP of Vanilla

- Topping -
Apx 300ml of Dulce De Leche

DIRECTIONS:

In a large bowl, beat butter and sugar until fluffy before slowly incorporate the flour until crumbly.

Press dough into a 9-inch springform pan before refrigerating for 10 minutes.

Preheat oven to 400 degrees and when ready, bake shortbread crust for 15 minutes until golden.

In another bowl, whip one portion of cream until stiff peaks start to form. Set aside.

In another large bowl, beat cream cheese until it starts to become fluffy before adding in sugar and cornstarch. Continue to beat until the filling has a smooth texture.

Next, beat in eggs one at a time until blended before beating in the remaining whipping cream and vanilla.

Lastly, fold in whipped cream and pour over the baked crust before returning the cake back to the oven and reducing the temperature to 300 degrees. Allow cheesecake to bake for 70 minutes or until the center is almost set.

When ready, allow the cheesecake to sit in the springform pan while it cools on a cooling rack. You can run a knife along the edge of the pan to help you remove it. After removing the springform pan refrigerate for at least 6 hours or overnight if possible before serving.


I hope you enjoyed this recipe as much as I do. If you have any comments please leave them below and I'll be happy to answer them as soon as I can! Bon Appetite!!!


PIN THIS POST

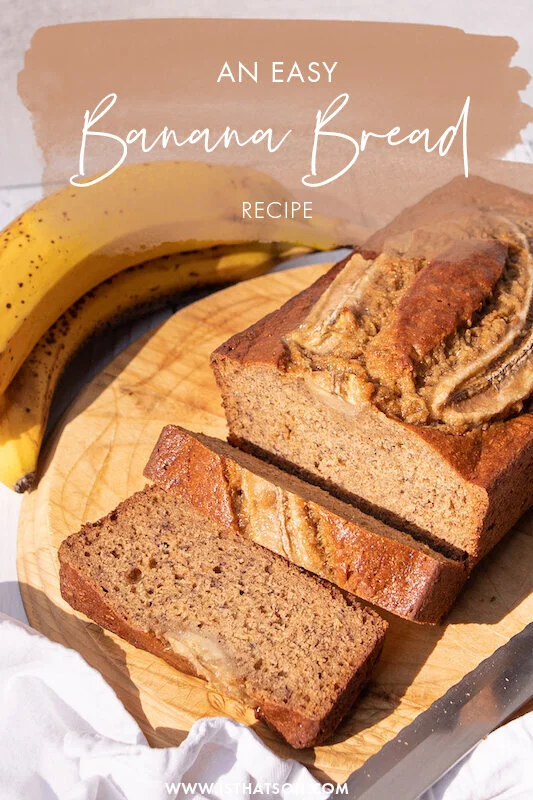
MY FAIL PROOF BANANA BREAD!

If you ever have overripe bananas, don’t throw them away! One of my favorite ways to use them is to make this glorious easy moist banana bread recipe. Even if I am on a diet that doesn't mean everyone else I know is and who wouldn't mind receiving a nice loaf of banana bread as a gift ;) Get creative... you can even add some walnuts or chocolate chips to this easy recipe if you want.

Enjoy!

INGREDIENTS:

1/3 Cup of Unsalted Butter (melted)
3/4 Cup of Brown Sugar
3 Bananas - (2 mashed and one for garnish)
1 TSP of Vanilla Extract
2 Egg (whisked)
2 Cups of All-Purpose Flour
1/4 TSP of Salt
1 TSP Baking Soda
1 TSP of Cinnamon


CHECK OUT THESE OTHER BREAD RECIPES!


DIRECTIONS:

Preheat over to 350 degrees.

Get a baking tray or loaf baking tray and butter all sides.

In a large bowl add in your butter and sugar. Blend with a hand blender until they come together.

Next, add in your banana and vanilla extract. Continue to blend.

Lastly, add in your egg and blend only until incorporated (don’t over blend).

In a second bowl add in your flour, salt, baking soda and cinnamon - whisk together until evenly mixed.

Slowly start to add in your dry ingredients to your wet ingredient bowl and mix on low with your hand blender. You may have to use a spatula to scrape the dry ingredient that build up on the side.

Once blended, scoop out your banana bread batter and place in your baking tray.

Garnish the banana bread batter with the 3rd banana before placing the tray in the oven to bake for about 1 hour (check at 50 minutes). Take a toothpick and stick it in the middle of the bread if when you pull it out nothing is on the toothpick it is ready.

Set aside to cool before cutting and serving.


FOLLOW ME ON INSTAGRAM @ISTHATSOH


I hope you enjoyed this classic banana bread recipe as much as I do. If you have any comments please leave them below and I'll be happy to answer them as soon as I can! Happy baking!!!


PIN THIS POST

CAULIFLOWER EGG FRIED RICE (LOW CARB & KETO)

Always on the lookout for a low carb option to make with my next meal, this cauliflower egg fried rice is my new favorite recipe. It’s so easy to make, is great for batch meal planning, and only takes a few minutes to prepare. If you are looking for a tasty low carb, keto, gluten-free recipe that is packed full of flavor and taste just like the traditional egg fried rice, you got to try this recipe!
Enjoy!

INGREDIENTS:

- Makes 4 Servings -

2 TBSP of Vegetable Oil
3 Scallions - Chopped
4 Garlic Cloves - Minced
1'“ of Fresh Ginger - Minced
1 CUP of Frozen Peas
1 500 gram Pack of Frozen Cauliflower Rice
4 TBSP Low Sodium Soya Sauce
2 TBSP Sesame Oil
3 Eggs - lightly beaten
Salt and Pepper to Taste

DIRECTIONS:

Heat up vegetable oil in a large skillet on high. When hot, throw in your chopped scallions and minced garlic and ginger. Allow to cook for 3-4 minutes before adding in your frozen peas.

When peas begin to turn bright green (about 4-5 minutes) add in your frozen cauliflower rice and mi thoroughly until well incorporated and there are no big chunks. Allow water to evaporate by continuing to cook for 5-7 minutes.

Next, add in your soya sauce and sesame oil, Mix until all the rice is coated before pushing the rice to one side fo the skillet.

On the empty side oft he skillet, add in your egg. Salt and pepper to taste. Fry it up, scrambling as it goes. Once cooked mix in with the rice and remove from heat.

Enjoy!


If you like this recipe or have any comments/questions, feel free to leave them in the comment section below!


PIN THIS POST