MOM'S OVEN ROASTED ROSEMARY GARLIC RACK OF LAMB

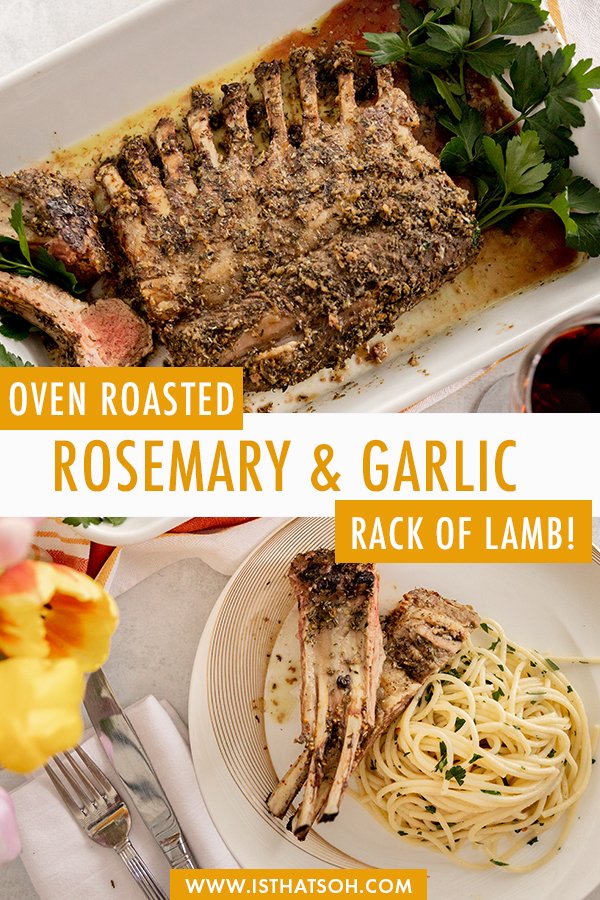
oven roasted rack of lamb!

An oven roasted rack of lamb recipe!

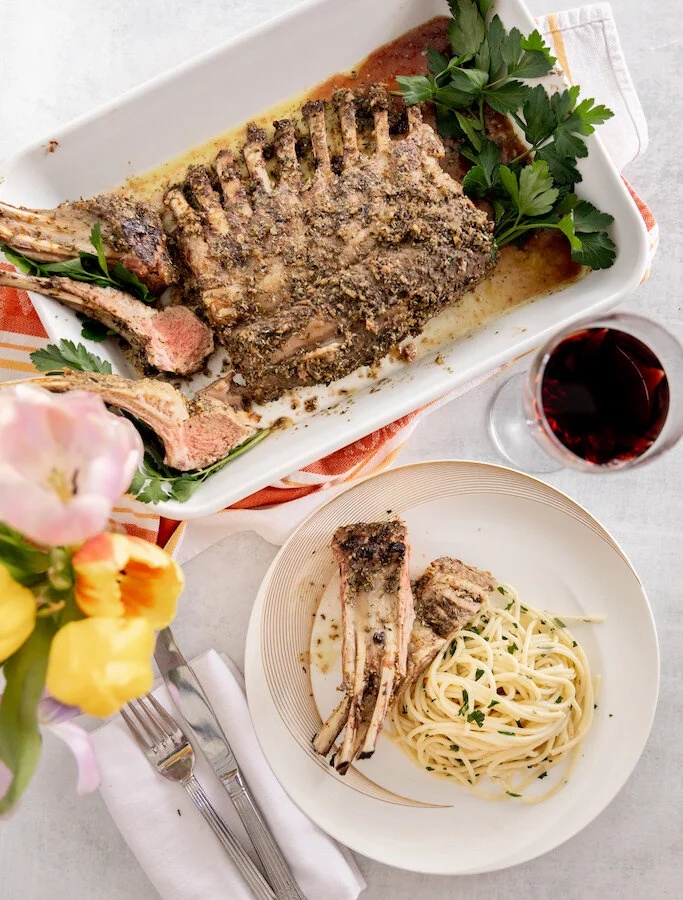
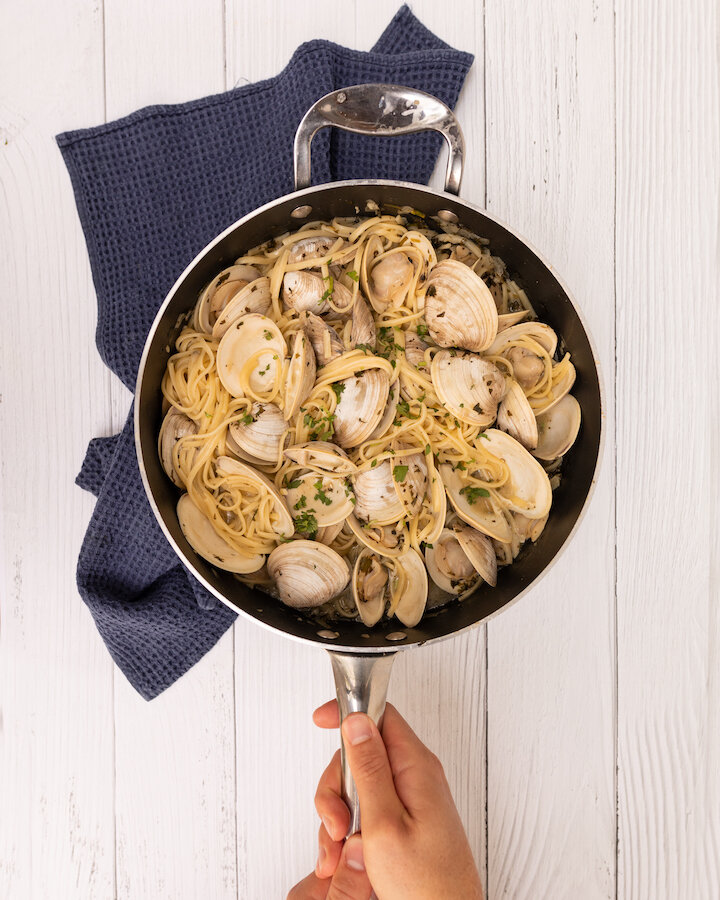
One thing I love about coming home is eating my mom’s cooking! This week, my mom taught me some of her specialties including her coveted oven-roasted rosemary garlic rack of lamb! Best served alongside her Aglio e olio pasta, this dish is on repeat weekly in our household. If you are looking for a super easy recipe to make this weekend that you can prepare ahead of time, you have to try this oven roasted rack of lamb! It is soooo good and always a crowd pleaser!

* Please Note - Some links in this post may be affiliate links *

INGREDIENTS:

COOKING TIME: 25 Minutes

Serves 4

Rack of Lamb (8-9 ribs) - trimmed
1/4 CUP of Olive Oil
2 TBSP of Fresh Rosemary
2 TSP of Fresh Thyme Leaves
8 Garlic Cloves
Zest of 1 Lemon
Salt and Fresh Cracked Pepper


Kitchen Tools:
Food Processor
Baking Sheet
Meat Thermometer


CHECK OUT THESE OTHER AWESOME DINNER MAINS


HOW TO COOK RACK OF LAMB:

In a food processor, add in your olive oil, rosemary, thyme and lemons zest, pulse until finely chopped.

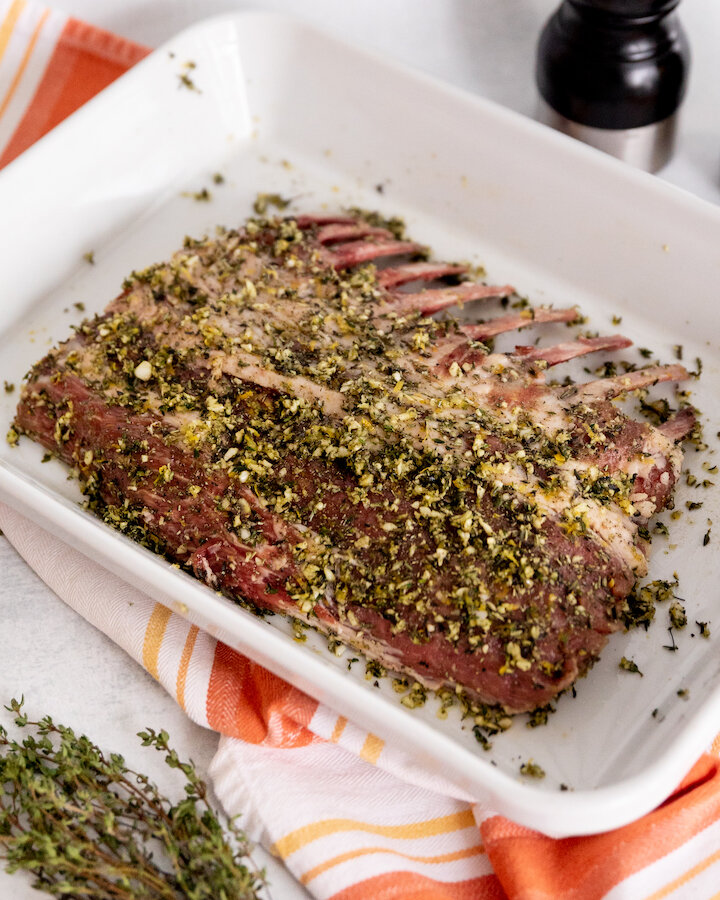
Salt and Pepper rack of lamb on both sides before covering in marinade and setting aside for 1 hour at room temperature on a baking sheet.

When ready, set oven to 450 and cook lamb for 15 minutes before rotating the baking sheet and continuing to cook for 10 minutes to ensure it cooks evenly and to medium rare. If you have a meat thermometer, for medium rare lamb the internal temperature should be at 130-140 degrees.

When meat is ready, remove from oven and let rest for 10 minutes before chopping it up into individual portions. This will allow the juice to redistribute.

Plate and serve.

Enjoy!

oven roasted rack of lamb

Oven roasted rack of lamb with rosemary and garlic


I hope you enjoyed this oven roasted rack of lamb recipe as much as I do. If you have any comments please leave them below and I'll be happy to answer them as soon as I can! Happy cooking!!!

PIN THIS POST

PIRI PIRI CHICKEN WITH ROASTED VEGGIES - A PORTUGESE CHICKEN RECIPE

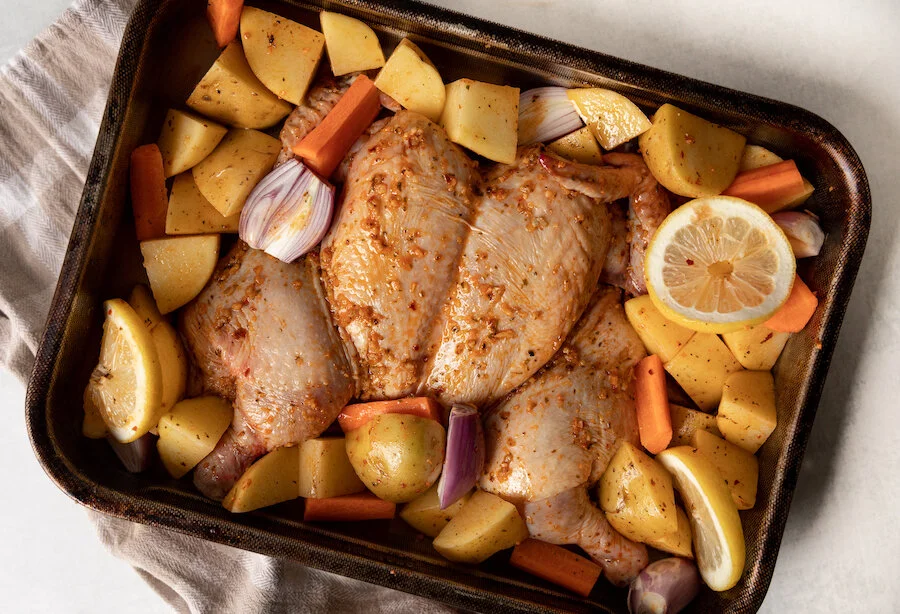
If you’re looking for something healthy and easy to make for dinner tonight that will transport you to the beautiful country of Portugal, may I suggest trying this easy Piri Piri chicken with roasted veggies? Best marinated a day in advance, this Portuguese chicken recipe doesn’t take long to make and always comes out super juicy. I love how the vegetable roast alongside the Piri Piri chicken in the excess fat to perfection until their exterior is crunchy and their insides are soft. Since Piri Piri sauce can be a little spicy and very juicy make sure to pair the chicken and veggies with a simple side like a helping of rice for a well-rounded authentic Portuguese chicken dinner.

Want to try making your own Piri Piri Mix at home? Check out Chef Mireille’s Piri Piri Spice Blend Recipe!

* Please Note - Some links in this post may be affiliate links *

INGREDIENTS:

Serves 2 people

- Piri Piri Chicken Glaze -
4 TBSP of Olive Oil
3 Garlic Cloves - pressed
2 TBSP of Piri Piri Spice Mix - For premade I like the clubhouse Piri Piri spice mix or the Farm Boy Mix however you can also check out Chef Mireille’s Piri Piri Spice Blend Recipe and make it at home!
2 TBSP of Lemon Juice
1 TSP of Lime Zest
Salt and Pepper
Whole Chicken - butterflied (mine was about 3.5 lbs) or you can use chicken thighs or quarters

- Roasted Veggies -
2-3 Yukon Potatoes - washed and cut in large pieces. I like to put my cut potato pieces in water while I prep all my ingredients so they don’t oxidize and turn colour. Drain water before use.
2 TBSP of Olive Oil
2 TSP of Piri Piri Spice Mix
Salt and Pepper
1 Large Carrot - chopped roughly
2-3 Shallots - chopped roughly
3 Lemon Slices or Wedges

- Garnish -
Parsley

- Fun Tools -
Meat thermometer


LOOKING FOR A MAIN DISH? CHECK OUT THESE OTHER RECIPES!


DIRECTIONS:

The first thing to do is marinate the chicken, preferably for a minimum of 4 hours or better yet overnight. In order to do so you must create the glaze.

Heat up the olive oil for your chicken glaze in a sauce pan and add in pressed garlic. Once they become fragrant (about 2 minutes) add in your Piri Piri spice mix, lemon juice, lemon zest, salt and pepper. Stir and set aside to cool.

Wash and dry your chicken before coating it with the glaze. Make sure to coat both sides of the chicken well before covering with plastic wrap and storing in the fridge. Alternatively, you can also do this in a zip lock bag if you can find one big enough.

When you are ready to start cooking, preheat oven to 375F on convection roast (if you don’t have the setting, roast or bake is fine) and remove your chicken from the fridge. Place chicken and all the glaze in the middle of a sheet or roasting pan.

Next, toss your potatoes in olive oil, Piri Piri mix, and salt and pepper until evenly coated. Place potatoes in the sheet pan surrounding the chicken along with roughly chopped carrots and shallots. Garnish with lemon slices before roasting in the oven for 45-55 minutes on the middle rack or until tender.

If you have a meat thermometer the minimum for chicken is 165. You can use it to check if the chicken is done or you can check manually by cutting into it to see if it’s pink inside. If the chicken is done and the potatoes are not, feel free to take the chicken out of the sheet pan and cover it with aluminum foil to keep warm before placing the veggies back in the oven until they become tender.

When potatoes are ready, add chicken back in and serve!

Enjoy!


FOLLOW ME ON INSTAGRAM @ISTHATSOH


I hope you enjoyed this Piri Piri Chicken Portugues chicken recipe as much as I do. If you have any comments please leave them below and I'll be happy to answer them as soon as I can! Happy cooking!!!


PIN THIS POST

MOROCCAN BROCCOLI SALAD - GLUTEN FREE, KETO & VEGAN

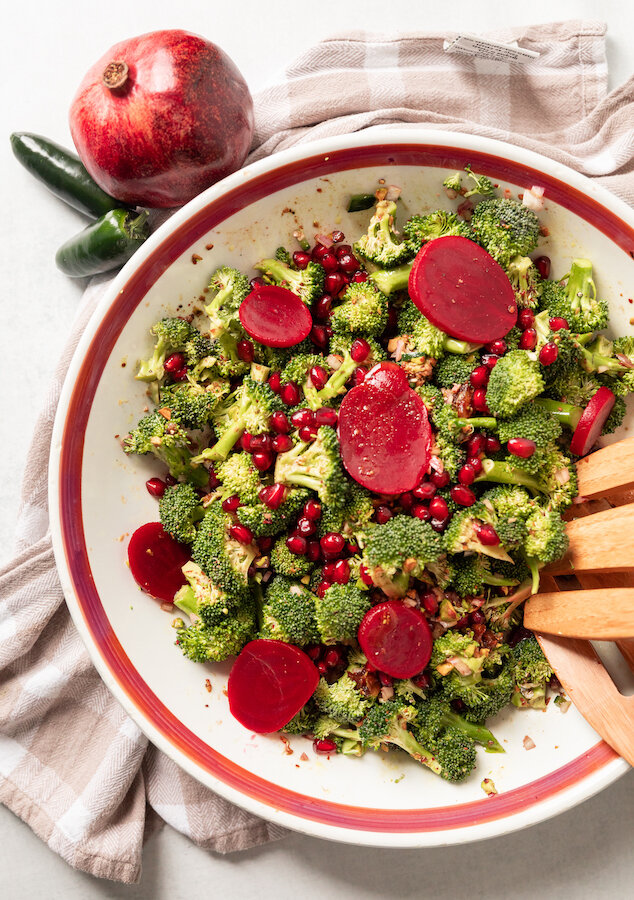
Packed full of antioxidants, this delicious Moroccan raw broccoli salad is both beautiful to look at and packed full of nutrients. If you, like me, are looking for ways to eat healthier without compromising on taste, this gluten free, vegan, keto broccoli salad is perfect. Since it can be prepared a day in advance and keeps well in the fridge, it also is great for meal planning or a grab-and-go snack. Not to mention it takes only a few minutes to make!

Enjoy!

INGREDIENTS:

Serves 4

- Dressing -
6 TBSP of Grape Seed Oil
1 TSP of Ras-El-Hanout Spice
1 Garlic Clove (pressed or chopped finely)
2 TBSP of Fresh Lemon Juice
2 TBSP of Balsamic Vinegar
1 TBSP of Honey (can be substituted with Agave if you are vegan)
Salt and Pepper to taste

- Salad -
6 CUPS of Broccoli Florets
1 Shallot (chopped Finely)
1 Jalapeno (chopped finely)
1/3 CUP of Dates (pits removed and chopped finely) - reduce the amount or leave out if you want more of a keto broccoli salad)
1/4 Cup of Roasted Pistachios (chopped finely)
Salt and Pepper to taste

- Optional Garnish-
1/4 CUP of Pomegranate Seeds
5-6 Slices of Pickled Beets (use sugar-free pickled beets if you want more of a keto broccoli salad)


LOOKING FOR SOME HEALTHY RECIPES? CHECK THESE OUT TOO!


DIRECTIONS:

Remove sauce pan from heat and add in lemon juice, balsamic vinegar, and honey (or agave). Salt and pepper to taste and set aside to cool.

Next, add your broccoli, shallots, dates, jalapenos and pistachios to a large salad bowl. Dress with your ras-el-hanout dressing, toss and garnish with pomegranates and slices of picked beats. Salt and pepper once again to taste.

Cover and chill if prepared in advance otherwise enjoy!


FOLLOW ME ON INSTAGRAM @ISTHATSOH


I hope you enjoyed this gluten free, vegan, keto broccoli salad recipe as much as I do. If you have any comments please leave them below and I'll be happy to answer them as soon as I can! Happy cooking!!!


PIN THIS POST

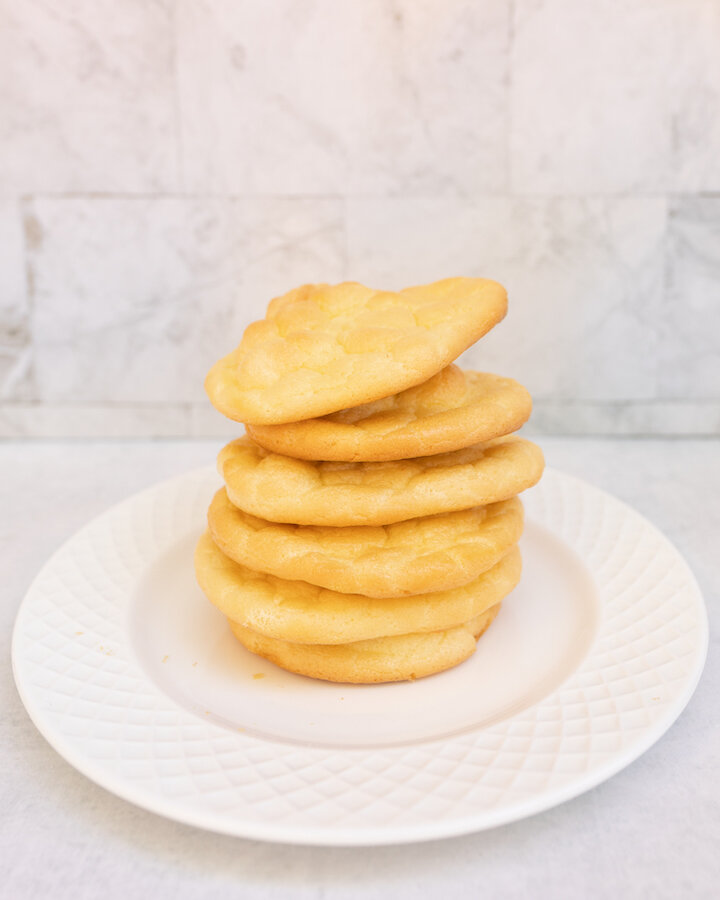
CLOUD BREAD *GLUTEN FREE & KETO FRIENDLY*

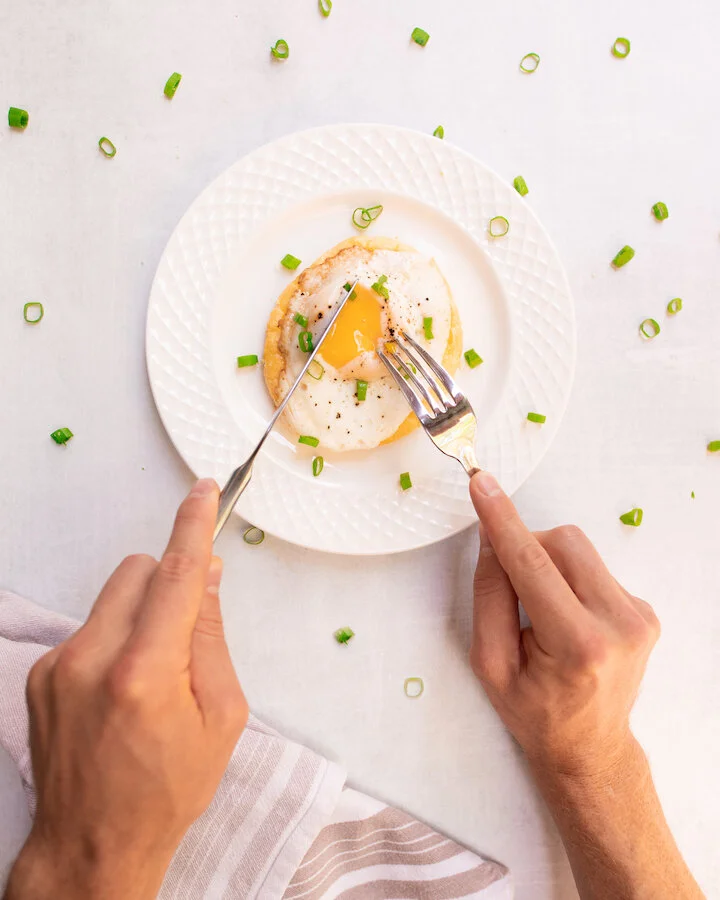
I know what you are thinking… Cloud bread? What is cloud bread? Well, it is a super fluffy, soft, delicious bread made from three ingredients! I first came across a cloud bread recipe while on TikTok and the fluffiness and name instantly caught my eye. Not only is it super easy and quick to make but keto-friendly, gluten-free, and so versatile - you can use it as a base for a pizza, or for your eggs at breakfast, etc. Best of all, it’s so delicious and I know you are going to love it just as much as I do! If you are wondering how to make cloud break and want an easy cloud bread recipe that is keto-friendly, check mine out below!

Enjoy!

CLOUD BREAD INGREDIENTS:

Makes 6-8 Pieces

3 Eggs - room temperature
3 TBSP of Cream Cheese - room temperature
1/4 TSP of Cream of Tartar


CHECK OUT THESE OTHER EASY KETO RECIPES


HOW TO MAKE CLOUD BREAD - DIRECTIONS:

Preheat oven to 300 and line a baking sheet with parchment paper.

In two medium-size bowl, separate the eggs, putting the yolk in one bowl and the whites in another.

Using a hand mixer, beat the egg whites on a low-medium speed until bubbles start to form before adding in the cream of tartar. When ready, turn the speed up to high on the hand mixer and continuing to whip egg whites until stiff peaks start to form.

Next, in the bowl with the yolks, add in the cream cheese and beat until blended and smooth.

Next, fold the bowl with your egg whites into the bowl with the yolks and cream cheese. Try not to over mix because you will deflate your cloud bread.

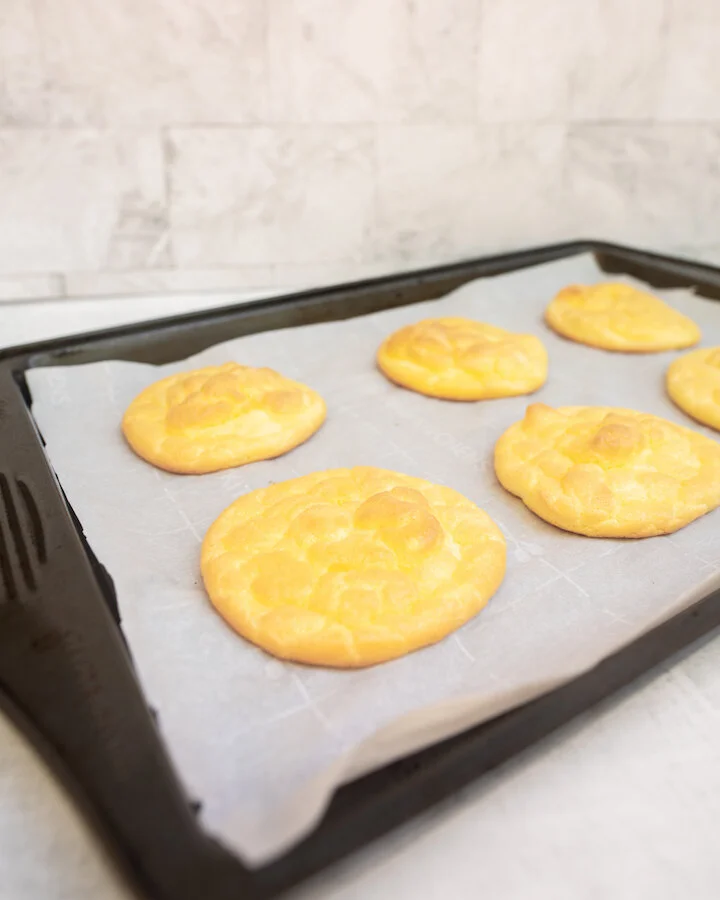
When ready, scoop a dollop of the batter using a large spoon onto your baking sheet and bake for 20-30 until medium golden brown.


FOLLOW ME ON INSTAGRAM @ISTHATSOH

Gallery Block
This is an example. To display your Instagram posts, double-click here to add an account or select an existing connected account. Learn more

I hope you enjoyed this TikTok cloud bread recipe as much as I do. If you have any comments please leave them below and I'll be happy to answer them as soon as I can! Happy cooking!!!


PIN THIS POST

CAULIFLOWER HASH BROWN EGG BITES

Always on the look out for a keto friendly recipe, these cauliflower hash brown egg bites are the perfect addition to your weekly breakfast line up. If you are looking for something to batch make that is not only low carb but also gluten free, you have to try this recipe. Not only are they delicious but you can add a variety of toppings to them like smoke salmon and chives or ham and tomato. Plus, they are packed full of protein so you can feel good about starting your day off on the right foot. Enjoy!

INGREDIENTS:

Makes 9 Cups

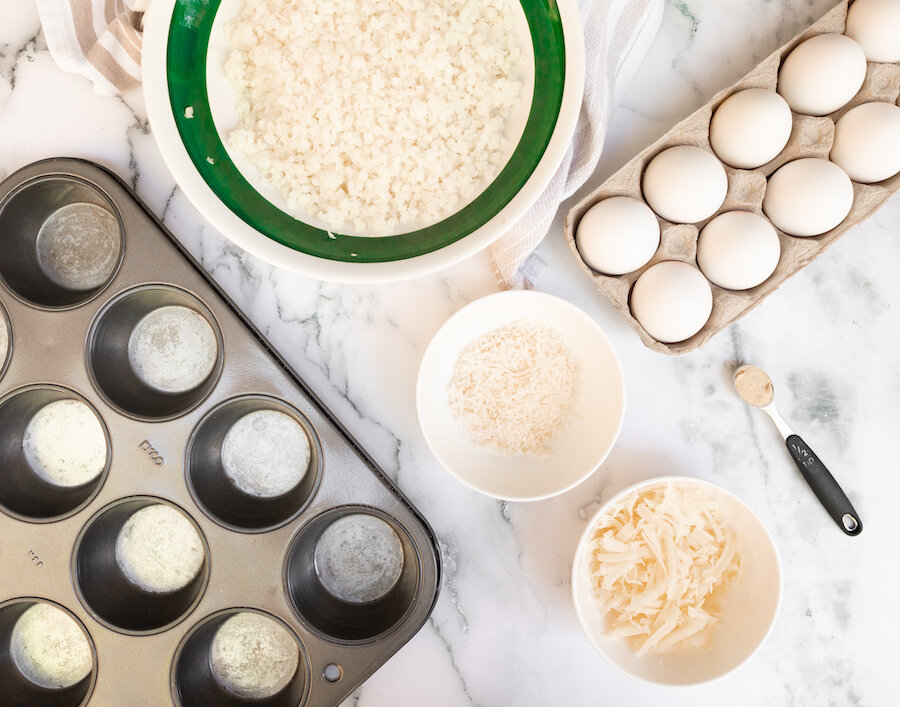
500 Grams of Frozen Riced Cauliflower - defrosted
1 Large Egg - whisked
1/2 CUP of Cheddar Cheese
1/2 Cup of Parmesan
1 TSP of Salt
1/2 TSP of Garlic Powder
Pepper to Taste
9 Eggs

Additional Toppings - Optional
Chili Pepper Flakes
Green Onion
Chives

DIRECTIONS:

Preheat oven to 350 and butter your muffin tray really well! If you don’t it will be hard to remove the cauliflower cups later.

In a large bowl, microwave your cauliflower for 8 minutes. Remove and let rest of 5 minutes before putting it a cheesecloth or tea towel to squeeze out as much liquid as possible. There is a lot of excess water in cauliflower so you will need to squeeze it really hard!

Next, in a large bowl, add in your whisked egg, cauliflower, cheddar cheese, parmesan, salt, and garlic powder and mix well using your hands.

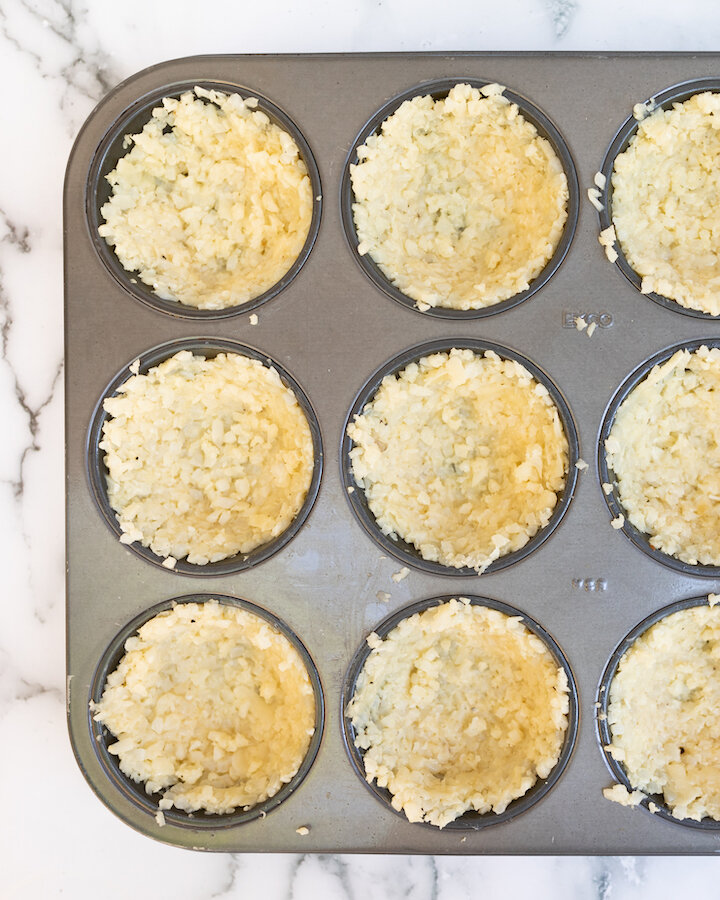
Take your cauliflower mixture and press it into your muffin tray to form your ‘cups’.

When ready, place muffin tray in the oven and bake for 15-20 until the cups are golden and edges are brown.

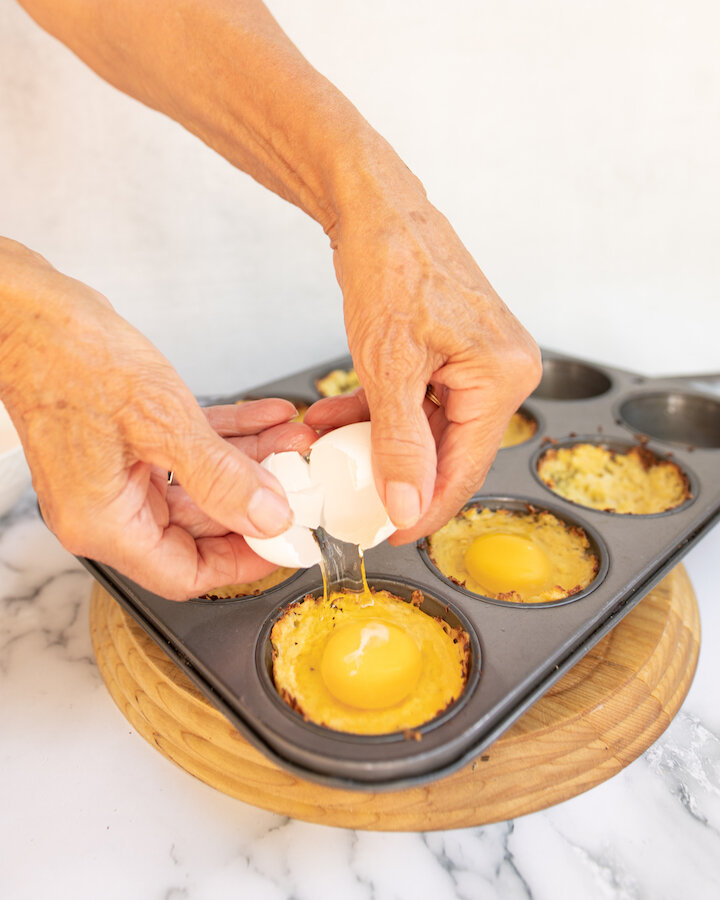
Remove from oven, add in one egg to each cup, sprinkle salt and pepper to taste on top before placing back into the oven for another 10-15 minutes or until whites are set.

When done, remove from oven and allow egg bites to sit for 5 minutes before taking a knife and sliding it around the edge of each muffin mold to help remove the egg bites from the tray.

Add your desired garnishes and serve.

Enjoy!


I hope you enjoyed this recipe as much as I do. If you have any comments please leave them below and I'll be happy to answer them as soon as I can! Happy cooking!!!

PIN THIS POST