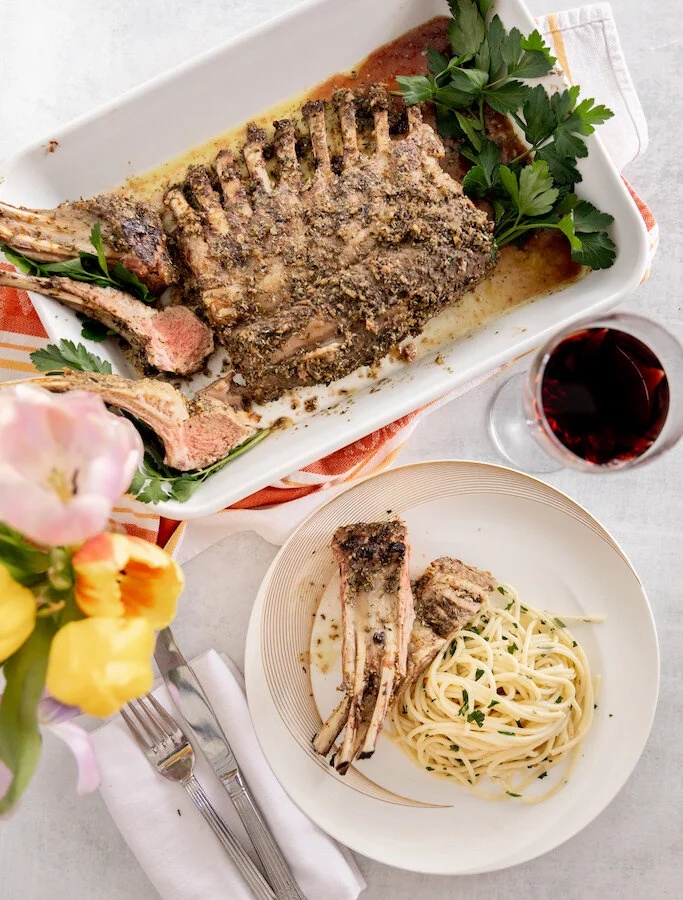
MOM'S OVEN ROASTED ROSEMARY GARLIC RACK OF LAMB

oven roasted rack of lamb!

An oven roasted rack of lamb recipe!

One thing I love about coming home is eating my mom’s cooking! This week, my mom taught me some of her specialties including her coveted oven-roasted rosemary garlic rack of lamb! Best served alongside her Aglio e olio pasta, this dish is on repeat weekly in our household. If you are looking for a super easy recipe to make this weekend that you can prepare ahead of time, you have to try this oven roasted rack of lamb! It is soooo good and always a crowd pleaser!

* Please Note - Some links in this post may be affiliate links *

INGREDIENTS:

COOKING TIME: 25 Minutes

Serves 4

Rack of Lamb (8-9 ribs) - trimmed
1/4 CUP of Olive Oil
2 TBSP of Fresh Rosemary
2 TSP of Fresh Thyme Leaves
8 Garlic Cloves
Zest of 1 Lemon
Salt and Fresh Cracked Pepper


Kitchen Tools:
Food Processor
Baking Sheet
Meat Thermometer


CHECK OUT THESE OTHER AWESOME DINNER MAINS


HOW TO COOK RACK OF LAMB:

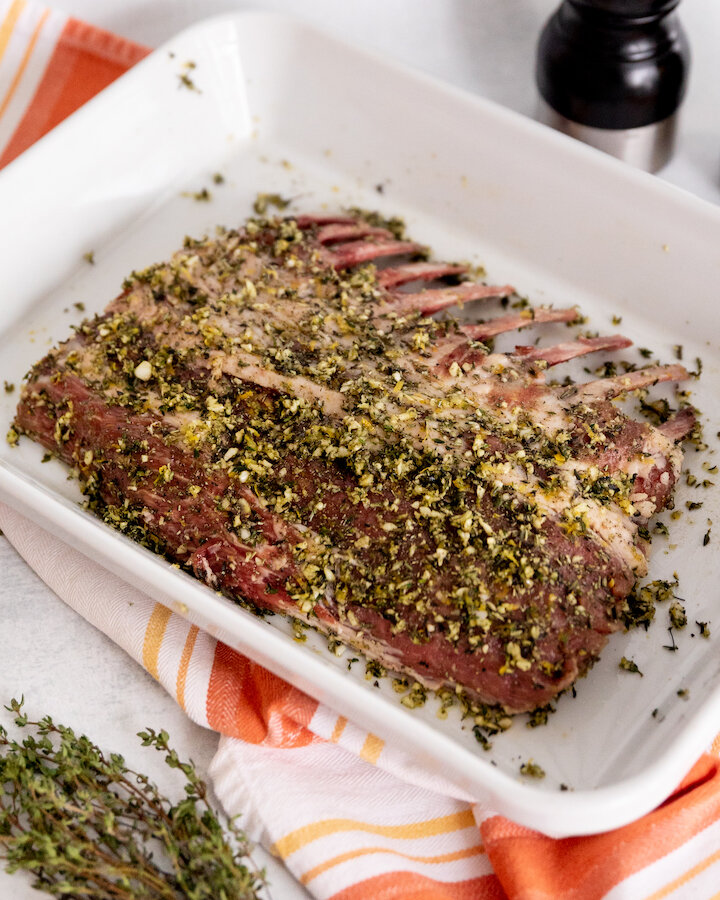
In a food processor, add in your olive oil, rosemary, thyme and lemons zest, pulse until finely chopped.

Salt and Pepper rack of lamb on both sides before covering in marinade and setting aside for 1 hour at room temperature on a baking sheet.

When ready, set oven to 450 and cook lamb for 15 minutes before rotating the baking sheet and continuing to cook for 10 minutes to ensure it cooks evenly and to medium rare. If you have a meat thermometer, for medium rare lamb the internal temperature should be at 130-140 degrees.

When meat is ready, remove from oven and let rest for 10 minutes before chopping it up into individual portions. This will allow the juice to redistribute.

Plate and serve.

Enjoy!

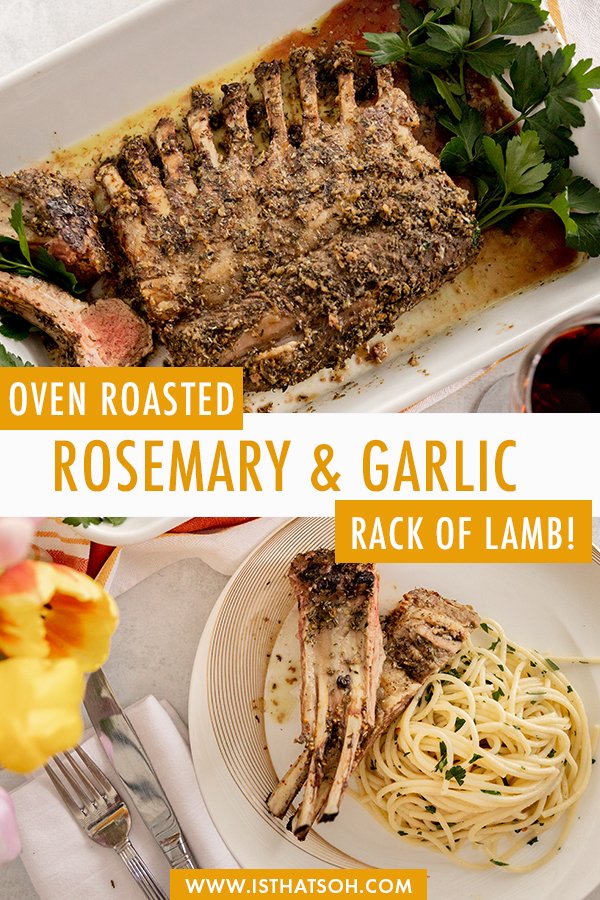
oven roasted rack of lamb

Oven roasted rack of lamb with rosemary and garlic


I hope you enjoyed this oven roasted rack of lamb recipe as much as I do. If you have any comments please leave them below and I'll be happy to answer them as soon as I can! Happy cooking!!!

PIN THIS POST

MOROCCAN BROCCOLI SALAD - GLUTEN FREE, KETO & VEGAN

Packed full of antioxidants, this delicious Moroccan raw broccoli salad is both beautiful to look at and packed full of nutrients. If you, like me, are looking for ways to eat healthier without compromising on taste, this gluten free, vegan, keto broccoli salad is perfect. Since it can be prepared a day in advance and keeps well in the fridge, it also is great for meal planning or a grab-and-go snack. Not to mention it takes only a few minutes to make!

Enjoy!

INGREDIENTS:

Serves 4

- Dressing -
6 TBSP of Grape Seed Oil
1 TSP of Ras-El-Hanout Spice
1 Garlic Clove (pressed or chopped finely)
2 TBSP of Fresh Lemon Juice
2 TBSP of Balsamic Vinegar
1 TBSP of Honey (can be substituted with Agave if you are vegan)
Salt and Pepper to taste

- Salad -
6 CUPS of Broccoli Florets
1 Shallot (chopped Finely)
1 Jalapeno (chopped finely)
1/3 CUP of Dates (pits removed and chopped finely) - reduce the amount or leave out if you want more of a keto broccoli salad)
1/4 Cup of Roasted Pistachios (chopped finely)
Salt and Pepper to taste

- Optional Garnish-
1/4 CUP of Pomegranate Seeds
5-6 Slices of Pickled Beets (use sugar-free pickled beets if you want more of a keto broccoli salad)


LOOKING FOR SOME HEALTHY RECIPES? CHECK THESE OUT TOO!


DIRECTIONS:

Remove sauce pan from heat and add in lemon juice, balsamic vinegar, and honey (or agave). Salt and pepper to taste and set aside to cool.

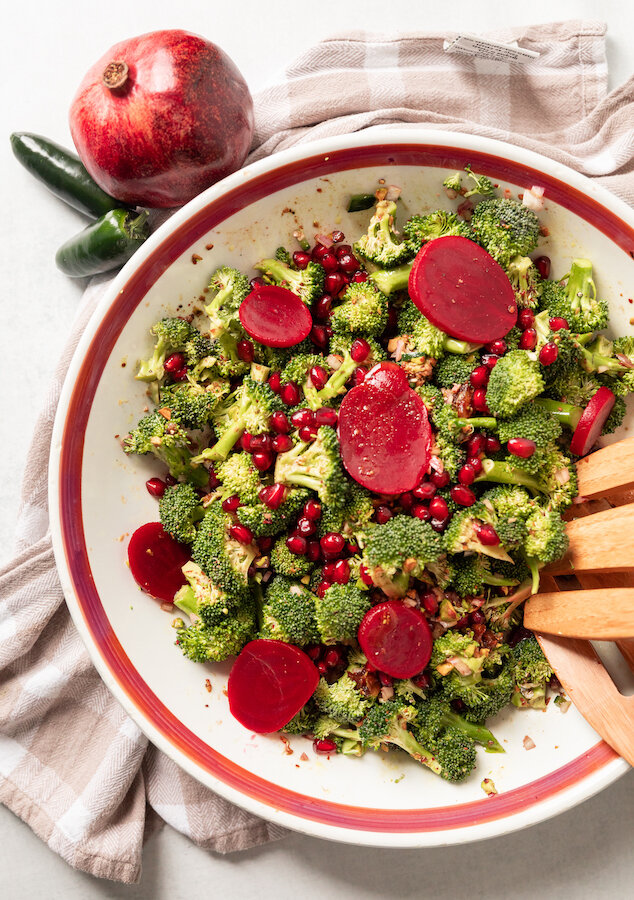
Next, add your broccoli, shallots, dates, jalapenos and pistachios to a large salad bowl. Dress with your ras-el-hanout dressing, toss and garnish with pomegranates and slices of picked beats. Salt and pepper once again to taste.

Cover and chill if prepared in advance otherwise enjoy!


FOLLOW ME ON INSTAGRAM @ISTHATSOH


I hope you enjoyed this gluten free, vegan, keto broccoli salad recipe as much as I do. If you have any comments please leave them below and I'll be happy to answer them as soon as I can! Happy cooking!!!


PIN THIS POST

CAULIFLOWER EGG FRIED RICE (LOW CARB & KETO)

Always on the lookout for a low carb option to make with my next meal, this cauliflower egg fried rice is my new favorite recipe. It’s so easy to make, is great for batch meal planning, and only takes a few minutes to prepare. If you are looking for a tasty low carb, keto, gluten-free recipe that is packed full of flavor and taste just like the traditional egg fried rice, you got to try this recipe!

Enjoy!

INGREDIENTS:

- Makes 4 Servings -

2 TBSP of Vegetable Oil
3 Scallions - Chopped
4 Garlic Cloves - Minced
1'“ of Fresh Ginger - Minced
1 CUP of Frozen Peas
1 500 gram Pack of Frozen Cauliflower Rice
4 TBSP Low Sodium Soya Sauce
2 TBSP Sesame Oil
3 Eggs - lightly beaten
Salt and Pepper to Taste

DIRECTIONS:

Heat up vegetable oil in a large skillet on high. When hot, throw in your chopped scallions and minced garlic and ginger. Allow to cook for 3-4 minutes before adding in your frozen peas.

When peas begin to turn bright green (about 4-5 minutes) add in your frozen cauliflower rice and mi thoroughly until well incorporated and there are no big chunks. Allow water to evaporate by continuing to cook for 5-7 minutes.

Next, add in your soya sauce and sesame oil, Mix until all the rice is coated before pushing the rice to one side fo the skillet.

On the empty side oft he skillet, add in your egg. Salt and pepper to taste. Fry it up, scrambling as it goes. Once cooked mix in with the rice and remove from heat.

Enjoy!


If you like this recipe or have any comments/questions, feel free to leave them in the comment section below!


PIN THIS POST

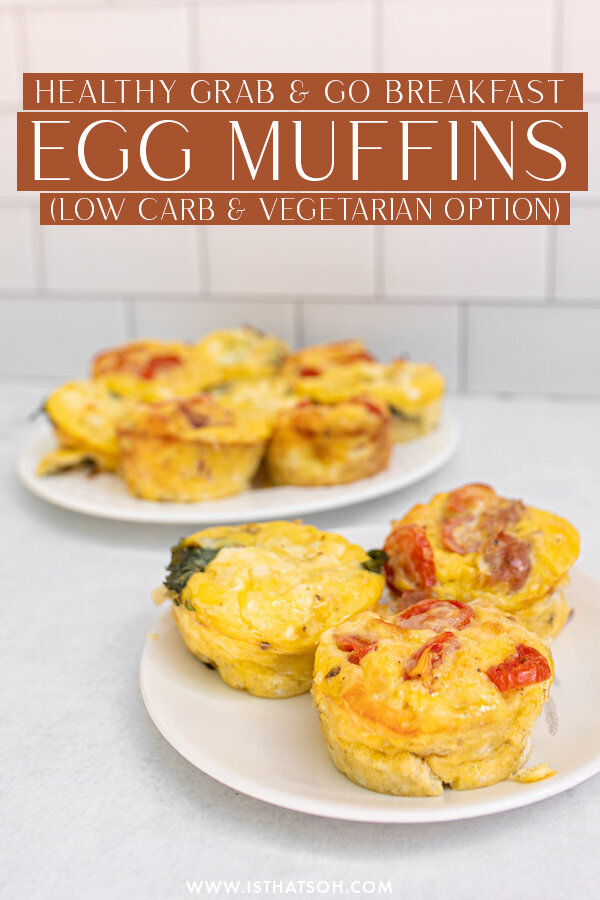
HEALTHY GRAB AND GO BREAKFAST EGG MUFFINS 2 WAYS - LOW CARB & VEGETARIAN OPTION

As someone who thrives on being a busy body, I often forget to eat or worse, go after items high in carbs and sugar as a way to sustain my energy and curb my cravings. Knowing this, I decided to make some delicious, healthy, grab and go egg bites that I can batch make and store in the fridge for easy access throughout the week. This has totally helped me choose better snacking foods and its super easy to just warm up quickly in the microwave before I head out the door. I love them in the morning or after a workout and they are packed full of protein and veggies so you can have two or three completely guilt free!

Hope you like them!

INGREDIENTS:

- Makes 12 Servings -

Butter to Greece Baking Sheet
!2 Large Eggs
1 Small Sweet Onion - chopped roughly
Salt and Pepper To Taste

- For 6 Muffins Italian Style -
1/4 Cup of Freshly Grated Mozerella
5-6 Cherry Tomatoes, Sliced
3-4 Strips of Prosciutto

- For 6 Muffins Greek Vegetarian Style -
1/4 Cup of Grated Halloumi
1/4 Cup of Crumbled Feta Cheese
A handful of Freshly Washed Spinach

DIRECTIONS:

Preheat oven to 350.

Greece baking tray wel.

Mix eggs, onion, salt and pepper in a large bowl and whip together.

Pour mixture into baking tray till each muffin cup is 1/2 way full.

Add in ingredients for both the Italian and Greek style.

Bake for 25-30 minutes until the tops brown slightly.

Remove and let sit for 10 minutes before trying to remove them from the tray.

Enjoy!

P.s You can store these eggs muffins in the fridge for 3-4 days in a ziplock bag or sealed container and warm up in the microwave for an easy grab and go snack!!


If you like this recipe or have any comments/questions, feel free to leave them in the comment section below!


PIN THIS POST

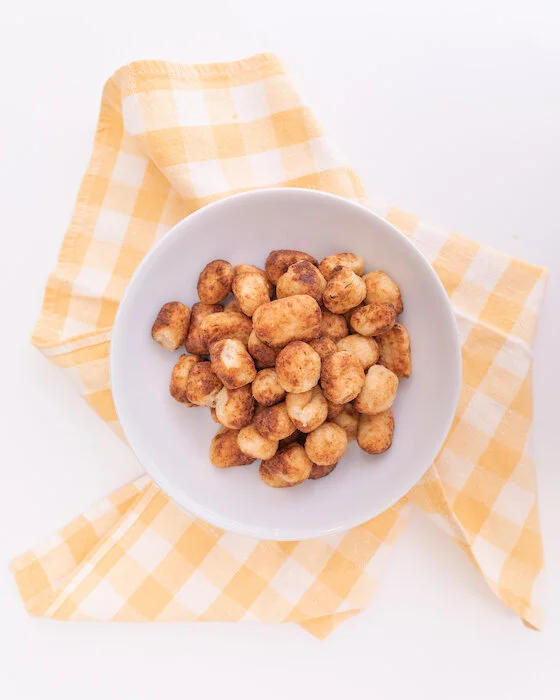
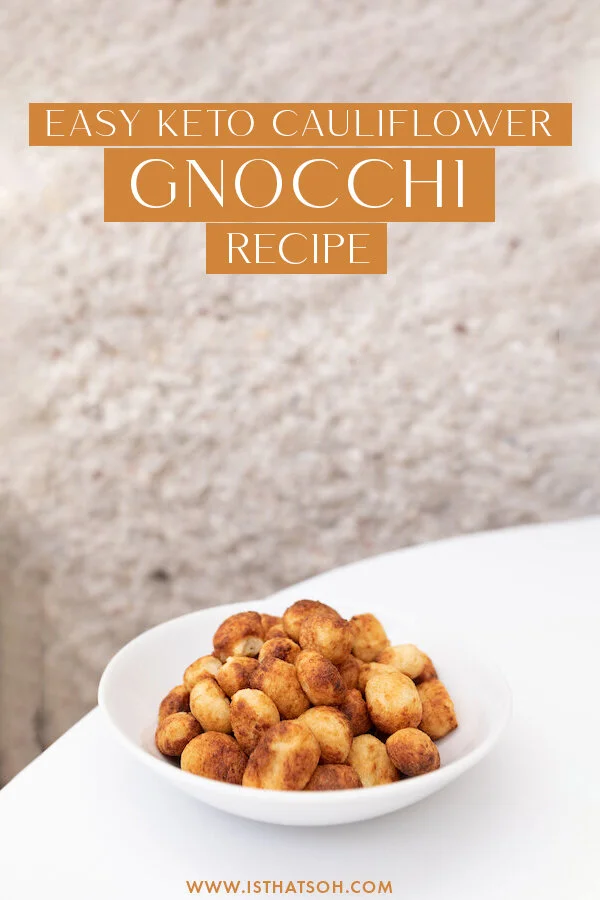
EASY KETO CAULIFLOWER GNOCCHI RECIPE

Since getting back on the Keto diet (click here to read about my Keto diet experience) I have been experimenting with new recipes to help me stay on track. One recipe that I developed using a combination of recipes I found online and experimenting with a few times, was Keto cauliflower gnocchi recipe that you can make using an air fryer or some oil in a pan if you don’t have an air fryer. Turned out that my entire family approved and actually preferred it over the regular Gnocchi I whipped up for the taste test. PLUS, it’s super easy to make! A double win! If you are looking for a healthy pasta alternative - you got to try this cauliflower gnocchi recipe!

Enjoy!


INGREDIENTS:

- Serves 4 people

1 Head of Cauliflower
1 CUP of Almond Flour
1/2 CUP of Arrowroot Flour
1 TSP of Garlic
1 TSP of Salt
1 CUP of Freshly Grated Parmesan Cheese
1 TBSP of Olive Oil if you are pan frying it


LOOKING FOR KETO RECIPES? CHECK THESE OUT TOO!


DIRECTIONS:

Cut the cauliflower florets off the stem in small chunks and steam until tender.

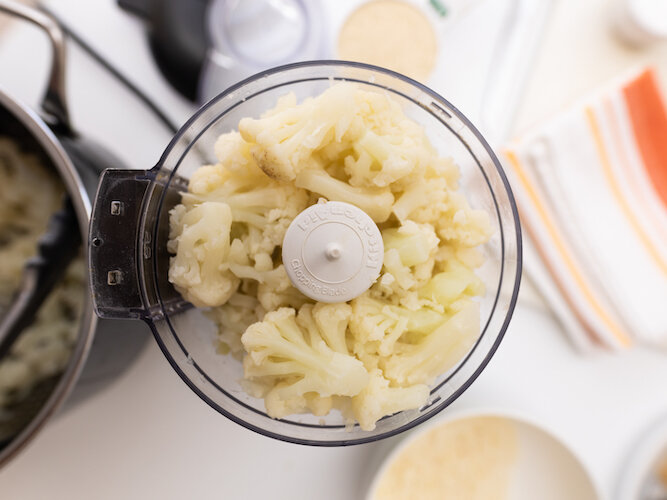
Once tender, remove the cauliflower from pot and place in a food processor. Pulse until the consistency of the cauliflower is like mash potatoes before piling it in the middle of a clean dishcloth and wringing out as much excess water as possible. Even when you think you’re done, you’re probably not so give it another wring!

Place the cauliflower in a bowl and add in the garlic, almond flour, arrowroot flour, salt, and parmesan cheese. Mix until thoroughly incorporated till it forms a soft dough. Cut dough into quarters.

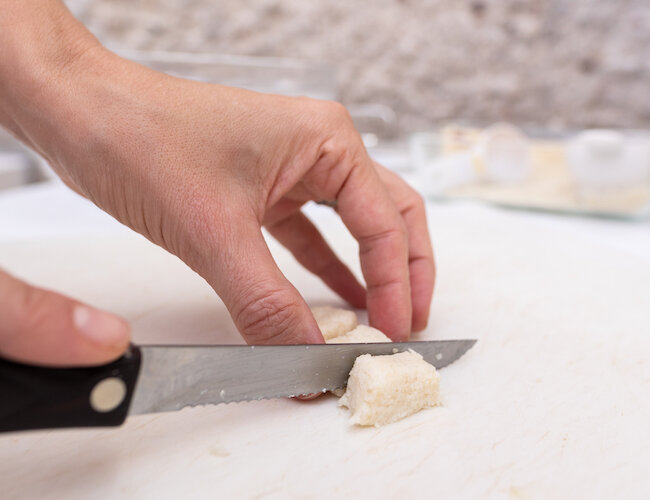
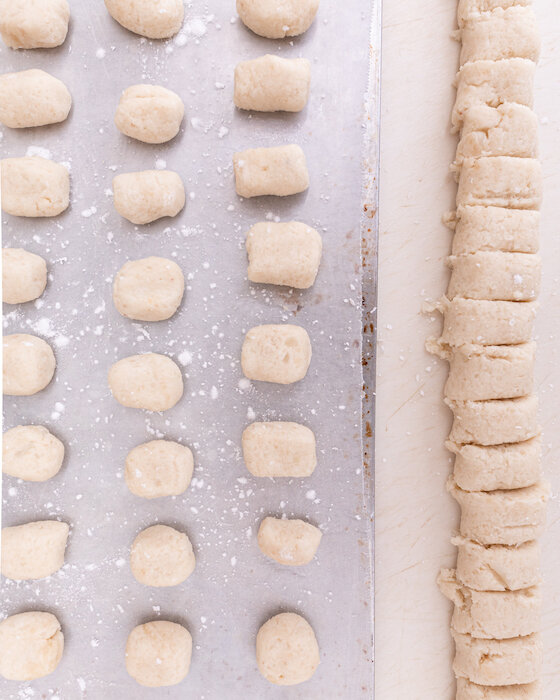
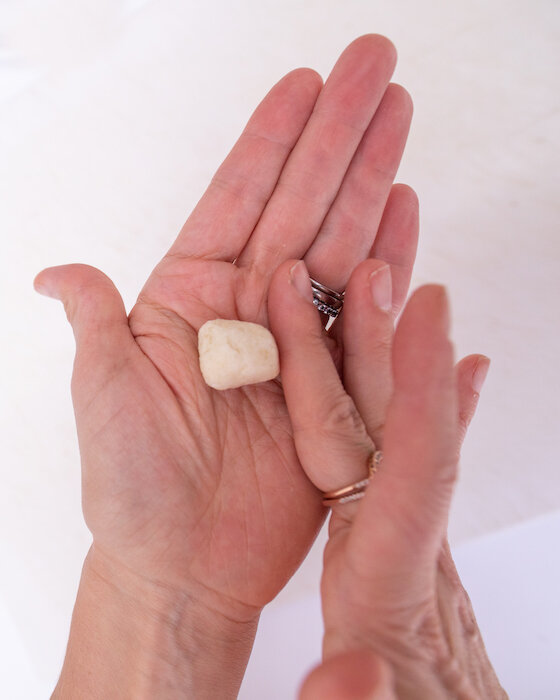
On a lightly floured surface, roll each quarter of the dough out using your hands to form a long rope about 3/4 to 1 inch in diameter. Cut the dough into 1/2 inch pieces and picking up each one, smooth the edges into small oblong balls resembling gnocchi. Once done, place on a lightly floured baking sheet lined with parchment paper.

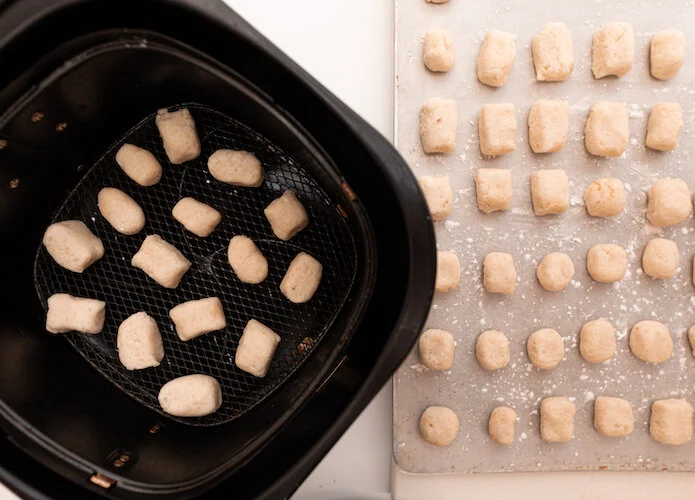
Now it is time to cook the cauliflower gnocchi. I recently used an air fryer and loved the results. If you have one you can cook them at 400 for 6 -7 minutes or fry in a tbsp of olive oil on the stove in a pan until golden brown.

When ready, serve with sauce of choice.


FOLLOW ME ON INSTAGRAM @ISTHATSOH


If you like this air fryer cauliflower gnocchi recipe or have any comments/questions, feel free to leave them in the comment section below!


PIN THIS POST