CLASSIC ITALIAN BRUSCHETTA RECIPE

italian brushcetta recipe_-3.jpg

A classic Italian Bruschetta Recipe with Cheese

Italian cuisine has always been one of my favorites. When I was little my mom took my brother and I to Italy for the summer and we stayed in this villa outside the small medieval town of Montalcino, smack in the middle of Tuscan wine country. The villa was owned by a winemaker and farmer and was situated on the edge of his vast property. I remember running through the rows of grapevines, chasing sheep, and stomping buckets of grapes for fun. A child's dream playground and also the place I was first introduced to Italian cuisine (at least as far back as I can actually recall) and believe me it was love at first taste!

Bruschetta is a typical antipasto that comes before your meal and opens up your stomach for the usual large plant of pasta to follow. I am a huge fan of a classic tomato bruschetta and making it at home quite often. Not only is a classic bruschetta actually quite easy and straightforward to make but it also takes no time at all. If you are looking for an easy authentic Italian bruschetta recipe to make for your next meal, check out my bruschetta recipe below!

INGREDIENTS:

Serves 3-4 as an appetizer

1/4 Cup of Extra Virgin Olive Oil
2-3 Cloves of Garlic (if you like garlic put more... obviously) - minced
3 Tomatoes (I use vine tomatoes) - remove seeds and chop into pinkie nail size bits
1/3 Cup of Chopped Fresh Basil Leaves
Salt and Pepper to taste
French Baguette - Cut into pieces
Parmasan Cheese - optional garnish


CRAVING ITALIAN FOOD? CHECK OUT THESE OTHER DELICIOUS ITALIAN RECIPES!


HOW TO MAKE AN AUTHENTIC ITALIAN BRUSCHETTA!

In a small skillet, heat up extra virgin olive oil on medium - low heat. When ready, add in the garlic and allow to cook until aromatic and translucent (about 2-3 minutes). Remove from heat.

In a bowl, add your garlic and olive oil, chopped tomatoes, and basil. Sprinkle with salt and pepper to taste. Mix thoroughly and set aside.

italian brushcetta recipe_-4.jpg

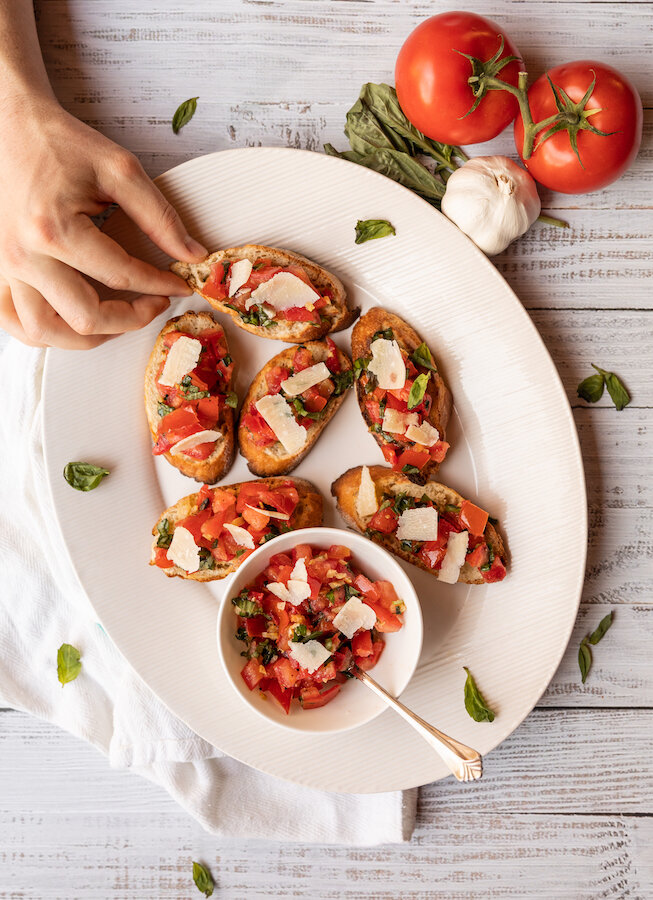
An authentic Italian bruschetta with cheese

Cut the baguette into 1/2 inch slices and brush with olive oil on one side. Place them on a baking sheet, olive oil side up, and broil them in the oven until they start to brown (like toast). Once out of the oven dress the baguette with the bruschetta ingredients in the bowl.

Garnish with some more chopped fresh basil or parmesan cheese if you like and it is ready to serve!

italian brushcetta recipe_-2.jpg

An authentic Italian bruschetta with cheese

CHECK OUT THIS VIDEO ON HOW TO MAKE BRUSCHETTA


FOLLOW ME ON INSTAGRAM @ISTHATSOH


I hope you enjoyed this easy Italian bruschetta recipe. If you did please tell me about your experience in the comments below. If you want me to try something else I am always up for suggestions!!!!

PIN THIS POST

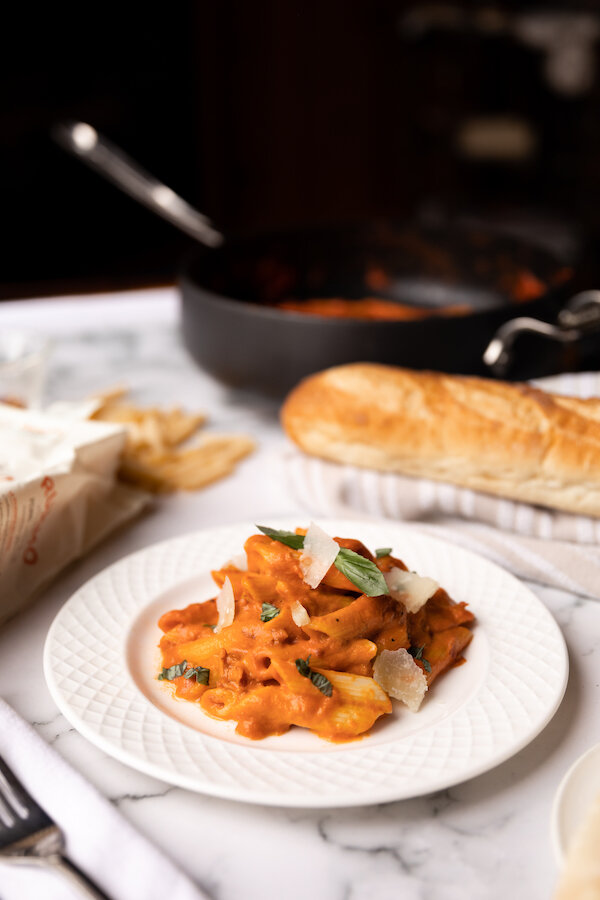
PENNE ALLA VODKA - AN AUTHENTIC VODKA SAUCE RECIPE

This authentic vodka sauce recipe is one of my all-time favorite pasta dishes and one of my most frequently asked for. People just love it, especially in the winter when the warmth and spiciness of this dish balance out the weather outside. Jam-packed full of carbs and comfort this dish definitely gives you the energy your body needs to stay warm all year round. All that aside though, it is a classic Italian vodka sauce recipe you can easily tweak to your desired spice level! First time cooking with vodka? Don’t worry, all alcohol in the vodka does evaporate during the cooking process while the vodka helps detach all the juicy pork flavor from the bottom of the skillet to ensure the most flavorful sauce you can possibly get! Enjoy!

INGREDIENTS:

SERVES 4-5
10 Min Prep, 50 min Cooking Time

1 Pack of Penne Pasta (Usually feeds 4-5)
1-1.5 650ml Bottles of Tomato Sauce (basic Pomodoro or tomato & basil)
1 TBSP of Butter (Salted
1 Cup of Vodka
200-300grams Of Pancetta or Black Forest Ham (chopped finely - almost minced)
1 TSP of Chili Flakes (optional)
1 Medium box of 35% Whipping cream
Parmesan Cheese (1 Cup Shaved and 1 Cup for garnish)
Salt and Pepper to Taste
Baguette (optional)


HERE ARE SOME OTHER PASTA RECIPES YOU MAY ALSO ENJOY!


DIRECTIONS:

Melt the butter down in a deep skillet on medium heat. Once the butter is melted and hot add in the chunks of pancetta or minced ham, tossing it in the butter and allowing it to cook until it becomes crispy.

Once the pancetta or ham is crispy add in your cup of vodka. It will create some more heat and steam but don't worry all the alcohol will burn out. This helps all the flavor from the ham that stuck to the bottom of the skillet to be transferred back into the flavors of the sauce later. Scrape the bottom of the skillet with a wooden spoon to help them along. Let this cook down until there is only a little bit of moisture left. Take your time.

Next, add in the tomato sauce (whether homemade or bought from the store you want the most basic Pomodoro kind). This will add in a lot of liquid to your sauce so make sure you boil this down as well so that a lot of the water evaporates and you are left with a nice thick sauce. About 20-30 minutes.

If you want your sauce to be a little bit spicy add in your chili peppers now and let them cook into your sauce. Sprinkle and stir. You can also add in some Salt and Pepper now to your taste.

Next, add in your cream. First, about a 1/2 cup stirring the whole time than a 1/4 cup until you get the perfect red/orange color. You can taste it as you go to see if you want more cream. To help thicken the sauce up shave about a cup of parmesan down and add it into the sauce, stir it in. Let the water cook out of this while you start cooking the penne pasta in a pot. Some people also like to use a hand blender and blend the sauce at this point so that the small bits of pancetta/ham become undetectable and the sauce is extra smooth in texture.

Boil water for the pasta adding about 1-1.5 TBSP of salt to the water once it boils. Add in pasta and let it cook till it is al dente.

Now you should be ready to serve the sauce with the pasta. You can either mix it together or spoon some sauce on top of a plate of pasta. Garnish with more parmesan cheese and a slice of baguette.


FOLLOW ME ON INSTAGRAM @ISTHATSOH


I hope you enjoy this authentic penne alla vodka sauce recipe as much as I do! Please let me know your thoughts and comments below I’d love to hear from you! Happy cooking :)


PIN THIS POST

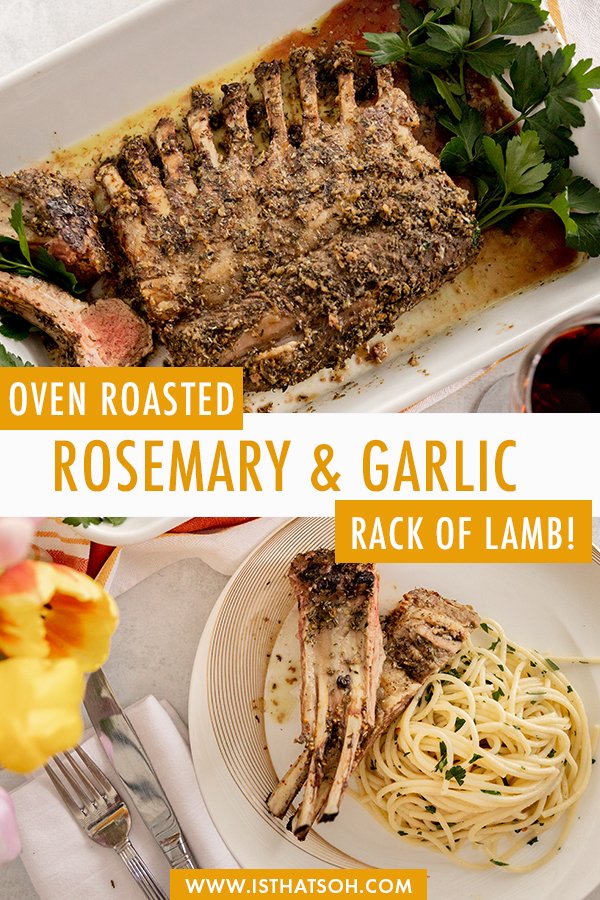
MOM'S OVEN ROASTED ROSEMARY GARLIC RACK OF LAMB

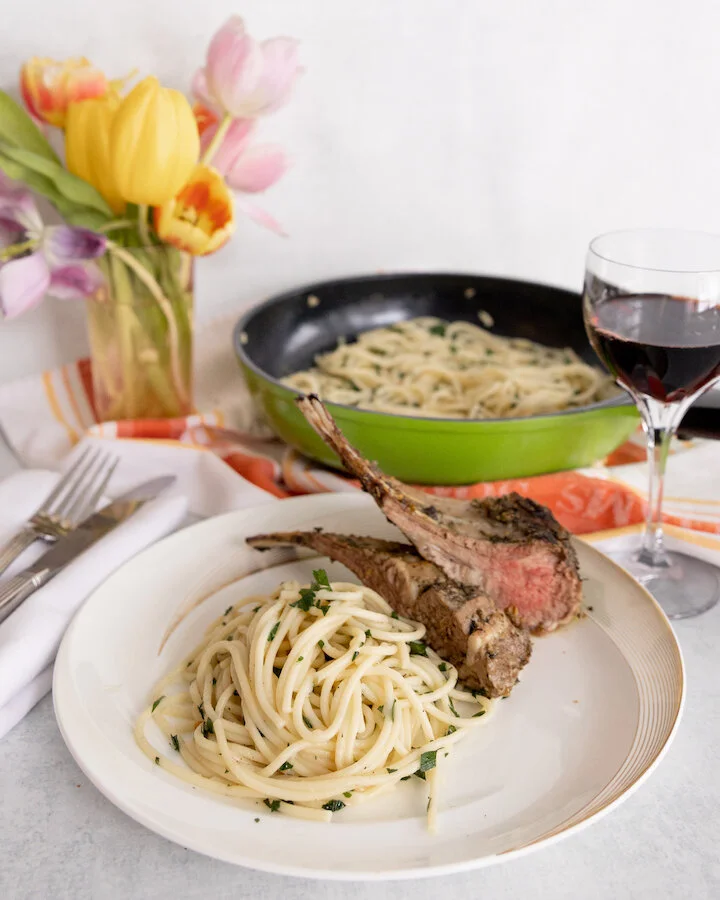
oven roasted rack of lamb!

An oven roasted rack of lamb recipe!

One thing I love about coming home is eating my mom’s cooking! This week, my mom taught me some of her specialties including her coveted oven-roasted rosemary garlic rack of lamb! Best served alongside her Aglio e olio pasta, this dish is on repeat weekly in our household. If you are looking for a super easy recipe to make this weekend that you can prepare ahead of time, you have to try this oven roasted rack of lamb! It is soooo good and always a crowd pleaser!

* Please Note - Some links in this post may be affiliate links *

INGREDIENTS:

COOKING TIME: 25 Minutes

Serves 4

Rack of Lamb (8-9 ribs) - trimmed
1/4 CUP of Olive Oil
2 TBSP of Fresh Rosemary
2 TSP of Fresh Thyme Leaves
8 Garlic Cloves
Zest of 1 Lemon
Salt and Fresh Cracked Pepper


Kitchen Tools:
Food Processor
Baking Sheet
Meat Thermometer


CHECK OUT THESE OTHER AWESOME DINNER MAINS


HOW TO COOK RACK OF LAMB:

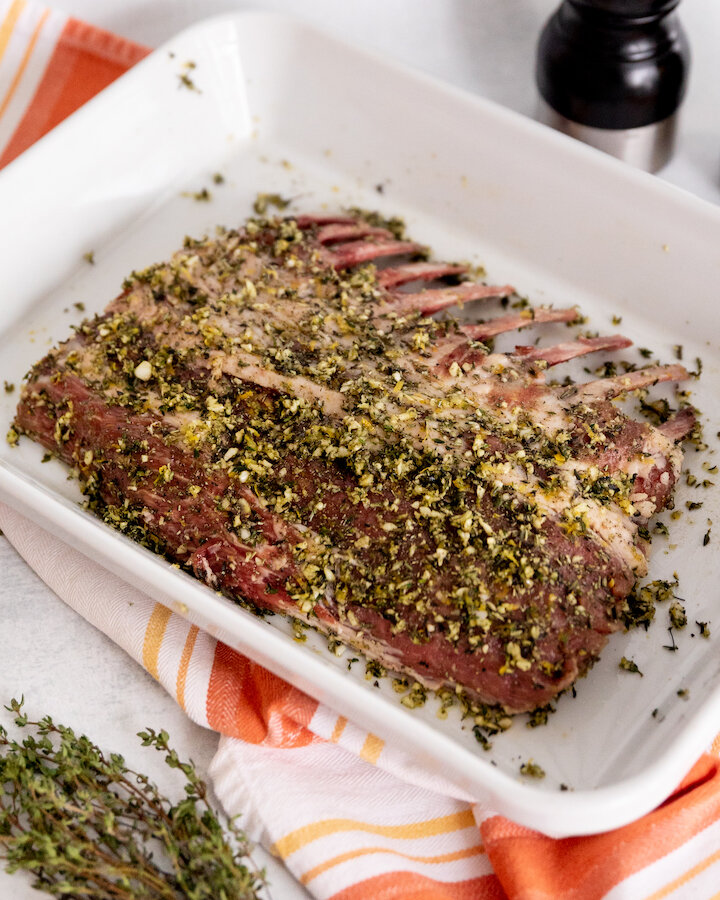
In a food processor, add in your olive oil, rosemary, thyme and lemons zest, pulse until finely chopped.

Salt and Pepper rack of lamb on both sides before covering in marinade and setting aside for 1 hour at room temperature on a baking sheet.

When ready, set oven to 450 and cook lamb for 15 minutes before rotating the baking sheet and continuing to cook for 10 minutes to ensure it cooks evenly and to medium rare. If you have a meat thermometer, for medium rare lamb the internal temperature should be at 130-140 degrees.

When meat is ready, remove from oven and let rest for 10 minutes before chopping it up into individual portions. This will allow the juice to redistribute.

Plate and serve.

Enjoy!

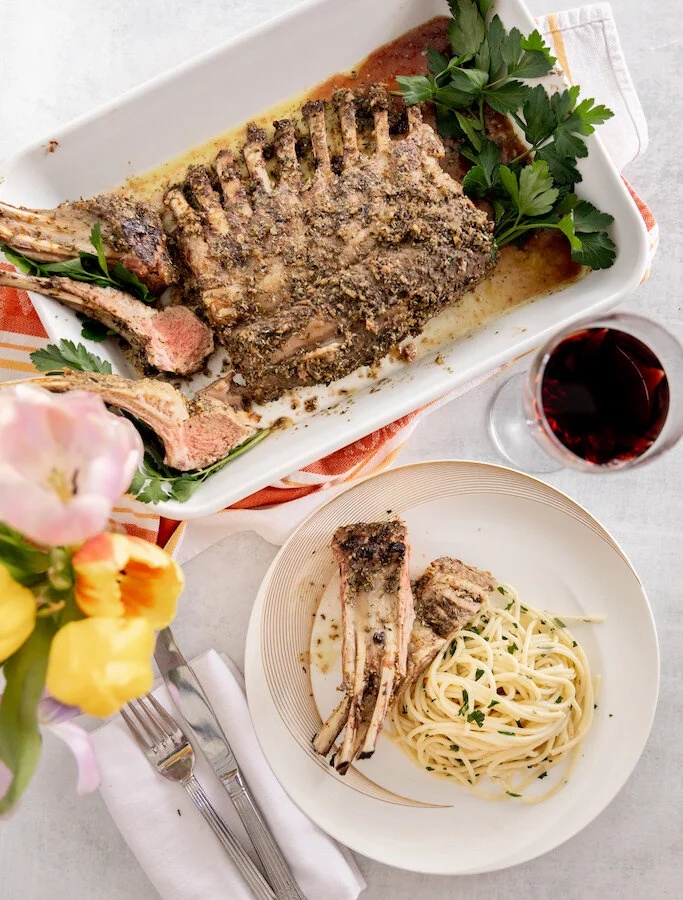
oven roasted rack of lamb

Oven roasted rack of lamb with rosemary and garlic


I hope you enjoyed this oven roasted rack of lamb recipe as much as I do. If you have any comments please leave them below and I'll be happy to answer them as soon as I can! Happy cooking!!!


PIN THIS POST

CHOCOLATE RICE KRISPIE TREATS FOR VALENTINE'S DAY

If you are looking for a fun Valentine’s Day recipe that is not only adorable but easy and fun to make, I highly recommend trying this chocolate rice krispie treats recipe!

When it comes to the best rice krispie treats recipe this one takes the cake because they are so incredibly soft and chewy! Of course, the steps for this recipe are the same for regular rice krispie squares but I thought using a heart cookie cutter would be a great fit for Valentine’s Day. This recipe for chocolate rice krispies will have you reminiscing about childhood bake sales and exchanging Valentine’s day cards with friends. Speaking of exchanging, they are also super fun to decorate and make a great gift so my advice is to double the recipe and giving a few away! Enjoy!

* Please Note - Some links in this post may be affiliate links *

INGREDIENTS:

Makes Apx 12 Hearts

1/2 CUP of Unsalted Butter
5 Cups of Marshmallows - separated into two portions - 1 of 4 Cups and 1 of 1 Cup.
6 Cups of Rice Krispies Cereal
1.5 TSP of Vanilla Extract
2.5 CUPS of White Chocolate Wafers
Pink Food Colouring

You Will Also Need:
Heart-Shaped Cookie Cutter
Baking Tray
Wax Paper


CHECK OUT THESE OTHER FUN VALENTINE’S DAY RECIPES


DIRECTIONS:

In a large sauce pan melt the butter on medium heat.

Once melted add in 4 cups of marshmallows and reduce heat to low. Continue stirring until completely melted.

Next, remove melted marshmallow and butter mixture from heat and add to large bowl with the Rice Krispie cereal, remaining marshmallows and vanilla extract. Mix until well incorporated.

Using wax paper, line a baking tray and press the rice crispy into the baking tray creating an even thickness all round. Place the baking tray in the fridge for 20 min to cool before removing and cutting out heart shapes using a heart shaped cookie cutter. Place the hearts on a wax paper lined baking sheet. NOTE: You can take the remainder of the mixture that you were not able to use and press it into the heart shaped cookie cutter to create 1 or 2 more heart shapes so you don’t have to waste any of the precious mixture.

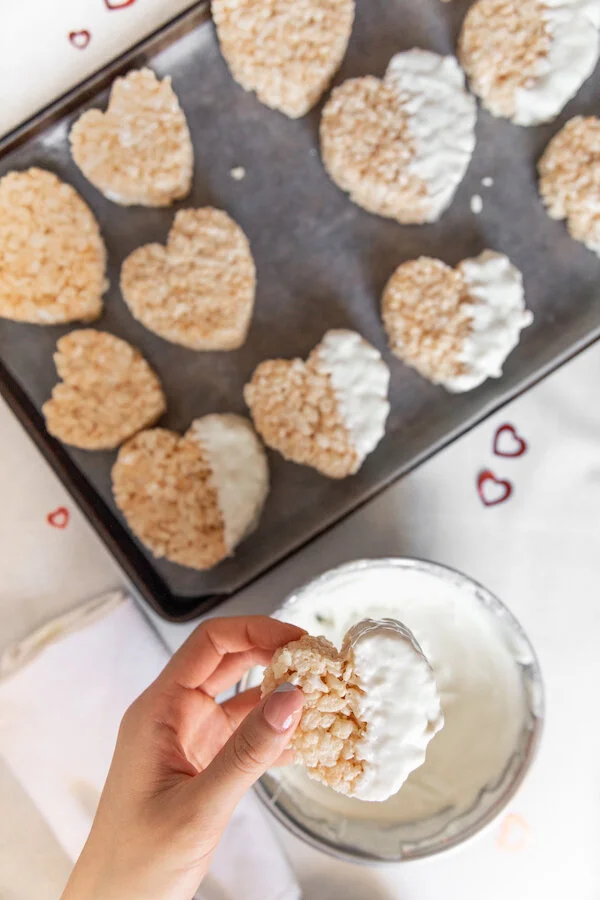
Using the ‘double boil’ method, melt the white chocolate wafers. Set 1/2 aside and add a ladybug size amount of pink food colouring to it. Stir well to turn the chocolate pink.

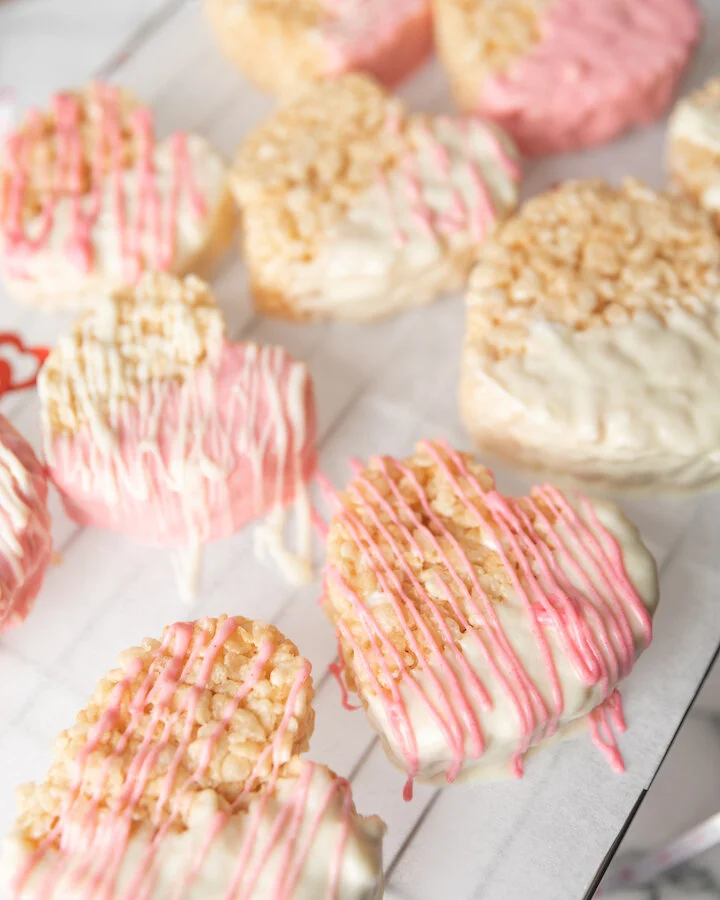
Dip each heart into either the white or pink chocolate until half the heart is submerged before placing it back on the baking sheet to dry. You can also use a fork or piping bag to create decorative patterns on top using alternating chocolate colours.

Store hearts in cool place until you are you are ready to enjoy.

chocolate rice crispy treats
)

FOLLOW ME ON INSTAGRAM @ISTHATSOH


I hope you enjoyed this chocolate rice krispie treats recipe as much as I do. If you have any comments or suggestions about how to make rice krispy treats please leave them below and I'll be happy to answer them as soon as I can! Happy baking!!!


PIN THIS POST

chocolate rice crispy treats

MY GRANDMOTHERS EASY OLD FASHIONED APPLE CRISP RECIPE! THE PERFECT THANKSGIVING DESSERT!

Apple season is upon up which means I’m getting request left, right, and center from my family to make some of our household fall favorites including my grandmothers old fashioned apple crisp recipe! It’s the perfect and easiest dessert to make if you are having a small gathering and is always a crowd please, not to mention its super delicious! If you’re looking for a dessert that gives you all the fall feels and is sure to be a hit, this is it!

Enjoy!

INGREDIENTS:

Serves 10-12 People

Crumble Topping
1.5 Cups of Flour
2 Cups of Old Fashion Oats
1.5 Cups of Brown Sugar
1/2 TSP of Salt
1.5 TSP of Cinnamon
1 Cups of Cold Butter - grated

Apple Filling
12 Granny Smith Apples - Peeled and cut into pieces
1.5 TSP of Cinnamon
1/2 TSP of Salt
1/2 a Cup of Granulated Sugar
1 TSP of Vanilla

Butter - to coat your baking tray or casserole dish ( I used a 13x9 Inch casserole dish)

DIRECTIONS:

Preheat oven at 375 degrees.

Butter your baking tray or casserole dish with butter.

In a large bowl, mix your crumble topping ingredients together and using your hands, mix ingredients together until butter feels evenly spread throughout and the flaky dry flour texture is gone. About 5-6 minutes. When done, place in fridge to keep cold.

In another large bowl, add in your apple filling ingredients and mix using clean hands. Apple slices should be evenly coated in all ingredients.

When ready, dump apple filling into buttered casserole dish, cover with crumble and place in oven to bake for 45-50 minutes or until you start to see the top turn golden brown and the juice from the apple filling to bubble up the sides.

When ready, remove and allow to cool for 5 minutes before serving either alone or with a slice of vanilla ice cream.

Enjoy!


FOLLOW ME ON INSTAGRAM @ISTHATSOH


I hope you enjoyed this recipe as much as I do. If you have any comments please leave them below and I'll be happy to answer them as soon as I can! Happy cooking!!!


PIN THIS POST