CHOCOLATE RICE KRISPIE TREATS FOR VALENTINE'S DAY

If you are looking for a fun Valentine’s Day recipe that is not only adorable but easy and fun to make, I highly recommend trying this chocolate rice krispie treats recipe!

When it comes to the best rice krispie treats recipe this one takes the cake because they are so incredibly soft and chewy! Of course, the steps for this recipe are the same for regular rice krispie squares but I thought using a heart cookie cutter would be a great fit for Valentine’s Day. This recipe for chocolate rice krispies will have you reminiscing about childhood bake sales and exchanging Valentine’s day cards with friends. Speaking of exchanging, they are also super fun to decorate and make a great gift so my advice is to double the recipe and giving a few away! Enjoy!

* Please Note - Some links in this post may be affiliate links *

INGREDIENTS:

Makes Apx 12 Hearts

1/2 CUP of Unsalted Butter
5 Cups of Marshmallows - separated into two portions - 1 of 4 Cups and 1 of 1 Cup.
6 Cups of Rice Krispies Cereal
1.5 TSP of Vanilla Extract
2.5 CUPS of White Chocolate Wafers
Pink Food Colouring

You Will Also Need:
Heart-Shaped Cookie Cutter
Baking Tray
Wax Paper


CHECK OUT THESE OTHER FUN VALENTINE’S DAY RECIPES


DIRECTIONS:

In a large sauce pan melt the butter on medium heat.

Once melted add in 4 cups of marshmallows and reduce heat to low. Continue stirring until completely melted.

Next, remove melted marshmallow and butter mixture from heat and add to large bowl with the Rice Krispie cereal, remaining marshmallows and vanilla extract. Mix until well incorporated.

Using wax paper, line a baking tray and press the rice crispy into the baking tray creating an even thickness all round. Place the baking tray in the fridge for 20 min to cool before removing and cutting out heart shapes using a heart shaped cookie cutter. Place the hearts on a wax paper lined baking sheet. NOTE: You can take the remainder of the mixture that you were not able to use and press it into the heart shaped cookie cutter to create 1 or 2 more heart shapes so you don’t have to waste any of the precious mixture.

Using the ‘double boil’ method, melt the white chocolate wafers. Set 1/2 aside and add a ladybug size amount of pink food colouring to it. Stir well to turn the chocolate pink.

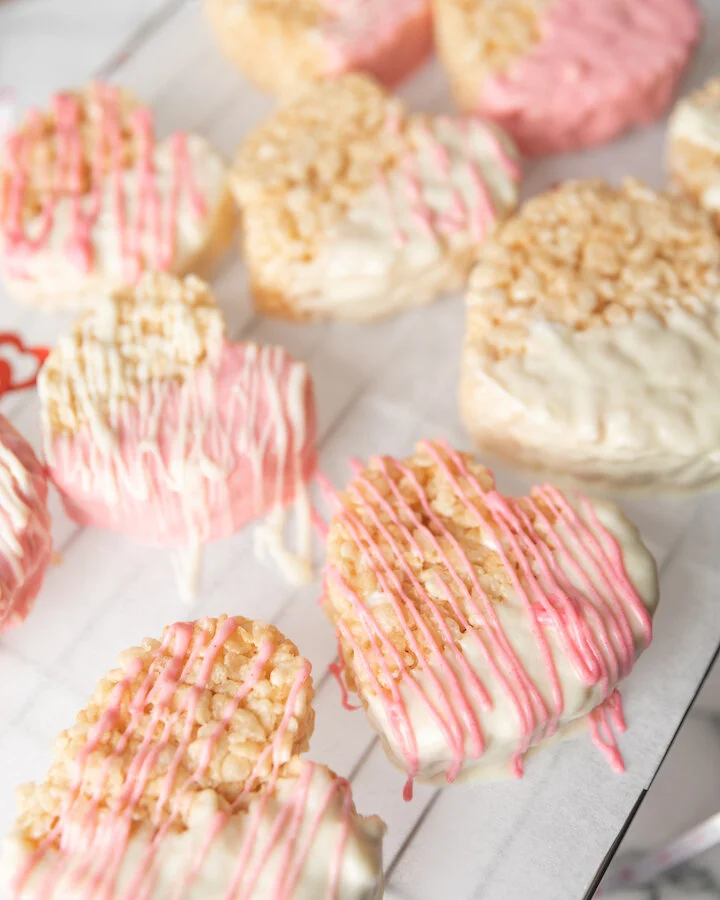
Dip each heart into either the white or pink chocolate until half the heart is submerged before placing it back on the baking sheet to dry. You can also use a fork or piping bag to create decorative patterns on top using alternating chocolate colours.

Store hearts in cool place until you are you are ready to enjoy.

chocolate rice crispy treats
)

FOLLOW ME ON INSTAGRAM @ISTHATSOH


I hope you enjoyed this chocolate rice krispie treats recipe as much as I do. If you have any comments or suggestions about how to make rice krispy treats please leave them below and I'll be happy to answer them as soon as I can! Happy baking!!!



PIN THIS POST

chocolate rice crispy treats

CHOCOLATE COVERED CHRISTMAS WAFER RODS

This chocolate covered Christmas wafer rod recipe is so easy to do and makes for a fun DIY you can get your nieces and nephews involved in. Plus, they are super festive and another great way to dress up the dessert table or package and added to your Christmas gifts as a personalized decoration!

Enjoy!

INGREDIENTS:


1 Can of Pirouline Wafer Rods
1 Bag of Pure White Chocolate Chips
1 Bag of Milk Chocolate Chips

- Toppings -
Sprinkles
Candy Cane - crushed
Cookie Icing

- Tools -

Wax Paper
2 Small Sauce Pans for Melting Chocolate
Piping Bag for Icing


CHECK OUT THESE OTHER FESTIVE RECIPES


DIRECTIONS:

Prepare a banking sheet by lining it with wax paper.

In a bowl, place one bag of chocolate chips and slowly melt using a double boiling method, stirring every once and a while until completely melted.

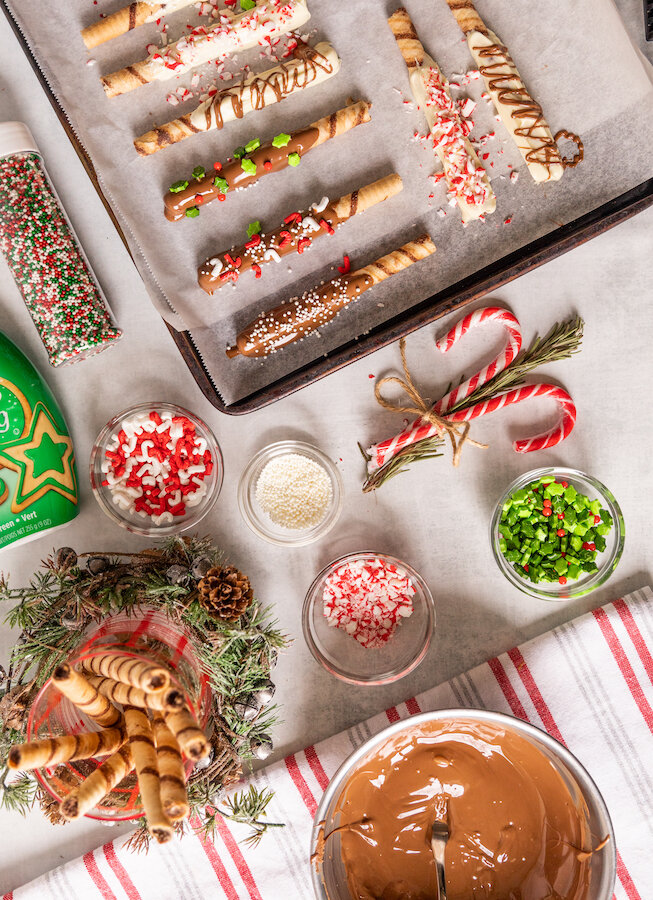
Dip wafers into chocolate or use a spoon to pour chocolate over 2/3rds of the wafer and gently shake off excess before placing on the wax paper to cool.

Immediately after, coat in sprinkles or crushed candy cane so they adhere to the chocolate-covered wafers.

If you are going to dress a few rods with cookie icing, first allow them to cool completely before adding icing and moving them to a new clean baking sheet with a new sheet of wax paper to dry.

Make sure all rods are dry before removing from the wax paper before packaging or displaying, or store in an airtight container at room temperature.


FOLLOW ME ON INSTAGRAM @ISTHATSOH


I hope you enjoyed this recipe as much as I do. If you have any comments please leave them below and I'll be happy to answer them as soon as I can! Happy cooking!!!


PIN THIS POST

CHOCOLATE ZUCCHINI BREAD

If you are trying to sneak more veggies into your diet, I highly recommend giving this zucchini bread a go. If you are looking to be a little healthier feel free to omit the chocolate, it still tastes great without it. Not only is this recipe nutritious but the bread is also so moist but it freezes well. My boyfriend and I love to enjoy a slice with some earl grey tea as the combo is simply divine.

Enjoy!

INGREDIENTS:

Makes 1 Loaf of Chocolate Zucchini Bread

Unsalted Butter - for greasing the loaf pan
4 OZ Bittersweet Chocolate - Chopped
1 CUP of All-Purpose Flour
1/2 CUP of Whole Wheat Flour
1/3 CUP Instant Oats
1 TSP of Baking Soda
1/2 CUP of Unsalted Butter
1/2 CUP of Sugar
2 Eggs
2 TBSP of Plain Yogurt
1 TSP of Vanilla
1/2 a TSP of Lemon Zest
2 CUPS of Zucchini - Shredded

You will also need:
Loaf Pan
Parchment Paper

DIRECTIONS:

Preheat oven to 350 degrees

Greece loaf pan and line with a piece of parchment paper.

Melt your chocolate on medium-low heat in a small saucepan on the stove.

In a bowl, combine flour (both - all-purpose and whole wheat), oats, and baking soda. Give it a whisk until well incorporated.

In a separate large bowl, combine sugar and butter and using a hand mixer, cream together until light and fluffy.

Next add eggs, yogurt, vanilla, lemon rind, and melted chocolate to your sugar and butter bowl, and beat until well incorporated.

Next, stir in your shredded zucchini before adding the flour mixture in a cup at a time and beating until nicely mixed. Make sure to scrape the sides and get all the flour built up there.

Lastly, spread your batter in the loaf pan and bake for 45 minutes or until a toothpick comes out clean.

Allow the zucchini loaf to cool in the pan for 20 minutes before removing it and letting it continue to cool on a cooling rack.

Enjoy!


I hope you enjoyed this recipe as much as I do. If you have any comments please leave them below and I'll be happy to answer them as soon as I can! Happy baking!!!


PIN THIS POST

CHOCOLATE COVERED STRAWBERRIES

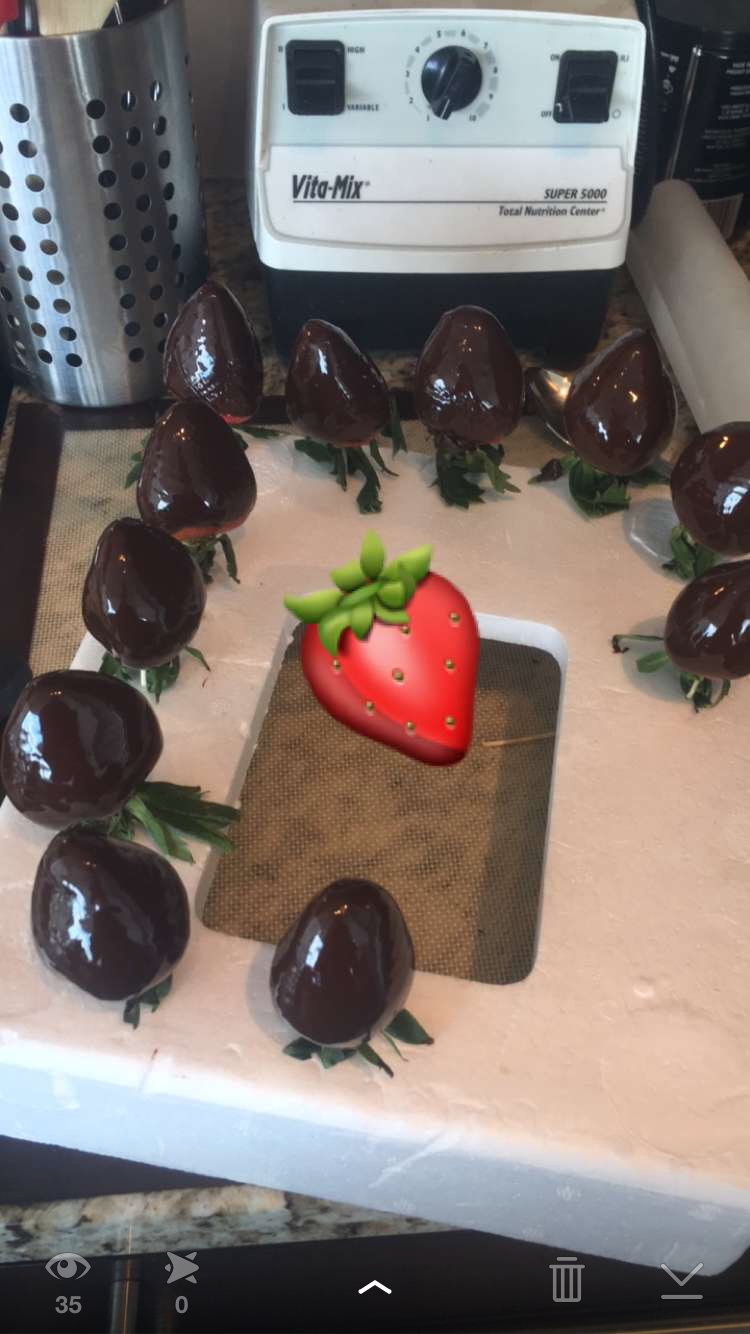
Chocolate covered strawberries are a great dessert to have at your party or event. There are so many cool designs techniques that make them versatile for different occasions and really fun to make. I made mine using dark chocolate and white chocolate but you can easily interchange those with milk chocolate or ground walnuts! Just have fun with it :)
INGREDIENTS:

15 Large Strawberries
170 Grams of Dark Baking Chocolate (you an also use milk chocolate)
1/2 a bag of White Chocolate (I used Hersey's mini chocolate chips)

**You will also need toothpicks, Styrofoam and a zip-lock bag!

DIRECTIONS:

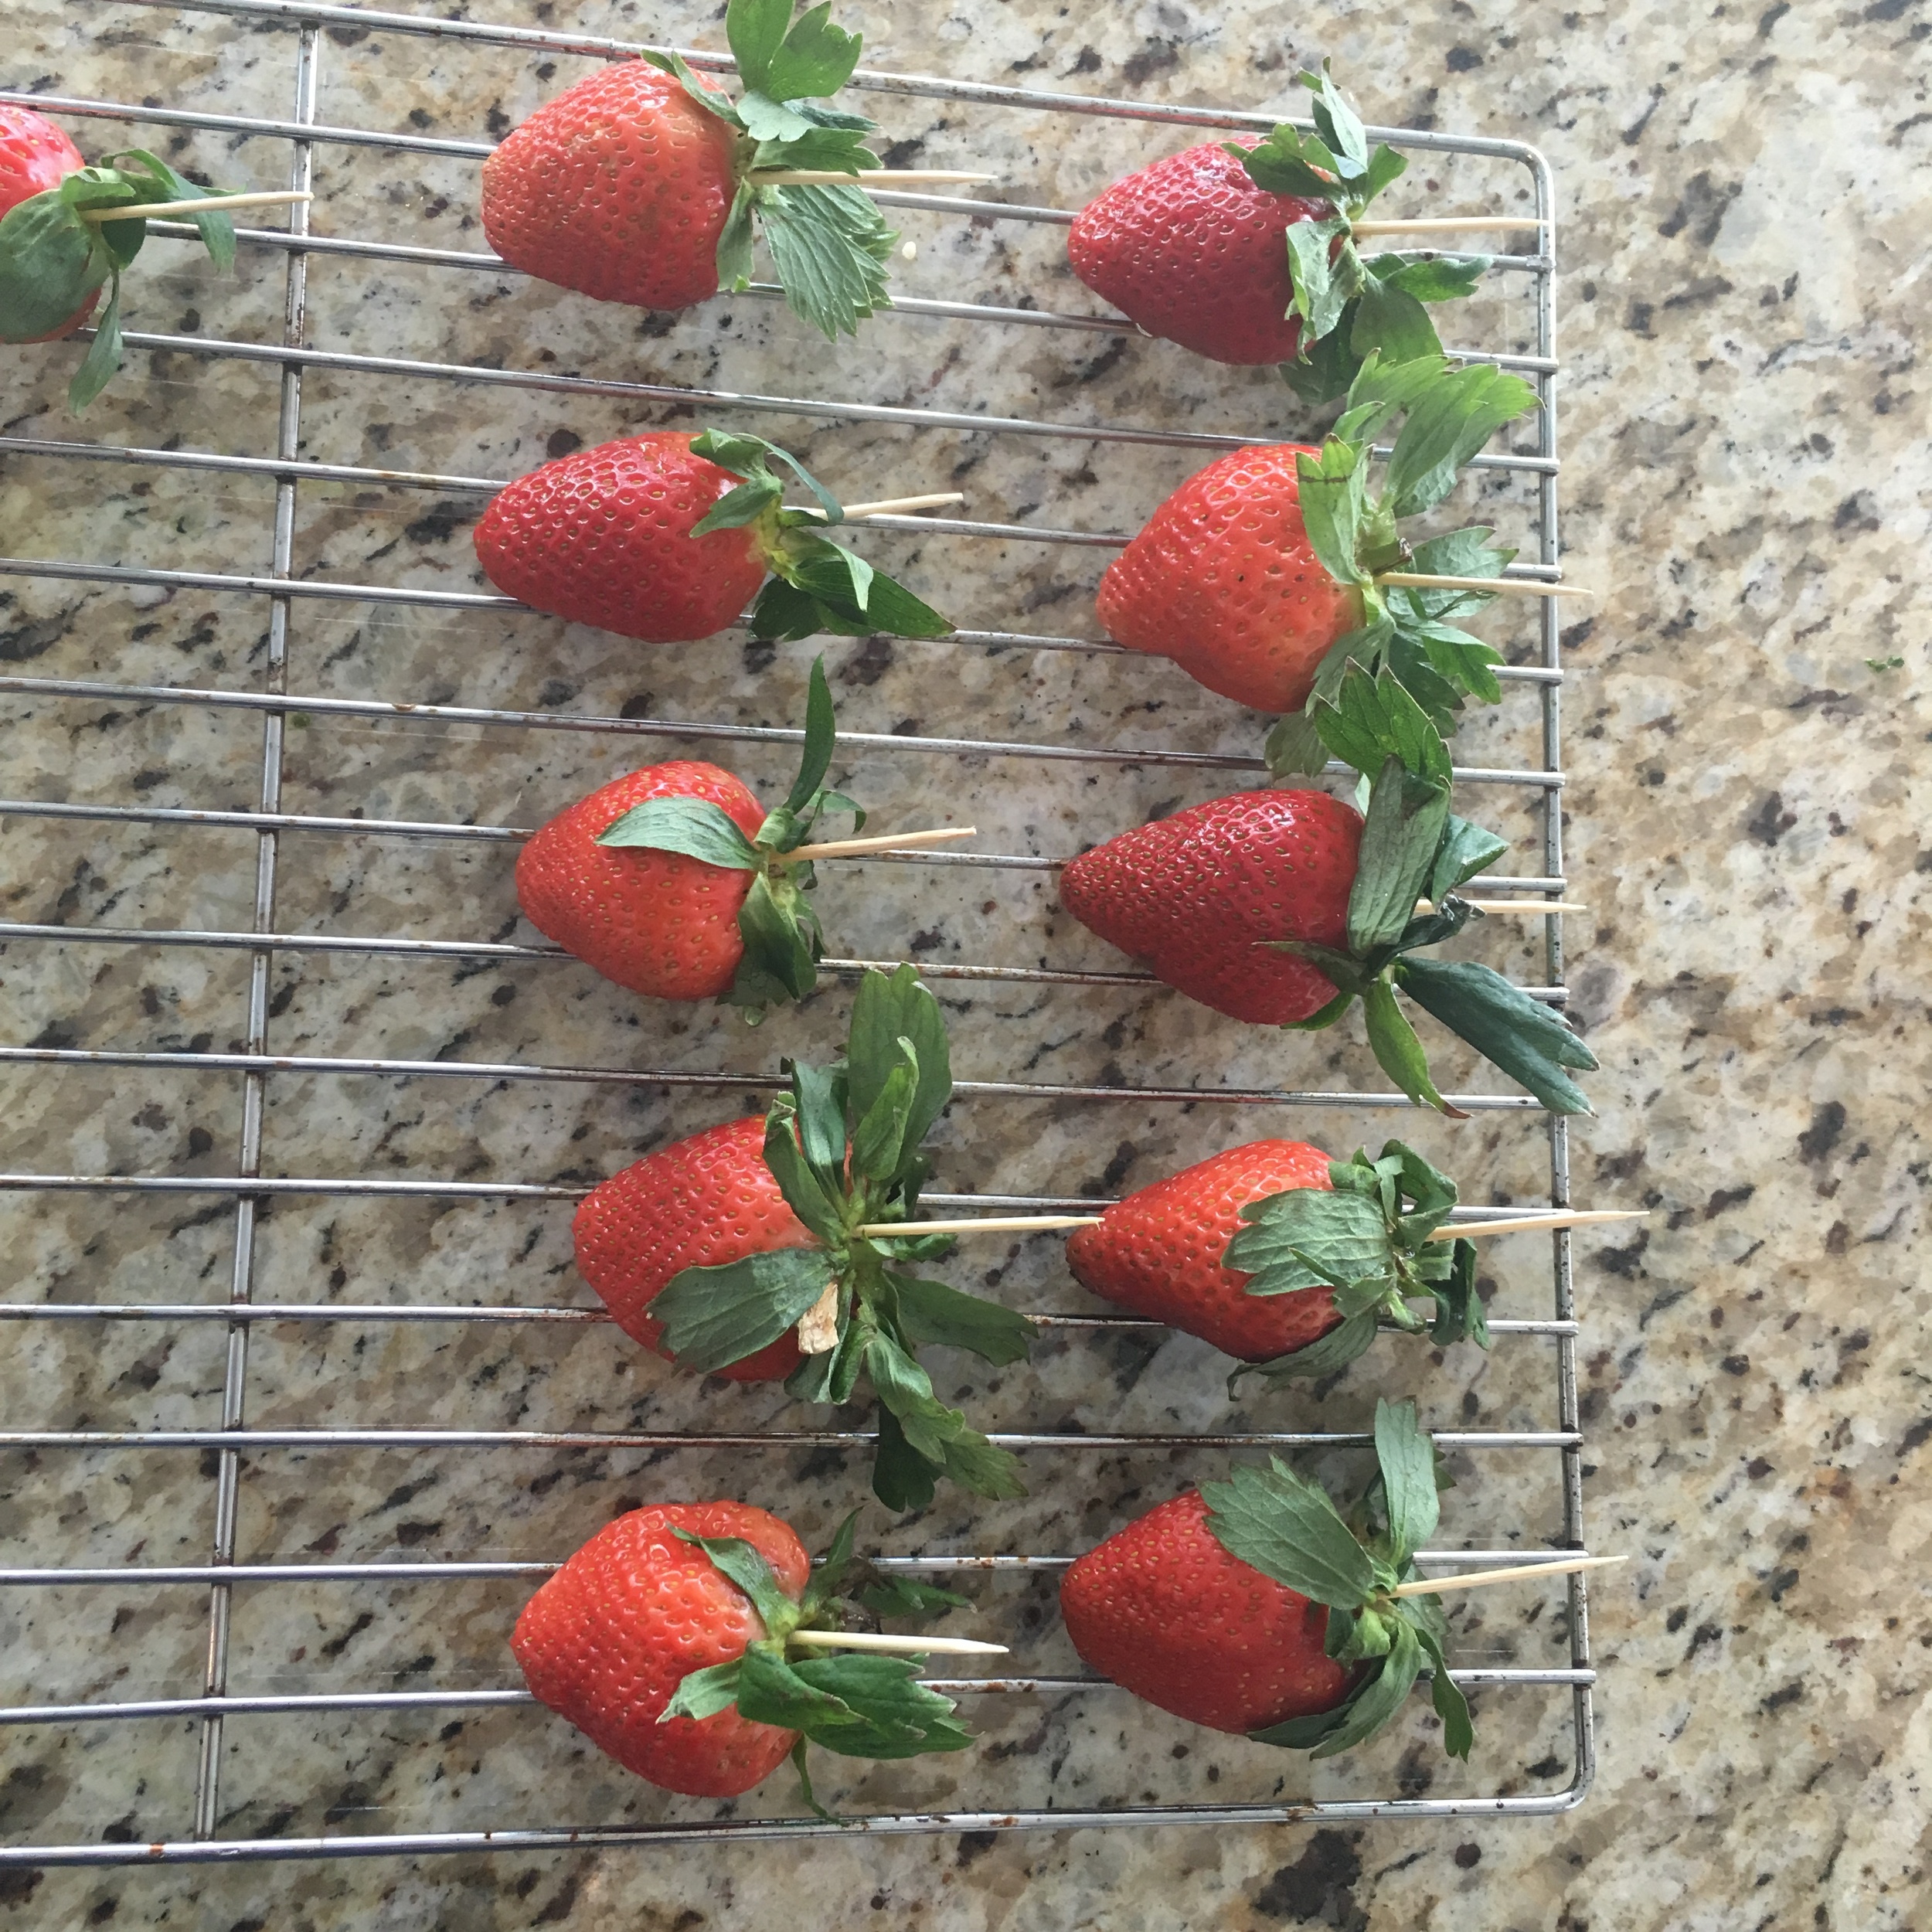
Wash your strawberries and place them on a drying rack. It is important for them to be free of moisture before you coat them so leave them to dry for at least an hour. Stick a toothpick in the fat end of the strawberry to help you grip them better.

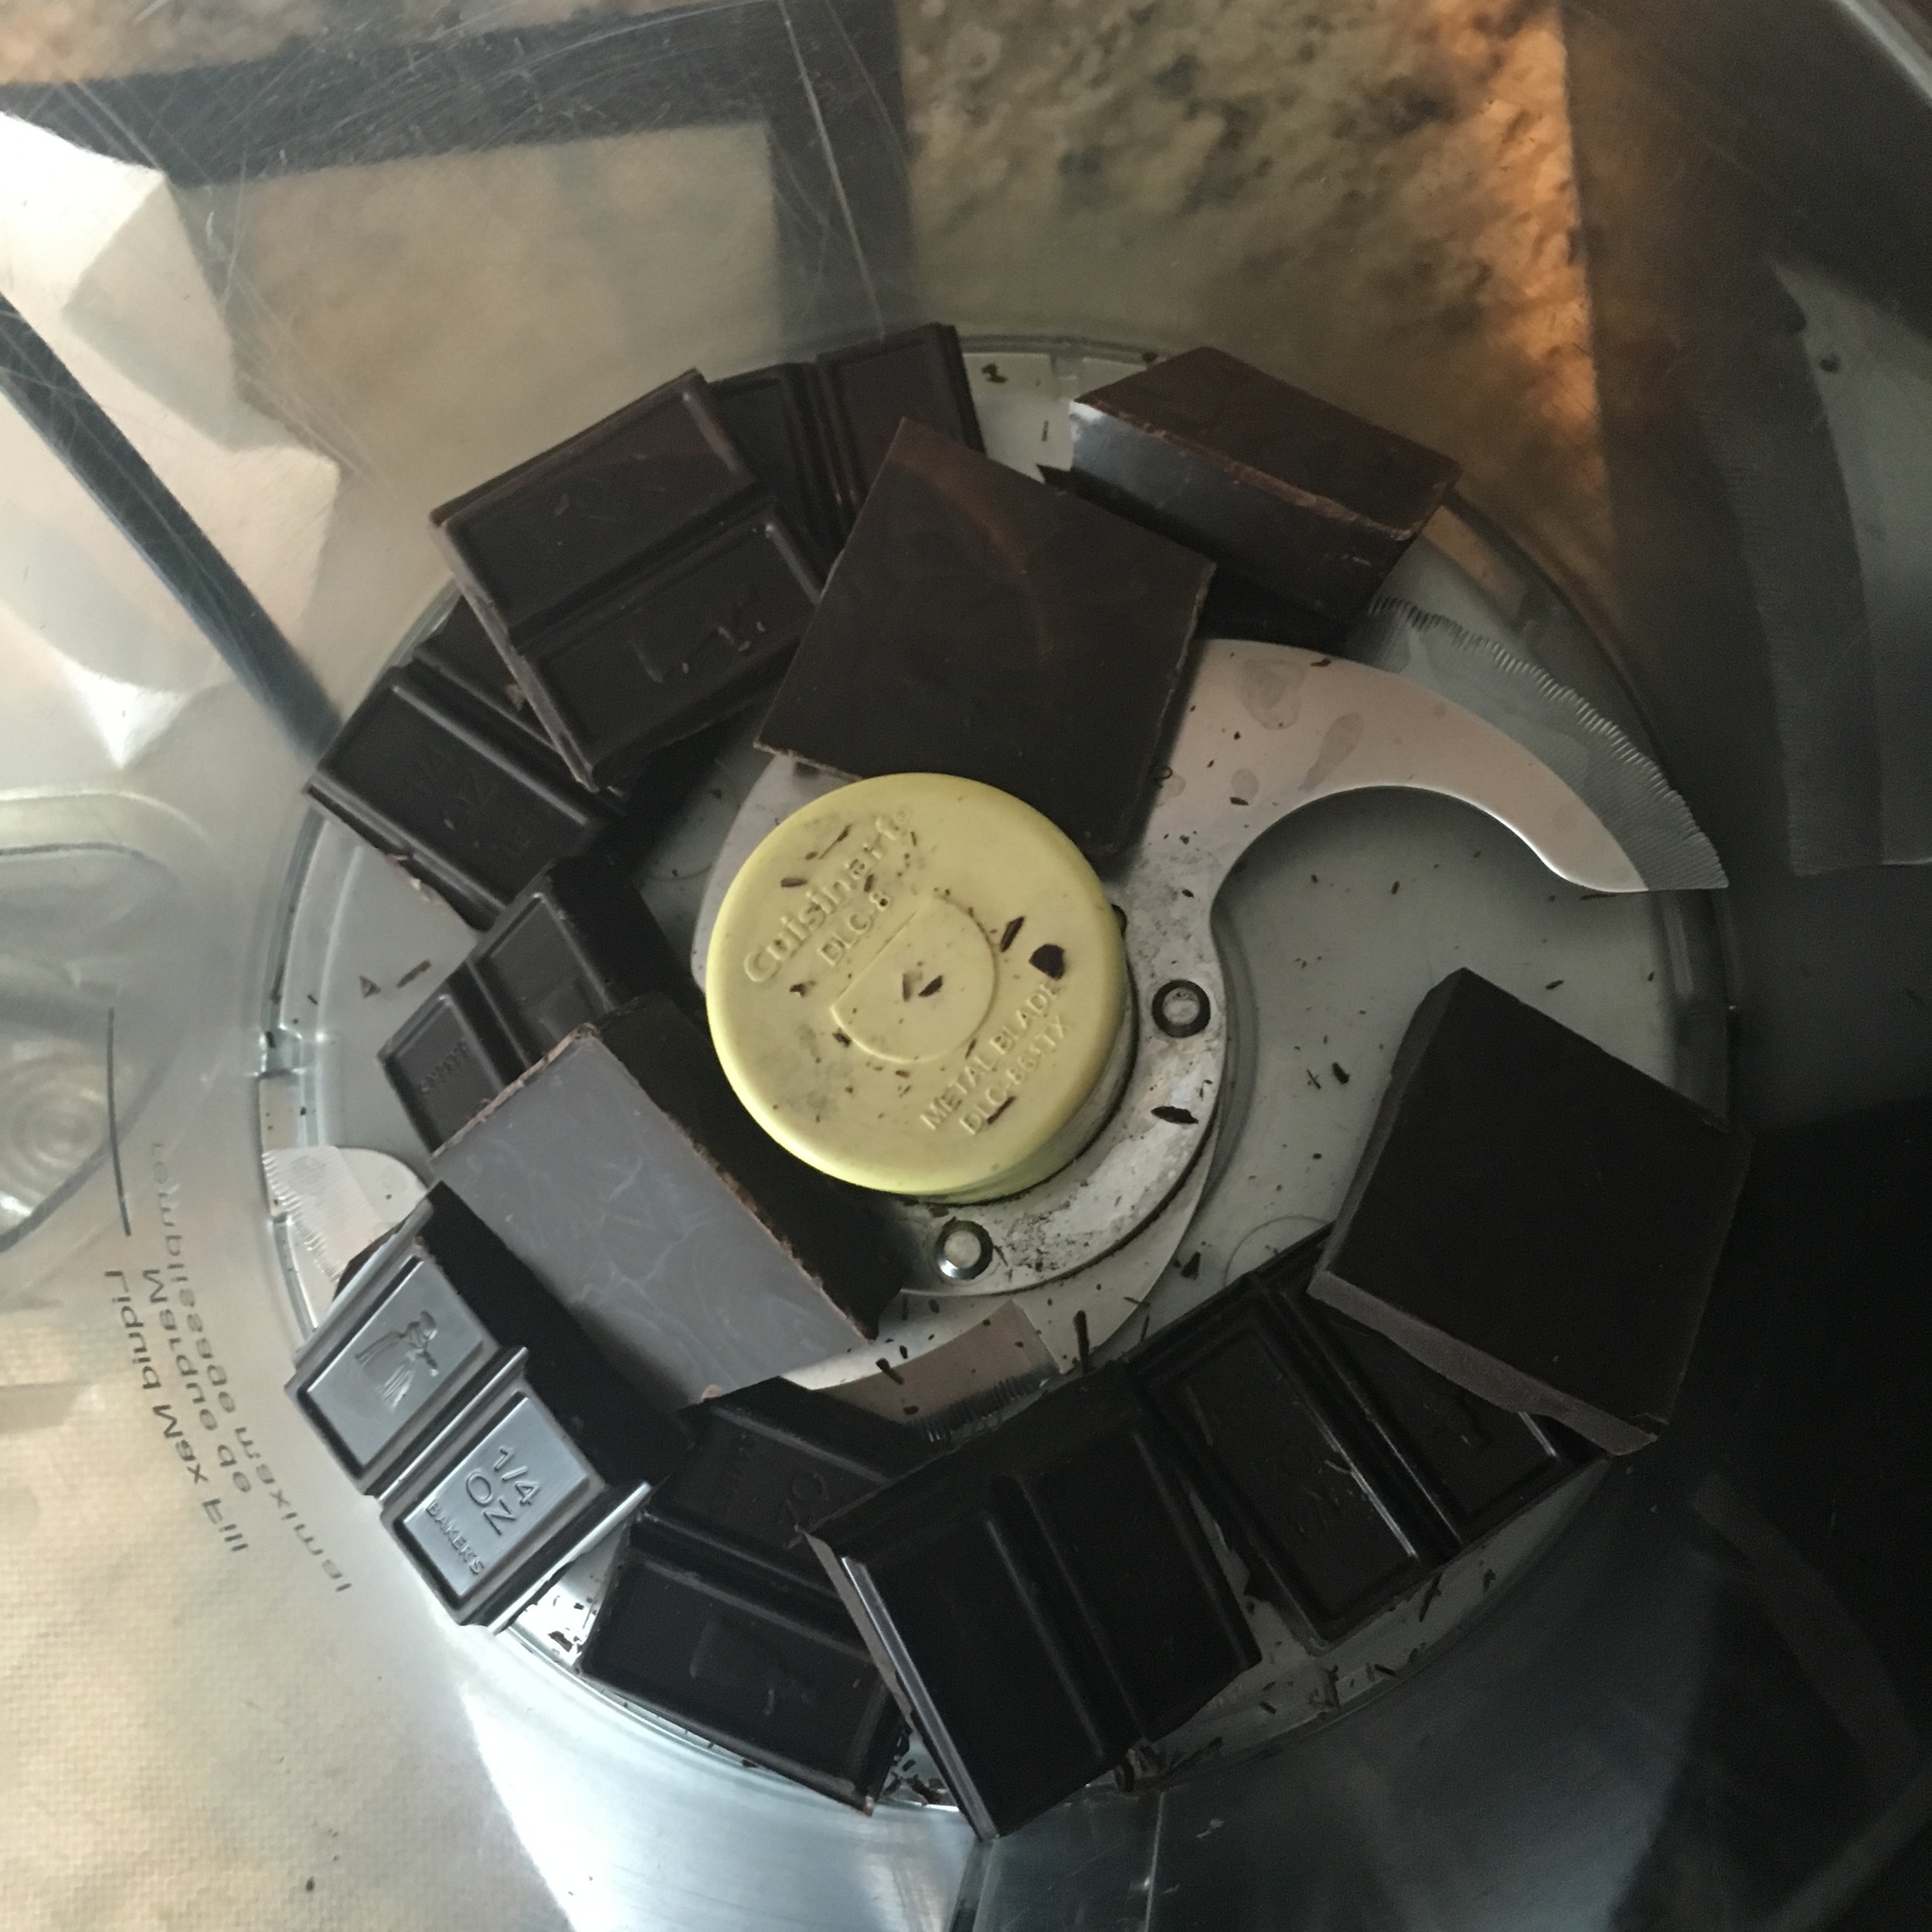
If your dark chocolate comes in a bar break it up into smaller chunks so it melts faster and evenly. I used a food processor to do this quickly.

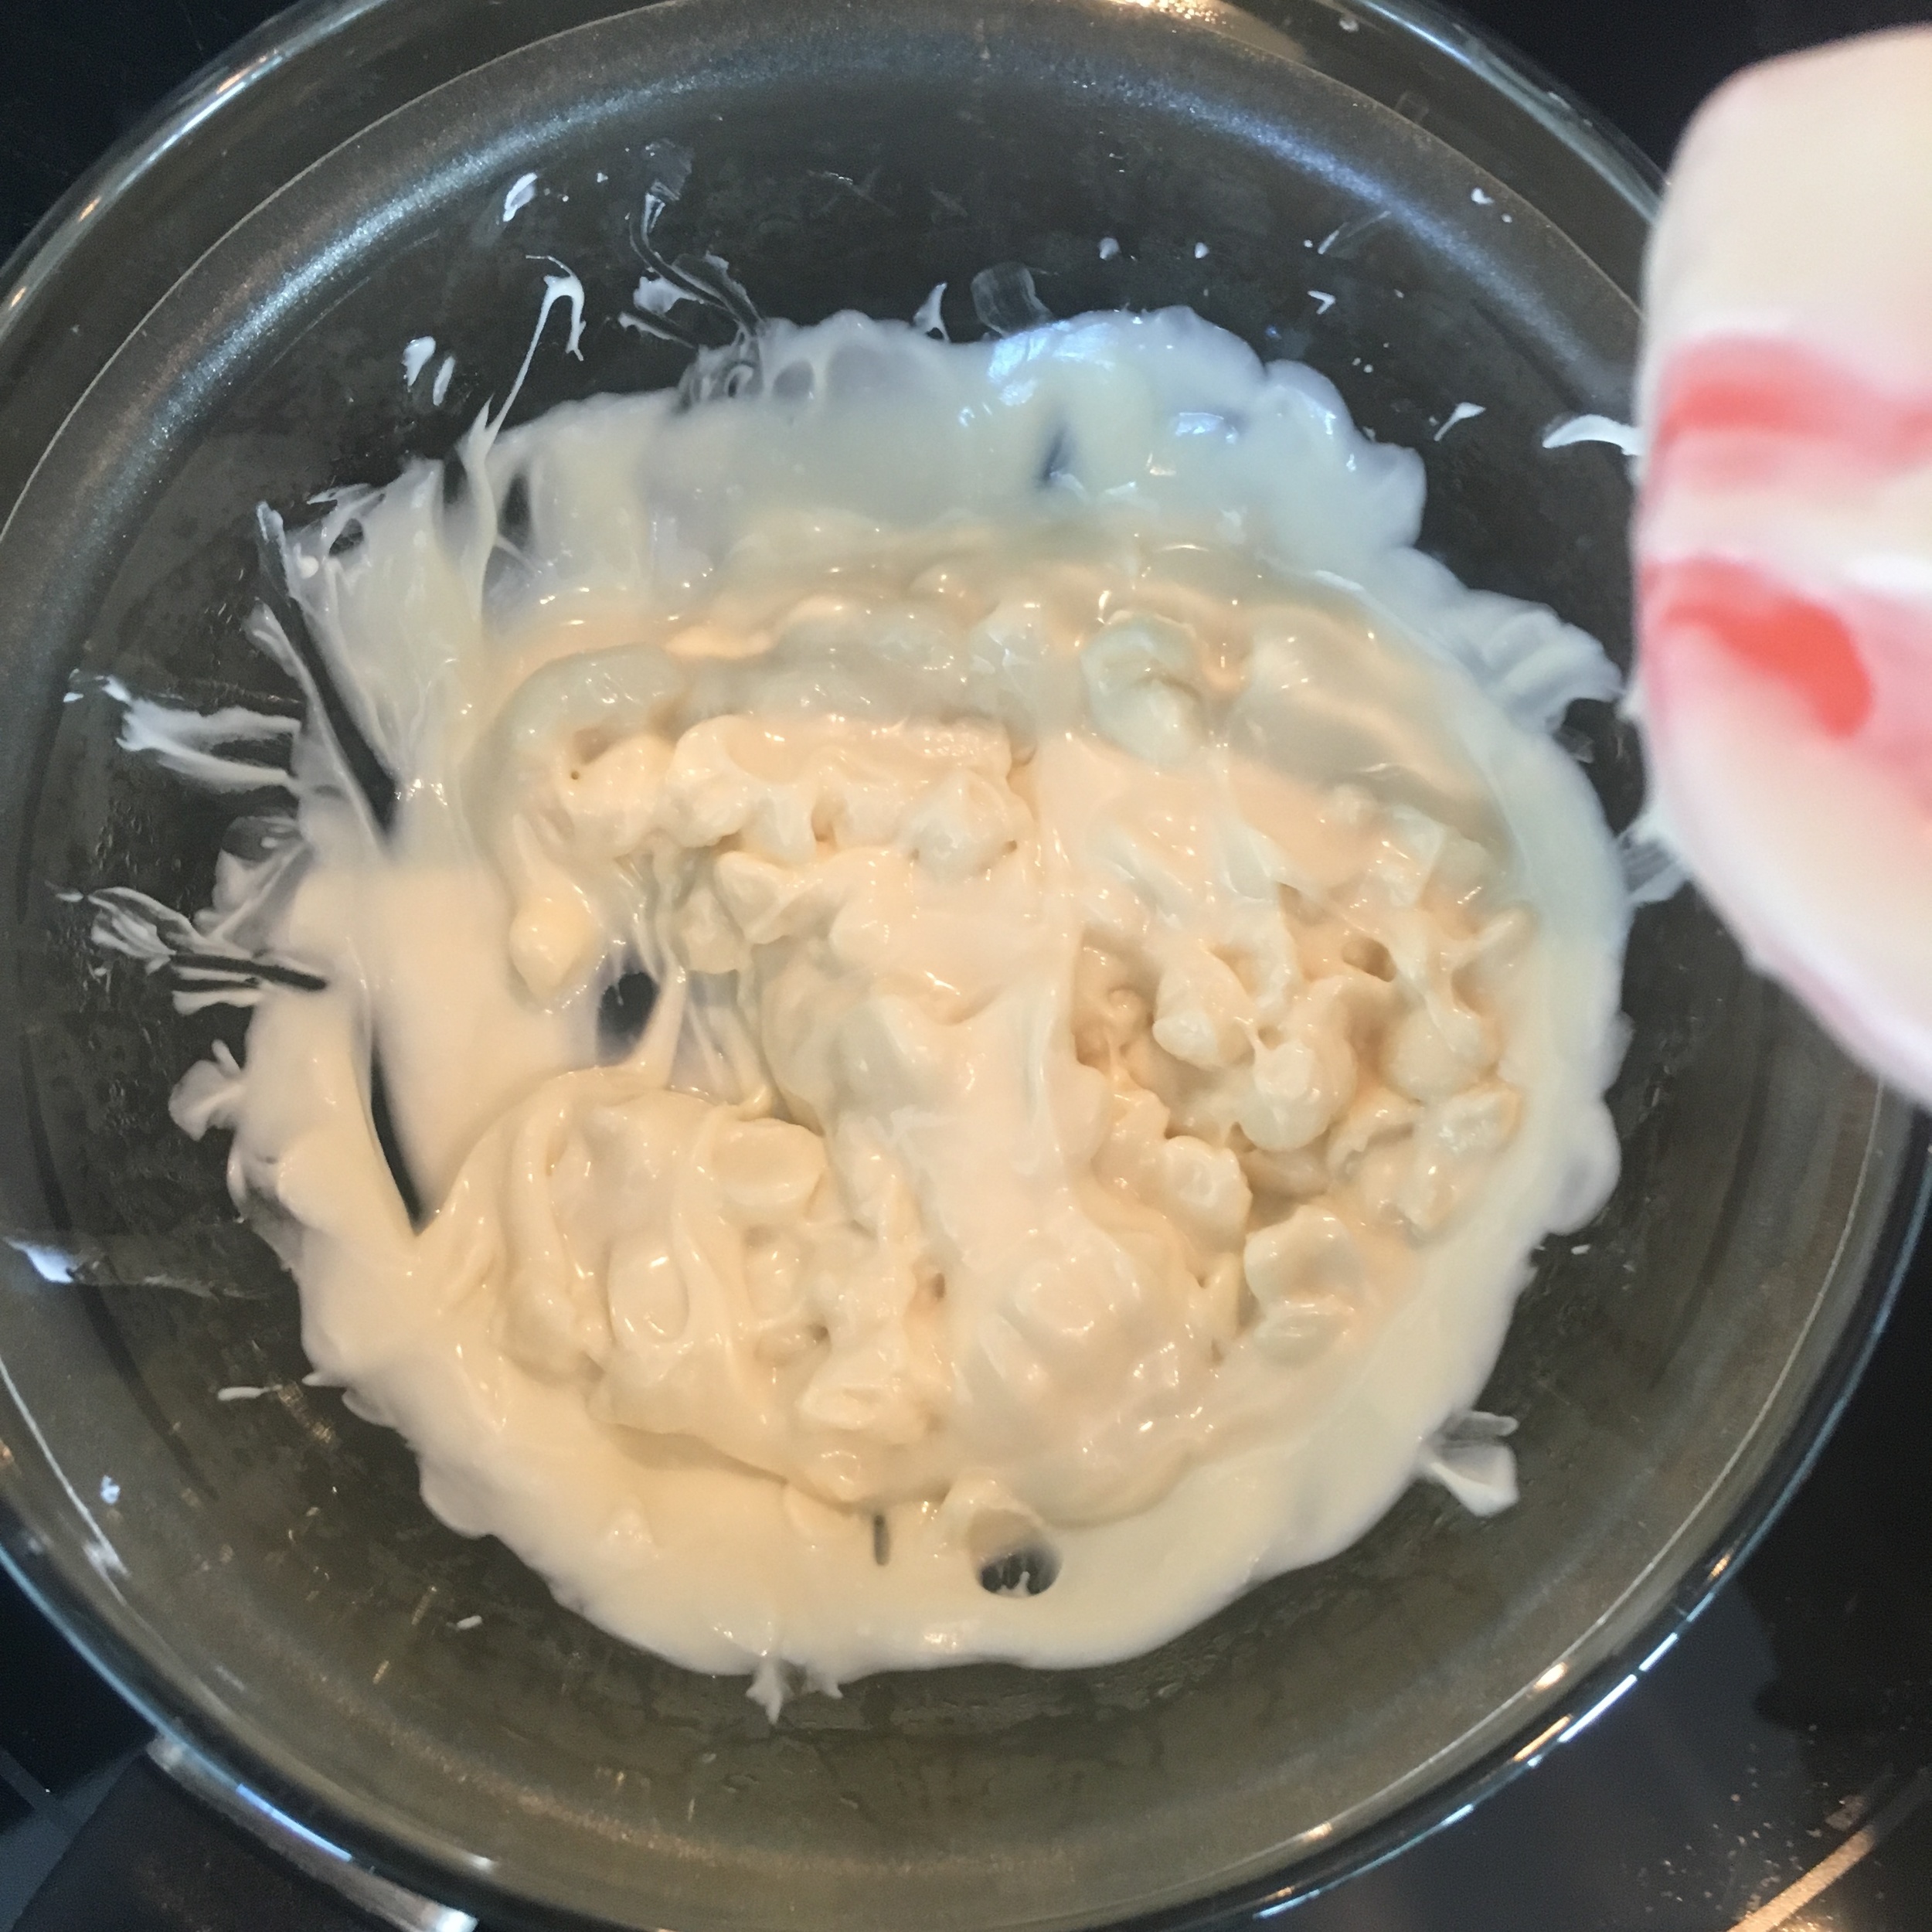
The best way to melt chocolate is to use a method called "double boiling" on low heat. This is done by filling up a small pot with water and bringing it to a light simmer. One the water starts to simmer reduce heat to low.

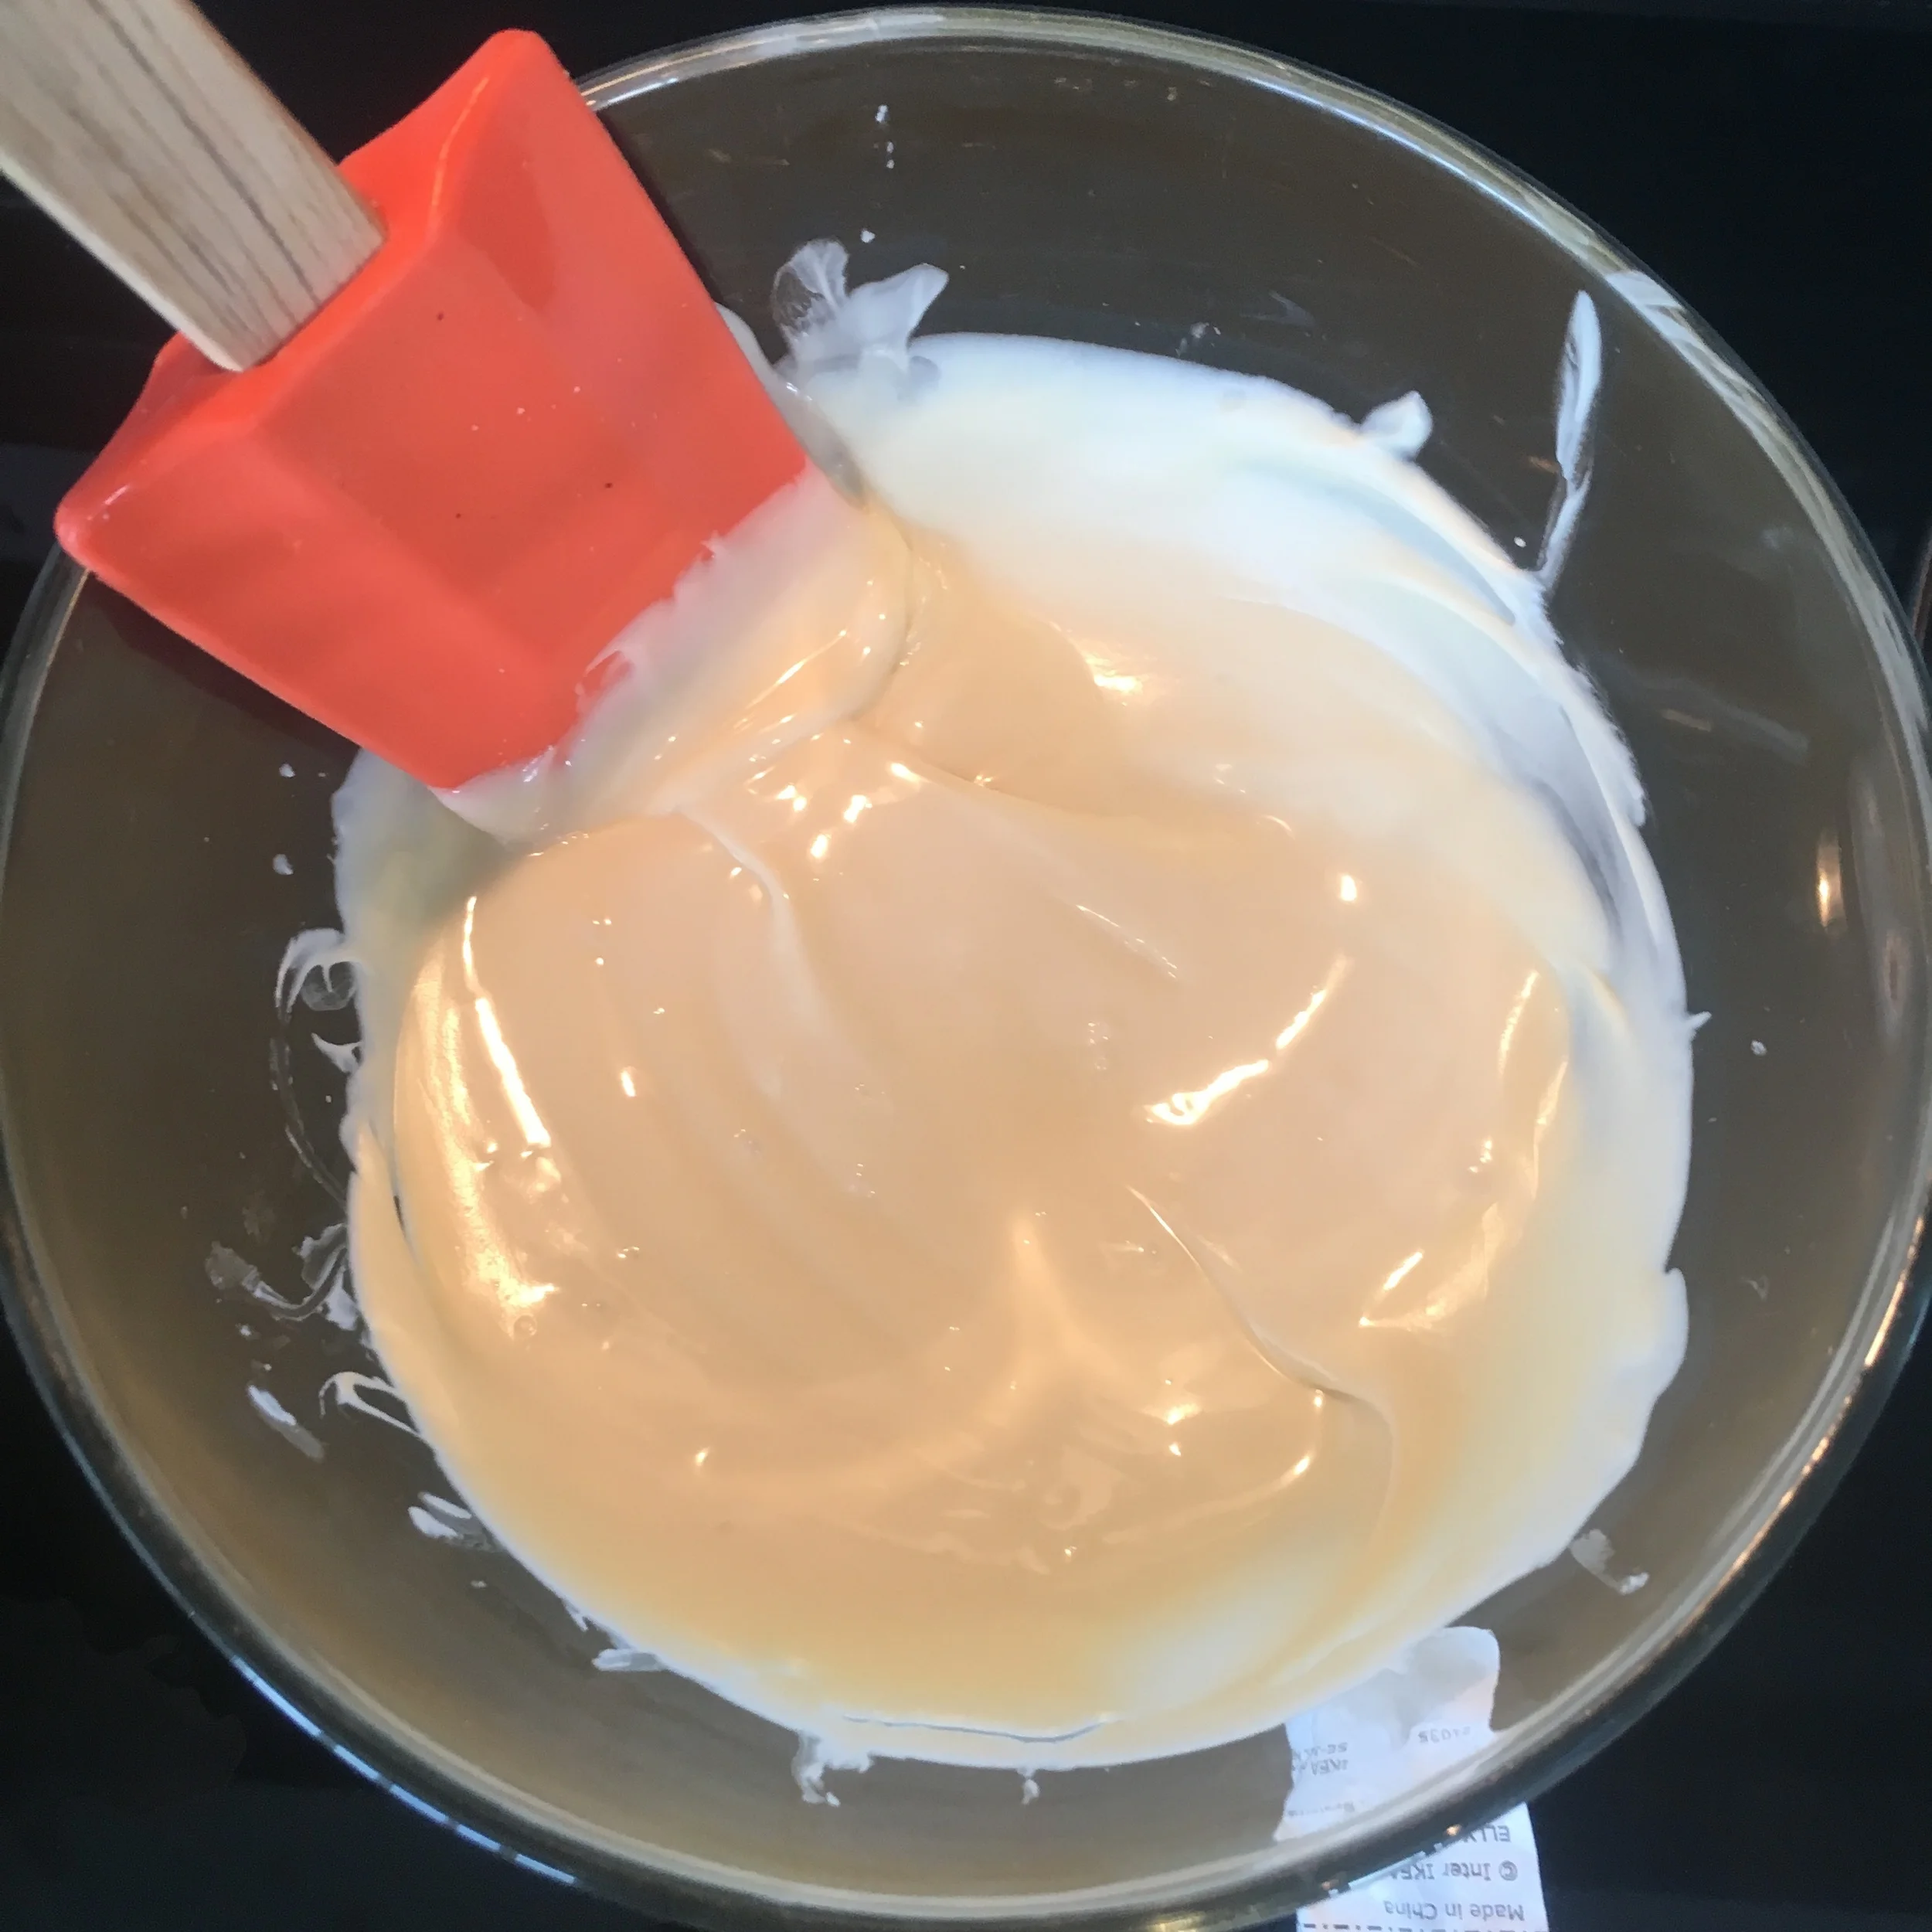
Next place your chopped up chocolate into a glass bowl slightly bigger then the pot so that the bottom of the glass bowl does not hit the bottom of the pot but is still submerged in the water (see photos)

You will slowly start to see the chocolate melt. Using a spatula move the chocolate around so that it evenly melts. Stir often with spatula in order to get the best consistency. Make sure no water gets into the chocolate!

Repeat the double boil process in a new glass bowl with your white chocolate.

Dip your strawberries in the dark chocolate. Use the toothpick to help you rotate the strawberry so it is evenly covered in chocolate on all sides. Allow access chocolate to drip off before placing it upside down to dry so the toothpick is in the Styrofoam.

Continue until all the strawberries are covered and place upside down on the Styrofoam to dry.

Next put the white chocolate in a zip lock bag and push it to one corner. Cut a small hole in that corner so that the white chocolate can come out slowly. Pick up a strawberry and quickly move across it (side to side or back and forth) while squeezing the white chocolate bag to create your design. Place it back upside down on the Styrofoam. Repeat with remaining strawberries.

Once finished place strawberries and Styrofoam in the freezer for 30min to 1 hour to harden. Once harden you can serve them to your guest.


I hope you enjoyed this recipe. I would love to know your thoughts! If you have and suggestions or question please feel free to leave them in the comments below!