NUTELLA CHOCOLATE WONTON POPPERS

Oh my I think this is one of my favorite recipes yet! These wonton poppers are super quick and easy to make and are a great dessert option. The varieties of what you can add as filling is endless - all you need is a little imagination. Think icing, caramel, marshmallow, or even jam. Any fruit combination works well too - just have fun with it!

VIDEO POSTED BELOW

INGREDIENTS:

Wonton Wrappers (I recommend 3 per person)
1 Bar of Chocolate (I used Lindt Milk Chocolate)
Jar of Nutella
Fruit (I used banana slices 1/4 inch thick and strawberries)
1 Egg (whipped)
2 Cups of Vegetable Oil
Icing Sugar (garnish)

DIRECTIONS:

Cover a baking sheet in wax paper and lay out your wonton wrappers.

Add your chocolate/Nutella and fruit fillings.

Brush whisked egg along the edges of each wonton wrapper to help seal it shut.

Fold wonton wrappers over and press down the corners with a fork to seal the edges.

Place vegetable oil in a deep pan on the stove and allow to heat up for 4 minutes on medium.

Once ready drop poppers into the frying pan and let to cook for 2 minutes before flipping them over.

Once nicely golden remove from oil and place on a plate covered in paper towel.

When poppers have cooled slightly, plate and sprinkle with icing sugar before serving.

ENJOY!!!!

I hope you enjoyed this recipe as much as I do. If you have any comments please leave them below and I'll be happy to answer them as soon as I can! Bon Appetite!!!

PESTO SHRIMP WITH GLUTEN FREE PASTA

I love me some pasta and this is one of my easiest recipes. If you are hungry or dealing with some 'hangry' company/kids this is the fastest and easiest meal to get on the table. The longest part of this recipe is waiting for the water to boil, after that it's done in 10 minutes. I'm not celiac but I like using gluten free pasta whenever I can. In this case I used qunioa pasta (my fav gluten free kind of noodle) because it is easier to digest plus its a complex carb (1 part protein to 2 part carbs) making your noodles that much healthier for you. I also find that taste and texture wise it's the closest to regular aldente wheat pasta from a box. Enjoy! 

Serves 2 Adults

INGREDIENTS:

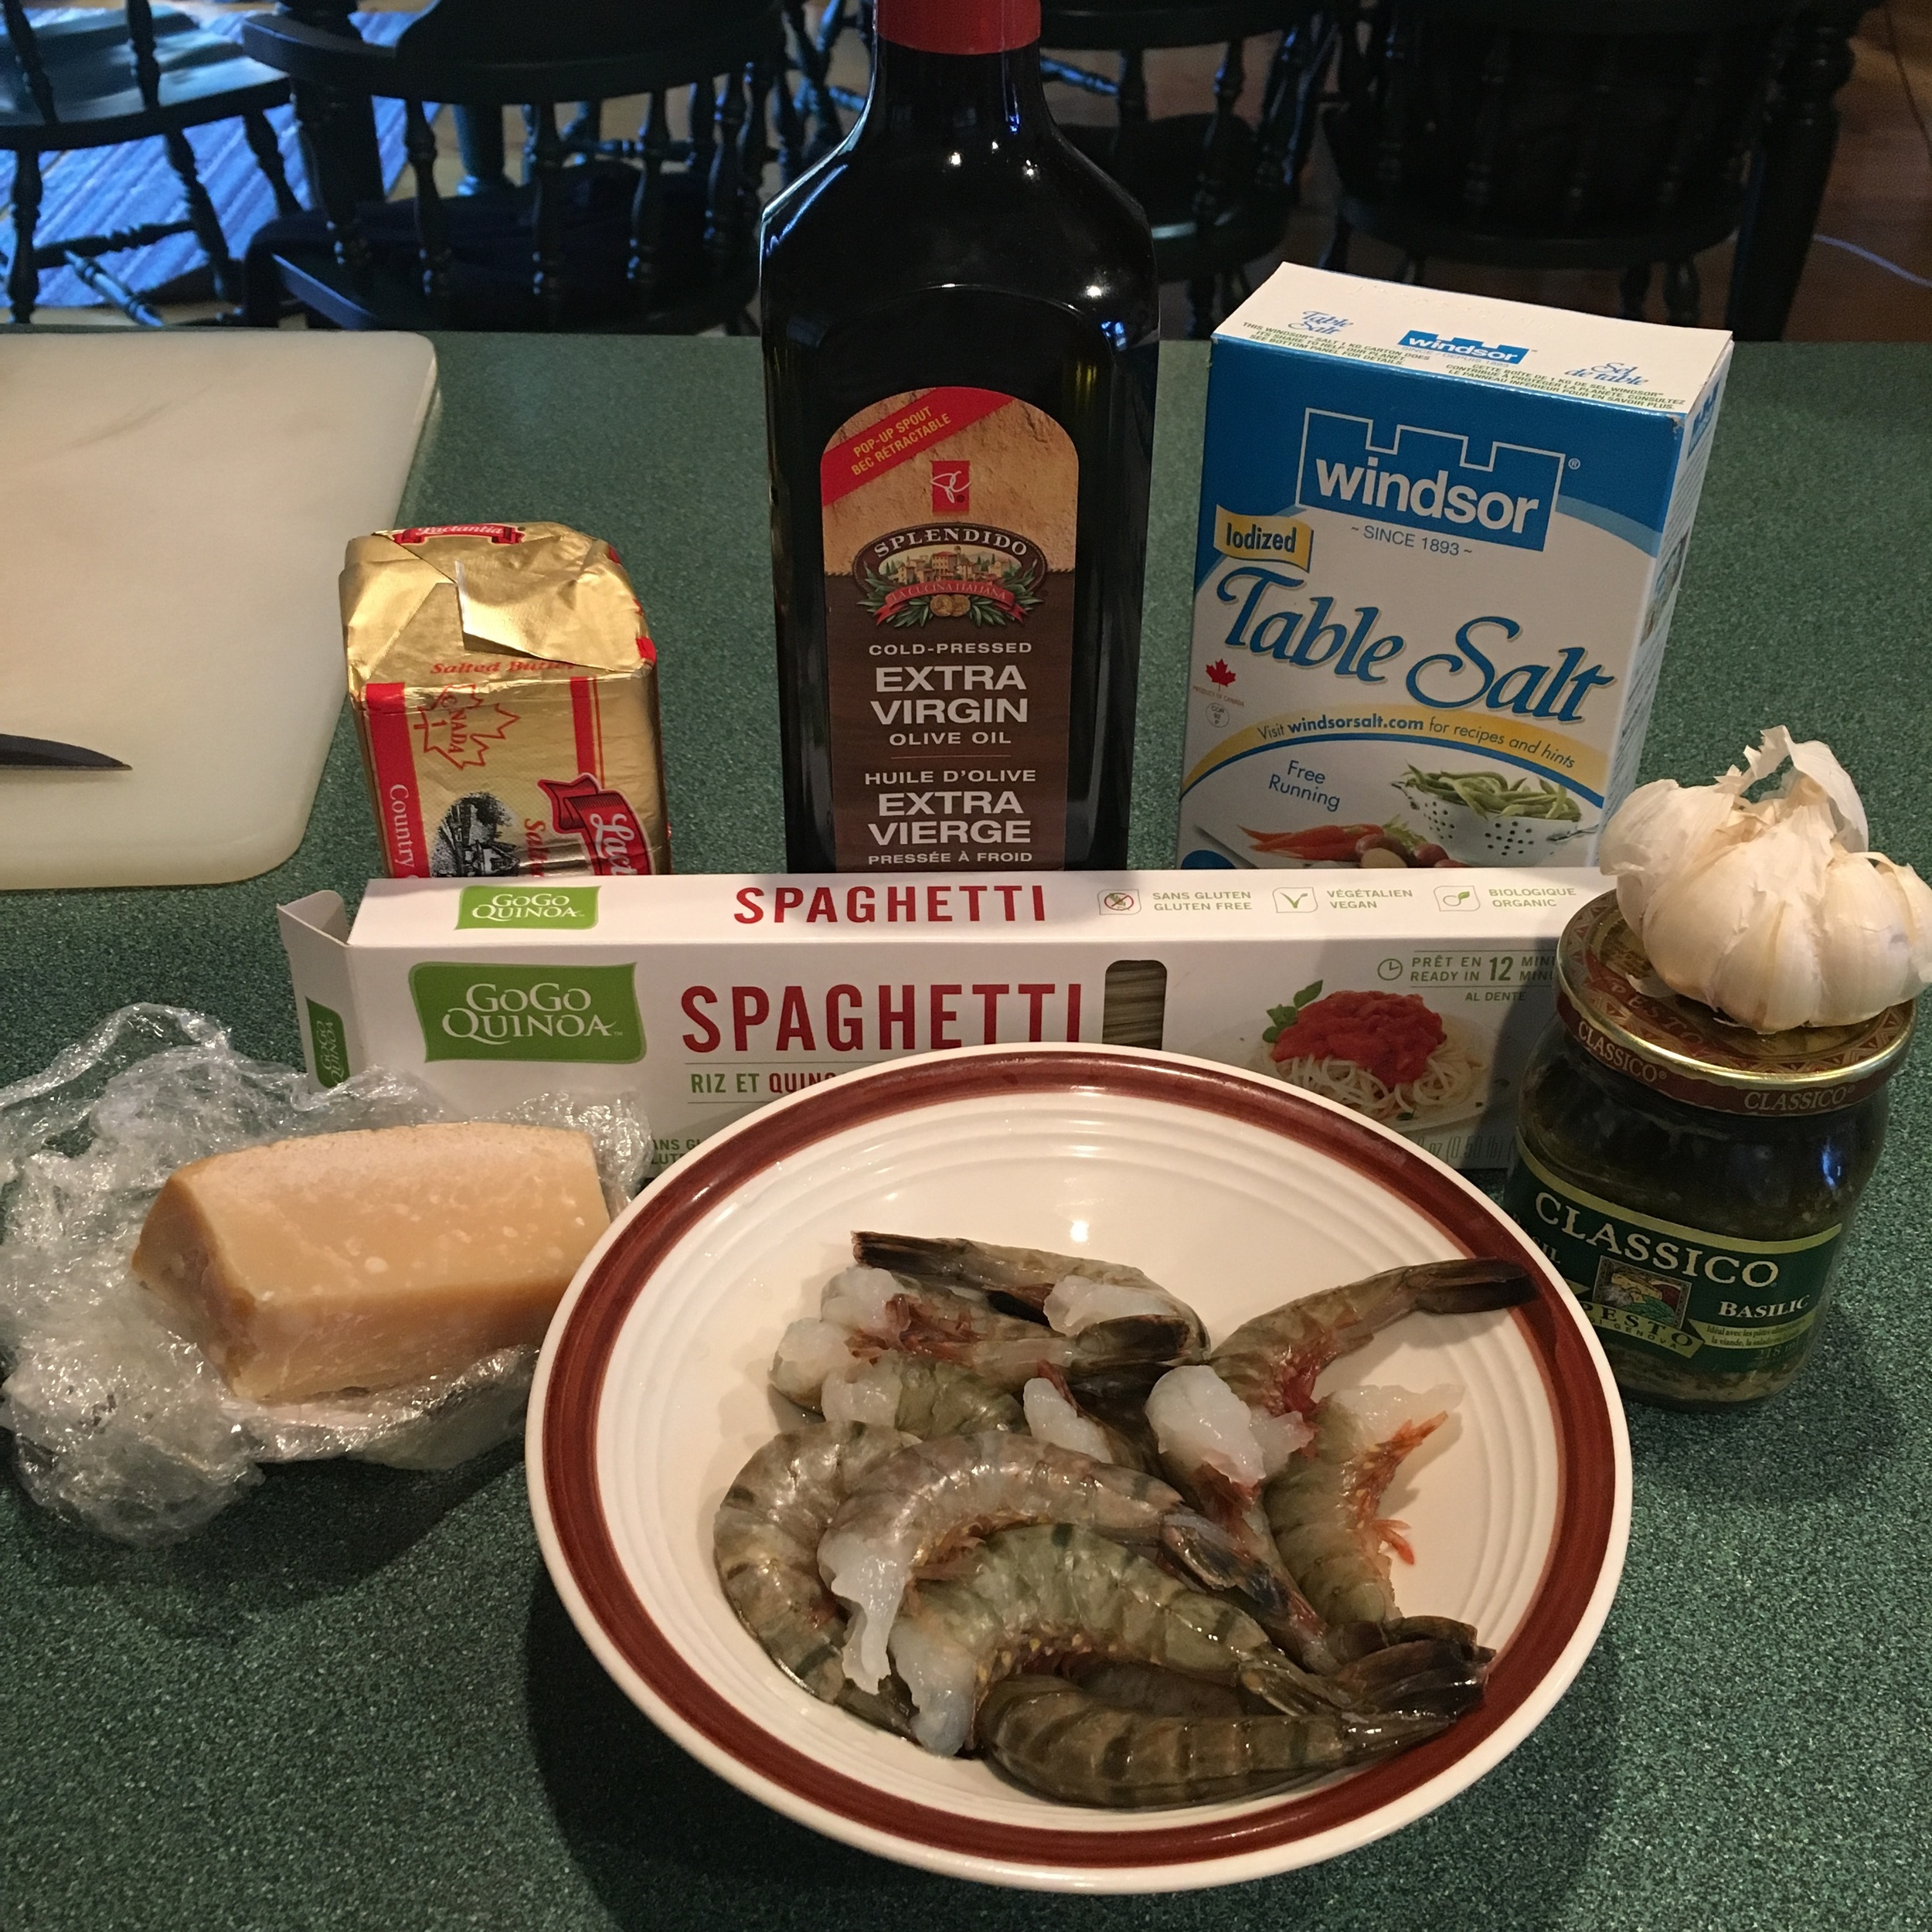
2-3 TBSP of Olive Oil
2 TBSP of Butter
1 Clove of Garlic (minced)
1 Shallot (Finely chopped)
15-20 Shrimp (de-vained and shell removed)
Pre-made Pesto*
Quinoa Pasta
Salt to taste
Parmesan Cheese (garnish)

*make sure it's gluten free

DIRECTIONS:

Bring a pot of water to a boil add 1-2 TSP of salt and your quinoa pasta. You have to stir quinoa pasta for the first two minutes so that it doesn't stick together. Continue to cook for another 8-10 minutes for aldente.

Add olive oil and butter to a skillet and allow to heat up on medium heat before adding in your garlic and shallots.

Once shallots become transparent add in your shrimp and pesto. Mix and allow the shrimp to cook until pink.

Once pasta is aldente remove 3-4 TBSP of water from the pot and set aside. Drain the remaining pasta water and add the pasta into the skillet with the shrimp and pesto. Mix well so that the pasta is well coated.

If you need a little more liquid to cook the pasta a little more add in the pasta water you set aside now. This will also help remove anything stuck to the bottom of the skillet.

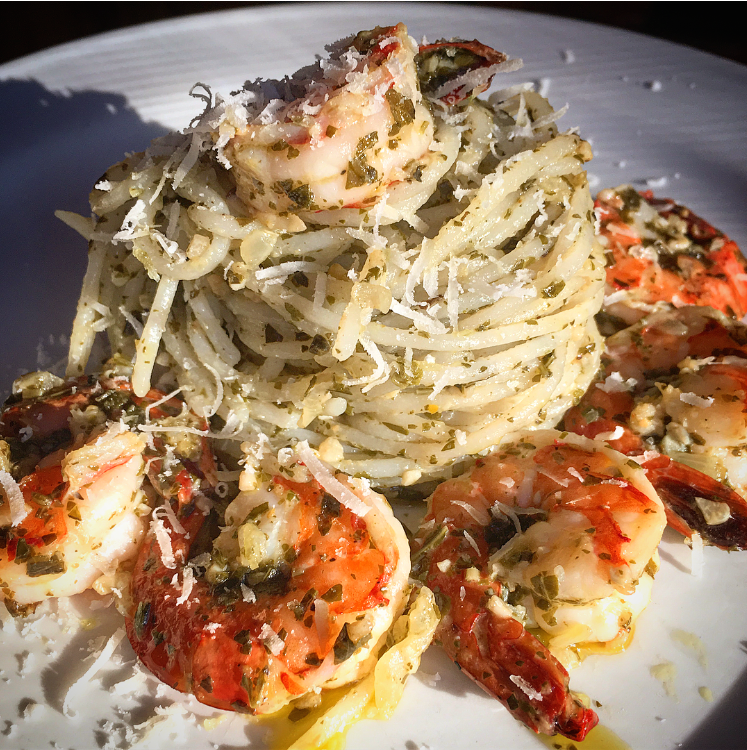
Twirl pasta and plate. Add shrimps from the skillet and garnish is pesto sauce and freshly grated Parmesan cheese.


I hope you enjoyed this recipe as much as I do. If you have any comments please leave them below and I'll be happy to answer them as soon as I can! Bon Appetite!!!
COFFEE CHOCOLATE CHIP ICE CREAM

I am not sure what inspired me to want to make ice cream, but I am sure happy I did. When it came to deciding the flavor I must admit it's no secret that I'm a big fan of coffee especially in ice cream form; also chocolate chips just seemed like the next logical step. This recipe calls for a Kitchen Aid Mixer (I borrowed mine from my mom) and takes longer then your average dinner recipe because the key to making good ice cream is letting the temperatures both raise and lower slowly. Meaning it is important to allow things to heat up slowly and cool down slowly so in the final freezing process less crystals are created and thus a creamer ice cream. Enjoy!

VIDEO BELOW!!!!!

INGREDIENTS;
1.5 Cups of Heavy (Whipping) Cream
1.5 Cups of Whole Milk
1 Cup of Cane Sugar (any kind of sugar works)
4 Egg Yokes
3/4 Cup of Freeze Dried (Instant) Coffee
1 TSP of Vanilla Extract
1 Cup of Chocolate Chips - I used Milk Chocolate

DIRECTIONS:

Add whipping cream and whole milk to a pot and heat it up on medium heat. You want it to get hot but NOT to the point of boiling.

Next add in your sugar and stir so that it dissolves.

In a separate bowl add your egg yokes. We are going to temper the eggs (this means slowly raising the temperature of the egg mixture so that it doesn't cook and become chunky)

Mix the tempered egg yokes in with the cream mixture and continue to heat on the stove until the cream thickens. A good way to test if it has thicken is to first take a black spoon and using a finger slide it across the spoon to reveal a line - the more opaque the liquid is in comparison to the colour of the spoon the thicker the mixture is.

Once the cream has thickened (about 10 minutes) take some of the hot cream and add it to the instant coffee to dissolve it before adding it back into the cream mixture followed by the vanilla extract. Stir well until fully incorporated.

Next remove the cream mixture from the heat and strain into a glass seal-able container. Allow to cool uncovered until it reaches room temperature then cover and place in fridge over night to thicken further.

Place the cream mixture into your Kitchen-Aid ice cream bowl and let it stir and churn the cream for 20 min on the lowest speed before adding in your chocolate chips. Allow the cream to continue to churn for an additional five minutes (you want the consistency to almost be that of soft serve ice cream)

Once the cream has a nice texture place back into the glass container, seal and place in freezer overnight to harden. Take the ice cream out of the freezer 2 minutes before you want to serve it and enjoy.

I hope you enjoyed this recipe as much as I do. If you have any comments please leave them below and I'll be happy to answer them as soon as I can! Bon Appetite!!!

VEGAN AND WHEAT FREE CARROT CAKE

So to start I must admit I am not vegan nor have a gluten free diet but this past weekend I was browsing my bookshelf and remembered this vegan cook book I have and decided to pull it out (for anyone who is interested in knowing more about the cookbook I will post a link below). As I perused the pages I came across this carrot cake recipe I 'dog eared' (weird expression I know) and decided to try it out. The results were a very nice and moist cake that I am sure will make any vegan person jump for joy.

INGREDIENTS:

Can of vegan, oil based non stick cooking spray
3/4 Cup Garbanzo Bean Flour
1 1/4 Cup Rice Flour
2 TSP Xanthan Gum
2 TSP Baking Soda
1/4 TSP Salt
2 TSP Cinnamon
1/2 Cup Apple Sauce
1 Cup Canola Oil
1 Cup Water
1 1/4 Cup of Maple Syrup
1 TSP Vanilla Extract
2 Cups Grated Carrots

Frosting - choose whichever flavor you like (mine was cream cheese) pre-made or I can list ingredients below.

Coconut Cream Cheese Frosting
8 OZ firm Silken Tofu
12 OZ Soy cream cheese
1 Cup of Powdered Sugar
1 TSP of coconut extract
1/2 Cup of Unsweetened Coconut
2 TSP of Xanthem Gum (for thickening)

DIRECTIONS: - SHORT VIDEO BELOW

*Like with most cakes you start by mixing all the dry ingredients together in one bow.. mixing all the wet ingredients in another bowl and then combining them together...vegan baking is the same

Preheat the oven to 325 degrees

Grab a 9 inch bread baking pan and coat it in non-stick cooking spray.

In a large bowl mix your garbanzo bean flour, rice flour, xantham gum, baking soda, sat and cinnamon together.

In a separate medium bowl mix your applesauce, canola oil, water, vanilla extract and maple syrup.

Next mix your wet ingredients into the bowl with the dry ingredients and stir until it is well incorporated. Then add in your grated carrots and mix well.

Pour cake mix into the coated baking pan and bake in the over for 75-80 minutes

Once finished remove from the oven and allow to cool before adding icing on top.

To make the frosting simply place all ingredients except the unsweetened coconut in a food processor and blend until smooth. Stir in the coconut after by hand. If possible you can make this the night before and refrigerate so it has more time to set and thicken.


For those who are interested in the cookbook I got this recipe from 'Sinfully Vegan' by Lois Dieterly.


I hope you enjoyed this recipe as much as I do. If you have any comments please leave them below and I'll be happy to answer them as soon as I can! Bon Appetite!!!
CINCO DE MAYO SPICY SHRIMP TACOS

Cinco de Mayo is one of my favorite holidays! That's mainly because it's another great excuse to eat tacos more than once a week. I have been doing some experimenting and have come up with an amazing shrimp taco marinade which of course I just had to share with the world. I will warn you that this marinade is spicy (not kick-you-in-the-pants spicy but has-some-bite spicy) so if you're not into spicy stuff you probably wont enjoy this as much as my other recipes. If you can stand a little heat then more to ya my friend!!!!! Enjoy!

Makes 4 Tacos - VIDEO BELOW

INGREDIENTS:

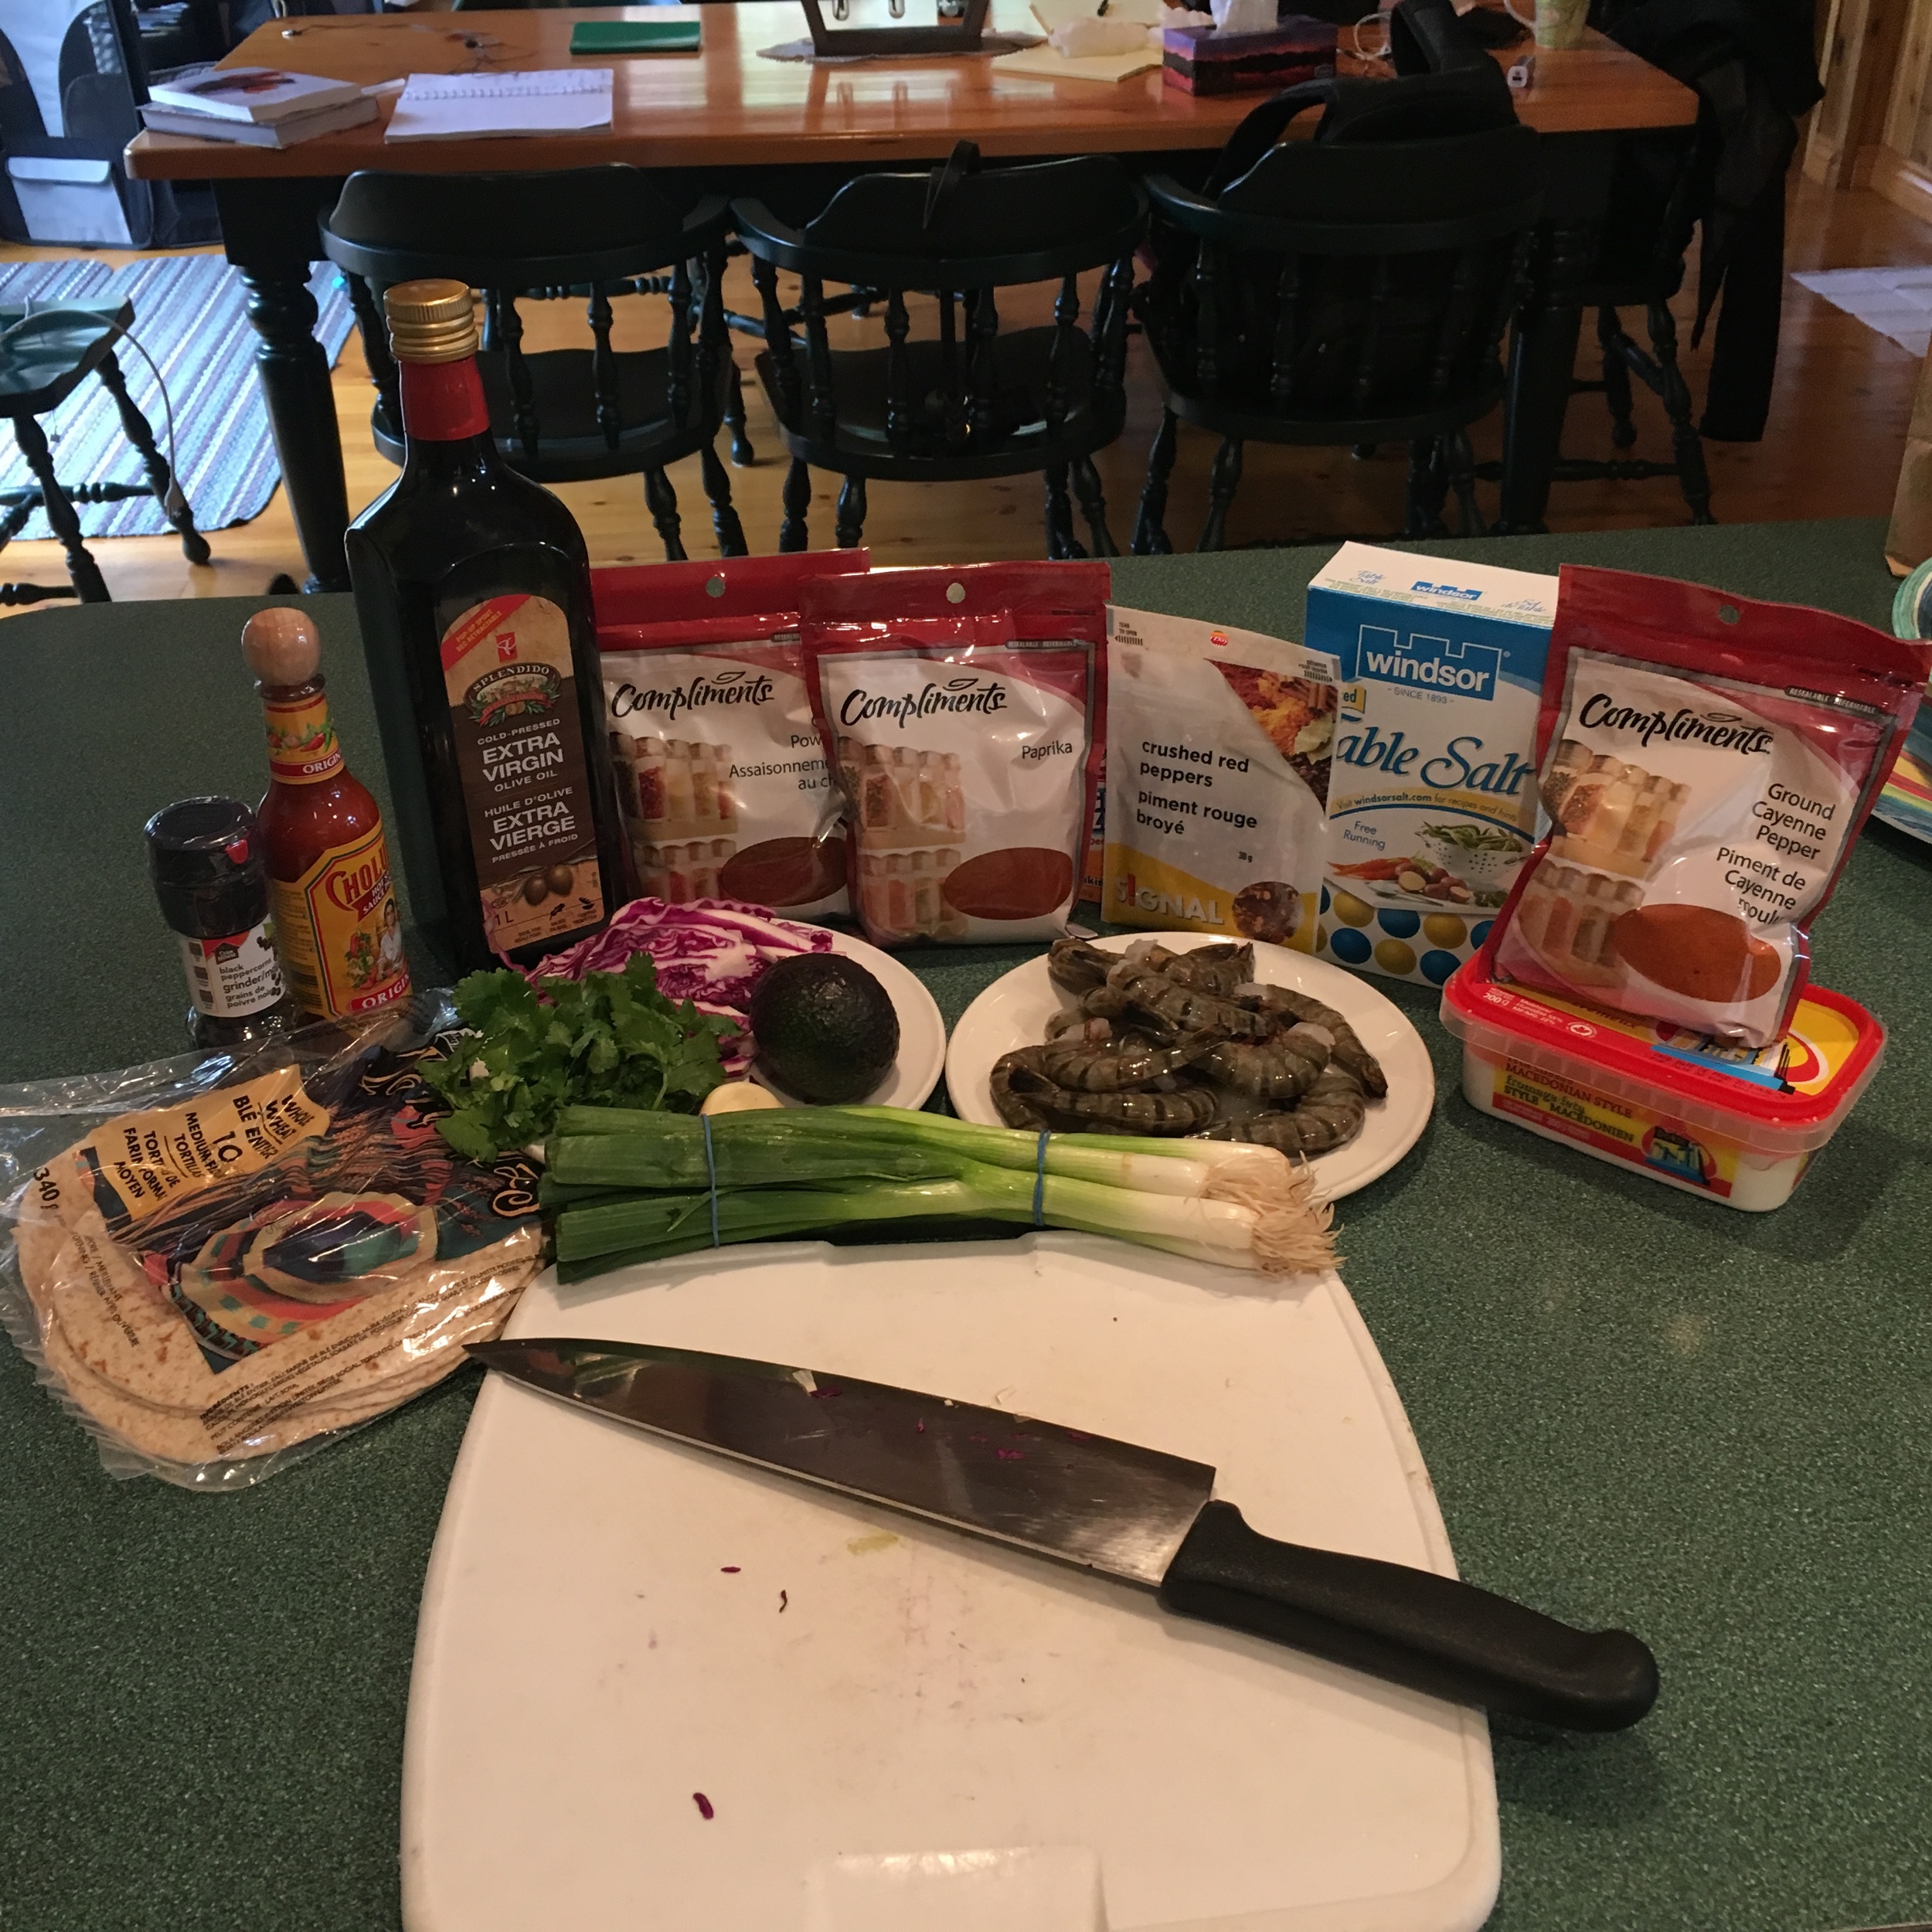
16 Shrimp (de-veined with shells removed)
1-2 TBSP of Olive Oil
1/4 TSP Red Pepper Flakes
1/4 TSP Chili Powder
1/4 TSP Paprika
1/4 TSP Cayenne Powder
3 Cloves of Garlic (minced)
1 Lime Zest and Juices
1.5 Cups of Shredded Cabbage
1 Stock of Green Onion (Chopped)
Salt
Avocado (sliced)
4 Tortillas

Garnish:
1/4 Cup of Cilantro
Sprinkle of Cotija Cheese or Feta Cheese

DIRECTIONS:

Mix shrimp, olive oil, red pepper flakes, chili powder, cayenne powder, minced garlic, pinch of salt and lime zest in a bowl. Allow to marinate for 15 minutes or so.

In another bowl mix together the shredded cabbage, lime juice, chopped green onion and a pinch of salt.

Warm up a skillet on medium heat and add in the marinated shrimps, cook for about 5 minutes or until pink. You can add more oil if you think you need it.

Warm tortillas up under oven broiler for a minute or two.

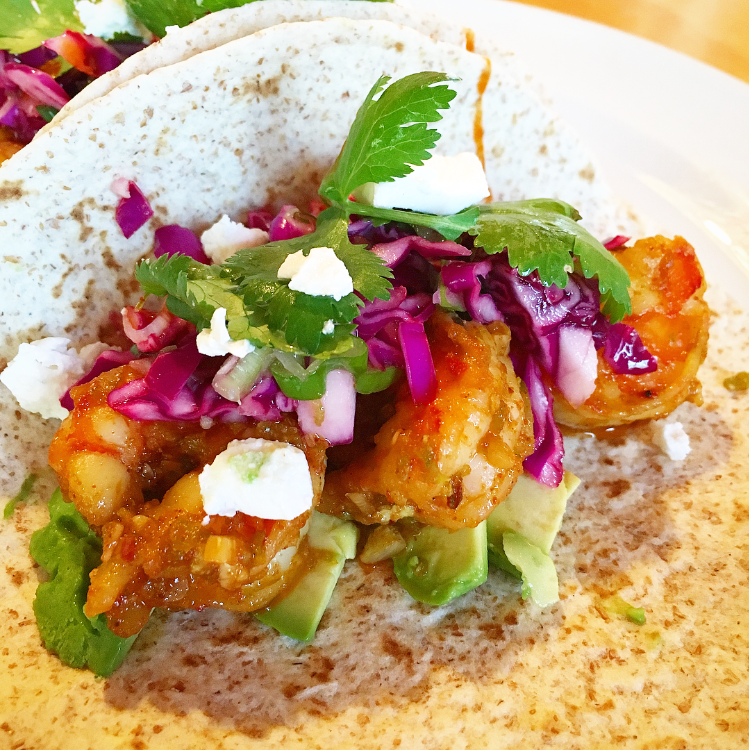
Plate your tortillas, add your avocado slices, cooked shrimp, cabbage slaw, and garnish with cilantro and cheese.

I hope you enjoyed this recipe as much as I do. If you have any comments please leave them below and I'll be happy to answer them as soon as I can!  Happy Cinco de Mayo!!!