PAD GRA PROW - EASY THAI STREET FOOD RECIPE!

Since I am always and forever dreaming of travel, I thought I’d share a new recipe and popular street food dish today from a country on my bucket list, Thailand. Pad Gra Prow (sometimes also seen spelled Pad Gra Pow or Pad Kra Prow) is a flavourful, ground pork dish that is served on top of a bed of steamed Jasmin rice and topped with a sunny-side-up egg. Not only is it super simple to make but it will have you asking for second helpings! Don’t like pork? That’s okay! Tofu makes a great vegetarian substitute for pork or even ground chicken. Alternatively, if you are looking for a low-carb option you can also substitute the rice for a lettuce wrap which adds an extra refreshing element to this already delicious dish. No matter what your preference, this recipe will have you daydreaming of traveling to Thailand one day soon too.

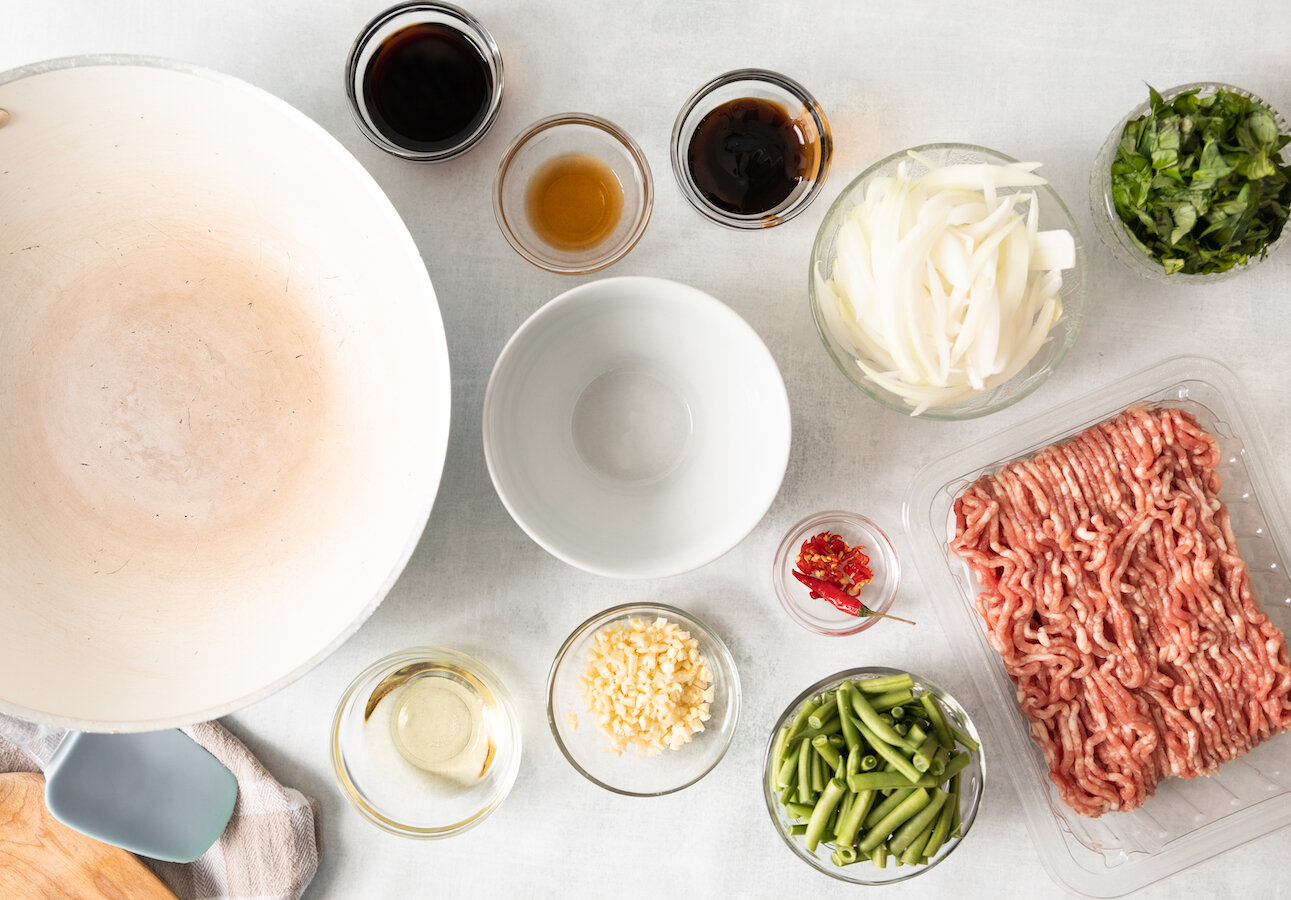
INGREDIENTS:

Yields 2-3 Servings

2 CUPS of Steamed Jasmin Rice
4 TBSP of Vegetable Oil divided - 1 TBSP and 3 TBSP
1 TBSP of Oyster Sauce
1 TBSP of Soy Sauce
1.5 TSP of Fish Sauce
2 TBSP Garlic - minced
1/2 TSP of Thai chili - minced
1 LB or 450g of Ground Pork - you can substitute for chicken or tofu but squeeze out all the water if you use tofu
1 Cup of French Beans - cut in 1” pieces
1/2 a White Onion - cut in 1/4 inch strips
2 Eggs
1 Cup of Thai Holy Basil - roughly chopped - if you can’t find Thai Holy Basil you can use regular Italian Basil instead
Salt and Pepper


MORE MOUTHWATERING ASIAN RECIPES


DIRECTIONS:

Cook rice and set aside.

While rice is cooking, add the oyster sauce, soy sauce and, fish sauce to a bowl and mix thoroughly, set aside

Next, in a wok heat up your vegetable oil and add in your garlic and chili. Cook until fragrant.

Once fragrant, add in your ground pork (or substitute with chicken or crumbled tofu) and allow to cook completely. Salt and pepper as desired.

Next, add in veggies (onion and beans) and continue to cook for about 2 minutes.

During this time/, fry eggs sunny side up in a skillet with a little bit of vegetable oil until whites are cooked but yolk is still runny, set aside.

Once pork/veggies are done, add the sauce mixture you made earlier to the wok and stir until well incorporated.

Next, stir in basil until wilted

Lastly, plate the pad gra prow on top of a bed of rice adding the fried egg on top and garnish with a piece of fresh basil.

Additionally, you can add a lime wedge on the side as well as a few extra small pieces of chili in a tablespoon of fish sauce when serving.

Enjoy!


FOLLOW ME ON INSTAGRAM @ISTHATSOH


I hope you enjoyed this recipe as much as I do. If you have any comments please leave them below and I'll be happy to answer them as soon as I can! Happy cooking!!!


PIN THIS POST

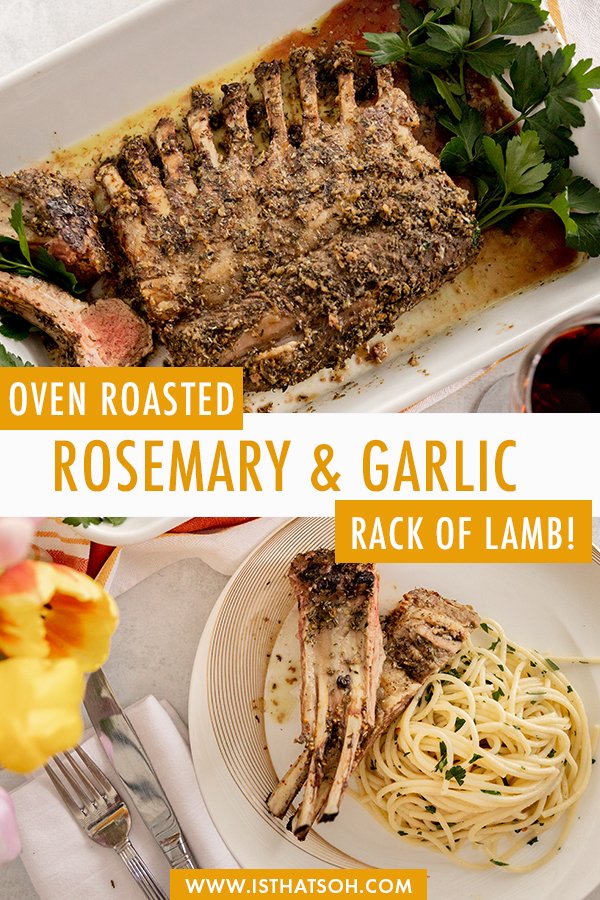
MOM'S OVEN ROASTED ROSEMARY GARLIC RACK OF LAMB

oven roasted rack of lamb!

An oven roasted rack of lamb recipe!

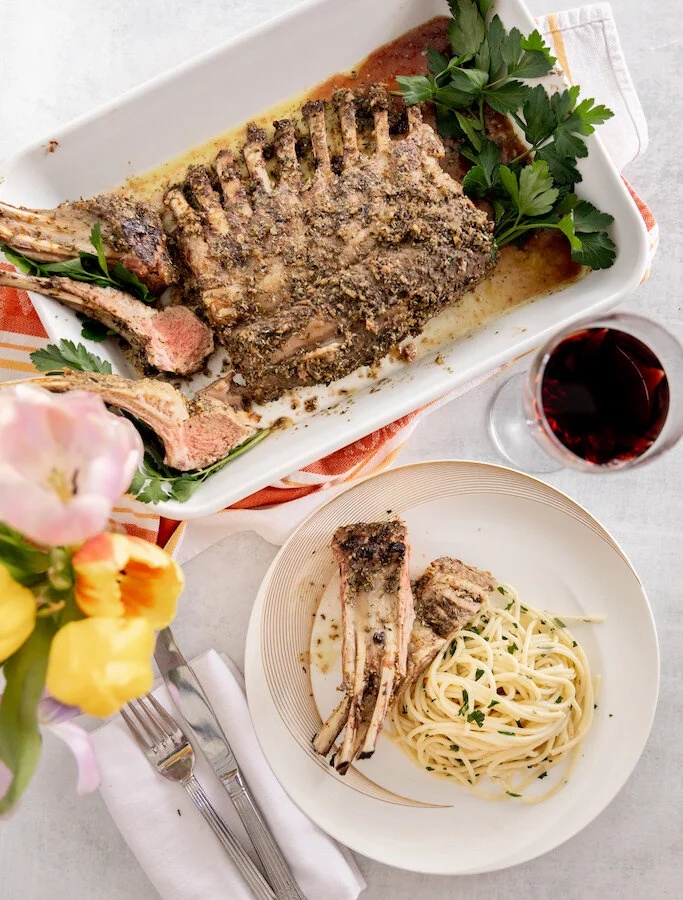
One thing I love about coming home is eating my mom’s cooking! This week, my mom taught me some of her specialties including her coveted oven-roasted rosemary garlic rack of lamb! Best served alongside her Aglio e olio pasta, this dish is on repeat weekly in our household. If you are looking for a super easy recipe to make this weekend that you can prepare ahead of time, you have to try this oven roasted rack of lamb! It is soooo good and always a crowd pleaser!

* Please Note - Some links in this post may be affiliate links *

INGREDIENTS:

COOKING TIME: 25 Minutes

Serves 4

Rack of Lamb (8-9 ribs) - trimmed
1/4 CUP of Olive Oil
2 TBSP of Fresh Rosemary
2 TSP of Fresh Thyme Leaves
8 Garlic Cloves
Zest of 1 Lemon
Salt and Fresh Cracked Pepper


Kitchen Tools:
Food Processor
Baking Sheet
Meat Thermometer


CHECK OUT THESE OTHER AWESOME DINNER MAINS


HOW TO COOK RACK OF LAMB:

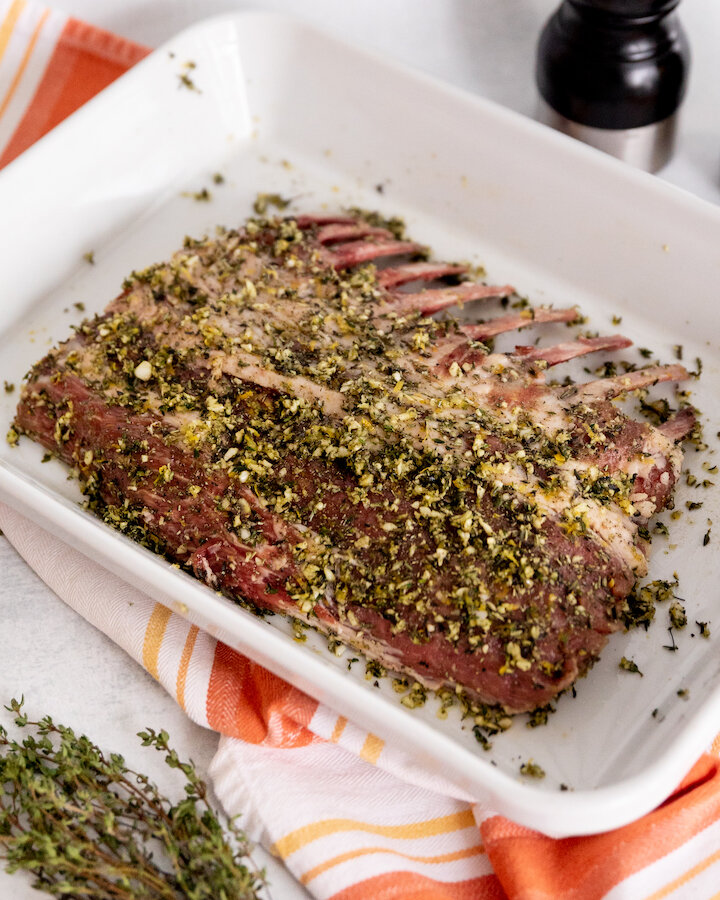
In a food processor, add in your olive oil, rosemary, thyme and lemons zest, pulse until finely chopped.

Salt and Pepper rack of lamb on both sides before covering in marinade and setting aside for 1 hour at room temperature on a baking sheet.

When ready, set oven to 450 and cook lamb for 15 minutes before rotating the baking sheet and continuing to cook for 10 minutes to ensure it cooks evenly and to medium rare. If you have a meat thermometer, for medium rare lamb the internal temperature should be at 130-140 degrees.

When meat is ready, remove from oven and let rest for 10 minutes before chopping it up into individual portions. This will allow the juice to redistribute.

Plate and serve.

Enjoy!

oven roasted rack of lamb

Oven roasted rack of lamb with rosemary and garlic


I hope you enjoyed this oven roasted rack of lamb recipe as much as I do. If you have any comments please leave them below and I'll be happy to answer them as soon as I can! Happy cooking!!!


PIN THIS POST

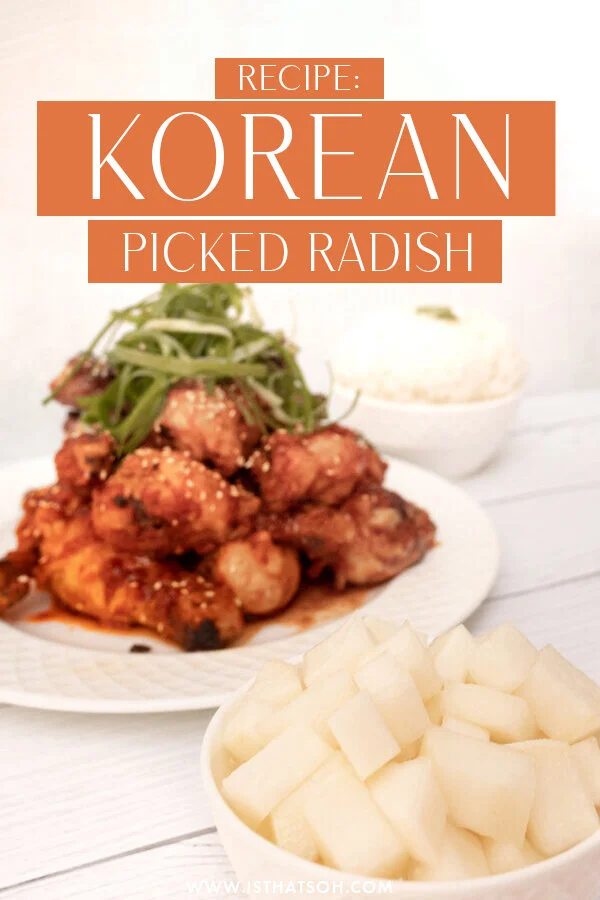
KOREAN PICKLED RADISH RECIPE

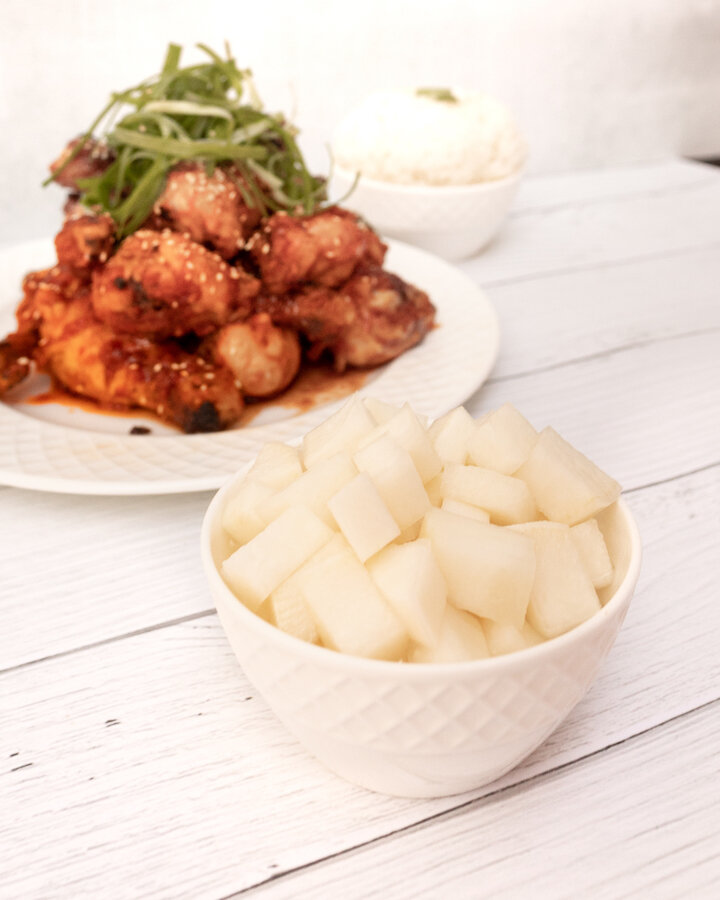
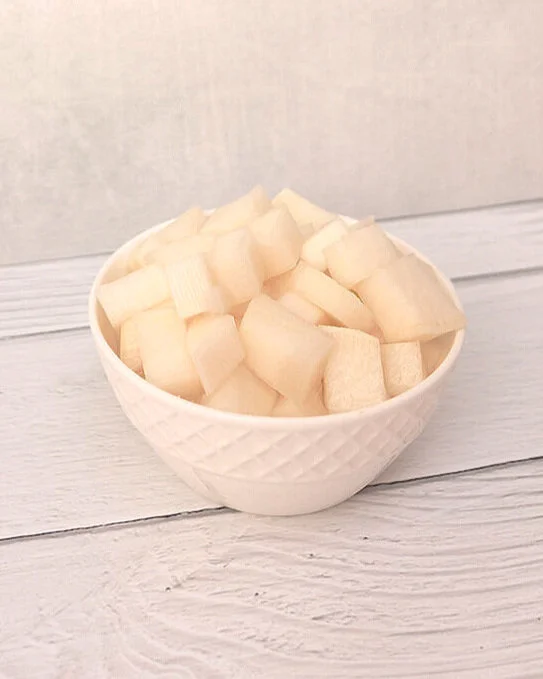
I am sure by now you can tell that I have recently developed a slight obsession with Korean food. Now having been introduced to Yangnyeom chicken by my boyfriend’s brother’s Korean girlfriend and already having a previous love for Bibimbap, I now wanted to start sharing recipes for some little side dishes that you often see being served with Korean food like this one, a simple Korean pickled radish dish. Unlike regular radish, Korean radish is massive in size and white on the outside as well as the inside. Usually served pickled along with other small side dishes, I find Korean pickled radish to be refreshing, almost like a palette cleanser that goes well with spicy dishes. Pickled korean radish can also be stored easily in the fridge for up to two weeks and made in batches which makes it easy to pull out during mealtime. We recently made Korean pickled radish to go with our Yangnyeom chicken dinner the other week and it was the best compliment for the dish! I think you will feel the same way also! Hope you like it!


INGREDIENTS:

- Pickled Korean Radish -

1 lbs of Korean Radish, peeled and cubbed
1/3 CUP of Sugar
1/3 CUP & 1 TBSP of White Vinegar
3/4 CUP of Water
1 TSP of Kosher Salt


CHECK OUT THESE OTHER ASIAN INSPIRED RECIPES!


DIRECTIONS:

Combine sugar, vinegar, salt, and water in a large glass pickling jar and give it a stir so that it can mix well.

Next, add in your cubed radish, seal with a lid, and place in the fridge.

Allow to ‘pickle’ for a minimum of 2 hours before serving.

Korean pickled radish can be stored in the fridge for up to two weeks.

P.S. This recipe is usually served and pairs really well with Korean Fried Chicken (pictured below).


FOLLOW ME ON INSTAGRAM @ISTHATSOH

Gallery Block
This is an example. To display your Instagram posts, double-click here to add an account or select an existing connected account. Learn more

I hope you enjoyed this pickled Korean radish recipe as much as I do. If you have any comments please leave them below and I'll be happy to answer them as soon as I can! Happy cooking!!!


PIN THIS POST

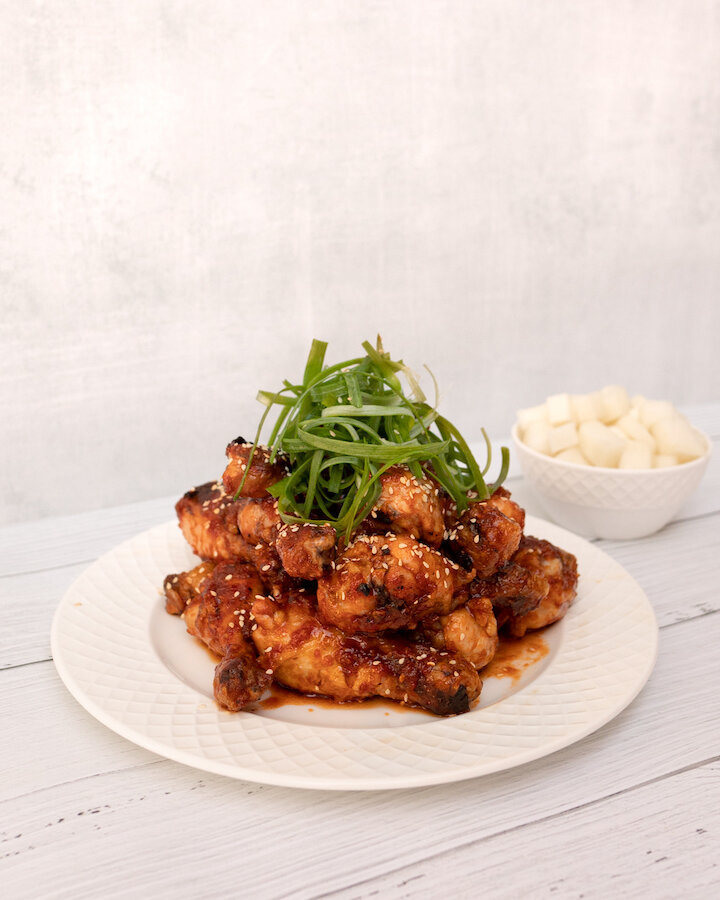
HEALTHY-ISH SPICY KOREAN 'FRIED' CHICKEN (YANGNYEOM)

Yangnyeom (or Yum Yum chicken as we like to call it), is a fried Korean chicken recipe, usually served breaded, and coated in a red, spicy, Korean fried chicken sticky red sauce. My boyfriend’s brother’s Korean girlfriend recently made this fried Korean chicken for the family and we all loved the sweet-salty-spicy flavors. Since we are all health-conscious, slight changes were made to the typical traditional recipe (no flour, frying in oil, and less sugar) but the results were just as tasty. If you feel like making something unique and easy for dinner, I highly recommend giving this recipe a go. It pairs beautifully with Korean pickled radish, a bowl of sticky rice, and of course, a nice cold beer!

Enjoy!

INGREDIENTS:

- BBQ Chicken Marinade -
3 LBS of Drumsticks
Vegetable OIl (enough to coat chicken)

- Korean Sauce -
2 TBSP of Rice Vinegar
2 TSP Ginger (minced or grated)
3 TBSP of Ketchup
2 TBSP of Honey
2 TBSP of Brown Sugar
2 TBSP of Soya Sauce
2 TBSP of Garlic (minced or grated)
1 TBSP of Sesame Oil
2-2.5 TBSP of Hot Chilli Paste (Gochujang) *depending on how hot you want

- Garnish -
Roasted Sesame Seeds
Green Onions, finely shredded


CHECK OUT THESE OTHER ASIAN STYLE RECIPES


DIRECTIONS:

Coat the chicken in vegetable oil and bbq till they are cooked through.

In a deep saucepan or wok create your Korean Chicken Sauce and heat up over low to medium heat, stir well. Once it starts to bubble, reduce heat, add in your bbq chicken and toss until well coated in sauce.

Remove chicken from heat and garnish with roasted sesame seeds and green onion before serving.

Enjoy!

P.S. This recipe is usually served and pairs really well with Korean pickled radish (pictured below)!


FOLLOW ME ON INSTAGRAM @ISTHATSOH


I hope you enjoyed this spicy Korean chicken recipe as much as I do. If you have any comments please leave them below and I'll be happy to answer them as soon as I can! Happy cooking!!!


PIN THIS POST

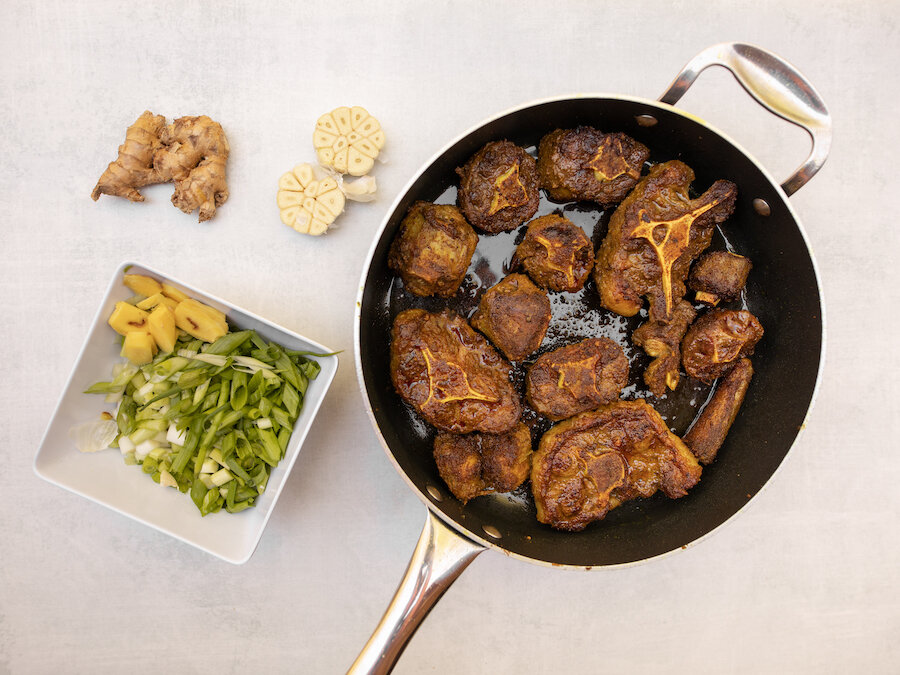
BRAISED OXTAIL WITH COCONUT CAULIFLOWER RICE

A personal favorite of mine, Oxtail is a very tender, juicy, gelatin-rich meat. Usually found slow-cooked as a stew or braised, my version is packed full of amazing savory flavors and braised for 7 hours until it falls off the bone. Although, I didn’t cook the oxtail in the typical Jamaican style, I did pair mine with coconut cauliflower rice to give it a hint of sweetness while keeping it low in carbs. The results were amazing and had my family fighting over leftovers. If you like braised juicy meat, I highly recommend giving this recipe a try!

Enjoy!

INGREDIENTS:

- Serves 6 People -

- Braised Oxtail -

6LBS of Oxtail
Kosher Salt
3.5 TBSP of Curry
4 TBSP of Vegetable Oil
10 CUPS of Chicken Broth
8 Scallions - diced
2 Garlic Heads - cut in half
Pinch of Chilli Pepper Flakes
Pinch of Thyme
6” Piece of Giner - sliced in 1/8 slivers
4 TBSP of Soy
2 TBSP of Brown Sugar

- Coconut Cauliflower Rice -

1 TBSP of Butter
2 Cloves of Garlic - minced
2’ Piece of Ginger -Chopped
3 Scallions - diced
1/2 CUP of Unsweetened Coconut Milk
1/2 TSP of Brown Sugar
1000 Grams of Cauliflower Rice - I used from frozen

DIRECTIONS:

Heat oven to 250 degrees

In a large bowl, season oxtail generously with salt followed by the curry powder.

In a large deep skillet, or using a dutch oven heat up vegetable oil on the stove on medium-high and sear both sides of oxtail until browned. If you don’t have an oven-safe skillet or a large enough dutch oven to fit all the meat and liquid, first sear the oxtail in the skillet and then moved them to a roasting pan.

Once you have seared all the oxtail remove from skillet/dutch oven and add in chicken broth, scallions, garlic, chili pepper flakes, thyme, soy, ginger, and brown sugar. Allow this to come to a simmer and scrape the bits of oxtail that stuck to the bottom of the skillet to become loose before adding the mixture into your roasting pan, or placing the oxtail back in the dutch oven. The oxtail should be submerged in liquid.

Next, place the roasting pan or dutch oven with the oxtail in the oven to slow cook. Position lid partially off and allow to cook for 7 hours flipping pieces around halfway through. If at the halfway point the liquid has gone down a lot you can add in 1/2 cup of water.

30 minutes prior to Oxtail being ready its time to make the coconut cauliflower rice. Grab a large skillet, add in your butter and allow to heat up on medium. When hot add in your garlic, ginger, and scallions - saute for 3-4 minutes.

Next, add in your unsweetened coconut milk and brown sugar. Mix until well incorporated.

Finally, add in your cauliflower rice and allow it to steam and mix with sauce until fully coated.

Serve oxtail on rice when ready and garnish with more scallions.

Enjoy!


If you like this recipe or have any comments/questions, feel free to leave them in the comment section below!


PIN THIS POST