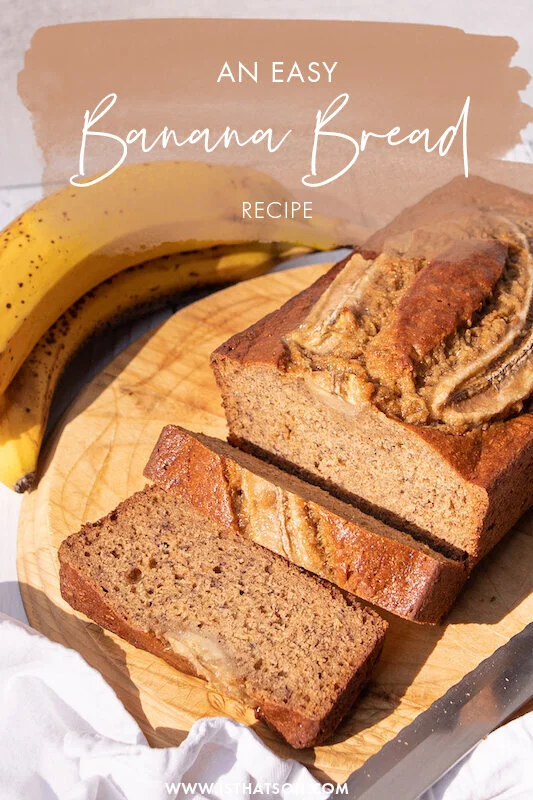
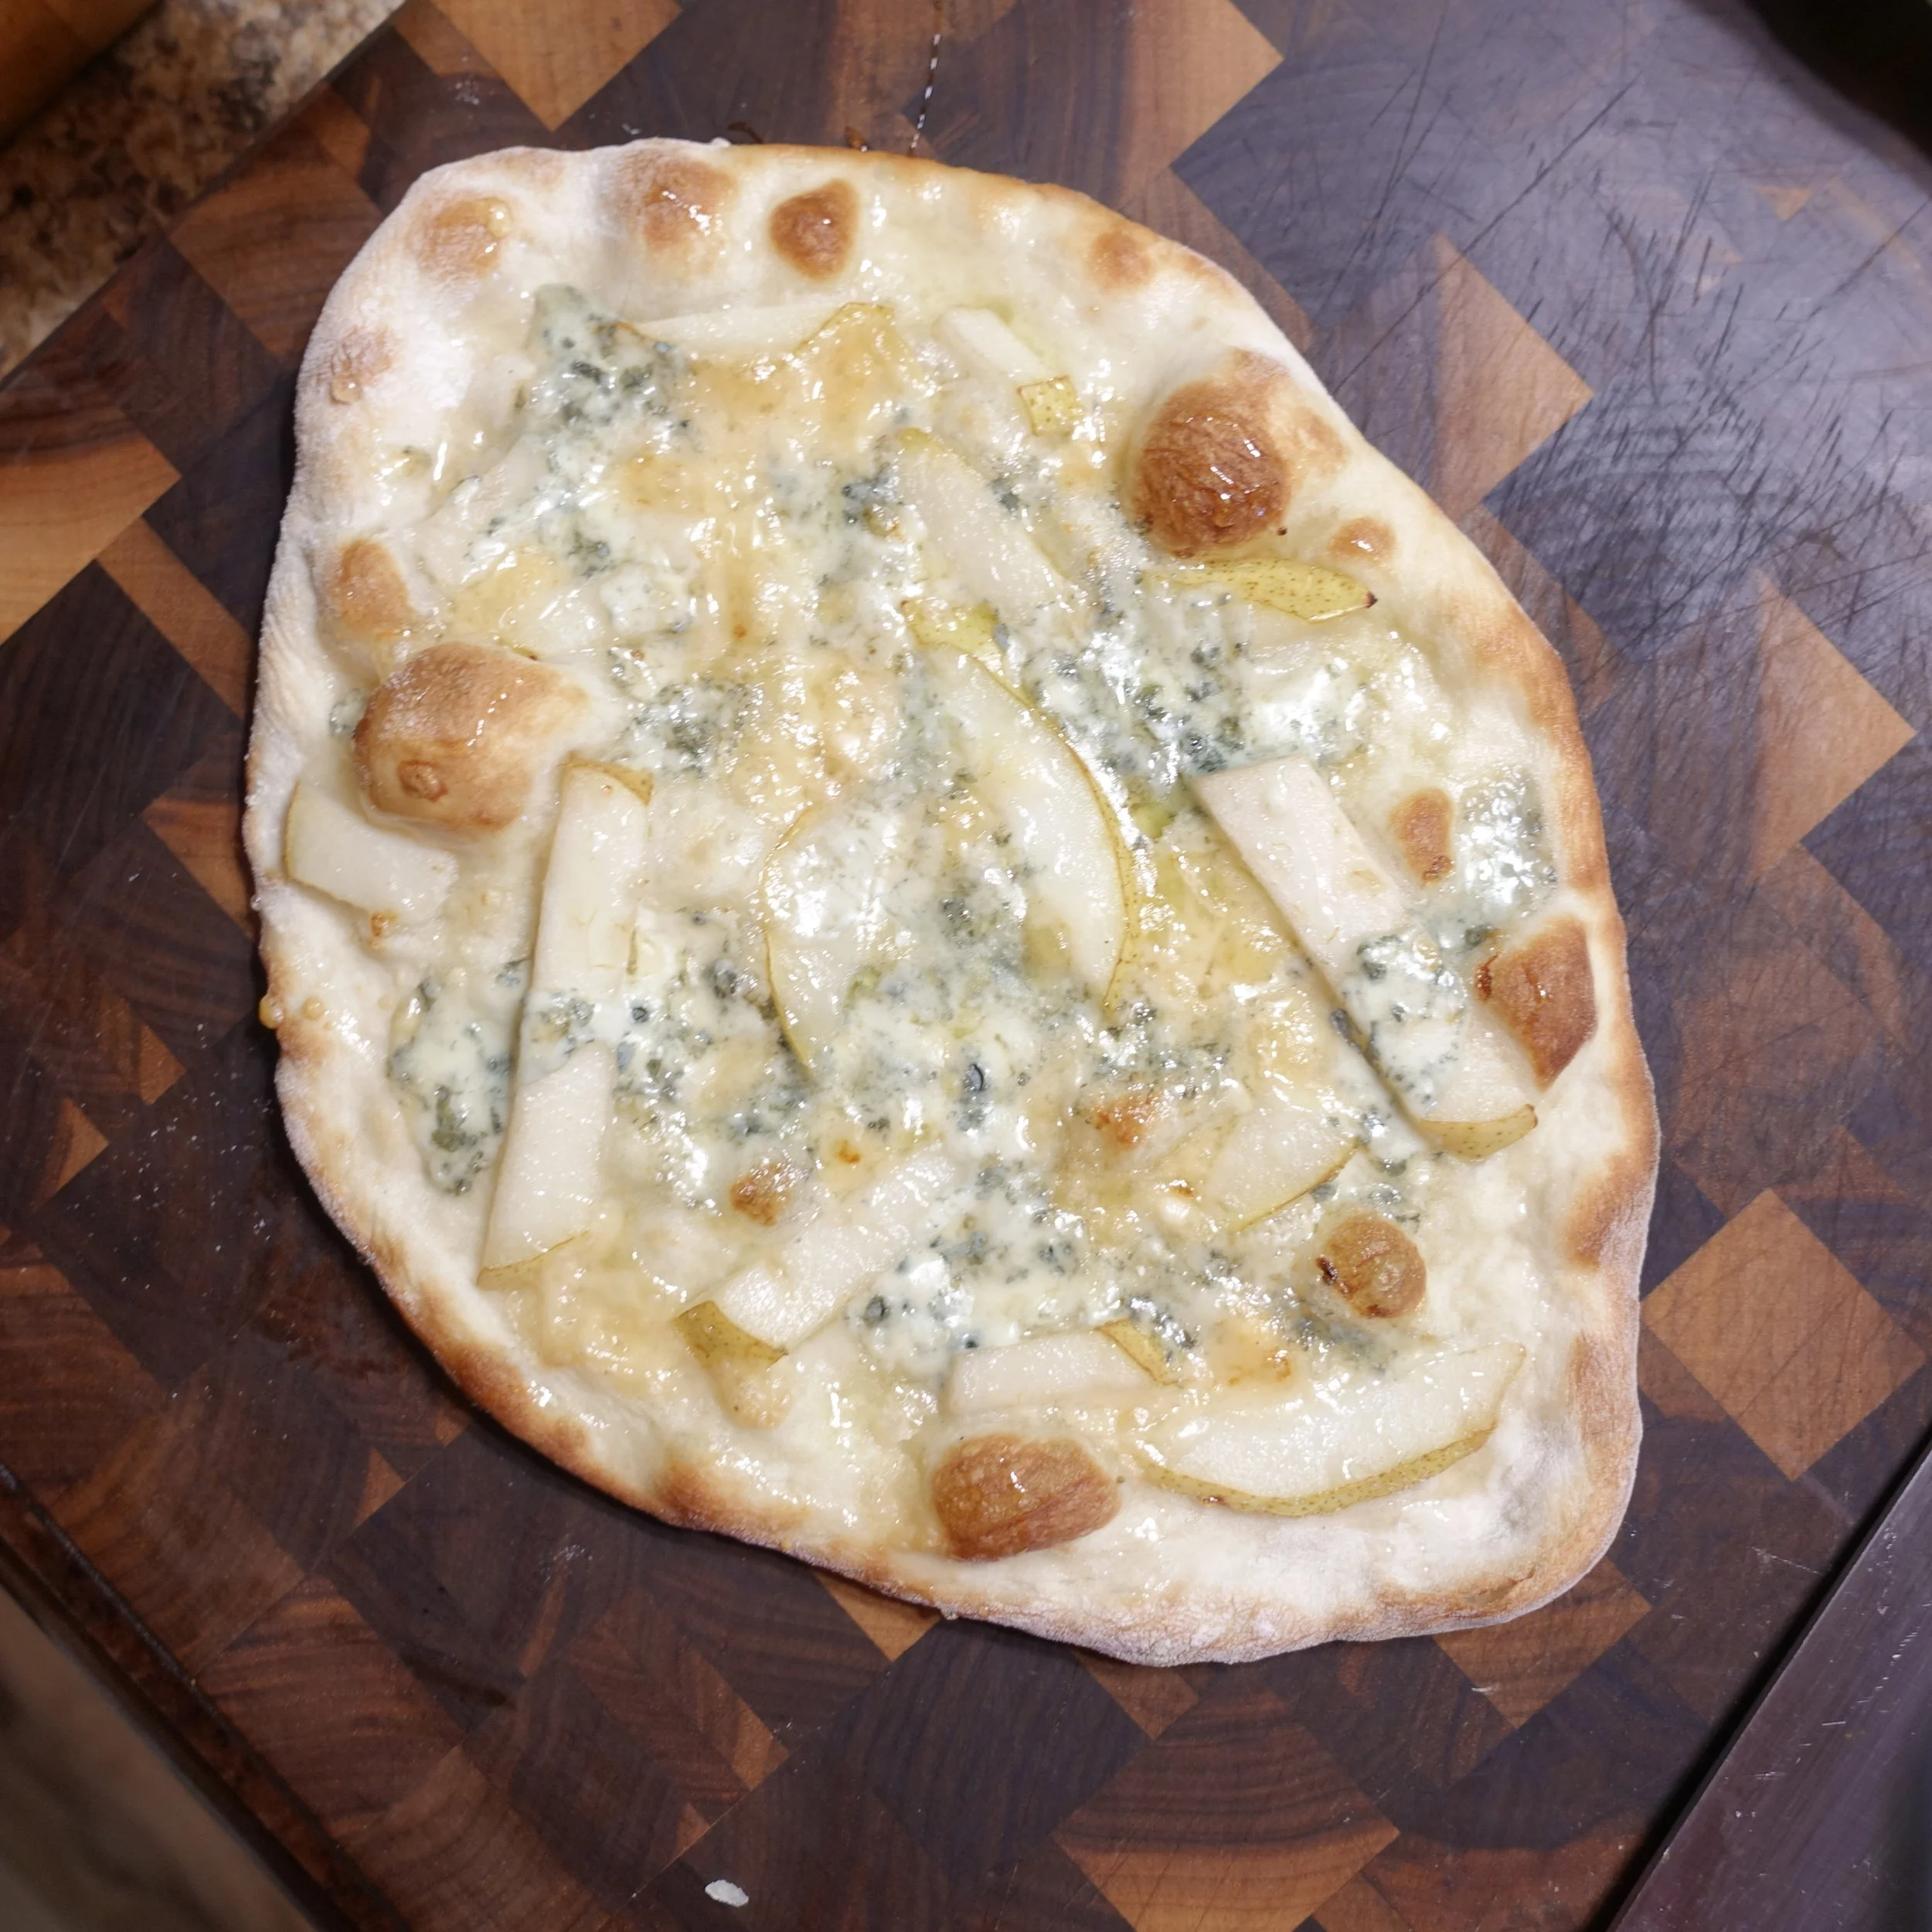
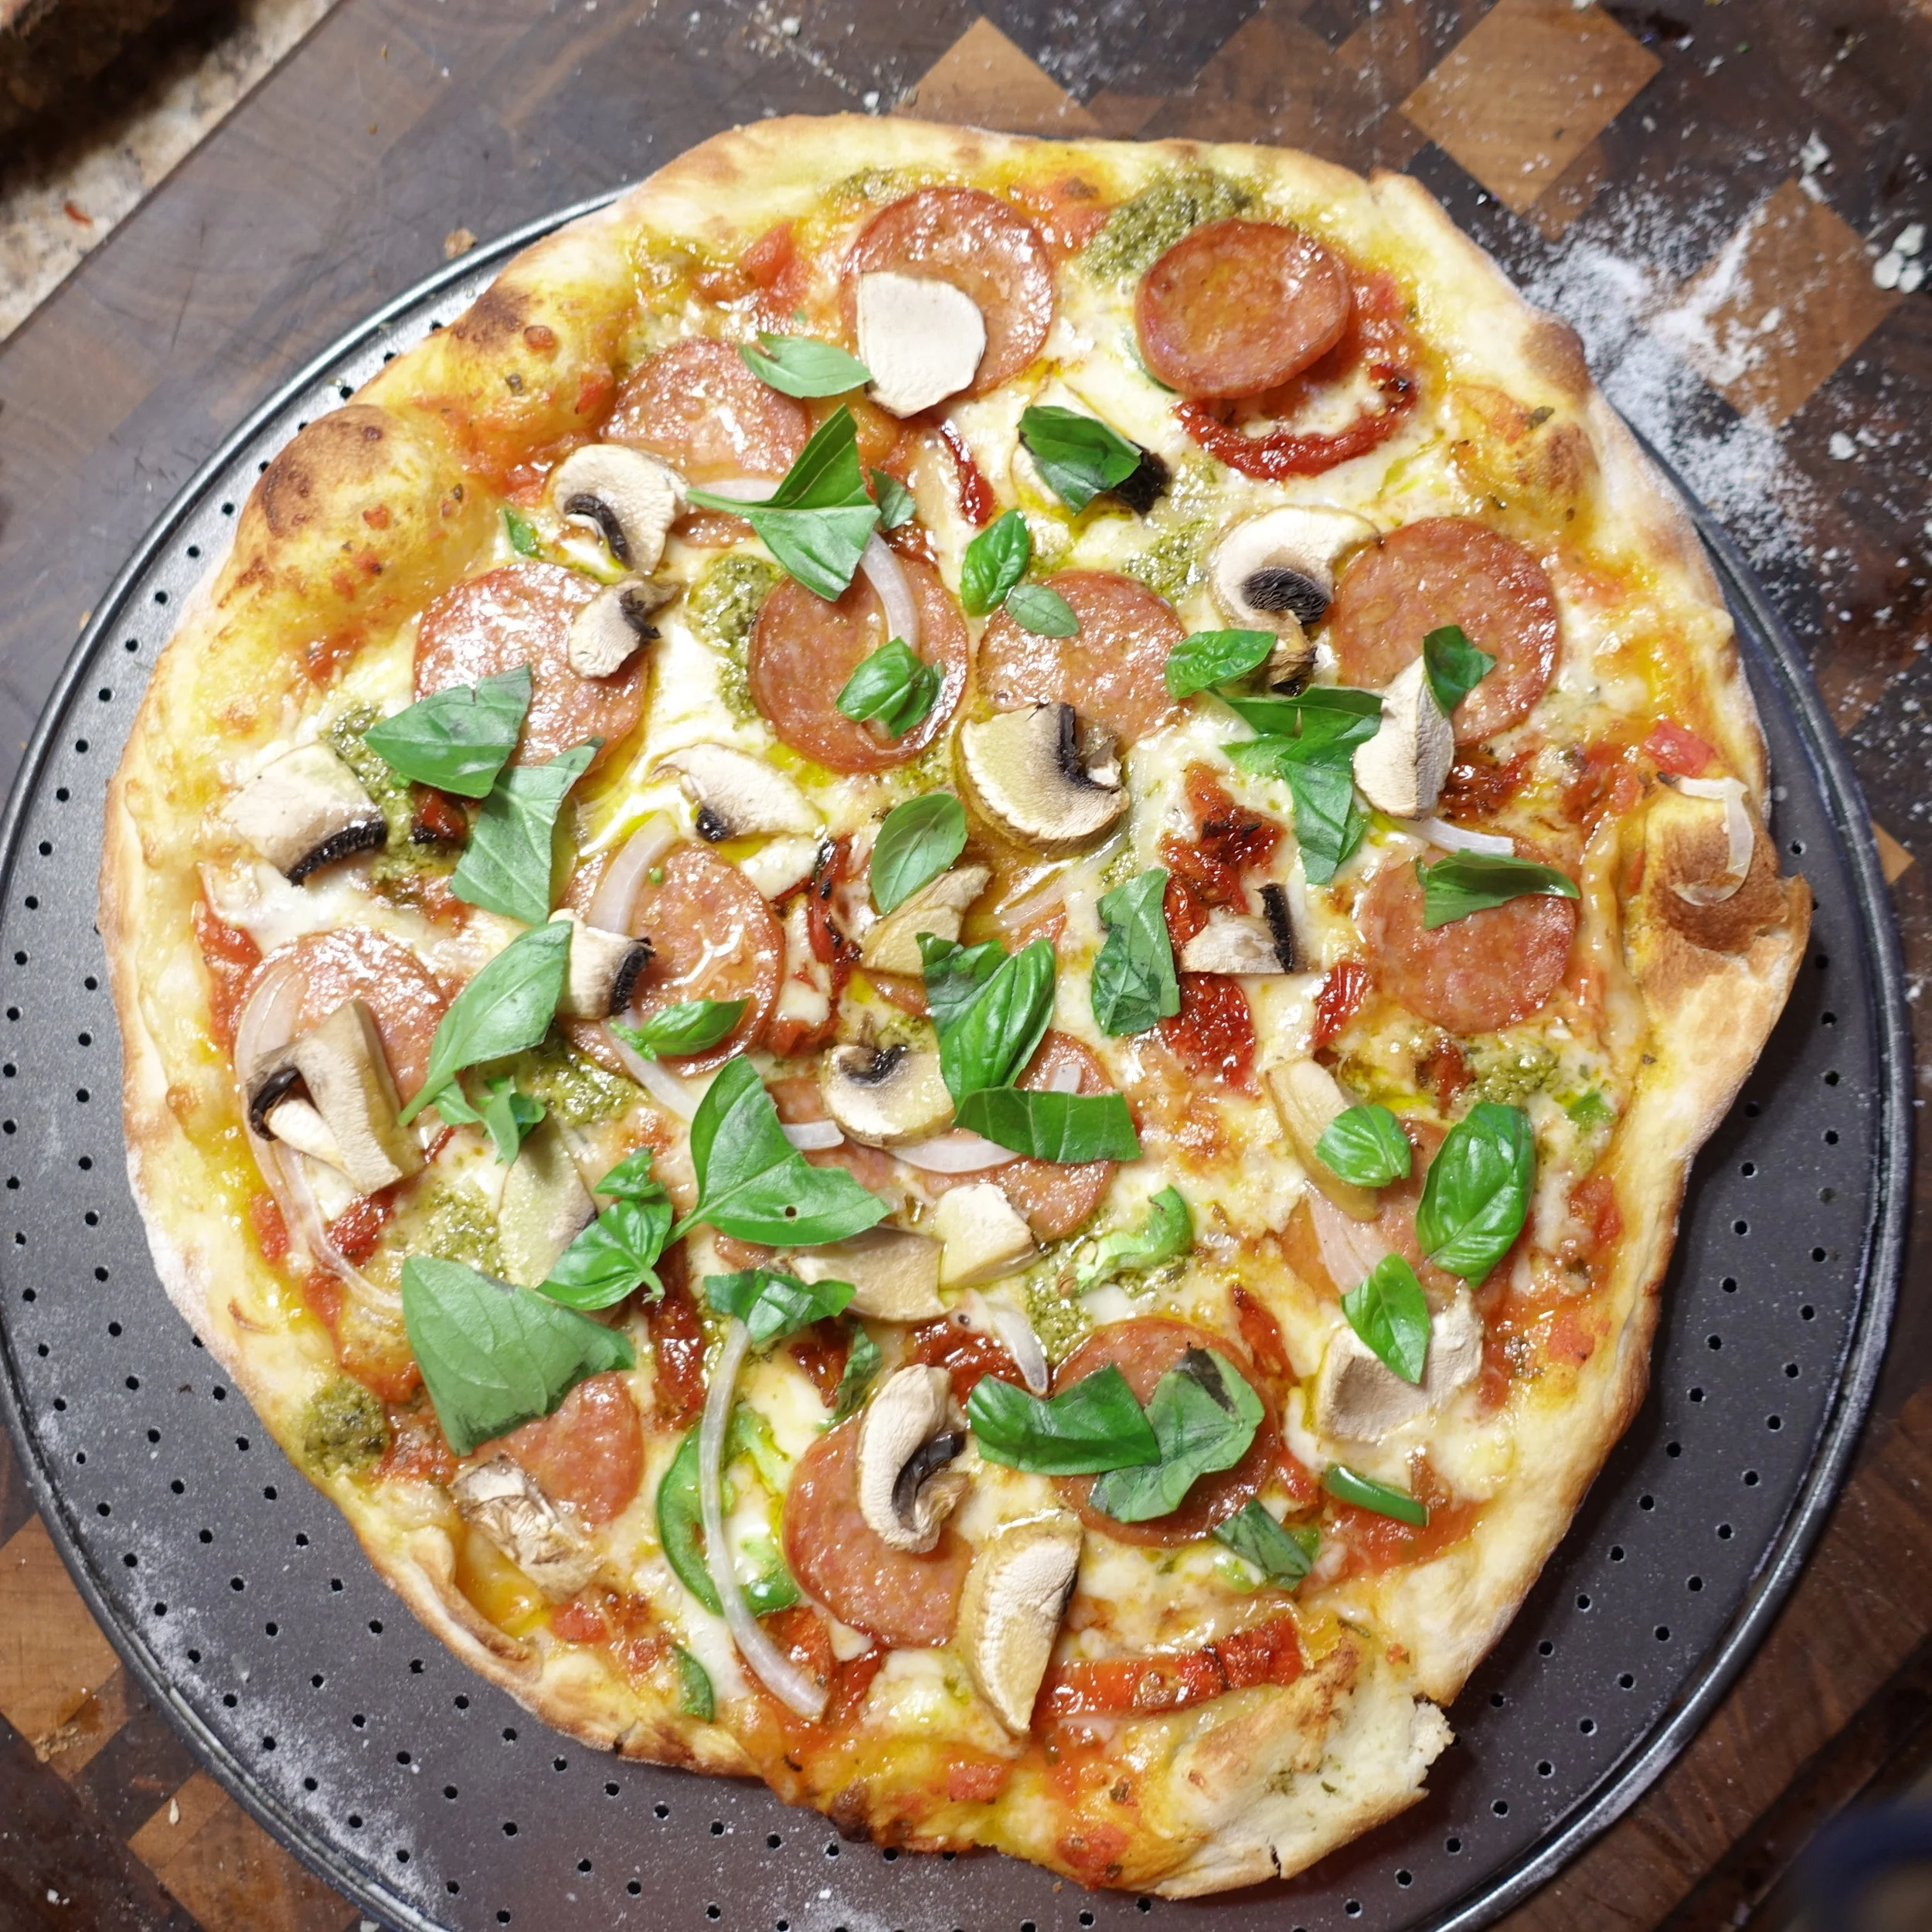
MY FAIL PROOF BANANA BREAD!

If you ever have overripe bananas, don’t throw them away! One of my favorite ways to use them is to make this glorious easy moist banana bread recipe. Even if I am on a diet that doesn't mean everyone else I know is and who wouldn't mind receiving a nice loaf of banana bread as a gift ;) Get creative... you can even add some walnuts or chocolate chips to this easy recipe if you want.

Enjoy!

INGREDIENTS:

1/3 Cup of Unsalted Butter (melted)
3/4 Cup of Brown Sugar
3 Bananas - (2 mashed and one for garnish)
1 TSP of Vanilla Extract
2 Egg (whisked)
2 Cups of All-Purpose Flour
1/4 TSP of Salt
1 TSP Baking Soda
1 TSP of Cinnamon


CHECK OUT THESE OTHER BREAD RECIPES!


DIRECTIONS:

Preheat over to 350 degrees.

Get a baking tray or loaf baking tray and butter all sides.

In a large bowl add in your butter and sugar. Blend with a hand blender until they come together.

Next, add in your banana and vanilla extract. Continue to blend.

Lastly, add in your egg and blend only until incorporated (don’t over blend).

In a second bowl add in your flour, salt, baking soda and cinnamon - whisk together until evenly mixed.

Slowly start to add in your dry ingredients to your wet ingredient bowl and mix on low with your hand blender. You may have to use a spatula to scrape the dry ingredient that build up on the side.

Once blended, scoop out your banana bread batter and place in your baking tray.

Garnish the banana bread batter with the 3rd banana before placing the tray in the oven to bake for about 1 hour (check at 50 minutes). Take a toothpick and stick it in the middle of the bread if when you pull it out nothing is on the toothpick it is ready.

Set aside to cool before cutting and serving.


FOLLOW ME ON INSTAGRAM @ISTHATSOH


I hope you enjoyed this classic banana bread recipe as much as I do. If you have any comments please leave them below and I'll be happy to answer them as soon as I can! Happy baking!!!


PIN THIS POST

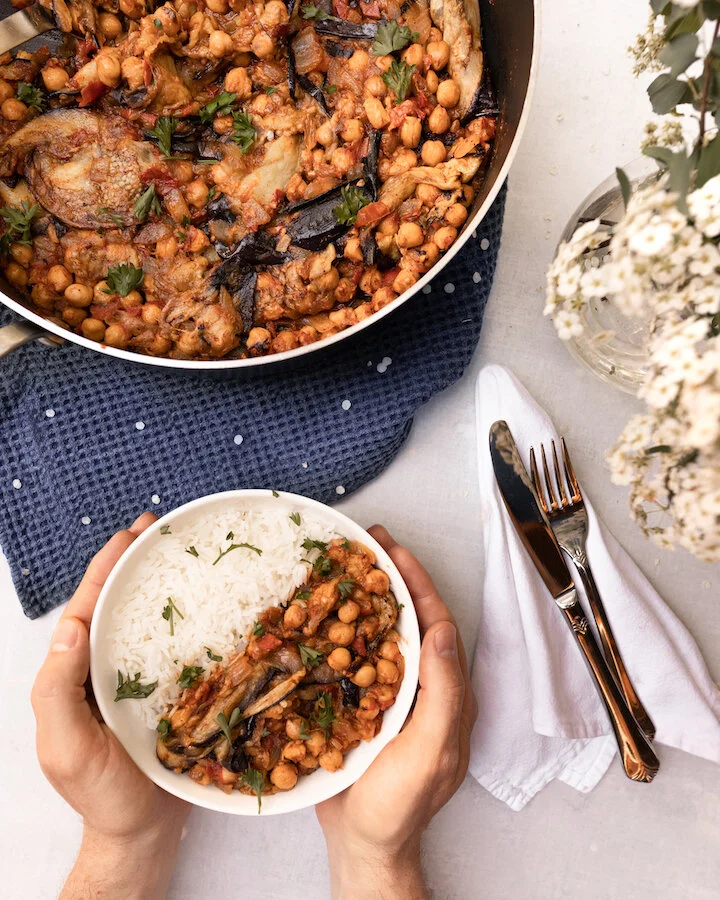
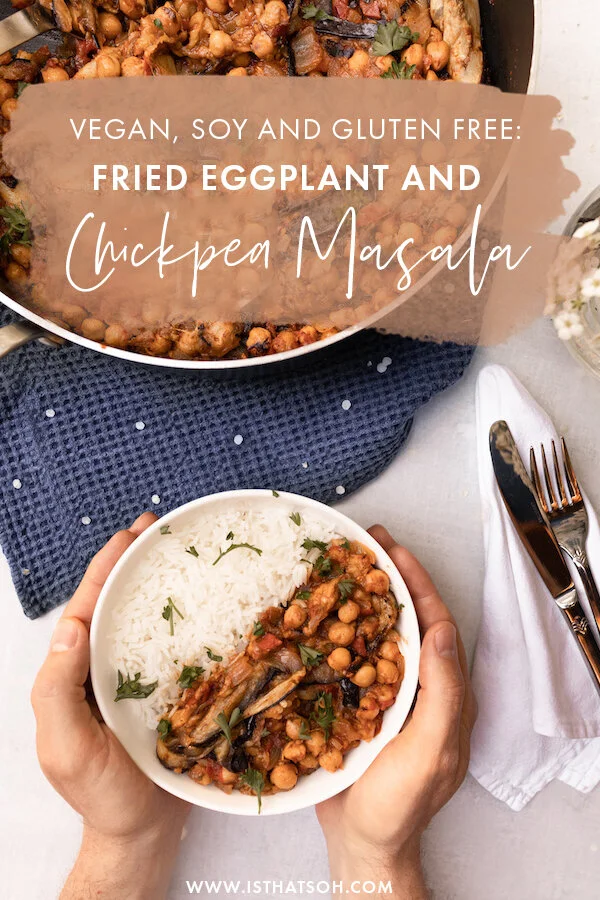
FRIED EGGPLANT AND CHICKPEA MASALA - VEGAN, VEGETARIAN, SOY AND GLUTEN FREE

I have made this plant-based, Indian-inspired eggplant masala ( similar to brinjal masala) dish twice now and both times there have been no leftovers. Friends and family just can’t get enough of this curried eggplant recipe. Although frying the eggplant at the beginning does tack on quite a bit of time, once you get the hang of it this isn't that complicated of a dish. Best of all, it’s totally worth the effort in learning a new Indian eggplant recipe and is so healthy for you. If you are looking for an easy vegetarian, plant-based recipe to try, I highly recommend giving this curry eggplant dish a shot!

Enjoy!

INGREDIENTS:

- Serves 4 People with No Leftovers!

2lbs Eggplant (Italian)
Olive oil
Sea Salt
1 large White Onion (halved and diced)
2 Garlic Cloves (minced)
1.5 teaspoons garam masala
1/2 teaspoon paprika
1/4 teaspoon black pepper
1/4 teaspoon cayenne
2 Cups Tomato (diced)
1 15oz can of Chickpeas (drained and washed)

- Optional Base -

Basmati Rice


CHECK OUT THESE OTHER VEGETARIAN RECIPES!


DIRECTIONS:

Cut the eggplant into 1/4 inch pucks and salt on both sides.

Lightly cover a frying pan in olive oil and fry the eggplant pucks (medium heat) until they are soft and until both sides are browned. The eggplant will suck up the oil like no other and it will be tempting to add more olive oil but as the eggplant softens it will also release a bit of the oil back into the pan so don't overdo it. This step will take the longest time so you can prepare everything else as you do this. Once the eggplant is fried remove it from the frying pan and place it on a baking sheet.

Next, add some oil to the pan and fry up the onions.

When they become soft and golden (about 10 minutes) add the garlic and cook for another 4-5 minutes.

Next, add in your spices and mix it all up for a minute or two. CAN YOU SMELL THE GOODNESS??

Finally add the tomato, the chickpeas, and about 2 tablespoons of water. Turn the heat up a little to medium-hot, partly cover, and let simmer for 15 minutes.

If you are going to make basmati rice, start making it now so that both will be ready at the same time.

After 15 minutes I usually add a pinch more of garam masala, paprika, and cayenne (if you like it spicy) and mix it in.

After another five minutes, I add in the eggplant that we previously fried up and let that continue to cook for an additional 10 minutes. The eggplant should breakdown and really thicken up the dish.

Remove from heat and serve on a bed of basmati rice!

Enjoy!


FOLLOW ME ON INSTAGRAM @ISTHATSOH

Gallery Block
This is an example. To display your Instagram posts, double-click here to add an account or select an existing connected account. Learn more

If you like this curry eggplant masala recipe or have any comments/questions, feel free to leave them in the comment section below!


PIN THIS POST

SAVOURY FLAKY SPANAKOPITA BITES

Spanakopita-6 2.jpg

I was craving some flaky spanakopita the other day and decided to test my hand at baking it myself at home. Adam’s Baba (grandmother) makes an amazing Macedonian version called Zelnik so naturally, she was the first person I called. These little spinach pies ended up turning out amazing even though I sort of freestyled some of the measurements and combined Baba’s recipe with a couple of others I found. I mean, you can never have too much cheese, right!?

INGREDIENTS:

Serving: 24 Spanakopita Bites

-Spanakopita Filling-
Olive oil
1 Medium Sweet Onion chopped finely
6 CUPS of Fresh Spinach chopped roughly
3 Springs of Green Onions, sliced into thin pieces
2 CUPS of Italian flat parsley chopped finely
2 Cups of Goat and Sheep Feta
1 CUP of freshly Grated Halloumi Cheese
2 Eggs beaten lightly
Salt and Pepper

-Phyllo Cups-
1 (454 Grams) Packet of Phyllo Sheets*
3/4 CUPS of Melted Unsalted Butter
1 Egg beaten lightly

*Phyllo Sheets - Make sure that the phyllo dough is completely thawed.  It is super fragile so if it is not well thawed out it will break easily.  In general, be extra gentle when handling each layer of phyllo because it is so thin it will tear easily. You have to work a little fast because the dough drys out quickly. I first cut the phyllo layers into rough 4” squares using a scissor and stacked them to keep the air off them as I worked. You can also keep them under a slightly damp dishtowel. Work with one muffin pan at a time.

DIRECTIONS:

Spanakopita.jpg

Butter your muffin trays making sure to coat the bottom of each cup and the sides

In a pan add in olive oil and finely chopped onion and saute until translucent.

In a large bowl add the sauteed onion with finely chopped parsley, spinach, green onion, eggs, crumbled feta, and Halloumi. Add a pinch of salt and pepper and combine thoroughly till well mixed. Set aside.

Preheat oven to 375 degrees and pull out your muffin trays. It’s time to create your pastry cups.

Add one 4” phyllo square to each buttered muffin cup mould on your tray pressing each sheet into the moulds and allowing the corners to point up. Little tears may occur -don’t worry to much about this! Just make sure on the next layer to cover the tear with some phyllo. Using a pastry brush, brush each phyllo sheet with butter before adding another 4” phyllo square on top. Do this until you have cups that are 5-6 layers thick.

Spanakopita-2.jpg

Once complete, fill each cup with spinach mixture and fold over phyllo corners back towards the middle to create a cover. If they have died out, try brushing them with butter to help moisten them. There will be some flaking, don’t worry so much about it.

Spanakopita-3.jpg

Mix the last beaten egg with remaining butter and brush the top of each muffin mould with the mixture to help keep the phyllo sheet corners together before placing muffin tins in the oven and baking for 35 to 40 minutes or until the top is golden

Once ready, allow muffin trays to cool for 10 minutes before trying to transfer cups onto a serving plate or cooling rack.

Enjoy!


If you like this recipe or have any comments/questions, feel free to leave them in the comment section below!


PIN THIS POST

KETO SAFFRON CHICKEN VEGETABLE SOUP

So being Persian I grew up having some amazing home cooked middle eastern meals. I would have to fight my brother and sister over the tahdig (the toasted crunchy bites at the bottom of the rice that would be caramelized together by the butter and saffron) because in our household it was a prize possession. Anything with saffron usually gets my seal of approval, which is why the other day when it was -15 in Toronto and I was craving soup I decided to make a KETO friendly chicken veg soup recipe with a Persian twist. The results - heavenly! This soup is so jammed packed with flavor and immune boosting nutrients you feel like you're getting a hug from the inside out. ENJOY!

INGREDIENTS:

1/2 Cup of Salted Butter
A Pinch of Saffron (ground)
2 S/M Sweet Onions (chopped finely)
5 Carrots (peeled and chopped)
3 Celery Stocks (chopped)
2L of Chicken Stock
1 Rotisserie Chicken (remove skin and shred chicken meat)
2-3 Cups of Fresh Spinach
Fresh Pepper to taste

DIRECTIONS:

Melt butter in a large soup pot on medium heat. Add in the freshly ground saffron and l let it turn the butter a golden color.

When the butter is hot, throw in your finely chopped onion and coat that in the saffron and butter. Let this cook down until the onions become translucent and soft - about 5 minutes.

When ready add in your chopped carrots and celery, tossing everything so it is all coated in saffron butter. Cover and let the excess water escape from the celery and carrots. Stir every 3-4 minutes so nothing burns and the butter is well distributed among all the vegetables.

Once  the vegetables have soften you can add in you chicken stock, stir and let come to a low simmer.

Next add in your shredded chicken and fresh spinach. Make sure to stir and submerge the spinach into the soup. Cover and let the soup continue to simmer on low heat for about 3-4 minutes to get that spinach soft and then keep stiring until it is submerged into the soup completely.

Add pepper to taste (you shouldn't need salt but if you want more you can add it now).

That's it! Enjoy!


If you like this recipe or have any comments/questions, feel free to leave them in the comment section below!


PIN THIS POST

BEST HOMEMADE PIZZA DOUGH RECIPE!

Pizza Dough Recipe

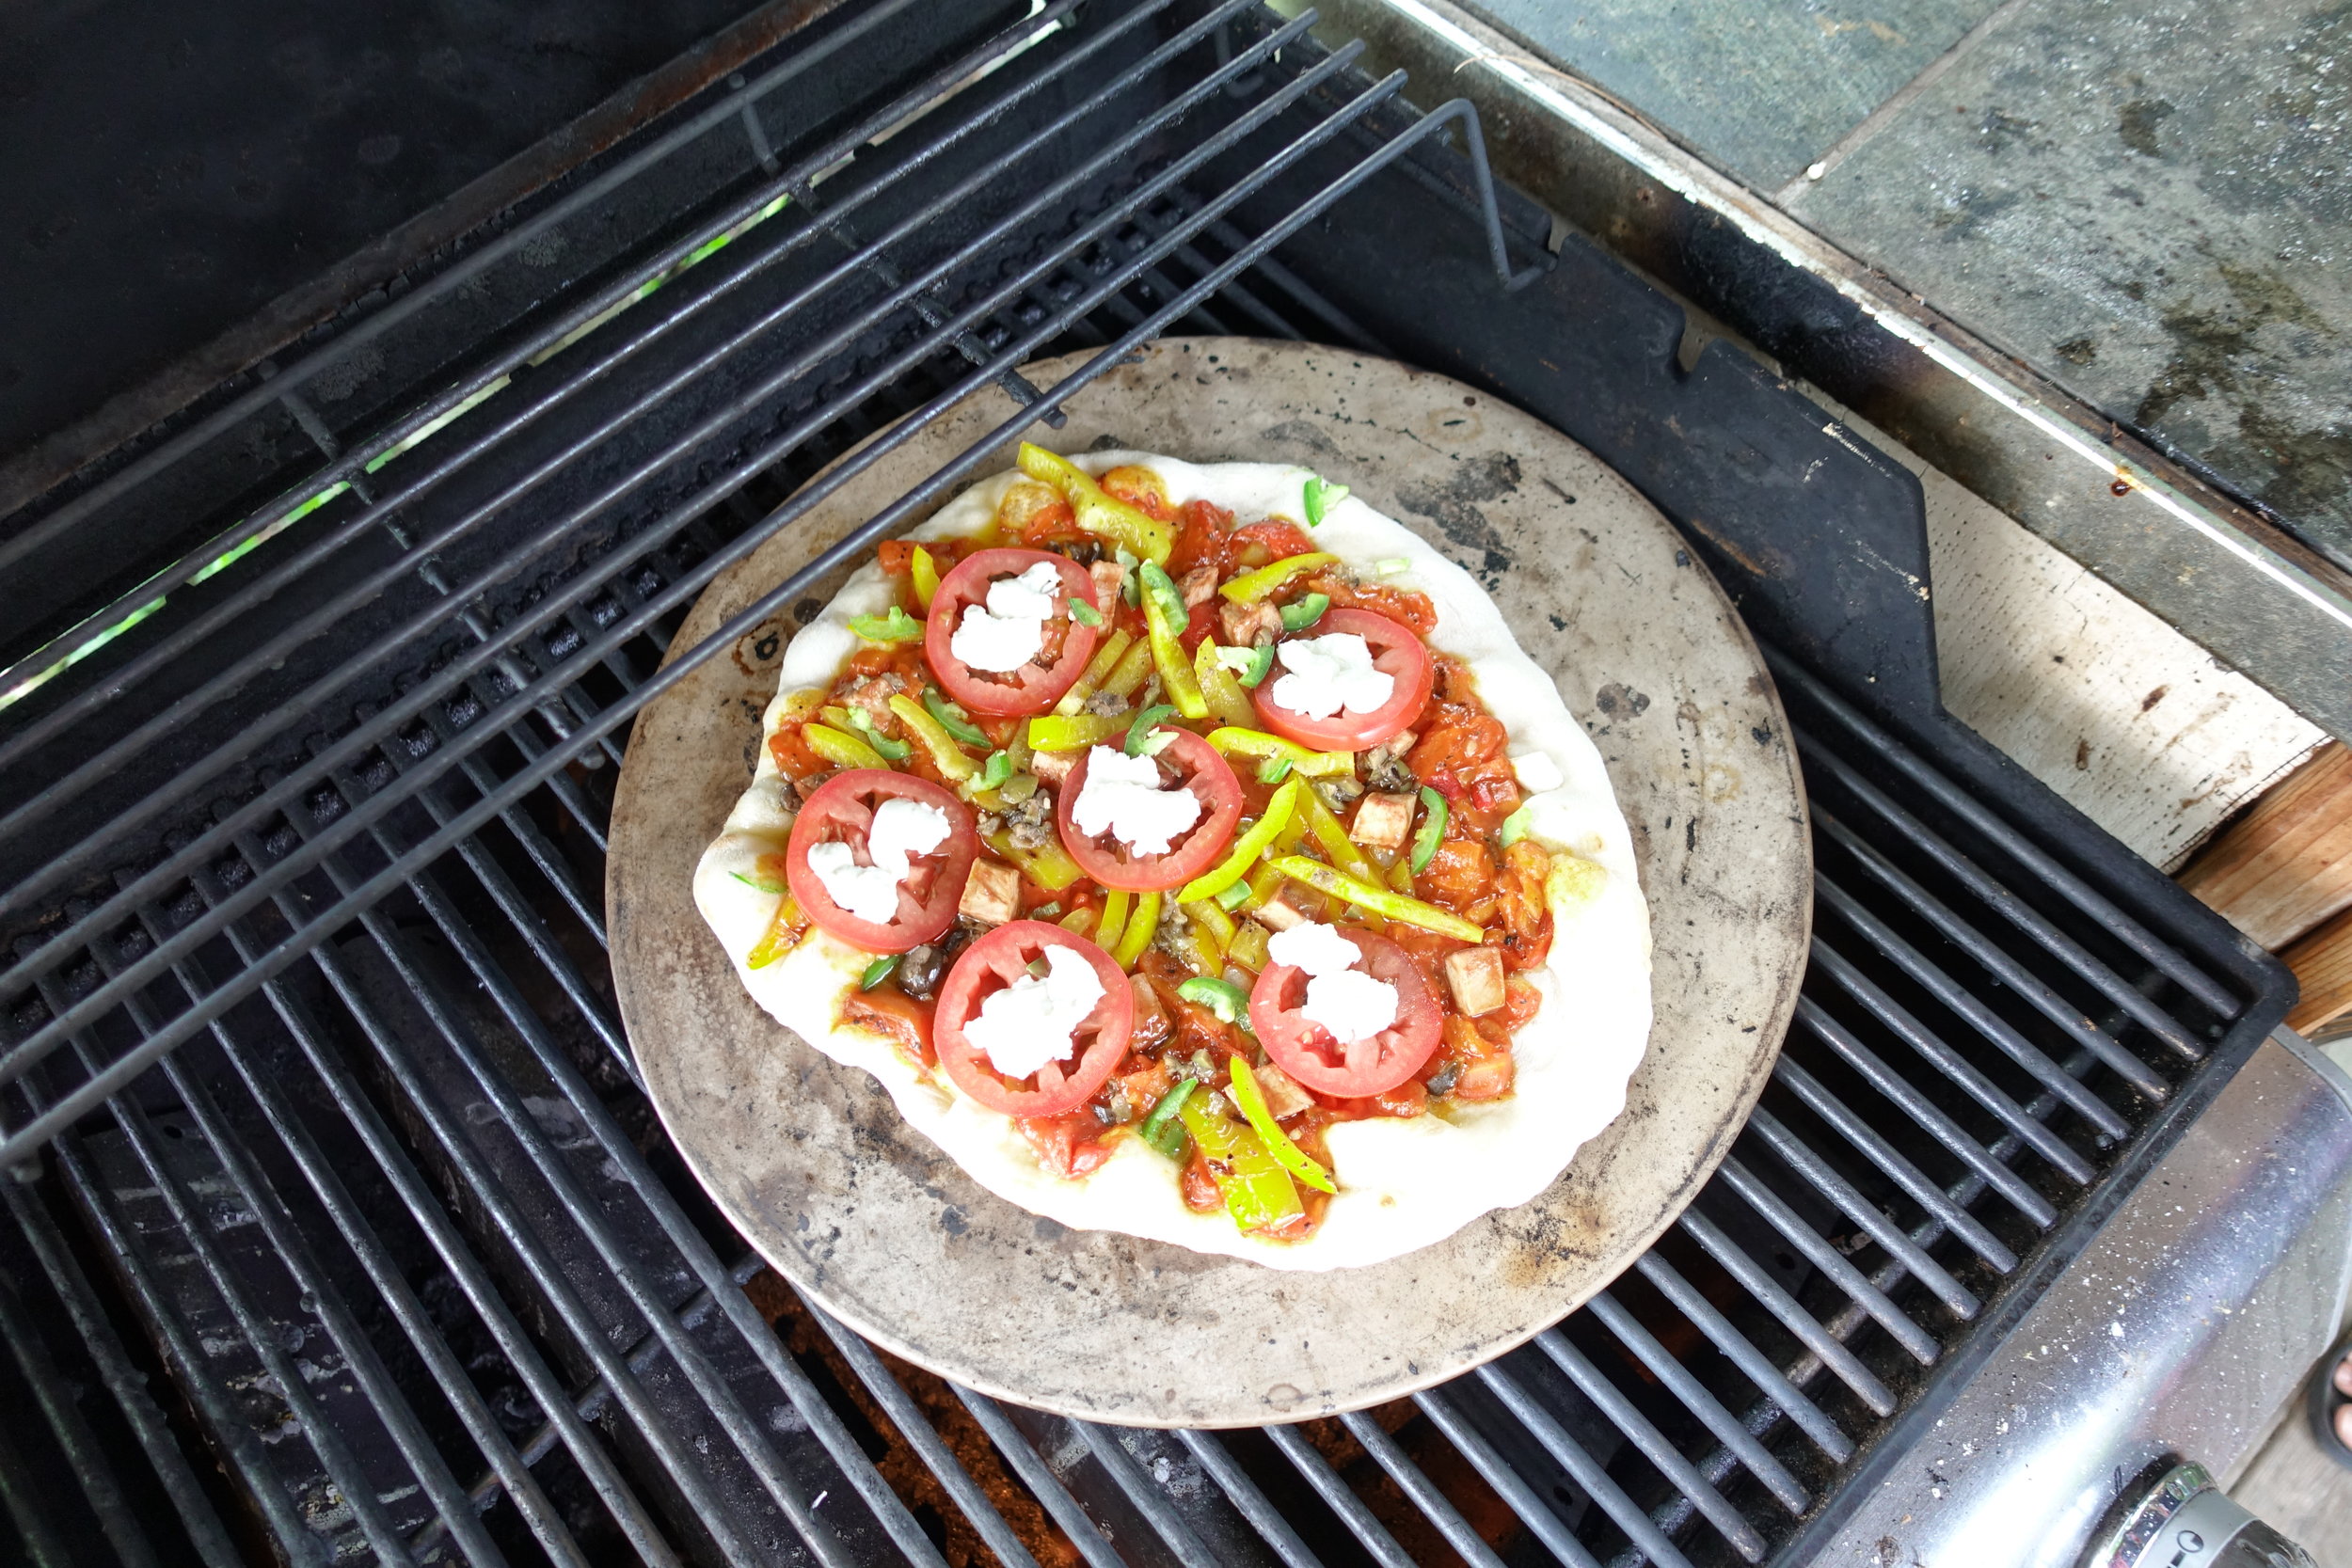
I have always been a bit of a carb lover but a couple of summers ago I got a pizza stone as a gift and I became a full on pizza addict. There is nothing better than fresh pizza right out of the oven and a pizza stone is a definite game changer. If you like that crispy bottom typically associated with thin crust gourmet pizzas from restaurants I definitely recommend you pick up a stone. I have even gone as far as having pizza parties which I find is quite an interactive way to host and entertain guests. Anyways what inspired this post was that I recently came across this recipe for pizza dough by Matt Rotenberg and tried it out this past weekend and loved so much I had to share! It was so easy and really quite delicious it would be selfish of me to keep it all to myself - so enjoy!

Makes about 3-4 Personal Sized Pizzas

INGREDIENTS:

2.5 Cups of Flour
1 Pack of Fleischmann's Quick Rise Instant Yeast
1/4 TSP of Salt
1 Cup of Lukewarm Water
2 TBSP of Olive Oil
1 TBSP of honey

DIRECTIONS:

In a bowl mix flour, salt and yeast together with a fork.

Add lukewarm water, olive oil, and honey into a bowl and continue to mix with a fork until the dough starts to form,

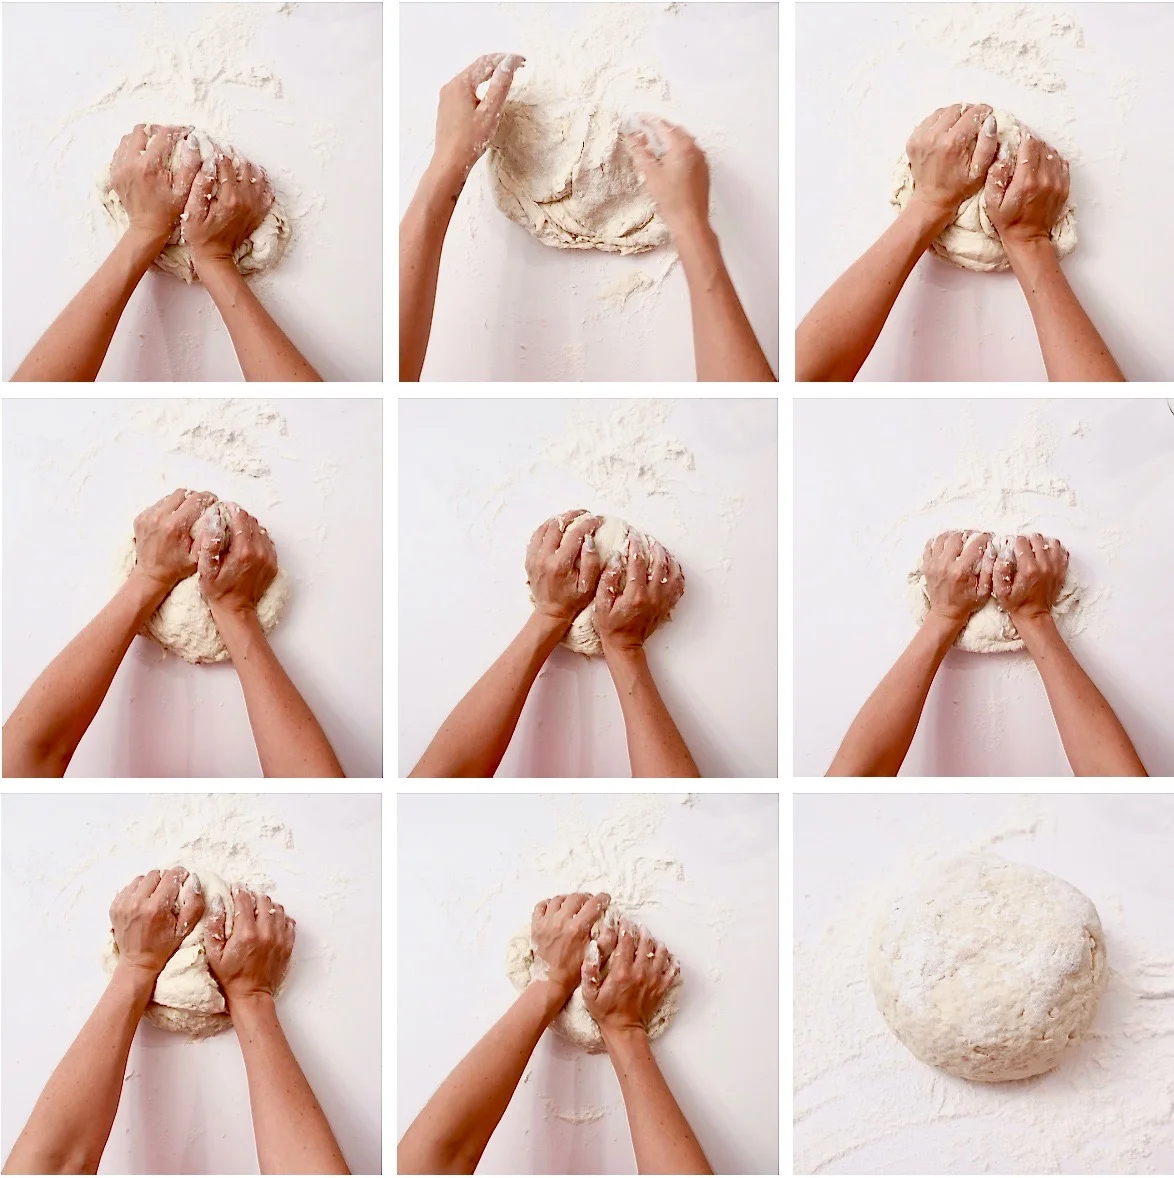
Sprinkle flour on the counter and kneed dough. If the dough is sticky sprinkle with flour and continue to kneed until it becomes smooth.

Place ready dough in a bowl, drizzle a little bit of olive oil on top to help keep the dough moist and cover with a cloth. Let it rise for 10 minutes before moving it to the fridge.


TIP: Prepare dough within 2 hours of use otherwise it will continue to rise!

My pizza stone was from William and Sonoma - link HERE *

*I am not affiliated so I dont make commission just wanted to recommend my stone if you are looking to purchase one

NEED PIZZA TOPPING INSPIRATION?


PIN THIS POST