HOMEMADE PEROGIES FROM SCRATCH!

“Food is our common ground, a universal experience.” –James Beard

Life hasn’t been all sunshine and rainbows lately. I know this global pandemic raging over the world has taken away everyone’s ability to move freely and enjoy the comforts we once took for granted, dining out included. For me personally, I feel like I am in a constant state of limbo unsure of what the future may hold or when self-isolation and social distancing will end. Turning to comfort foods that both keeps my mind busy and nourish my soul has been a great escape from this new reality.

Perogies for me are one of those comfort foods that take time and patience to prepare but always manages to soothe the mind and soul. They are also great if you want to batch make something to keep in your fridge so you can enjoy them over the course of a week or want something relatively inexpensive to give to someone in need. During this time we must all be a little bit kinder to ourselves and to others, and giving someone a home-cooked meal is a great way to show you still care even when you can’t be there physically. Whatever your purpose for making them, I hope they bring you the same happiness and enjoyment as they have brought me. Stay well!

INGREDIENTS:

Serving: 6 People @ 5 Perogies Each,

- Cheese and Potato Perogies: Filling-
1 1/2 LBS of Russet Potatoes (typically around 2-3 potatoes should suffice) - peeled and chopped into 1-inch squares
2 TSP of Olive Oil
1/2 a CUP of Onion (diced)
1 Clove of Garlic (minced)
1/2 CUPS of Cream Cheese
1/2 TSP of Salt
Pepper to taste

- Dough For Perogies -
2 1/2 CUPS of All-Purpose Flour
1/2 TSP of salt
1/4 CUP of Sour Cream
1 Egg
2/3 CUP of water

-What To Serve With Perogies - Optional Toppings -
Bacon
Chives
Sourcream
Caramelized Onion


CRAVING COMFORT FOOD? CHECK OUT THESE OTHER RECIPES!


HOW TO MAKE PEROGIES:

First, we need to make the filling.

Put your cut up potatoes in a pot with lukewarm water, add salt and bring to a boil.

In a pan, drizzle a little bit of olive oil and allow it to heat up on medium. Once hot, add in your chopped onions and allow them to cook until they become translucent. This may take 3-5 minutes and you may want to reduce the heat to ensure they don’t burn.

Add in your garlic to the onions when they are close to being done (garlic cooks faster than onion).

Once the potatoes are ready, strain the water out and place the cooked potato back in the pot before starting to mashing them into a smooth texture. To help you make them creamier, add in your cream cheese.

When onions and garlic are ready, add them to the potato pot as well, mix until well incorporated, salt and pepper to taste, and set aside to cool down to room temperature.

Dough For Perogies

Next, we need to make the dough.

Add flour and salt into a large bowl and mix until well combined.

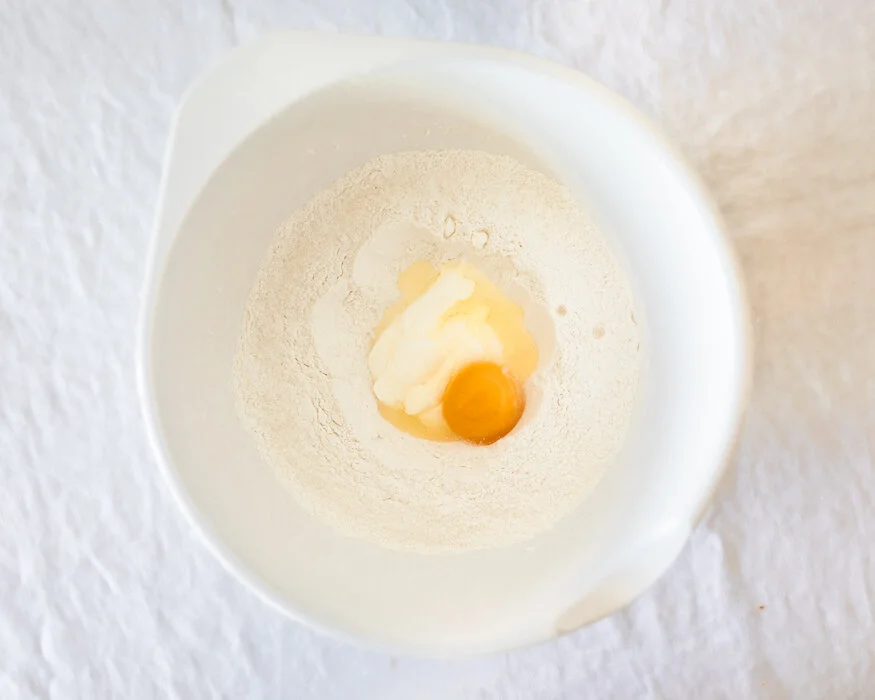
Make a well in the middle and add in your eggs, water, and sour cream. Using a fork or spoon start to mix it together starting from the inner circle and working your way toward the outer edges. You may need to eventually switch to using your hands.

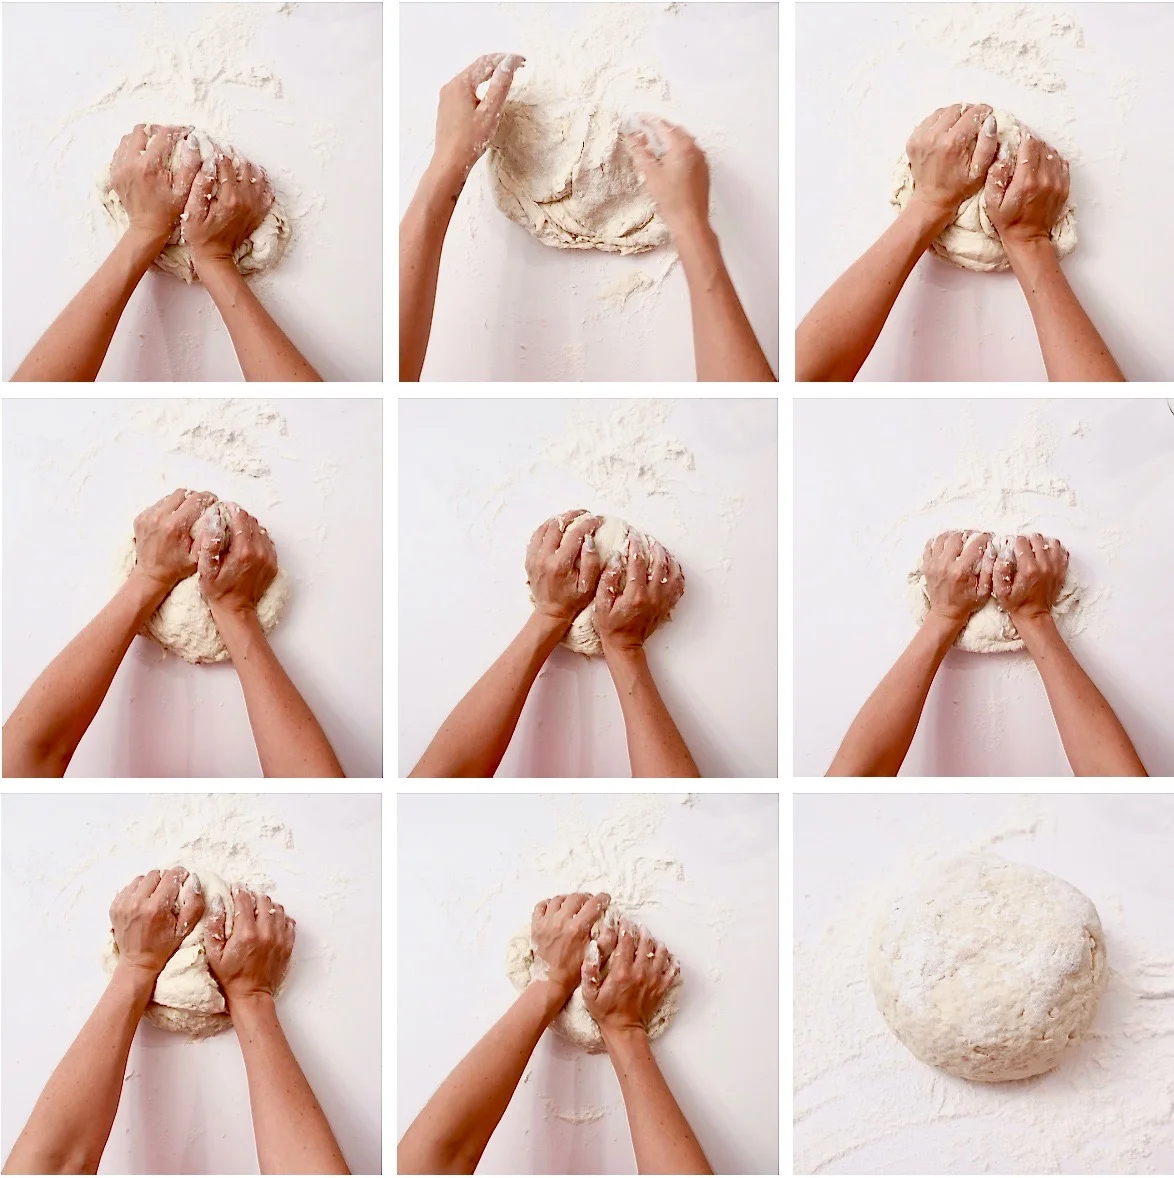
Once the dough starts to form, use a countertop to knead it till it isn’t powdery and has a smooth texture. Place dough back in the bowl, cover with a cloth and let sit for 10 minutes.

After 10 minutes, flour a working station and roll out 1/3 of the dough till it is 1/8’ in thickness. Cut out circles using a circle cookie cutter with a 4’ diameter. You can also use a lip of a cup as a stencil and a pizza cutter if you don’t have a circle cookie cutter! Feel free to get creative! If you don’t have a 4’ wide diameter cup you can always roll out the dough a little thicker, use a 3’ wide diameter cup and then roll them out a little thinner after to spread out the dough wider. It doesn’t have to be perfect.

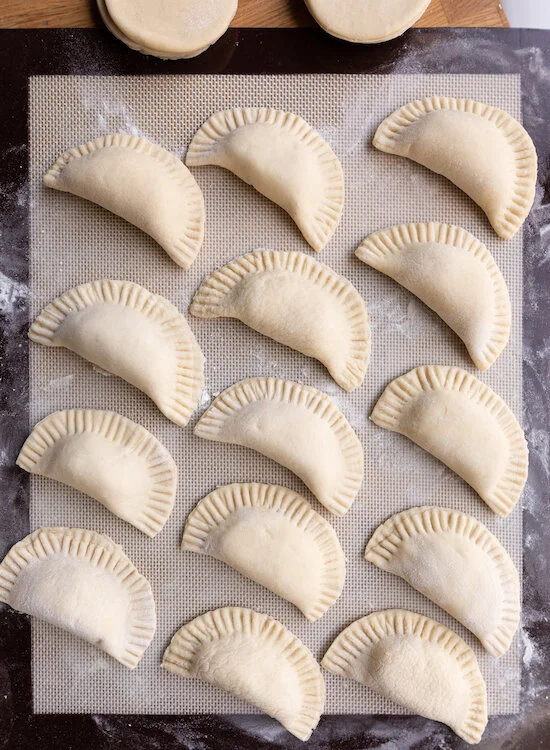
Set dough pancakes aside on a floured surface and cover with a cloth. Once you have a few cut out, fill the middle with about a tablespoon of the mashed potato filling and fold the dough over, pinching the sides to create a seal. If the seal doesn’t hold use a little water along the edge to help. Secure the seal by pressing the prongs of a fork along the dumpling edge and making indents into the dough.

How To Cook Perogies & How Long To Boil Perogies

Once you have a few complete, boil a pot of water. Once boiled, add salt and drop in 3-4 dumplings. You will need to stir the water at first so they don’t stick together. Eventually, after 3-5 minutes the Perogies, will float to the surface of the water, when that happens, allow them to cook for an additional 30-45 seconds before taking them out of the water and setting them aside on an oiled tray or casserole dish. As you add more cooked perogies to the oiled tray or casserole dish, make sure they are covered in olive oil to avoid them sticking to one another. You can store them like this for a few days in the fridge if you don’t want to eat them right away.

I like my perogies fried so typically I will heat up some butter in a pan on medium and once hot, place a few of these finished, pre boiled perogies in the plan flipping them as they become nicely browned. When ready, remove them from the pan, add a dollop of sour cream, chives, and bacon bits and serve!

Pierogies in Air Fryer

You can also air fry pierogies in an air fryer if you have one! It usually only takes 4-5 minutes to get them crispy and golden brown but I have found that each air fryer I have tried them with is a little different so just keep an eye on them. Typically 4-5 minutes though is good!

Enjoy!


FOLLOW ME ON INSTAGRAM @ISTHATSOH


If you like this recipe for perogies with bacon or have any comments/questions about how to make homemade perogies or suggestions as to what to serve with perogies, feel free to leave them in the comment section below!


PIN THIS POST

HOMEMADE PEROGIES FROM SCRATCH.jpg Perogies - how to make perogies, homemade perogies

BEST HOMEMADE PIZZA DOUGH RECIPE!

Pizza Dough Recipe

I have always been a bit of a carb lover but a couple of summers ago I got a pizza stone as a gift and I became a full on pizza addict. There is nothing better than fresh pizza right out of the oven and a pizza stone is a definite game changer. If you like that crispy bottom typically associated with thin crust gourmet pizzas from restaurants I definitely recommend you pick up a stone. I have even gone as far as having pizza parties which I find is quite an interactive way to host and entertain guests. Anyways what inspired this post was that I recently came across this recipe for pizza dough by Matt Rotenberg and tried it out this past weekend and loved so much I had to share! It was so easy and really quite delicious it would be selfish of me to keep it all to myself - so enjoy!

Makes about 3-4 Personal Sized Pizzas

INGREDIENTS:

2.5 Cups of Flour
1 Pack of Fleischmann's Quick Rise Instant Yeast
1/4 TSP of Salt
1 Cup of Lukewarm Water
2 TBSP of Olive Oil
1 TBSP of honey

DIRECTIONS:

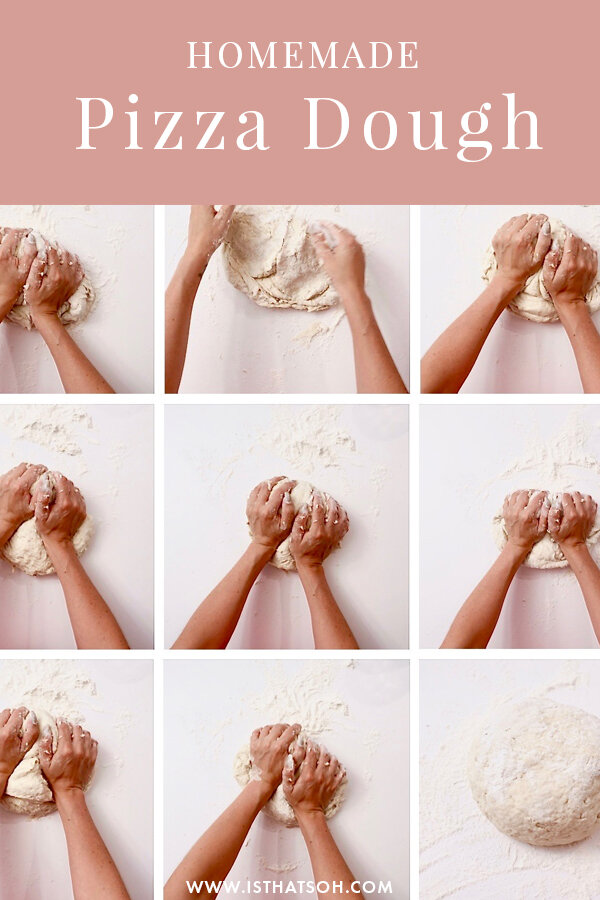
In a bowl mix flour, salt and yeast together with a fork.

Add lukewarm water, olive oil, and honey into a bowl and continue to mix with a fork until the dough starts to form,

Sprinkle flour on the counter and kneed dough. If the dough is sticky sprinkle with flour and continue to kneed until it becomes smooth.

Place ready dough in a bowl, drizzle a little bit of olive oil on top to help keep the dough moist and cover with a cloth. Let it rise for 10 minutes before moving it to the fridge.


TIP: Prepare dough within 2 hours of use otherwise it will continue to rise!

My pizza stone was from William and Sonoma - link HERE *

*I am not affiliated so I dont make commission just wanted to recommend my stone if you are looking to purchase one

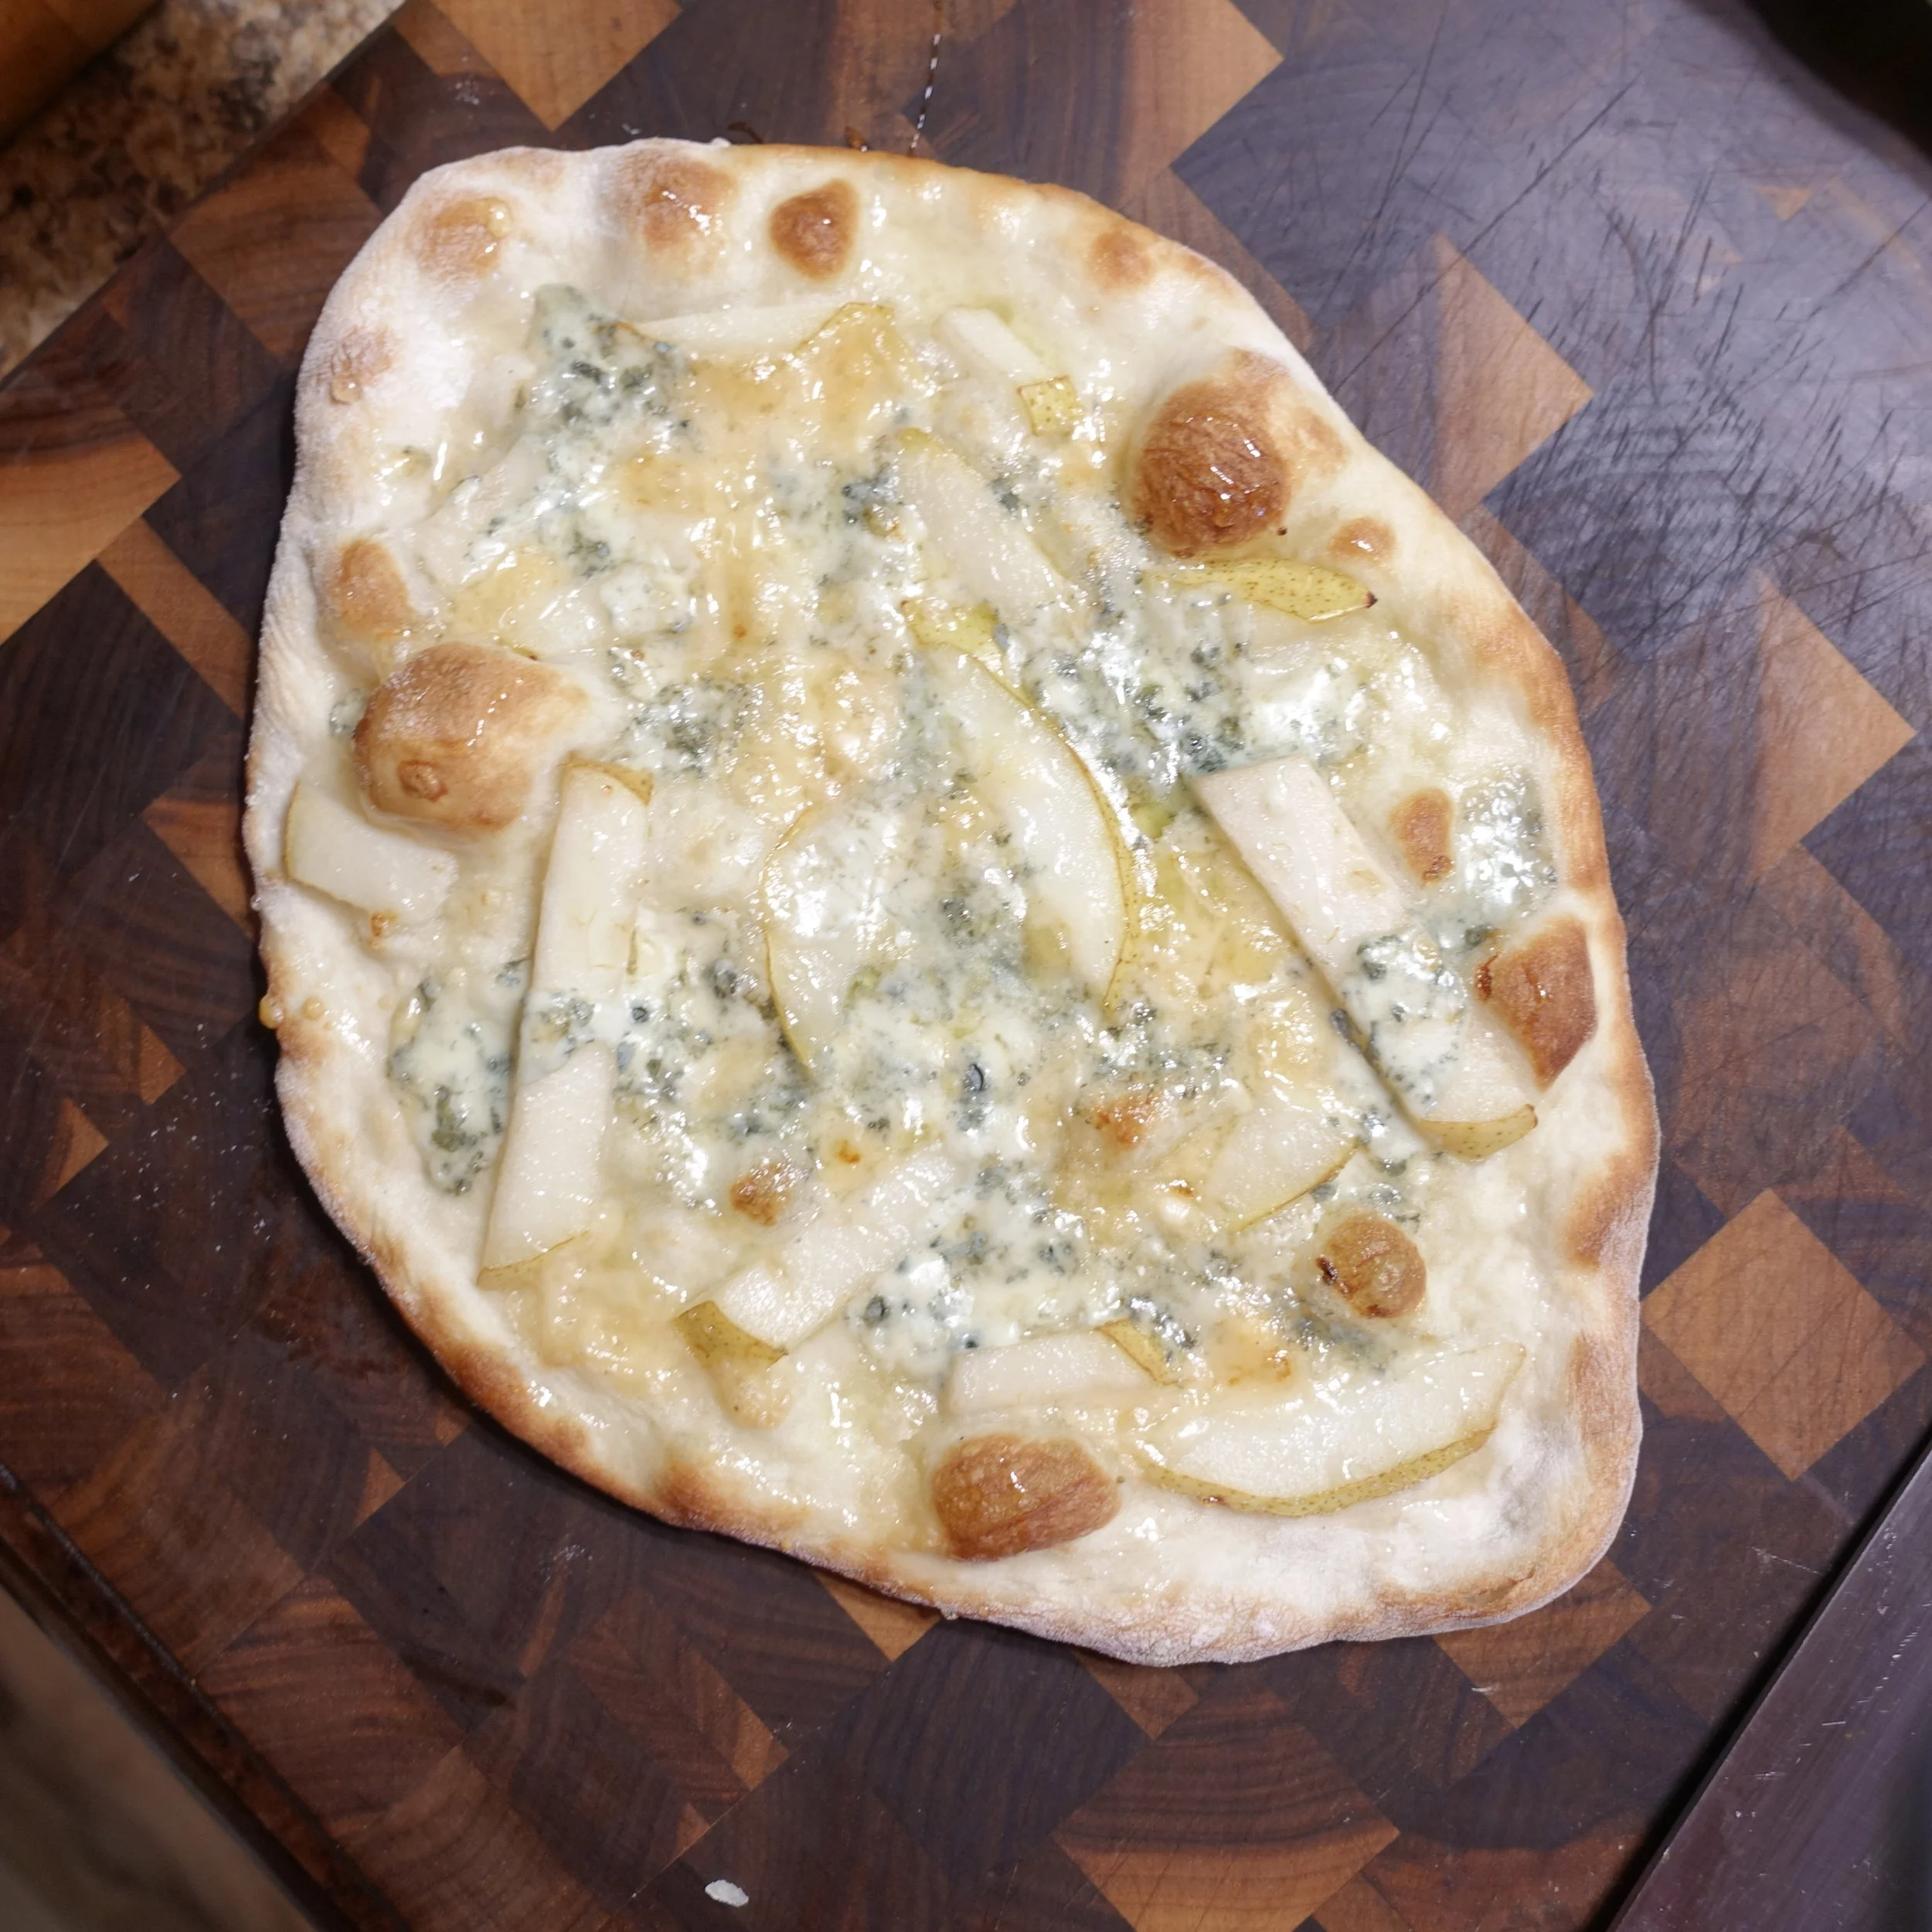
NEED PIZZA TOPPING INSPIRATION?


PIN THIS POST

BUTTERNUT SQUASH RAVIOLI FROM SCRATCH!

I love ravioli! Actually I love anything that involves a filling wrapped in dough (ie perogies, dumplings, empendadas, calzone springrolls, etc). I recently made ravioli from scratch on valentines day weekend and it was such a fun experience. It is a bit lengthy so make sure you can devote a good 4 hours to it and make the filling the night before. I lucky snapchatted the whole experience so I was able to grab those videos and make a little film for you down below so dont forget to check that out!!! Enjoy!

INGREDIENTS
Filling - **Make the butternut squash filling the night before so that you can let it chill overnight.
1-2 Lbs Butternut Squash or 2 Packs of Pre-Peeled and Cut Butternut Squash
2 TBS of Olive Oil
Salt an Pepper (as desired)
1/8 Tsp of Ground Nutmeg
1/2 a Cup Parmesan or Ricotta Cheese or both! (1/2Cup of Ricotta, 1/4 Cup of Parmesan)

Dough-
3.5 Cups of All Purpose Flour
4 Eggs (3 For the dough 1 for the ravioli wash)
3 Tbsp Olive Oil
1/2 TSP of Salt
1/2 Cup of Water

Sauce -
8 Tbsp of Salted Butter
2 Tbsp of Shallots (minced)
1 Tbsp of Fresh Sage (Chopped)

OTHER MATERIALS

Pasta maker - I have a Lagostina Pasta Maker with Ravioli Attachment that works really well which I bought for around $67 CAD @ Canadian Tire! I didn't use the Ravioli attachment but you can if you like.

It essentially looks like this:

DIRECTIONS:

First we are going to make the filling. Preheat the oven at 350 degrees.

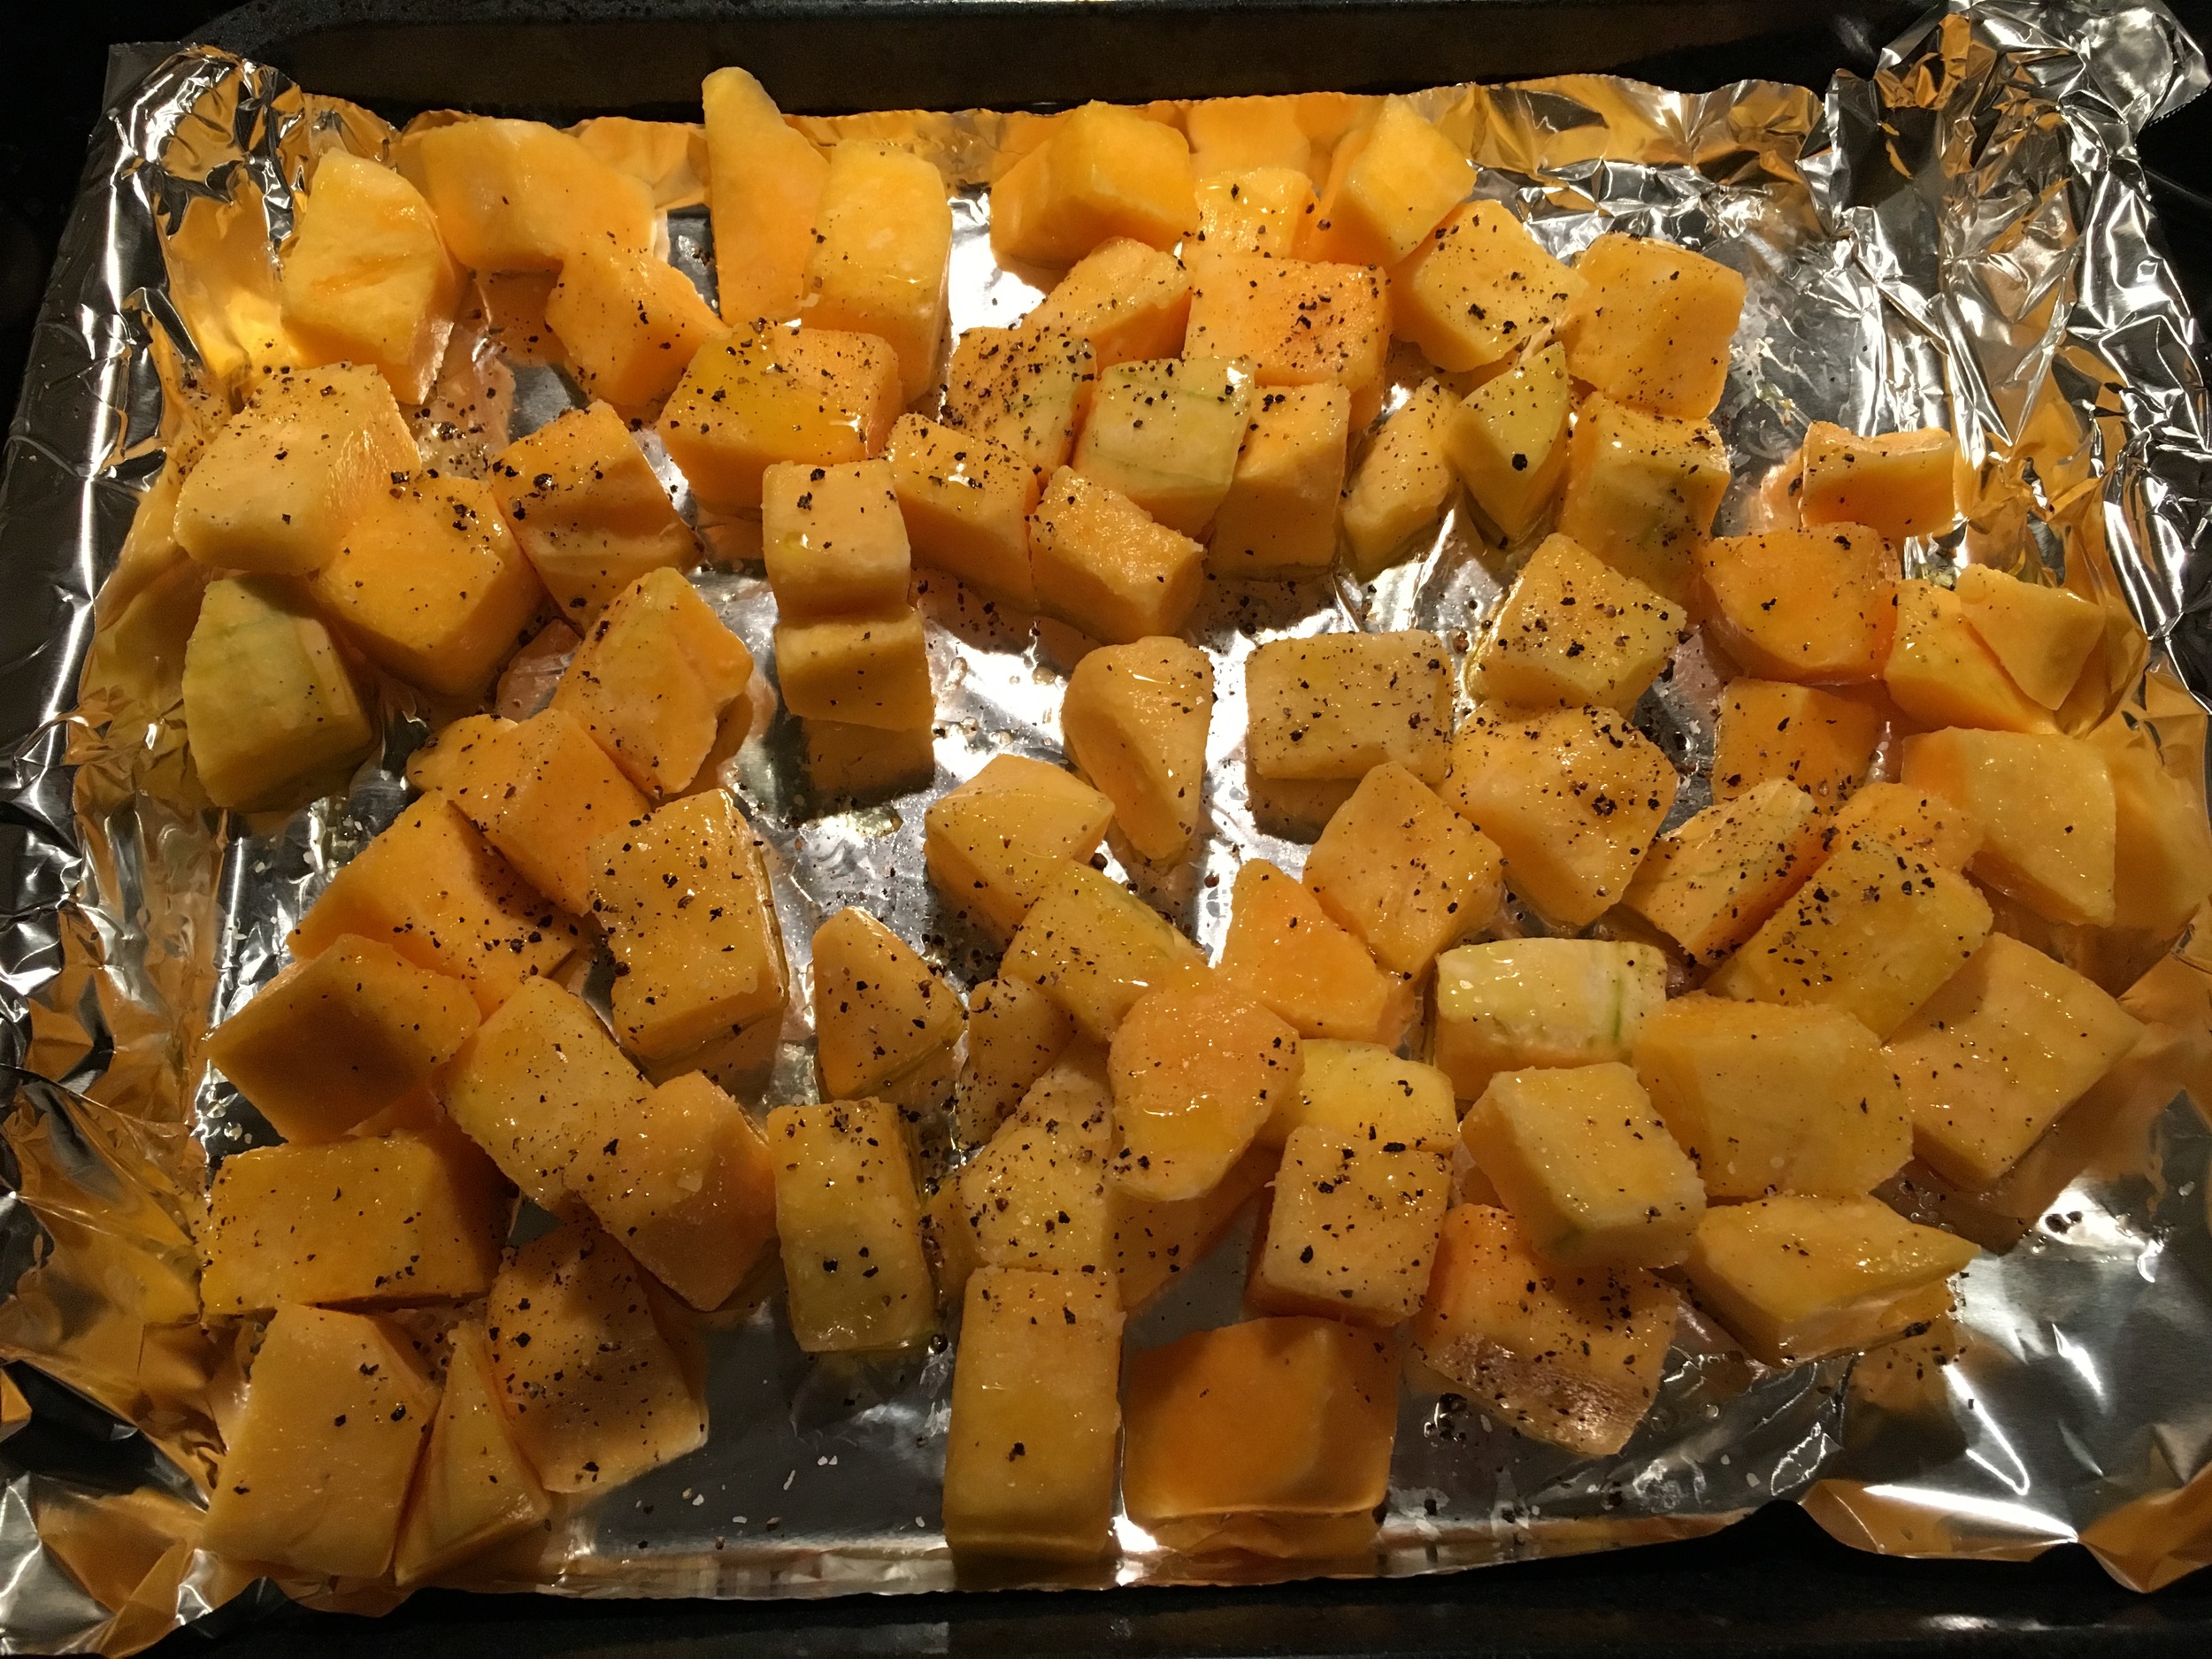
In a bowl combine your chopped and peeled butternut squash, olive oil, salt, pepper and nutmeg. Toss so that it is evenly covered before placing it on a baking tray covered in aluminum foil and popping it into the oven for 30 minute (or until tender).

Once the squash is tender remove it from the oven, transfer to a bowl and mash it with a potato masher. Once nicely mashed stir in your cheese and mix until it is fully incorporated. When ready cover with plastic wrap and place in the fridge overnight.

Next we are going to make the dough using the 'well method'. Place your flour on the counter and create a well or hole on the inside of the mound. Add your eggs, salt and oil to the inside of the hole and slowly start to stir the contents inside the hole with a fork. Slowly using the fork start to incorporate the flour wall lining the whole. DO THIS SLOWLY! Once the dough starts to form and thicken you can ditch the fork and use your hands to knead the dough. If you feel like the dough is dry keep kneading and add water for assistance.

When you are finished and have one big dough ball place in a large bowl, add a little olive oil to prevent the dough from drying out and cover with plastic wrap. Set aside for 30 minutes or so.

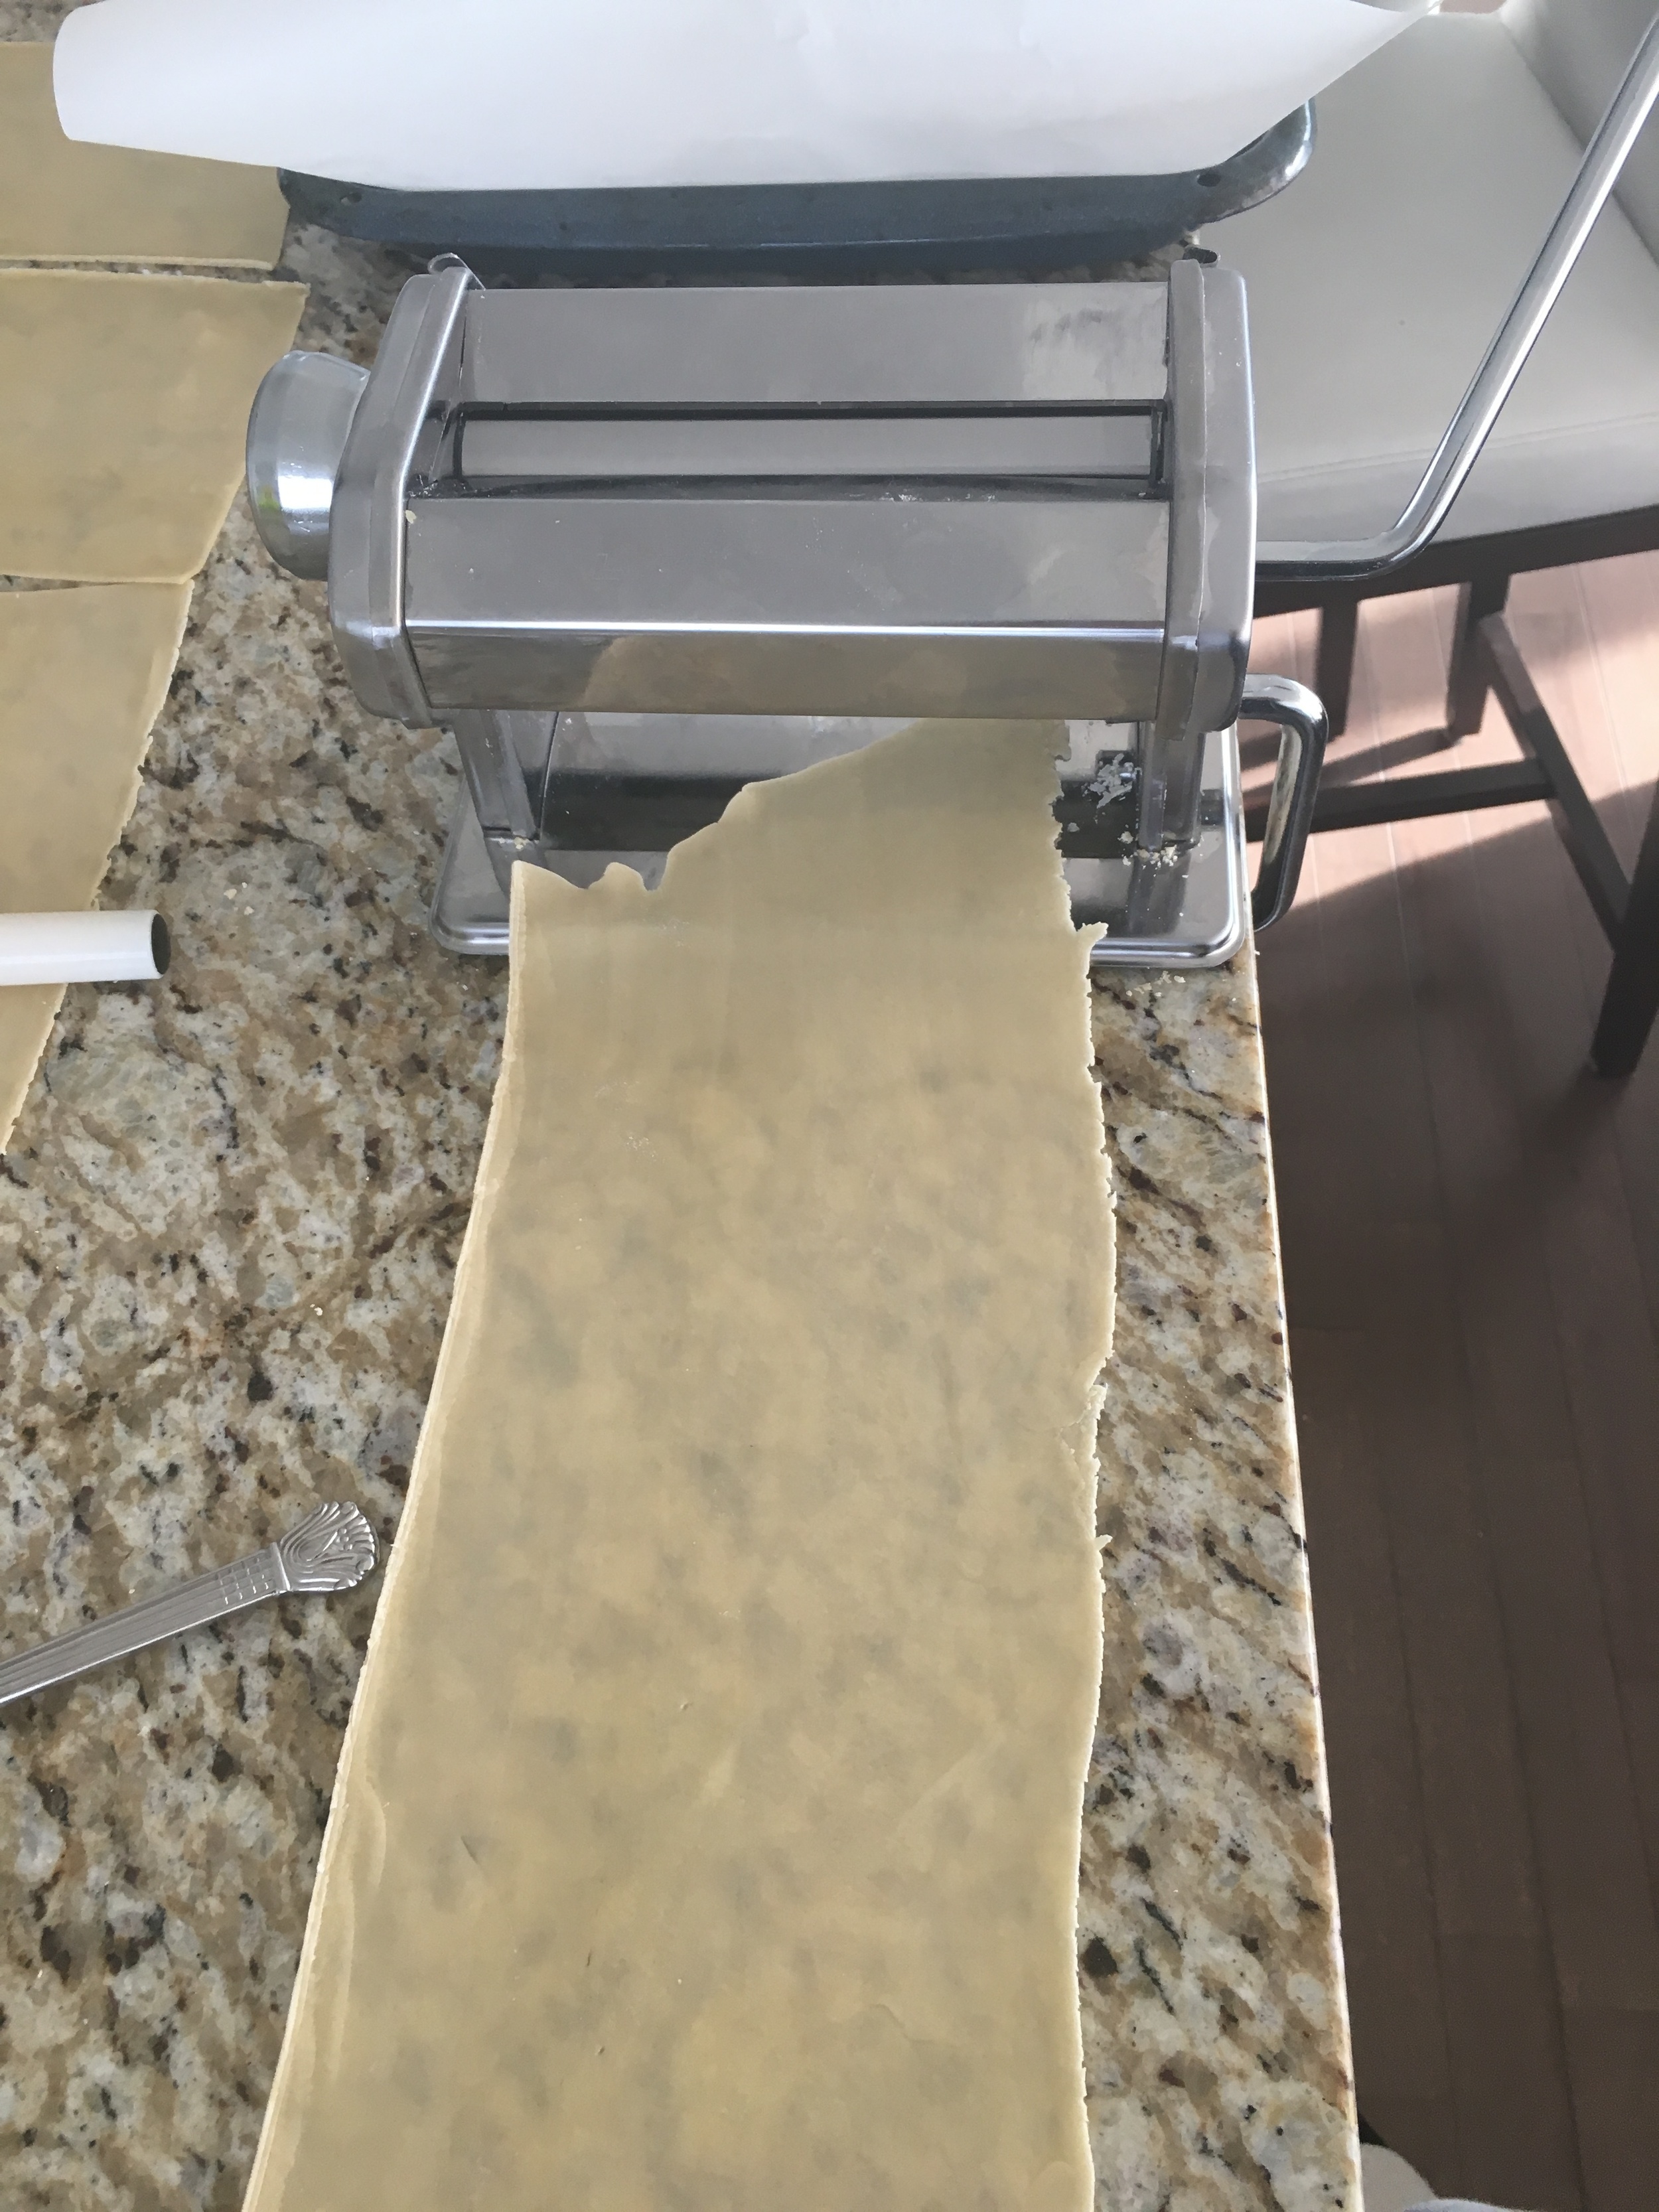
Prep your pasta maker! You are going to want to start on the widest (#1) setting and work your way to the thinnest (#9)

Break the dough into three parts and start to feed it through the pasta maker moving the knob each time from widest to thinnest setting. Make sure to help your dough through so it doesn't get caught or jammed.

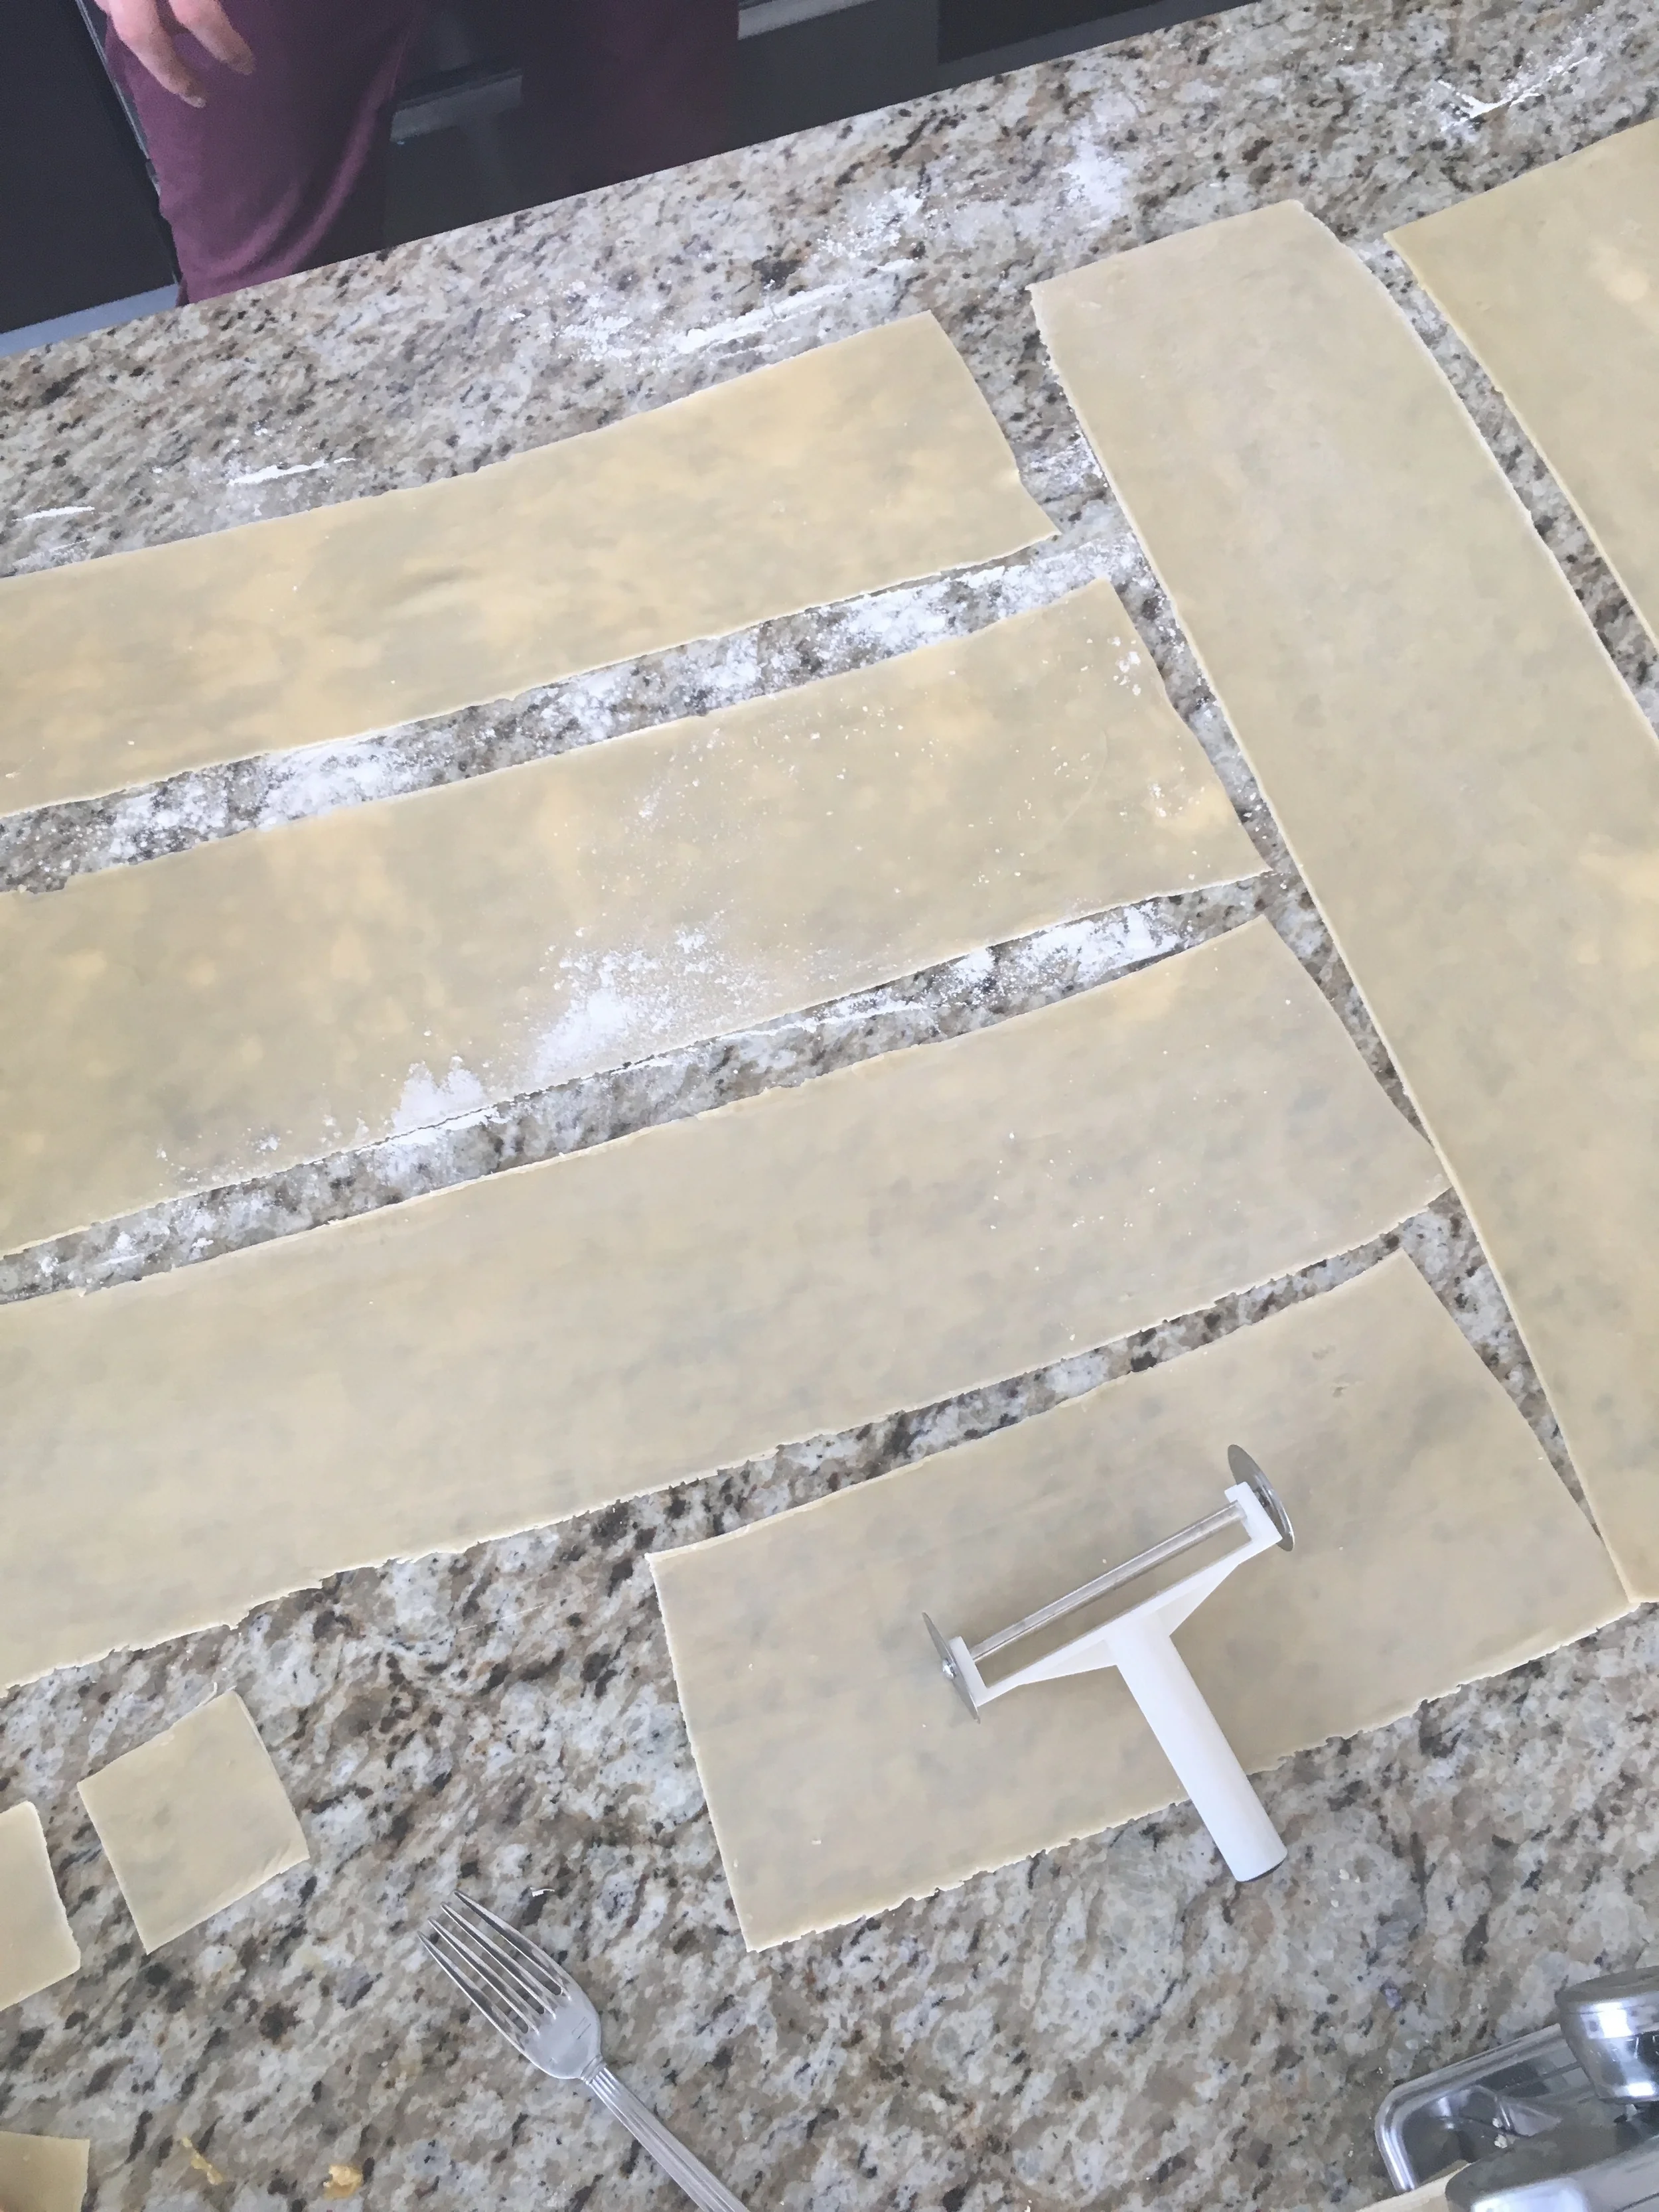
Place all strips of previously rolled out pasta on the counter which has been already lightly covered in flour.

Use the sheets with the larger width as the ravioli tops and the ones with the smaller widths as your ravioli bottoms.

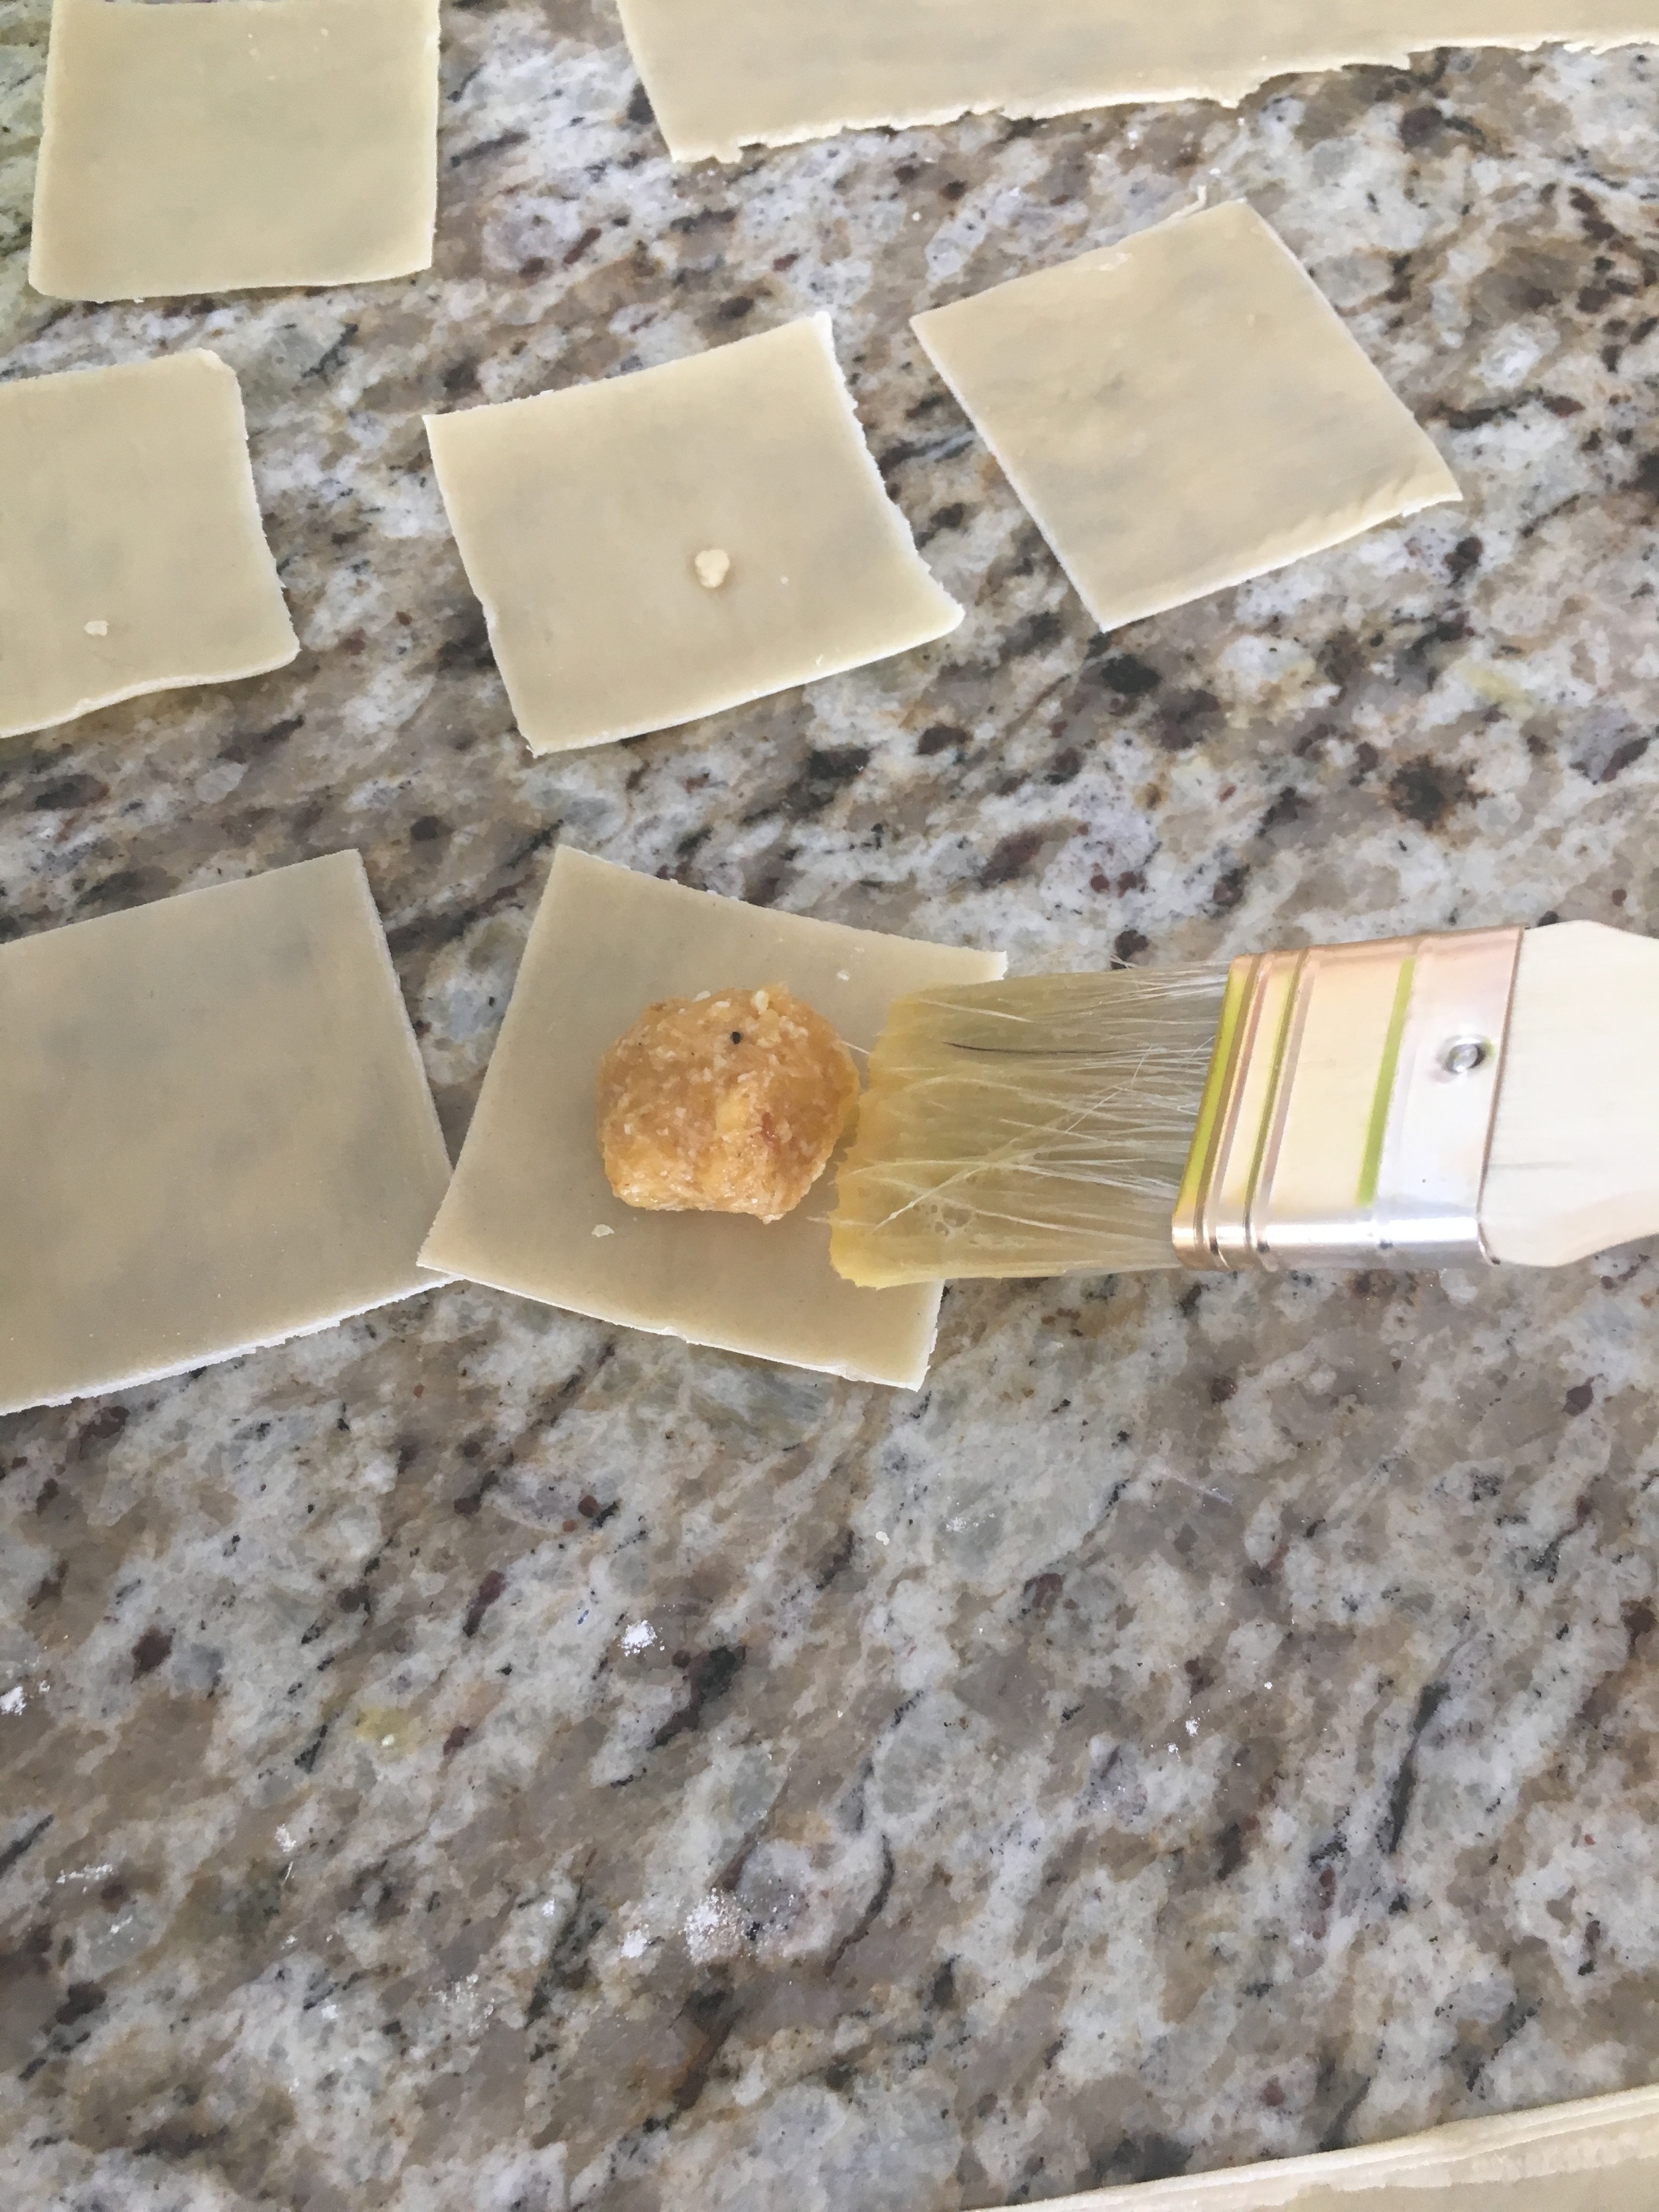
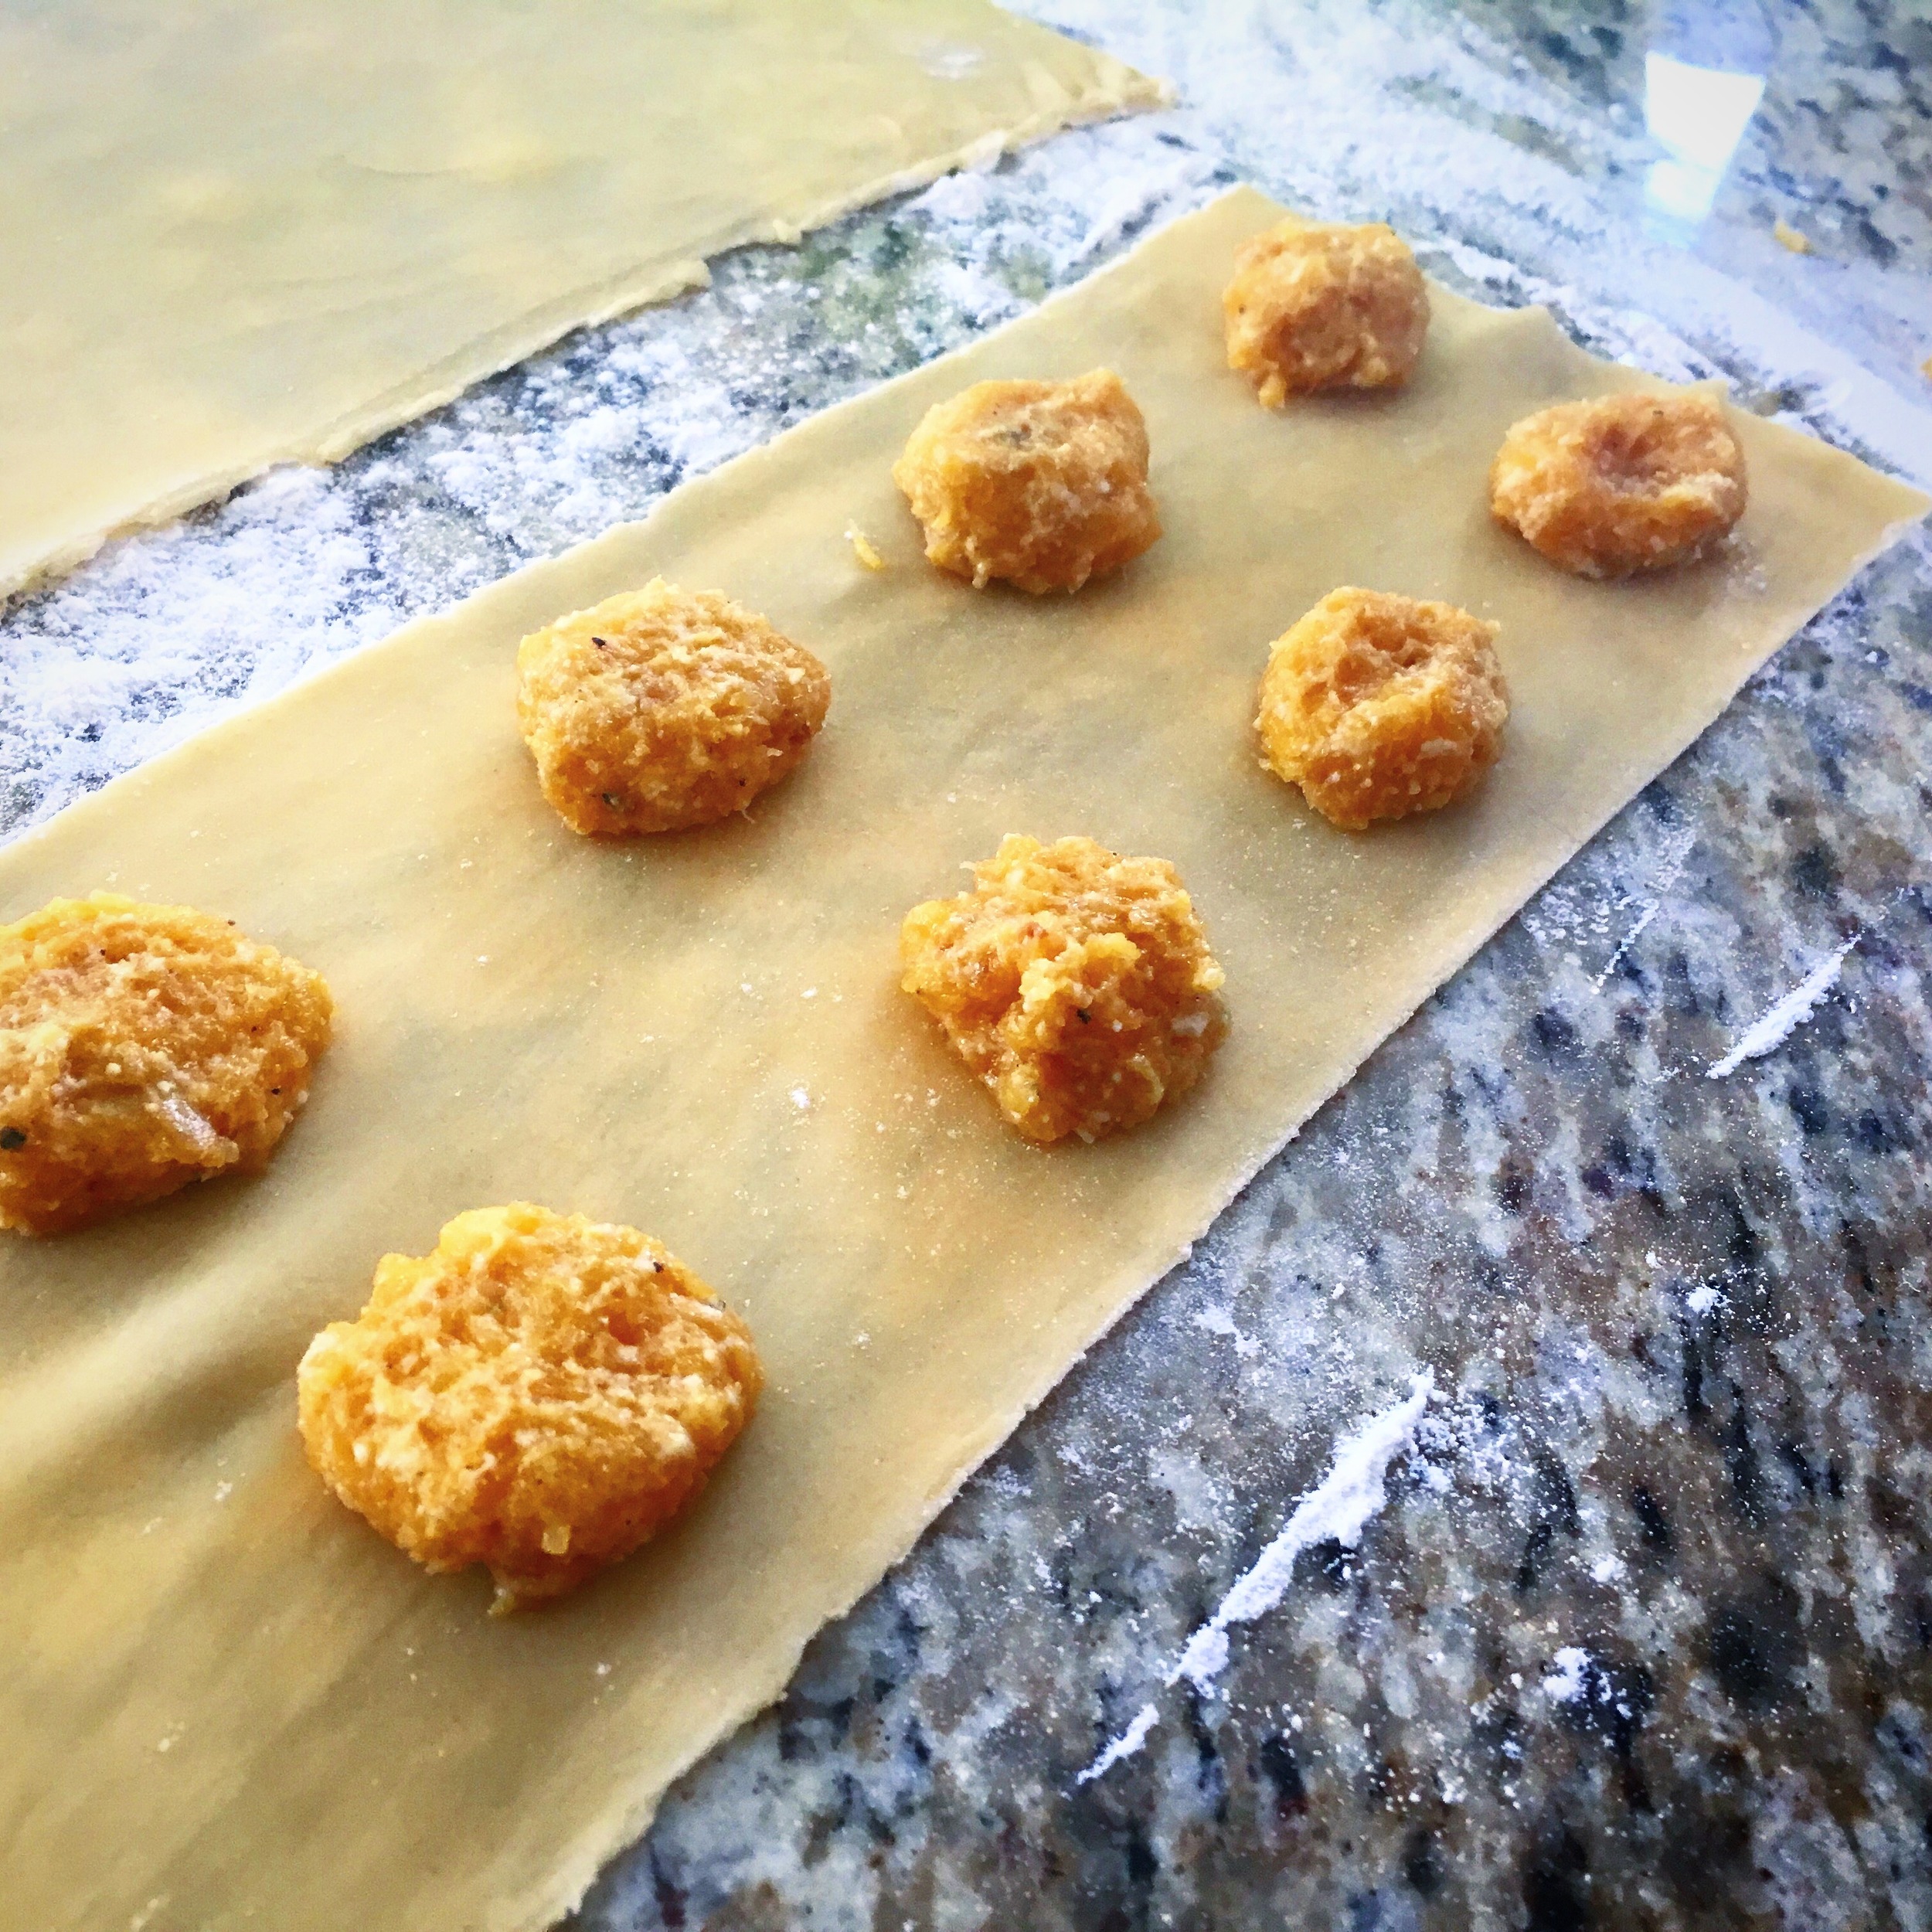
Start placing your butternut squash fillings 1 inch apart along the smaller width pasta. Use the egg wash to create a grid seal around each dab of filling. Place the wider pasta strip (top) on top.

Press the top down the center and each row so that it stretches out nicely over the filling mounds. Cut the dough in equal sections trying to create a 1/2 inch perimeter around the mounts.

Using a fork press on the outer corners to help the egg wash inside create a seal between top and bottom pasta layers and fully seal in the butternut squash filling inside.

Once sealed fully, place on a baking sheet lined with wax paper. Once you are finished making ravioli place the baking sheet covered in plastic wrap in the fridge to store until you are about 20-30 min from your meal time.

When you are ready boil a pot of water. Once the water is boiling add a tsp of salt and place the amount of ravioli you want to cook in the boiling water.  You can store the remaining amount by rolling it in wax paper and placing it in a ziplock bag and freezing it.

Next start to prep your sauce. In a sauce pan on medium heat add in your butter followed by your minced shallots. Once the shallots start to become clear add in your sage. Allow the sage to release its flavor into the butter. Stir so that it doesn't burn. Add some salt

After about 6-7 minutes the ravioli should be ready and float to the top. Test to see if the pasta layers are fully cooked. When it is cooked drain and add to your sauce pan with butter and sage. Allow the ravioli to become fully dressed by the sauce before plating.

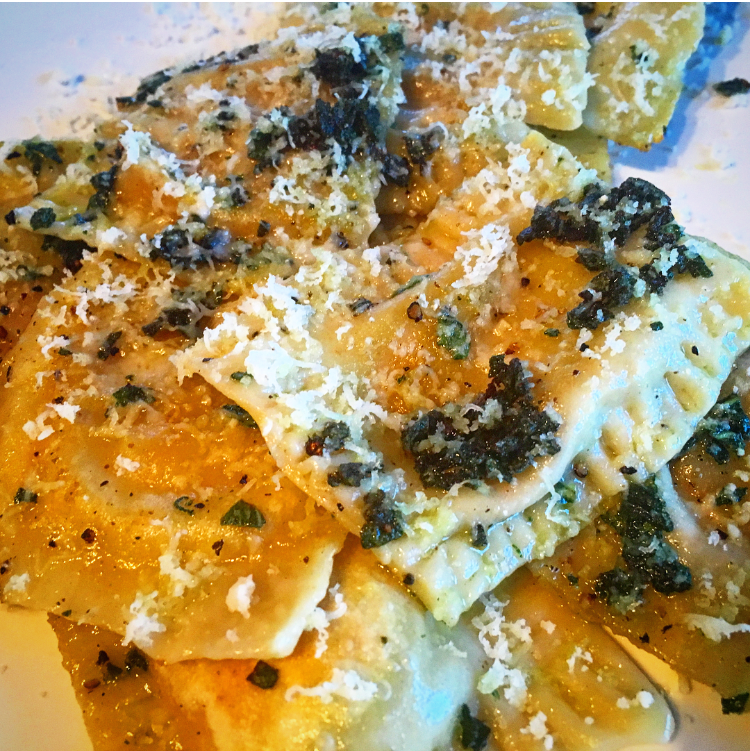
Add Parmesan cheese on top and garnish before serving. ENJOY!


I hope you enjoyed this recipe as much as I do. If you have any comments please leave them below and I'll be happy to answer them as soon as I can! There is also a video down below if you need more guidance while cooking!!!  Bon Appetite!!!