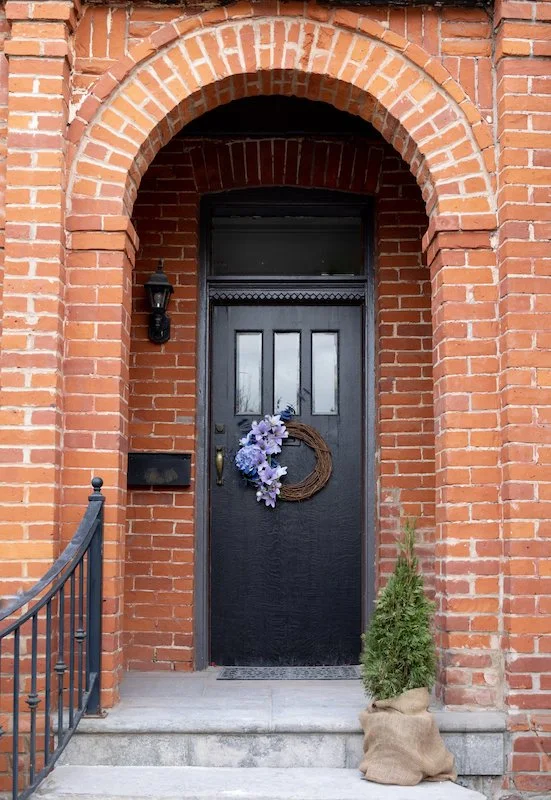
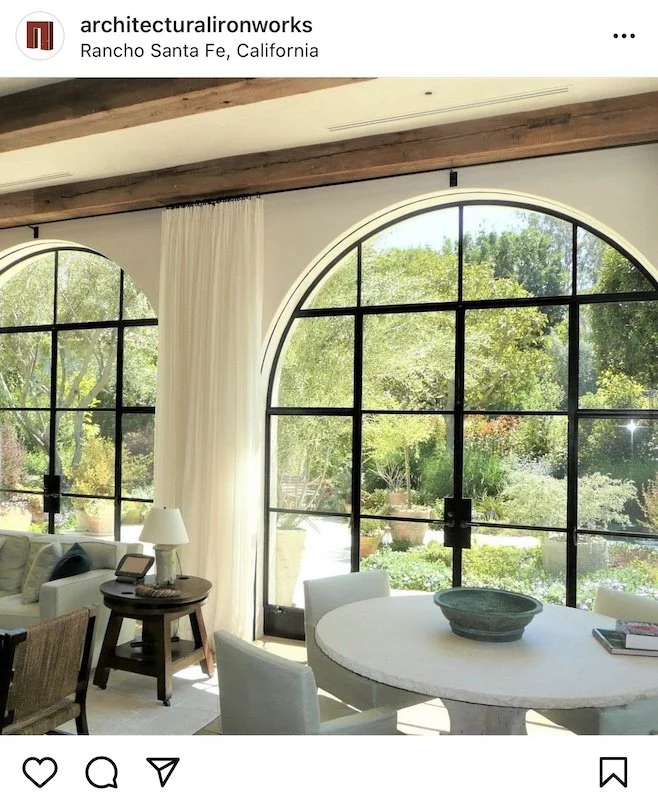
The front window of our Toronto Victorian Home that we are currently in the process of renovating!
TORONTO VICTORIAN HOME RENOVATIONS
IT’S FINALLY HAPPENING!
Today I am so excited to be sharing the first episode in my new YouTube series about my Toronto Victorian home renovations!
If this is your first time visiting my blog, last year my fiance and I started the process of buying our first home in Toronto.
It took us a stressful 6 months and a total of 11 offers until we finally won a bid on a beautiful Victorian home in Old Toronto’s trendy Little Portugal neighbourhood. Since moving in last August we have been planning a number of home renovations including a major first floor gut and remodel.
Finally, after weeks of waiting and months of planning, we finally got our Toronto Building Permit and were able to start. Since the house does need some structural work we did need to apply for a permit but I’ll wait to share more about that in my next episode!
FOLLOW ME ON INSTAGRAM @ISTHATSOH


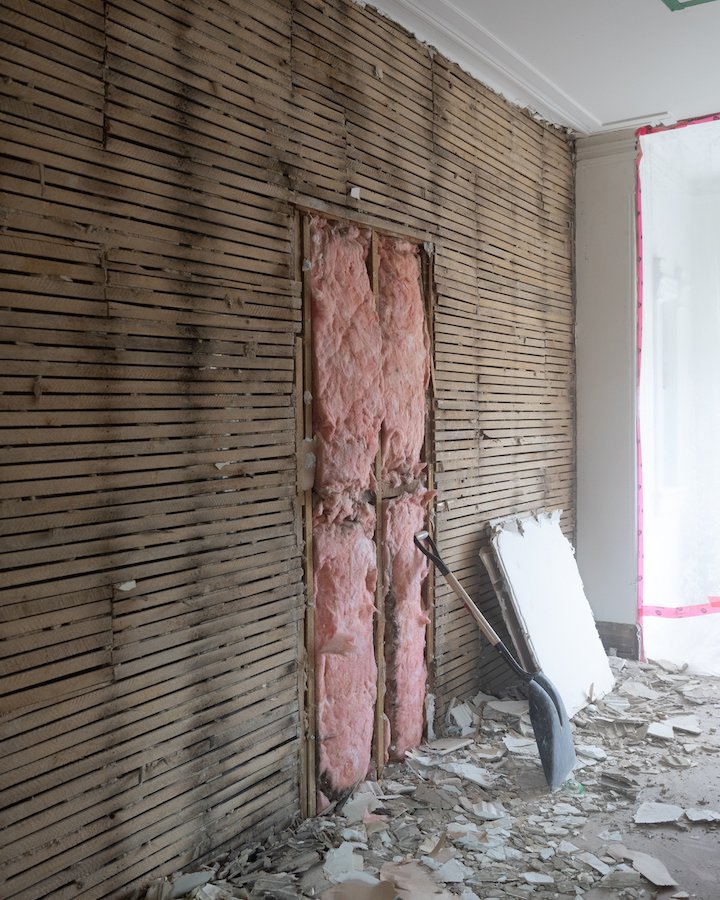
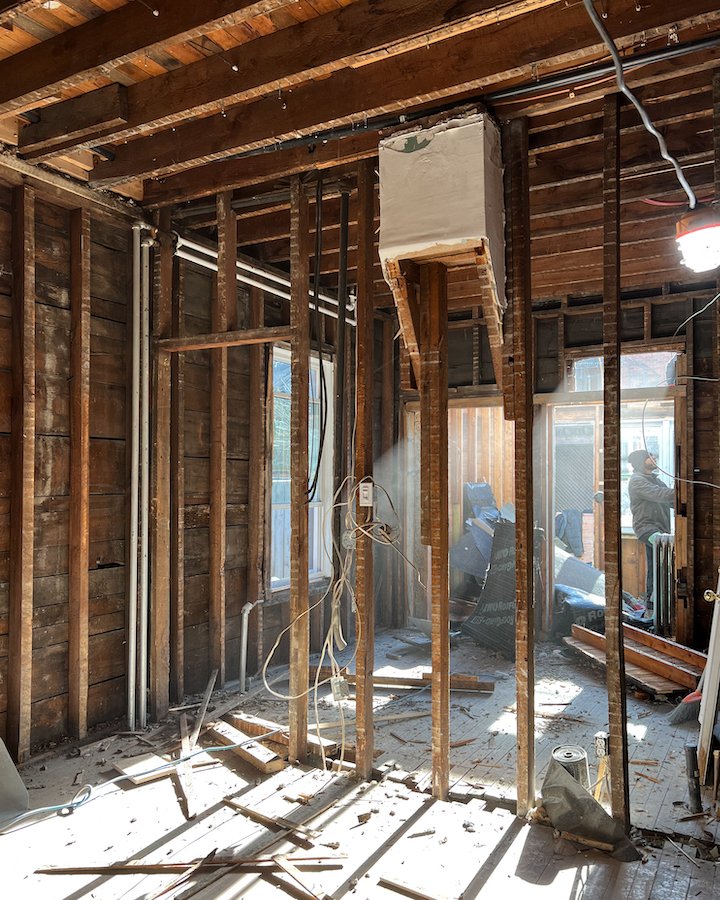
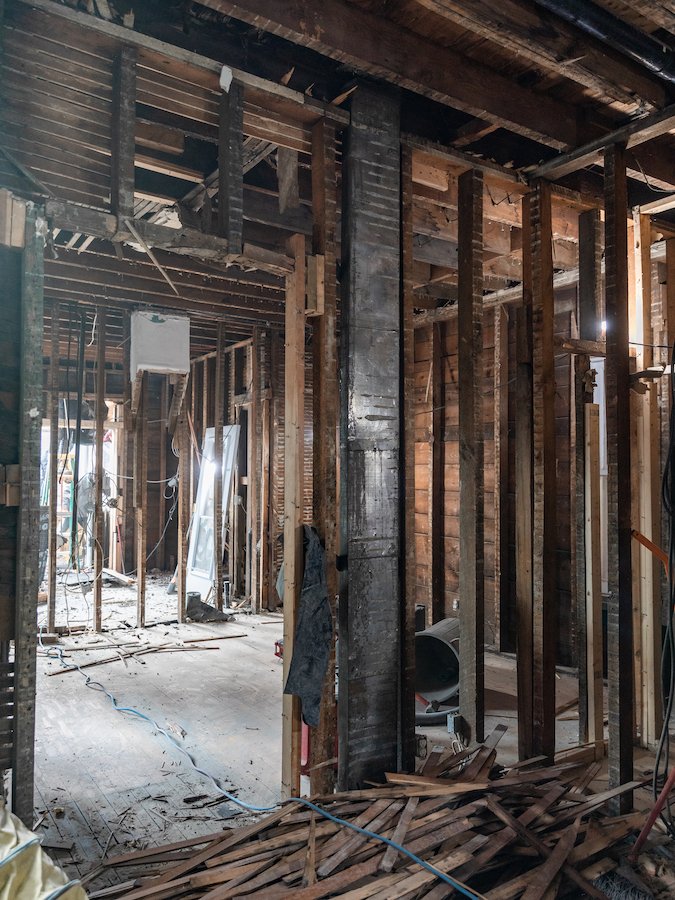
In this episode my fiance and I talk about how we are feeling going into our home renovations, the prep work that needed to be done before we could start and I vlog the entire demolition process. In total, it took 5 days to completely gut the first floor (don’t worry I saved the beautiful mouldings and doors) and remove the sun-room at the back of the house but you won’t believe what we found during the demolition process!
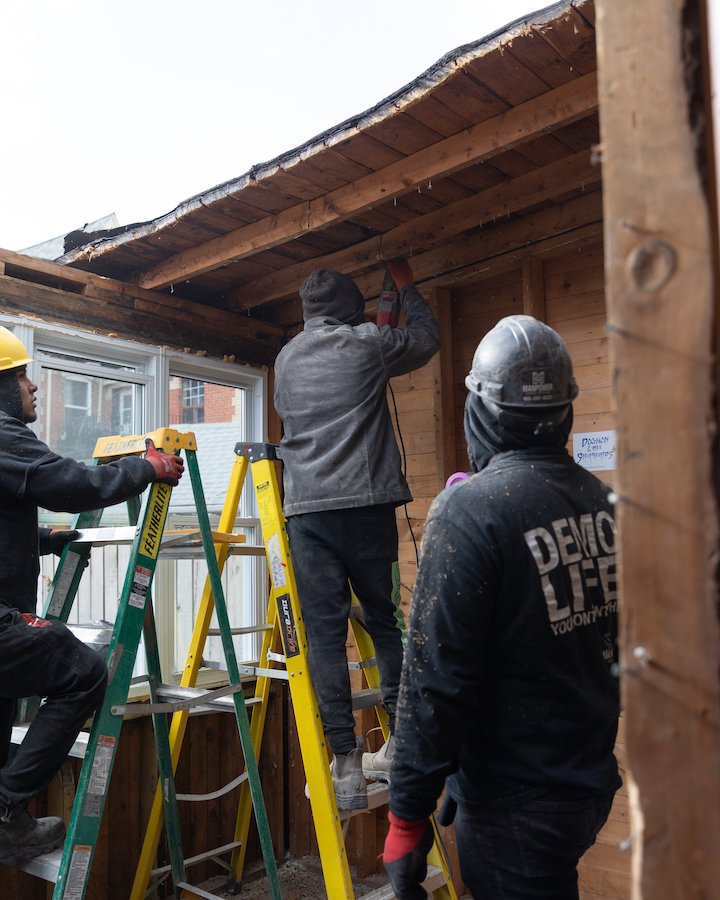
Although Adam, his dad and I did the demo in the basement, we did hire Manpower Demolition Inc. to help us gut the first floor and complete the first stage of our Toronto home renovation. Since the basement was drywall and only two walls, it was super easy for us to do ourselves but when it came to super messy lath and plaster, and saving my decorative mouldings, we decided to hire seasoned experts.
In the end, we were super happy with the work and professionalism of Manpower, and how accommodating they were. Prior to even starting, I did a walk through with one of their project managers and showed him everything I wanted saved, protected and stored. They were also very accommodating during the documentation process, moving time lapse cameras around for me and letting me on site to take photos while they work.
Obviously, when you do a renovation like this you also want to make sure that you aren’t being excessively disruptive to your neighbours. Since we didn’t have a permit to leave a disposal bin on the street we had to do a drive by bin and I was happy to hear from my neighbour that Manpower cleaned up after themselves and didn’t leave any mess behind after loading each bin. I also requested for all the garbage from the demo to be brought through the house instead of down the shared lane way as to avoid damaging or scratch my neighbours newly painted house, which they did as well. All in all they did a great job and I would totally recommend them to other friend and family, and use them again myself!
P.s. If you are starting a Toronto home renovation and need some contractor recommendations Adam and I have put together a stellar list of contractors and tradesman for this project! I’ll be sharing more about our renovation process in upcoming episodes and the companies we are using but if you can’t wait, feel free to leave a comment below or shoot me an email via my contact form for a recommendation!
PICTURES OF MY OLD VICTORIAN HOUSE


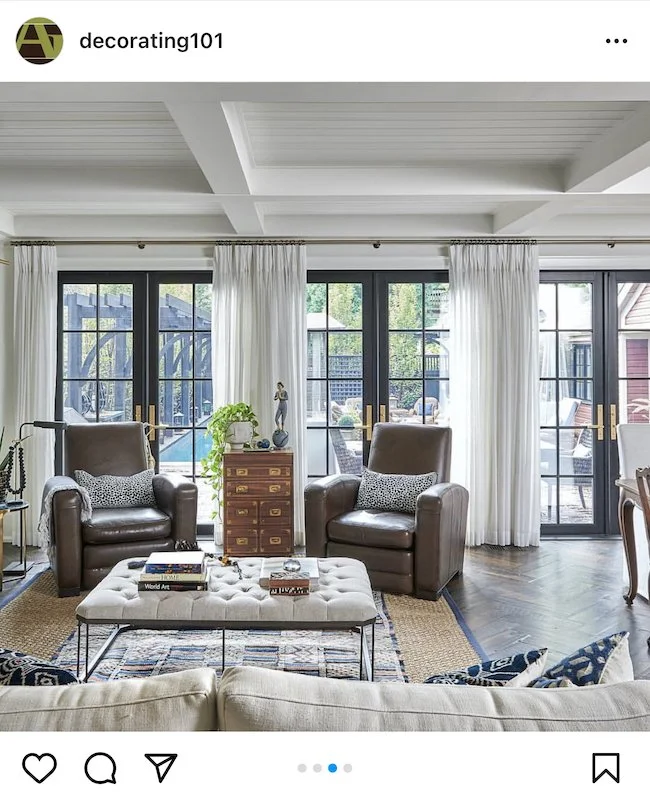
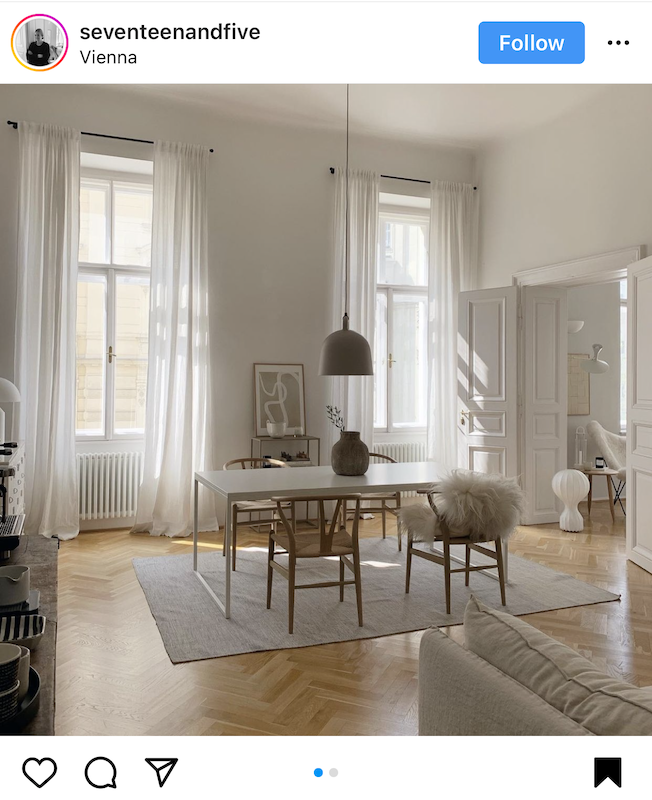
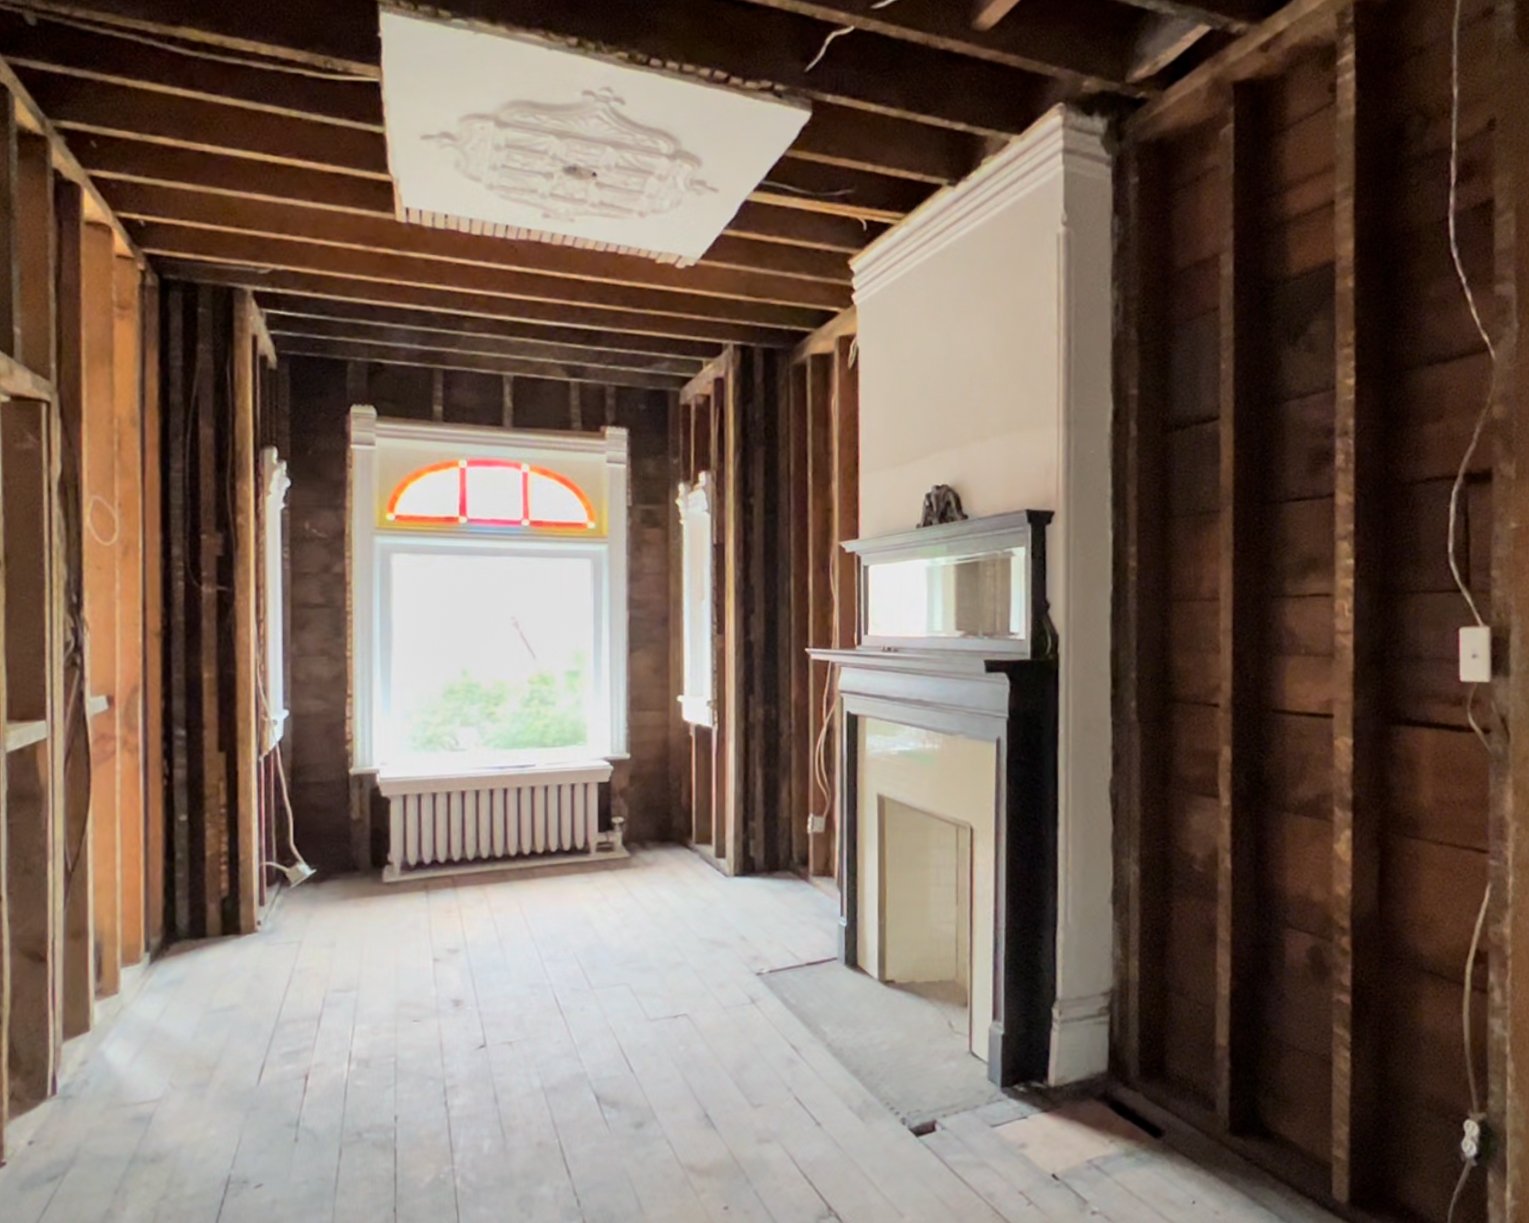
Although I do walk you through the main floor of the house prior to the demo in this episode, here are some picture of the rooms we will be demolishing. We did keep all the decorative crown mouldings around the windows in the front room and pulled off the decorative crowns on the doorway frames but things like the baseboards and door frames we are planning on getting milled/replicated. We are also planning to reintroduce the decorative bullnose wall corner details you see in the middle photo (above) as a way of paying homage to the houses original character.

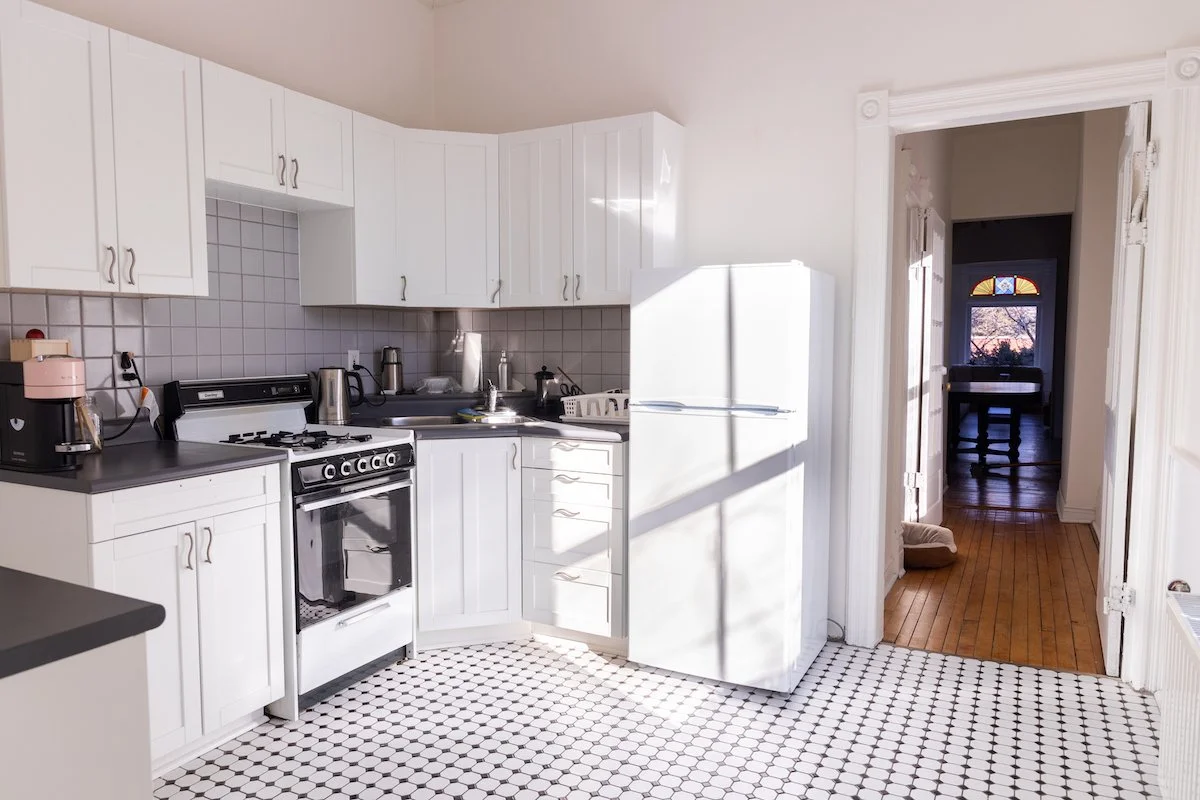
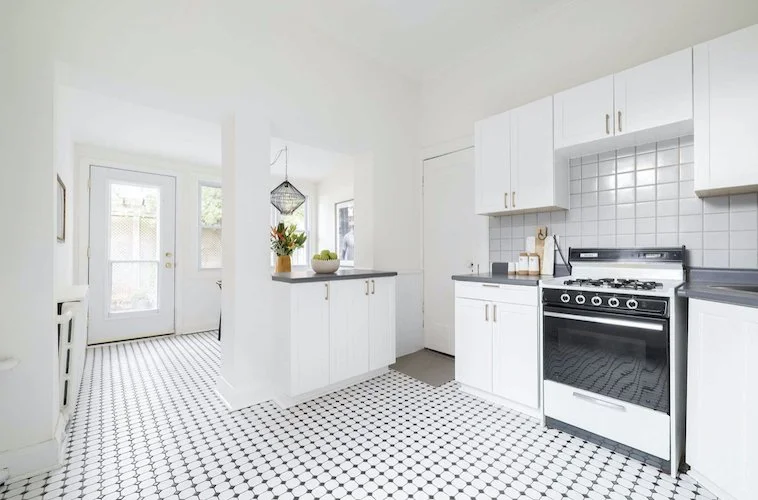
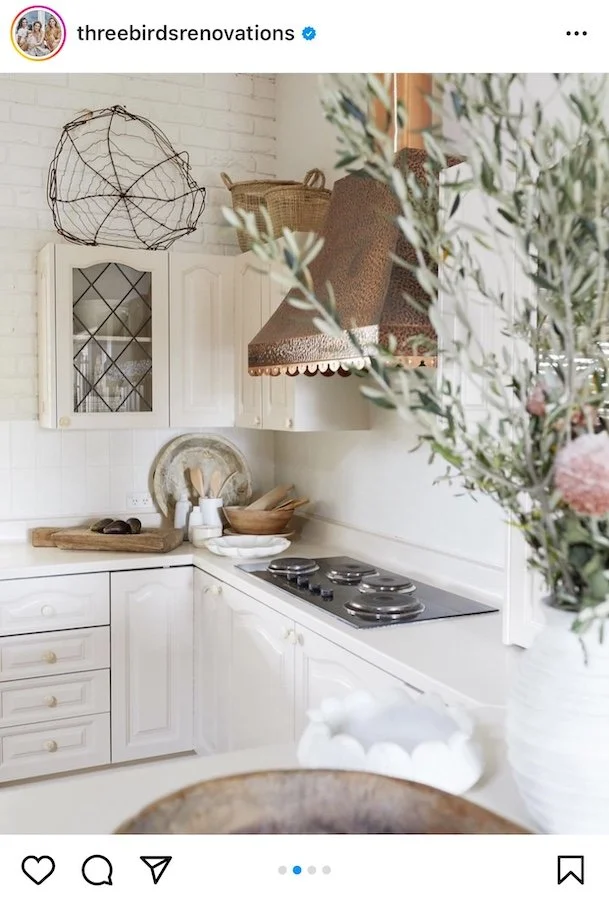
The old main floor kitchen that we are planning to completely remodel!
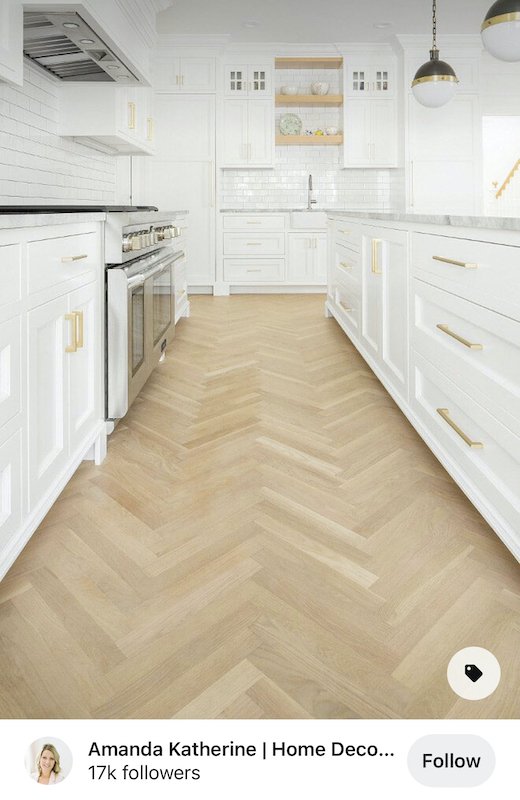
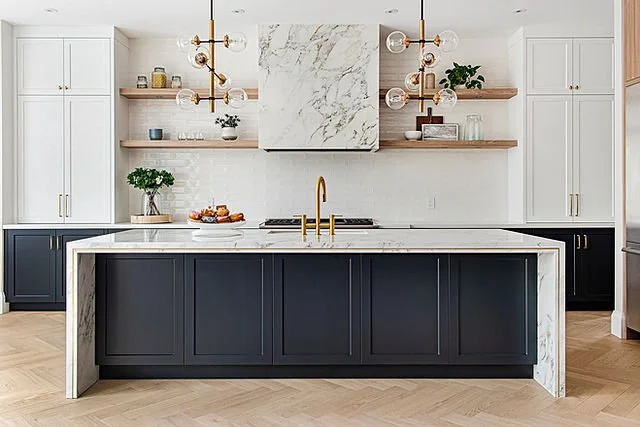
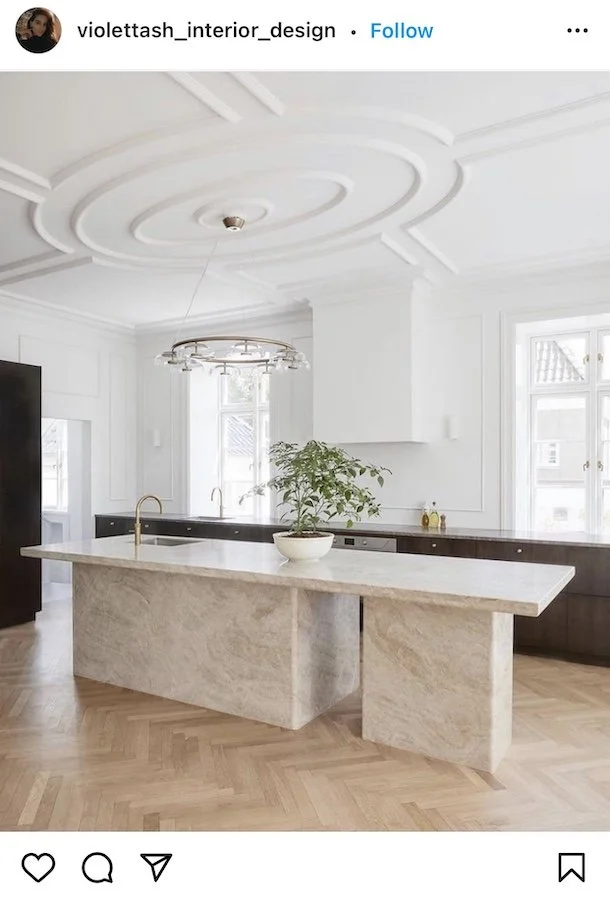
One thing I am super excited for is renovating our kitchen!
The house currently has two kitchens and the main floor kitchen definitely leaves much to be desired. I am so looking forward to modernizing this room in our Toronto Victorian home and bringing it to life with the help of Domani Design Group. We went all out on this part of the house and purchased the best of the best kitchen appliances, so I’m super excited for those for those to arrive at the end of the month. Especially my La Cornue stove!
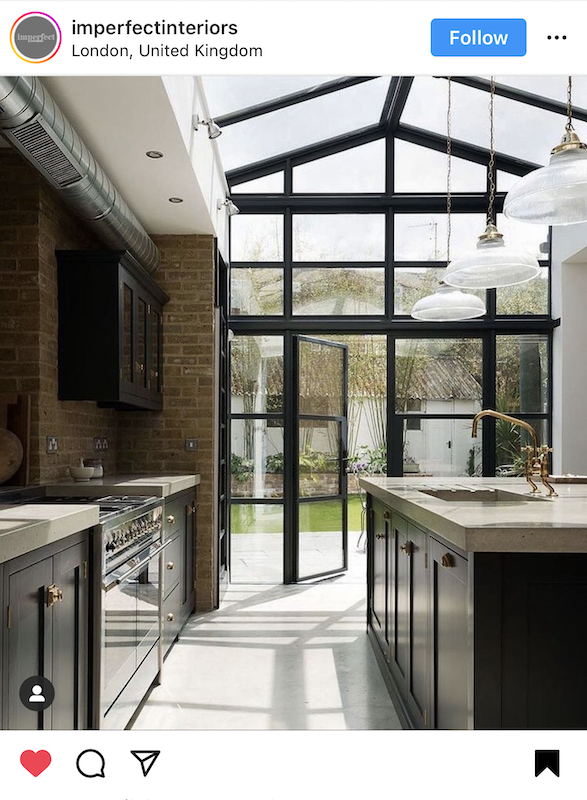
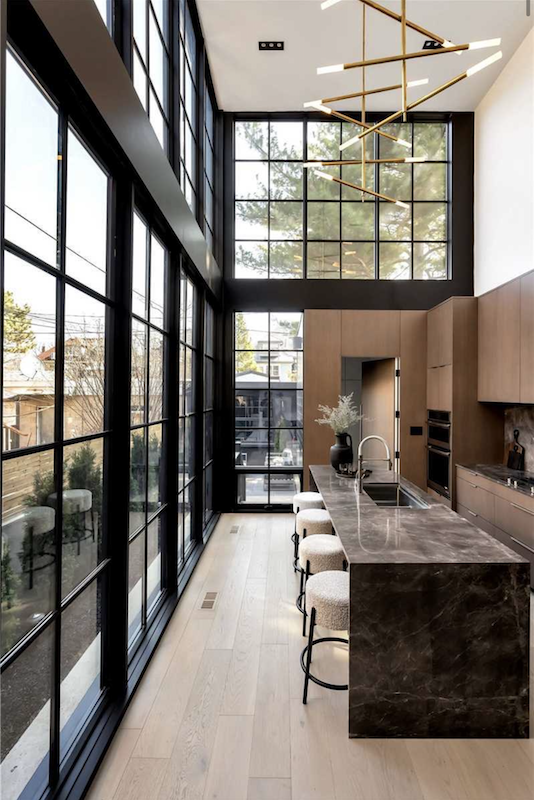
TORONTO HOME RENOVATIONS - MODERNIZING A VICTORIAN HOME
During the demolition we did uncover a few cool things! For one, the boys at Manpower uncovered the remains of a tin ceiling under the drywall in the kitchen. Turns out it wasn’t actually tin but a faux tin material that was raised to give the same aesthetic. We didn’t save it but I thought it was a pretty cool discovery especially since i’ve been contemplating doing a tin cieling in the kitchen and talking about this idea on Instagram. Perhaps it’s a sign!
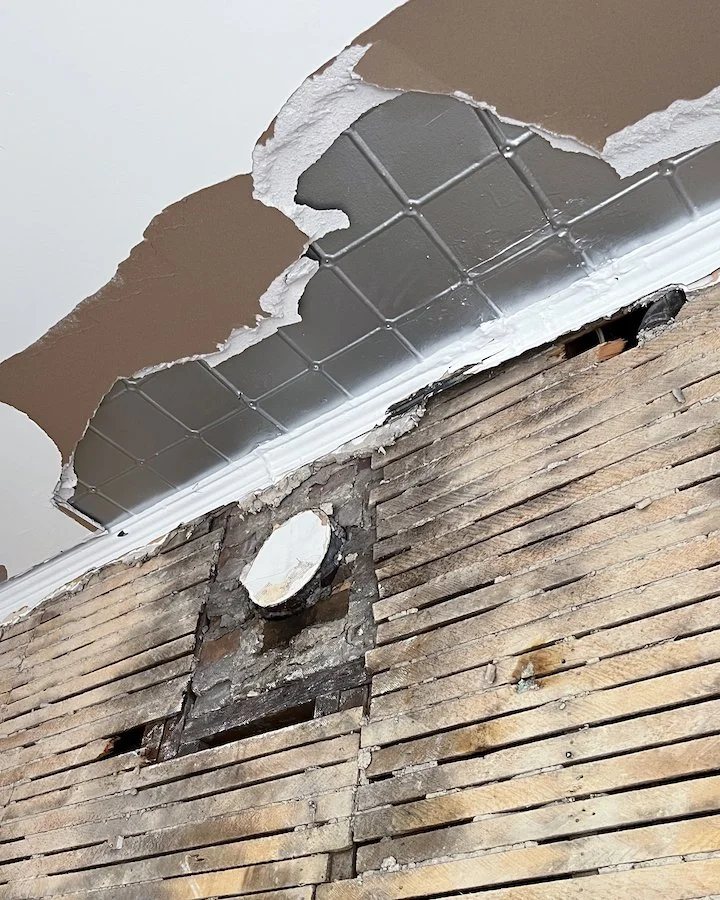
The faux tin ceiling we uncovered during the demolition of the main floor kitchen! Learn more in my Toronto Home renovation series on YouTube!
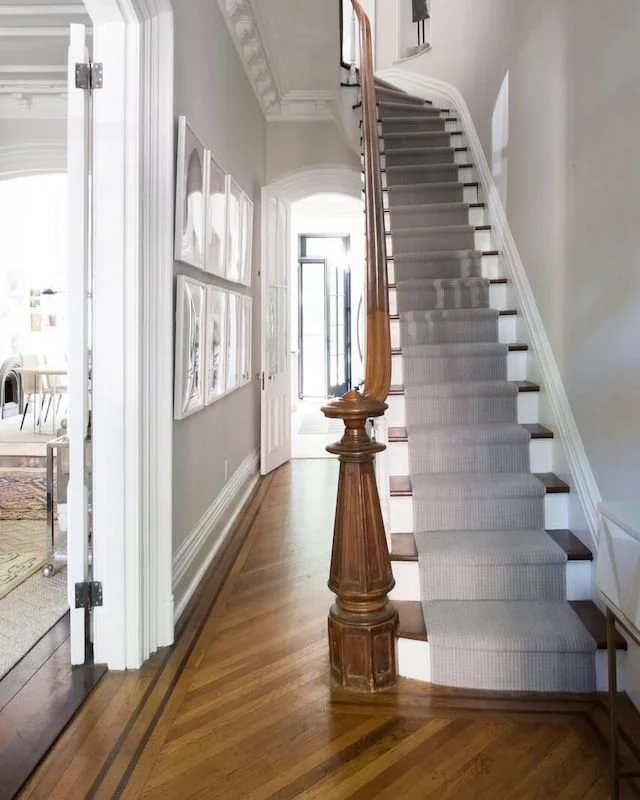
Another thing we discovered during the demolition was some old school coat hooks hidden in the abandoned staircase! This we definitely did save and I do plan on re-purposing them in the front foyer later on in the renovation! First I’m going to strip the paint off them though!

The antique coat hooks we found during the demolition of the abandoned staircase in my Toronto Victorian home.
CHECK OUT THESE OTHER HOME & LIFESTYLE BLOG POSTS


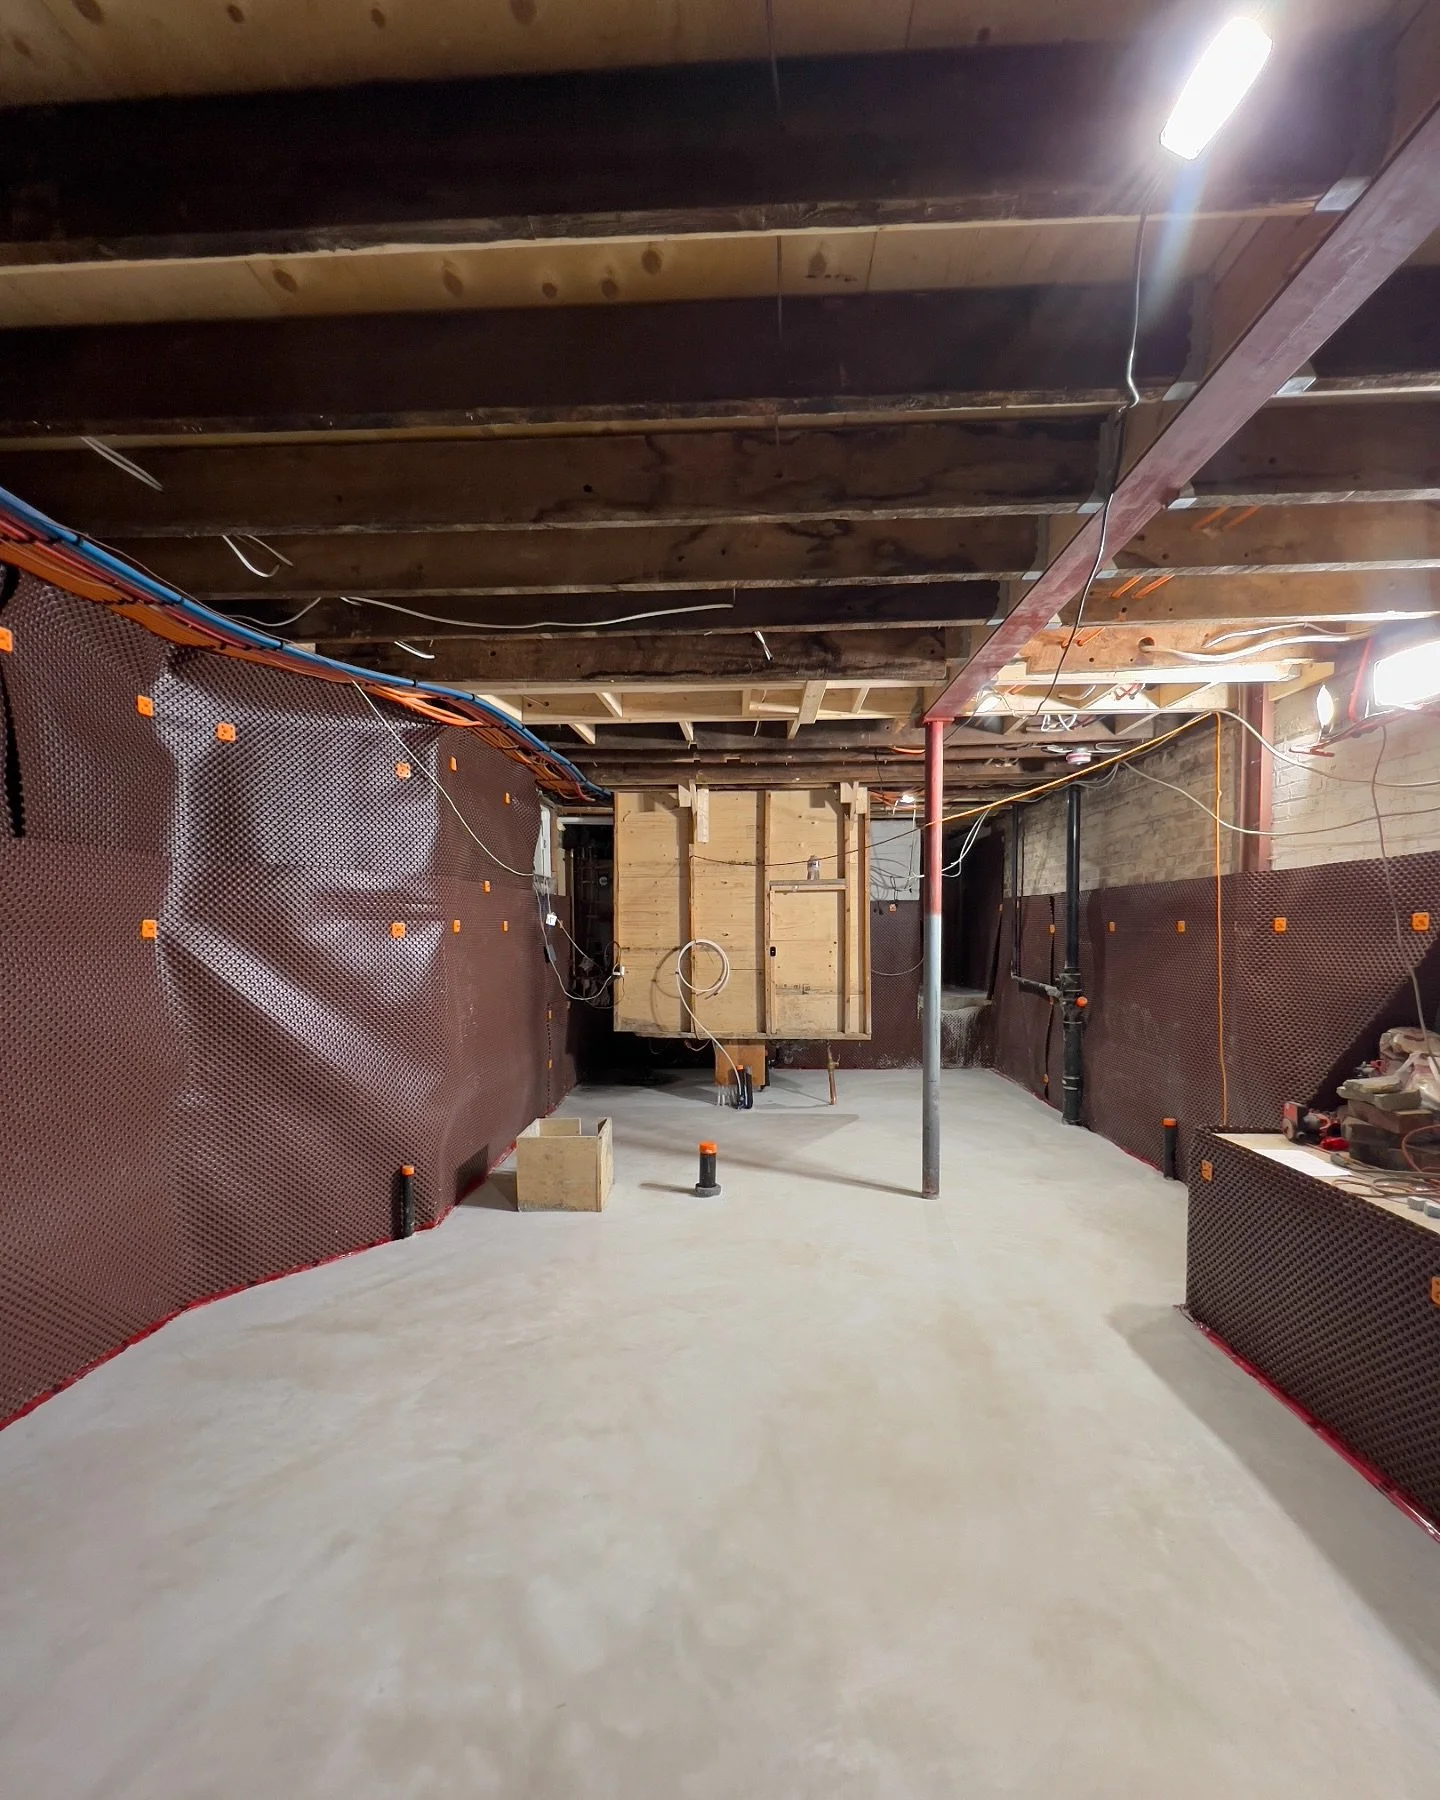
PICTURES FROM AFTER THE DEMO STAGE IS COMPLETE IN MY TORONTO HOME RENOVATIONS!


So there you have it!
With stage 1 complete, we can now move onto structural changes that needed to be made to make the house structurally sound. We are going to be remove a load bearing wall in the next episode and installing some steal beams so if you are curious to see what goes into that , stay tuned!!
For now we left up a lot of the old framing so we can continue to give the house some support while we order the new LVL and steal beams but all that and more will be revealed in the next episode of my Toronto Victorian home renovations series!
Make sure to subscribe to my YouTube channel so you don’t miss out!
Thank you so much for joining me today and for checking out my new Toronto home renovation series on Youtube. I am super excited to be modernizing a Victorian home while still keeping the charm of an old Victorian house. If you have any questions about my Victorian house renovations, what it’s like to live in Little Portugal, Toronto or recommendations for Toronto contractors, hit me up in the comments below!
PIN THIS POST

Episode 1 in my Toronto Home Renovation series on YouTube is now out! Make sure to subscribe so you don’t miss an episode!