Image by Ksenia Chernaya
INTERIOR AND HOME DECOR
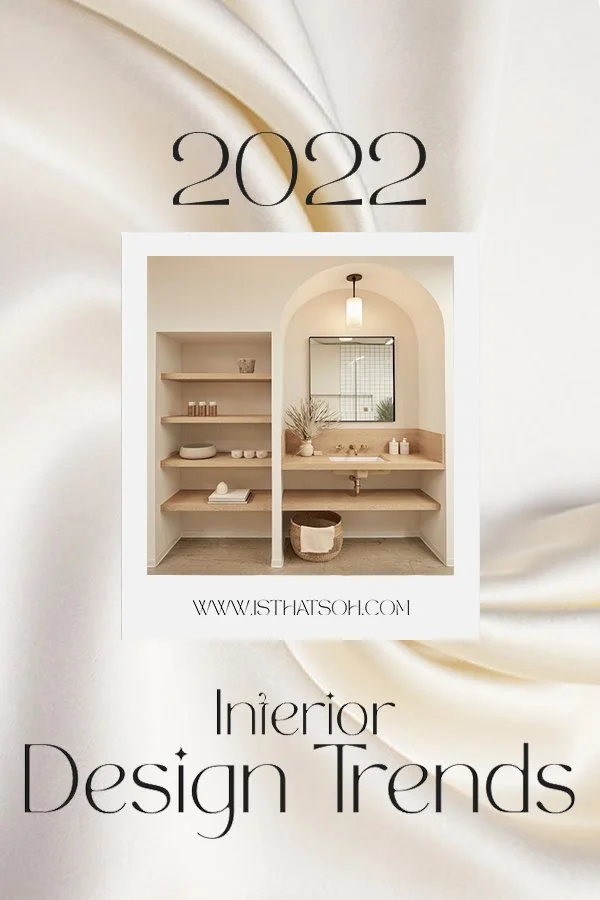
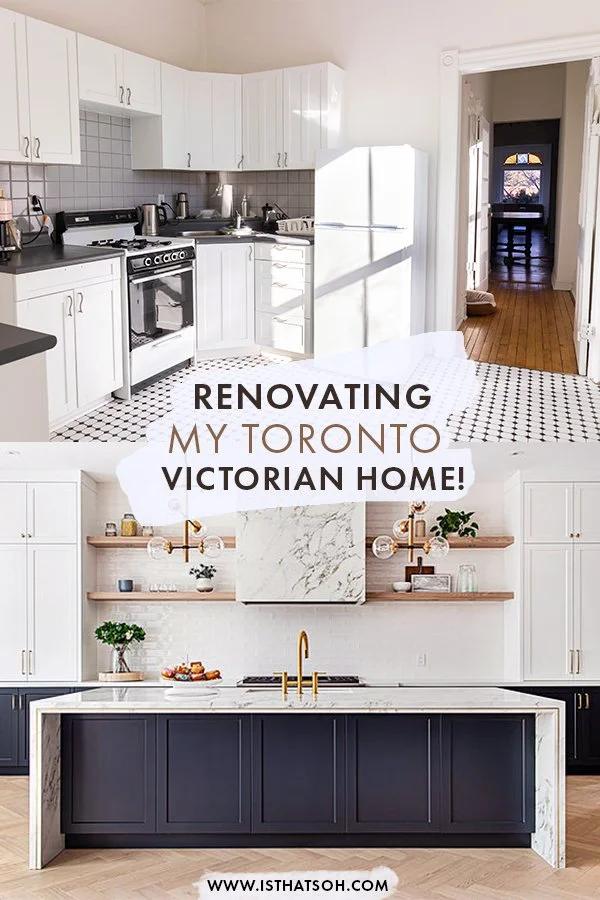
TRENDS FOR 2022
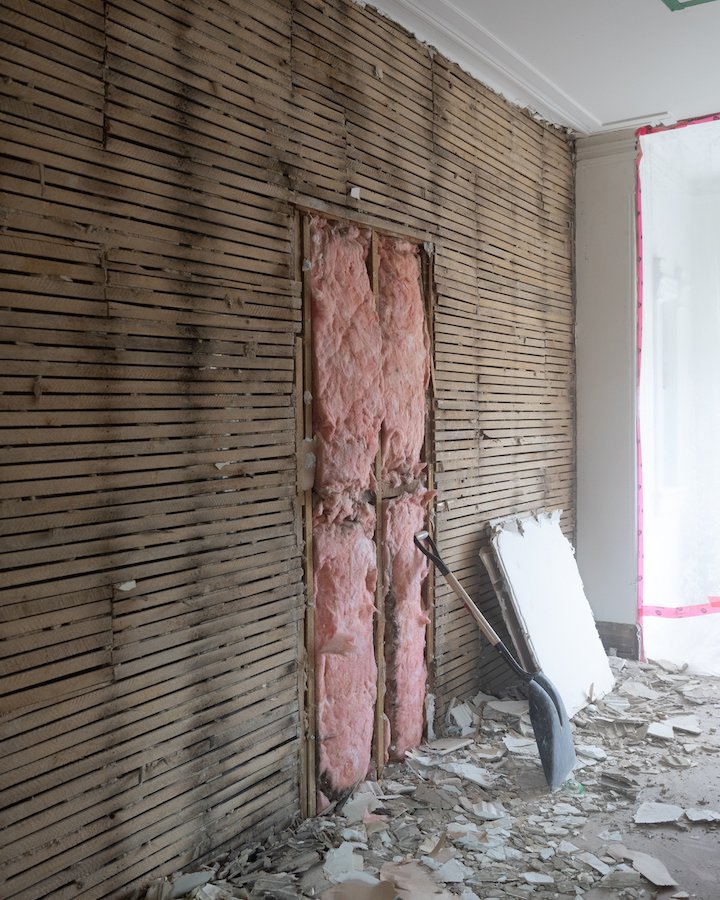
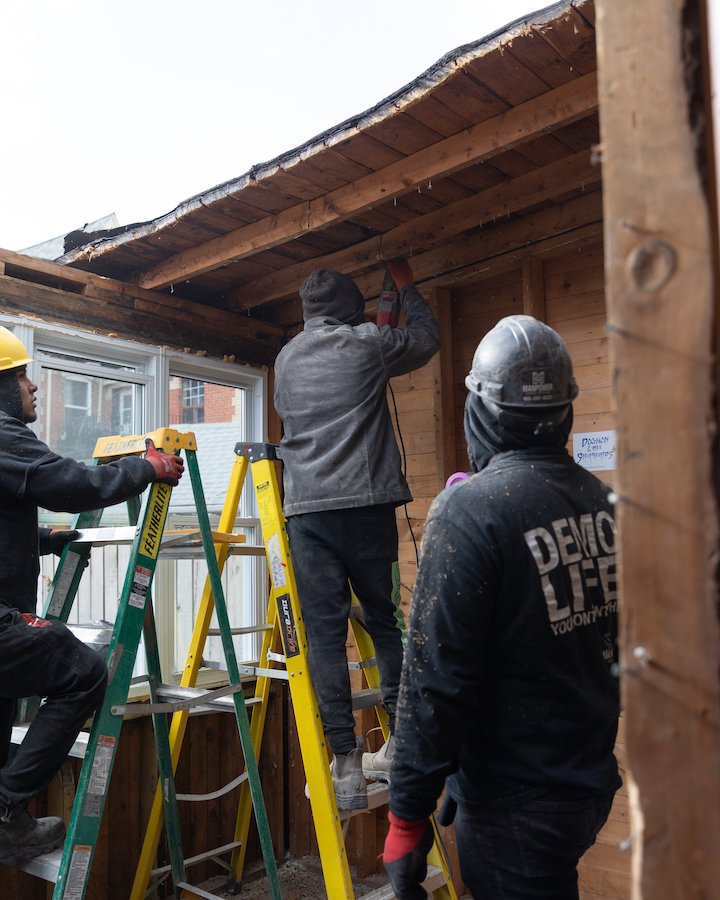
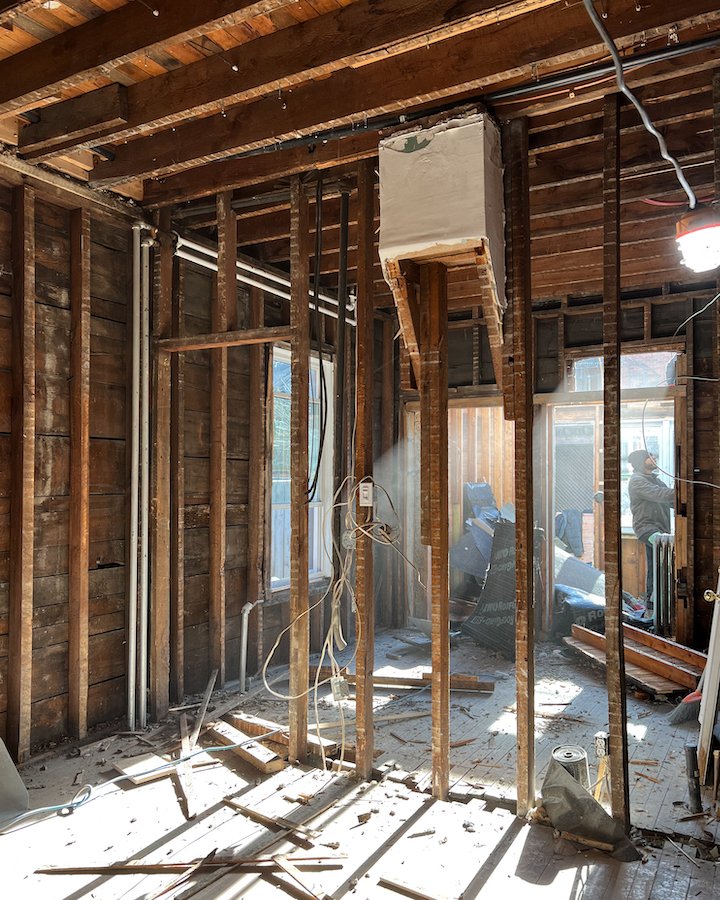
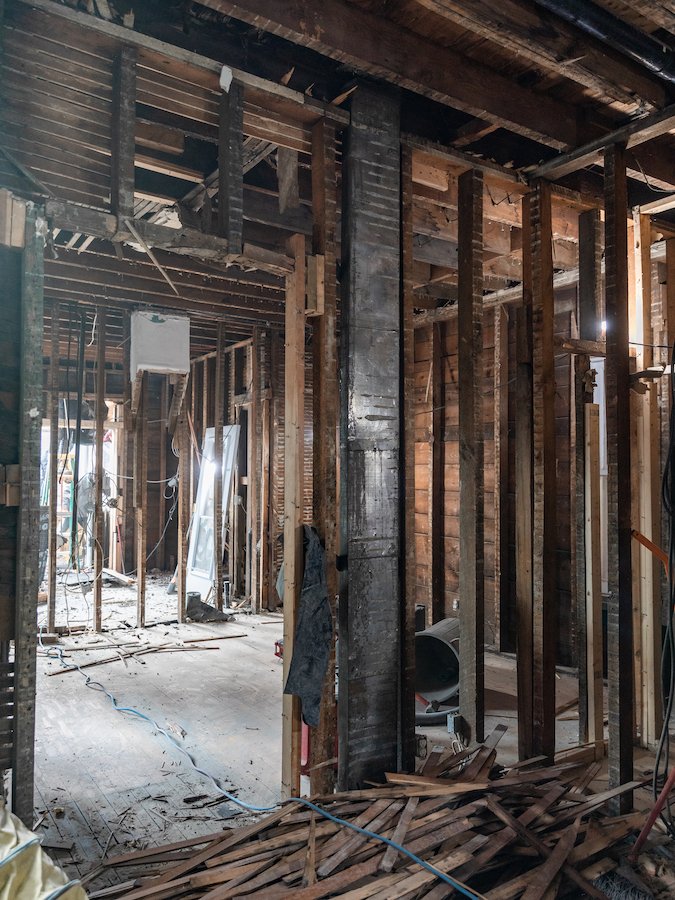
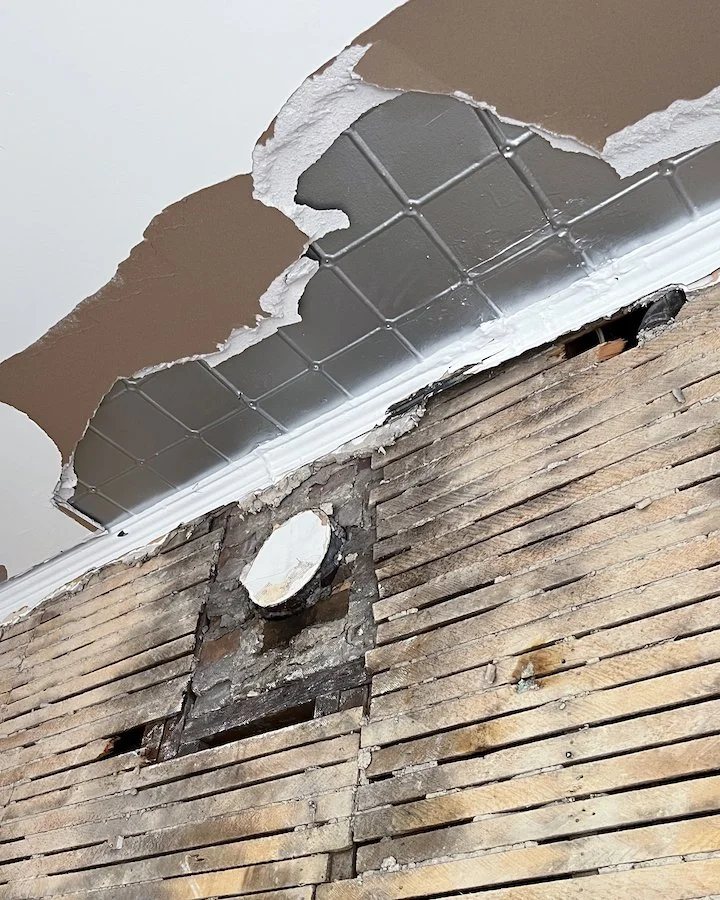
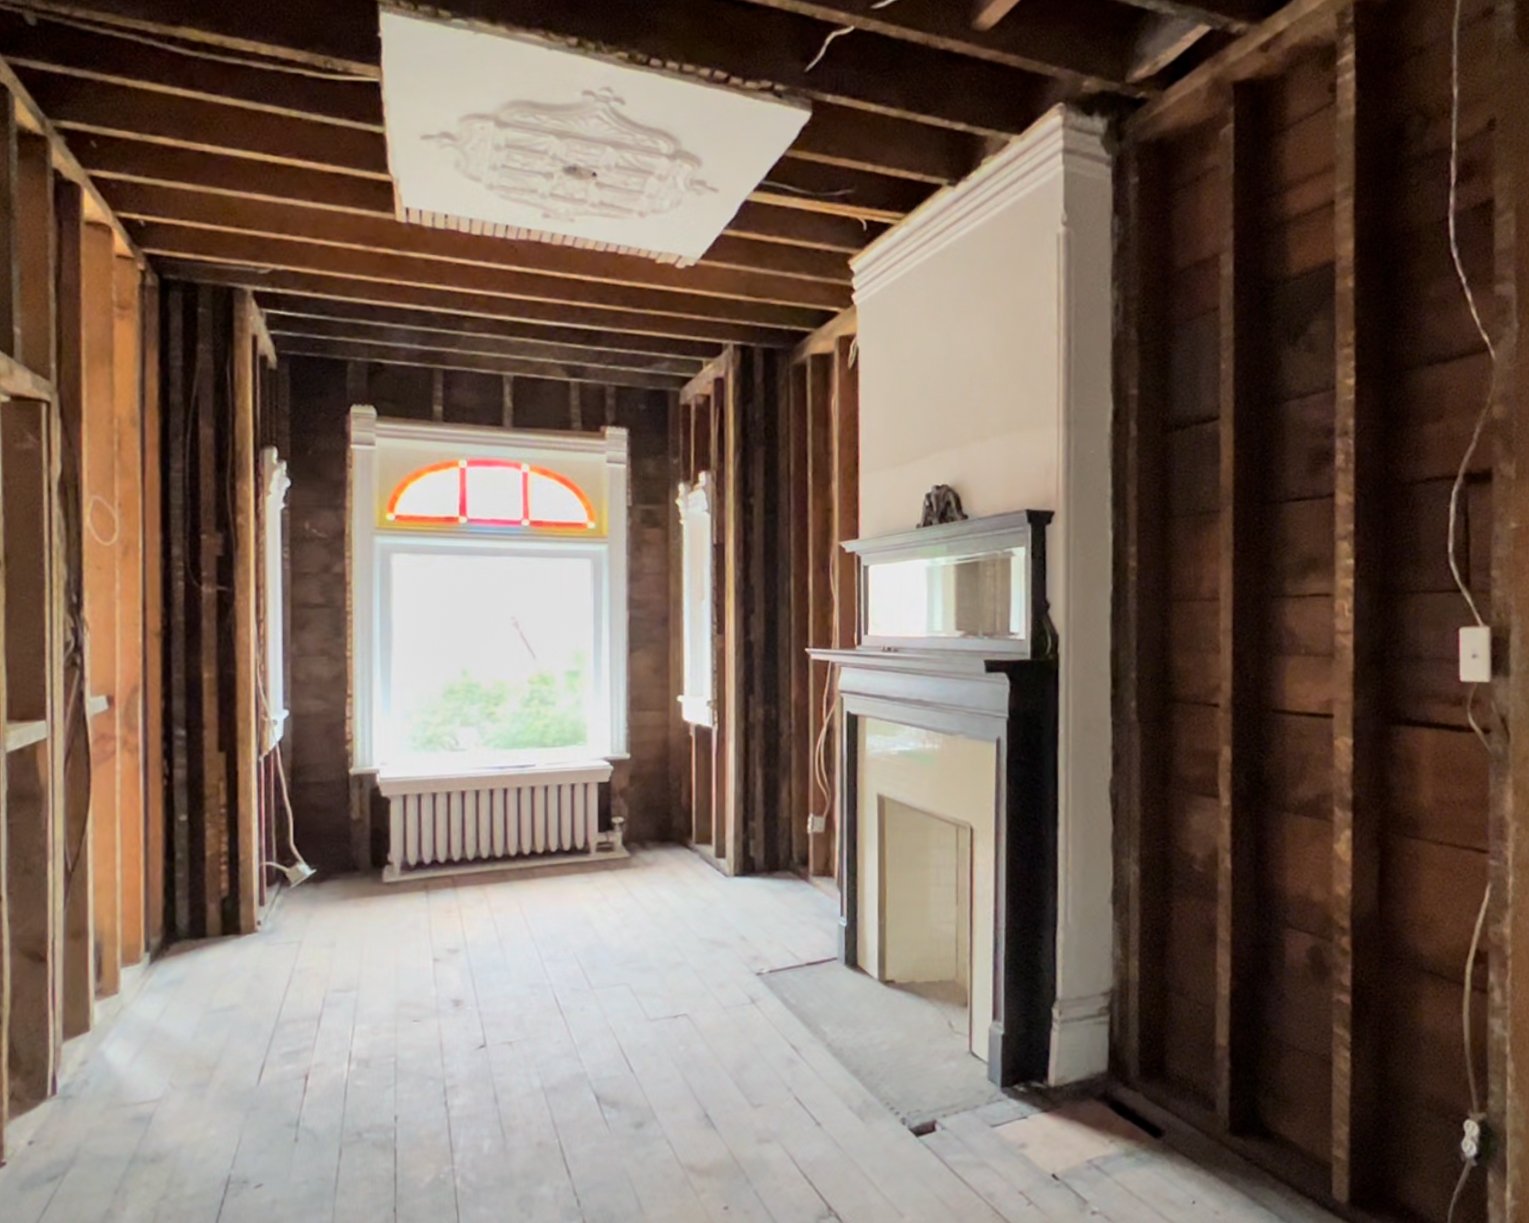
It has been a long winter and many fresh trends have materialized since my last interior design report. I too have not laid idle and have finally started renovations on my Toronto Victorian home! It seems like dreams and plans are finally colliding and as I continue to collect design inspiration I’ve noticed a few new approaches bubbling up to the surface. Some feel like the natural progression of previous trends while others feel seductively fresh and appealing. One thing is for sure, they all seem to favour bold accents and colours over the previously beloved monochrome aesthetics. We are approaching a time of careful curation and intentional living. Although people are no longer forced to stay home, it continues to be where the majority of their time is spent. Instead of focusing solely on comforts and cozy atmospheres though, there has been a shift as the desire to entertain and welcome guest takes center stage. For that reason, I thought now is the perfect time to share 8 interior design trends for 2022.
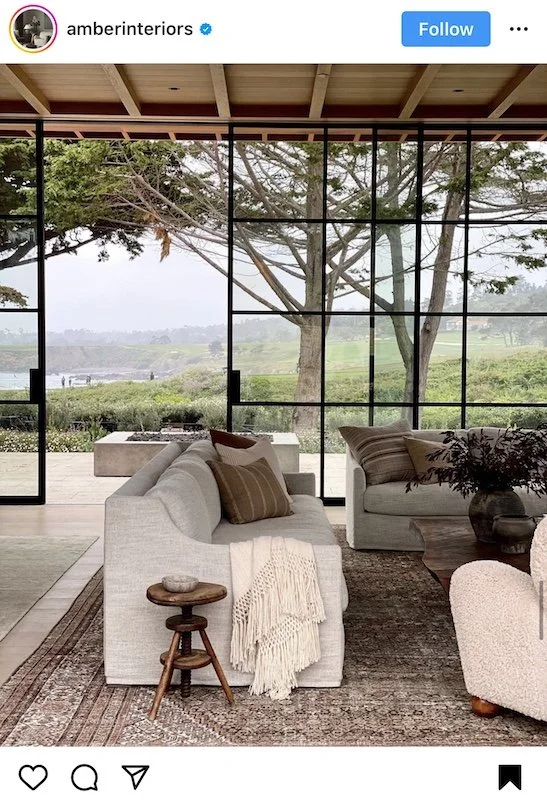
BIOPHILIC ARCHITECTURE & DESIGN

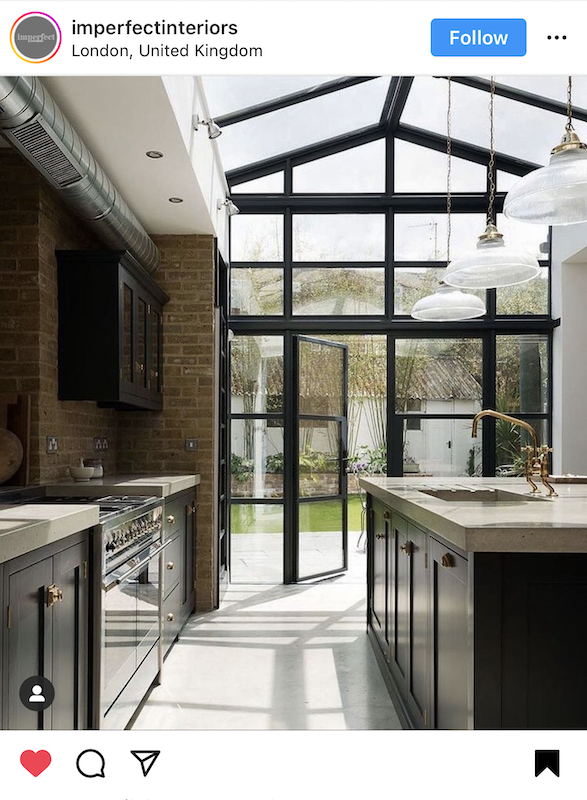
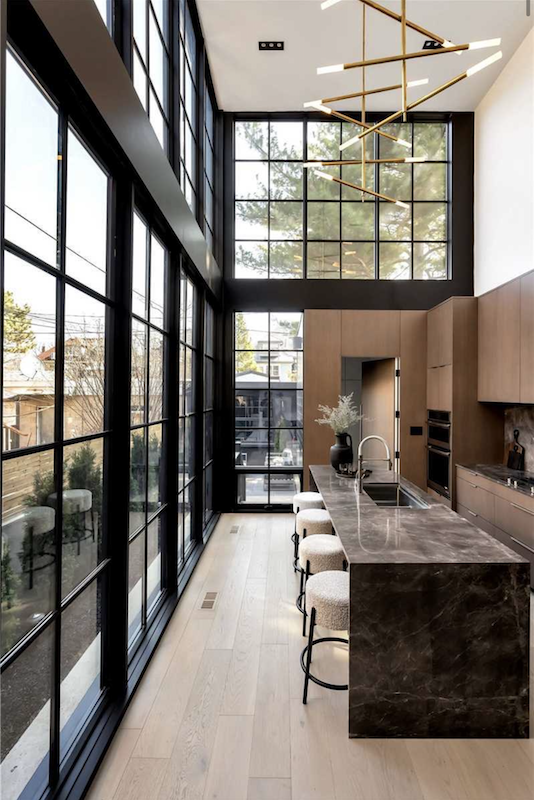
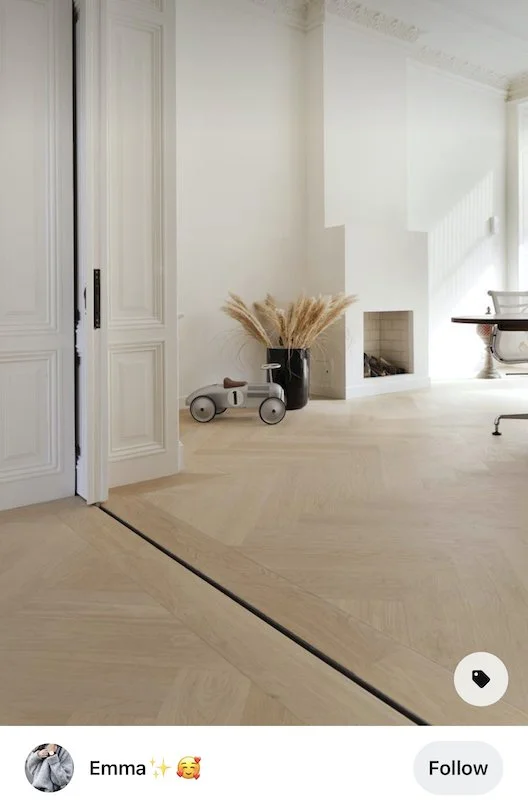
Biophilic Design by Joe Mortell
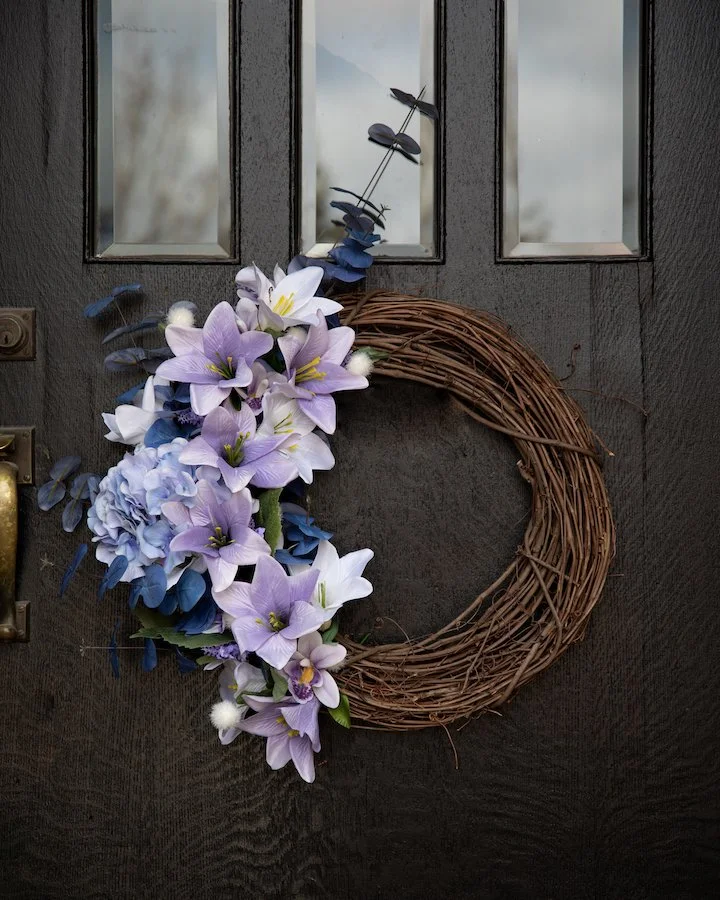
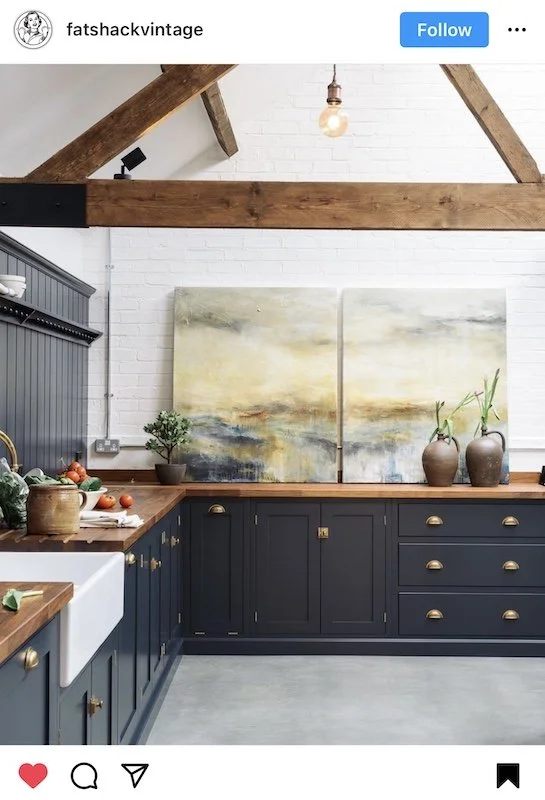
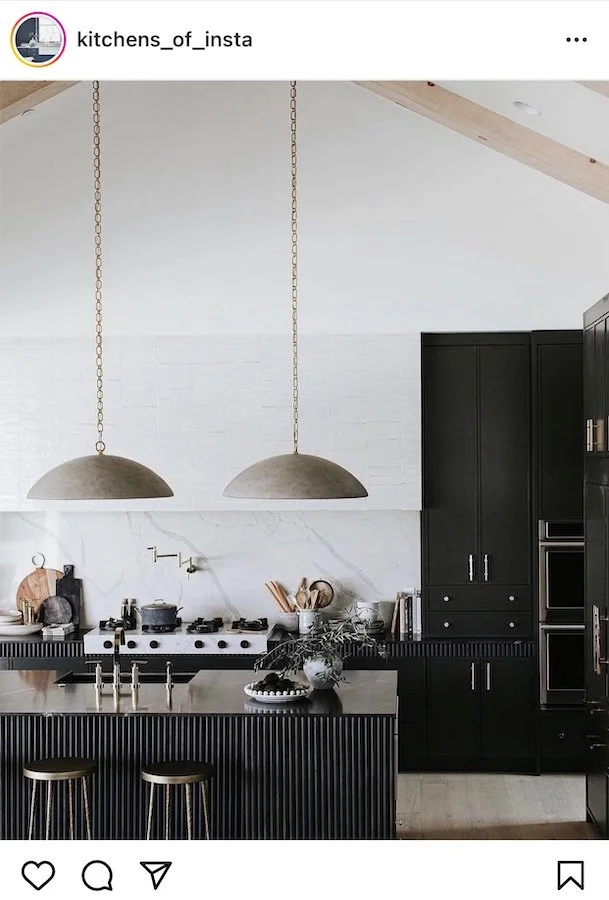
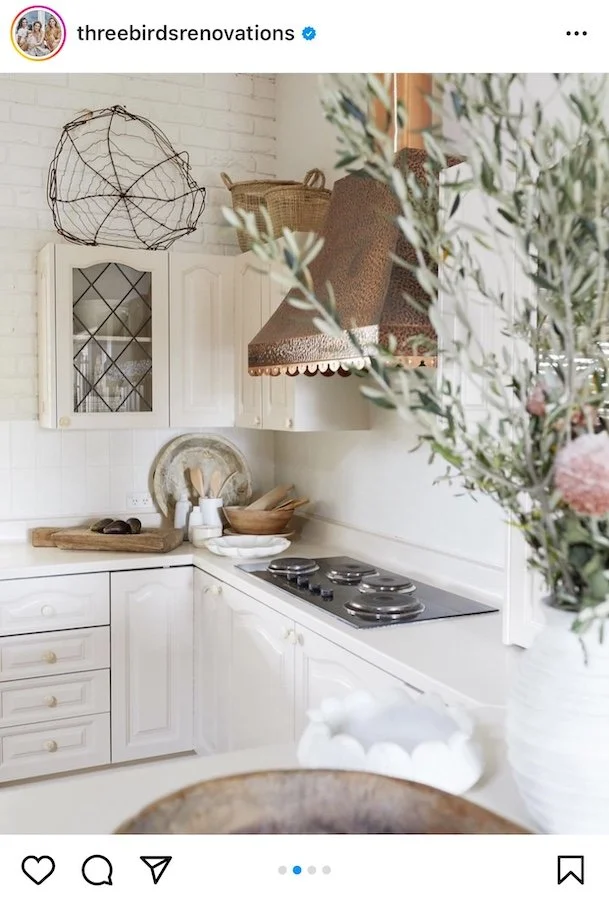
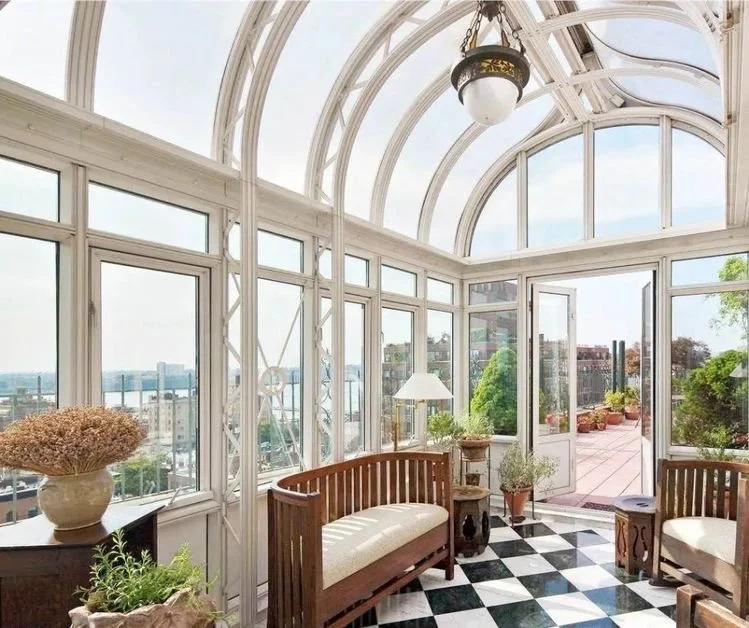
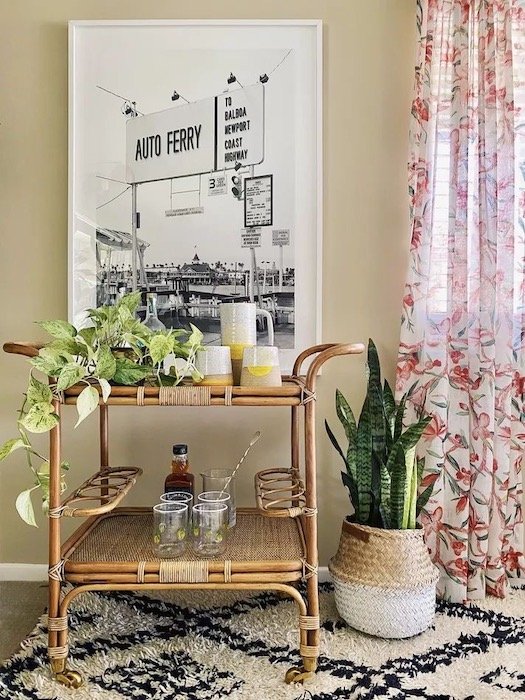
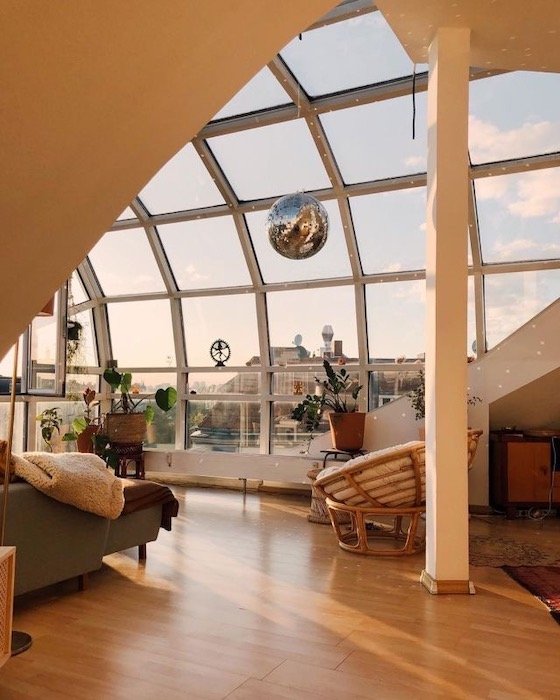
Biophilic Design is the concept of creating a stronger connection to nature while in our home environment. Just because you’re continuing to spend the majority of your time at home doesn’t mean you want to seclude yourself from the outdoors completely. Opening the windows to allow fresh air and natural light in may be the easiest way to remove a rooms stagnant energy, but Biophilic interior design encourages you to take things one creative step further. Use natural materials like timber, concrete and stone to help you imitate elements you would see outdoors or incorporate indoor plants, fresh cut flowers, and foliage for a more obvious approach. Research has also shown that images depicting nature can be effective in producing a calming atmosphere to reduce stress, improve cognitive function and spur creativity while also improving our overall well being and hastening healing. That’s pretty remarkable, if you ask me! Where once using dried flowers like pampers grass used to be a popular decor trend, now it is all about fresh, vibrant, living greens. Additionally, the idea of creating a conservatory at home seems to be ever more appealing as we continue to embrace Biophilic architecture and crave connections to the outdoors.


FOLLOW ME ON INSTAGRAM @ISTHATSOH


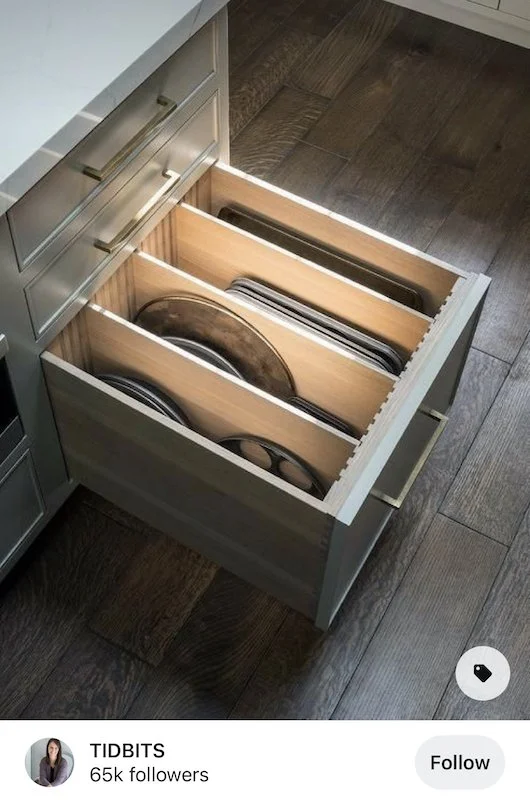
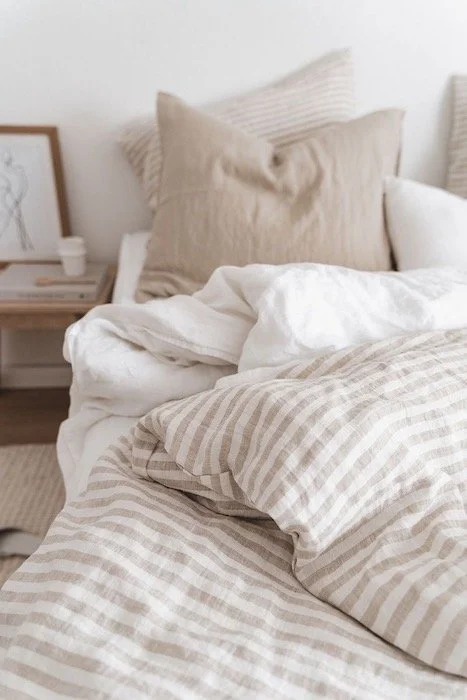
THE SLOW BUILD
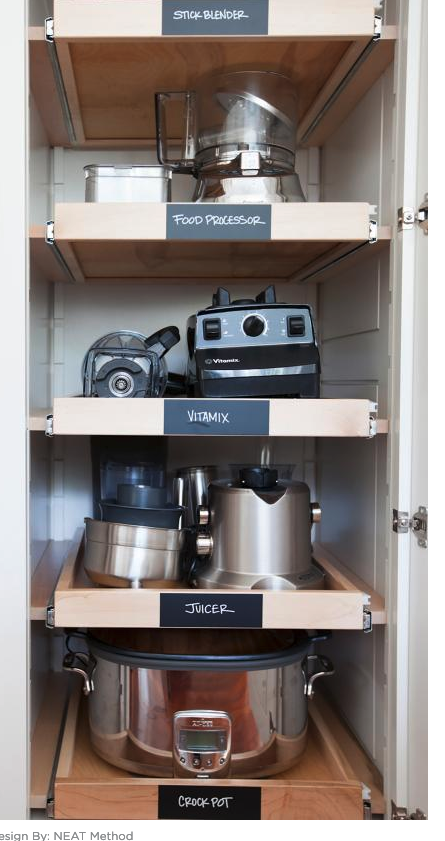
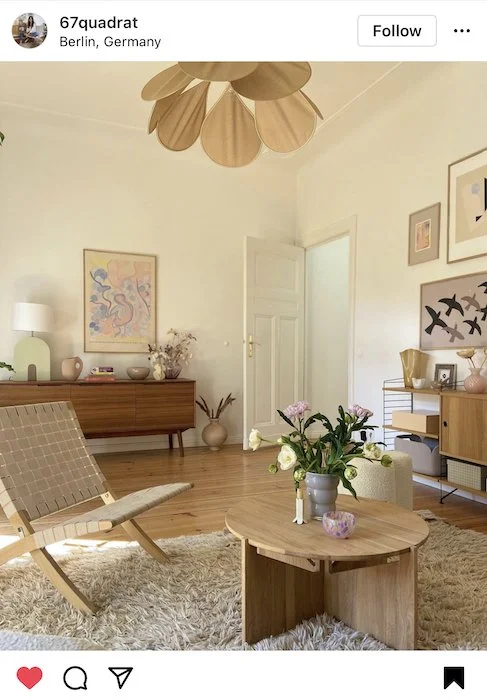
When it comes to intentional living and careful curation, the slow build plays into peoples' desires to do away with ‘fast furniture’ and pursue more sustainable practices. Artisanal, vintage and one of a kind pieces invite the fascination of your guest and welcome conversation around the stories behind them. They also make your space fell uniquely you! Make time to visit second hand stores and go antiquing when you can. Look for investment pieces that could elevate your collection and consider decluttering to make room for them when you finally do make a purchase. Minimalism is still very much trending so don’t think you need to overwhelm your space with expensive stuff for it to be beautiful. In fact, a few carefully curated items is really all you need.
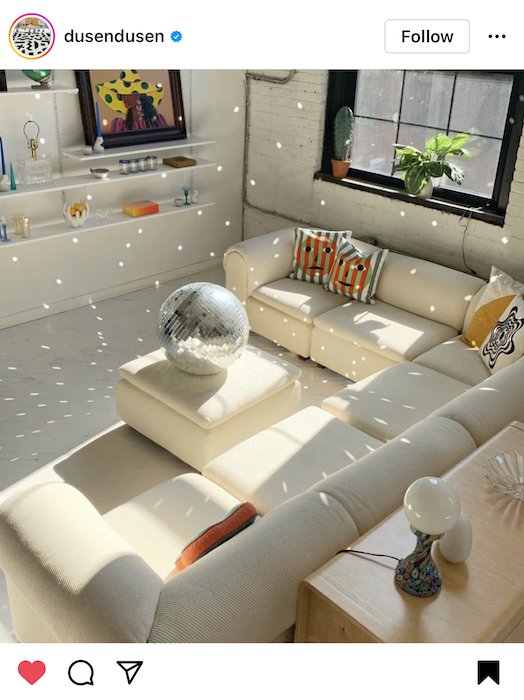
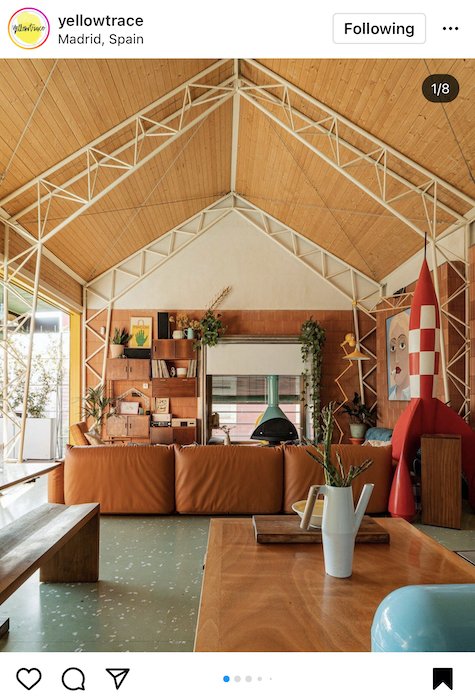
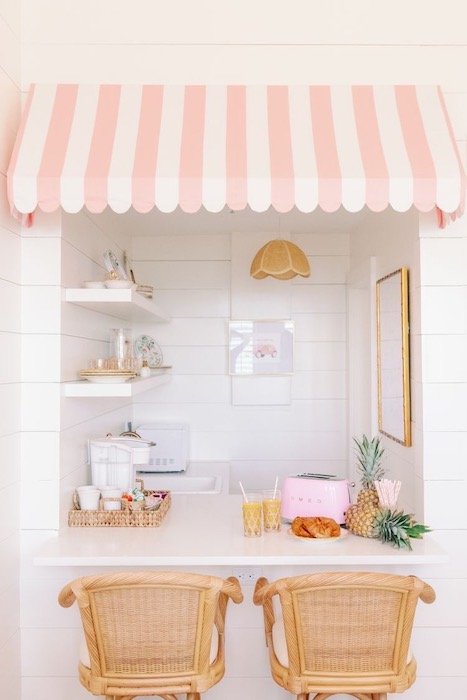
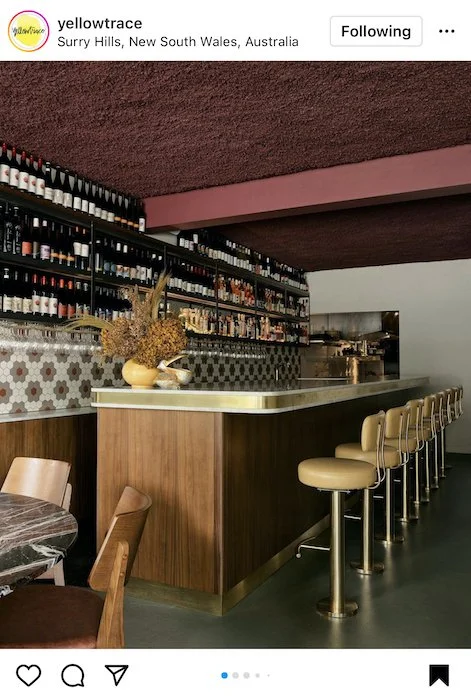
REIGNITED FASCINATION WITH THE 70S AESTHETIC

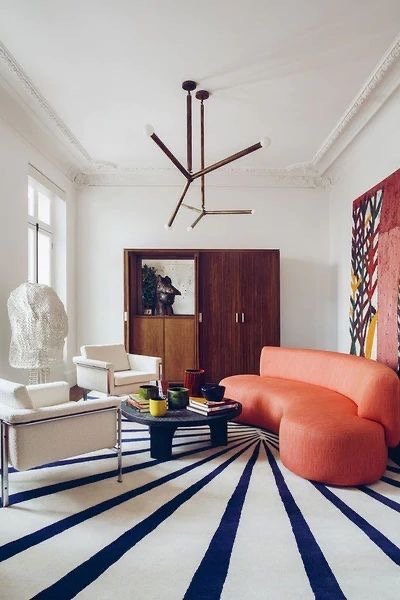
A livingroom inspired by 70s Interior Design
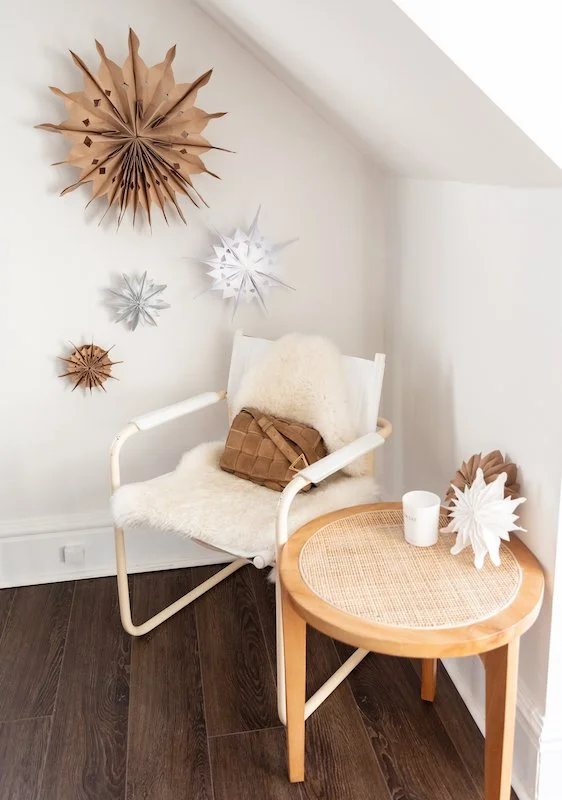
There is no denying that in the past few years cane and rattan decor has seen a major comeback. Perhaps it is because of our fascination with a ’70’s aesthetic’ has been reignited. Where once unique shapes, bold prints, colours, textures and futuristic design were used to express excitement, push boundaries, and create amazing spaces to host parties, today’s mindset echos that. It’s why we love velvet furniture, animal print rugs, and macrame, and why you might be gravitating towards a curved sofa, brightly coloured small appliances or an egg rattan chair. I’m not saying go ahead and install wall to wall shag carpets, but don’t be afraid to play on the psychedelic inspiration of the 70’s aesthetic through the use of bold cushions, prints and cheery colours.
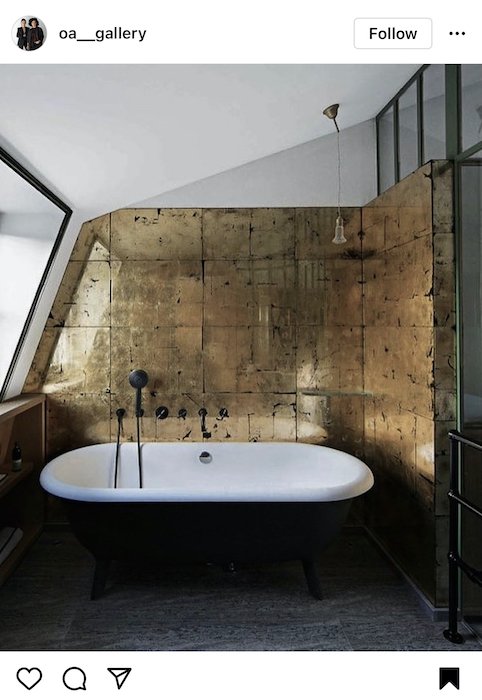
STATEMENT WALLS
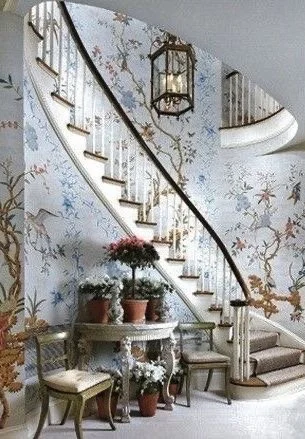
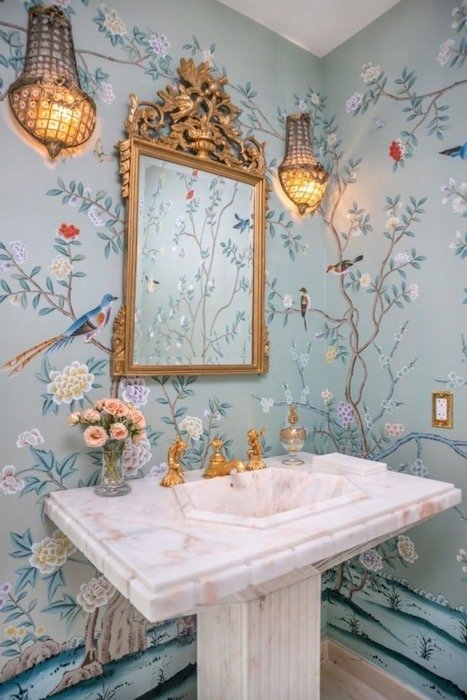
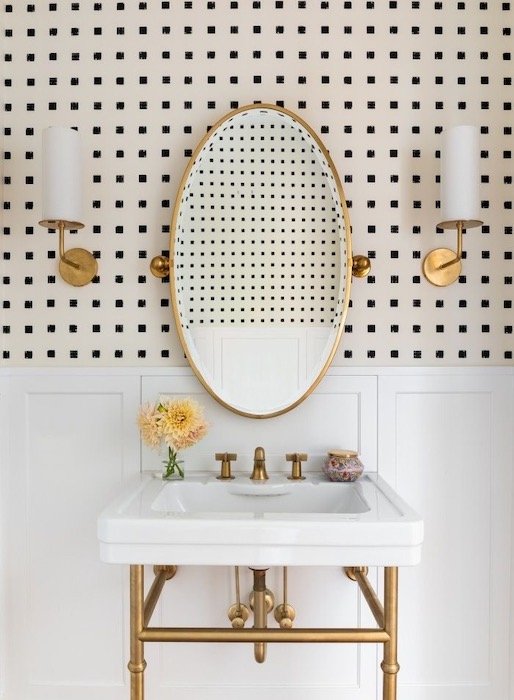
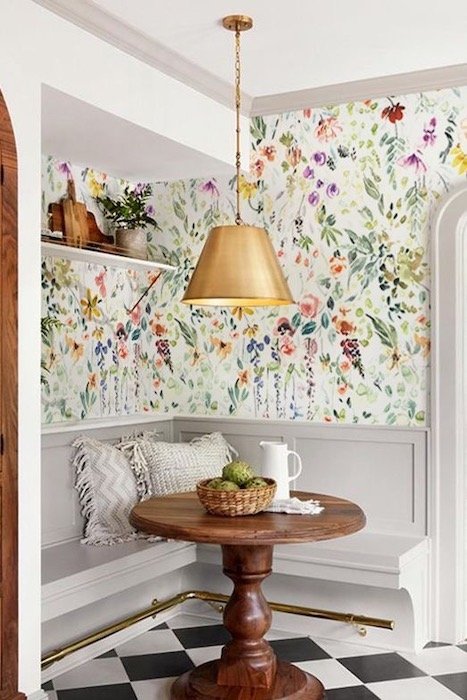
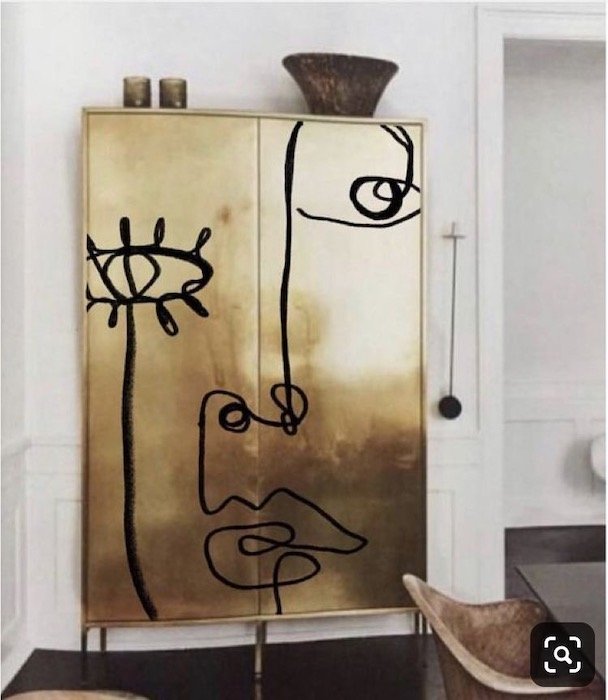
Hand Painted de Gournay Wallpaper
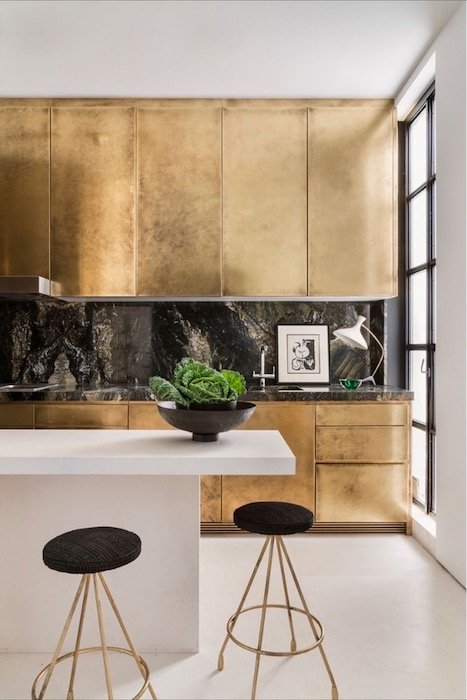
Grandmillennial interiors may not be for everyone but statement walls are still a great way to adds drama to a room or even a whimsical feeling. I’ve seen lots of wallpaper with beautiful, intricate motifs popping up in magazines and my Pinterest feed but none have caught my attention more than de Gournay, a French hand painted wallpaper company who’s designs are simply remarkable. Statement walls are not only being achieved through the use of wallpaper though. Metallic panels are another quick way to draw and hold someone’s attention. The door is left open with this trend and it’s up to you to get creative with how you want to incorporate it into your space.
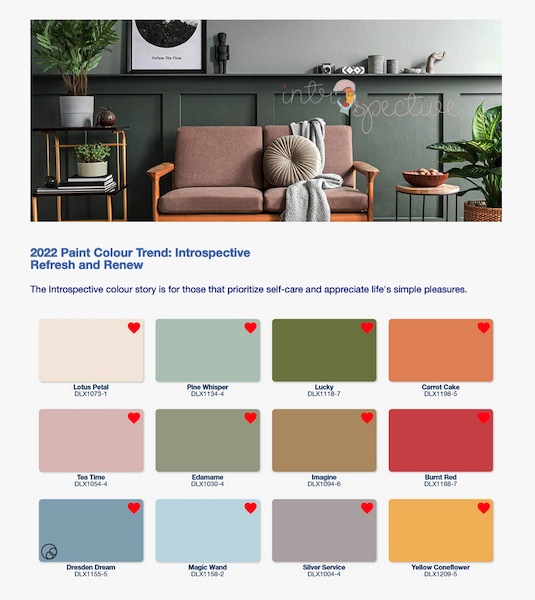
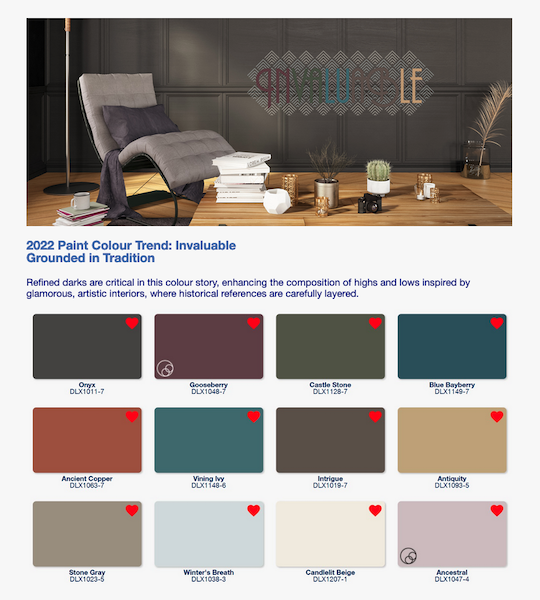
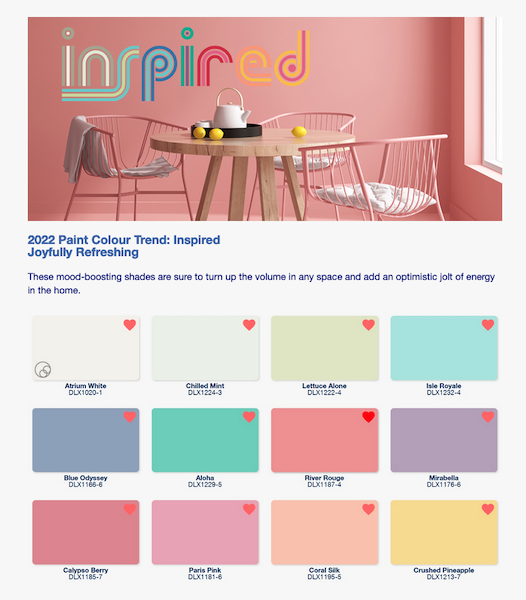
DULUX COLOUR PAINT TRENDS FOR 2022
Dulux colour paint experts identified three colour stories they predict will resonate for homeowners and professional painters in 2022. Born from the overarching theme ‘Horizon’, Dulux says these palettes, “represents our current state of hope, reflection and new beginning.”
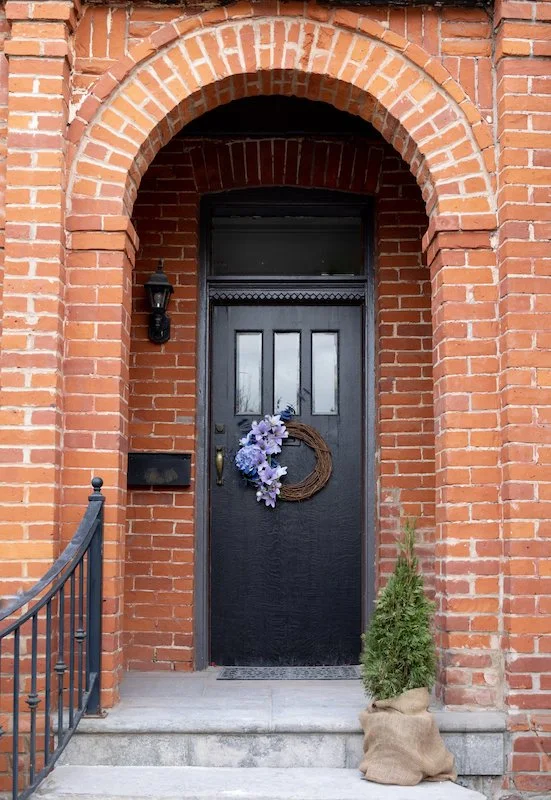
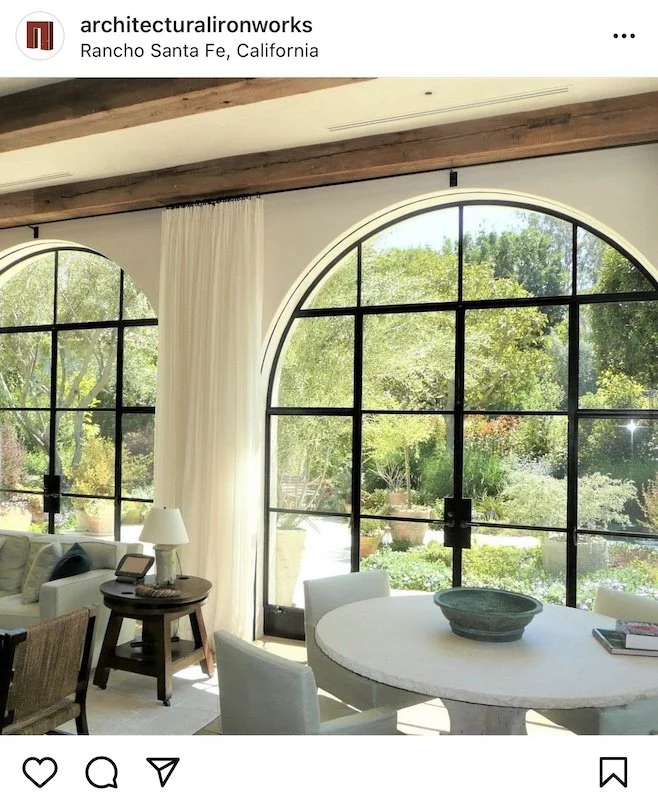
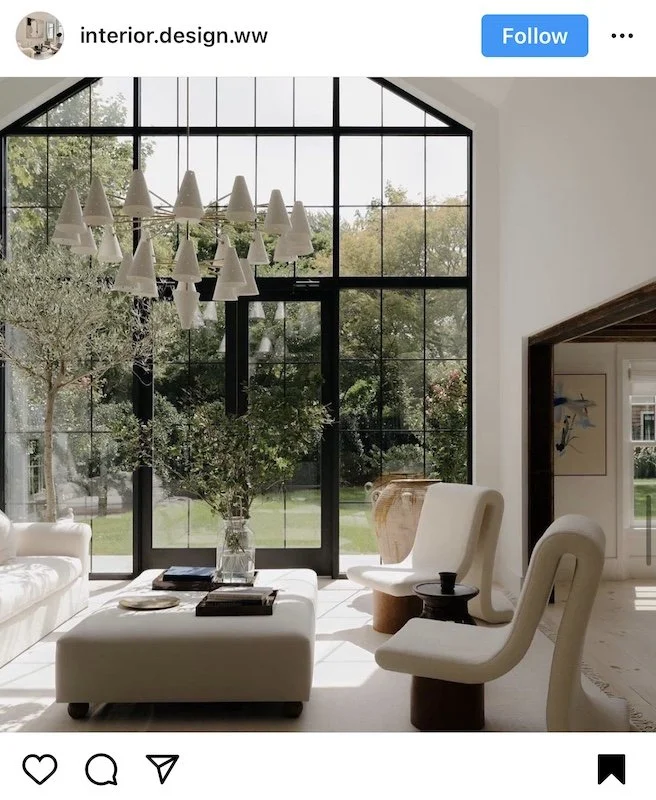
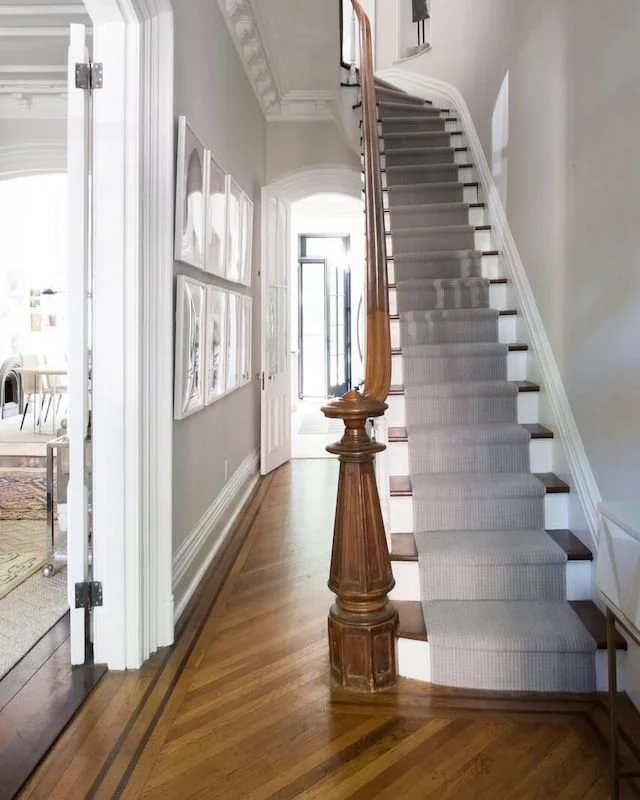
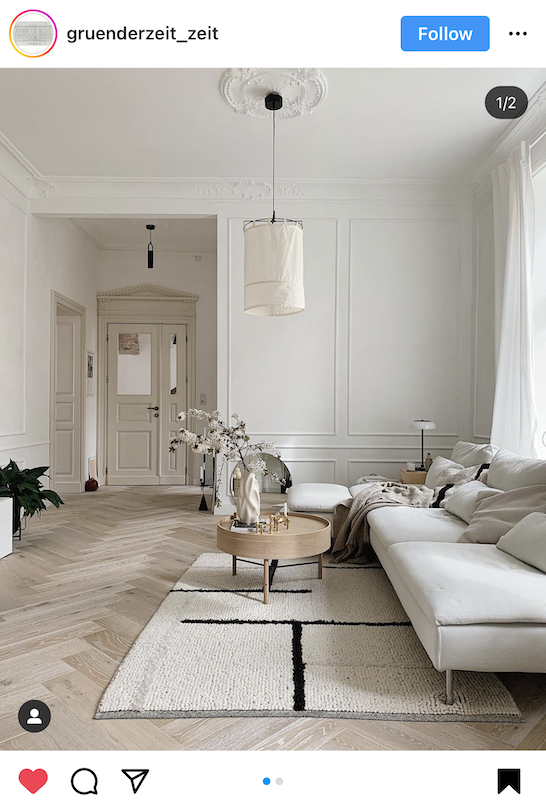
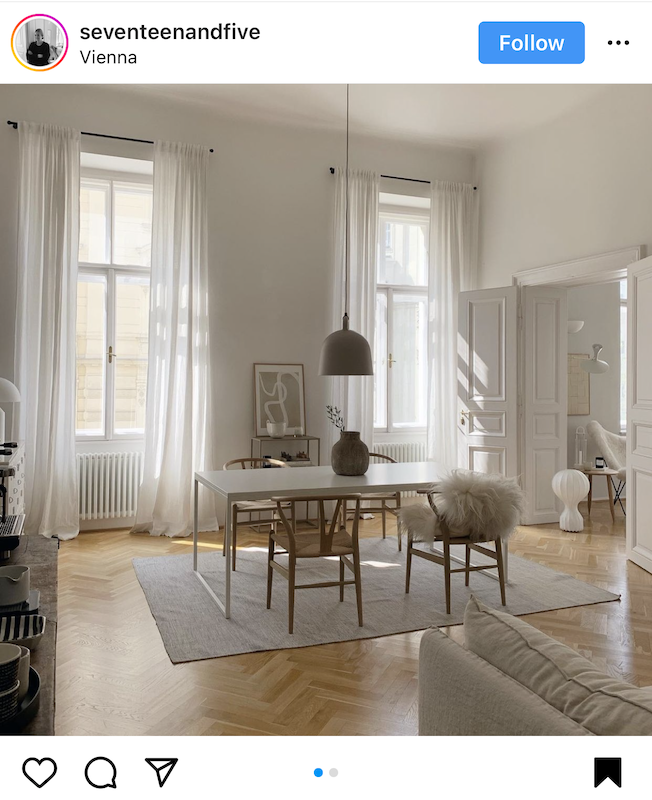
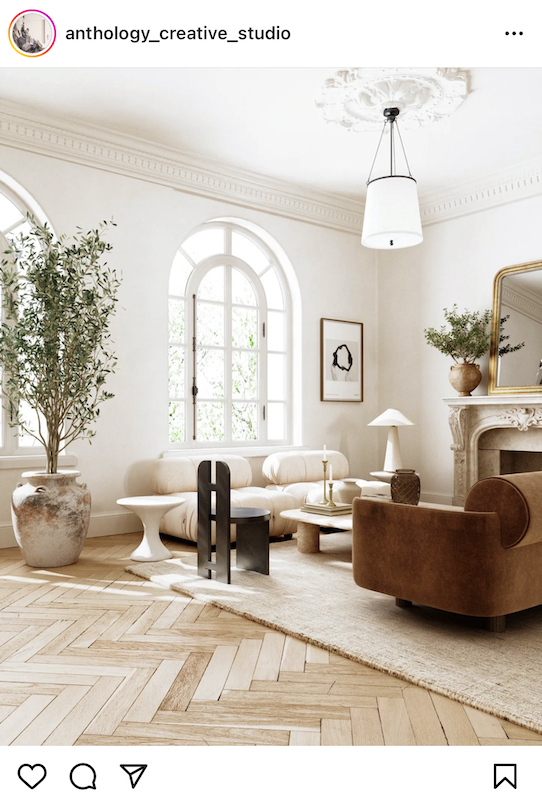
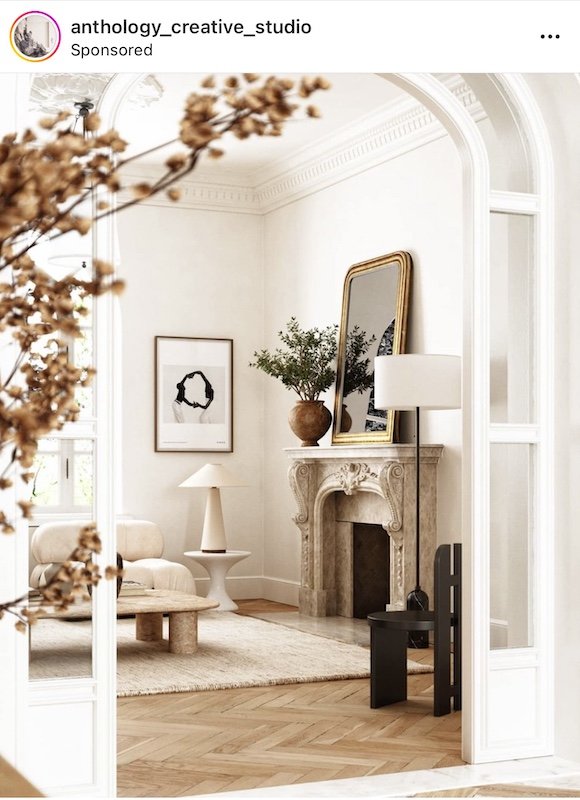
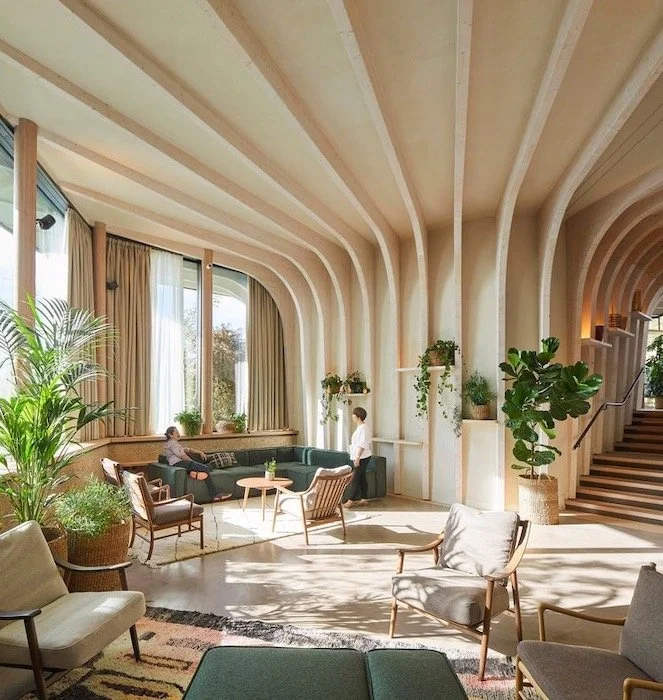
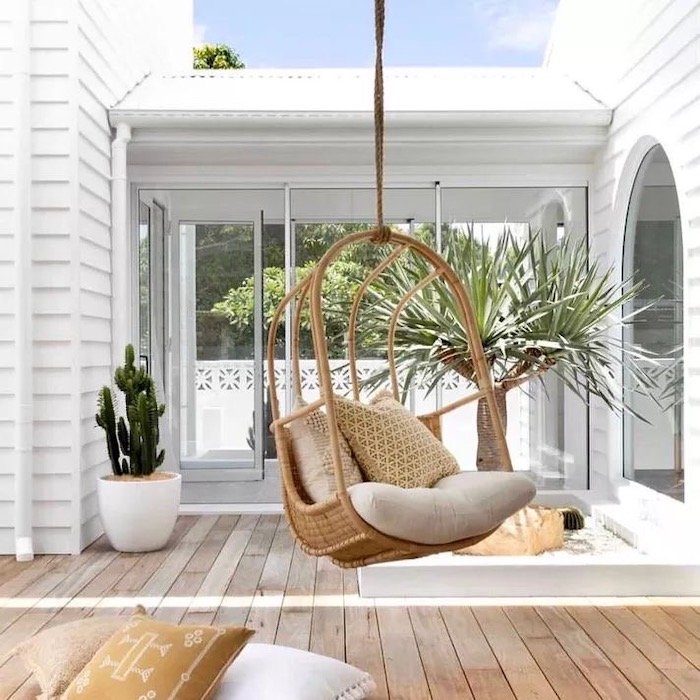
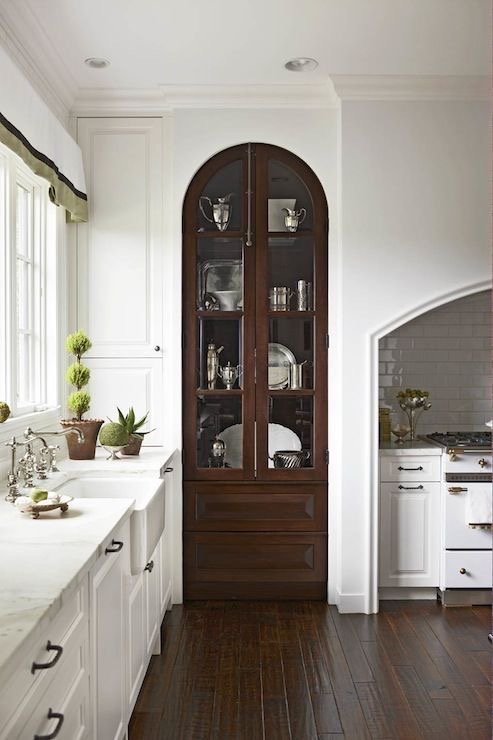
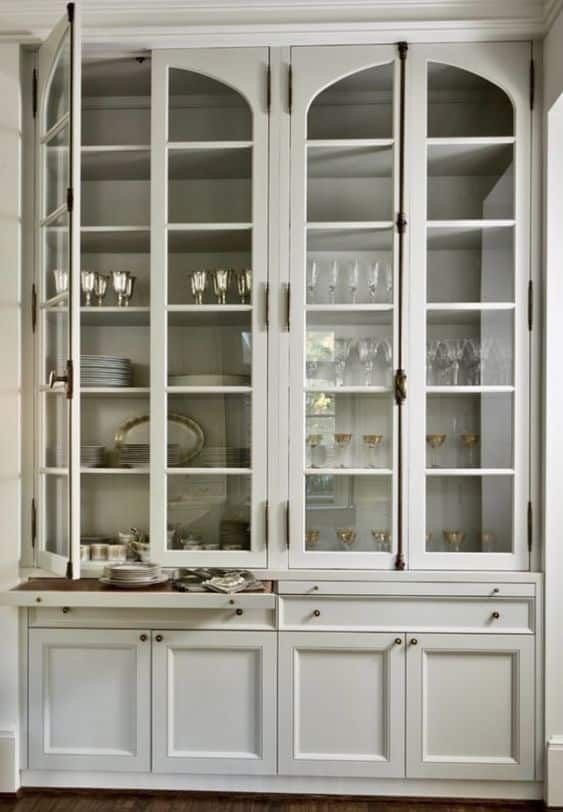
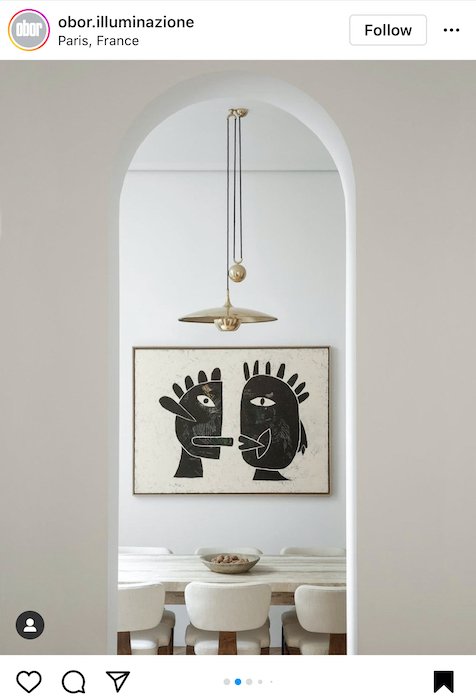
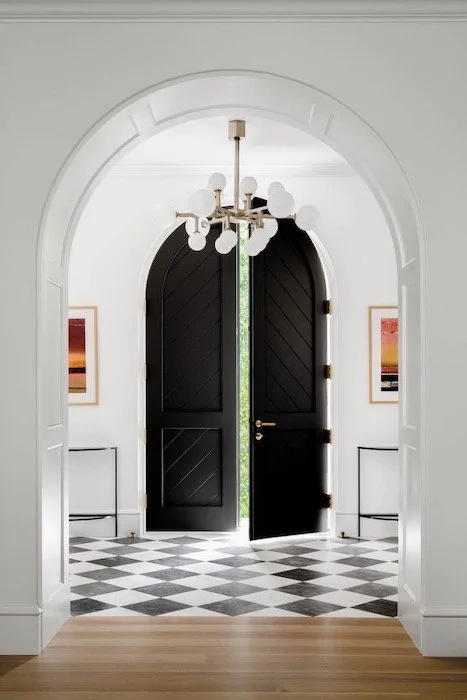
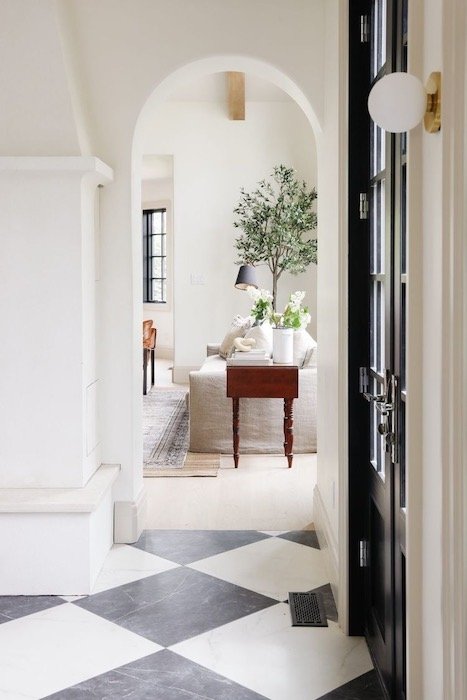
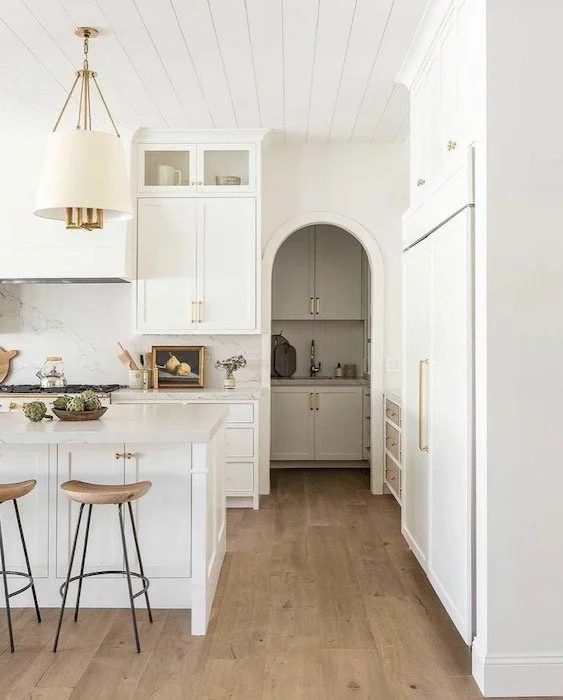
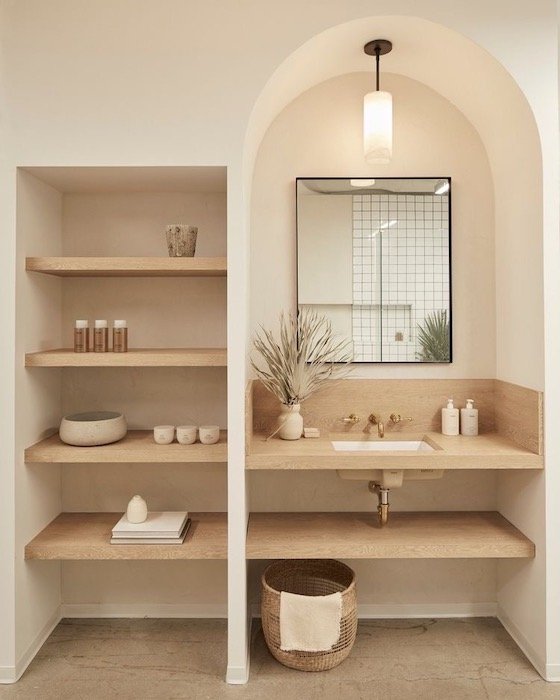
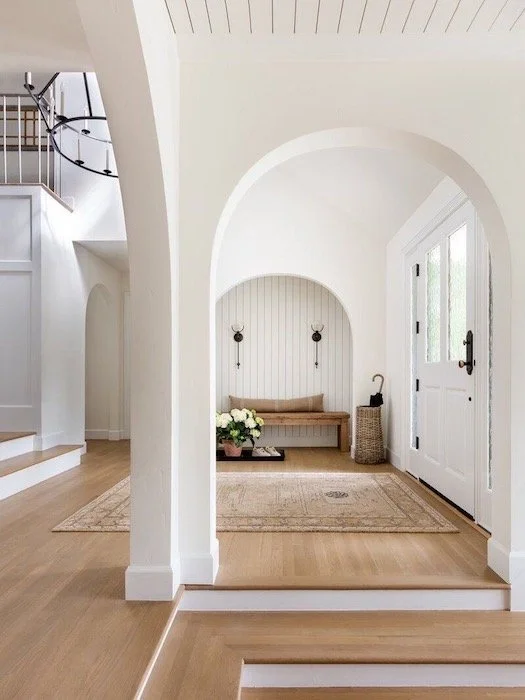
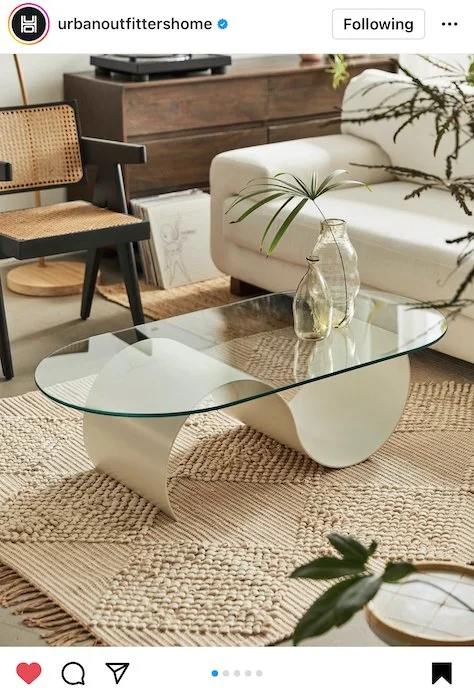
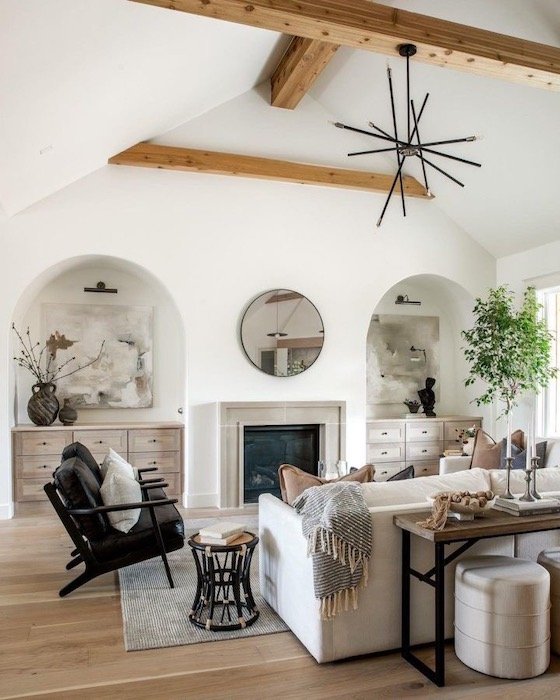
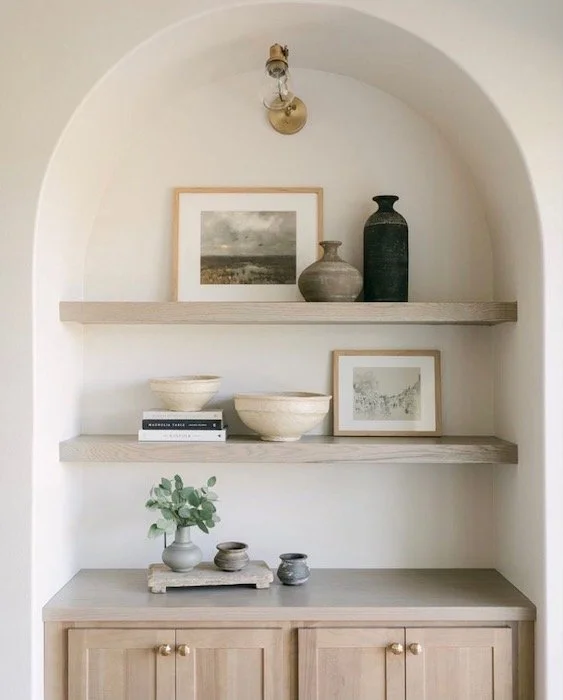
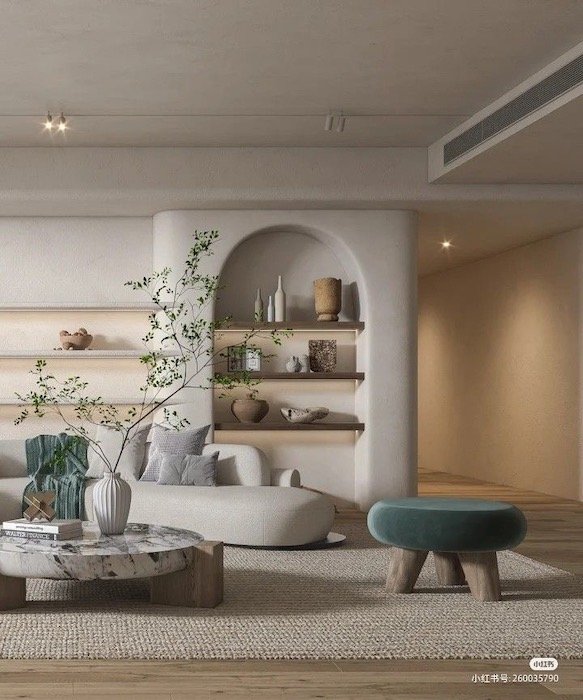
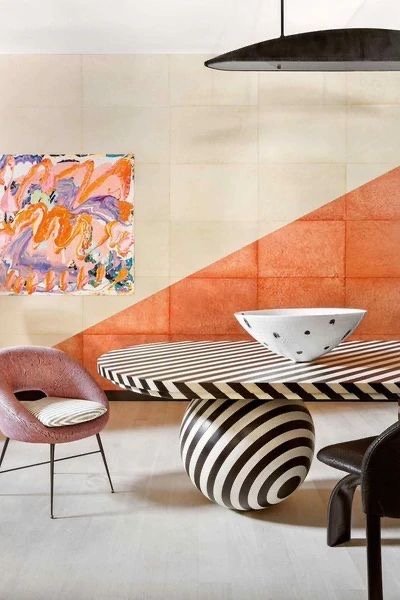
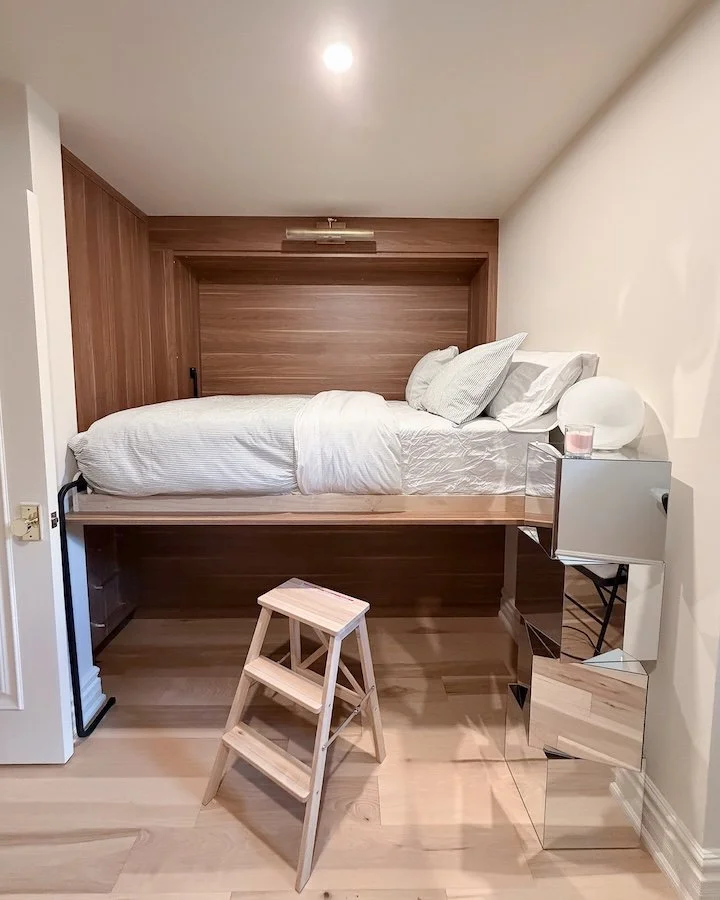
ARCHWAY DOORS, CURVED SOFA, EGG SHAPES, CURVES STEAL THE SPOTLIGHT

Cathedral archways add a beautiful structural element to this livingroom by Sonja Jonss
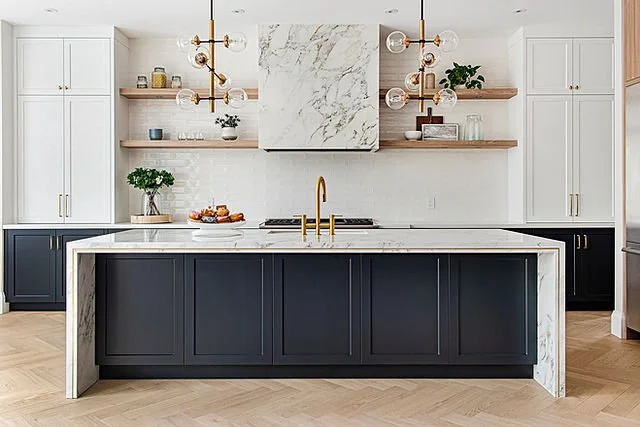
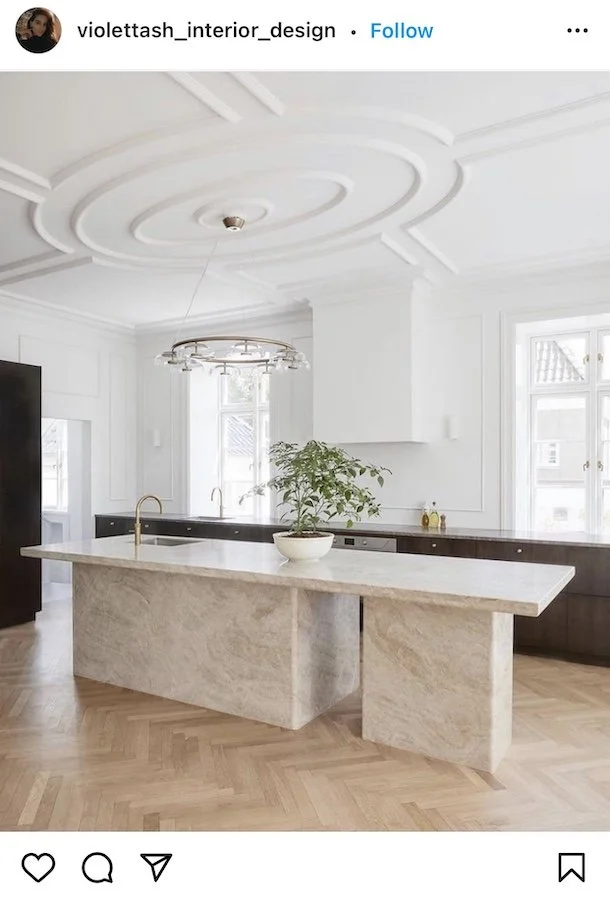
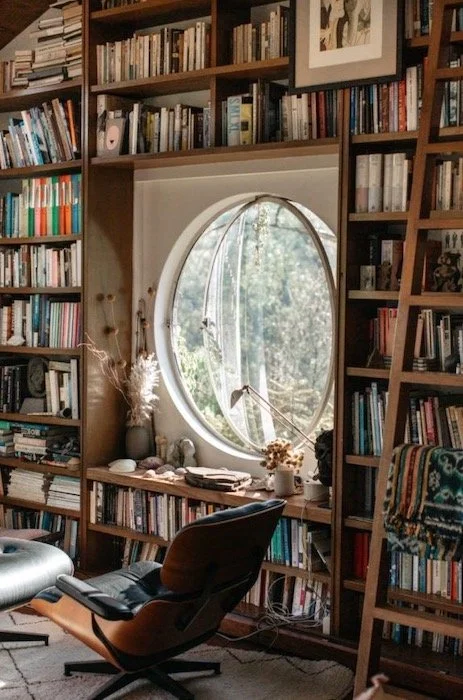
Curves of all kinds seem to be gaining popularity in recent months as structural style furniture like curved sofas, hanging egg chairs, elliptical tables, and even arched mirrors continue to hold our attention. Perhaps it’s our need to be fluid and adaptive to our ever changing environment that has caused our love for curves to now transcend beyond just decor to structural elements within a home like archways, pantry doors, built in bookshelves and windows. Just because curves are in, doesn’t mean straight lines are out. There is definitely enough room in my house for both of them to coexist, ha! I just think curves of all kinds are having a ‘moment’ and I’m here for it.
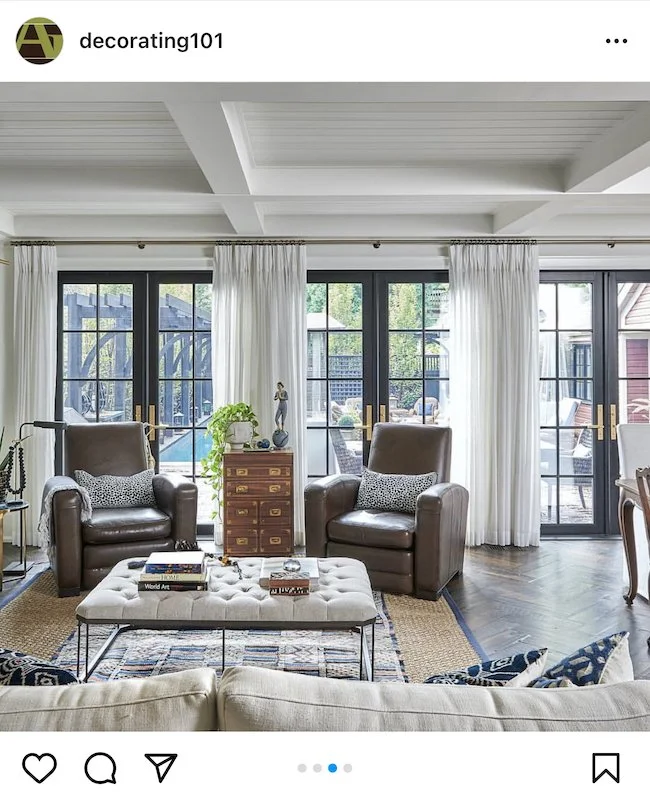
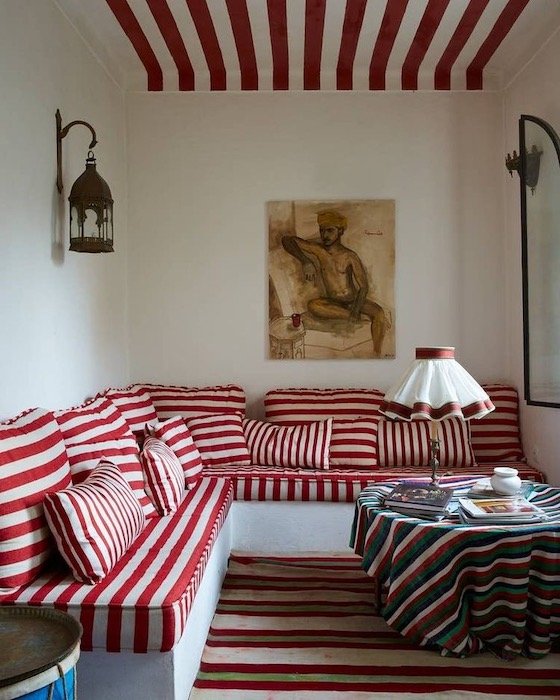
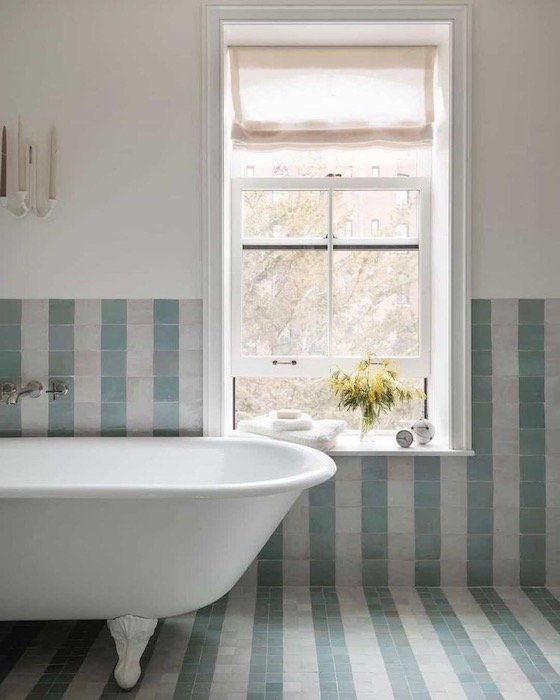
ATTENTION GRABBING BOLD STRIPES

Palm Beach style from Jennifer Ash Rudick’s new book - morning room of La Follia
There is something so timeless and elegant about bold stripes that it is no surprise that they are coming back in a big way. A great way to catch peoples attention, incorporating striped rugs, cushions, throws or even wallpaper can give your space a very eye pleasing, contemporary and timeless look. It is also an easy and effective way to give a tired room a full reset. I’ve already seen many home decor design stores running with this trend so it shouldn’t be hard to incorporate either! Just remember, when it comes to the size of the stripe, stick to big thick, bold stripes!
ENJOYING THIS POST? CHECK OUT THESE OTHER LIFESTYLE POSTS!


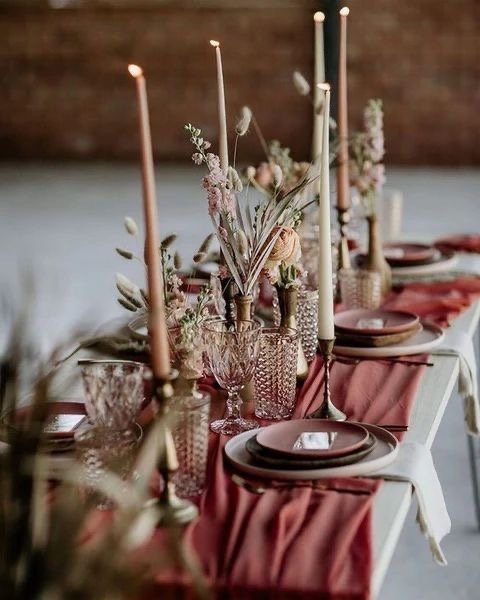
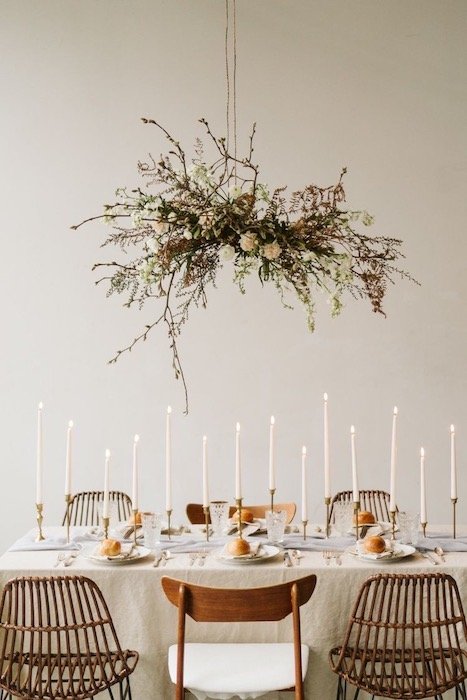
ELABORATE, ELEGANT TABLESCAPES!
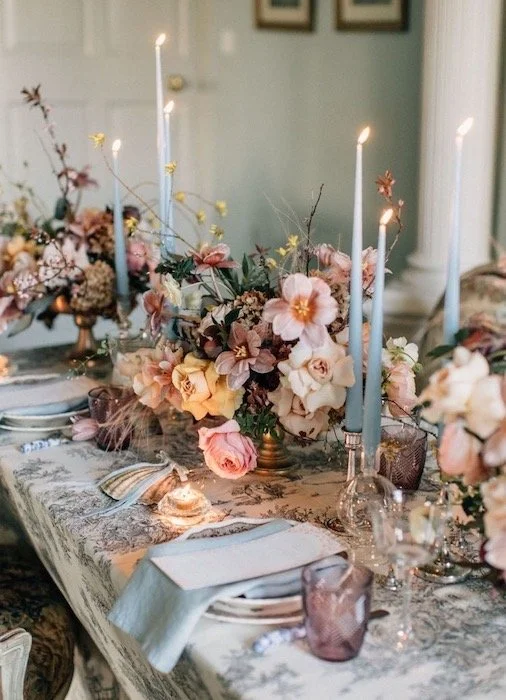
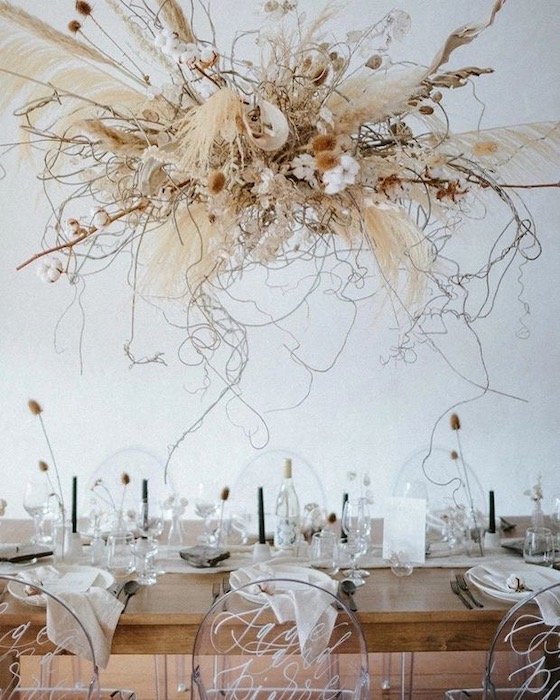
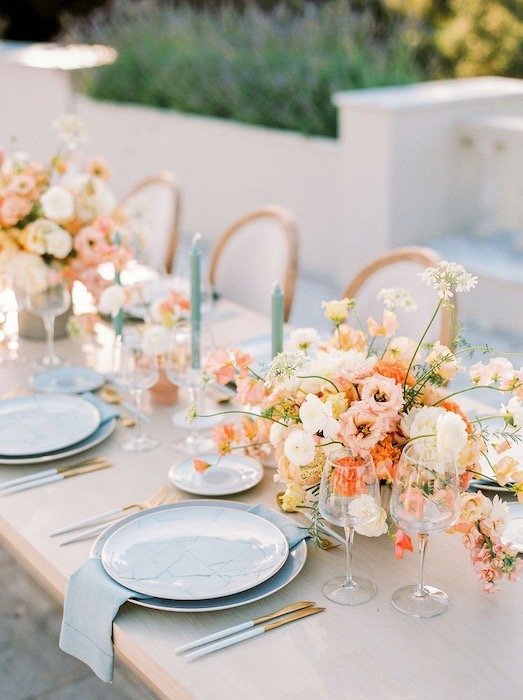
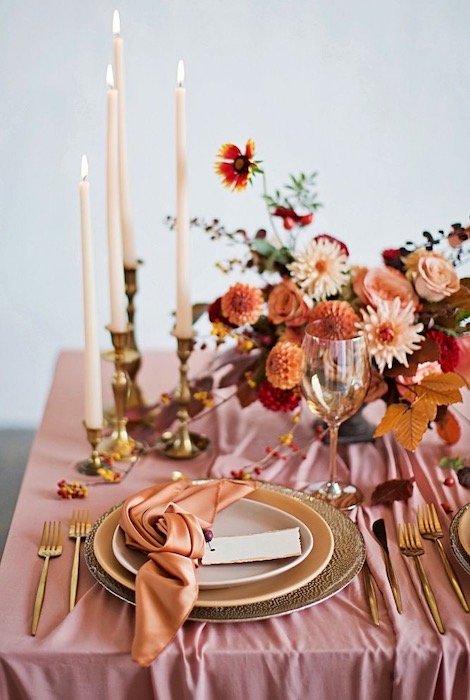
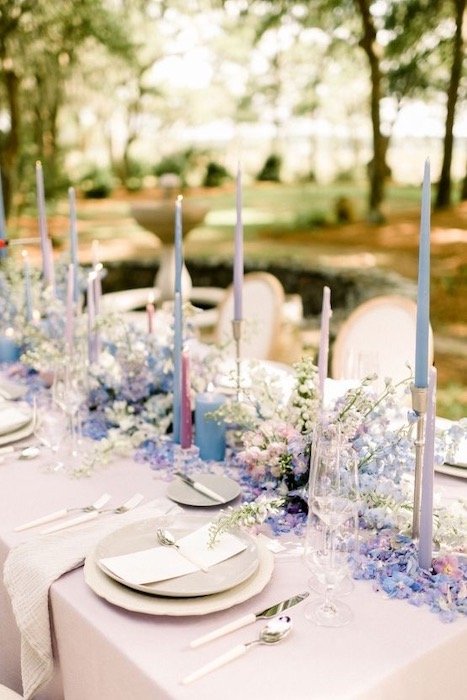
An elegant tablescape captured by Paula O’Hara via Green Wedding Shoes
Elegant tablescape go hand in hand with entertaining which is why elaborate arrangements with linen napkins, candles and flowers are going to be all the range. People don’t just want to welcome people into their homes again, they want to dazzle guest and set the stage to an unforgettable evening. A little more effort and care will be put into presentation because distance from our friends and family only made the heart grow fonder. If you need inspiration for your next dinner party, here are some tablescapes I’m currently swooning over.
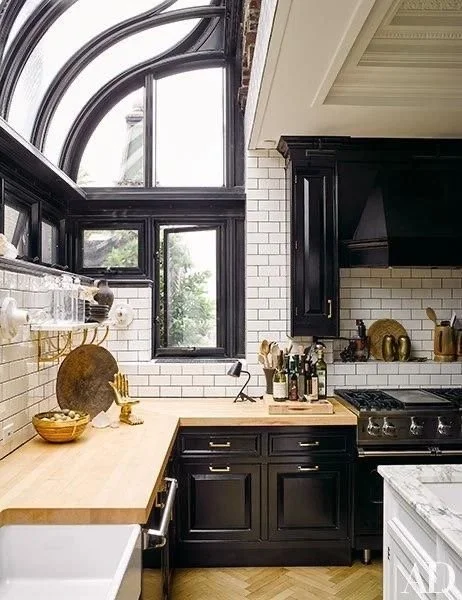
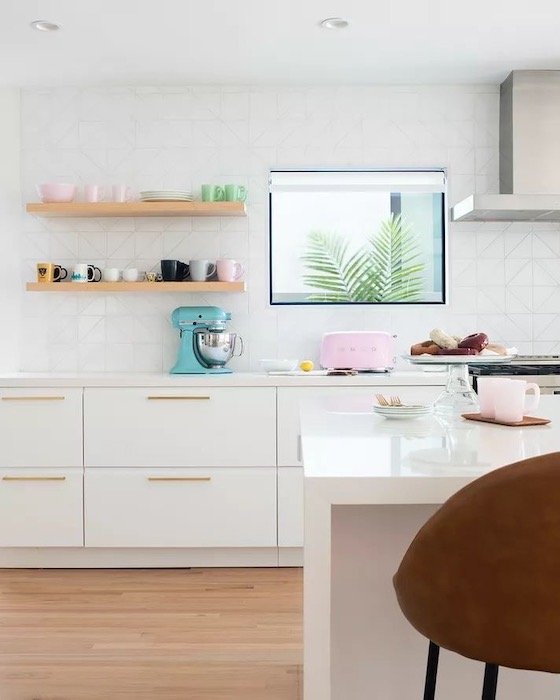
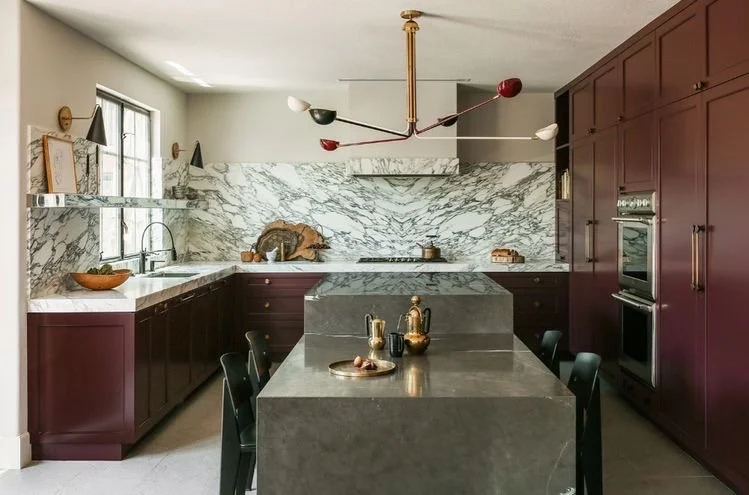
RASPBERRY CABINETRY

Raspberry Kitchen Cabinetry by Cochineal Design
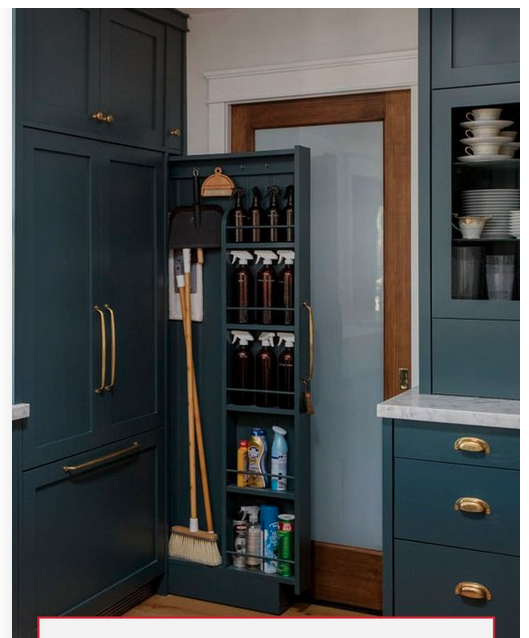
Earlier on in the year I stumbled across my first raspberry kitchen and instantly fell in love, sharing it on my Instagram stories! Since then raspberry cabinetry has been popping up everywhere which makes me feel even more invested! Research shows that the colour of a room can impact our moods and reds are said to ignite your appetite. How fitting it is then that we find the sex appeal and moodiness of raspberry cabinetry alluring! Furthermore it goes well with all wood tones and earthy browns often found in home decor. Moody kitchens aren’t for the faint of heart through. You may not want to commit to a whole kitchen in raspberry cabinetry but that doesn’t mean it can’t also find its place in a powder room or pantry! I myself don’t know if I’ll be partaking in this trend but that doesn’t meant I’m not excited to watch where the trend goes.
Thank you for joining me today and taking interest in the 8 interior design trends I have uncovered for 2022! If you have any questions or comments about biophillic design, the 70’s aesthetic, archway doors and designs, or decor trends like rattan decor and curved sectional sofa, feel free to leave them in the comment section below!
Until next time,
-S