DULCE DE LECHE CHEESECAKE WITH SHORTBREAD CRUST

When it comes to cheesecake I’ve got the biggest weak spot! This year, for my birthday I requested my boyfriend’s mom make her famous cheesecake recipe with a dulce de leche topping and shortbread crust and boy was I in heaven. Ever since we went to Argentina together on a family trip I have been obsessed with dulce de leche and to have it on my birthday cake just made all the amazing memories come flooding back. If you are not into dulce de leche, no worries. The cheesecake in this recipe has vanilla in it so it also makes for a great, more subtle vanilla cheesecake recipe.

ENJOY!

INGREDIENTS:

-Shortbread Crust -

1/2 CUP if Butter (softened)
1/4 CUP of Sugar
1 CUP of All-Purpose Flour

- Cheesecake Filling -

1 CUP of Whipping Cream 35% - divided into 2 portions
3 x 8oz Packs of Cream Cheese (softened)
3/4 CUP of Sugar
2 TBSP of Cornstarch
4 Eggs
4 TBSP of Vanilla

- Topping -
Apx 300ml of Dulce De Leche

DIRECTIONS:

In a large bowl, beat butter and sugar until fluffy before slowly incorporate the flour until crumbly.

Press dough into a 9-inch springform pan before refrigerating for 10 minutes.

Preheat oven to 400 degrees and when ready, bake shortbread crust for 15 minutes until golden.

In another bowl, whip one portion of cream until stiff peaks start to form. Set aside.

In another large bowl, beat cream cheese until it starts to become fluffy before adding in sugar and cornstarch. Continue to beat until the filling has a smooth texture.

Next, beat in eggs one at a time until blended before beating in the remaining whipping cream and vanilla.

Lastly, fold in whipped cream and pour over the baked crust before returning the cake back to the oven and reducing the temperature to 300 degrees. Allow cheesecake to bake for 70 minutes or until the center is almost set.

When ready, allow the cheesecake to sit in the springform pan while it cools on a cooling rack. You can run a knife along the edge of the pan to help you remove it. After removing the springform pan refrigerate for at least 6 hours or overnight if possible before serving.


I hope you enjoyed this recipe as much as I do. If you have any comments please leave them below and I'll be happy to answer them as soon as I can! Bon Appetite!!!


PIN THIS POST

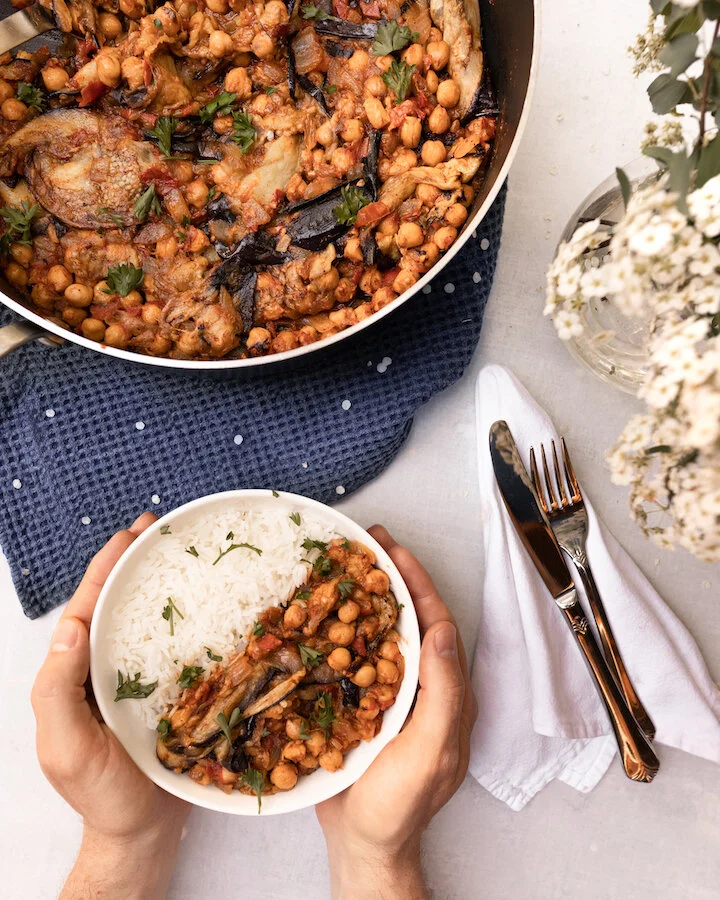
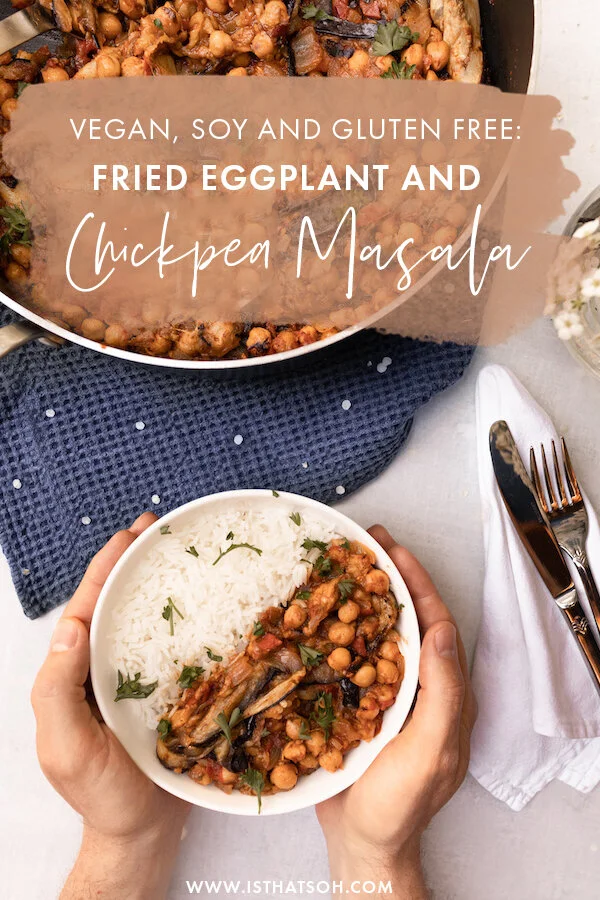
FRIED EGGPLANT AND CHICKPEA MASALA - VEGAN, VEGETARIAN, SOY AND GLUTEN FREE

I have made this plant-based, Indian-inspired eggplant masala ( similar to brinjal masala) dish twice now and both times there have been no leftovers. Friends and family just can’t get enough of this curried eggplant recipe. Although frying the eggplant at the beginning does tack on quite a bit of time, once you get the hang of it this isn't that complicated of a dish. Best of all, it’s totally worth the effort in learning a new Indian eggplant recipe and is so healthy for you. If you are looking for an easy vegetarian, plant-based recipe to try, I highly recommend giving this curry eggplant dish a shot!

Enjoy!

INGREDIENTS:

- Serves 4 People with No Leftovers!

2lbs Eggplant (Italian)
Olive oil
Sea Salt
1 large White Onion (halved and diced)
2 Garlic Cloves (minced)
1.5 teaspoons garam masala
1/2 teaspoon paprika
1/4 teaspoon black pepper
1/4 teaspoon cayenne
2 Cups Tomato (diced)
1 15oz can of Chickpeas (drained and washed)

- Optional Base -

Basmati Rice


CHECK OUT THESE OTHER VEGETARIAN RECIPES!


DIRECTIONS:

Cut the eggplant into 1/4 inch pucks and salt on both sides.

Lightly cover a frying pan in olive oil and fry the eggplant pucks (medium heat) until they are soft and until both sides are browned. The eggplant will suck up the oil like no other and it will be tempting to add more olive oil but as the eggplant softens it will also release a bit of the oil back into the pan so don't overdo it. This step will take the longest time so you can prepare everything else as you do this. Once the eggplant is fried remove it from the frying pan and place it on a baking sheet.

Next, add some oil to the pan and fry up the onions.

When they become soft and golden (about 10 minutes) add the garlic and cook for another 4-5 minutes.

Next, add in your spices and mix it all up for a minute or two. CAN YOU SMELL THE GOODNESS??

Finally add the tomato, the chickpeas, and about 2 tablespoons of water. Turn the heat up a little to medium-hot, partly cover, and let simmer for 15 minutes.

If you are going to make basmati rice, start making it now so that both will be ready at the same time.

After 15 minutes I usually add a pinch more of garam masala, paprika, and cayenne (if you like it spicy) and mix it in.

After another five minutes, I add in the eggplant that we previously fried up and let that continue to cook for an additional 10 minutes. The eggplant should breakdown and really thicken up the dish.

Remove from heat and serve on a bed of basmati rice!

Enjoy!


FOLLOW ME ON INSTAGRAM @ISTHATSOH

Gallery Block
This is an example. To display your Instagram posts, double-click here to add an account or select an existing connected account. Learn more

If you like this curry eggplant masala recipe or have any comments/questions, feel free to leave them in the comment section below!


PIN THIS POST

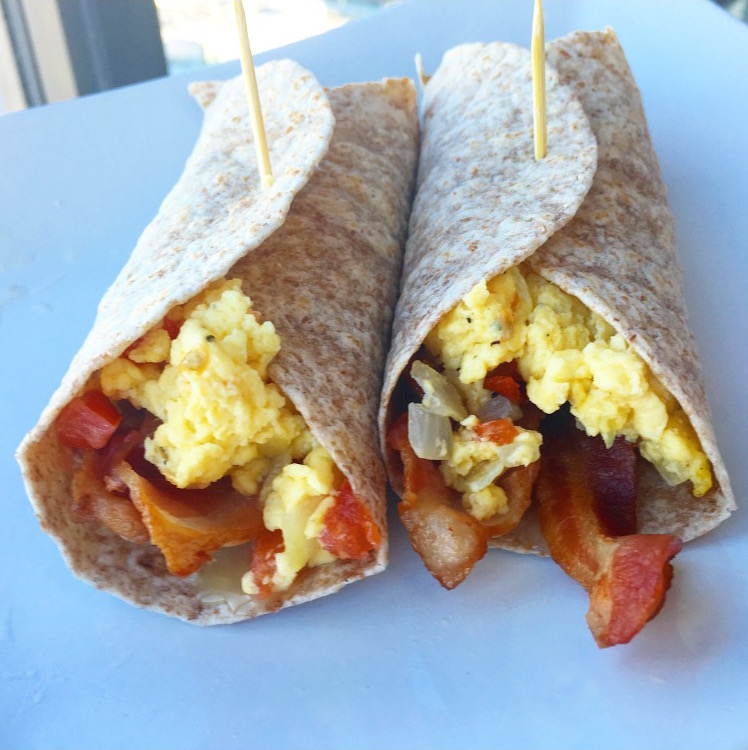
BREAKFAST BURRITO!

Breakfast is one of the most important meals of the day - one that is the most often skipped meals of the day. This breakfast burrito is so easy to make and transport you really have no excuse to not eat breakfast. You can pack it up in aluminum foil and take it with you on the subway or school bus. Eggs and bacon are a great source of protein which both your body and brain need to function properly in the morning so GET IT IN YA!

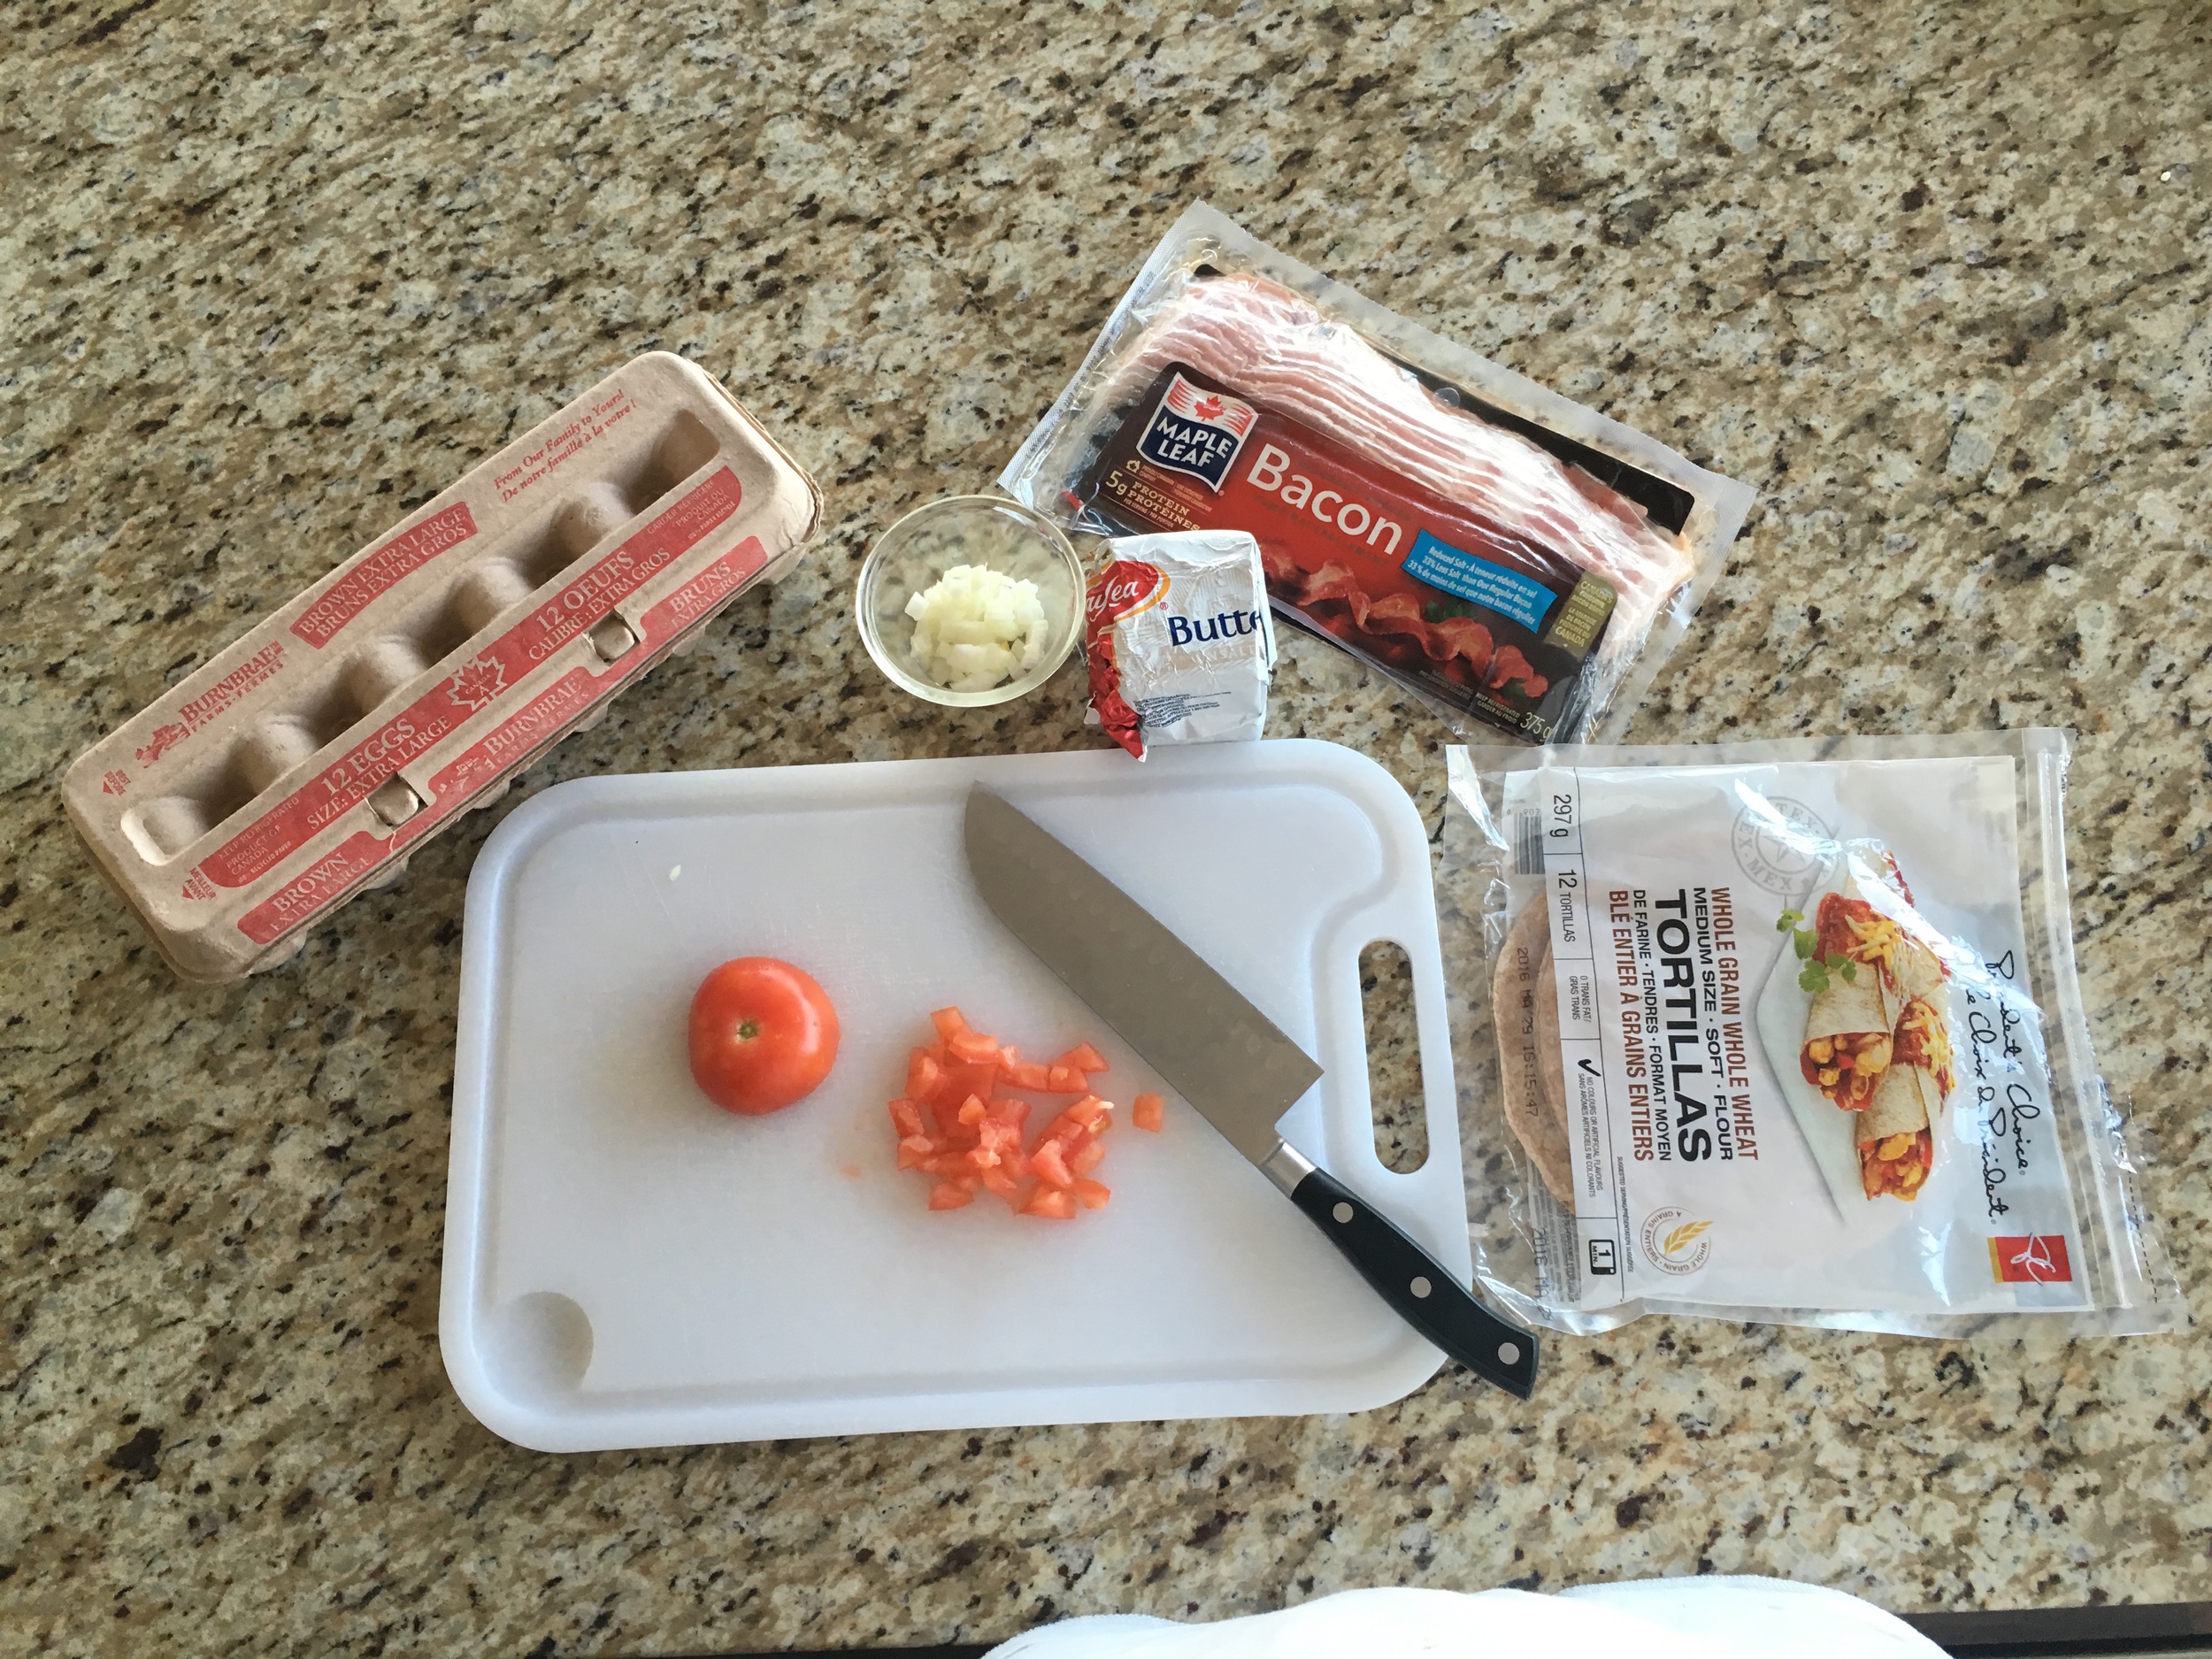
INGREDIENTS:

4 Stripes of Bacon (2 per Burrito)
1 TSP of Butter
2 Eggs
1 TBSP of Milk
1/2 Tomato (Remove inside seeds, Chop remaining)
1 TBSP of Onion (Chopped)
2 Whole Wheat Tortillas
Salt and Pepper (to taste)

DIRECTIONS:

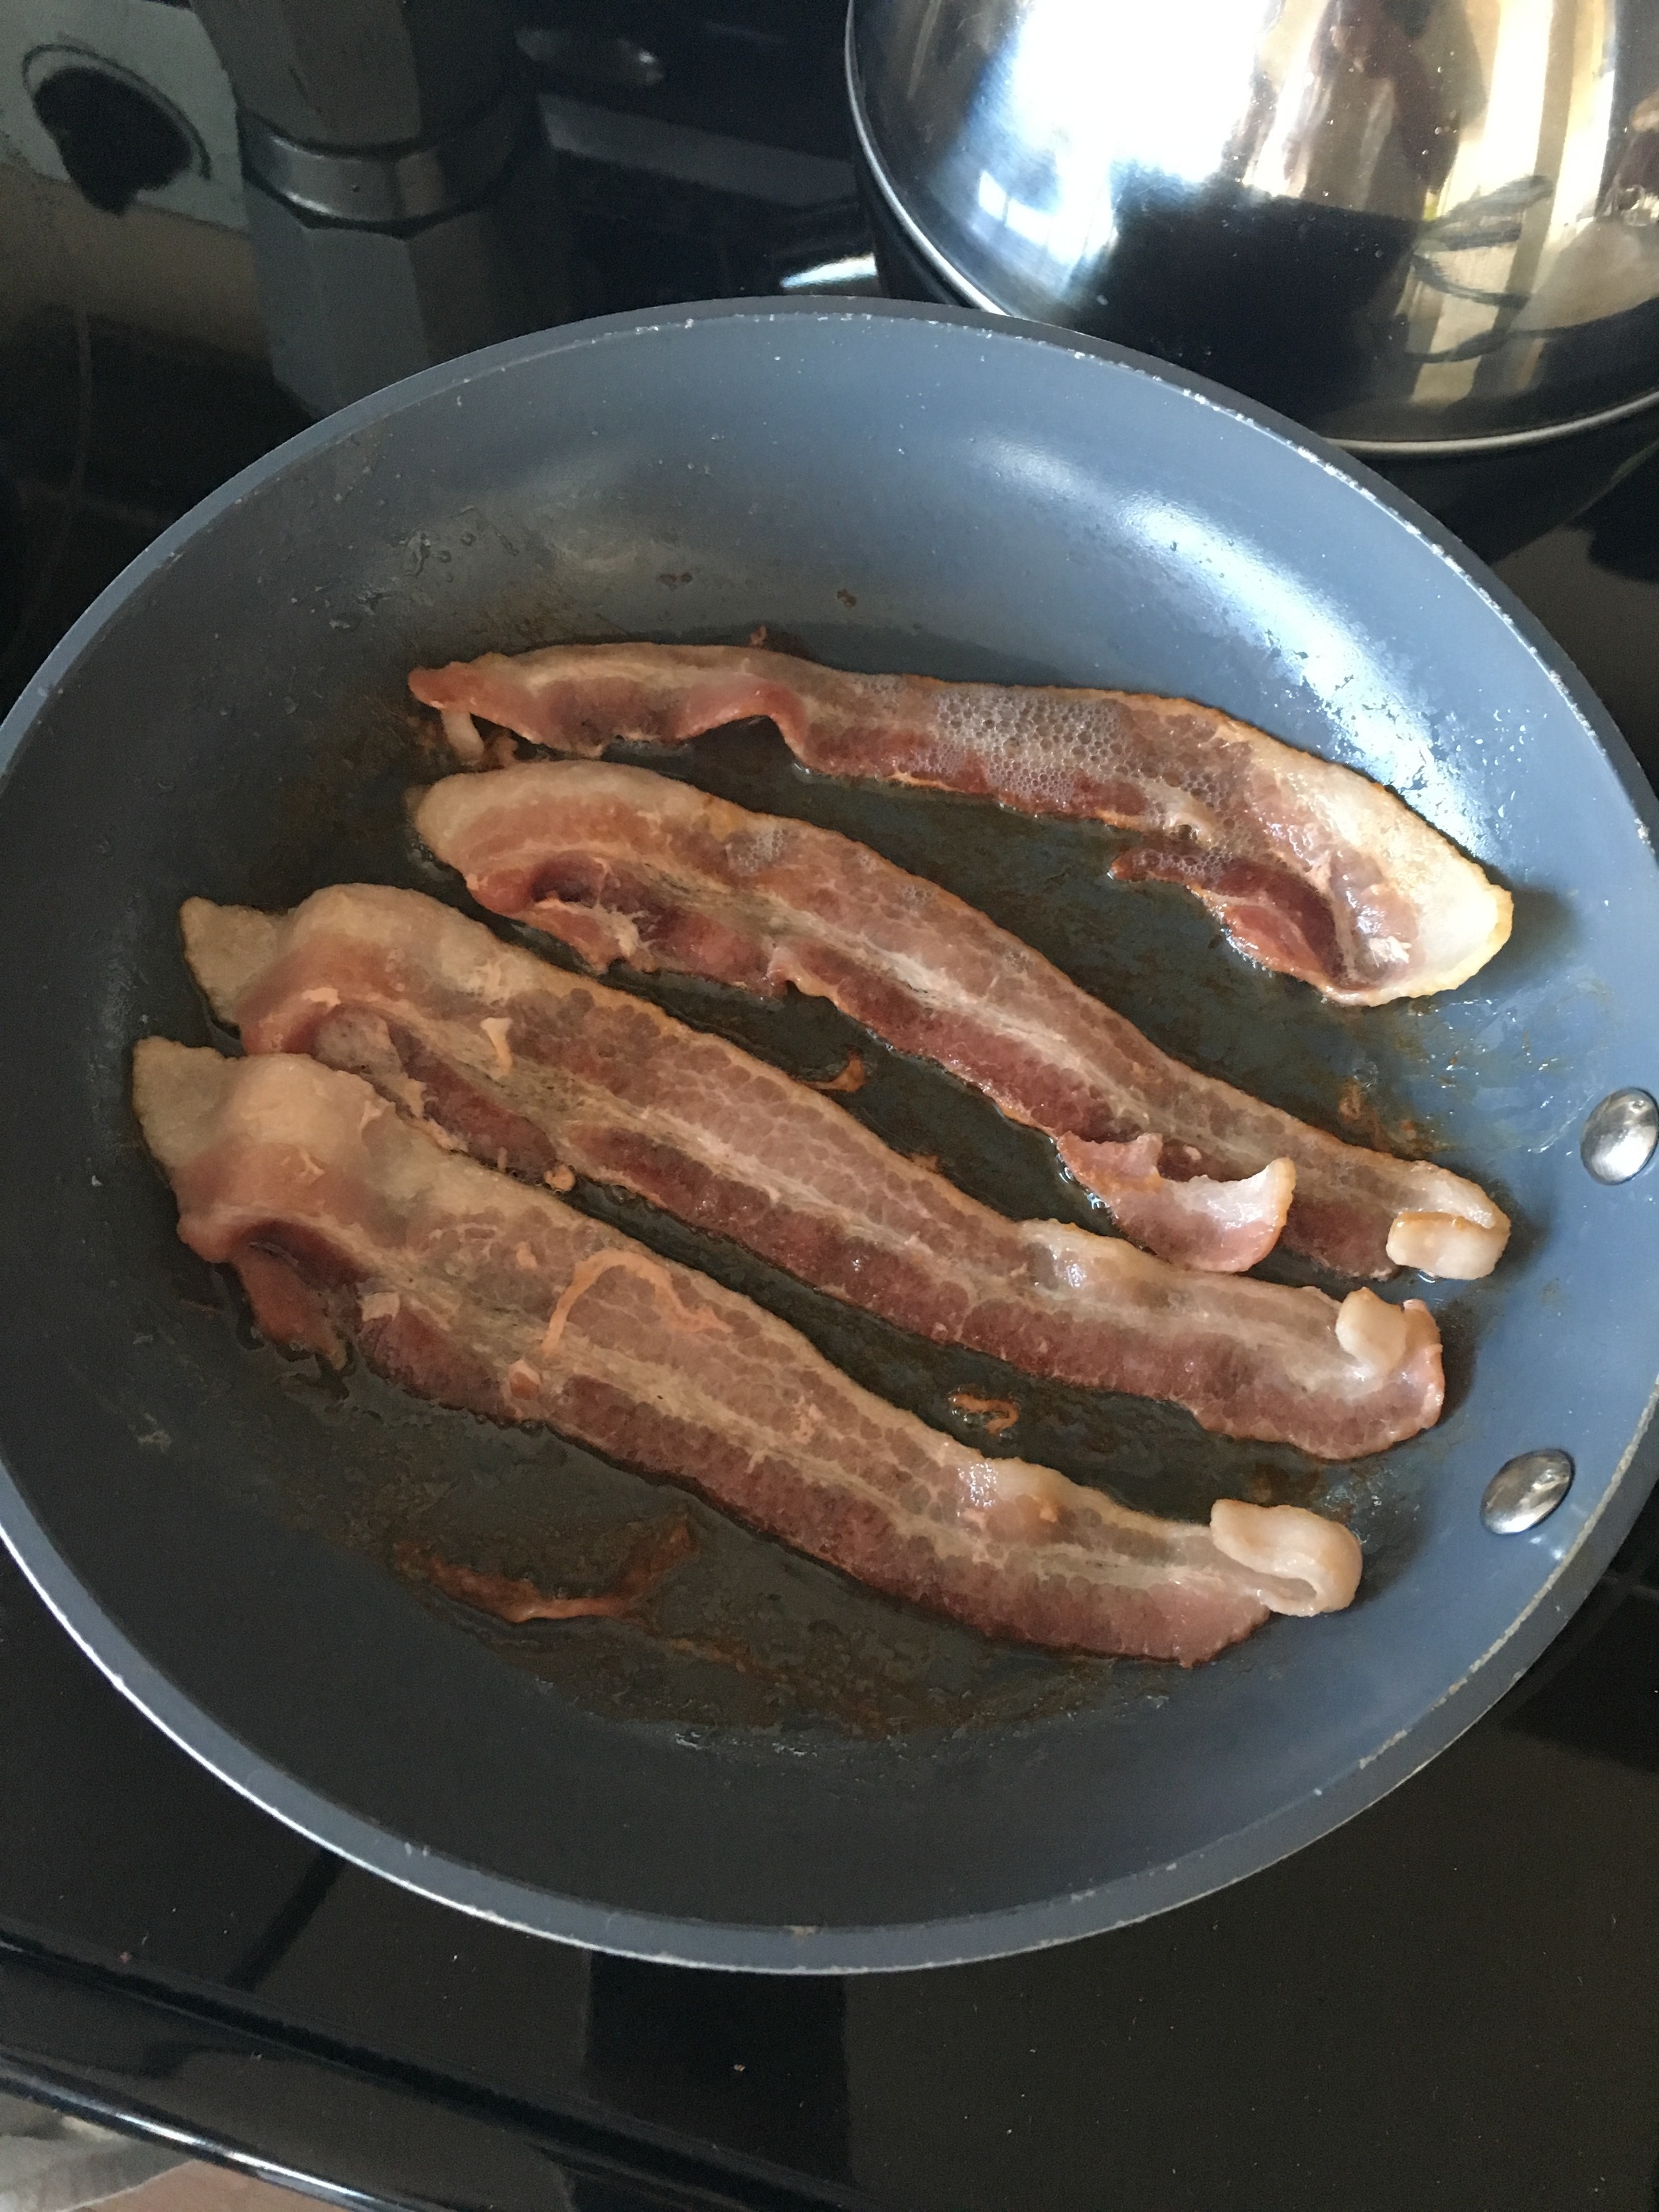
Start cooking your bacon in a frying pan. Once half way done continue with the rest of the prep/cook.

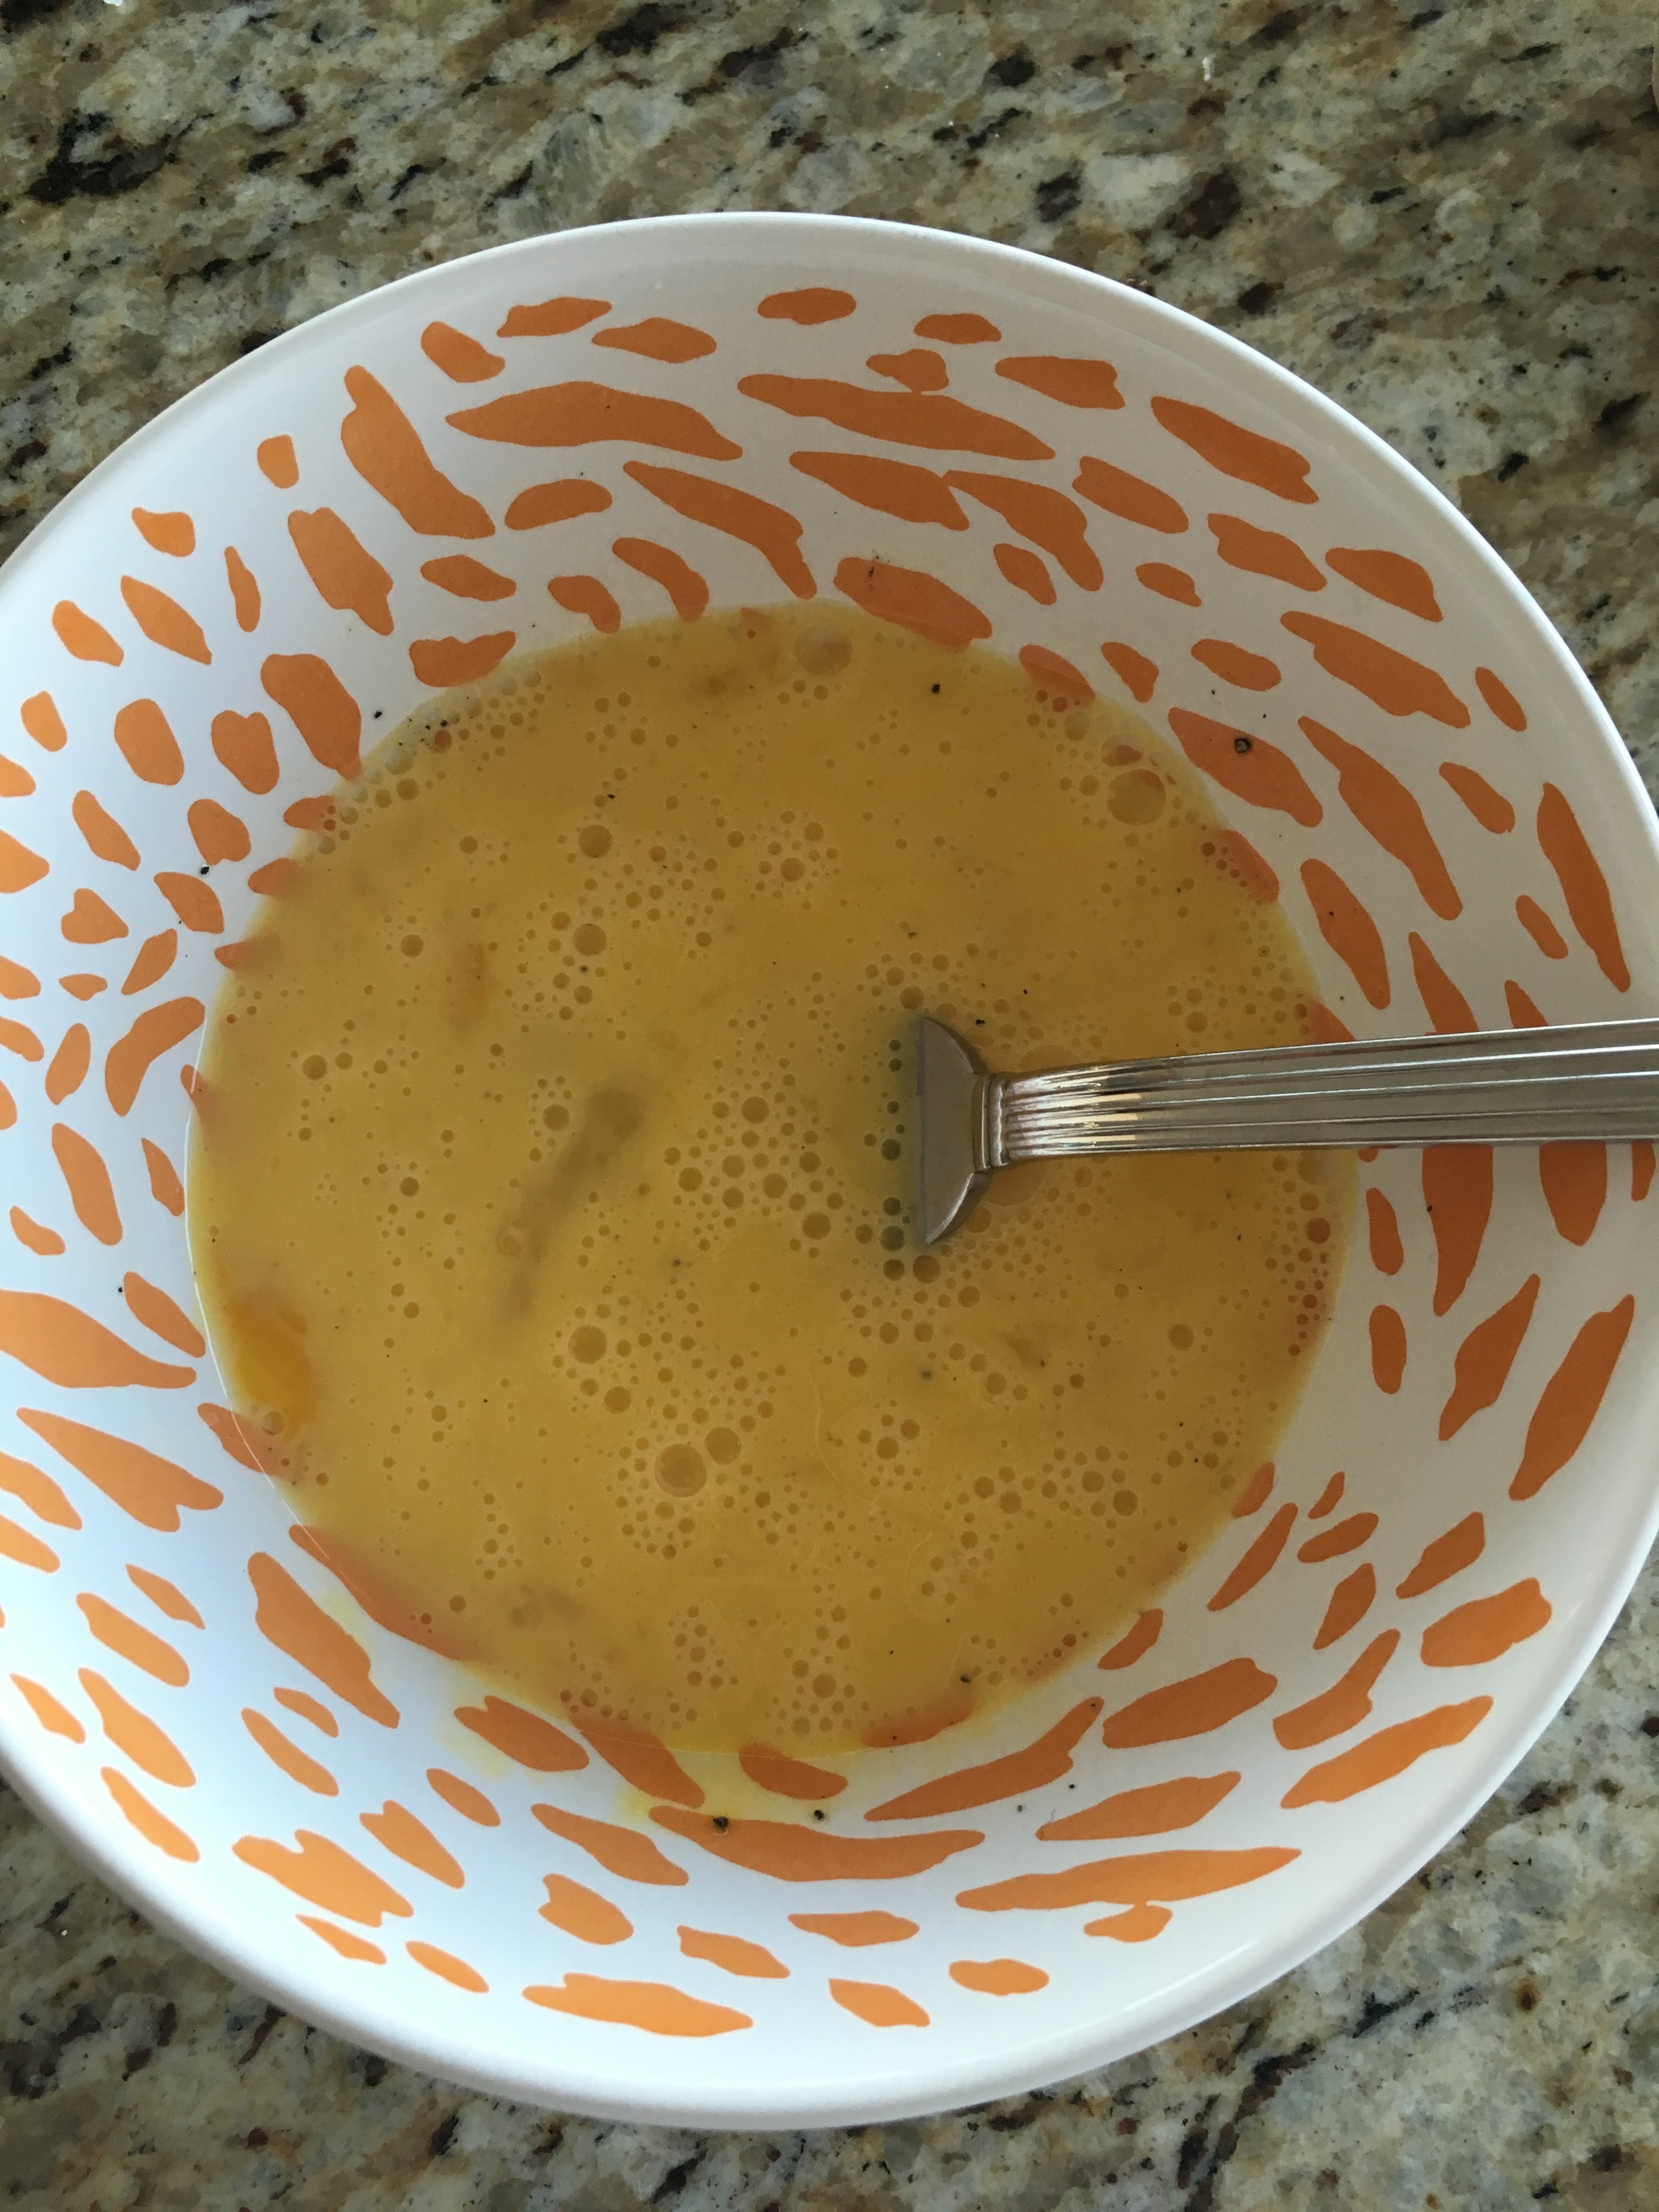
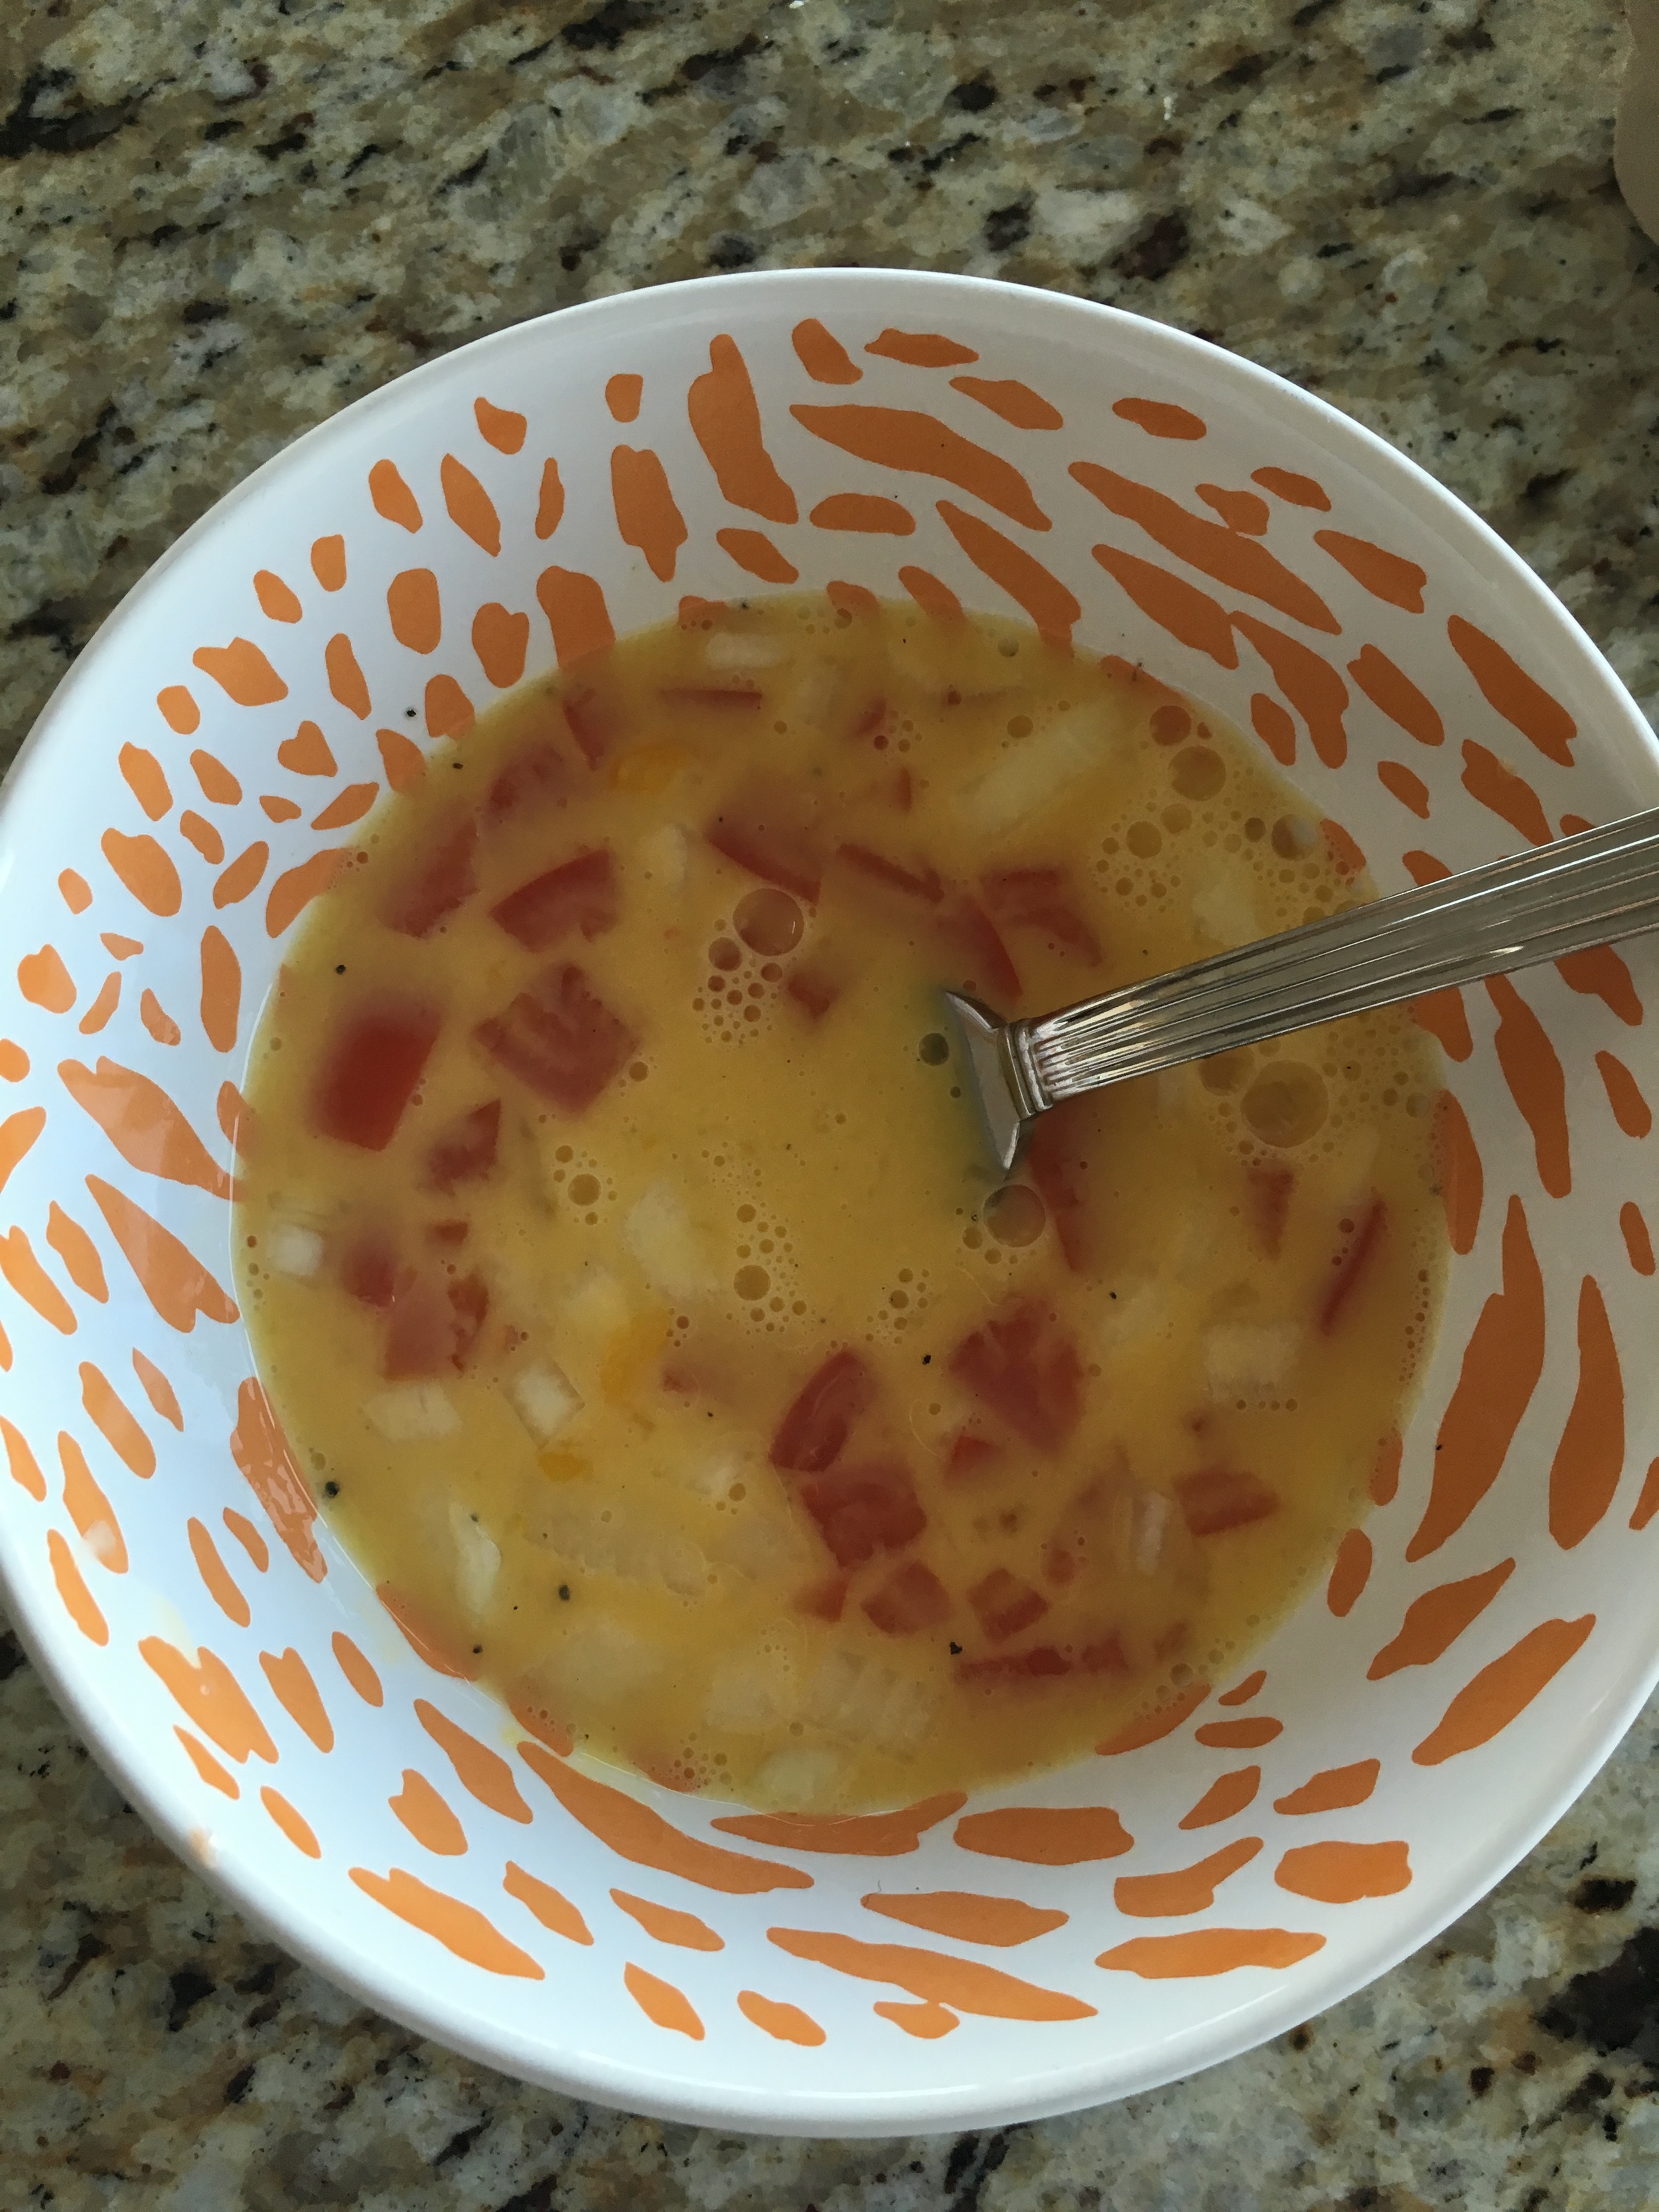
In a bowl add two eggs, milk, tomato, onion, salt and pepper. Whip together till the eggs are fully beaten.

Preheat your oven to 100 degrees

Add butter to second frying pan, once melted add in your whipped egg mixture. Let that cook, moving and stir every minute or so until full cooked.

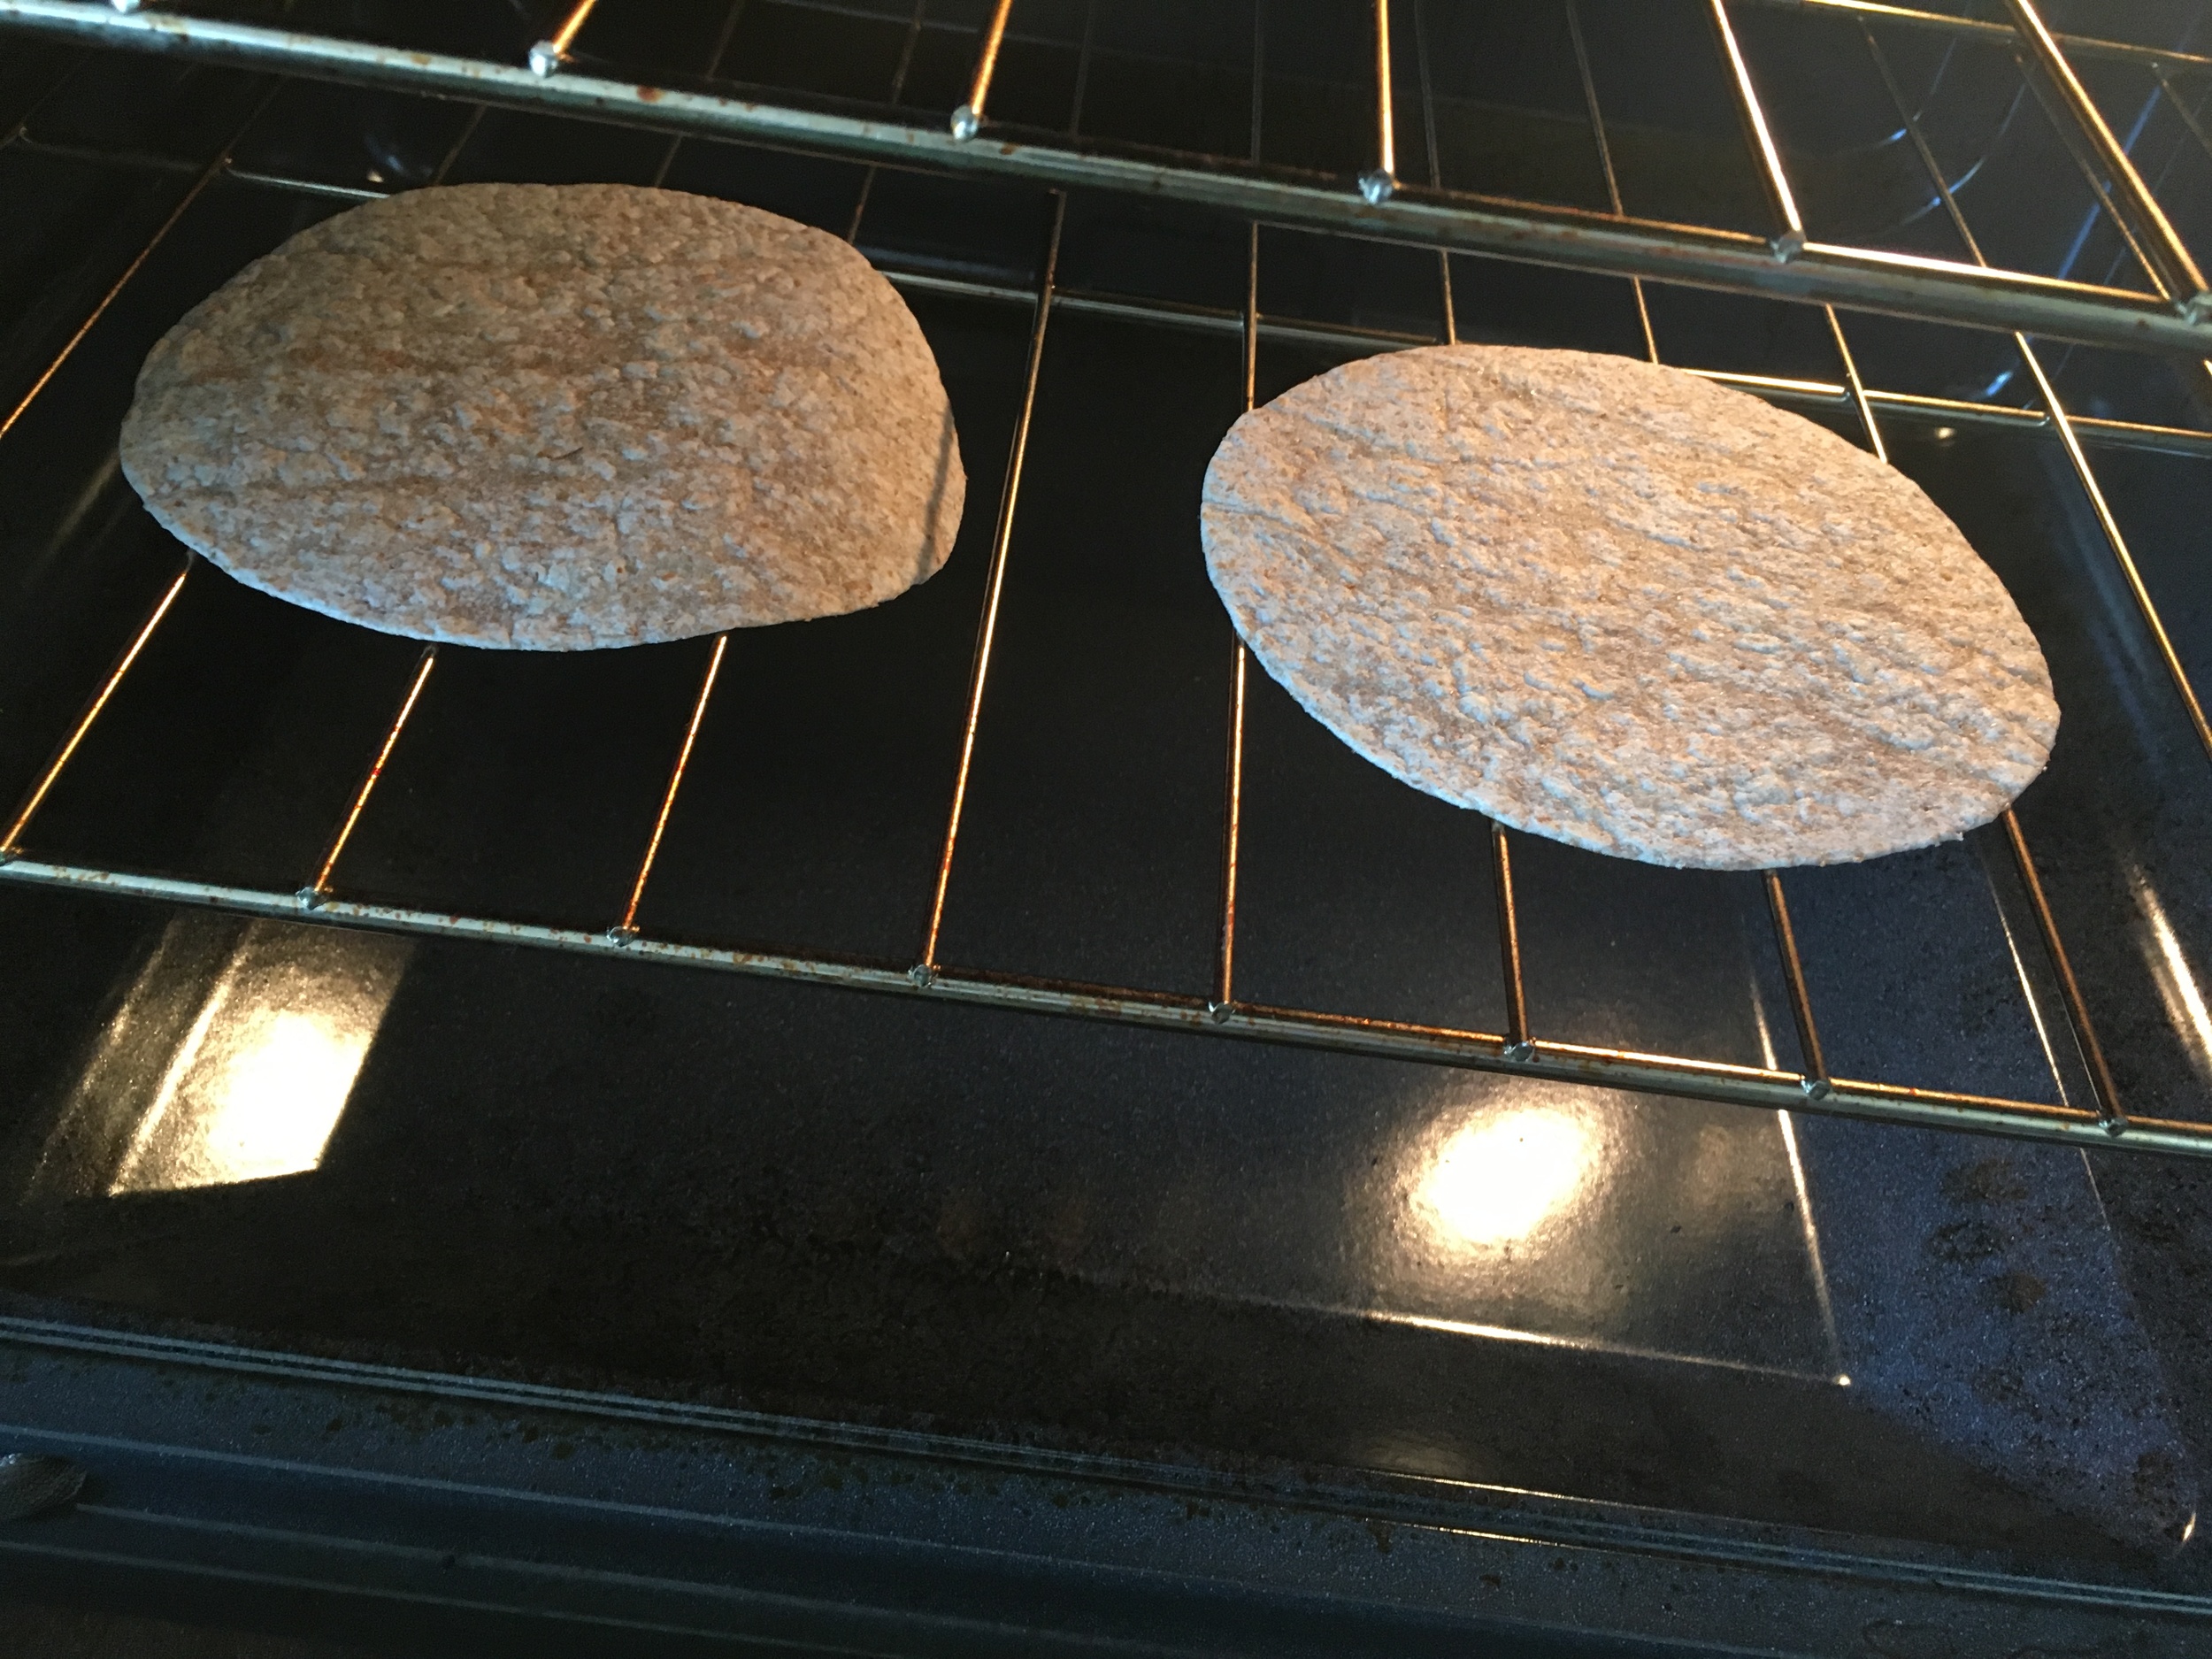
Throw two tortillas in the oven so that they warm up slightly.

Plate the tortillas when warm. Top with bacon and cooked eggs. Fold to create a wrap and enjoy. 


I hope you enjoyed this recipe as much as I do. If you have any comments please leave them below and I'll be happy to answer them as soon as I can! Happy cooking!!!


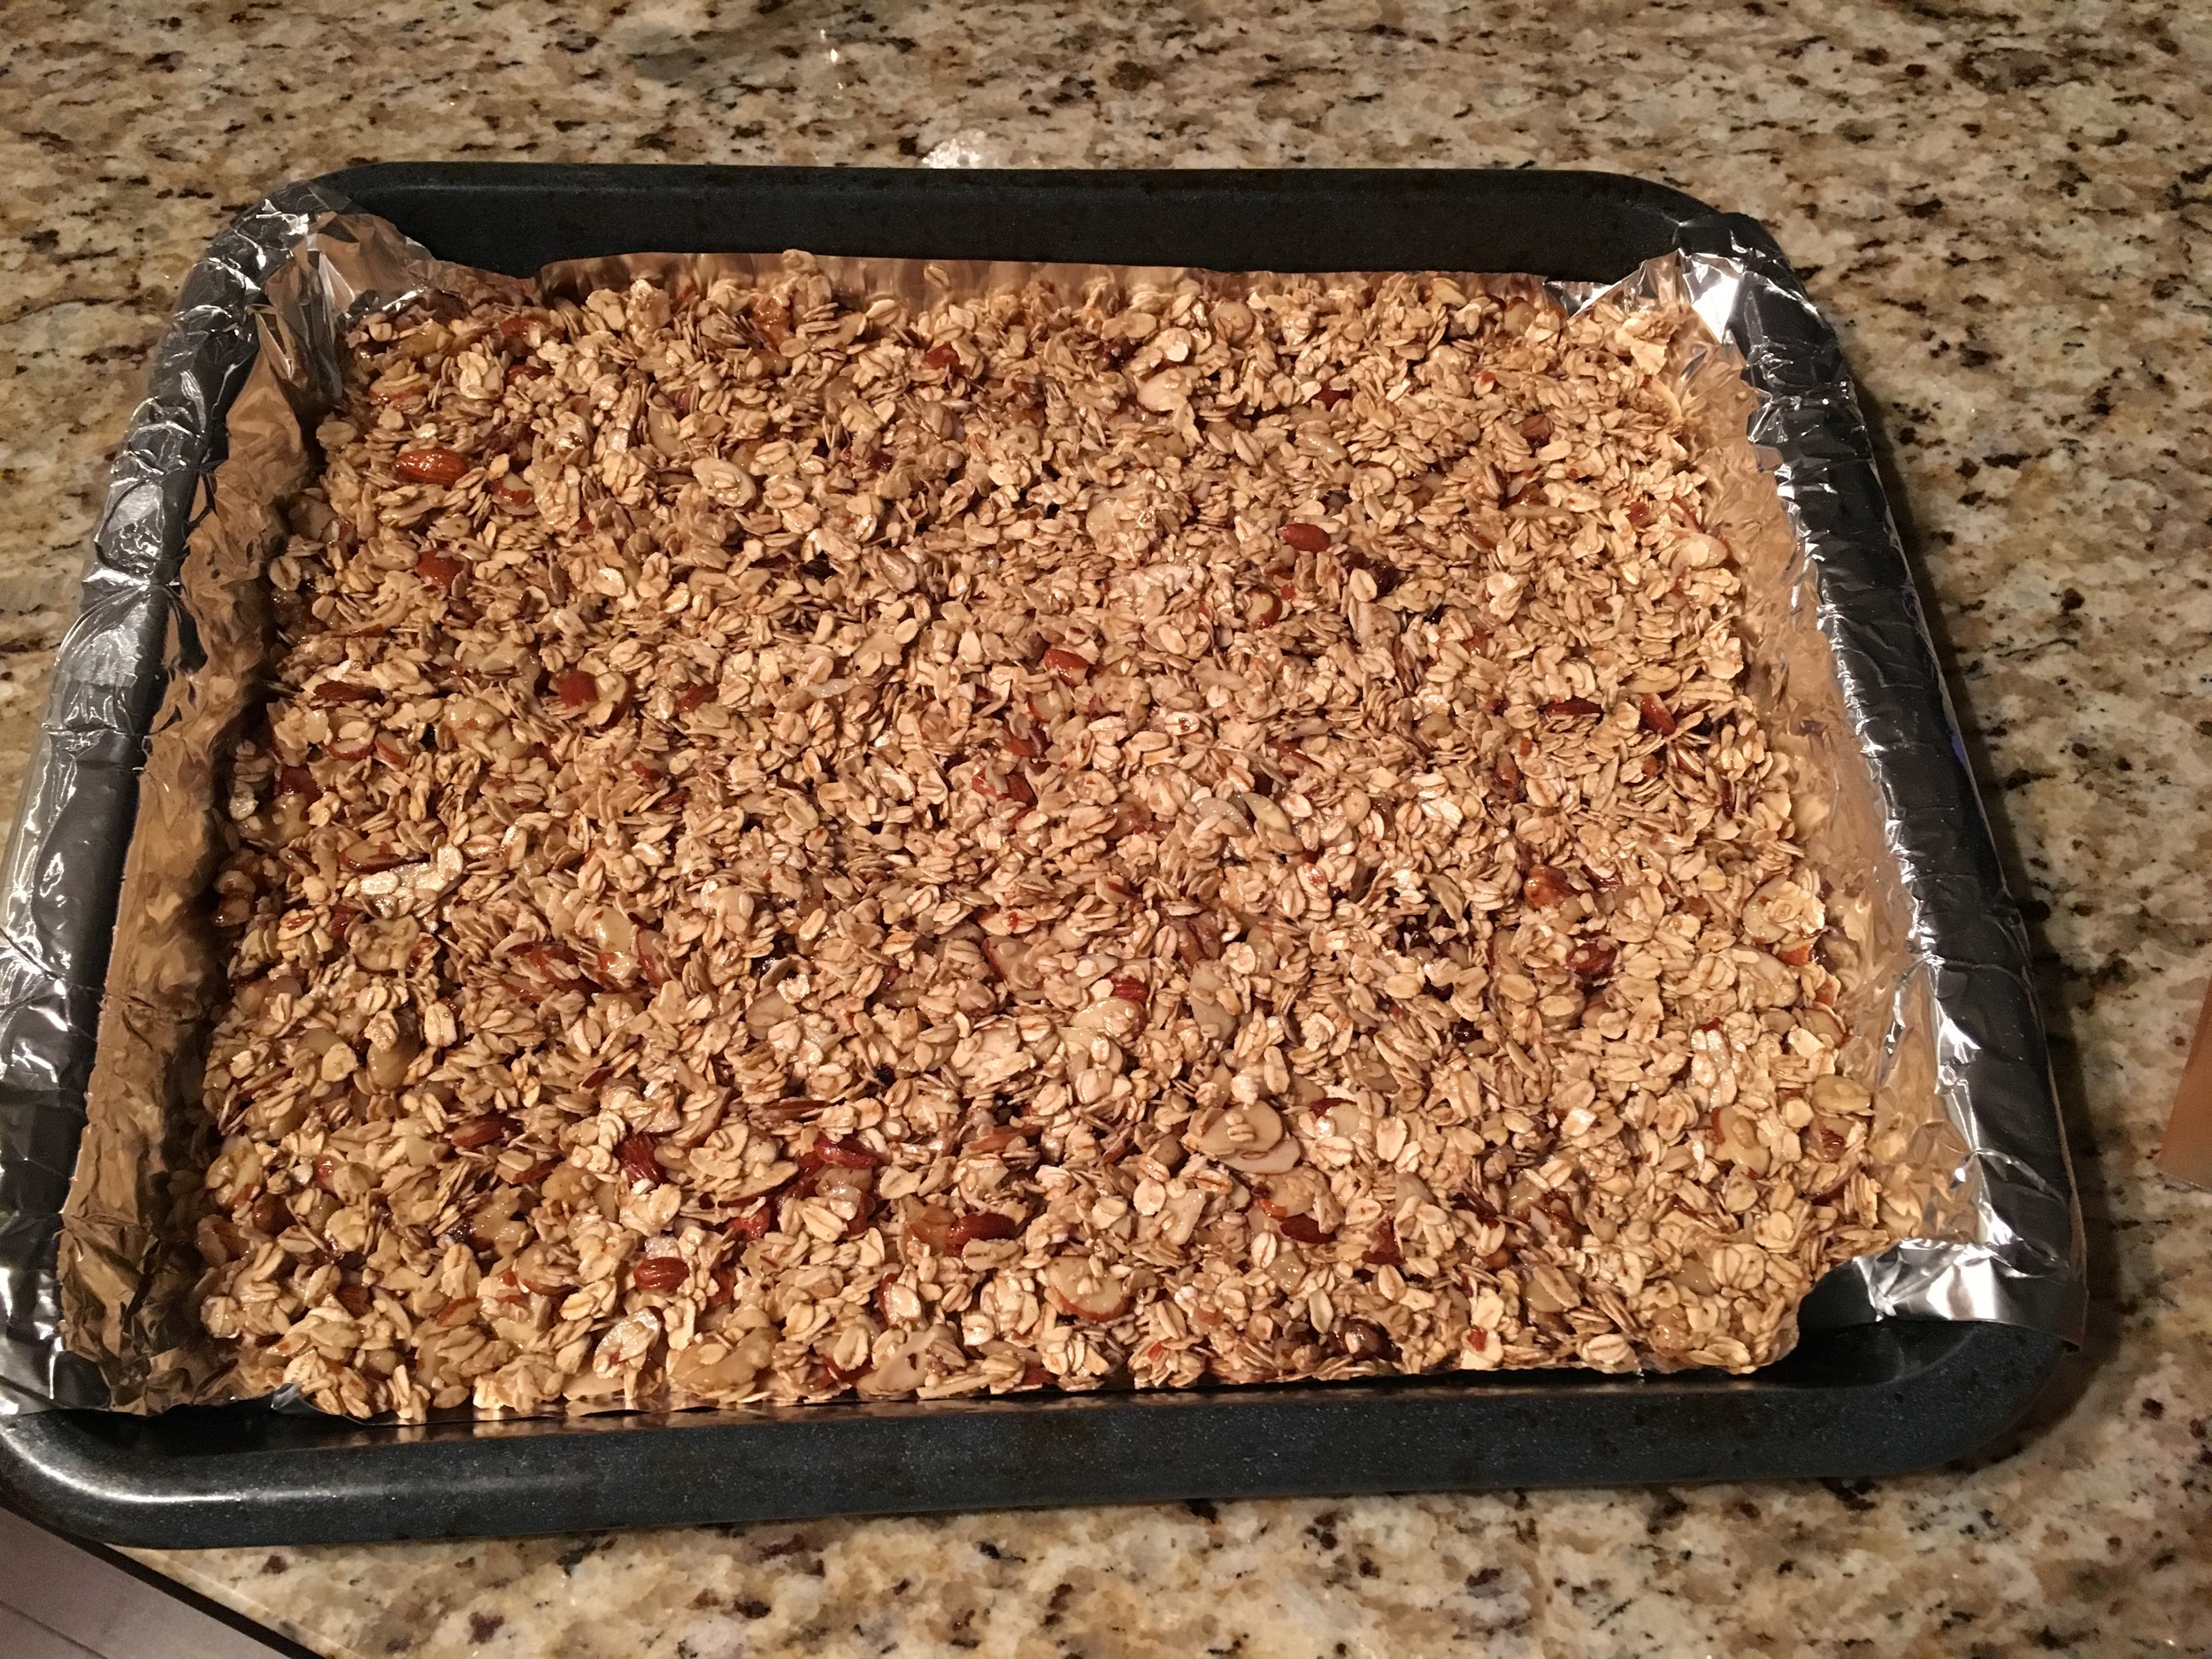
GLUTEN FREE MAPLE SYRUP GRANOLA

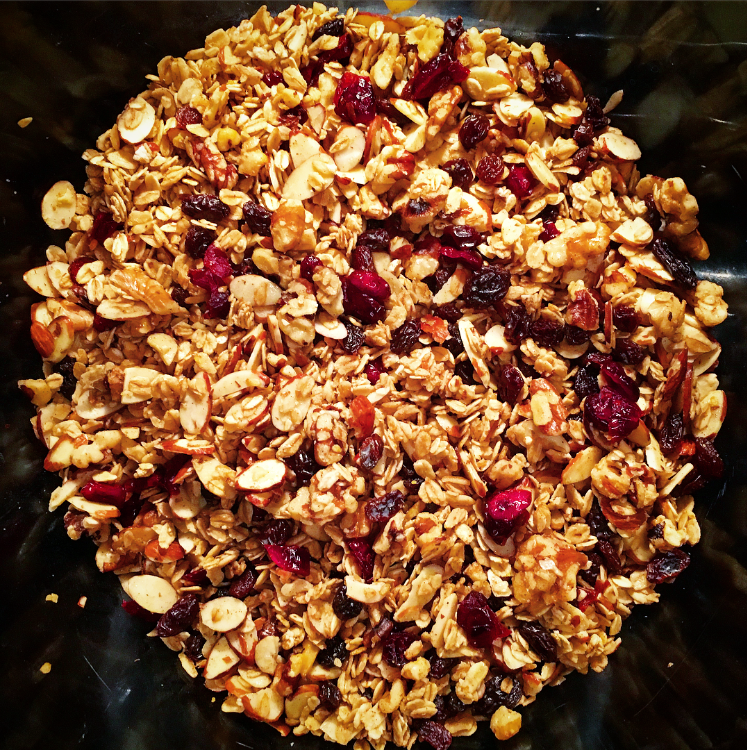
This gluten free granola is delicious and can add a crunch to any breakfast or an amazing snack! The nuts you put in your granola are filled with plant based protein and omega 3 fatty acids that are great for heart health. The rolled oats are gluten free and filled with fiber that is essential for digestion. The dried cranberries I used for this granola and raisins are filled with antioxidants and natural sugars (carbs) as well as some vitamin C. Granola is a great thing to prepare on the weekend and eat throughout the week because it stores well, makes a great healthy snack and is great for kids. ENJOY!

INGREDIENTS:

3 Cups of Gluten Free Rolled Oats
1/2 - 1 Cup of Walnuts (rushed roughly)
1/2 - 1 Cup of Almonds (rushed roughly)
1/2 TSP of Cinnamon
1/4 TSP of Salt
1/2 Cup of Maple Syrup
1/4 Cup of Vegetable Oil
1 TSP of Vanilla Extract
1/2 Cup of Cranberries
1/2 Cup of Raisins
 

DIRECTIONS:

Preheat oven on bake to 300 degrees.

In a large bowl mix the rolled oats, nuts, cinnamon and salt - mix it all together

In another smaller bowl add in your maple syrup, vegetable oil and vanilla extract. Whisk together. 

Drizzle the maple syrup mixture over the rolled oats and nut mixture and mix all together till the oats and nuts is evenly coated and there are no lumps.

Spread the bowl of ingredients on a baking sheet lined with aluminum foil.

Bake the granola in the oven for 25 minutes or until it starts to golden.

Once golden remove from the oven and let cool before adding in your dried fruit. Mix and store in a airtight container (It should stay good for apx 2 weeks).


I hope you enjoyed this recipe as much as I do. If you have any comments please leave them below and I'll be happy to answer them as soon as I can! Happy cooking!!!

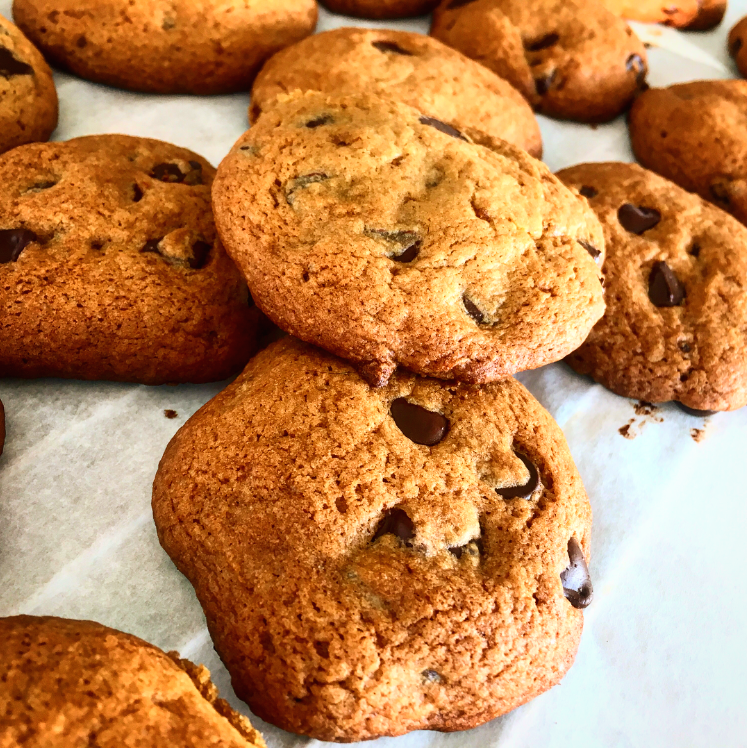
SOFT CHOCOLATE CHIP COOKIES

INGREDIENTS:

1½ Cups or 6OZ of Melted Butter
2 Cups and 2 TBSP of All Purpose Flour
½ Cup of Cane Sugar
1 Cup Brown Sugar Lightly Packed
2 TSP Vanilla Extract
2 Eggs
1 TSP Baking Soda
½ TSP of Salt
1½ Cups of Chocolate Chips

DIRECTIONS:

Combine the flour, baking soda, and salt in a bowl and mix it with a whisk.

In another bowl mix the sugar and cooled melted butter with a hand mixer till it becomes creamy then add in the eggs and vanilla extract and continue to mix for a minute or until it is just combined. Do not over mix

Slowly add in the previously combined dry ingredients bit by bit about 1 cup at a time until there are no flour lumps left.

Next fold in the chocolate chips.

Refrigerate for 45 min to an hour

Preheat the Oven to 325 degrees

Line a baking tray with parchment paper

Roll 1/4 cup scoops of cookie dough into balls and push them into the parchment paper leaving space for them to spread out.

Bake on the middle rack of the oven for 10-12 minutes, rotating the tray half way though. Every oven is different so I would recommend starting with one or two cookies till you get the time and consistency desired.

Did you enjoy this recipe?? If you have any questions or comments feel free to leave them in the comment section below! I would love to hear from you!