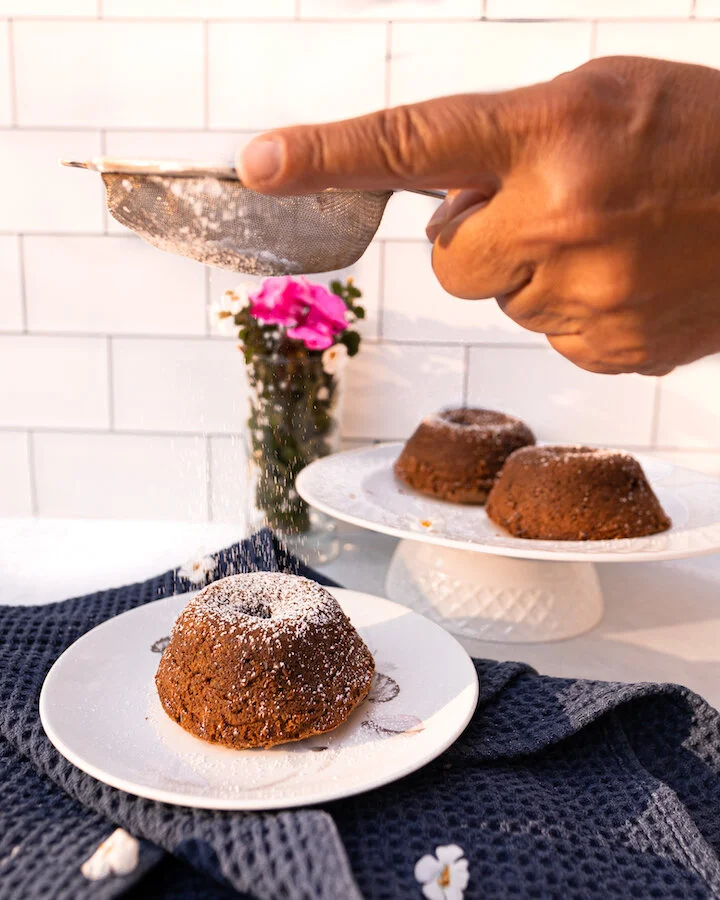
MOLTEN CHOCOLATE CAKE!!!!

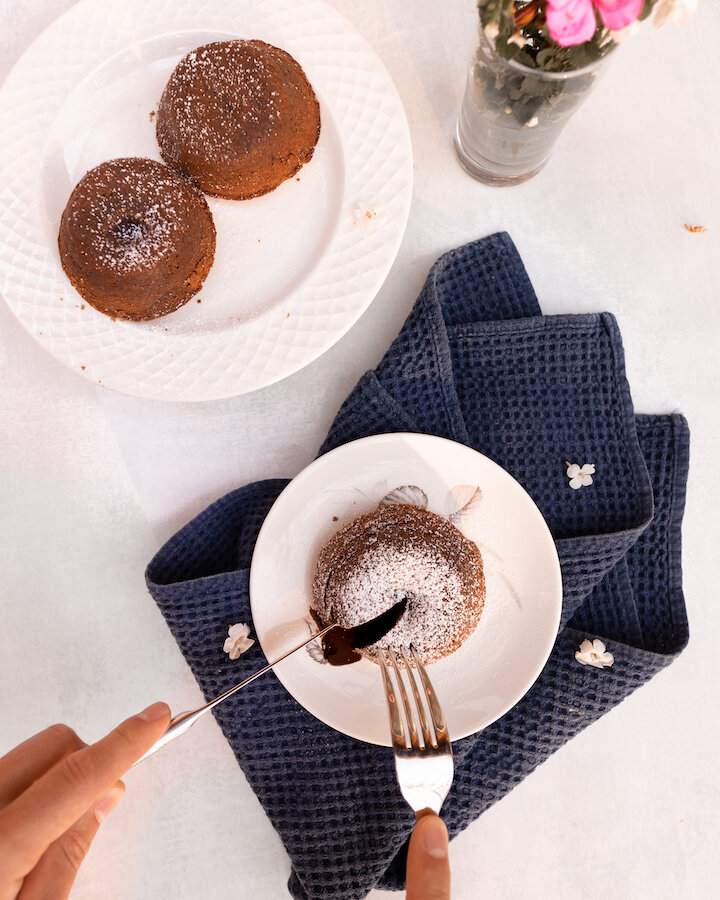
This molten chocolate cake is one of those desserts where you just can't say no to. My boyfriend's mom gave me this recipe after I tried one of her molten cakes straight out of the oven. So rich and decadent but small enough where you don't feel too guilty about indulging. The whole point of molten cakes is to underbaked them so that the chocolate center oozes out of it when cut into. If you have a chocolate lover in your family, this is sure to put a smile on their face. Enjoy!

INGREDIENTS:

Makes 6 small cakes

5 oz of bittersweet (not unsweetened) or semisweet chocolate (break into smaller blocks)
10 TBSP Unsalted Butter (melted)
3 Large Eggs
3 Large Egg Yokes
1.5 Cups of Icing Sugar
1/2 Cup of All Purpose Flour
Vanilla Ice Cream (optional)
 

DIRECTIONS:

Set the over to bake 450 Degrees and let it preheat.

Get 6 x 3/4 cup souffle dishes or custard cups and butter them.

While the oven is heating melt the chocolate and the butter down in a small heavy sauce pot on low heat, stirring all the time. Let it cool slightly.

In a bowl whisk the egg and egg yokes together. Then start to add in the icing sugar bit by bit, followed by the melted chocolate and finally by the flour. Whisk the whole time!!

When everything is whisked together and smooth pour the mixture into the buttered souffle dishes in equal portions.

Bake for 11-12 minutes. You want the cake sides and top to be set but the center to be runny. If you had prepared the batter ahead of time and refrigerated it during dinner you may need 2 or so more minutes (14min total max)

Run knife around the cakes to help release them. Place a plate upside down on top of the souffle dish and flip the dish so the cake is upside-down on the plate. Garnish with ice cream and it is ready to be served.

I really hope you liked this cake! If you have any questions or comments please leave them below I would love to hear from you about your baking experience. Bon Appetite :)


I hope you enjoyed this recipe as much as I do. If you have any comments please leave them below and I'll be happy to answer them as soon as I can! Bon Appetite!!!


 PIN THIS POST

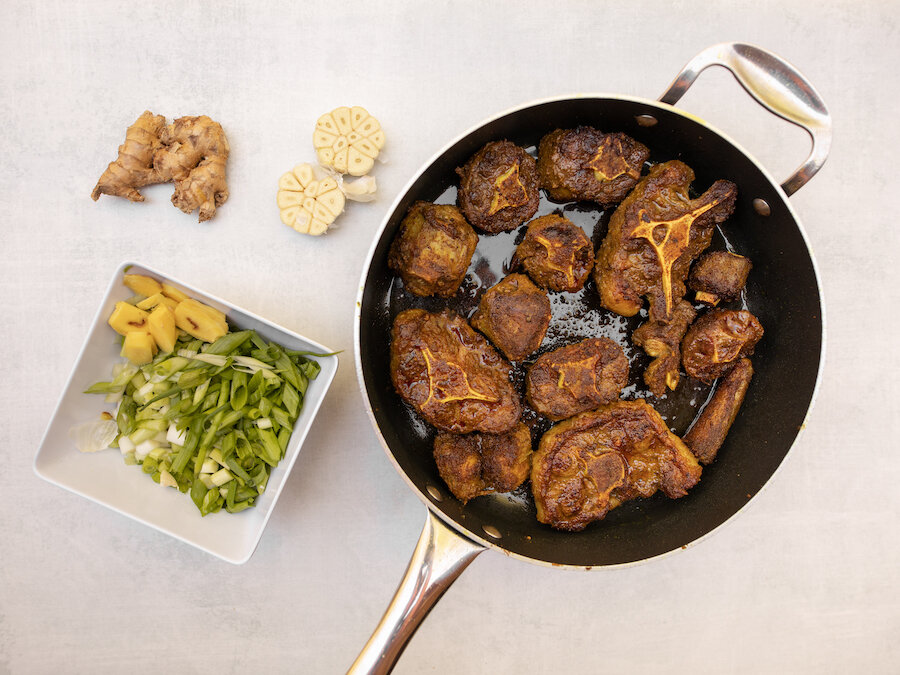
BRAISED OXTAIL WITH COCONUT CAULIFLOWER RICE

A personal favorite of mine, Oxtail is a very tender, juicy, gelatin-rich meat. Usually found slow-cooked as a stew or braised, my version is packed full of amazing savory flavors and braised for 7 hours until it falls off the bone. Although, I didn’t cook the oxtail in the typical Jamaican style, I did pair mine with coconut cauliflower rice to give it a hint of sweetness while keeping it low in carbs. The results were amazing and had my family fighting over leftovers. If you like braised juicy meat, I highly recommend giving this recipe a try!

Enjoy!

INGREDIENTS:

- Serves 6 People -

- Braised Oxtail -

6LBS of Oxtail
Kosher Salt
3.5 TBSP of Curry
4 TBSP of Vegetable Oil
10 CUPS of Chicken Broth
8 Scallions - diced
2 Garlic Heads - cut in half
Pinch of Chilli Pepper Flakes
Pinch of Thyme
6” Piece of Giner - sliced in 1/8 slivers
4 TBSP of Soy
2 TBSP of Brown Sugar

- Coconut Cauliflower Rice -

1 TBSP of Butter
2 Cloves of Garlic - minced
2’ Piece of Ginger -Chopped
3 Scallions - diced
1/2 CUP of Unsweetened Coconut Milk
1/2 TSP of Brown Sugar
1000 Grams of Cauliflower Rice - I used from frozen

DIRECTIONS:

Heat oven to 250 degrees

In a large bowl, season oxtail generously with salt followed by the curry powder.

In a large deep skillet, or using a dutch oven heat up vegetable oil on the stove on medium-high and sear both sides of oxtail until browned. If you don’t have an oven-safe skillet or a large enough dutch oven to fit all the meat and liquid, first sear the oxtail in the skillet and then moved them to a roasting pan.

Once you have seared all the oxtail remove from skillet/dutch oven and add in chicken broth, scallions, garlic, chili pepper flakes, thyme, soy, ginger, and brown sugar. Allow this to come to a simmer and scrape the bits of oxtail that stuck to the bottom of the skillet to become loose before adding the mixture into your roasting pan, or placing the oxtail back in the dutch oven. The oxtail should be submerged in liquid.

Next, place the roasting pan or dutch oven with the oxtail in the oven to slow cook. Position lid partially off and allow to cook for 7 hours flipping pieces around halfway through. If at the halfway point the liquid has gone down a lot you can add in 1/2 cup of water.

30 minutes prior to Oxtail being ready its time to make the coconut cauliflower rice. Grab a large skillet, add in your butter and allow to heat up on medium. When hot add in your garlic, ginger, and scallions - saute for 3-4 minutes.

Next, add in your unsweetened coconut milk and brown sugar. Mix until well incorporated.

Finally, add in your cauliflower rice and allow it to steam and mix with sauce until fully coated.

Serve oxtail on rice when ready and garnish with more scallions.

Enjoy!


If you like this recipe or have any comments/questions, feel free to leave them in the comment section below!


PIN THIS POST

HEALTHY GRAB AND GO BREAKFAST EGG MUFFINS 2 WAYS - LOW CARB & VEGETARIAN OPTION

As someone who thrives on being a busy body, I often forget to eat or worse, go after items high in carbs and sugar as a way to sustain my energy and curb my cravings. Knowing this, I decided to make some delicious, healthy, grab and go egg bites that I can batch make and store in the fridge for easy access throughout the week. This has totally helped me choose better snacking foods and its super easy to just warm up quickly in the microwave before I head out the door. I love them in the morning or after a workout and they are packed full of protein and veggies so you can have two or three completely guilt free!

Hope you like them!

INGREDIENTS:

- Makes 12 Servings -

Butter to Greece Baking Sheet
!2 Large Eggs
1 Small Sweet Onion - chopped roughly
Salt and Pepper To Taste

- For 6 Muffins Italian Style -
1/4 Cup of Freshly Grated Mozerella
5-6 Cherry Tomatoes, Sliced
3-4 Strips of Prosciutto

- For 6 Muffins Greek Vegetarian Style -
1/4 Cup of Grated Halloumi
1/4 Cup of Crumbled Feta Cheese
A handful of Freshly Washed Spinach

DIRECTIONS:

Preheat oven to 350.

Greece baking tray wel.

Mix eggs, onion, salt and pepper in a large bowl and whip together.

Pour mixture into baking tray till each muffin cup is 1/2 way full.

Add in ingredients for both the Italian and Greek style.

Bake for 25-30 minutes until the tops brown slightly.

Remove and let sit for 10 minutes before trying to remove them from the tray.

Enjoy!

P.s You can store these eggs muffins in the fridge for 3-4 days in a ziplock bag or sealed container and warm up in the microwave for an easy grab and go snack!!


If you like this recipe or have any comments/questions, feel free to leave them in the comment section below!


PIN THIS POST

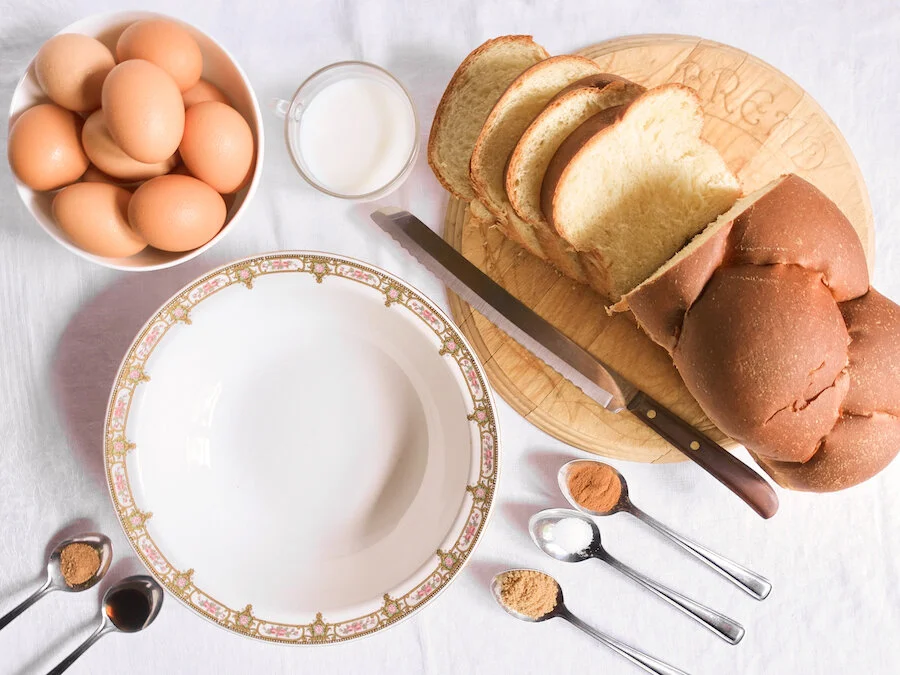
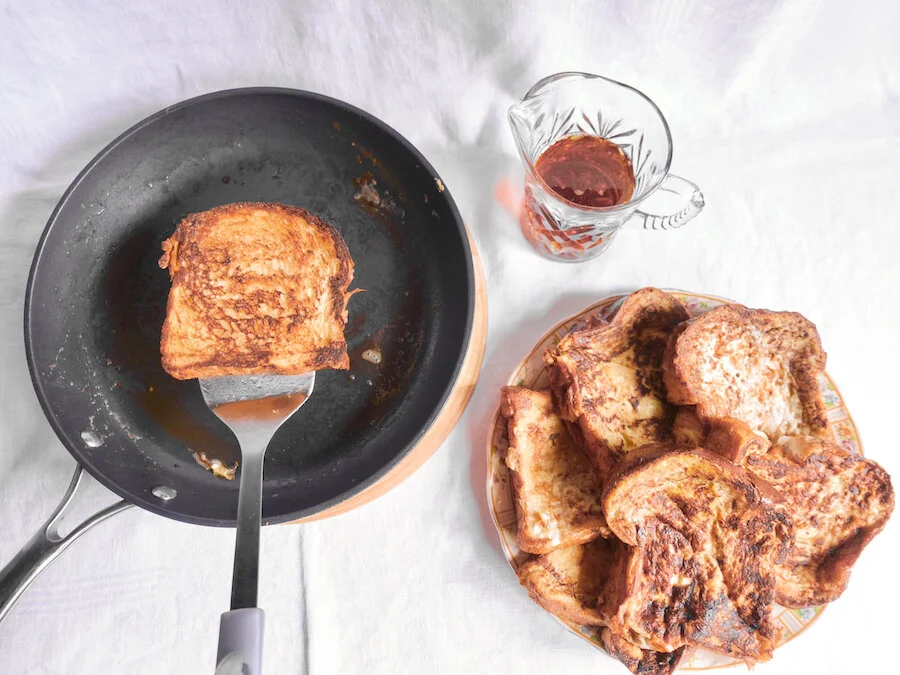
NUTELLA & MARSCAPONE FRENCH TOAST

Usually a savory over sweet person, this has to be the most decadent french toast I have ever had, not to mention the most beautiful. I honestly think you don’t even need the maple syrup because of how sweet it is already - its dessert for breakfast, lets call a spade a spade. LOL But damn was it good and so worthy of a post on the blog so here you go! Don’t blame me if you get a cavity! LOL

INGREDIENTS:

-French Toast For Two -

6 Pieces of Chellah Bread Slicked in 1’ Thick Pieces
6 Eggs
1 SP of Cinnamon
1/4 Cup of Brown Sugar
1/2 TSP of Vanilla Extract
1/4 TSP of Nutmeg
Pinch of Salt
Butter for the pan
1 Jar of Nutella
I Jar of Marscapone
Icing Sugar for dusting

-Additional Toppings -

Maple Syrup

DIRECTIONS:

Whisk eggs, cinnamon, brown sugar, vanilla extract, nutmeg and salt in a bowl until fully incorporated.

Heat pan on high and add butter. While butter is melting take a piece of bread and soak it in egg mixture, 4 seconds each side. Place in pan with melted butter and allow to cook until golden brown- flip and repeat to other side

When all the toast is ready spread a thin layer of Nutella between the first and second layer. Then spread a thin layer or marscapone between the second and third layer. Spread a thin layer of Nutella between the third and fourth layer.

Dust the stack of french toast with icing sugar using a sifter before adding maple syrup and eating.

ENJOY!!!


I hope you enjoyed this recipe as much as I do. If you have any comments please leave them below and I'll be happy to answer them as soon as I can! Bon Appetite!!!


PIN THIS POST

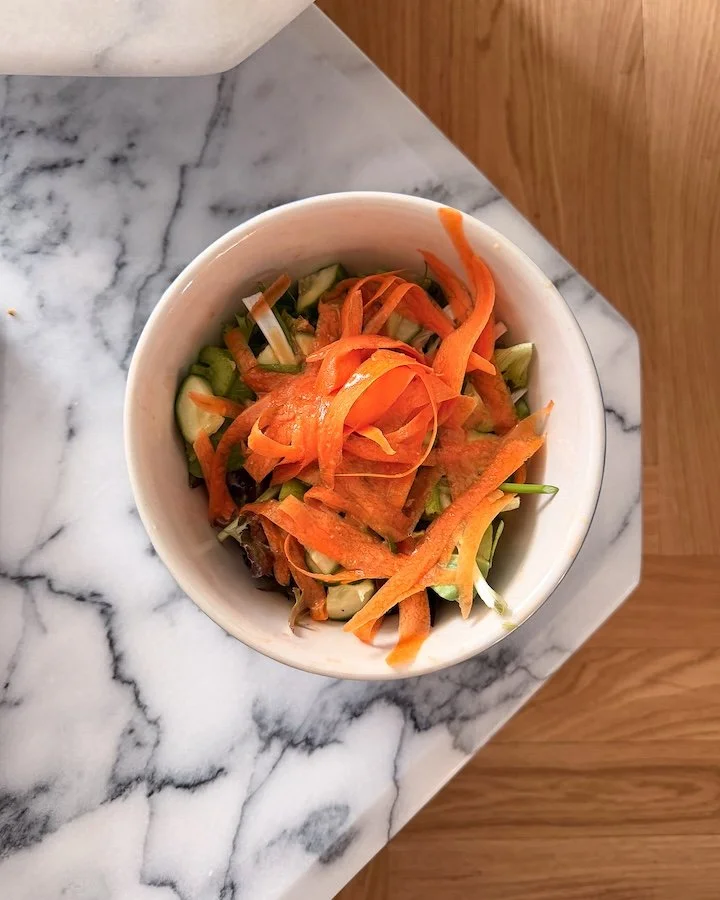
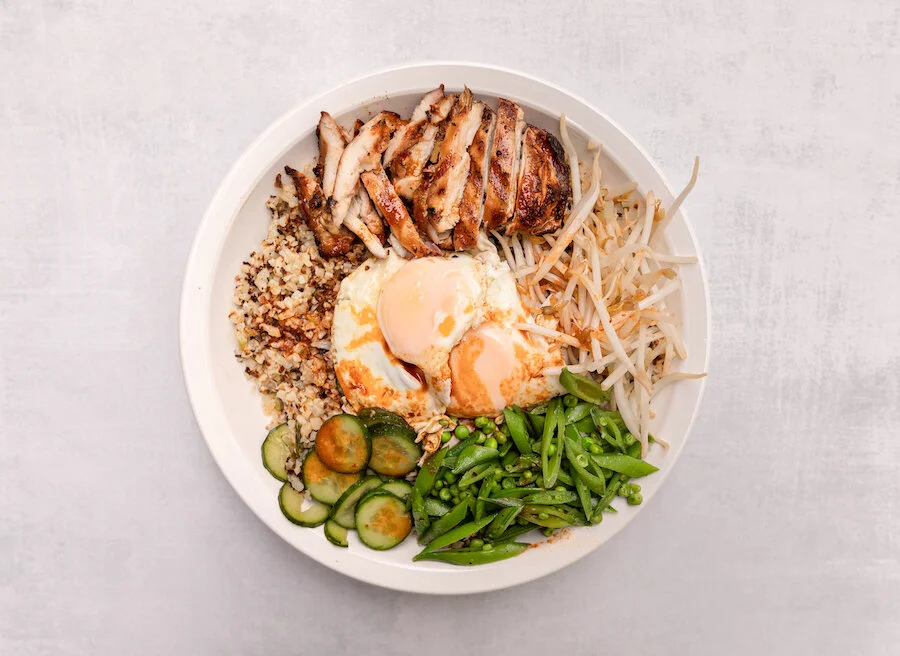
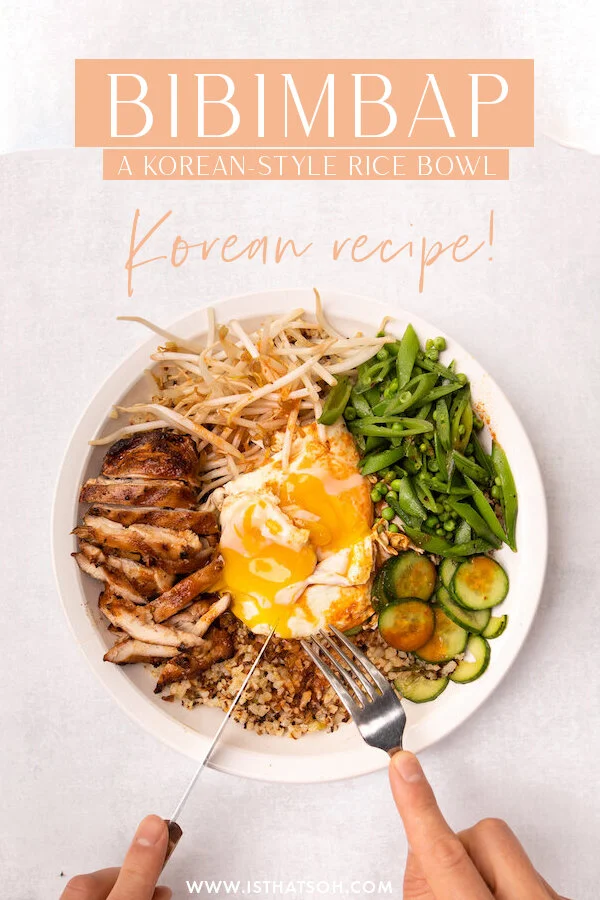
CRISPY KOREAN BIBIMBAP CAULIFLOWER RICE BOWL WITH BBQ CHICKEN & SPRING VEGGIES

Traditionally cooked in a stone bowl, Bibimbap is a Korean rice dish that literally translates to ‘mixed rice with meat and assorted vegetables. Ever since I first discovered Korean rice bows I’ve been a huge fan and the hot Bibimbap sauce dressing really pulls the pickled veggies in perfectly with the crispy rice and fresh veggies. In the effort to make this recipe more low carb, I substituted the traditional use of sticky rice for cauliflower rice and although it didn’t crisp up quite the same way as normal sticky rice, it was still a beautiful substitute that maintained the integrity of the dish and still held the flavors together. To add a little extra protein Adam also cooked up these wonderful juicy chicken thighs on the BBQ which made for the perfect addition to this otherwise largely veggie based dish. If you are looking for something new, spicy, and wonderful to try, I highly recommend this Bibimbap recipe!

BIBIMBAP INGREDIENTS:

- Serves 4 People -

- BBQ Chicken Thighs and Marinade -
16 Chicken Thighs Boneless and Skinless (3-4 Per Person)
1 CUP of Low Sodium Soya Sauce
1 TBSP of Grated Ginger
4-6 Sprigs of Green Onion
4-6 cloves of Garlic - chopped or grated
Cracked Black Pepper
1-2 TSP of Cayenne Pepper - as per your spice level

- Crispy Cauliflower Rice Bowl -
Frozen Cauliflower Rice (you will want about 200grams per Person)
1.5 CUPS of Snow Peas - Chopped
6 Sprigs of Green Onion
3-4- slices of Ginger
3 Persian Cucumbers
1 TSP of Kosher Salt
3 TBSP of Rice Vinegar
4 TBSP of Vegetable Oil - split into 2 parts
2 TSP of Sesame Seed Oil
1 CUP of Frozen Peas
1 TBSP of Butter
4 Eggs
Bean Sprouts

- Korean Style Hot Bibimbap Sauce Recipe -
2 TBSP of Siracha
2.5 TBSP of Low Sodium Soya Sauce
2 TSP of Honey
4 TSP of Sesame Seed Oil
2 TSP of Rice Vinegar


CHECK OUT THESE OTHER ASIAN INSPIRED RECIPES


DIRECTIONS:

Throw the chicken along with all the marinade ingredients into a bowl and make sure the thighs are coated nicely. Allow chicken to marinate for min 30 minutes while chopping your veggies or overnight in the fridge.

Chop Persian cucumber in thin slices and place in a bowl. Add Kosher salt and massage into the cucumber. Dress with rice vinegar (make sure they are well coated and soaking in a little bath, and set aside allowing them to pickle while we move on to the other veggies.

Chop the snow peas on a diagonal in 1/4 inch pieces.

Chop the top (furthest from the stem) of the green onion on the diagonal until you have 1/4 CUP (set aside for garnish) and cut the remaining amount width-wise in thin slices as per normal.

In a large skillet, add in 3 TBSP of vegetable oil and 2 TSP of sesame oil and allow to heat up on medium. Once ready, add in your green onions (remember to save some for garnish) and ginger stirring constantly, and allow to fry for 3-4 minutes.

Once green onion and ginger are ready, add cauliflower rice into the skillet and mix until well incorporated before pressing the cauliflower down into the bottom of the skillet evenly and allowing it to cook on medium for the next 15 minutes.

During this time you can BBQ the chicken on medium-high heat, 10 minutes each side or until cooked through.

While the chicken and cauliflower are cooking make your Korean hot sauce by combining all the ingredients in a bowl and mixing thoroughly.

When cauliflower gets close to the 15-minute mark, give it a toss to allow crispy brown bits to mix and pat down again to form an even layer, allow to cook for an additional 5 -10 minutes until it is crispy. *Cauliflower rice will never get fully crispy because it holds a lot of water but it will get a little crispy

During these last few minutes fry up 4 eggs in a skillet using butter to coat the pan.

In a separate skillet, add 2 TBSP of vegetable oil and allow to heat up on medium heat. Add in the snow peas and frozen peas and allow them to fry ever so slightly before adding in 1/4 Cup of water, covering, and allowing to steam for 3-4 minutes.

When ready to plate, start with your cauliflower rice, add one friend egg to the middle, arrange bbq Chicken, bean sprouts, pickled Persian cucumber, and snow pea/pea mixture around the edge. Drizzle Korean hot sauce on top, garnish with extra green onion and serve!

Enjoy!


FOLLOW ME ON INSTAGRAM @ISTHATSOH


If you like this Korean bibimbap recipe or have any comments/questions about how to make bibimbap, feel free to leave them in the comment section below!


PIN THIS POST