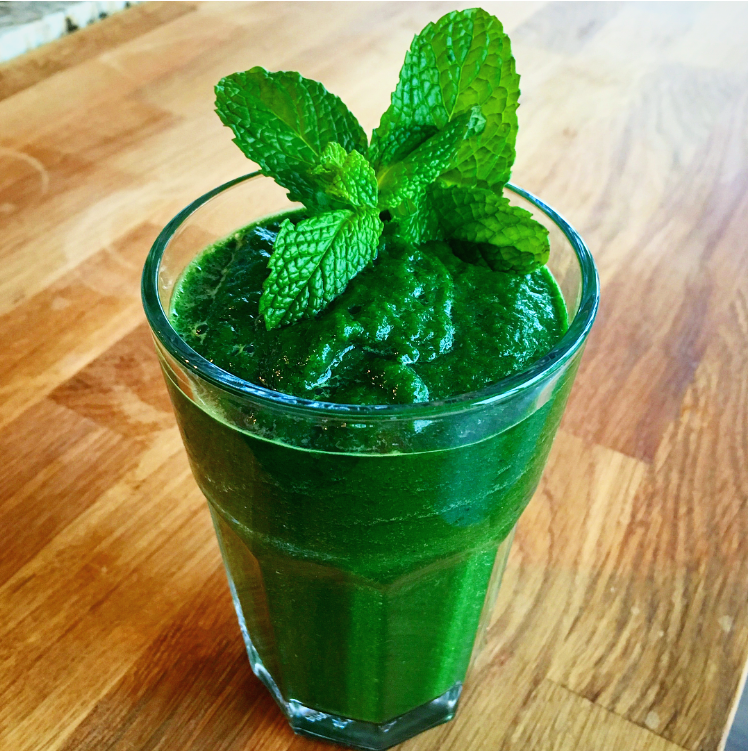
KALE AND PINEAPPLE GREEN SMOOTHIE - ANTI-ANGIOGENESIS

IMG_2283.PNG

I call this my anti-angiogenesis drink because it's full of great nutrients that help your body fight cancer and stop it from growing or metastasizing in your body. I designed this drink after watching Dr. William Li's Ted Talk on his discovery of anti-angiogenesis foods that help your body stop cancer cells from metastasizing and therefor helping you beat cancer. He calls it "eating to starve cancer". I will post the video below the recipe for you to see!! ENJOY

INGREDIENTS

2-3 Cups of Kale (steams removed and chopped)
1 Whole Cucumber (chopped)
3 Branches of Celery (chopped)
1 Lemon (peeled and chopped)
1/3 Of A Pineapple (chopped)
1 TSP of Spirulina Powder
A handful of Mint
 

DIRECTIONS:

Throw everything into a blender till it is liquefied and serve.


I hope you enjoyed this recipe as much as I do. If you have any comments please leave them below and I'll be happy to answer them as soon as I can! Happy cooking!!!



BEEF ROAST WITH ROOT VEGETABLES

Roast beef is a great option if you are having dinner parties because its easy to prepare and let go while you prep everything else. It also feeds a large number of people


Feeds 10 people

INGREDIENTS:

2 Large Sweet Potatoes (Wash and Roughly Chopped)
3 Yukon Potatoes (Wash and Roughly Chopped)
1.5 lbs of Small Potatoes (Just Wash)
3-4 TBSP of Olive Oil
1 TBSP Canola Oil
2 x 3-4lbs Beef Roasts
Salt and Pepper (as desired)
1.5 lbs Mini Carrots
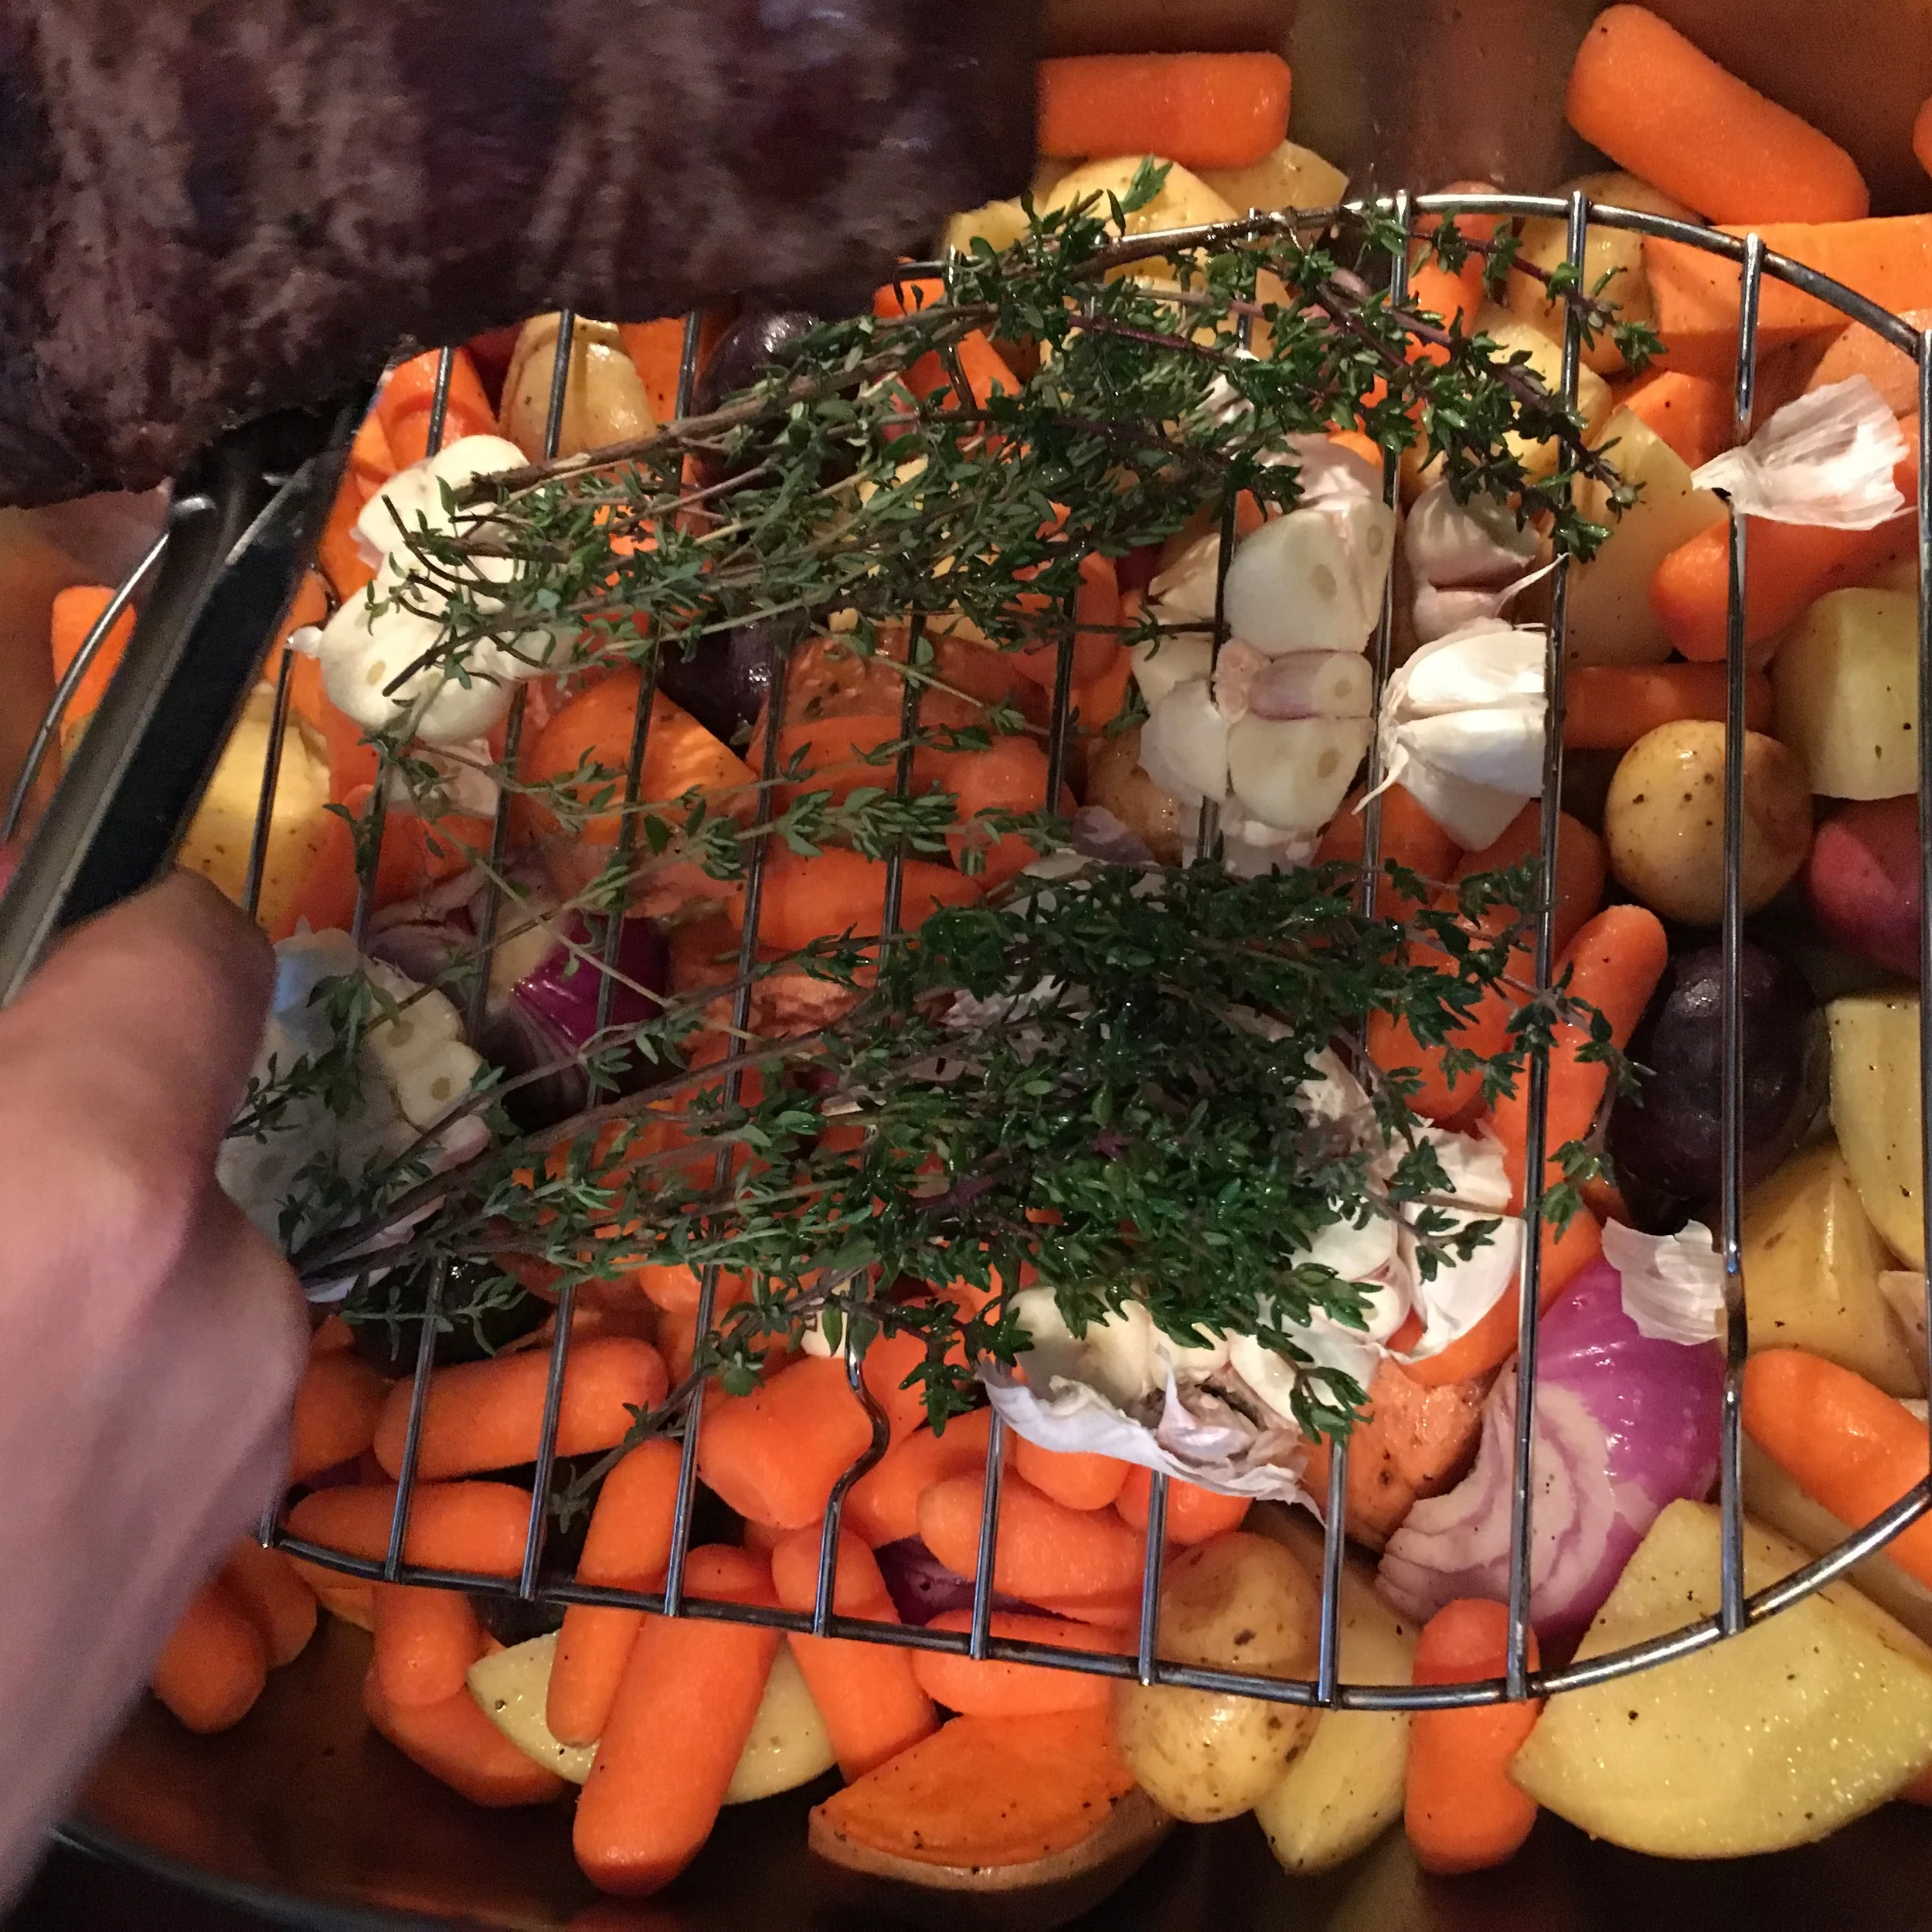
3 Heads of Garlic (Cut in half horizontally so the cloves are exposed on both sides - see photo)
Fresh Thyme

DIRECTIONS:

Preheat oven to 400 degrees

Throw your potatoes into a roasting pan. Drizzle Olive oil,  salt and pepper on top and mix around so they are evenly coated.

Throw the roasting pan in the oven for 10 minutes to get the potatoes started

Get a large frying pan and add in your canola oil. Salt and pepper you meat and sear all sides on the stove top at medium to high heat. Sear until the sides are browned (apx 1-2 minutes per side).

Take the roasting pan out of the oven and add in your carrots. If you have a rack that is included with the pan put that on top of the vegetables before continuing otherwise just continue without it.

Make a bed of garlic and thyme on top of the vegetables and place the roast beef on top, fat side up.

Place roasting pan back in the oven for an additional 50 minutes - you can use a meat thermometer if you have one to get the desired meat temperature.

Once done take the roasting pan out of the oven, set meat aside and let rest for 10-15 minutes minimum so that the juice stays in the meat when you cut into it later.

While your meat is resting - if your vegetables are not fully cooked you can put the vegetables back in the oven on broil at 450 to get them nice and crispy.


I hope you enjoyed this recipe as much as I do. If you have any comments please leave them below and I'll be happy to answer them as soon as I can! Happy cooking!!!


MUSHROOMS ON TOAST

Mushrooms are a great source of Vitamin D and Iron! They are also low in calories which is great if you are watching your weight! I really like mushrooms on toast its not only delicious but a great way to boost your immune system if you are feeling run down. Mushrooms also can boost your metabolism because they have Vitamin B which is vital for turning food (carbohydrates) into fuel (glucose), which the body needs/burns to produce energy. Not to mention they taste good! Enjoy!!!

Yields 2 Pieces of Mushrooms on Toast

INGREDIENTS:

4 Cups of Mushrooms (I used a mix of Shiitake (remember to take the stems off) and Oyster mushrooms)
1-2 TBSP of Olive Oil
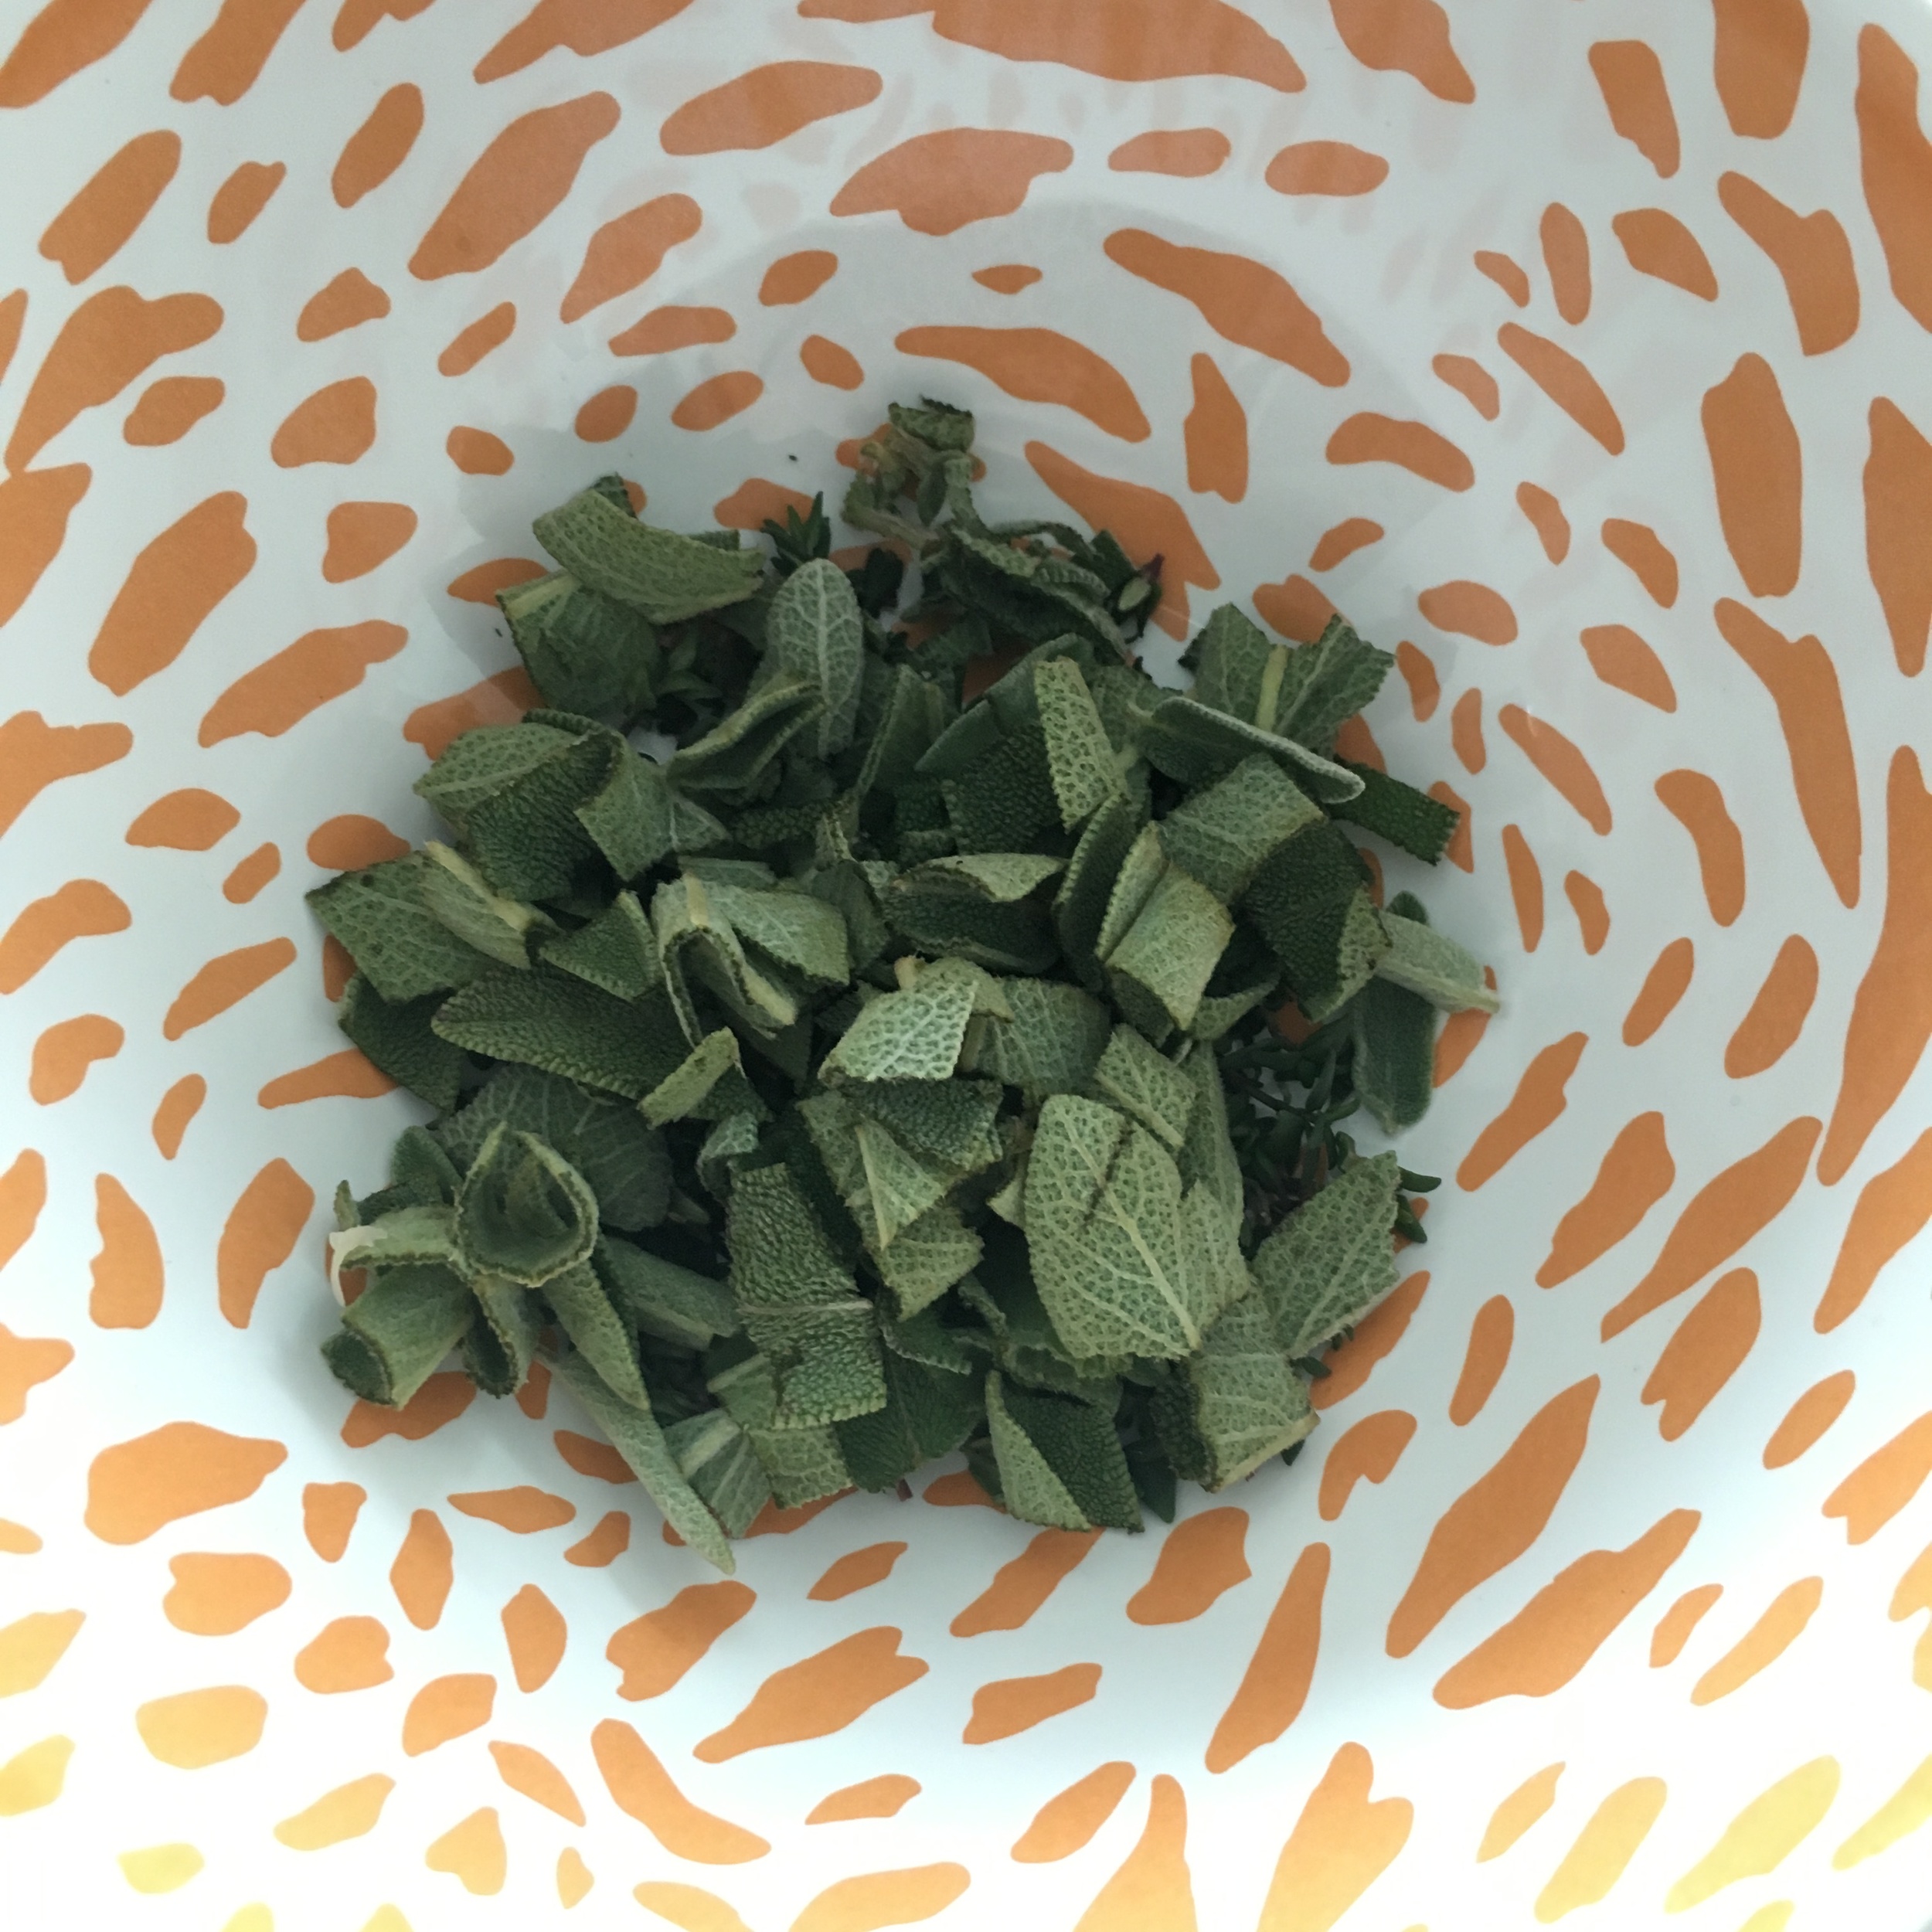
1/4 Cup of Fresh Sage - chopped
1/4 Cup of Fresh Thyme - chopped
2 Cloves of Garlic - minced or pressed
Salt and Pepper - as desired
Bread (Gluten free or Vegan Crackers can be used too)
 

DIRECTIONS:

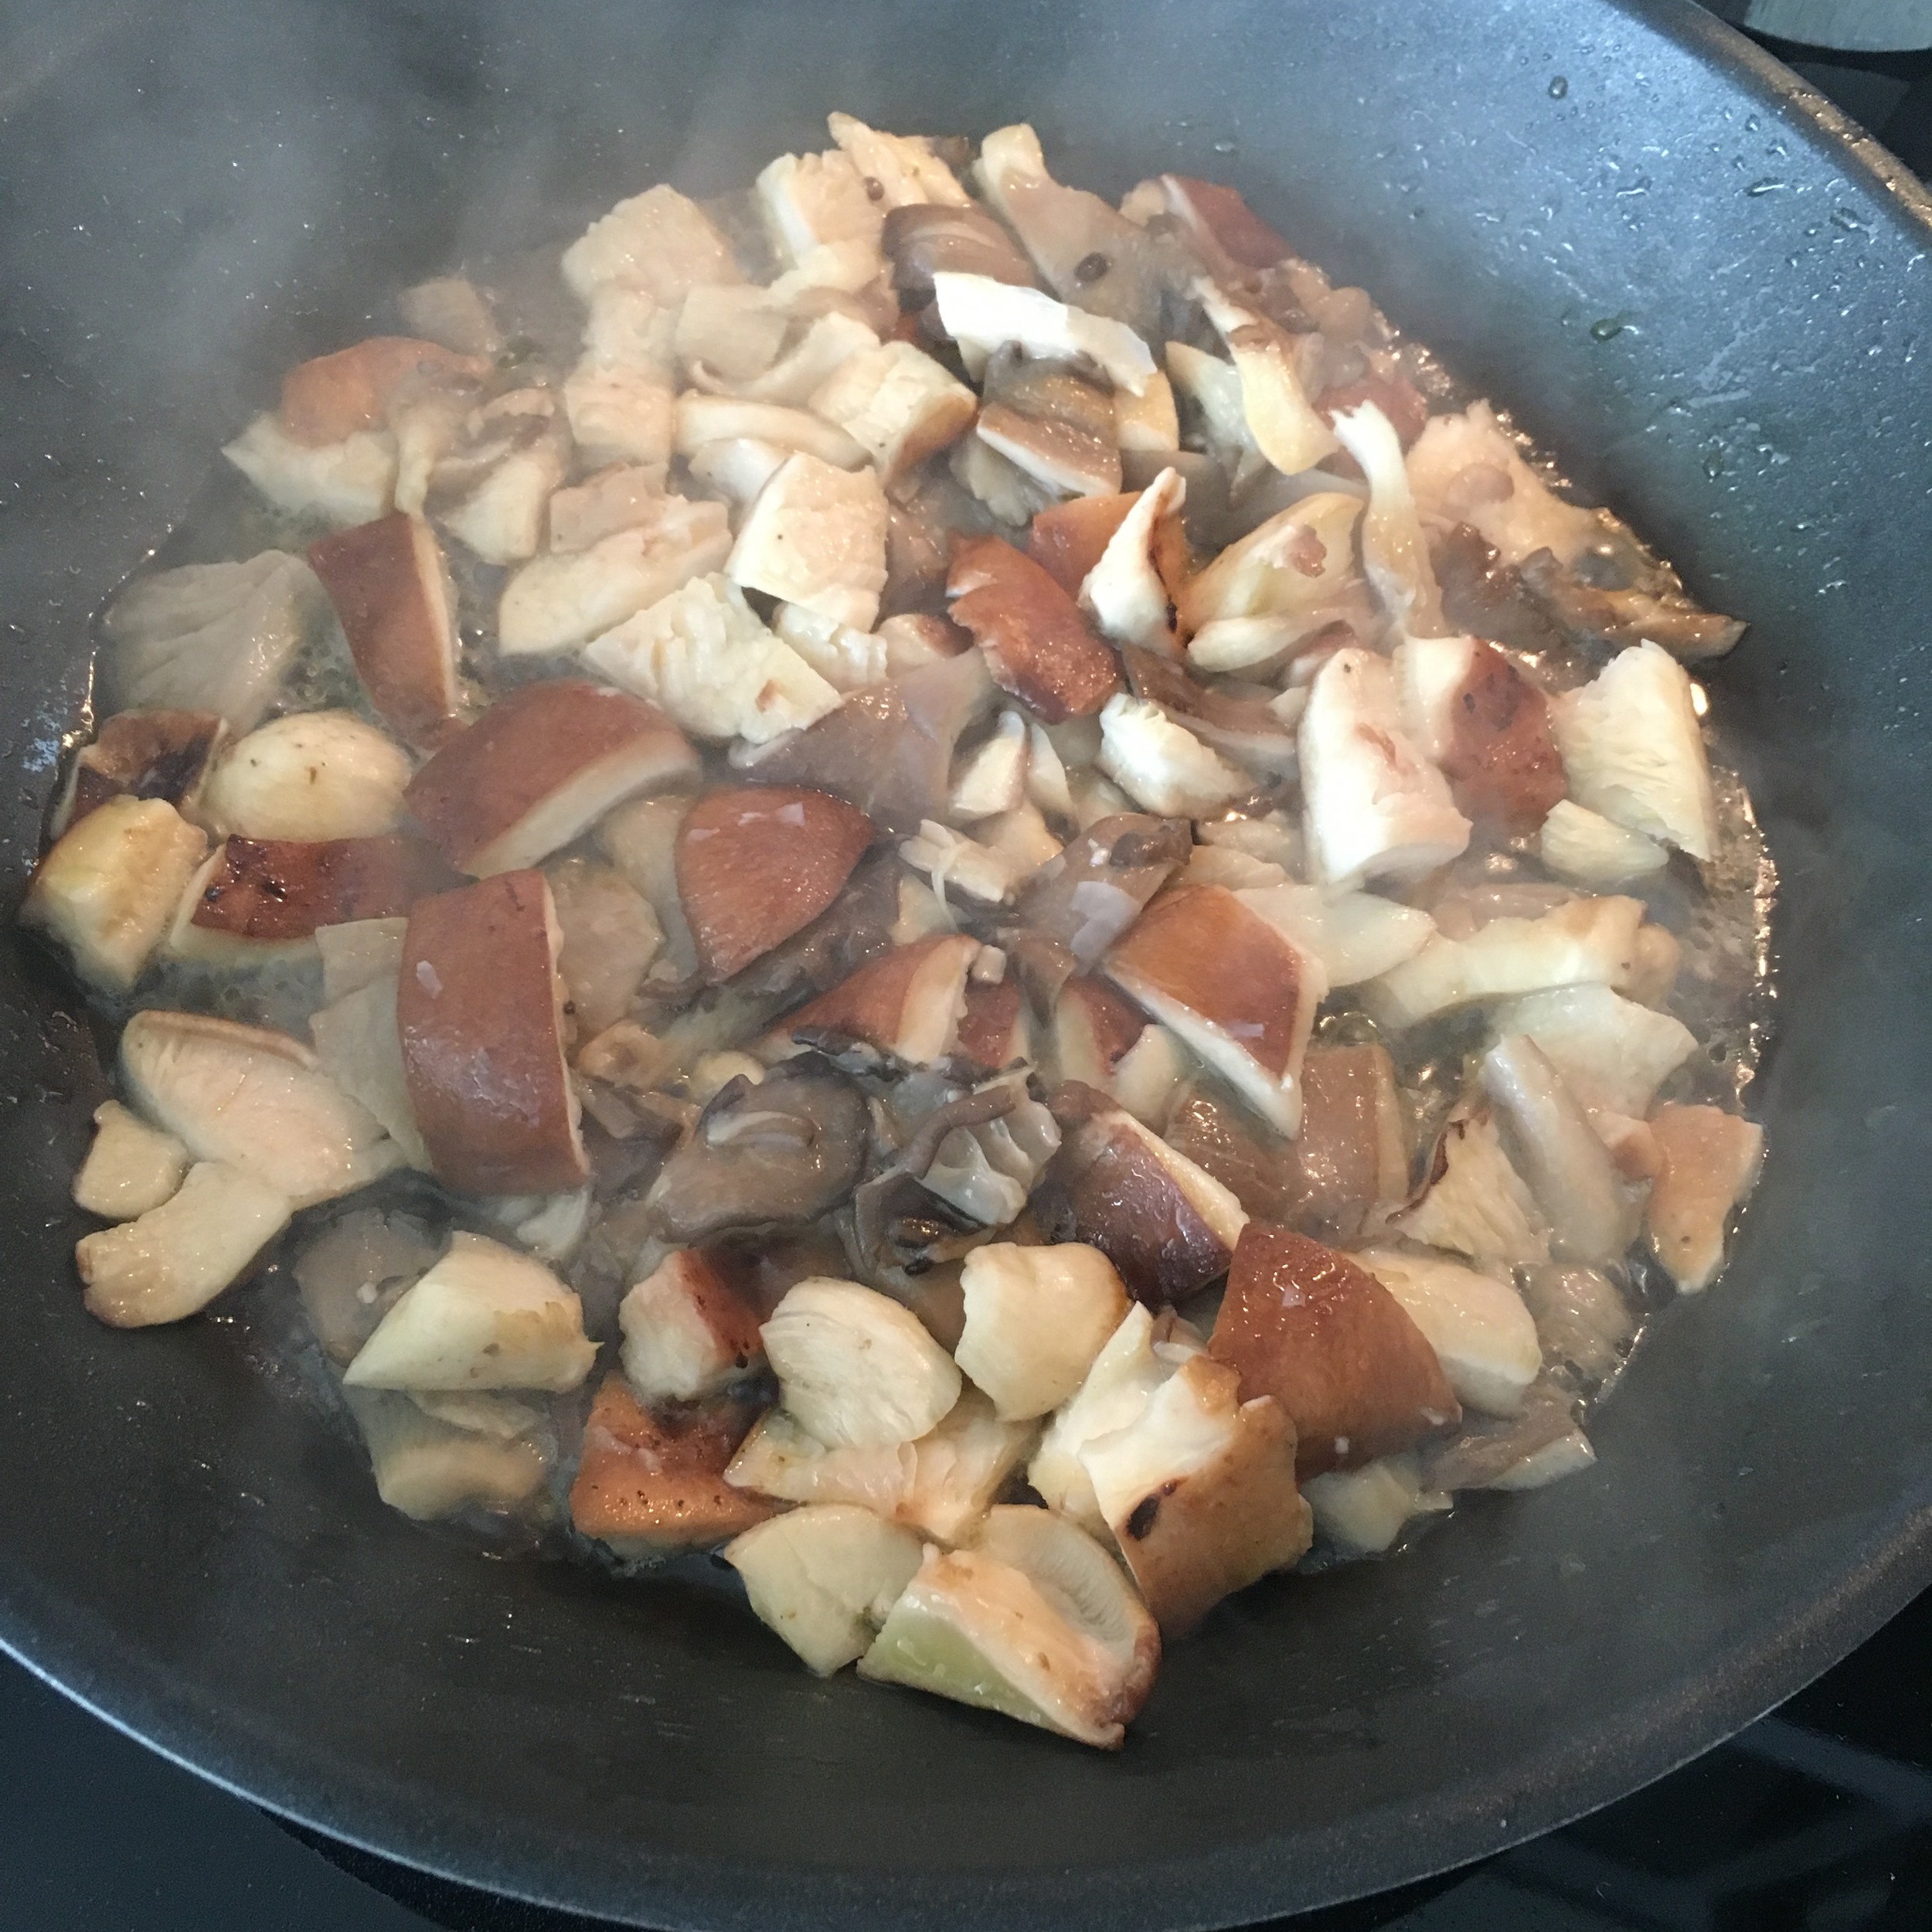
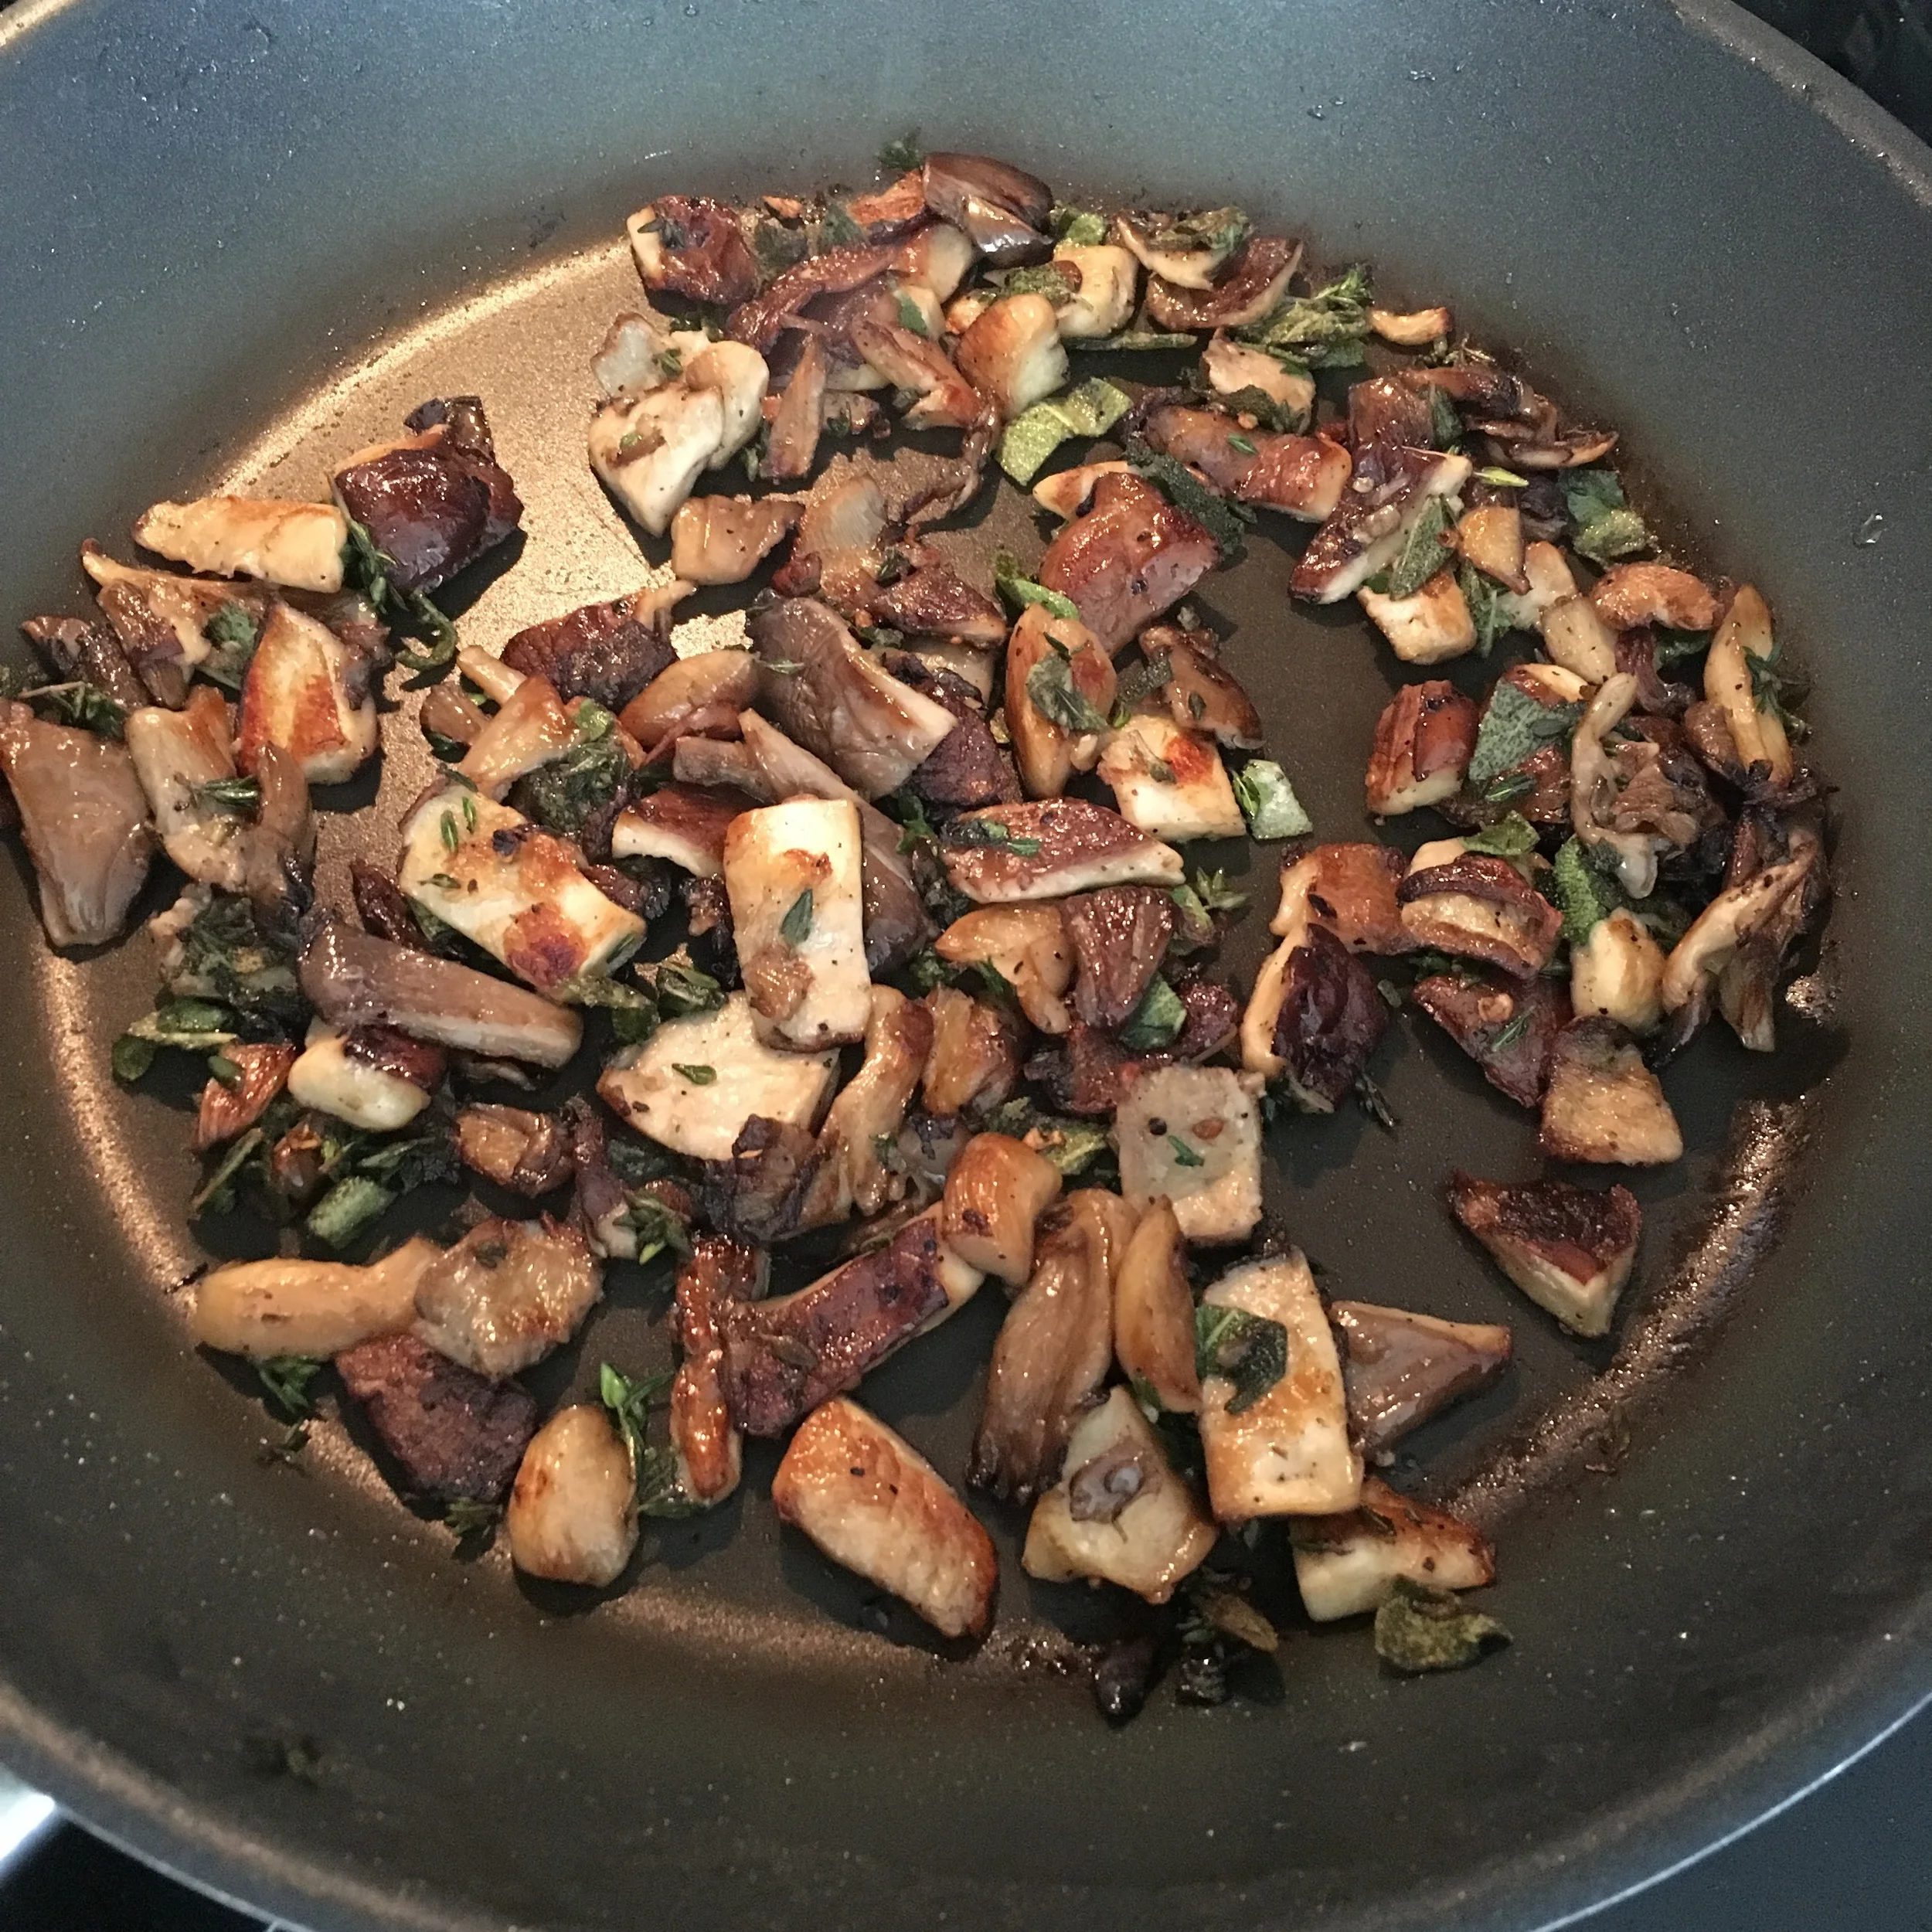
Olive oil the pan and let it heat up on medium heat. Throw in your mushrooms and let that saute. The water will come out of the mushrooms.

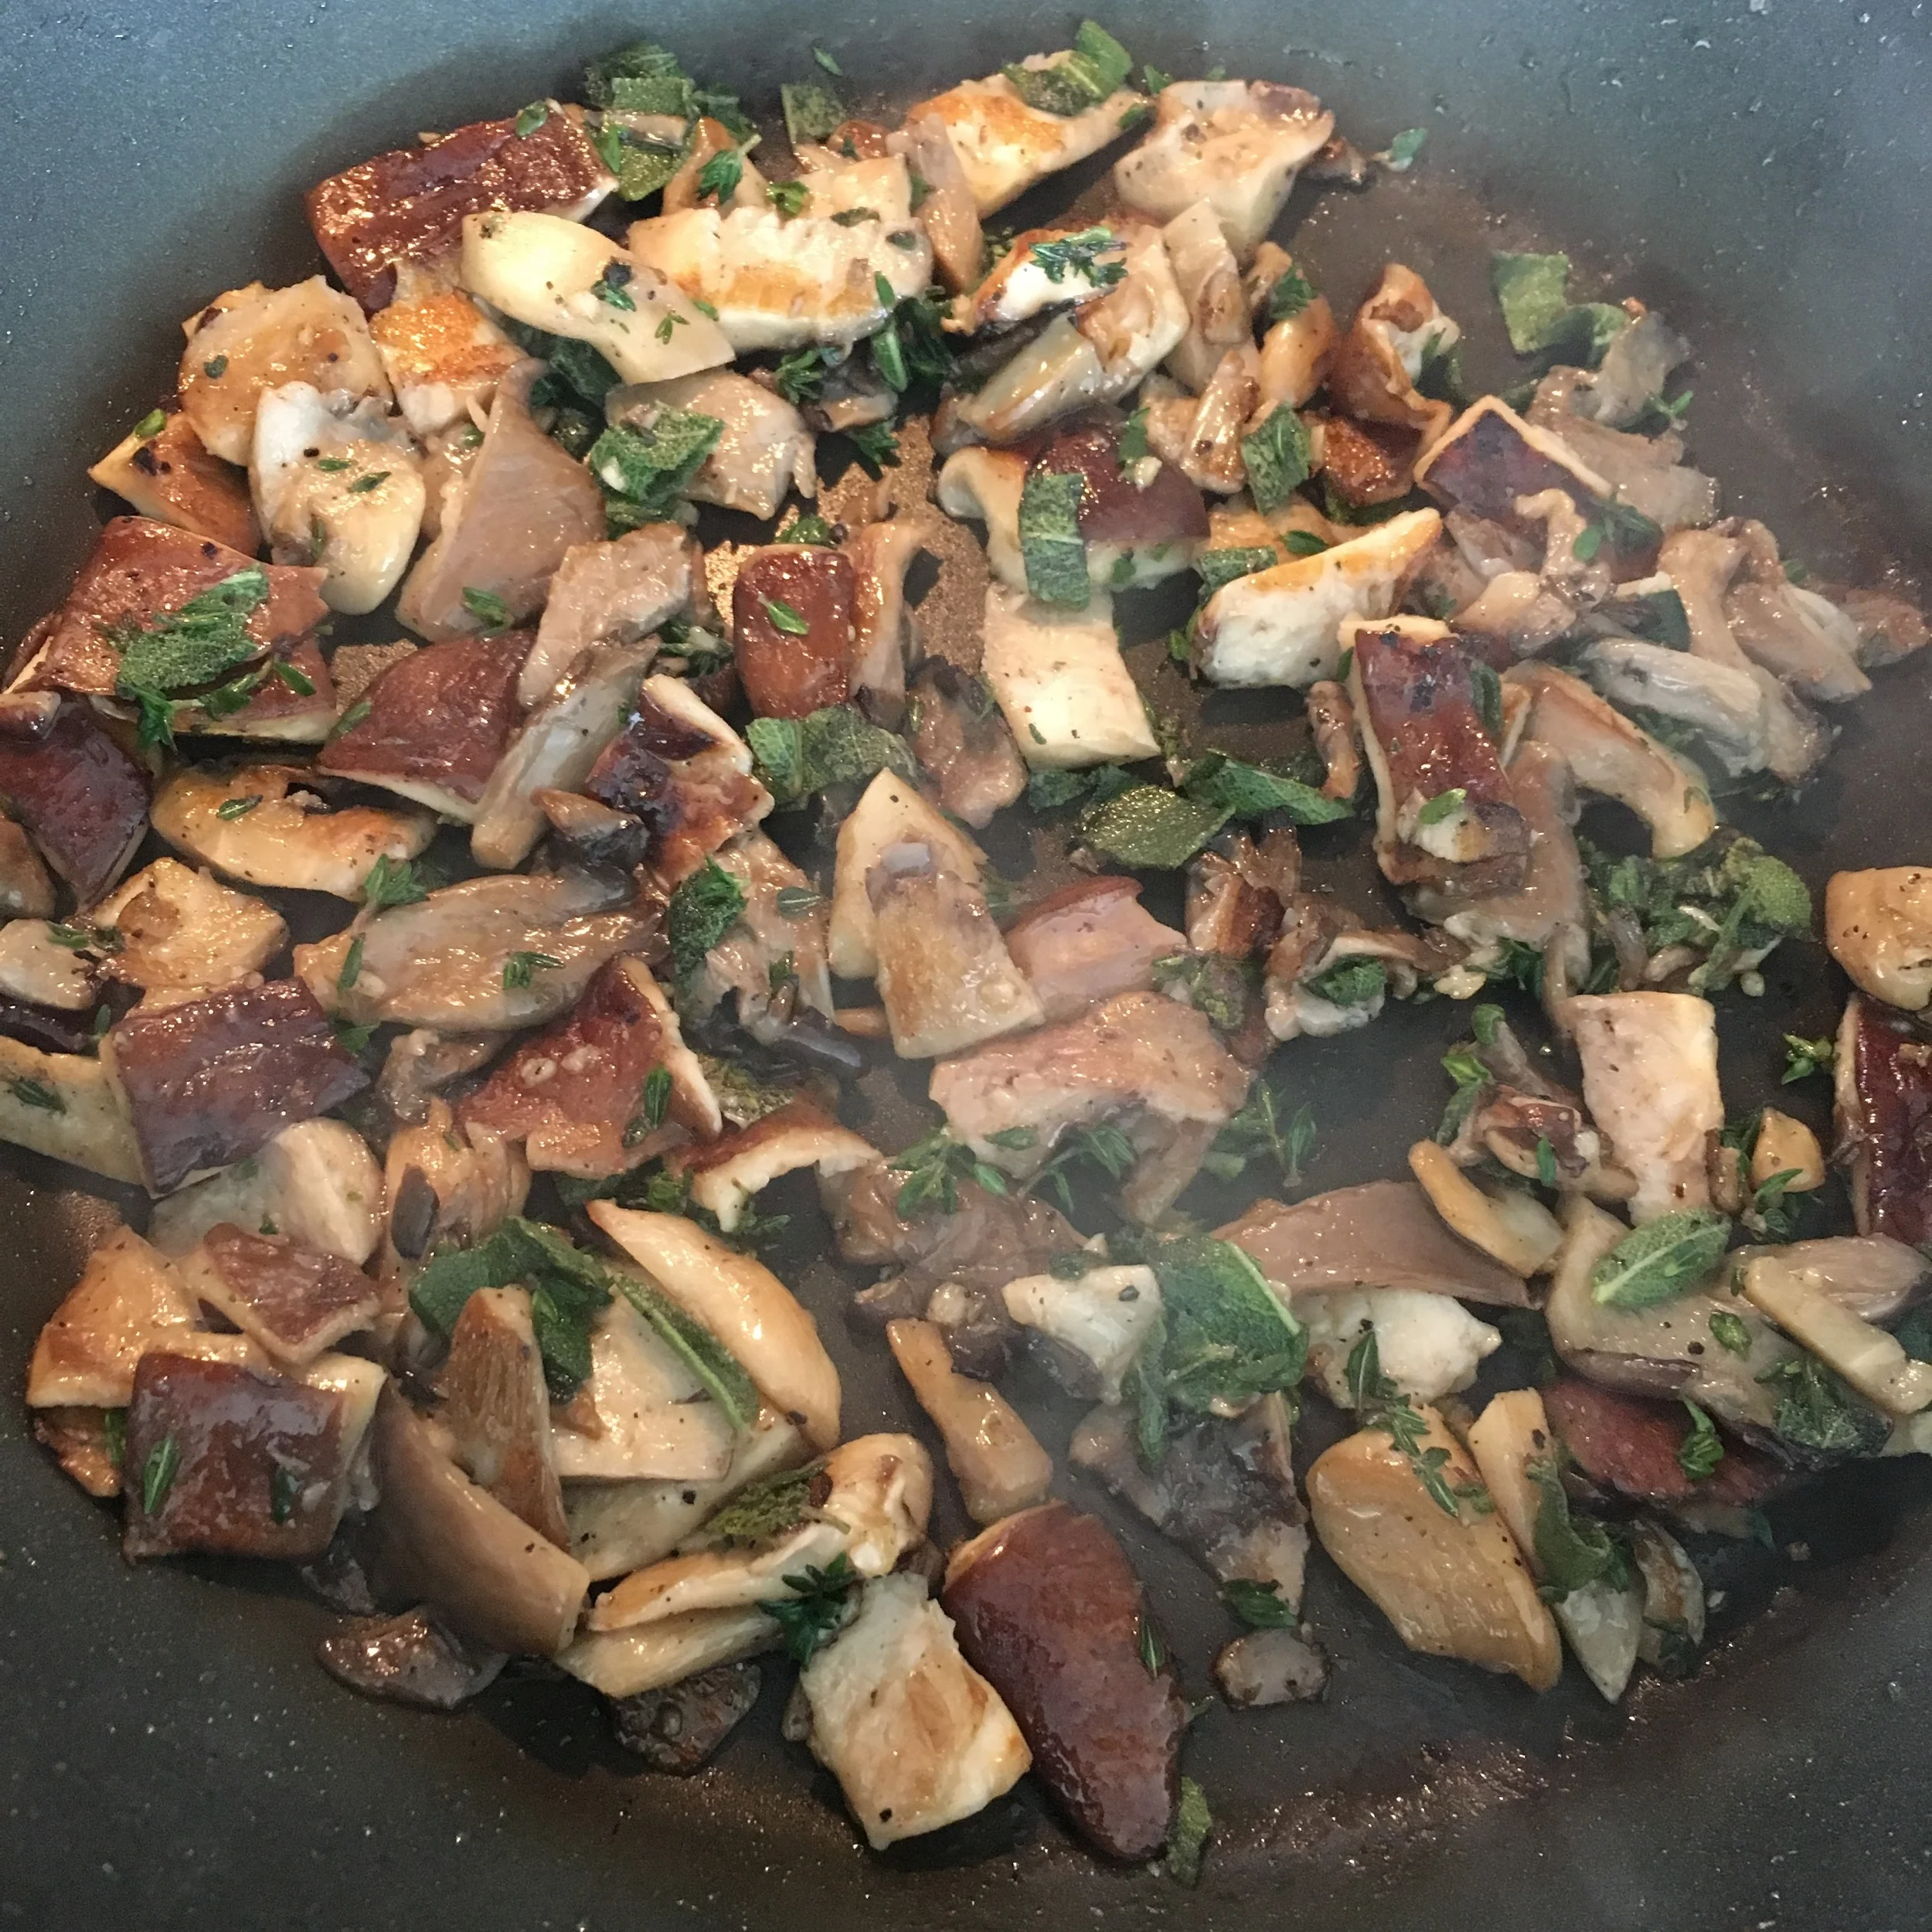
Once the water comes out it will start to evaporate. When the water is nearly gone, throw in your garlic, sage, thyme and salt and pepper. The mushrooms will start to absorb the flavors at this point.

Continue to cook for another 10-15 minutes on medium heat. As they start to get golden brown you can reduce the heat.

Put you bread in the toaster and do your thing.

Spread the mushrooms on the toast and drizzle some of the juices from the pan on top and enjoy!


I hope you enjoyed this recipe as much as I do. If you have any comments please leave them below and I'll be happy to answer them as soon as I can! Happy cooking!!!

GLUTEN FREE MAPLE SYRUP GRANOLA

This gluten free granola is delicious and can add a crunch to any breakfast or an amazing snack! The nuts you put in your granola are filled with plant based protein and omega 3 fatty acids that are great for heart health. The rolled oats are gluten free and filled with fiber that is essential for digestion. The dried cranberries I used for this granola and raisins are filled with antioxidants and natural sugars (carbs) as well as some vitamin C. Granola is a great thing to prepare on the weekend and eat throughout the week because it stores well, makes a great healthy snack and is great for kids. ENJOY!

INGREDIENTS:

3 Cups of Gluten Free Rolled Oats
1/2 - 1 Cup of Walnuts (rushed roughly)
1/2 - 1 Cup of Almonds (rushed roughly)
1/2 TSP of Cinnamon
1/4 TSP of Salt
1/2 Cup of Maple Syrup
1/4 Cup of Vegetable Oil
1 TSP of Vanilla Extract
1/2 Cup of Cranberries
1/2 Cup of Raisins
 

DIRECTIONS:

Preheat oven on bake to 300 degrees.

In a large bowl mix the rolled oats, nuts, cinnamon and salt - mix it all together

In another smaller bowl add in your maple syrup, vegetable oil and vanilla extract. Whisk together. 

Drizzle the maple syrup mixture over the rolled oats and nut mixture and mix all together till the oats and nuts is evenly coated and there are no lumps.

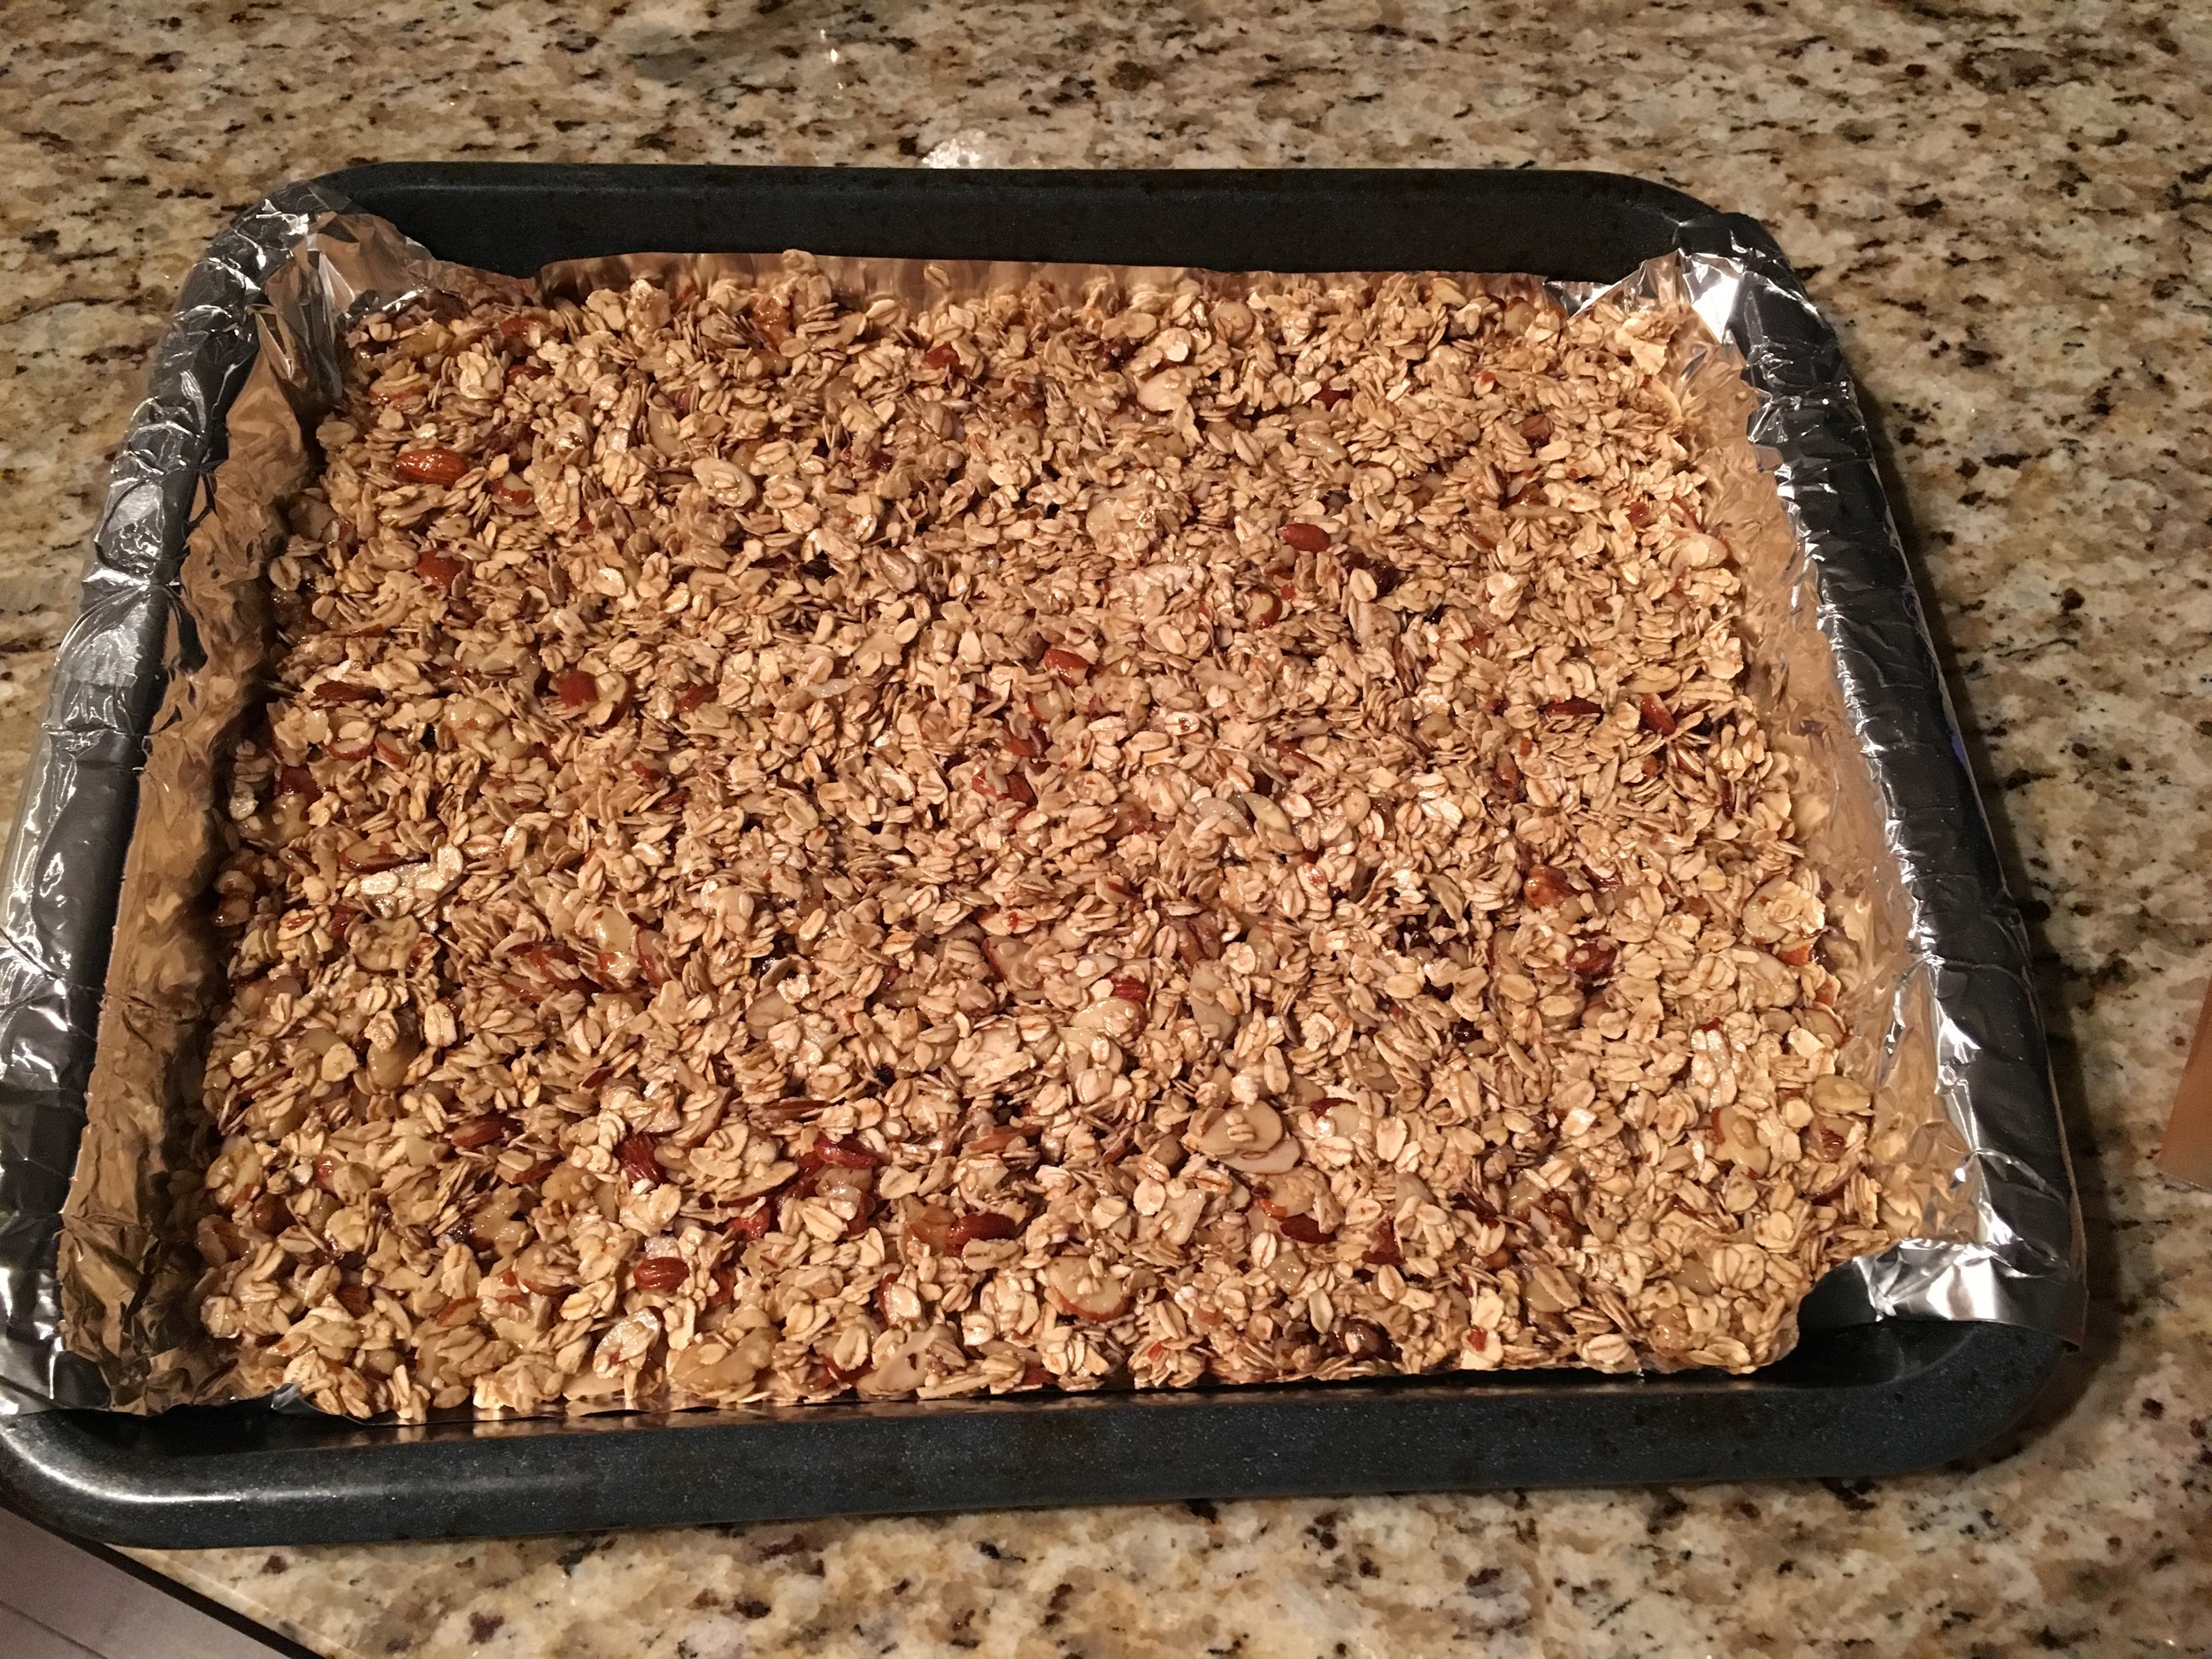
Spread the bowl of ingredients on a baking sheet lined with aluminum foil.

Bake the granola in the oven for 25 minutes or until it starts to golden.

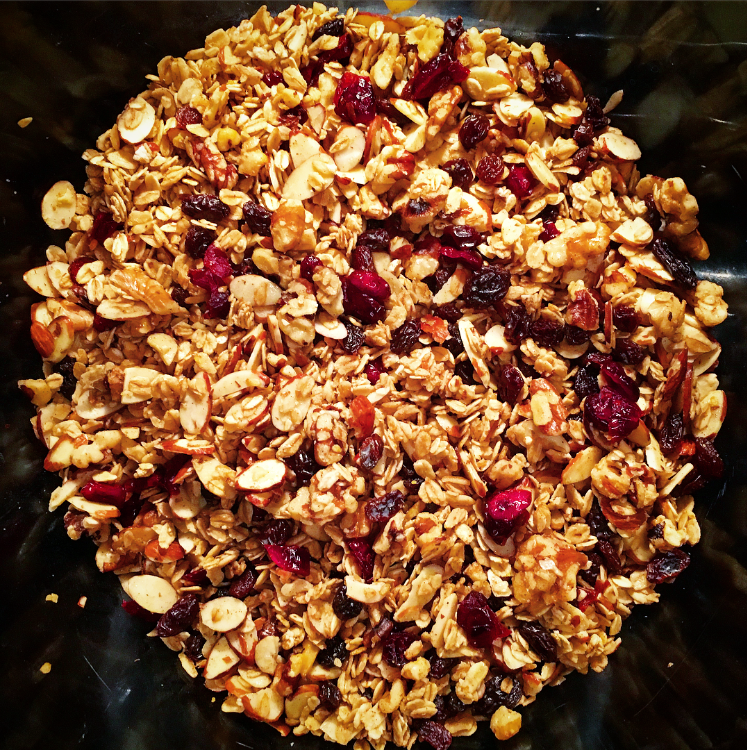
Once golden remove from the oven and let cool before adding in your dried fruit. Mix and store in a airtight container (It should stay good for apx 2 weeks).


I hope you enjoyed this recipe as much as I do. If you have any comments please leave them below and I'll be happy to answer them as soon as I can! Happy cooking!!!

DAIRY FREE CHICKEN FAJITAS

Chances are you have probably heard of chicken fajitas before so no need to explain their origin, however if you take out the dairy they are relatively high in protein and nutrition. The guacamole has avocados which are high in good fats that lower your blood pressure, act as an anti-inflammatory and reduces your cholesterol; and therefore your risk of heart disease. Chicken breast is a great source of lean protein while the onions are great at regulating blood pressure and providing you with your daily dose of Vitamin C. Tomatoes are full of antioxidants and are known to help reduce the risk of heart disease, cancer and and diabetes! Sounds pretty good right! What's not to like. Enjoy!

INGREDIENTS:

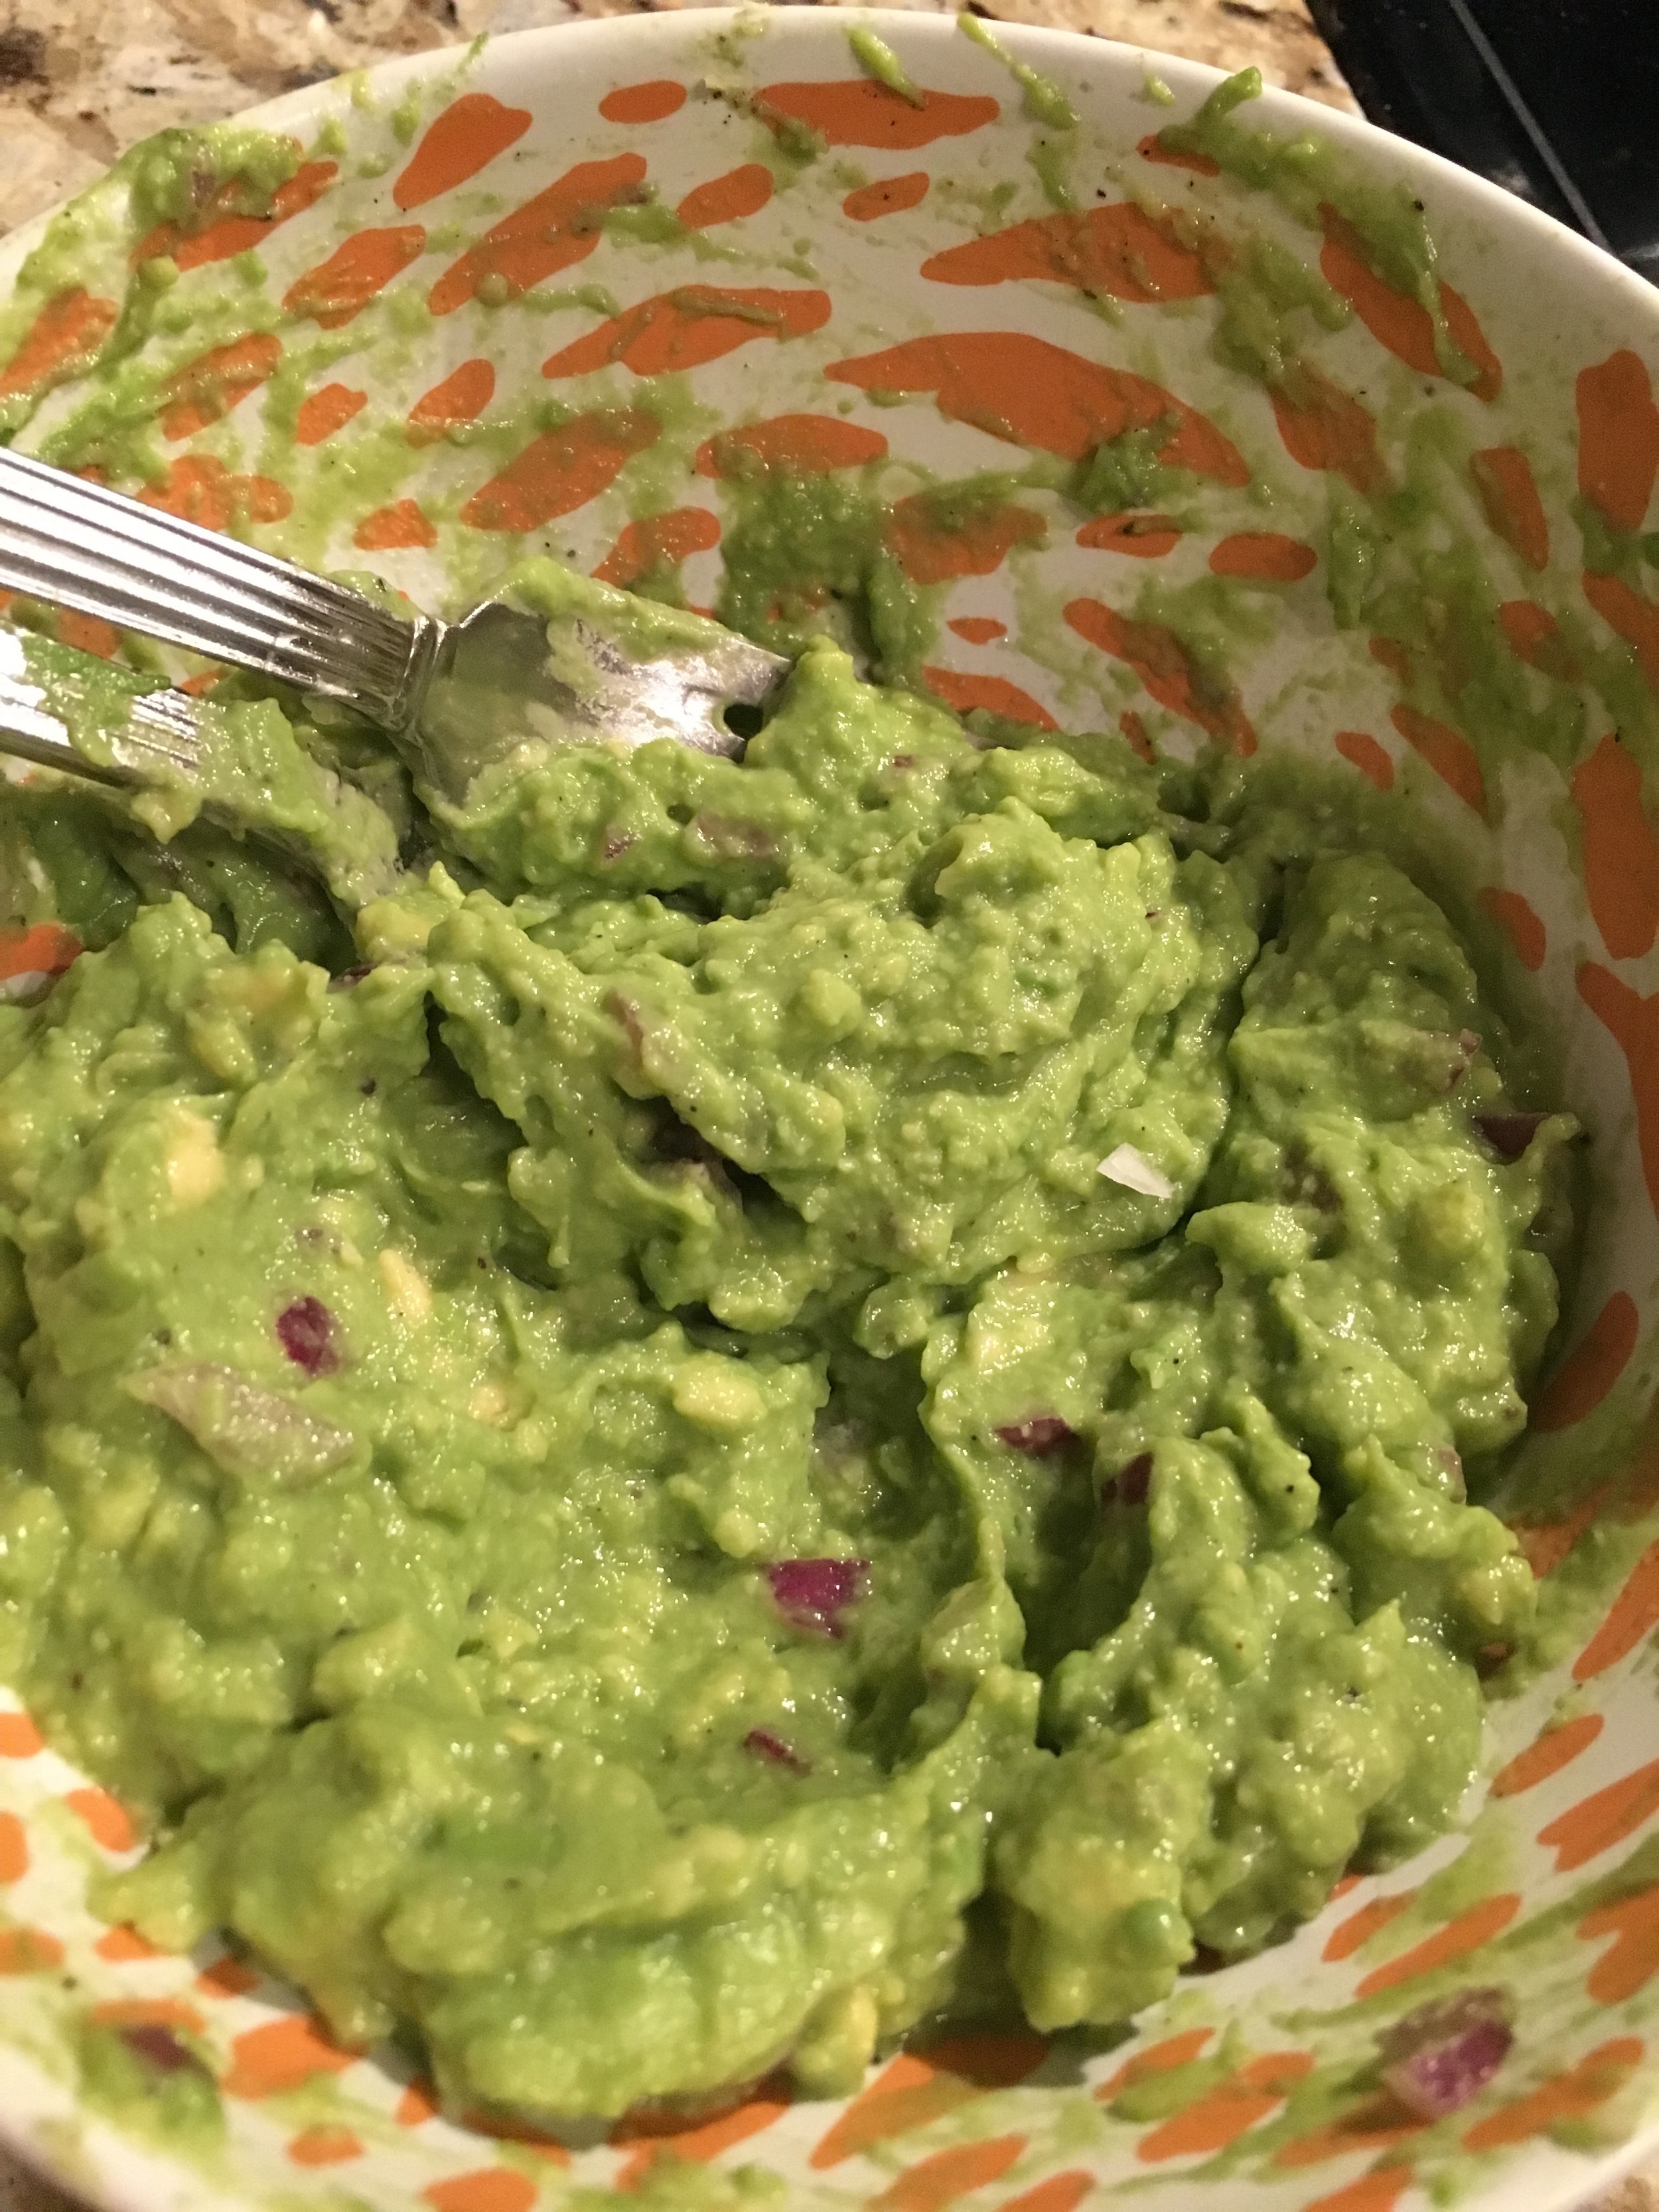
Guacamole
2 Avocados
1/4 Cup of Red Onion (Chopped)
1 Clove of Garlic
1 Lime (juiced)
Salt and Pepper to taste
Cilantro - Chopped Finely (optional) *
Tomato - Chopped (optional)*

* I did not add this item but it's not uncommon, you do you.

Other Toppings
1 Tomato (Chopped)
Pre-made salsa

Fajitas
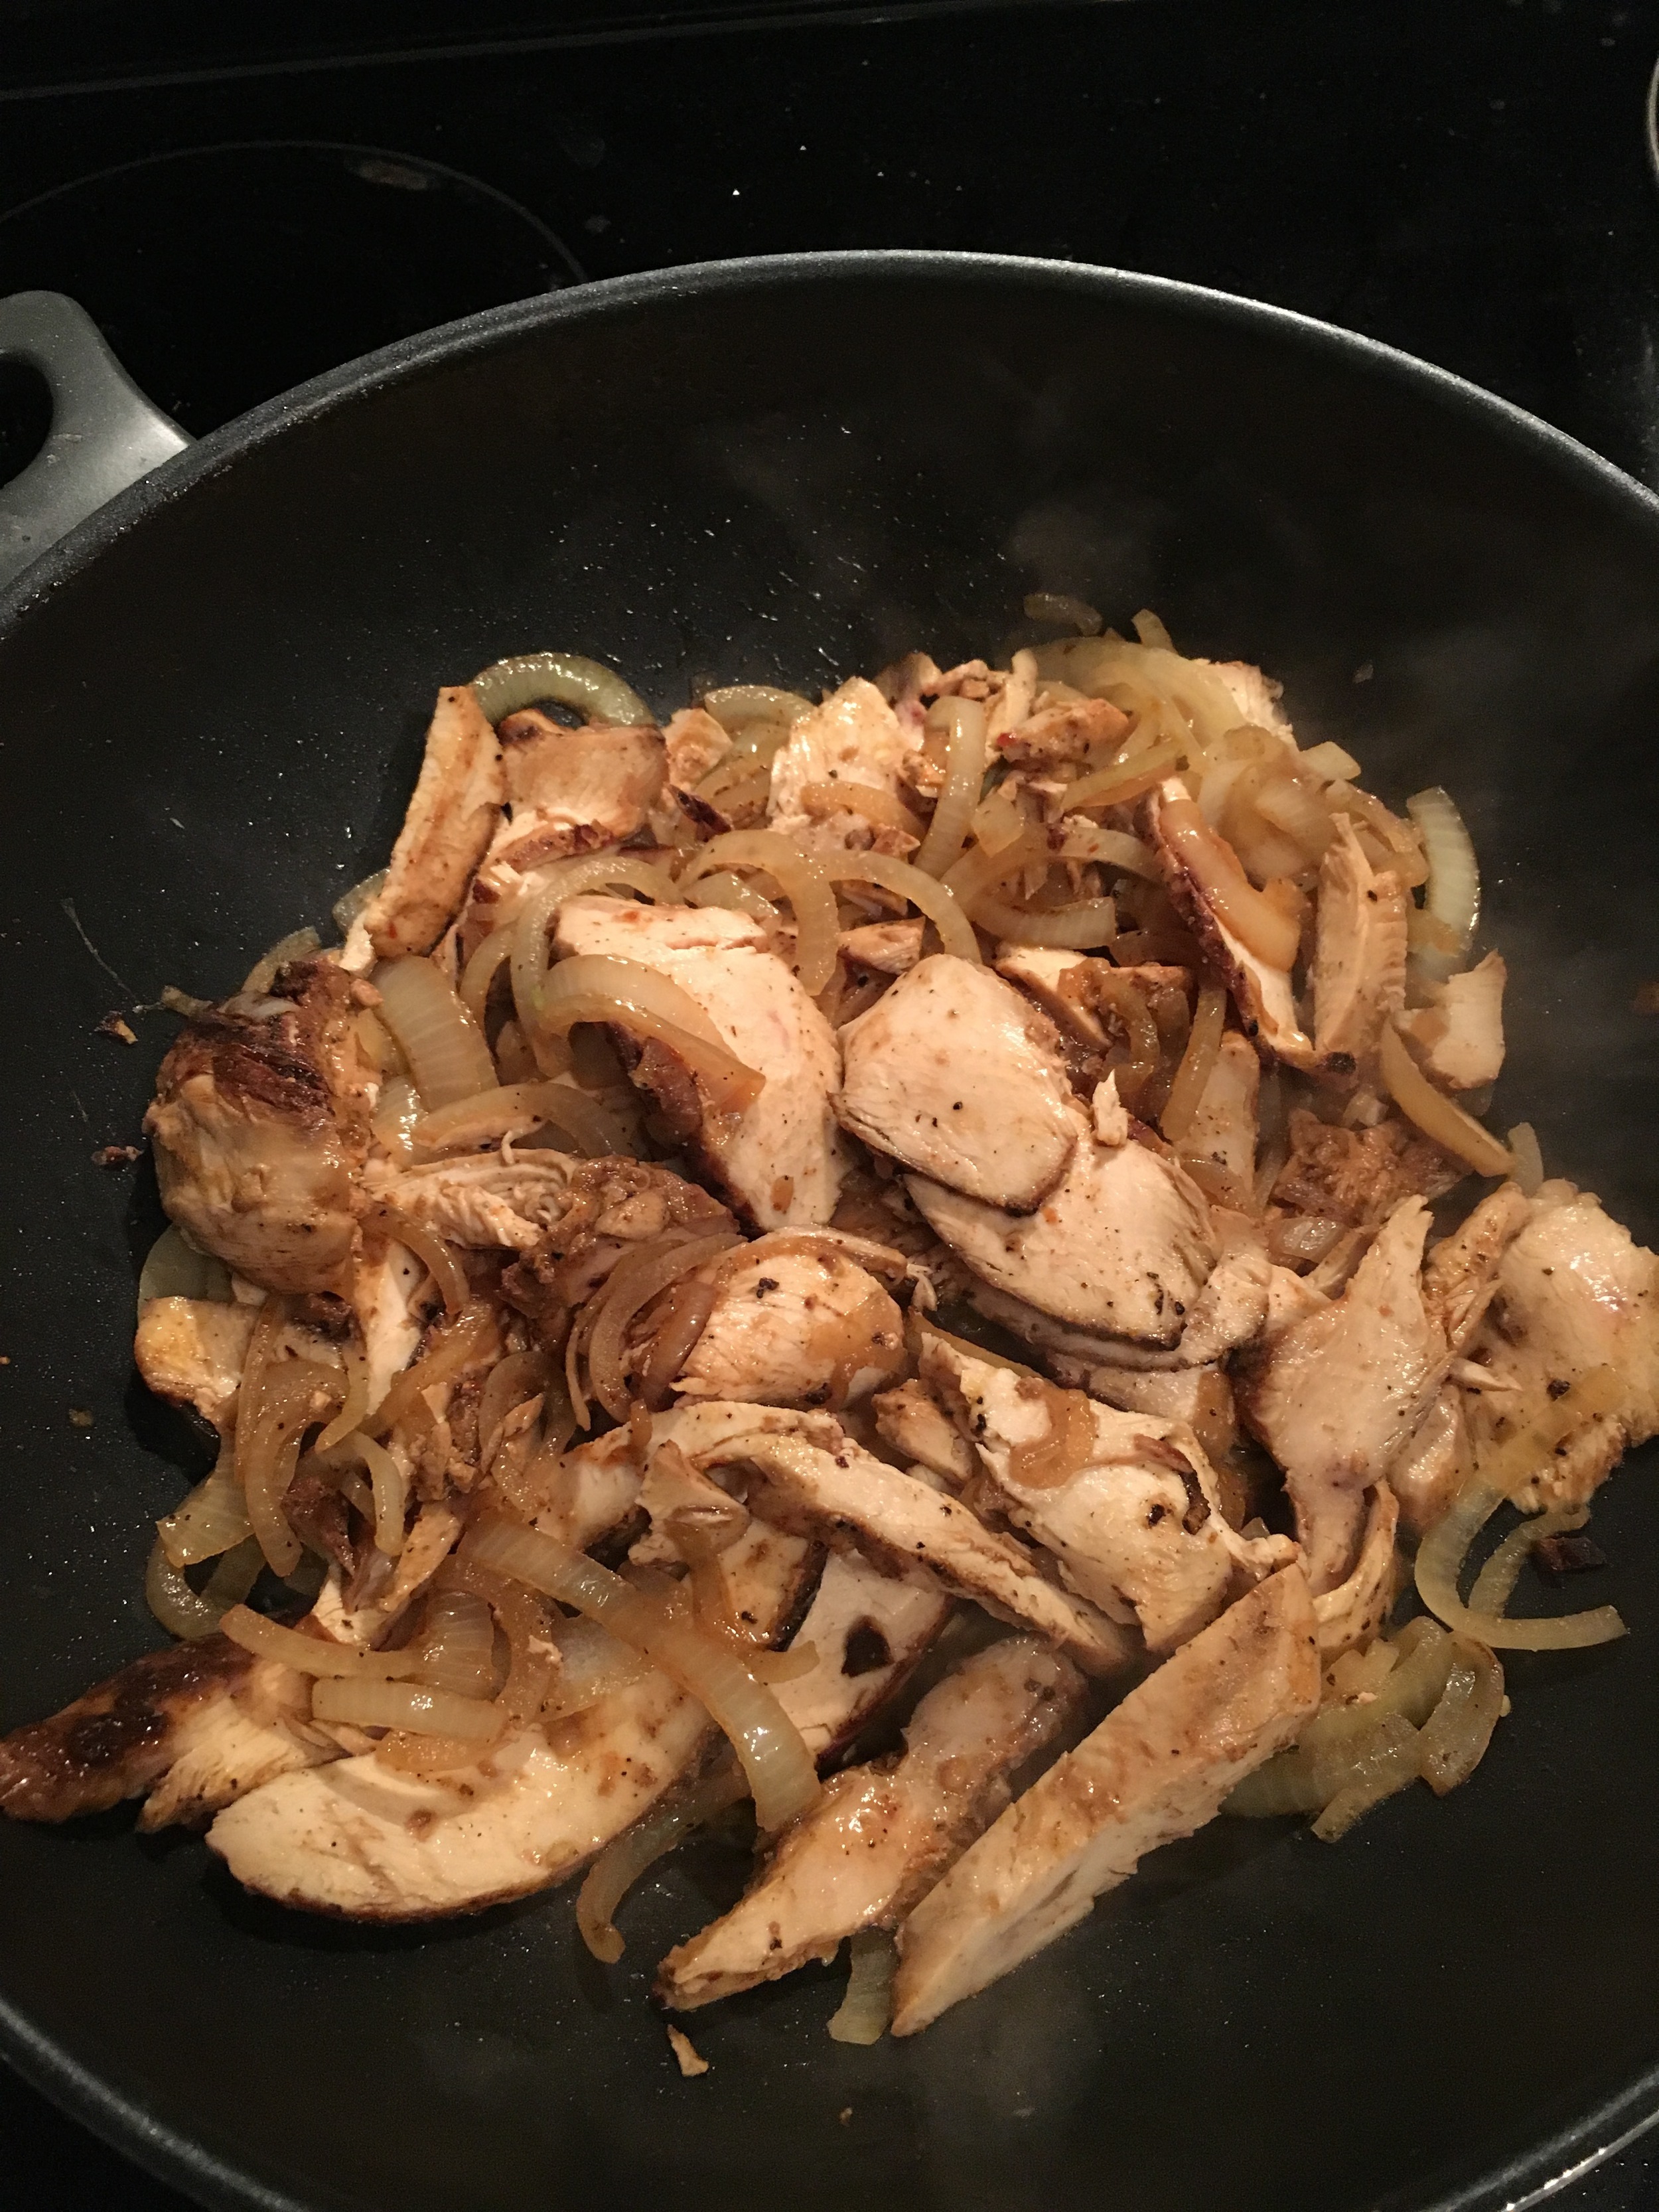
Chicken Breast (cut into strips)
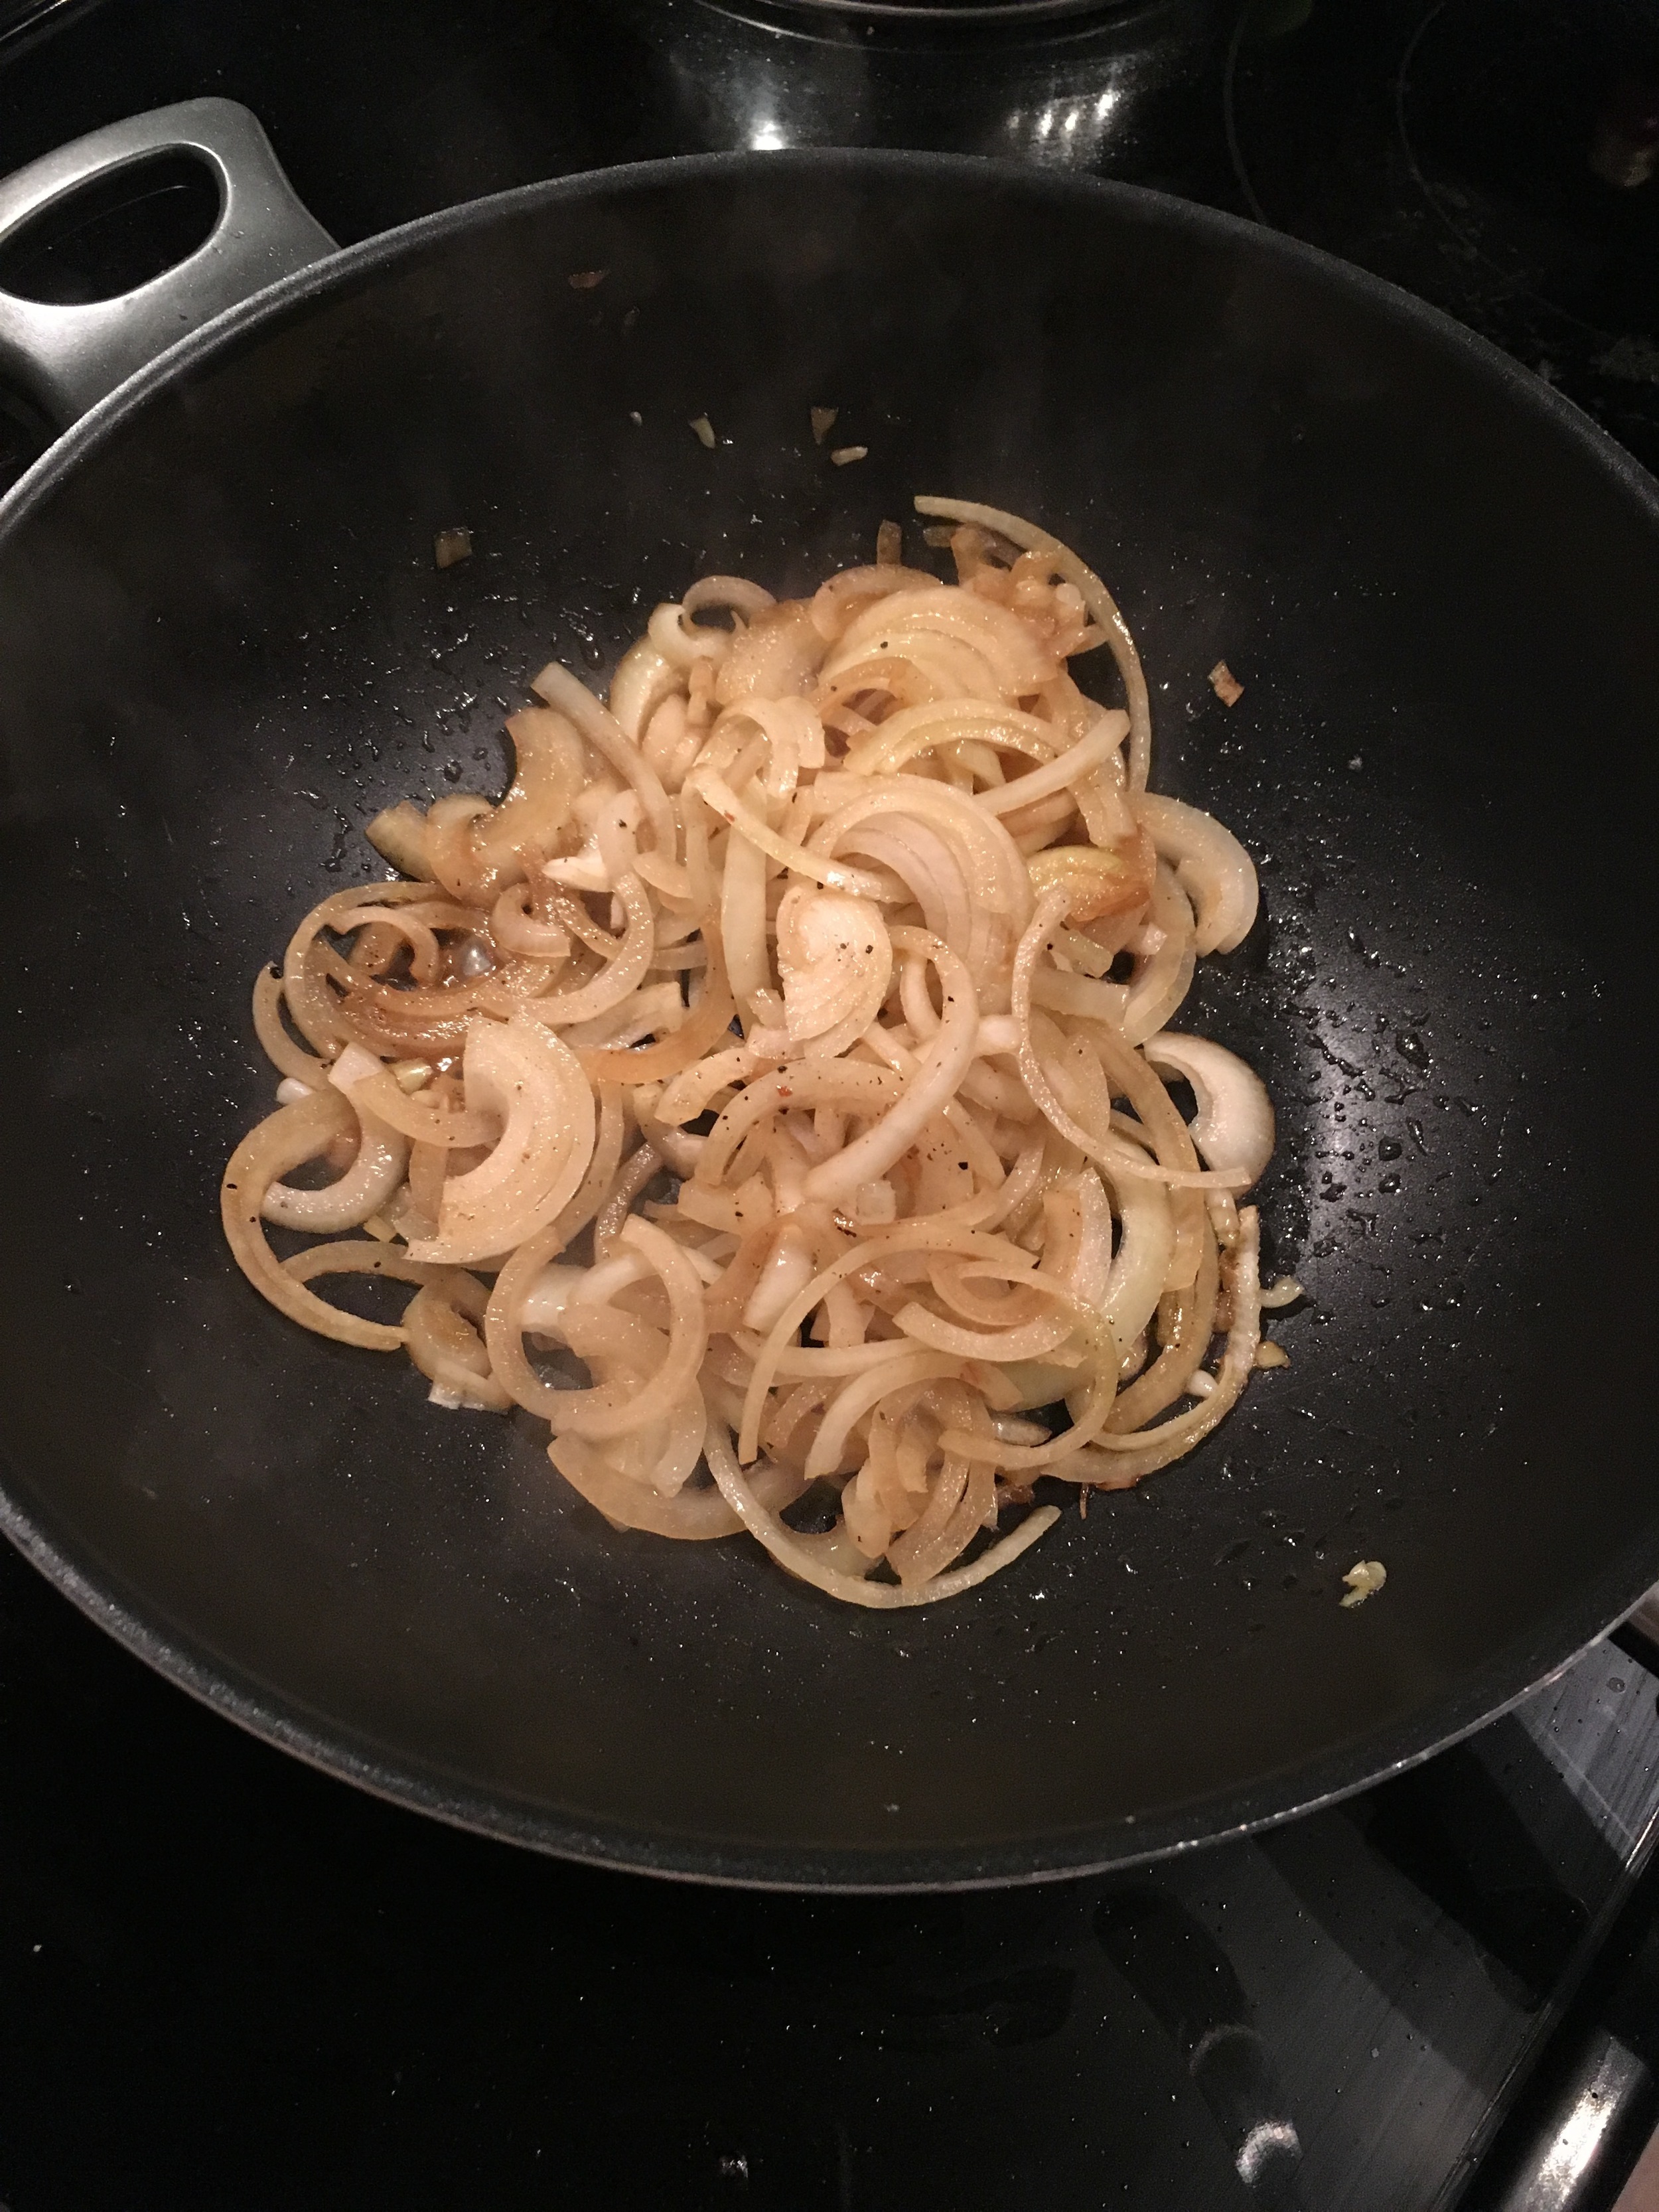
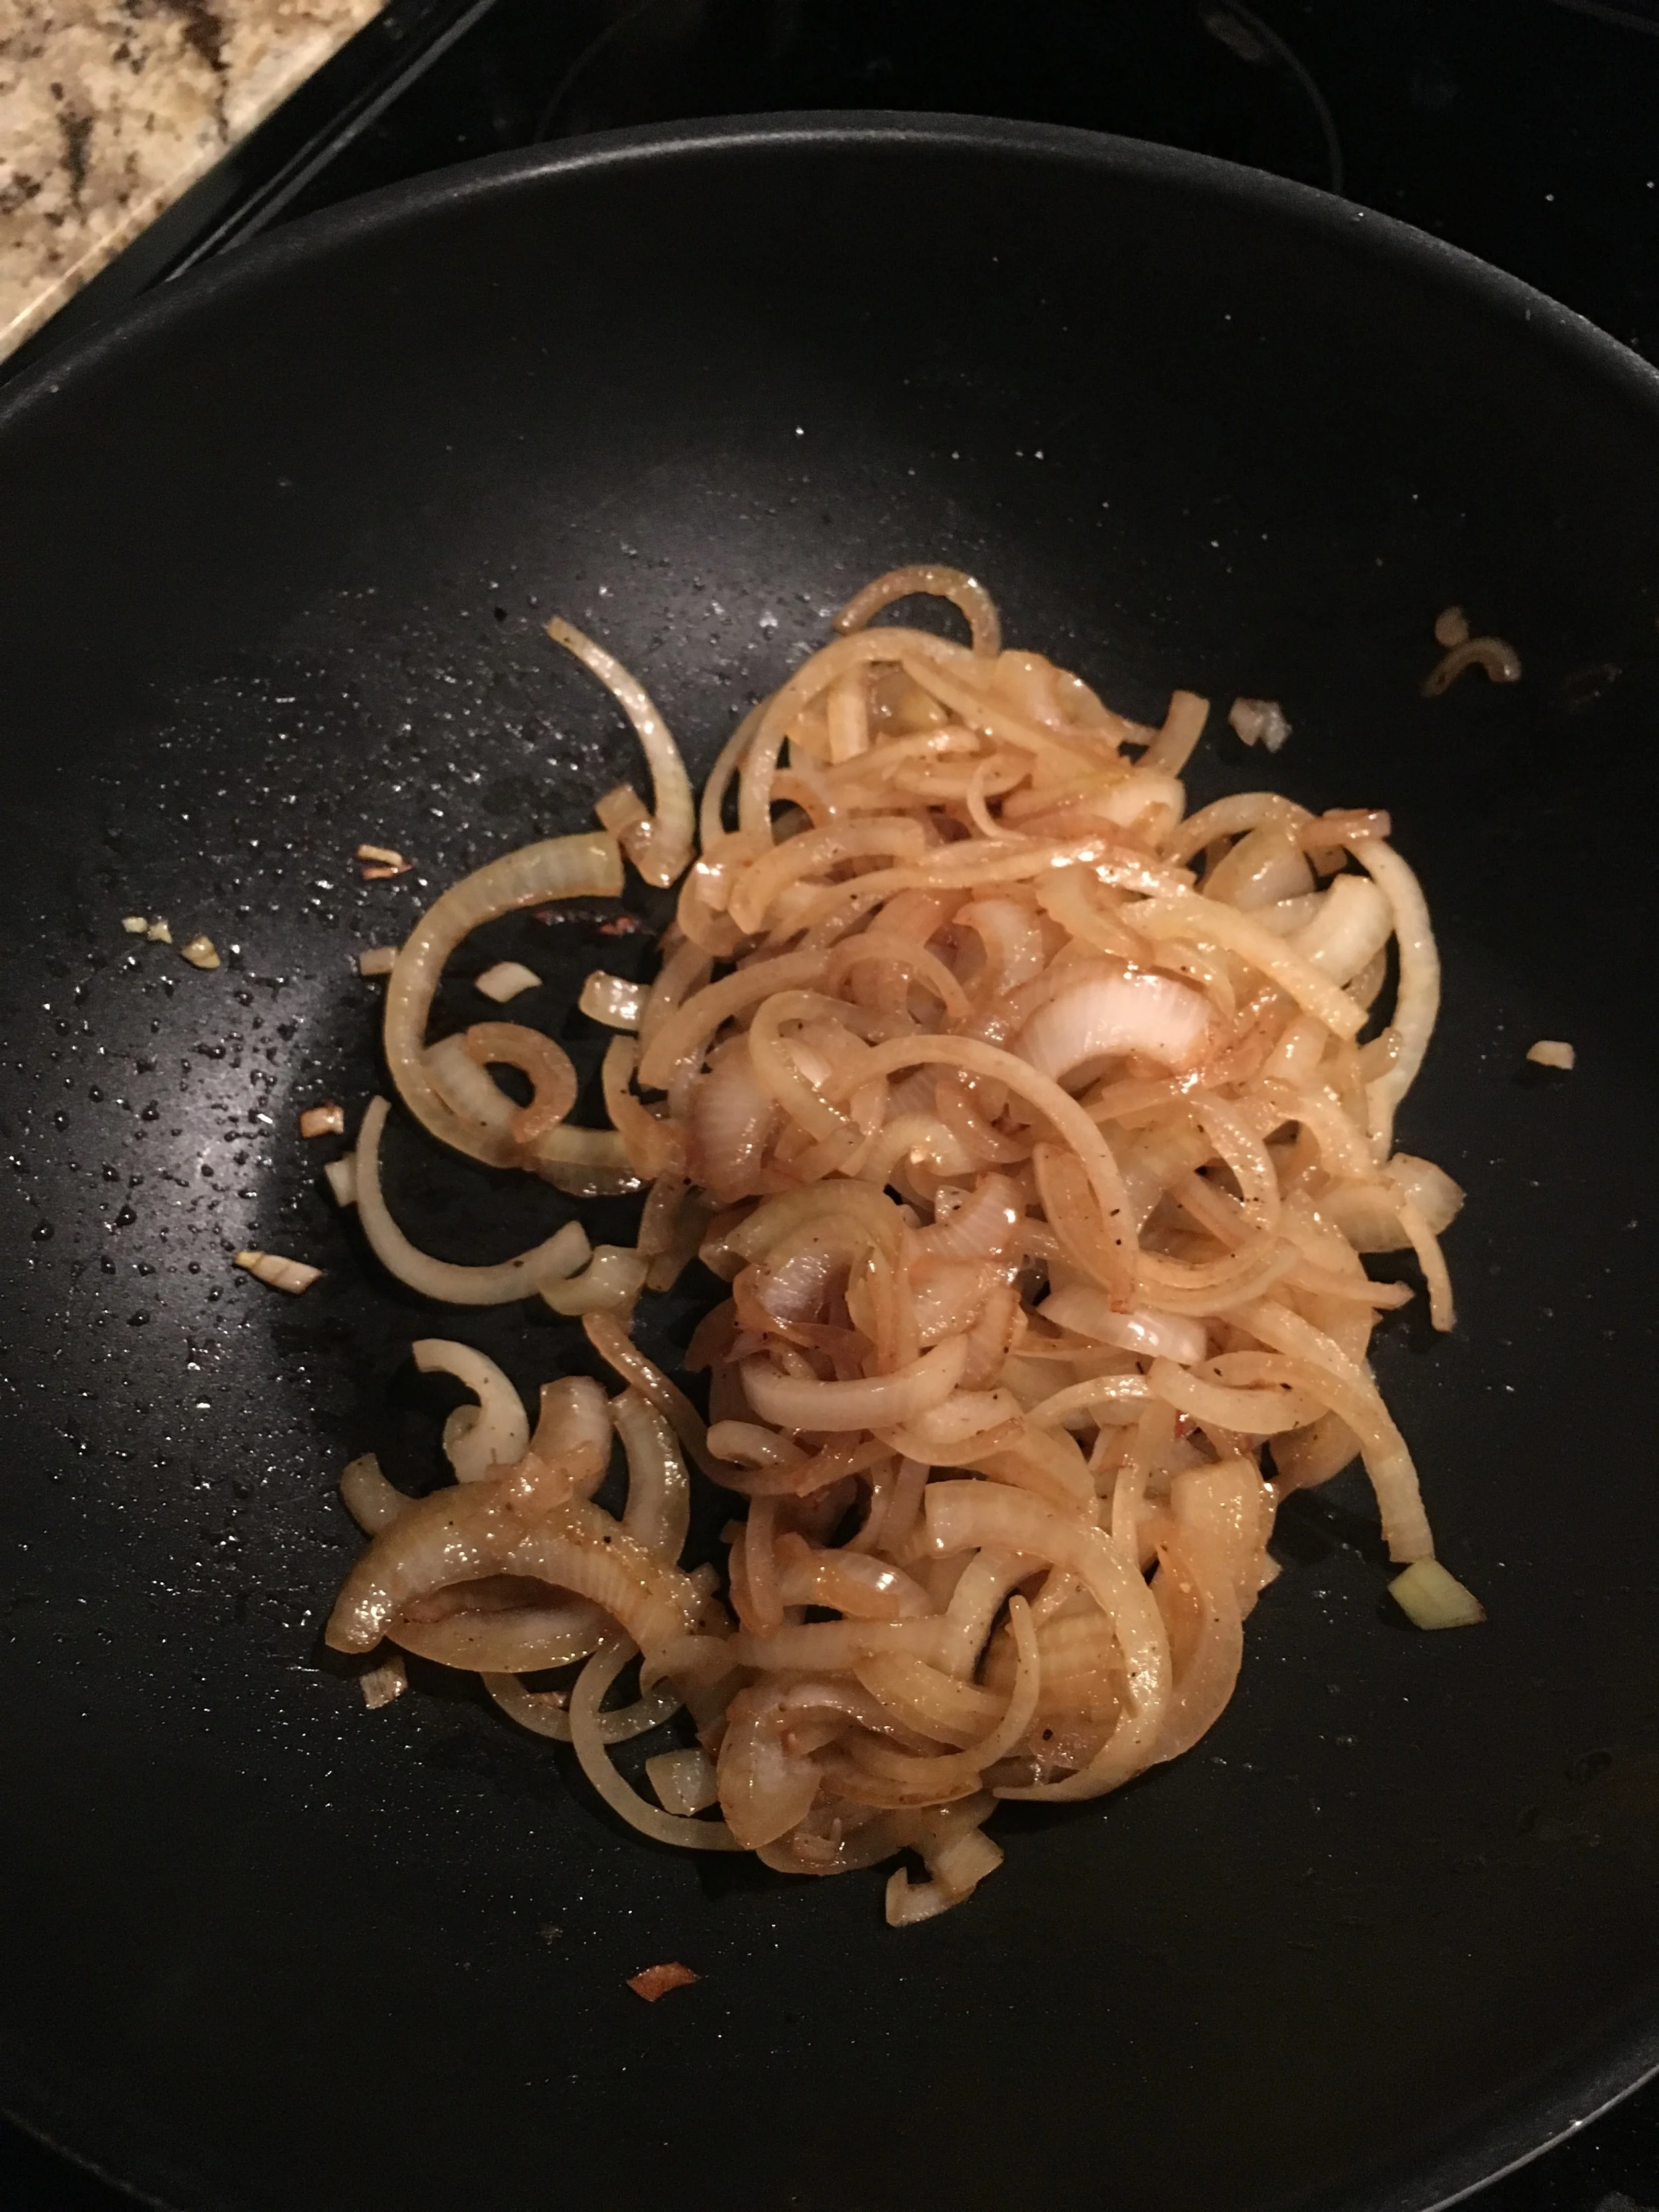
2 Small Yellow Onions (Chopped)
1 TBSP of Olive Oil
Whole Wheat Tortillas
Green Peppers (optional)*

* I did not add this item but it's not uncommon, you do you.

DIRECTIONS:

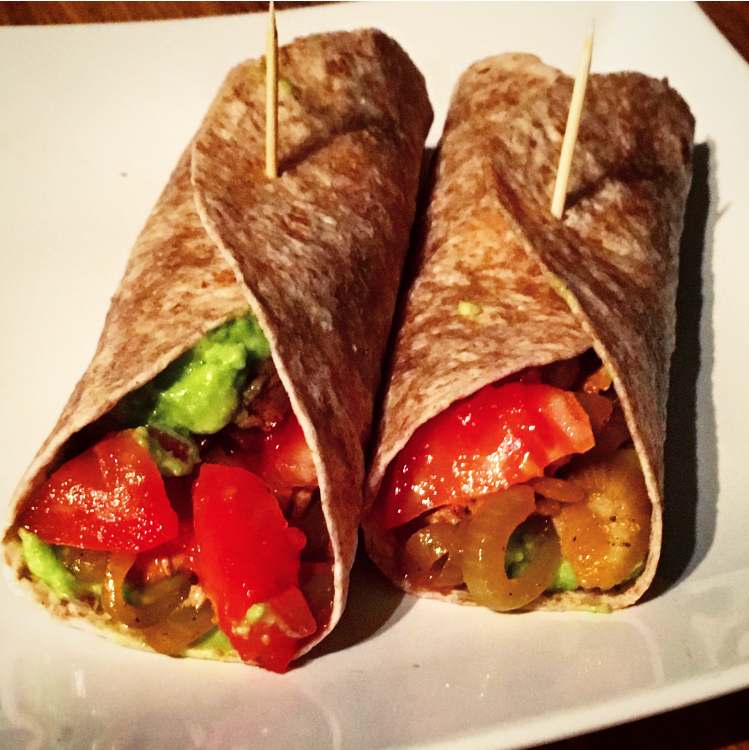
Mix/mash you avocados then add in your onions and garlic and keep mashing/mixing. Add in your desired level of salt, pepper and lime juice. - Guacamole done!

Using a large saute pan, add oil and let it warm up on the stove on medium heat. Next add in your chicken strips, season with salt and pepper. Once they are nearly cooked through add in your onions and any other vegetables you like. Let that cook and allow the chicken to absorb the juices from the vegetables until chicken is fully cooked through and until the vegetables become soft. Apx 10-15 minutes.

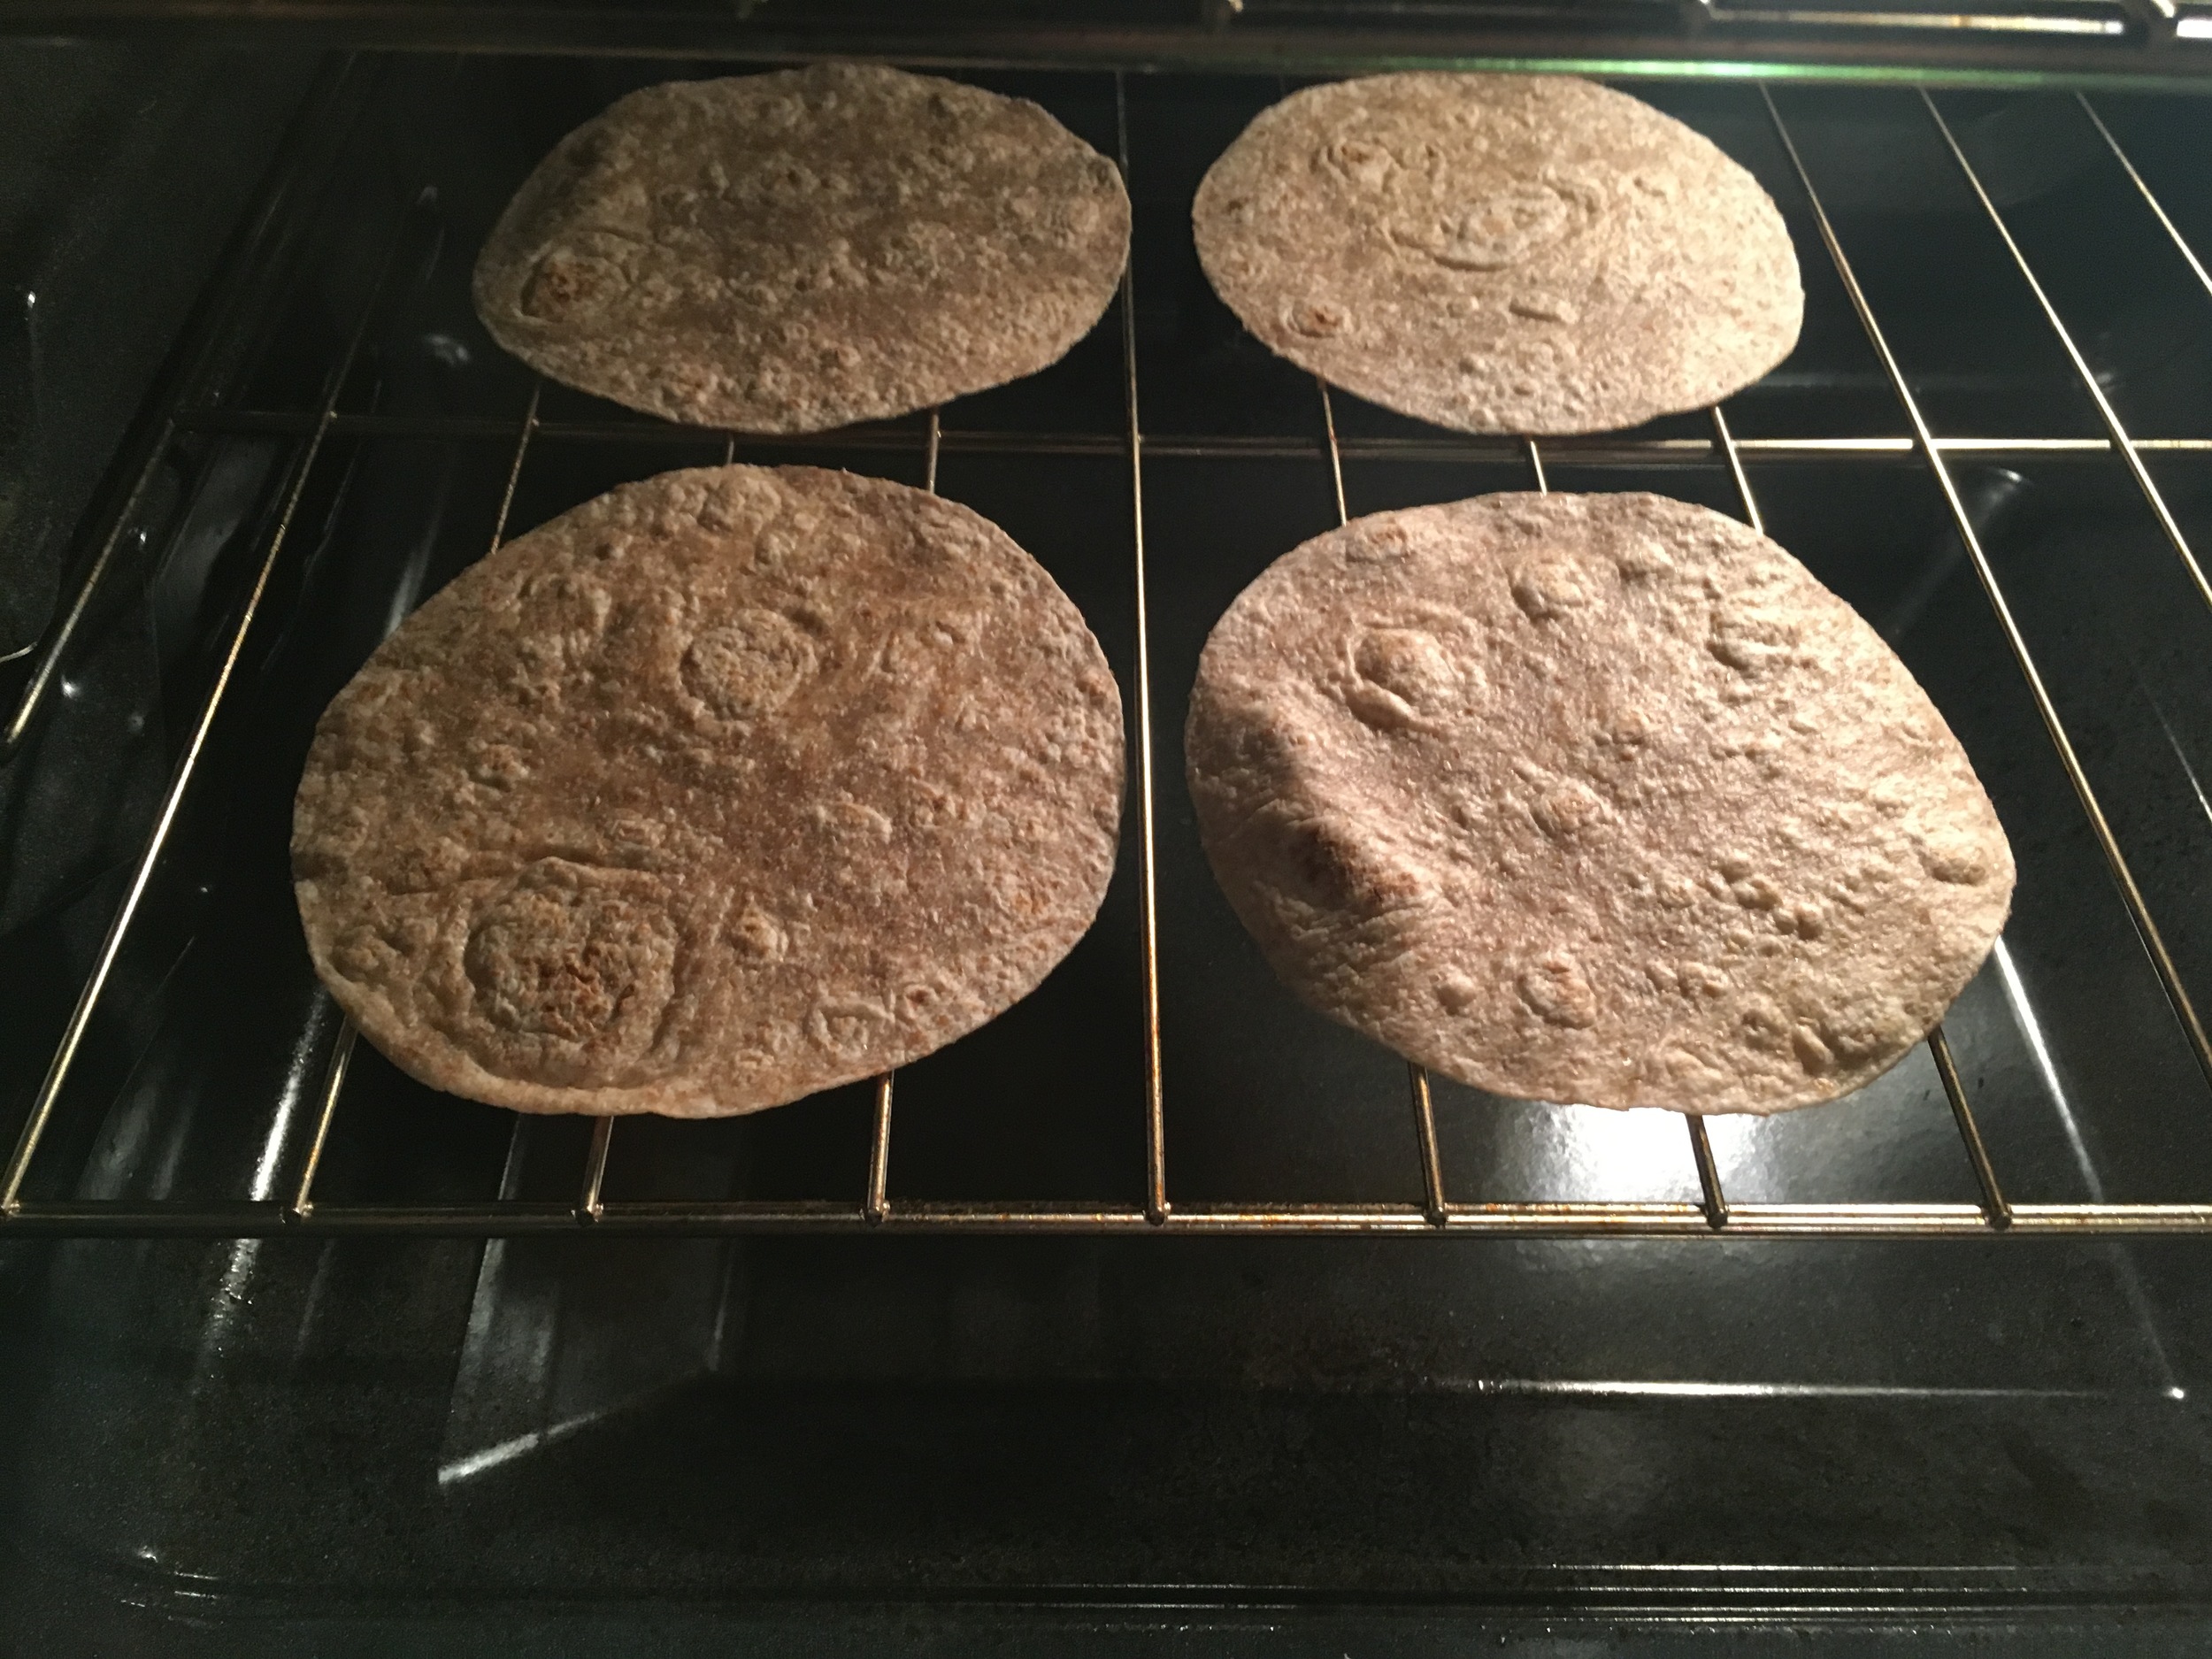
5 minutes before the chicken is done you can put some tortillas in the oven to warm up. Place them in the over and turn the oven on bake at 350. No need to wait for it to preheat they will only be in there for two - three minutes before they are warm and ready to be taken out.


I hope you enjoyed this recipe as much as I do. If you have any comments please leave them below and I'll be happy to answer them as soon as I can! Happy cooking!!!