ITALIAN CROSTATA RECIPE - MEMORIES FROM ITALY

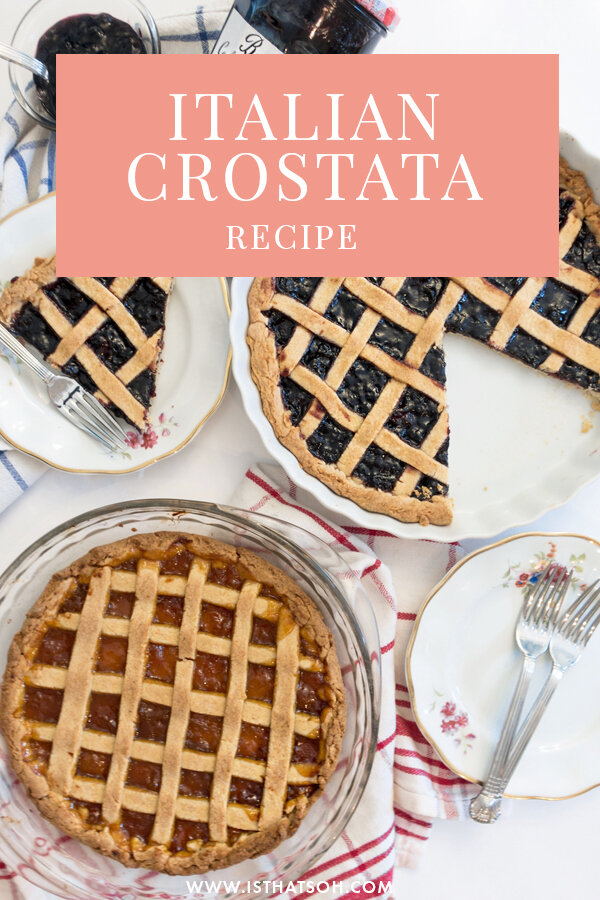
Having recently received a package of Bonne Maman jams (best surprise ever!) I decided that I would put them to good use and make some delicious Italian breakfast tarts known as Crostatas. If you ever find that you have lots of jam in your fridge and you are looking for ways to use them up this is a great idea. The recipe is really easy and forgiving, and can be a fun activity to do with kids. Although Italians typically serve this tart with breakfast it can easily transition to an after dinner dessert with the help of a scoop of ice cream. Buon appetito!!

INGREDIENTS:

2 Cups of flour
1/2 Cup of granulated sugar
1/2 Teaspoon of baking powder
1 Egg + 1 Egg yoke (throw out whites for just one egg)
1/2 Cup of butter (softened!)
3/4 Cup of jam of your choice

DIRECTIONS:

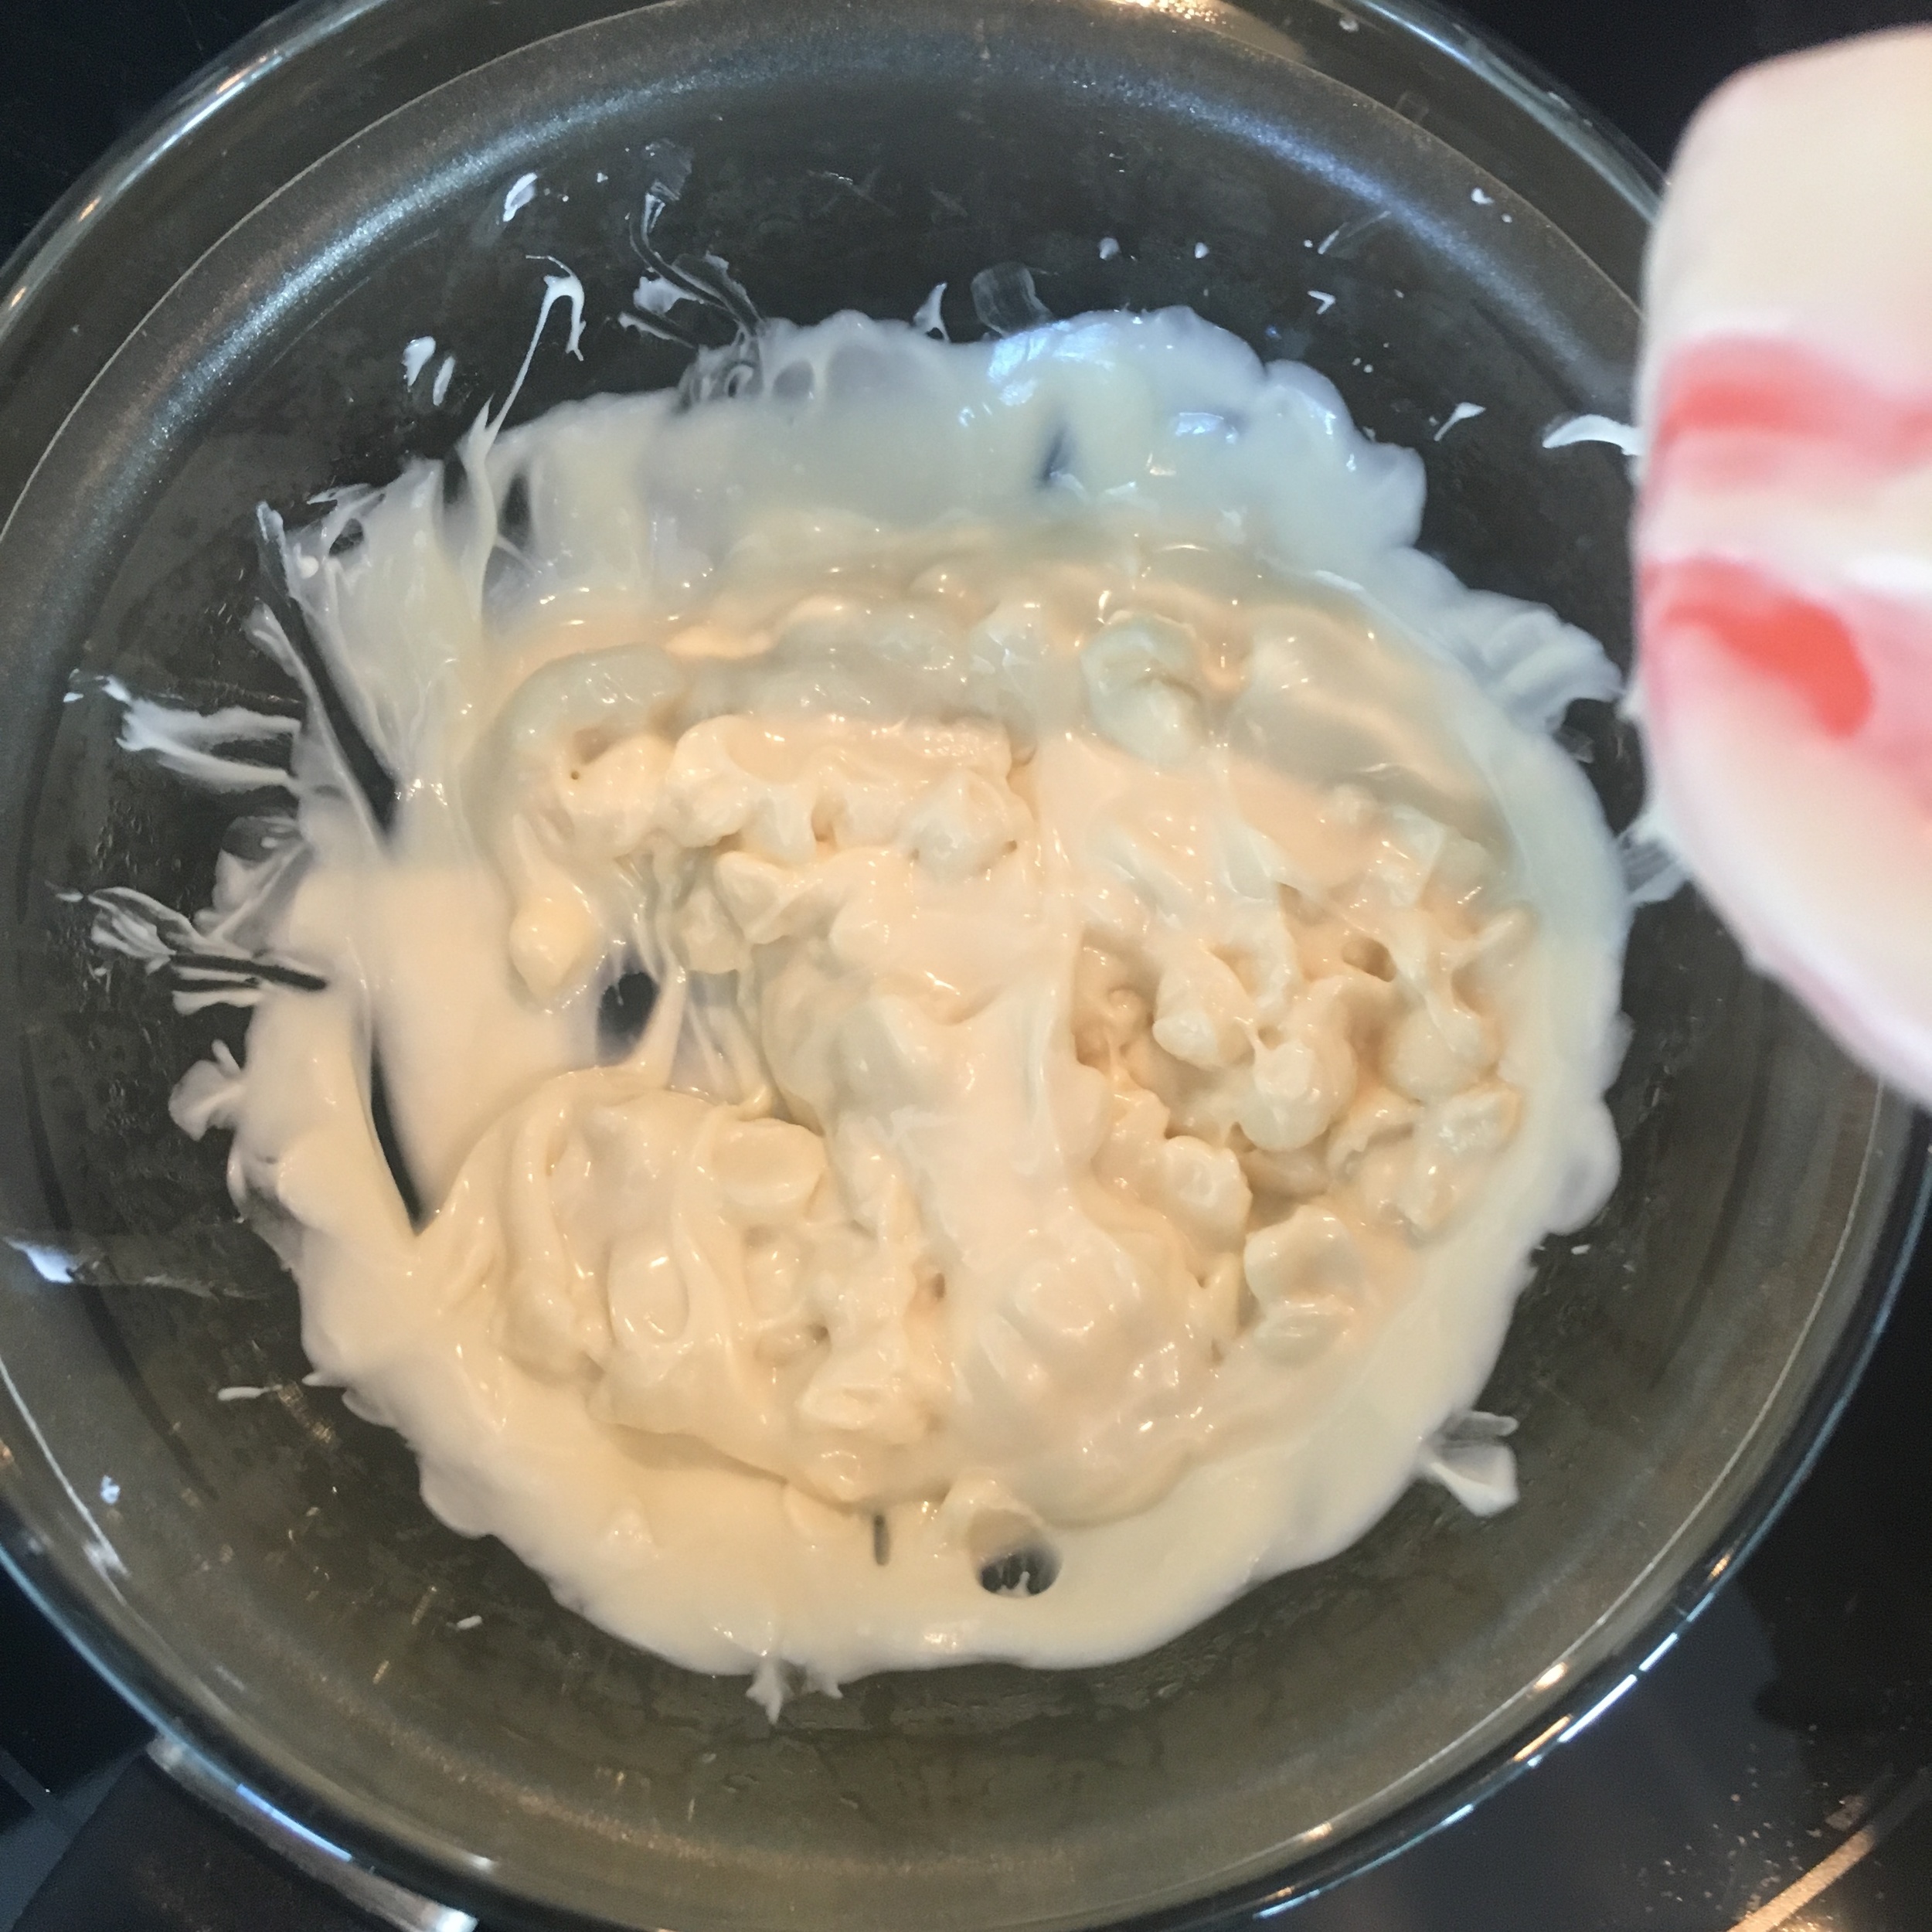
Using a large bowl add in your flour, sugar, and baking powder - whisk until fully incorporated together.

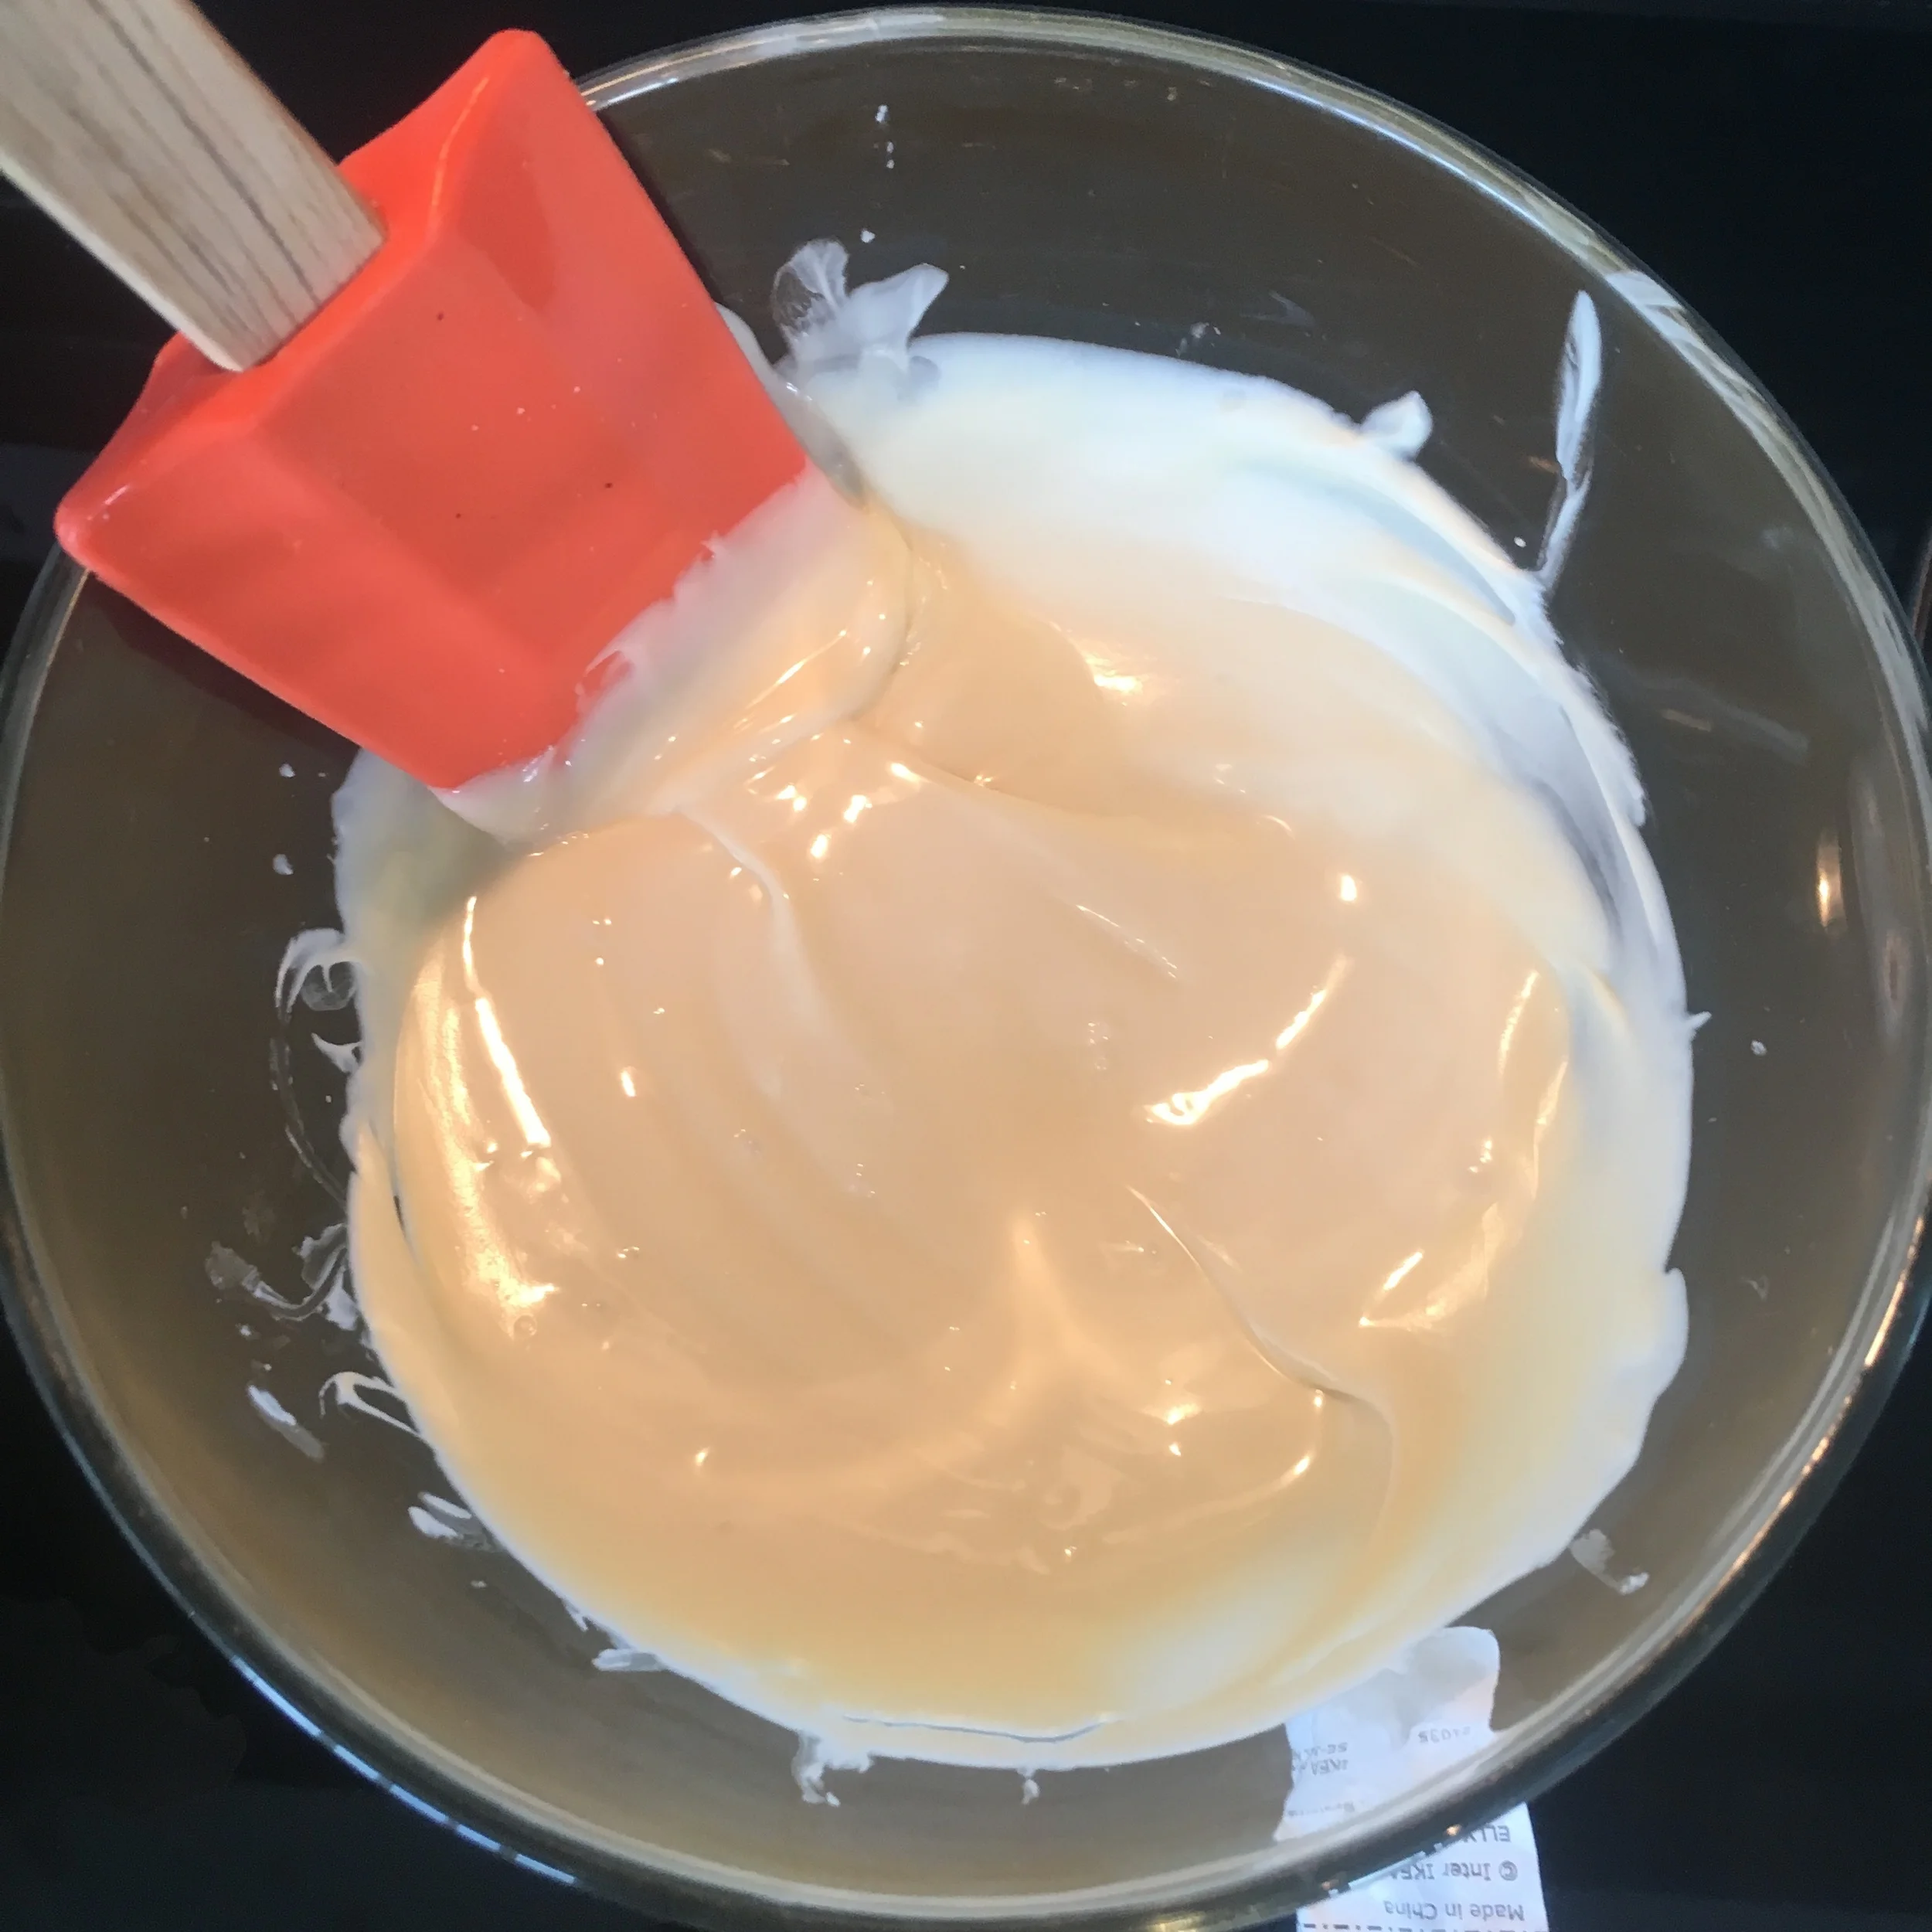
Make a well and add in your eggs and butter, and start to incorporate it all together. I like to start with my whisk and then move to using my hands as it gets more clumpy.

Kneed the clumps together until they form a dough (this may take some time but the butter will eventually spread and help form the dough).

Once dough is formed wrap in plastic wrap and place in fridge for 30 minutes.

Preheat oven to 350 degrees

Take dough out of fridge after 30 minutes and roll out using a rolling pin to about 1/8 of an inch thickness.

Spread the dough out over your pie dish and get rid of any excess dough. You can kneed the excess dough together again and roll it out again to create strips of dough which are equal in thickness to decorate the top of the crostata with a lattice later if you want.

Add in your jam and spread out evenly. You want just enough jam where you don't see the crust below.

Add your decorative stripes of dough to the top now. I like to form a lattice but some people cut out shapes instead. You can turn down the edges of the pie to hold the lattice strips in place.

Place in oven for 30 - 35 minutes or until top is golden.

Once ready remove and let cool for 10 minutes before serving. Enjoy!


If you like this recipe or have any comments/questions, feel free to leave them in the comment section below!


PIN THIS POST


WALNUT & DATE ENERGY BITES!

Okay lets face it, sometimes throughout the day you crave a snack and what you end up choosing can really make or break your diet. One way to avoid making such an easy mistake is to be prepared! These energy bites are both vegan and paleo and taste AMAZING! When hunger strikes or you need a boost of energy grab one of these babies and feel guilt-free! They last for about 7 days when stored in the fridge and are so easy to make that you have no excuse lol ;) Happy eating my friends!

VIDEO POSTED BELOW

INGREDIENT:

1 Cup of Walnuts
1/2 a Cup of Unsweetened Coconut
16-18 Pitted Dates
1 TSP of Cinnamon
1/3 Cup of Almond Butter
1 TSP of Vanilla Extract
3 TBSP of Hemp Hearts
2/3 Cup of Oats

DIRECTIONS:

Place walnuts and unsweetened coconut in a food processor and pulse until the walnuts have been broken down into small chunks.

Add in dates, cinnamon, almond butter and vanilla extract and continue to pulse until the dates have been broken down into small chunks.

Transfer contents to a bowl, add in your hemp hearts and oats, and mix all ingredients together with your hands.

Once nicely mixed start to roll the ingredients into balls and place on a lined baking sheet lined with parchment paper.

Allow balls to sit for 30 minutes to dry and harden.

*You can store them up to a week in the fridge in a sealed container!

ENJOY!!!!

I hope you enjoyed this recipe as much as I do. If you have any comments please leave them below and I'll be happy to answer them as soon as I can! Bon Appetite!!!

NUTELLA CHOCOLATE WONTON POPPERS

Oh my I think this is one of my favorite recipes yet! These wonton poppers are super quick and easy to make and are a great dessert option. The varieties of what you can add as filling is endless - all you need is a little imagination. Think icing, caramel, marshmallow, or even jam. Any fruit combination works well too - just have fun with it!

VIDEO POSTED BELOW

INGREDIENTS:

Wonton Wrappers (I recommend 3 per person)
1 Bar of Chocolate (I used Lindt Milk Chocolate)
Jar of Nutella
Fruit (I used banana slices 1/4 inch thick and strawberries)
1 Egg (whipped)
2 Cups of Vegetable Oil
Icing Sugar (garnish)

DIRECTIONS:

Cover a baking sheet in wax paper and lay out your wonton wrappers.

Add your chocolate/Nutella and fruit fillings.

Brush whisked egg along the edges of each wonton wrapper to help seal it shut.

Fold wonton wrappers over and press down the corners with a fork to seal the edges.

Place vegetable oil in a deep pan on the stove and allow to heat up for 4 minutes on medium.

Once ready drop poppers into the frying pan and let to cook for 2 minutes before flipping them over.

Once nicely golden remove from oil and place on a plate covered in paper towel.

When poppers have cooled slightly, plate and sprinkle with icing sugar before serving.

ENJOY!!!!

I hope you enjoyed this recipe as much as I do. If you have any comments please leave them below and I'll be happy to answer them as soon as I can! Bon Appetite!!!

COFFEE CHOCOLATE CHIP ICE CREAM

I am not sure what inspired me to want to make ice cream, but I am sure happy I did. When it came to deciding the flavor I must admit it's no secret that I'm a big fan of coffee especially in ice cream form; also chocolate chips just seemed like the next logical step. This recipe calls for a Kitchen Aid Mixer (I borrowed mine from my mom) and takes longer then your average dinner recipe because the key to making good ice cream is letting the temperatures both raise and lower slowly. Meaning it is important to allow things to heat up slowly and cool down slowly so in the final freezing process less crystals are created and thus a creamer ice cream. Enjoy!

VIDEO BELOW!!!!!

INGREDIENTS;
1.5 Cups of Heavy (Whipping) Cream
1.5 Cups of Whole Milk
1 Cup of Cane Sugar (any kind of sugar works)
4 Egg Yokes
3/4 Cup of Freeze Dried (Instant) Coffee
1 TSP of Vanilla Extract
1 Cup of Chocolate Chips - I used Milk Chocolate

DIRECTIONS:

Add whipping cream and whole milk to a pot and heat it up on medium heat. You want it to get hot but NOT to the point of boiling.

Next add in your sugar and stir so that it dissolves.

In a separate bowl add your egg yokes. We are going to temper the eggs (this means slowly raising the temperature of the egg mixture so that it doesn't cook and become chunky)

Mix the tempered egg yokes in with the cream mixture and continue to heat on the stove until the cream thickens. A good way to test if it has thicken is to first take a black spoon and using a finger slide it across the spoon to reveal a line - the more opaque the liquid is in comparison to the colour of the spoon the thicker the mixture is.

Once the cream has thickened (about 10 minutes) take some of the hot cream and add it to the instant coffee to dissolve it before adding it back into the cream mixture followed by the vanilla extract. Stir well until fully incorporated.

Next remove the cream mixture from the heat and strain into a glass seal-able container. Allow to cool uncovered until it reaches room temperature then cover and place in fridge over night to thicken further.

Place the cream mixture into your Kitchen-Aid ice cream bowl and let it stir and churn the cream for 20 min on the lowest speed before adding in your chocolate chips. Allow the cream to continue to churn for an additional five minutes (you want the consistency to almost be that of soft serve ice cream)

Once the cream has a nice texture place back into the glass container, seal and place in freezer overnight to harden. Take the ice cream out of the freezer 2 minutes before you want to serve it and enjoy.

I hope you enjoyed this recipe as much as I do. If you have any comments please leave them below and I'll be happy to answer them as soon as I can! Bon Appetite!!!

CHOCOLATE COVERED STRAWBERRIES

Chocolate covered strawberries are a great dessert to have at your party or event. There are so many cool designs techniques that make them versatile for different occasions and really fun to make. I made mine using dark chocolate and white chocolate but you can easily interchange those with milk chocolate or ground walnuts! Just have fun with it :)

INGREDIENTS:

15 Large Strawberries
170 Grams of Dark Baking Chocolate (you an also use milk chocolate)
1/2 a bag of White Chocolate (I used Hersey's mini chocolate chips)

**You will also need toothpicks, Styrofoam and a zip-lock bag!

DIRECTIONS:

Wash your strawberries and place them on a drying rack. It is important for them to be free of moisture before you coat them so leave them to dry for at least an hour. Stick a toothpick in the fat end of the strawberry to help you grip them better.

If your dark chocolate comes in a bar break it up into smaller chunks so it melts faster and evenly. I used a food processor to do this quickly.

The best way to melt chocolate is to use a method called "double boiling" on low heat. This is done by filling up a small pot with water and bringing it to a light simmer. One the water starts to simmer reduce heat to low.

Next place your chopped up chocolate into a glass bowl slightly bigger then the pot so that the bottom of the glass bowl does not hit the bottom of the pot but is still submerged in the water (see photos)

You will slowly start to see the chocolate melt. Using a spatula move the chocolate around so that it evenly melts. Stir often with spatula in order to get the best consistency. Make sure no water gets into the chocolate!

Repeat the double boil process in a new glass bowl with your white chocolate.

Dip your strawberries in the dark chocolate. Use the toothpick to help you rotate the strawberry so it is evenly covered in chocolate on all sides. Allow access chocolate to drip off before placing it upside down to dry so the toothpick is in the Styrofoam.

Continue until all the strawberries are covered and place upside down on the Styrofoam to dry.

Next put the white chocolate in a zip lock bag and push it to one corner. Cut a small hole in that corner so that the white chocolate can come out slowly. Pick up a strawberry and quickly move across it (side to side or back and forth) while squeezing the white chocolate bag to create your design. Place it back upside down on the Styrofoam. Repeat with remaining strawberries.

Once finished place strawberries and Styrofoam in the freezer for 30min to 1 hour to harden. Once harden you can serve them to your guest.


I hope you enjoyed this recipe. I would love to know your thoughts! If you have and suggestions or question please feel free to leave them in the comments below!