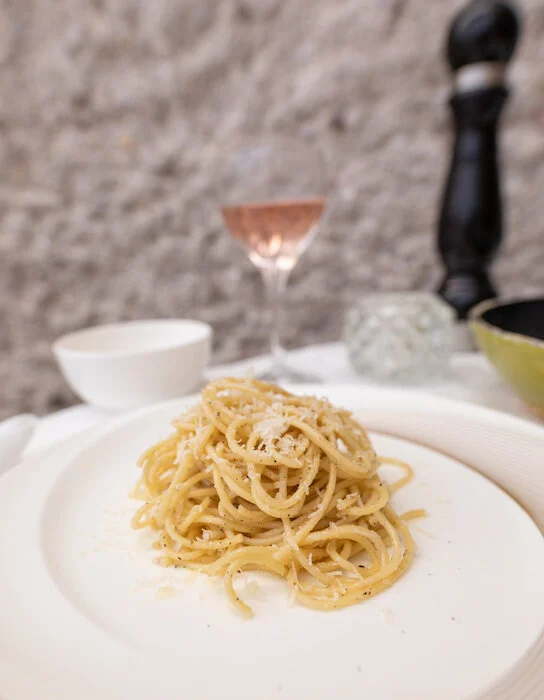
FOREVER DREAMING OF ITALY: CACIO E PEPE, A SIMPLE ITALIAN CLASSIC

We may not be able to travel during this global pandemic but that doesn’t stop me from dreaming about Italy!

A couple of years ago Adam and I ate our way through Tuscany and spent some time in Rome (click here to read my food guide to Rome) and during our time there we took a fantastic authentic Italian cooking/pasta making course. It was during that course that I first had Cacio E Pepe and feel in love with the bite of the pepper against the salty cheese. Not only did we love our time in Italy but this classic, simple dish always reminds me of our great adventures there.

Buon Appetito!

INGREDIENTS:

- Serves 2 people

120 Grams of Pasta of Your Choice
Salt
3 TBSP of Unsalted Butter
1/2 TSP of Freshly Ground Pepper
3/4 Cups of Finely Grated Parmesan
1/2 Cup of Finely Grated Pecorino

DIRECTIONS:

Boil water, add salt followed by your pasta of choice. Cook slightly before al dente.

Before draining the pasta, set aside about 1/2 a cup to 1 cup of pasta water.

Warm up butter in a skillet and add in the freshly ground pepper. Toast the pepper for 1-minute stirring continuously.

Add in 1/2 a cup of pasta water followed by the pasta - coat the pasta so it cooks a little further. The sauce should be wet so once you fold in the parmesan and allow it to cover the pasta fully if the pasta water is absorbed fully, add more before lowering the heat and adding pecorino.

Stir, serve and enjoy!


If you like this recipe or have any comments/questions, feel free to leave them in the comment section below!


PIN THIS POST

CACIO E PEPE 2.jpg
CACIO E PEPE.jpg

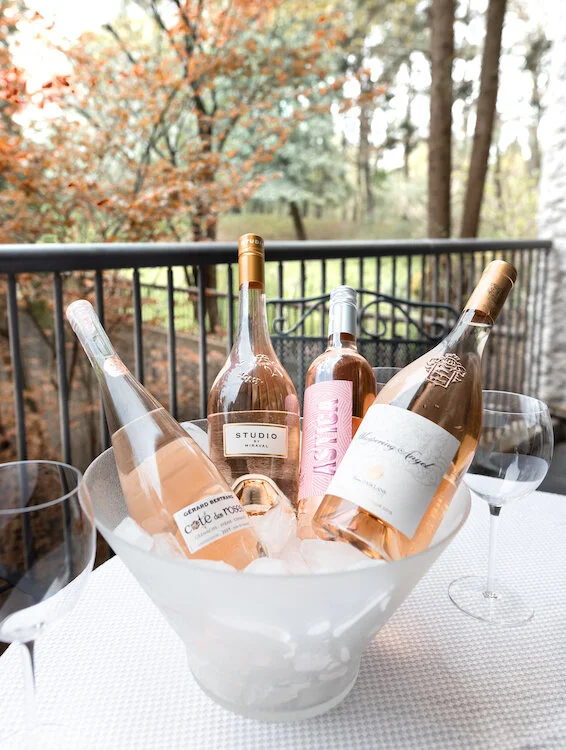
YES WAY ROSE! WHAT YOU SHOULD BE DRINKING THIS SPRING!

Finally, it started to feel like spring had arrived this past weekend in Ontario, and with it came old familiar memories of enjoying refreshing rosé in the sun.

Last weekend and in preparation for National Rosé Day, which is less than a month away, I decided to use my background in market research to conduct a rosé tasting at home with my family to see if we can find our ideal rosé for spring!

I had six participants, none of which were given the price, region, or any notable characteristics of the wine (other than being able to see the shape of the bottle/packaging) and were required to each taste the 6 bottles chosen for the study in a different order as a way of removing further bias.

As for the tasting, I planned it outside in the midst of the late afternoon sun, first just us three girls, then the boys joined in. Things got silly fast but we were celebrating the long weekend so nobody was holding back. Adam and I were in charge of cooking dinner that night so the scent of Piri piri chicken sizzling on the bbq floated in the background. Everyone was in good spirits. Not only was it nice to host a wine tasting at home for my family but it also made for quite the perfect evening! Salut!!


IN RANKING ORDER

Whistpering Angel.jpeg

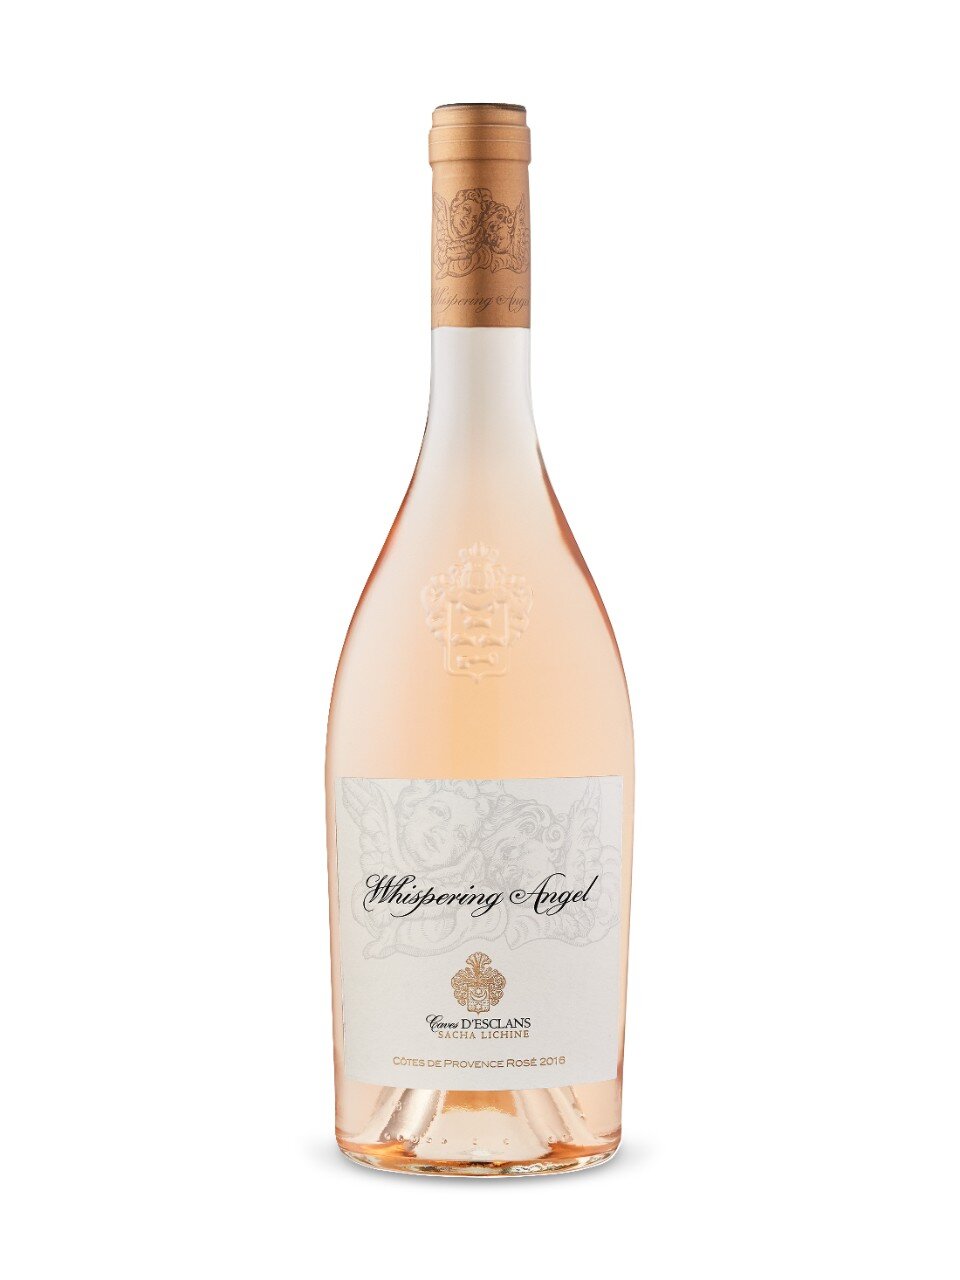
Whispering Angel

From Provence, France
$28.95

Whispering Angel rose to the top as the house favorite with over half of the group picking it as their number 1 choice. It’s a delicious wine often described as refreshing and light, dry with a crisp, smooth finish that offers notes of both citrus and fruits. The fact that this rosé was a popular choice came as no surprise to me as the producer, Château d'Esclans is known for excellent rosé wines. Located in Provence, France, the château primarily grows Grenache and has vines as old as 90 years. Typically old Grenache vines produce grapes that offer a greater concentration of flavour than younger vines, so again it is no surprise that the majority picked Whispering Angel’s superior quality over the rest. Further, as it was the most expensive wine we included in the tasting, I would highly recommend purchasing this wine for a special occasion or as a host gift, as it is guaranteed to be a crowd-pleaser.

Studio.jpeg

Studio By Miraval

From France
$18.95

Studio By Miraval followed Whispering Angel with half putting it in their top first or second spot. The wine was described as semi-dry, super easy to drink, and silky on the tongue with a very clean finish. The little sister to the Perrin families more popular Miraval (Pitt/Jolie joint venture) Rosé Côtes de Provence, Studio Miraval comes in $5 cheaper than its older sister but still holds many of the same qualities associated with the brand. One person described the smell of the wine reminding them of running through a wildflower field in the heat of summer - quiet a picture it can paint if you ask me. Made with a combination of varietals including Cinsault, Grenache, Rolle, and Tibouren, the wine features delicate citrus and floral aromas accompanied by fresh berry fruit flavors. Price point wise, Studio by Miraval sits at the second most expensive wine in our tasting which would personally make it a contender for any dinners or get togethers that I will be hosting during the summer where I may want to get a little bougie.

Côte des Roses .jpeg

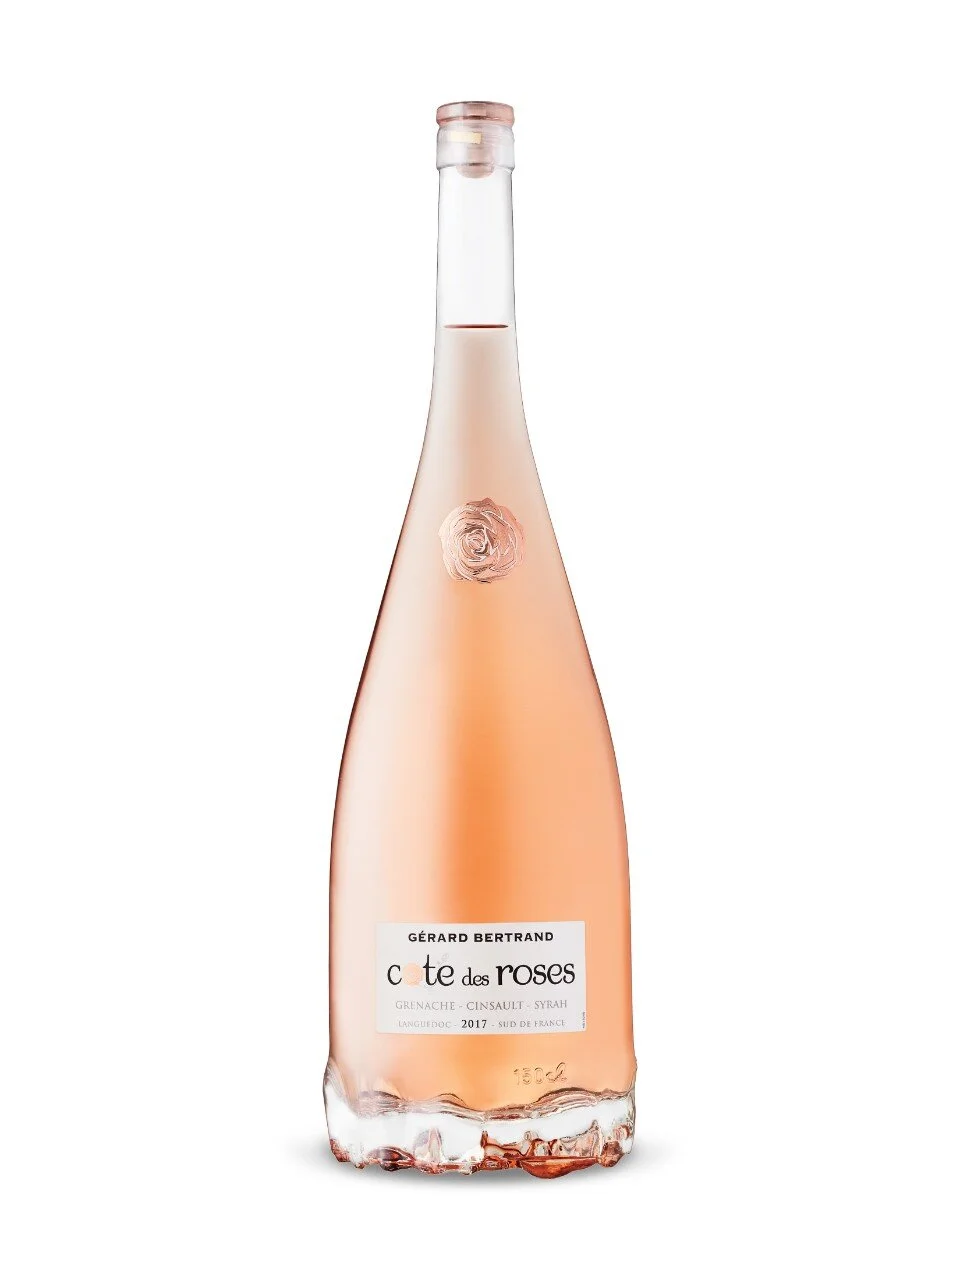
Gérard Bertrand Côte des Roses Rosé

From Midi, France
$16.95 (typically $18.95 but currently it is $2.00 off at LCBO)

Cote des Roses 2019 definitely yielded the most interesting results of our taste test because it seemed to be very polarizing. Those who loved it, really loved it (3 people put it as their 2nd place choice), while those who didn’t, gave it a very low ranking. A classic blend of Grenache, Cinsault and Syrah, Cote Des Roses also seemed to yield a mix of flavour profiles and was described as dry by some and semi-sweet by others. A few mentioned that it had notes of citrus while others described it as light and freshing. One thing for sure is that the bottle is eye-catching with a glass cork and many commented on its beautiful packaging. Personally, I have bought this wine and enjoyed it in the past but when compared next to the other wines in this taste test, even I was surprised to see how it dropped in the rankings to its peers.

La Vieille Ferme.jpeg

La Vieille Ferme Rose

From Rhône, France
$12.45

La Vieille Ferme, one of my go-to purchases for both price point and taste, performed well and the best out of the three wines under $15. It received a solid 3rd place score from half with an additional person actually ranking it as their number one choice. Also part of the Perrin family’s portfolio of wines, La Vieille Ferme is a blend of Cinsault, Grenache, and Syrah varietals, grown on the slopes of France's Mont Ventoux in Rhone, France. This strategic positioning of the vineyards provides cooler temperatures for their grapes to grow to allow them to ripen slowly which in turn produces stronger fruit flavours and wines with crisp notes of acidity. Pale pink in colour, this wine was described as dry, but sweeter than the more expensive wines we tried, with aromas of raspberry and strawberry. I would 100% purchase this wine again for the price point, and would be happy to serve it at a party if I had to supply a few bottles for guests.

Astric Melbec Rose.jpeg

Astica Malbec Rosé

From Mendoza, Argentina
$8.95

A new wine on my radar, Astica performed quiet well amongst the group, however it did not rank as well when compared to the other wines in the tasting. It’s not too often that I am drawn to a Malbec rosé but considering this one comes out of Mendoza, Argentina, where Malbec is king, I was quite taken aback by how much I liked it. Astica was described by many as semi-sweet with buttery fruit-forward flavours followed by a slight bite at the end. Produced by Grupo Peñaflor/Trapiche, one of the leading wine producers in Argentina, I would say Astica is quite delightful and worth a shot especially if you are price conscious.

Sandbanks.jpeg

Sandbanks Rosé VQA

From Ontario, Canada
$13.95

Sandbanks Rosé from Ontario unfortunately fell to the bottom of the ranking and was not favored by anybody. This was so sad for me being from Ontario, I would love to support more local wineries but this one just seemed to miss the mark. Although it did not rank well when compared to the others, a few people did have some nice things to say about it like that it was fruit-forward in flavour and had notes of granny smith apples. I likely would not purchase this wine again nor would I recommend it to anyone else but it did, however, inspire me to go on a mission to find some good VQA Rosés I can recommend, so stay tuned for those!


PIN THIS POST

Rose.jpg
ROSE - the best rose to drink this spring-01.jpg

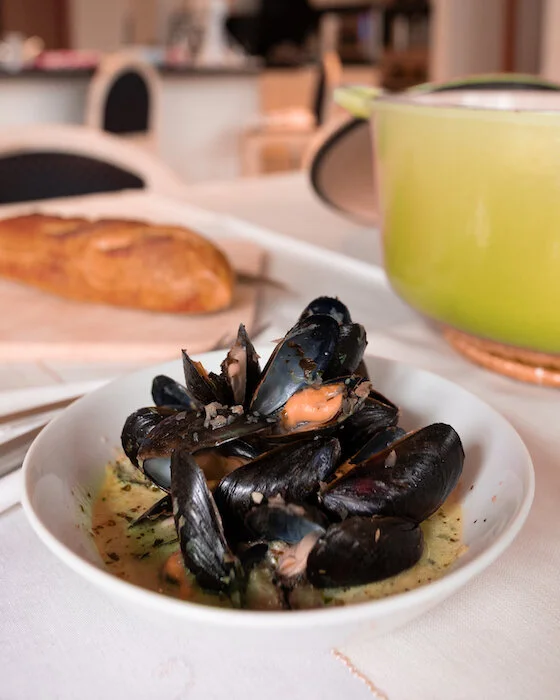
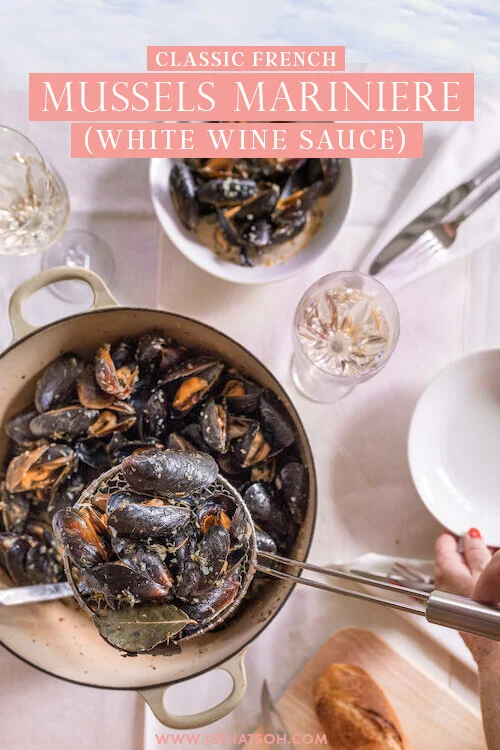
CLASSIC FRENCH MUSSELS MARINIERE (WHITE WINE SAUCE)

One of the best parts about being self isolate with my family is that we all like to eat!

Every Friday we get together a little bit earlier and celebrate the end of the week with some nice seafood. Each week my mom has been busting out a new recipes, each better than the last. One recipe that topped the list was her classic french mussels in a white wine sauce, an easy crowd pleaser! If you have ever wondered how to cook mussels at home or are just looking for some new recipes for mussels to try, this one is easy and so delicious!

Enjoy!

INGREDIENTS:

Serves 2 People

-Seafood-
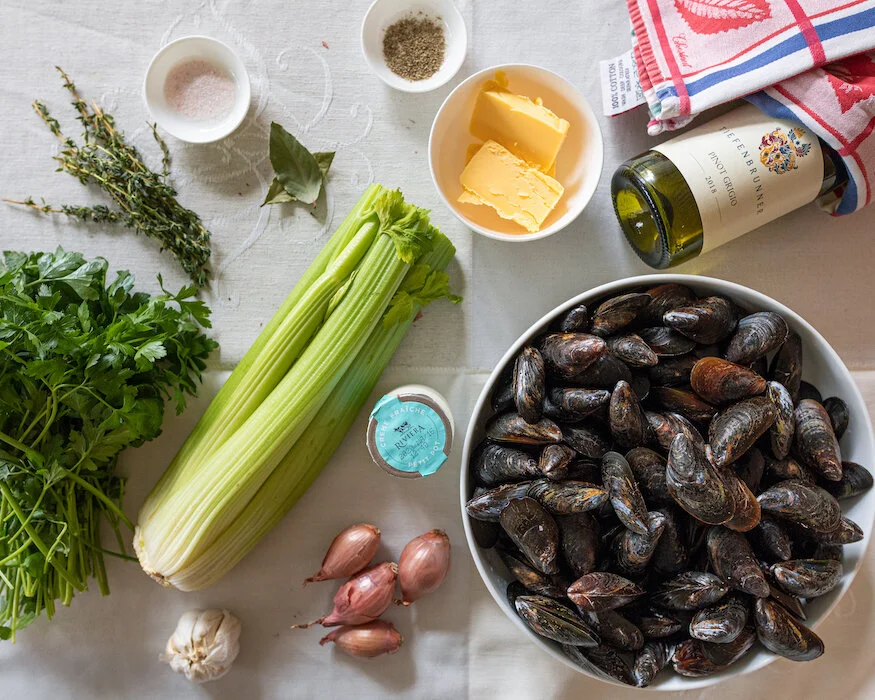
2.5 lbs of fresh mussels – rinse, scrub and de-beard. (I usually buy extra because I know that some are going to be bad)

How to buy, store, and prep fresh mussels:

When buying fresh mussels, make sure to smell them - they SHOULD NOT have a strong odor! You also want the shells to be shut. Since mussels are alive if you bang the shells or apply pressure and close them yourself, if they are indeed alive, they should shut or remain shut. If they open once again right away it means that they are weak/not fresh, so don’t buy those. Make sure to store your mussels in the fridge, they need air to breathe so don’t use a sealed container, instead place a damp cloth over them like a napkin or paper towel to provide further moisture. Before you are ready to use them make sure to rinse the shells, remove the beards or hairy bits, and scrub away any debris off the shells.

-White Wine Sauce-
2 TBSP of Unsalted Butter
1 Shallots - chopped finely
1 TBSP of Fresh Flat Parsley, chopped finely
1 cloves of garlic - minced
1 Stock of Celery, chopped finely
1 Bay Leaf
A few twigs of Fresh Thyme
1 Cup of Dry White Wine
Salt and Pepper to Taste
1 TBSP Double Creme

-Toppings-
Fresh Flat Parsley

-Extras-
French Baguette


LOVE SEAFOOD? CHECK OUT THESE OTHER SEAFOOD RECIPES!


HOW TO COOK MUSSELS:

how to cook mussels

Place a large pot on the stove and add in your butter. Allow butter to melt on medium heat. Once ready, add shallots and cook until translucent.

Add chopped parsley, celery, garlic, bay laves and thyme to the pot and mix. Allow the heat to bring out the aroma of the herbs (maybe 2-3 minutes).

Add the fresh mussels to the mixture and stir to coat the mussels with the herbs. Add the wine and raise temperature to high. When the wine starts to bubble, stir the mussels once again so that they become coated with wine.

After you have covered the mussels in white wine, lower the heat to medium/high and cover for 5-6 minutes but no more.

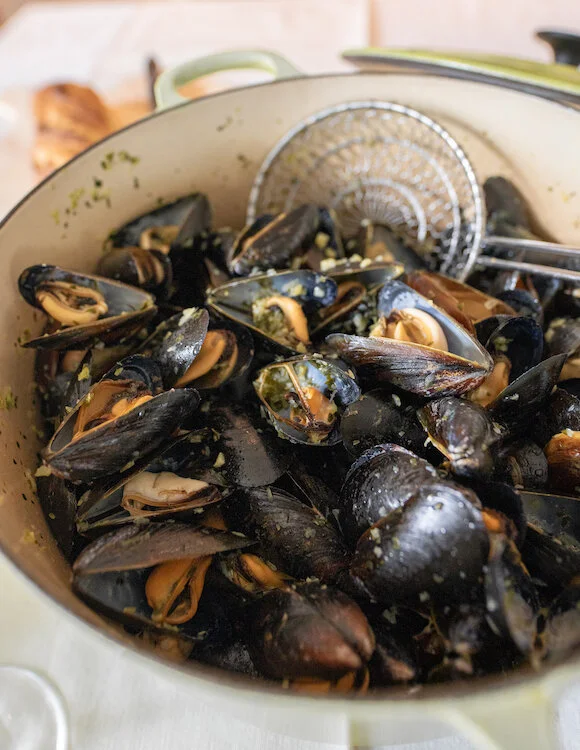
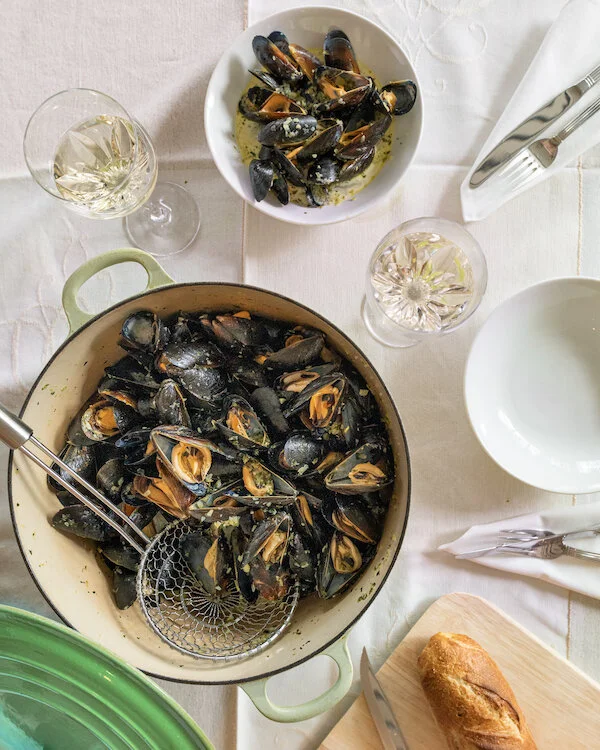
After 5-6 minutes, uncover and remove mussels from the pot but keep the juice in the pot. Taste sauce and adjust with salt and pepper if needed. Add the double cream to the sauce (it should make the sauce whiter) before stirring it in until well incorporated. Add the steamed mussels back into pot, stir and serving right away while hot.

Bon Appétit!!!


FOLLOW ME ON INSTAGRAM @ISTHATSOH!


If you like this recipe for mussels, learning how to cook mussels or have any comments/questions about this mussels in white wine cream sauce recipe, feel free to leave them in the comment section below!

PIN THIS POST

how to cook mussels in white wine sauce

FALL-OFF-THE-BONE SLOW COOKED ASIAN SHORT RIBS

Ever since I have been in self-isolation due to COVID-19 I have been cooking up a storm. Yesterday, Adam and I decided to try to make some Asian style beef short ribs in the Le Creuset his parents got us for Christmas and they turned out even better than imagined! Adam said I can definitely make this again! The best part, everything goes into one pot and you just have to let it sit on low. It’s so easy!

INGREDIENTS:

 Serves 2 People

-Short Ribs-
3 LBS of Beef Short Ribs - bone-in, cut crosswise into 2” pieces
1/2 a CUP of reduced-sodium soya sauce
1/2 a CUP beef broth
1/4 CUP of brown sugar
3 Garlic cloves (minced)
1 TBSP Ginger (freshly grated)
1 TSP of Sesame Oil
1 TSP of Crushed Red Chili Pepper flakes (optional)
2 TBSP of Corn Starch
1/4 CUP of Water
Sesame Seeds for garnish
Fresh parsley (chopped finely) for garnish

-Sides-
Sticky Rice

DIRECTIONS:

short rib.jpg

In a large bowl, combine soya sauce, beef broth, brown sugar, minced garlic, freshly grated ginger, sesame oil, and chili flakes (optional) in a large bowl. Wisk until well incorporated.

Place short ribs (bone down) in Le Creuset and add in the soya sauce mixture. With Le Creuset’s you will need to give each piece of meat a little space, in other words, don’t pack them in too tight. Make sure meat is well coated with sauce - there should be a pool but not necessarily completely submerged.

short rib-2.jpg

Cover and bring to a boil on medium before lower temperature to low and allowing to cook on low heat for 5-6 hours.

30 minutes before the meat reaches the end of its cooking time, in a separate small bowl mix cornstarch with 1/4 cup of water and whisk until fully incorporated. Add the cornstarch mixture to the Le Creuset and stir well. Allow meat to cook for the remaining 30 minutes or until the sauce has thickened.

After, start to preparing/cook your sticky rice!

Once meat is finished cooking, garnish with sesame seeds and freshly chopped parsley and serve immediately over sticky rice.

Enjoy!


If you like this recipe or have any comments/questions, feel free to leave them in the comment section below!

PIN THIS POST

FALL-OFF-THE-BONE SLOW COOKED ASIAN SHORT RIBS.jpg

HOMEMADE PEROGIES FROM SCRATCH!

“Food is our common ground, a universal experience.” –James Beard

Life hasn’t been all sunshine and rainbows lately. I know this global pandemic raging over the world has taken away everyone’s ability to move freely and enjoy the comforts we once took for granted, dining out included. For me personally, I feel like I am in a constant state of limbo unsure of what the future may hold or when self-isolation and social distancing will end. Turning to comfort foods that both keeps my mind busy and nourish my soul has been a great escape from this new reality.

Perogies for me are one of those comfort foods that take time and patience to prepare but always manages to soothe the mind and soul. They are also great if you want to batch make something to keep in your fridge so you can enjoy them over the course of a week or want something relatively inexpensive to give to someone in need. During this time we must all be a little bit kinder to ourselves and to others, and giving someone a home-cooked meal is a great way to show you still care even when you can’t be there physically. Whatever your purpose for making them, I hope they bring you the same happiness and enjoyment as they have brought me. Stay well!

INGREDIENTS:

Serving: 6 People @ 5 Perogies Each,

- Cheese and Potato Perogies: Filling-
1 1/2 LBS of Russet Potatoes (typically around 2-3 potatoes should suffice) - peeled and chopped into 1-inch squares
2 TSP of Olive Oil
1/2 a CUP of Onion (diced)
1 Clove of Garlic (minced)
1/2 CUPS of Cream Cheese
1/2 TSP of Salt
Pepper to taste

- Dough For Perogies -
2 1/2 CUPS of All-Purpose Flour
1/2 TSP of salt
1/4 CUP of Sour Cream
1 Egg
2/3 CUP of water

-What To Serve With Perogies - Optional Toppings -
Bacon
Chives
Sourcream
Caramelized Onion


CRAVING COMFORT FOOD? CHECK OUT THESE OTHER RECIPES!


HOW TO MAKE PEROGIES:

First, we need to make the filling.

Put your cut up potatoes in a pot with lukewarm water, add salt and bring to a boil.

In a pan, drizzle a little bit of olive oil and allow it to heat up on medium. Once hot, add in your chopped onions and allow them to cook until they become translucent. This may take 3-5 minutes and you may want to reduce the heat to ensure they don’t burn.

Add in your garlic to the onions when they are close to being done (garlic cooks faster than onion).

Once the potatoes are ready, strain the water out and place the cooked potato back in the pot before starting to mashing them into a smooth texture. To help you make them creamier, add in your cream cheese.

When onions and garlic are ready, add them to the potato pot as well, mix until well incorporated, salt and pepper to taste, and set aside to cool down to room temperature.

Dough For Perogies

Next, we need to make the dough.

Add flour and salt into a large bowl and mix until well combined.

Make a well in the middle and add in your eggs, water, and sour cream. Using a fork or spoon start to mix it together starting from the inner circle and working your way toward the outer edges. You may need to eventually switch to using your hands.

Once the dough starts to form, use a countertop to knead it till it isn’t powdery and has a smooth texture. Place dough back in the bowl, cover with a cloth and let sit for 10 minutes.

After 10 minutes, flour a working station and roll out 1/3 of the dough till it is 1/8’ in thickness. Cut out circles using a circle cookie cutter with a 4’ diameter. You can also use a lip of a cup as a stencil and a pizza cutter if you don’t have a circle cookie cutter! Feel free to get creative! If you don’t have a 4’ wide diameter cup you can always roll out the dough a little thicker, use a 3’ wide diameter cup and then roll them out a little thinner after to spread out the dough wider. It doesn’t have to be perfect.

Set dough pancakes aside on a floured surface and cover with a cloth. Once you have a few cut out, fill the middle with about a tablespoon of the mashed potato filling and fold the dough over, pinching the sides to create a seal. If the seal doesn’t hold use a little water along the edge to help. Secure the seal by pressing the prongs of a fork along the dumpling edge and making indents into the dough.

How To Cook Perogies & How Long To Boil Perogies

Once you have a few complete, boil a pot of water. Once boiled, add salt and drop in 3-4 dumplings. You will need to stir the water at first so they don’t stick together. Eventually, after 3-5 minutes the Perogies, will float to the surface of the water, when that happens, allow them to cook for an additional 30-45 seconds before taking them out of the water and setting them aside on an oiled tray or casserole dish. As you add more cooked perogies to the oiled tray or casserole dish, make sure they are covered in olive oil to avoid them sticking to one another. You can store them like this for a few days in the fridge if you don’t want to eat them right away.

I like my perogies fried so typically I will heat up some butter in a pan on medium and once hot, place a few of these finished, pre boiled perogies in the plan flipping them as they become nicely browned. When ready, remove them from the pan, add a dollop of sour cream, chives, and bacon bits and serve!

Pierogies in Air Fryer

You can also air fry pierogies in an air fryer if you have one! It usually only takes 4-5 minutes to get them crispy and golden brown but I have found that each air fryer I have tried them with is a little different so just keep an eye on them. Typically 4-5 minutes though is good!

Enjoy!


FOLLOW ME ON INSTAGRAM @ISTHATSOH


If you like this recipe for perogies with bacon or have any comments/questions about how to make homemade perogies or suggestions as to what to serve with perogies, feel free to leave them in the comment section below!


PIN THIS POST

HOMEMADE PEROGIES FROM SCRATCH.jpg Perogies - how to make perogies, homemade perogies