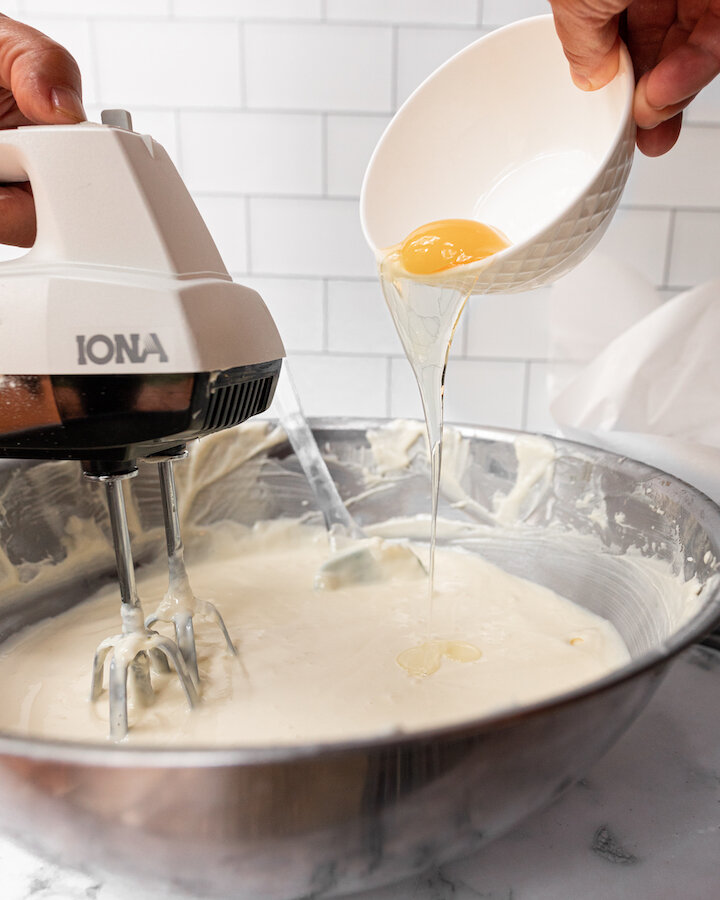
CAULIFLOWER HASH BROWN EGG BITES

Always on the look out for a keto friendly recipe, these cauliflower hash brown egg bites are the perfect addition to your weekly breakfast line up. If you are looking for something to batch make that is not only low carb but also gluten free, you have to try this recipe. Not only are they delicious but you can add a variety of toppings to them like smoke salmon and chives or ham and tomato. Plus, they are packed full of protein so you can feel good about starting your day off on the right foot. Enjoy!

INGREDIENTS:

Makes 9 Cups

500 Grams of Frozen Riced Cauliflower - defrosted
1 Large Egg - whisked
1/2 CUP of Cheddar Cheese
1/2 Cup of Parmesan
1 TSP of Salt
1/2 TSP of Garlic Powder
Pepper to Taste
9 Eggs

Additional Toppings - Optional
Chili Pepper Flakes
Green Onion
Chives

DIRECTIONS:
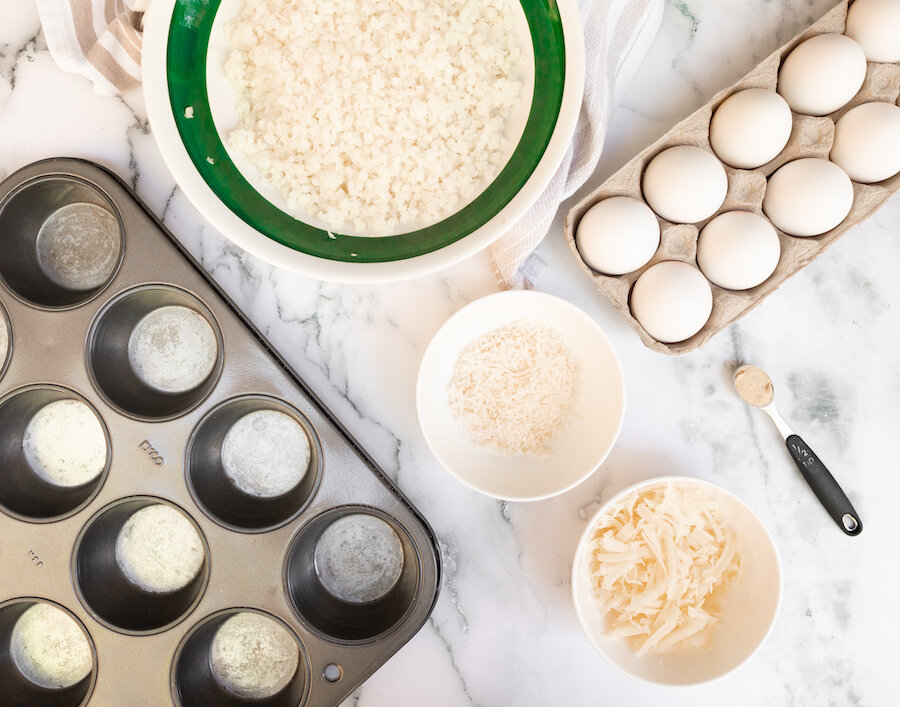
Preheat oven to 350 and butter your muffin tray really well! If you don’t it will be hard to remove the cauliflower cups later.

In a large bowl, microwave your cauliflower for 8 minutes. Remove and let rest of 5 minutes before putting it a cheesecloth or tea towel to squeeze out as much liquid as possible. There is a lot of excess water in cauliflower so you will need to squeeze it really hard!

Next, in a large bowl, add in your whisked egg, cauliflower, cheddar cheese, parmesan, salt, and garlic powder and mix well using your hands.

Take your cauliflower mixture and press it into your muffin tray to form your ‘cups’.
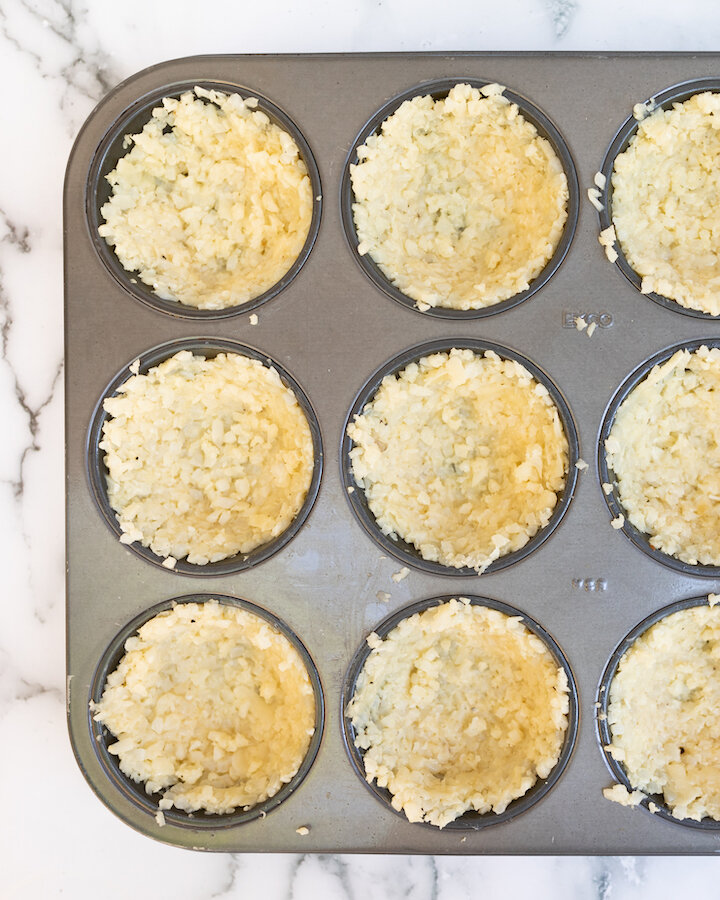
When ready, place muffin tray in the oven and bake for 15-20 until the cups are golden and edges are brown.

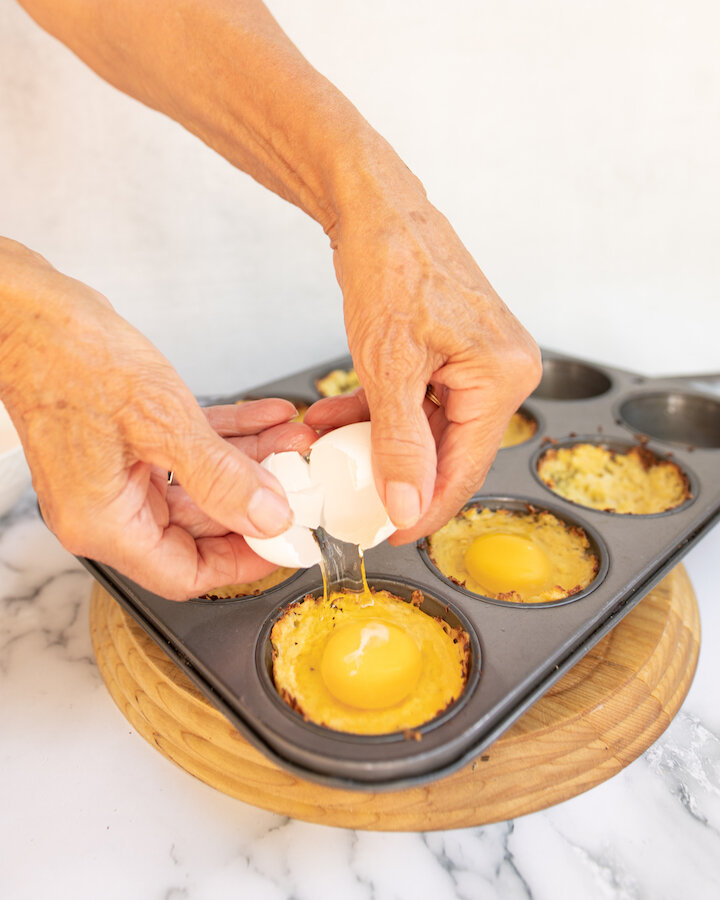
Remove from oven, add in one egg to each cup, sprinkle salt and pepper to taste on top before placing back into the oven for another 10-15 minutes or until whites are set.
When done, remove from oven and allow egg bites to sit for 5 minutes before taking a knife and sliding it around the edge of each muffin mold to help remove the egg bites from the tray.

Add your desired garnishes and serve.

Enjoy!


I hope you enjoyed this recipe as much as I do. If you have any comments please leave them below and I'll be happy to answer them as soon as I can! Happy cooking!!!


PIN THIS POST

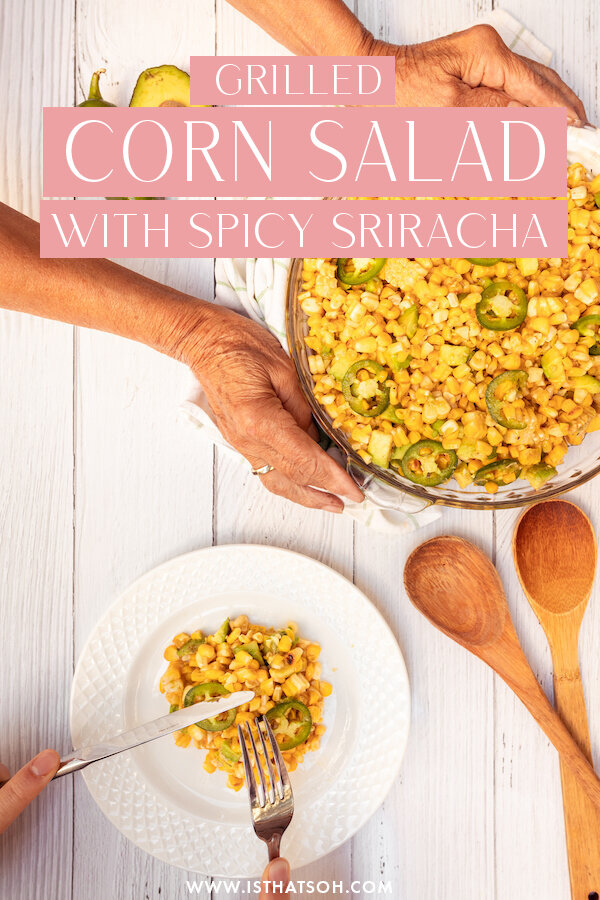
GRILLED CORN SALAD WITH SPICY SRIRACHA-LIME DRESSING

Always down to try a delicious new salad, my boyfriend’s mom recently whipped up this spicy, sweet corn salad and I just couldn’t get enough. Not only is it the perfect season for grilled corn but the sriracha lime dressing and jalapenos add a kick of spice while the avocado and lime help cool your mouth down. Its the perfect side dish to add to your next BBQ or Mexican night and goes perfectly with any chicken or meat dish you’re planning to serve! Enjoy!

INGREDIENTS:

Serves 6 People

6 Pieces of Sweet Corn - husked
2 TBSP of Unsalted Butter - melted
Salt and Pepper
3 Ripe Avocados - chopped into pieces
1 Jalapeno Pepper - chopped

- Dressing -
6 TBSP of Lime Juice
4 TBSP of Honey
3 TSP of Sriracha
2 TSP of Garlic Powder

DIRECTIONS:

Brush the corn in the unsalted butter and sprinkle with salt and pepper before grilling on the bbq. Turn the corn occasionally to allow it to cook evenly. Remove corn once it is tender and slightly charred. Set aside to cool.

Combine all your ingredients for the dressing in a bowl and whisk until well incorporated.

Once the corn has cooled, cut kernels off the cobs and place in a large bowl. Add in your chopped avocado and jalapenos before drizzling the dressing over the entire mixture and tossing so everything is well coated. Season with salt and pepper to taste before giving it one last toss.

Cover with plastic wrap and store in the fridge until you are ready to eat.

Enjoy!


I hope you enjoyed this recipe as much as I do. If you have any comments please leave them below and I'll be happy to answer them as soon as I can! Happy cooking!!!

PIN THIS POST

BURNT BASQUE CHEESECAKE

We may not be able to travel right now but that doesn’t mean we can’t eat the delicious foods we discovered while away. I recently was reminded of Adam and I’s trip to Spain and the small little surfing town of San Sebastian that we visited while there. In the evening, we would wander around the small town looking for a bar to grab some pinchos (small traditional snacks typically eaten in bars in northern Spain) and on one of those evenings, we were also introduced to a popular dessert in the region, the Burnt Basque Cheesecake. Unsure of how to make it myself, I recently scoured the internet in search of a recipe that was not only super simple but tasted just as I had remembered. Not only was I super happy with how my cheesecake turned out but I would highly recommend giving this dessert recipe a good if you are looking for something to whisp you away to memories of Spain with a single bite!

Enjoy!

INGREDIENTS:

Unsalted Butter
2 LBS of Cream Cheese - Room Temperature
1.5 CUPS of Sugar
6 Large Eggs
2 CUPS of Heavy Cream
1 TSP of Kosher Salt
1 TSP of Vanilla
1/3 CUP of Flour

10” Spring Form Pan
Parchment Paper
Sifter

DIRECTIONS:

Preheat oven to 400 degrees and make sure your middle rack is not obstructed.

Using unsalted butter, butter your springform pan and line with two pieces (overlappings slightly in the middle) of parchment paper. You need them to help hold up the cheesecake once it rises so it’s okay if it comes over the top of the pan (just make sure it’s not too tall where it will touch the oven elements.

Beat cream cheese and sugar with a hand mixer on medium-low until sugar dissolves and the texture is smooth. Remember to scrape the sides!

Next, increase your speed slightly before adding one egg in at a time in 15-seconds intervals.

Next, reduce your speed slightly and add in your cream, salt, and vanilla. Mix until well incorporated, approximately 20-30 seconds.

Next, sift in your flour and beat on low until well incorporated. Make sure to scrape down the sides of the bowl to get the extra build-up on there. The batter should be a smooth consistency.

When ready, pour batter into your springform pan and bake on the medium rack for 60-65 minutes until it’s a deep golden brown.

When ready, set cheesecake aside to cool in the springform pan. The cheesecake will fall dramatically so don’t worry if it came over the sides a lot. Once cooled you can remove springform pan and carefully peel away the parchment paper.

At this point, feel free to cut the cake into wedges and serve however I like the consistency more the following day when it becomes more reminiscent of thicker creamy cheesecake as oppose to a flan texture.


I hope you enjoyed this recipe as much as I do. If you have any comments please leave them below and I'll be happy to answer them as soon as I can! Happy cooking!!!


PIN THIS POST

CHOCOLATE ZUCCHINI BREAD

If you are trying to sneak more veggies into your diet, I highly recommend giving this zucchini bread a go. If you are looking to be a little healthier feel free to omit the chocolate, it still tastes great without it. Not only is this recipe nutritious but the bread is also so moist but it freezes well. My boyfriend and I love to enjoy a slice with some earl grey tea as the combo is simply divine.

Enjoy!

INGREDIENTS:

Makes 1 Loaf of Chocolate Zucchini Bread

Unsalted Butter - for greasing the loaf pan
4 OZ Bittersweet Chocolate - Chopped
1 CUP of All-Purpose Flour
1/2 CUP of Whole Wheat Flour
1/3 CUP Instant Oats
1 TSP of Baking Soda
1/2 CUP of Unsalted Butter
1/2 CUP of Sugar
2 Eggs
2 TBSP of Plain Yogurt
1 TSP of Vanilla
1/2 a TSP of Lemon Zest
2 CUPS of Zucchini - Shredded

You will also need:
Loaf Pan
Parchment Paper

DIRECTIONS:

Preheat oven to 350 degrees

Greece loaf pan and line with a piece of parchment paper.

Melt your chocolate on medium-low heat in a small saucepan on the stove.

In a bowl, combine flour (both - all-purpose and whole wheat), oats, and baking soda. Give it a whisk until well incorporated.

In a separate large bowl, combine sugar and butter and using a hand mixer, cream together until light and fluffy.

Next add eggs, yogurt, vanilla, lemon rind, and melted chocolate to your sugar and butter bowl, and beat until well incorporated.

Next, stir in your shredded zucchini before adding the flour mixture in a cup at a time and beating until nicely mixed. Make sure to scrape the sides and get all the flour built up there.

Lastly, spread your batter in the loaf pan and bake for 45 minutes or until a toothpick comes out clean.

Allow the zucchini loaf to cool in the pan for 20 minutes before removing it and letting it continue to cool on a cooling rack.

Enjoy!


I hope you enjoyed this recipe as much as I do. If you have any comments please leave them below and I'll be happy to answer them as soon as I can! Happy baking!!!


PIN THIS POST

ELOTE - MEXICAN STREET CORN

Elote or Mexican street corn is one of my favorite appetizers!! Whenever I go out for tacos I always have to order the Mexican street corn otherwise the dining experience isn't complete! The thing you might not realize is that it is so simple to make and you can do it so easily right at home. I made mine on the bbq this past week which I think was even better than boiling it because when you boil it you dilute the sugars in the kernels whereas if you bbq it, they get sealed in and the corn tastes extra sweet! Give it a go, you’ll be surprised just how delicious and easy it is to make.

INGREDIENTS:

Sweet Corn - Two per person is my usual estimate
Butchers Twine
2 TBSP of Vegetable Oil
Cream Fresh
Chipotle Chilli Seasoning Spice
Feta Cheese, Cotija Cheese or Queso Fresco
Lime Wedges - optional

DIRECTIONS:

Peel back the husk of corn and tie back with a piece of butchers twine

Coat corn in a light layer of oil and place on the bbq, turning frequently so that it becomes only slightly charred

When the corn is ready, drizzle with creme fresh, sprinkle with chipotle seasoning and garnish with cheese.

Serve warm with a slice of lime.

Enjoy!


I hope you enjoyed this recipe as much as I do. If you have any comments please leave them below and I'll be happy to answer them as soon as I can! Happy cooking!!!


PIN THIS POST