BUTTERNUT SQUASH RAVIOLI FROM SCRATCH!

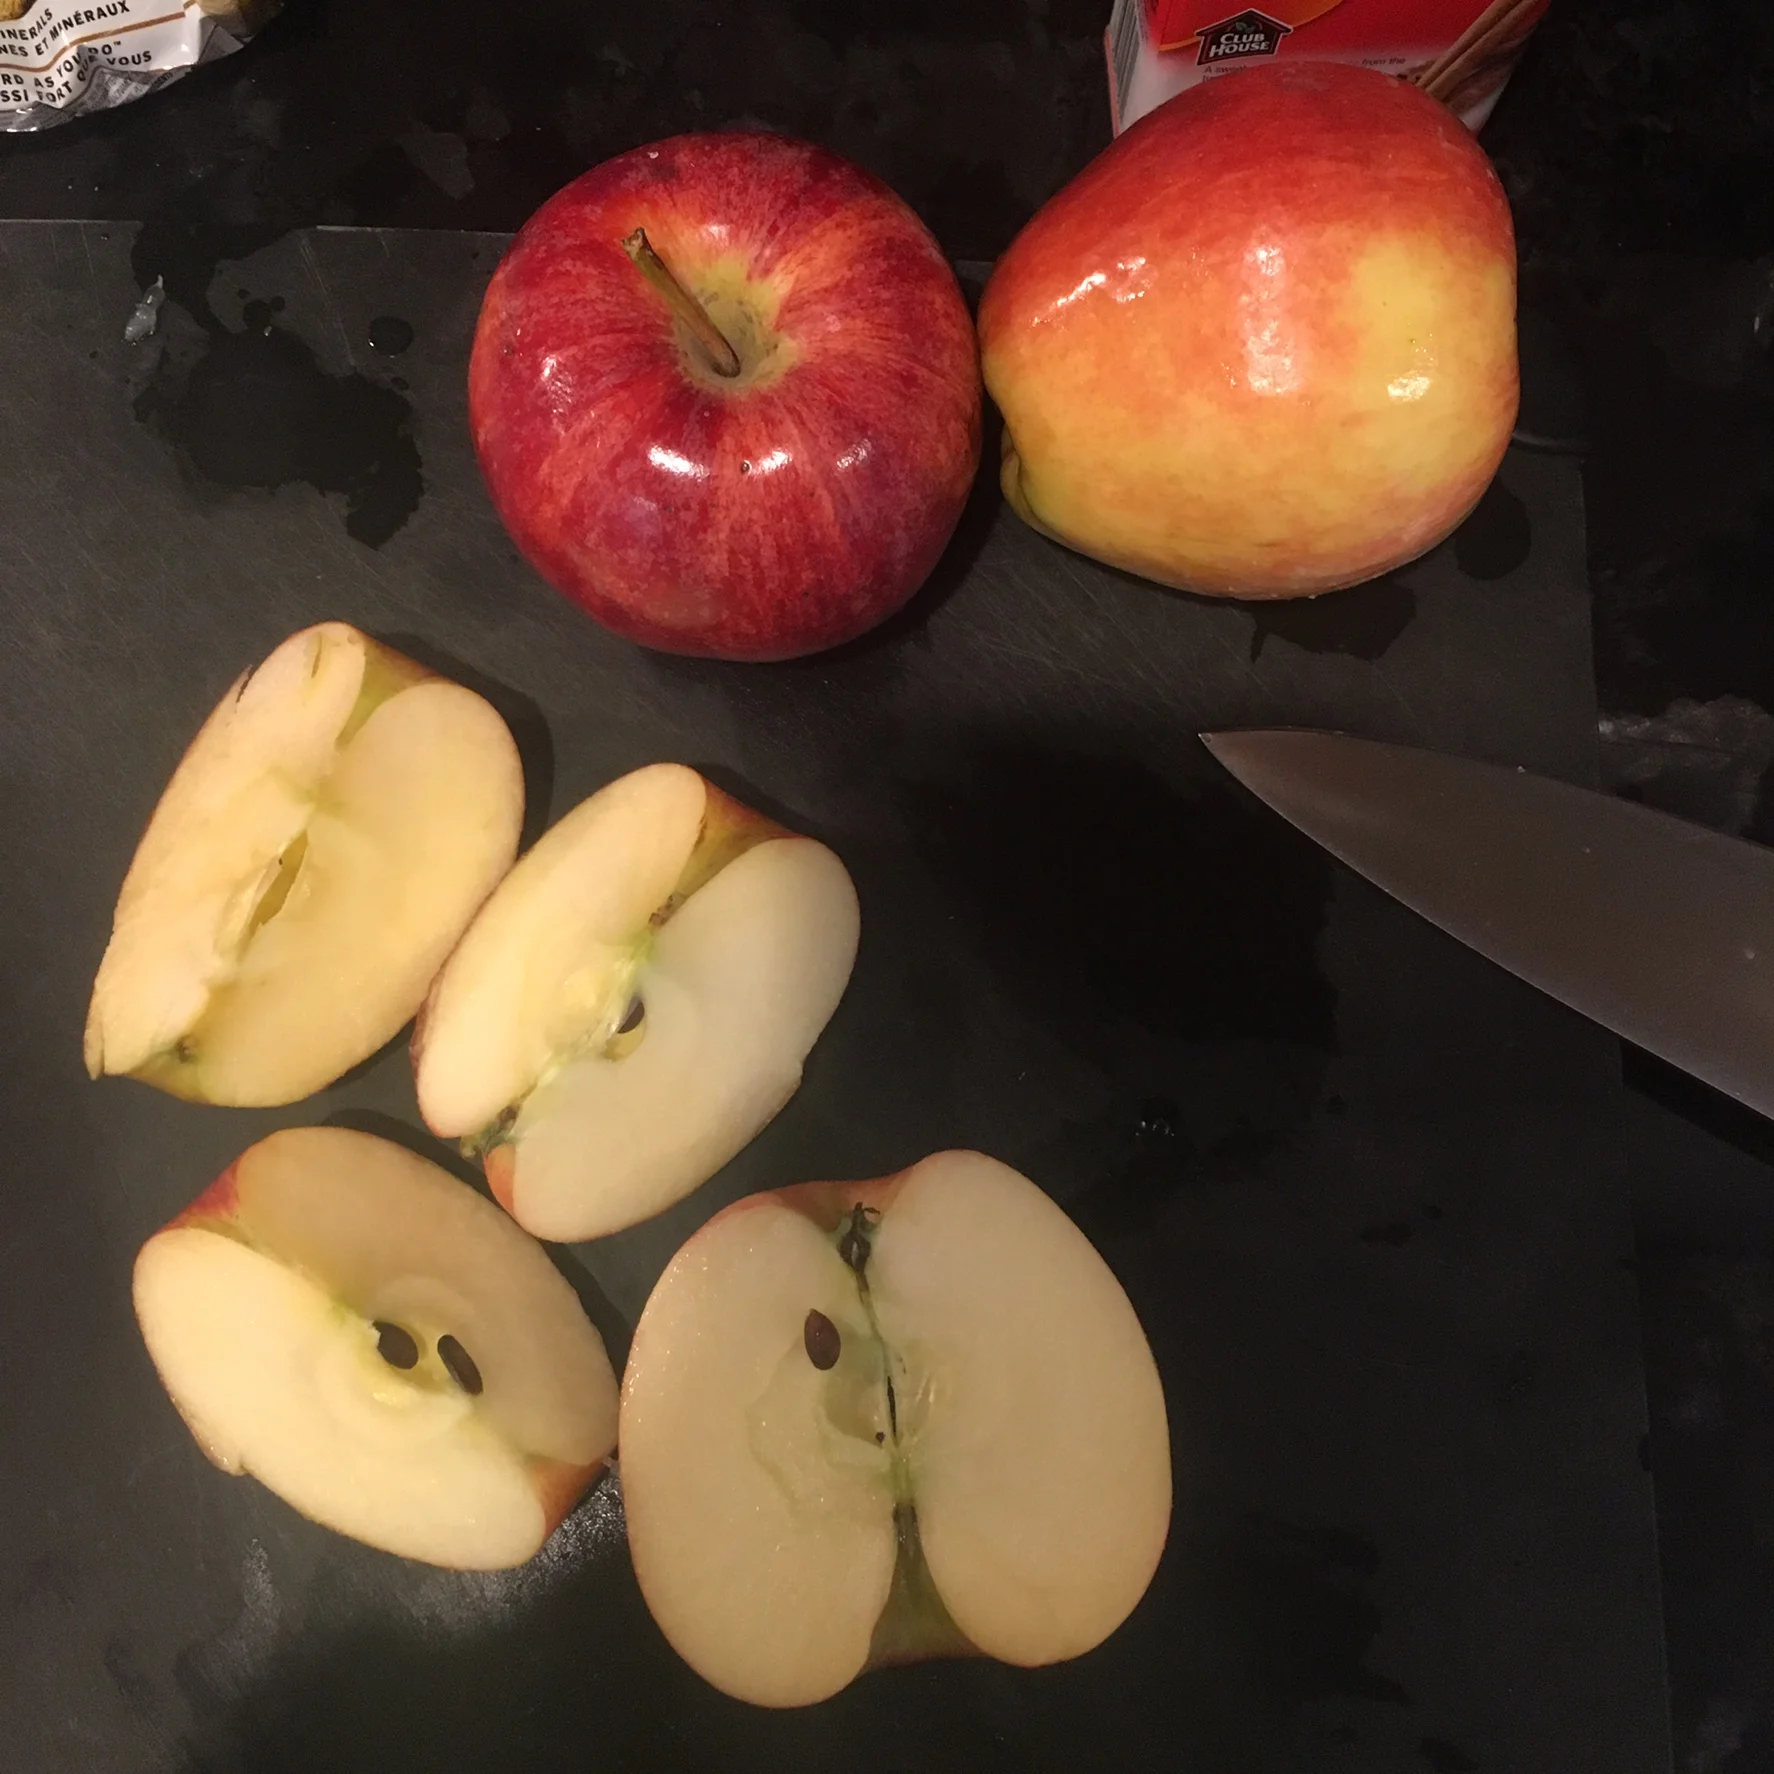
I love ravioli! Actually I love anything that involves a filling wrapped in dough (ie perogies, dumplings, empendadas, calzone springrolls, etc). I recently made ravioli from scratch on valentines day weekend and it was such a fun experience. It is a bit lengthy so make sure you can devote a good 4 hours to it and make the filling the night before. I lucky snapchatted the whole experience so I was able to grab those videos and make a little film for you down below so dont forget to check that out!!! Enjoy!

INGREDIENTS
Filling - **Make the butternut squash filling the night before so that you can let it chill overnight.
1-2 Lbs Butternut Squash or 2 Packs of Pre-Peeled and Cut Butternut Squash
2 TBS of Olive Oil
Salt an Pepper (as desired)
1/8 Tsp of Ground Nutmeg
1/2 a Cup Parmesan or Ricotta Cheese or both! (1/2Cup of Ricotta, 1/4 Cup of Parmesan)

Dough-
3.5 Cups of All Purpose Flour
4 Eggs (3 For the dough 1 for the ravioli wash)
3 Tbsp Olive Oil
1/2 TSP of Salt
1/2 Cup of Water

Sauce -
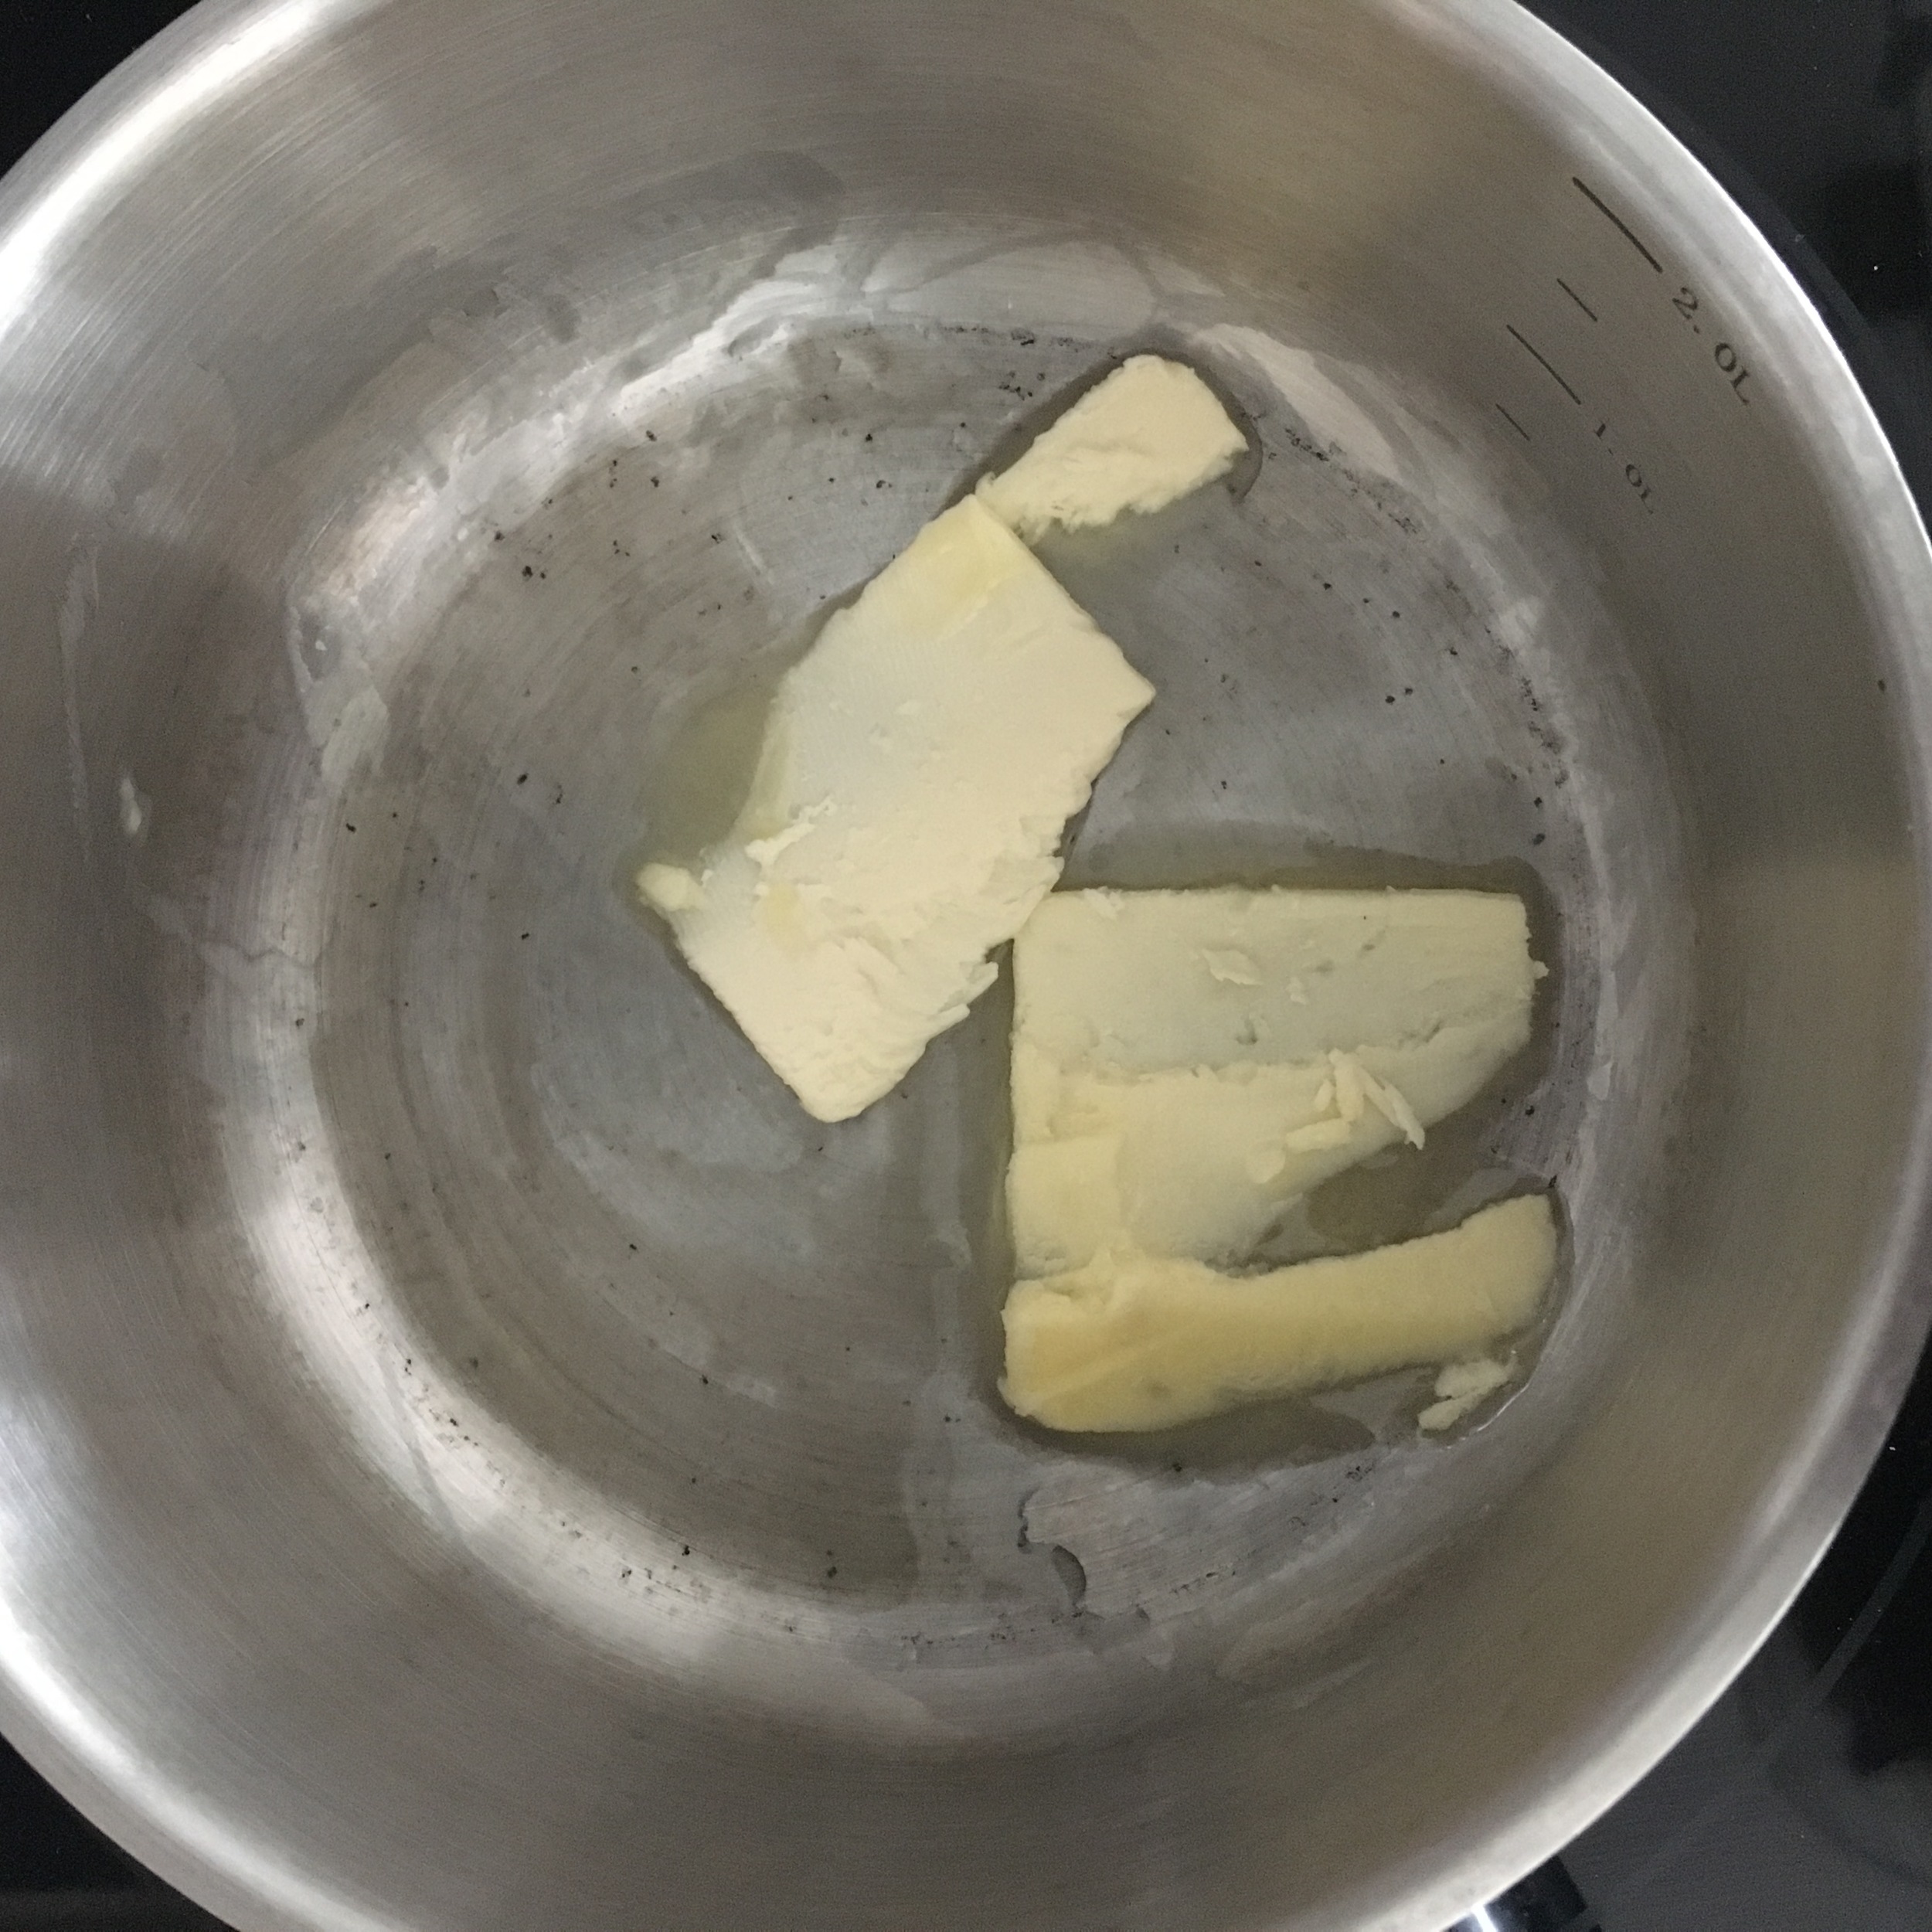
8 Tbsp of Salted Butter
2 Tbsp of Shallots (minced)
1 Tbsp of Fresh Sage (Chopped)

OTHER MATERIALS

Pasta maker - I have a Lagostina Pasta Maker with Ravioli Attachment that works really well which I bought for around $67 CAD @ Canadian Tire! I didn't use the Ravioli attachment but you can if you like.

It essentially looks like this:

DIRECTIONS:

First we are going to make the filling. Preheat the oven at 350 degrees.

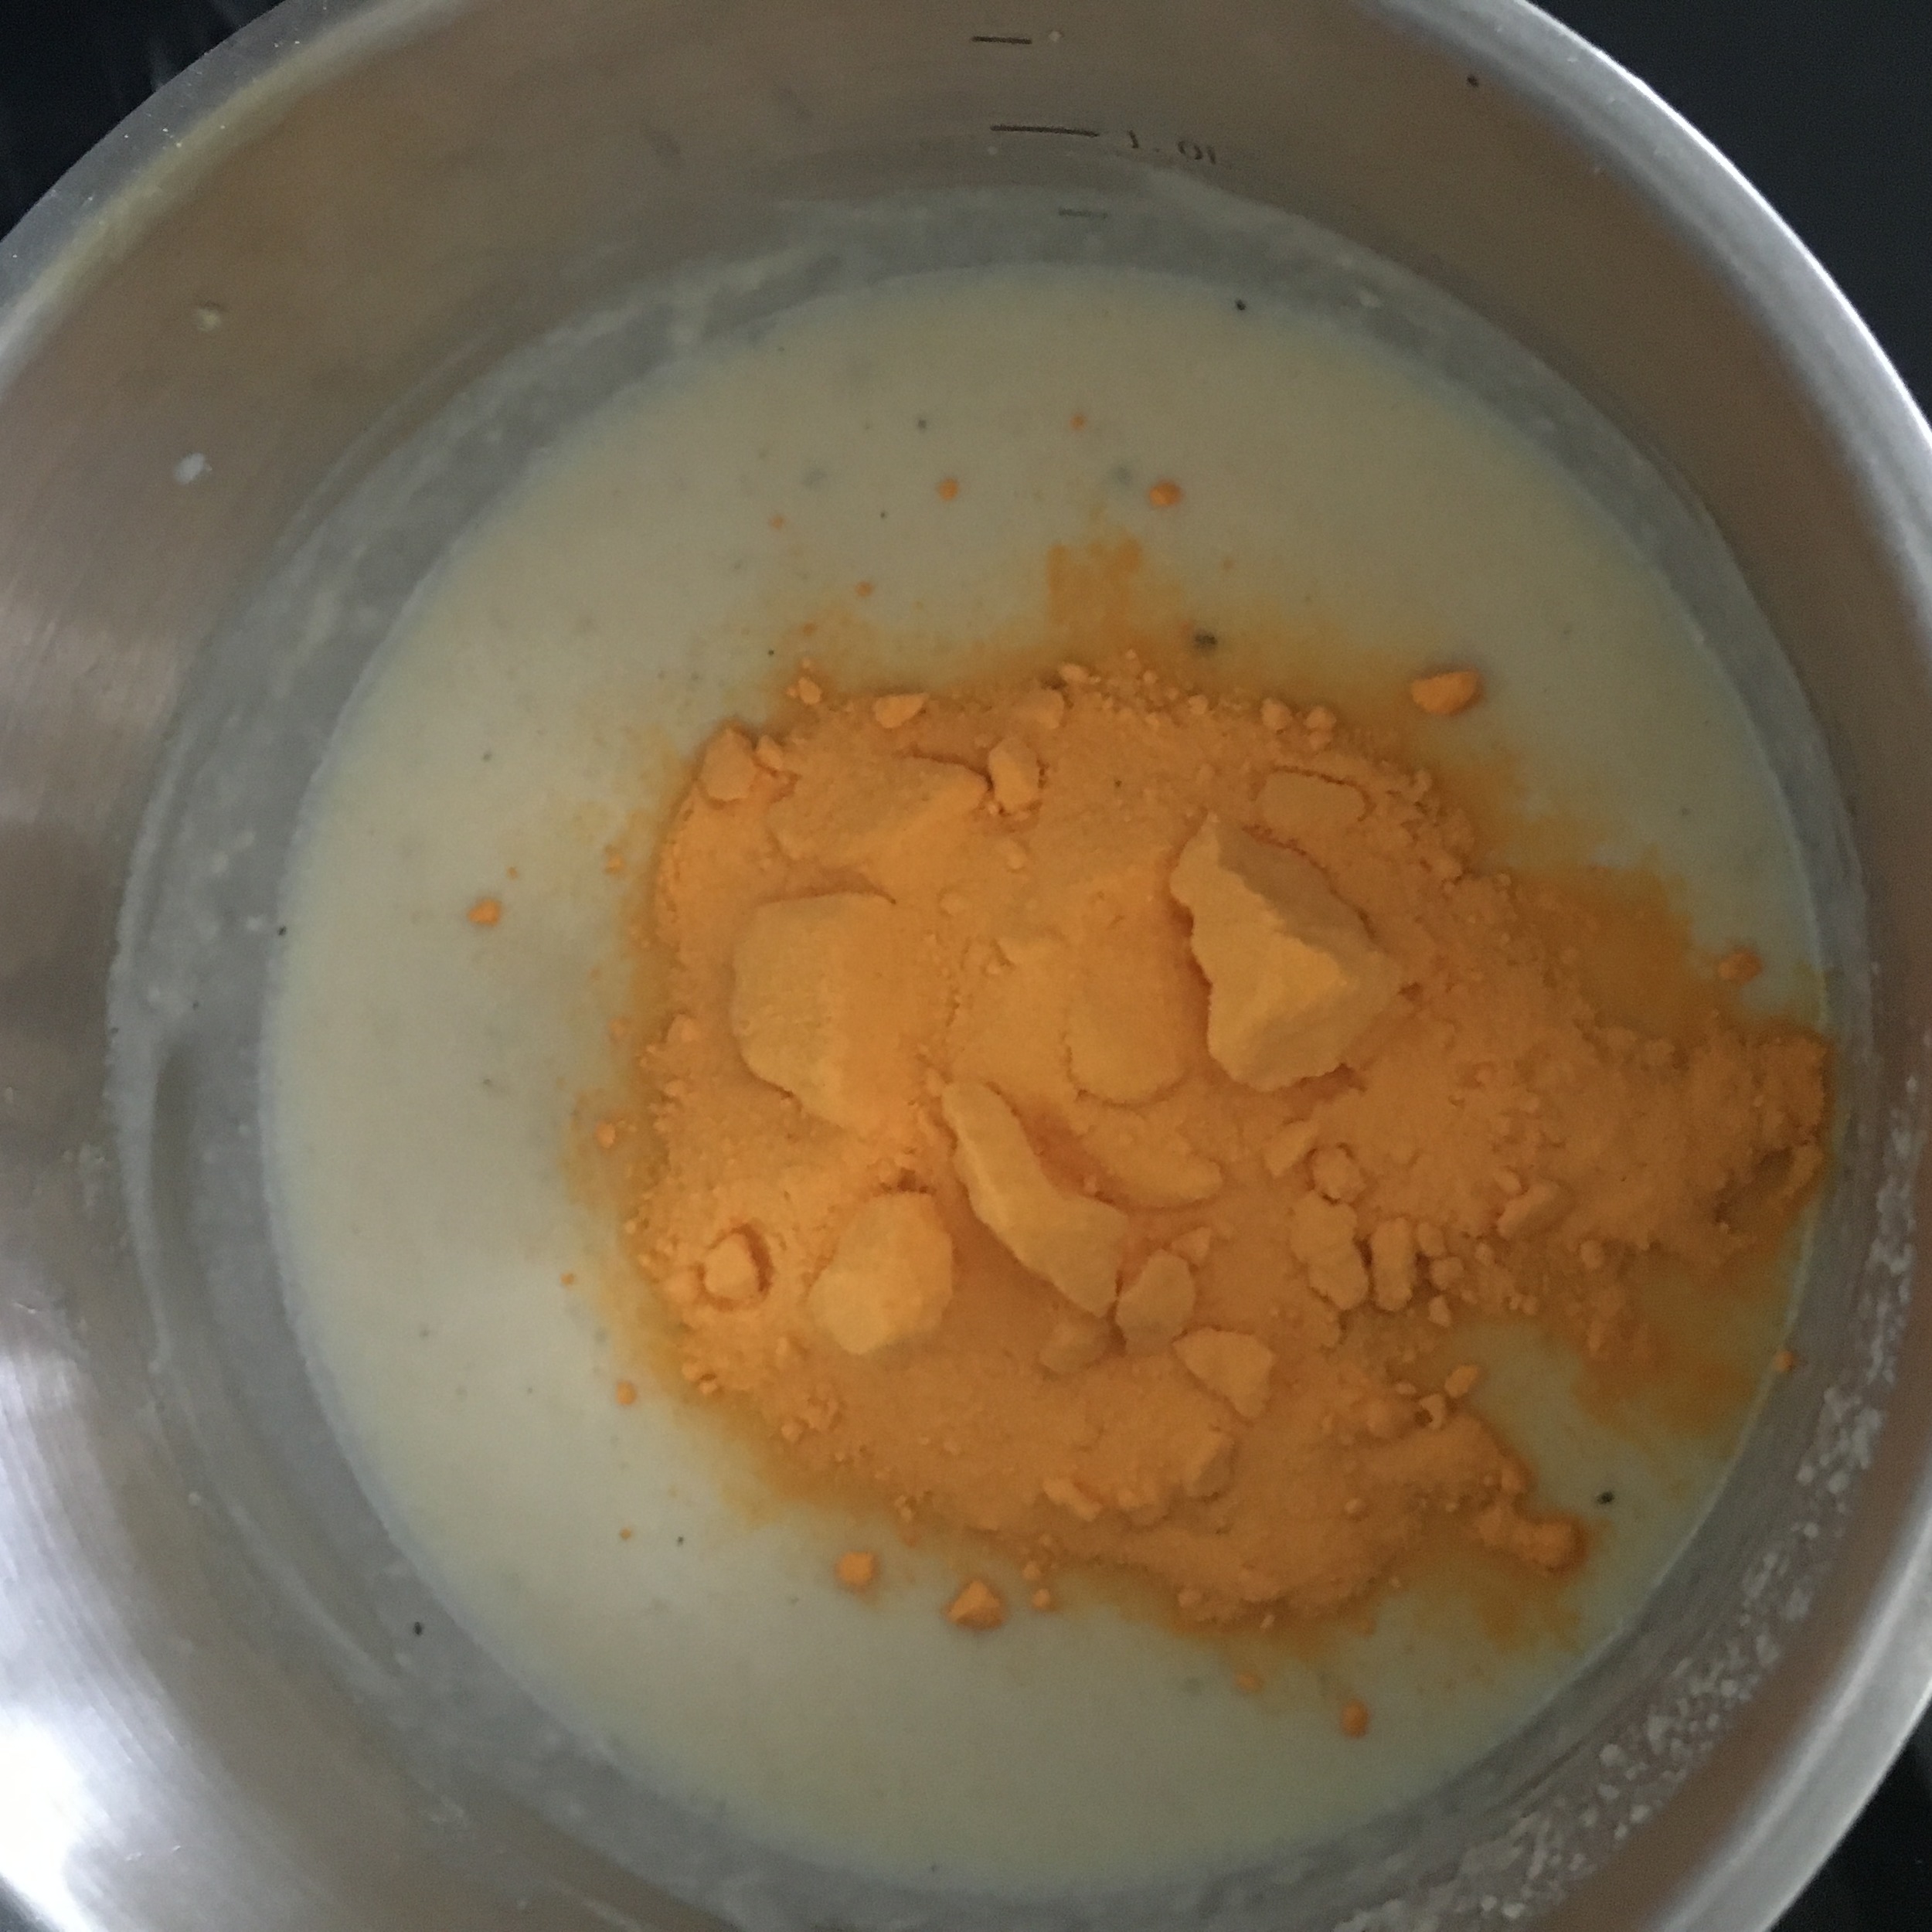
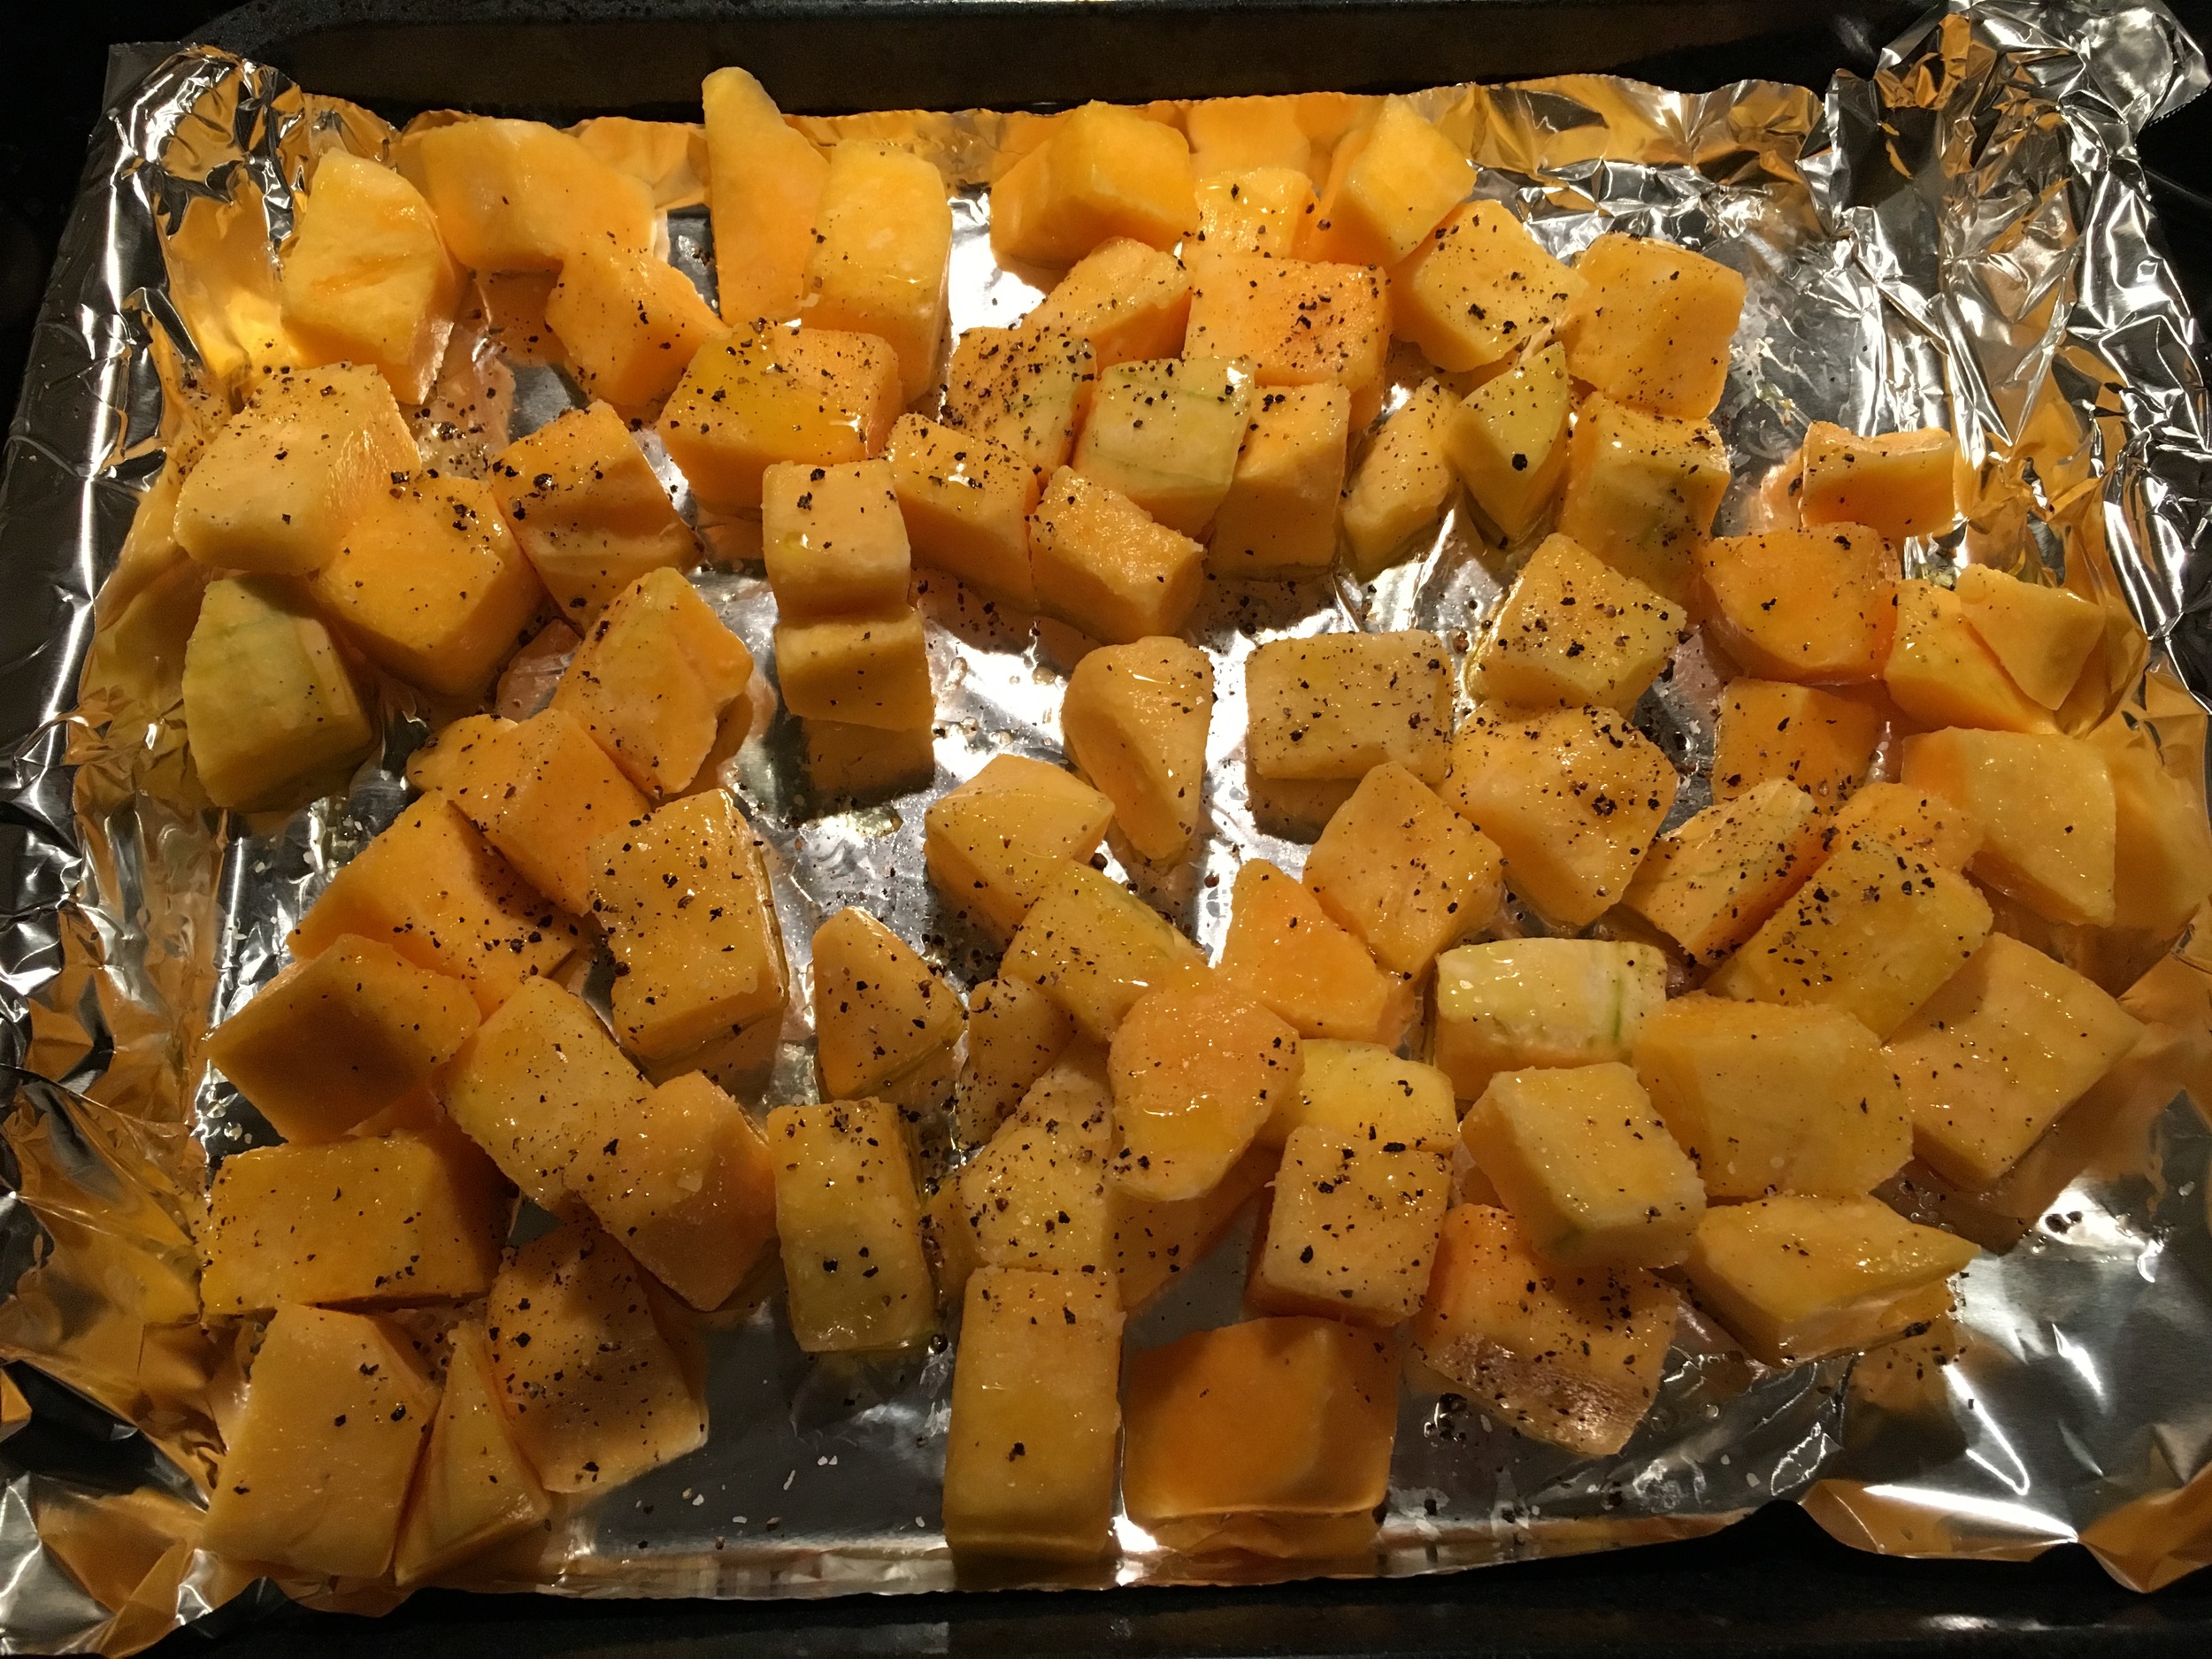
In a bowl combine your chopped and peeled butternut squash, olive oil, salt, pepper and nutmeg. Toss so that it is evenly covered before placing it on a baking tray covered in aluminum foil and popping it into the oven for 30 minute (or until tender).

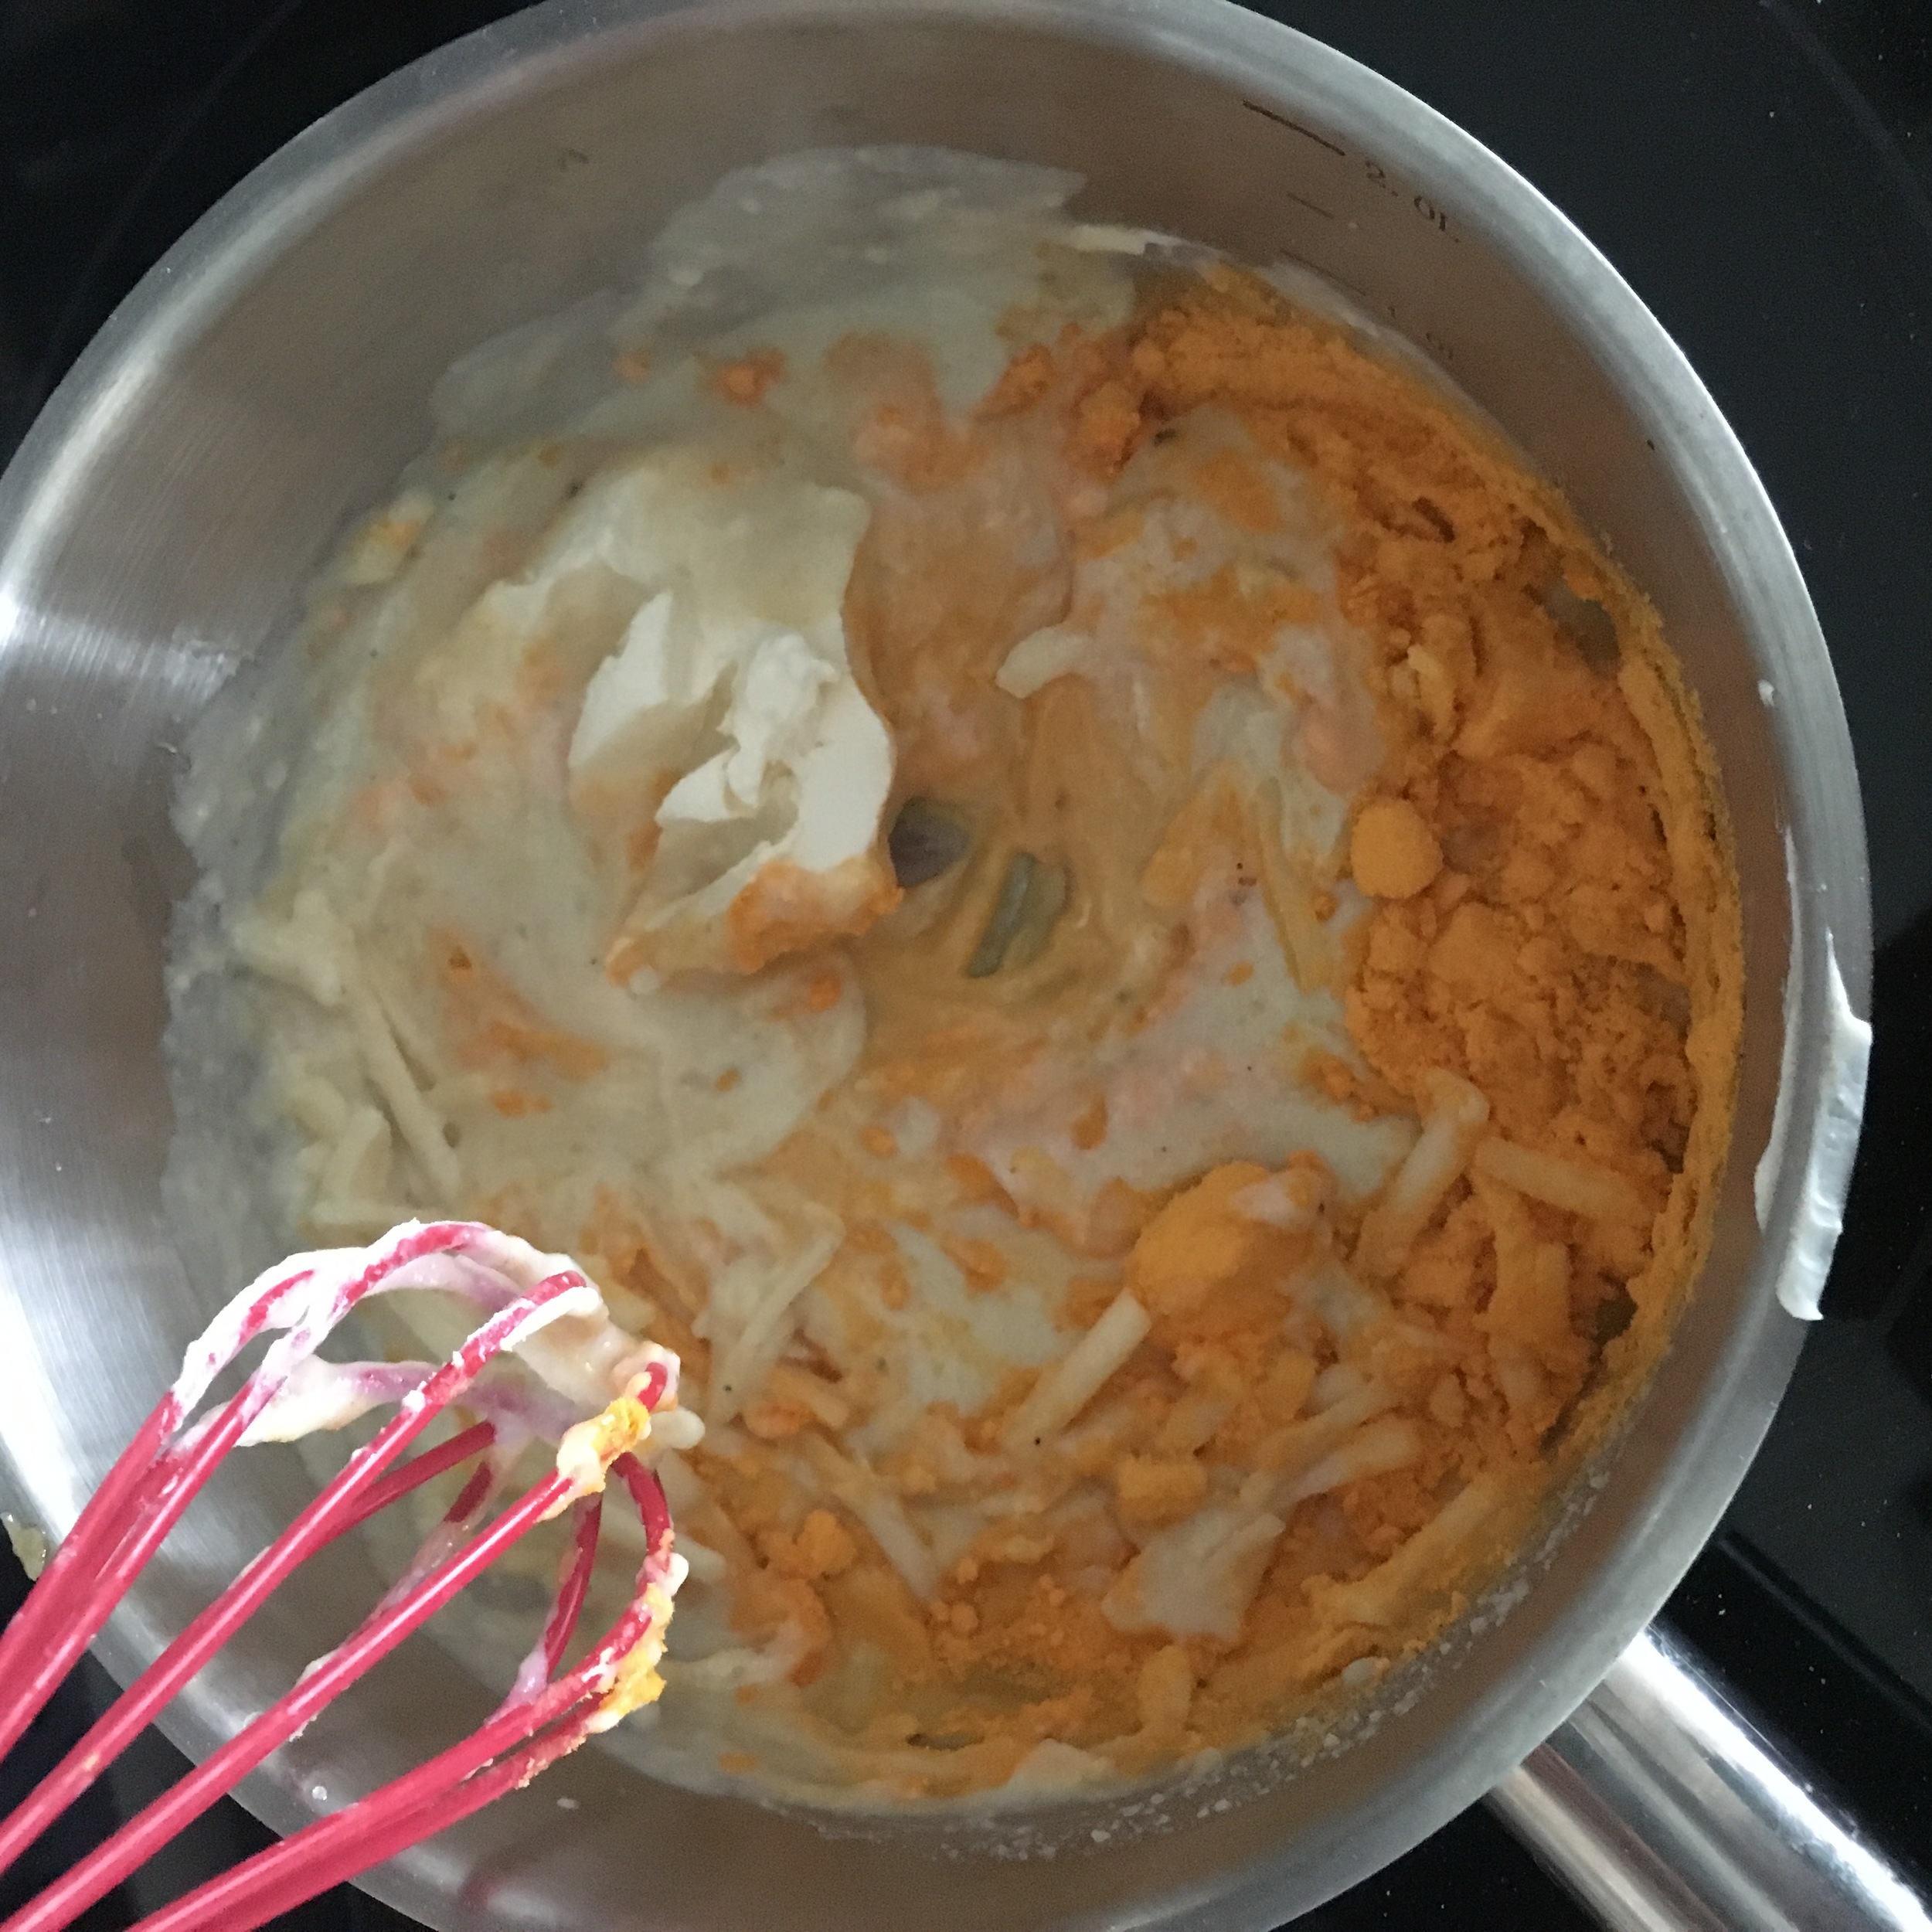
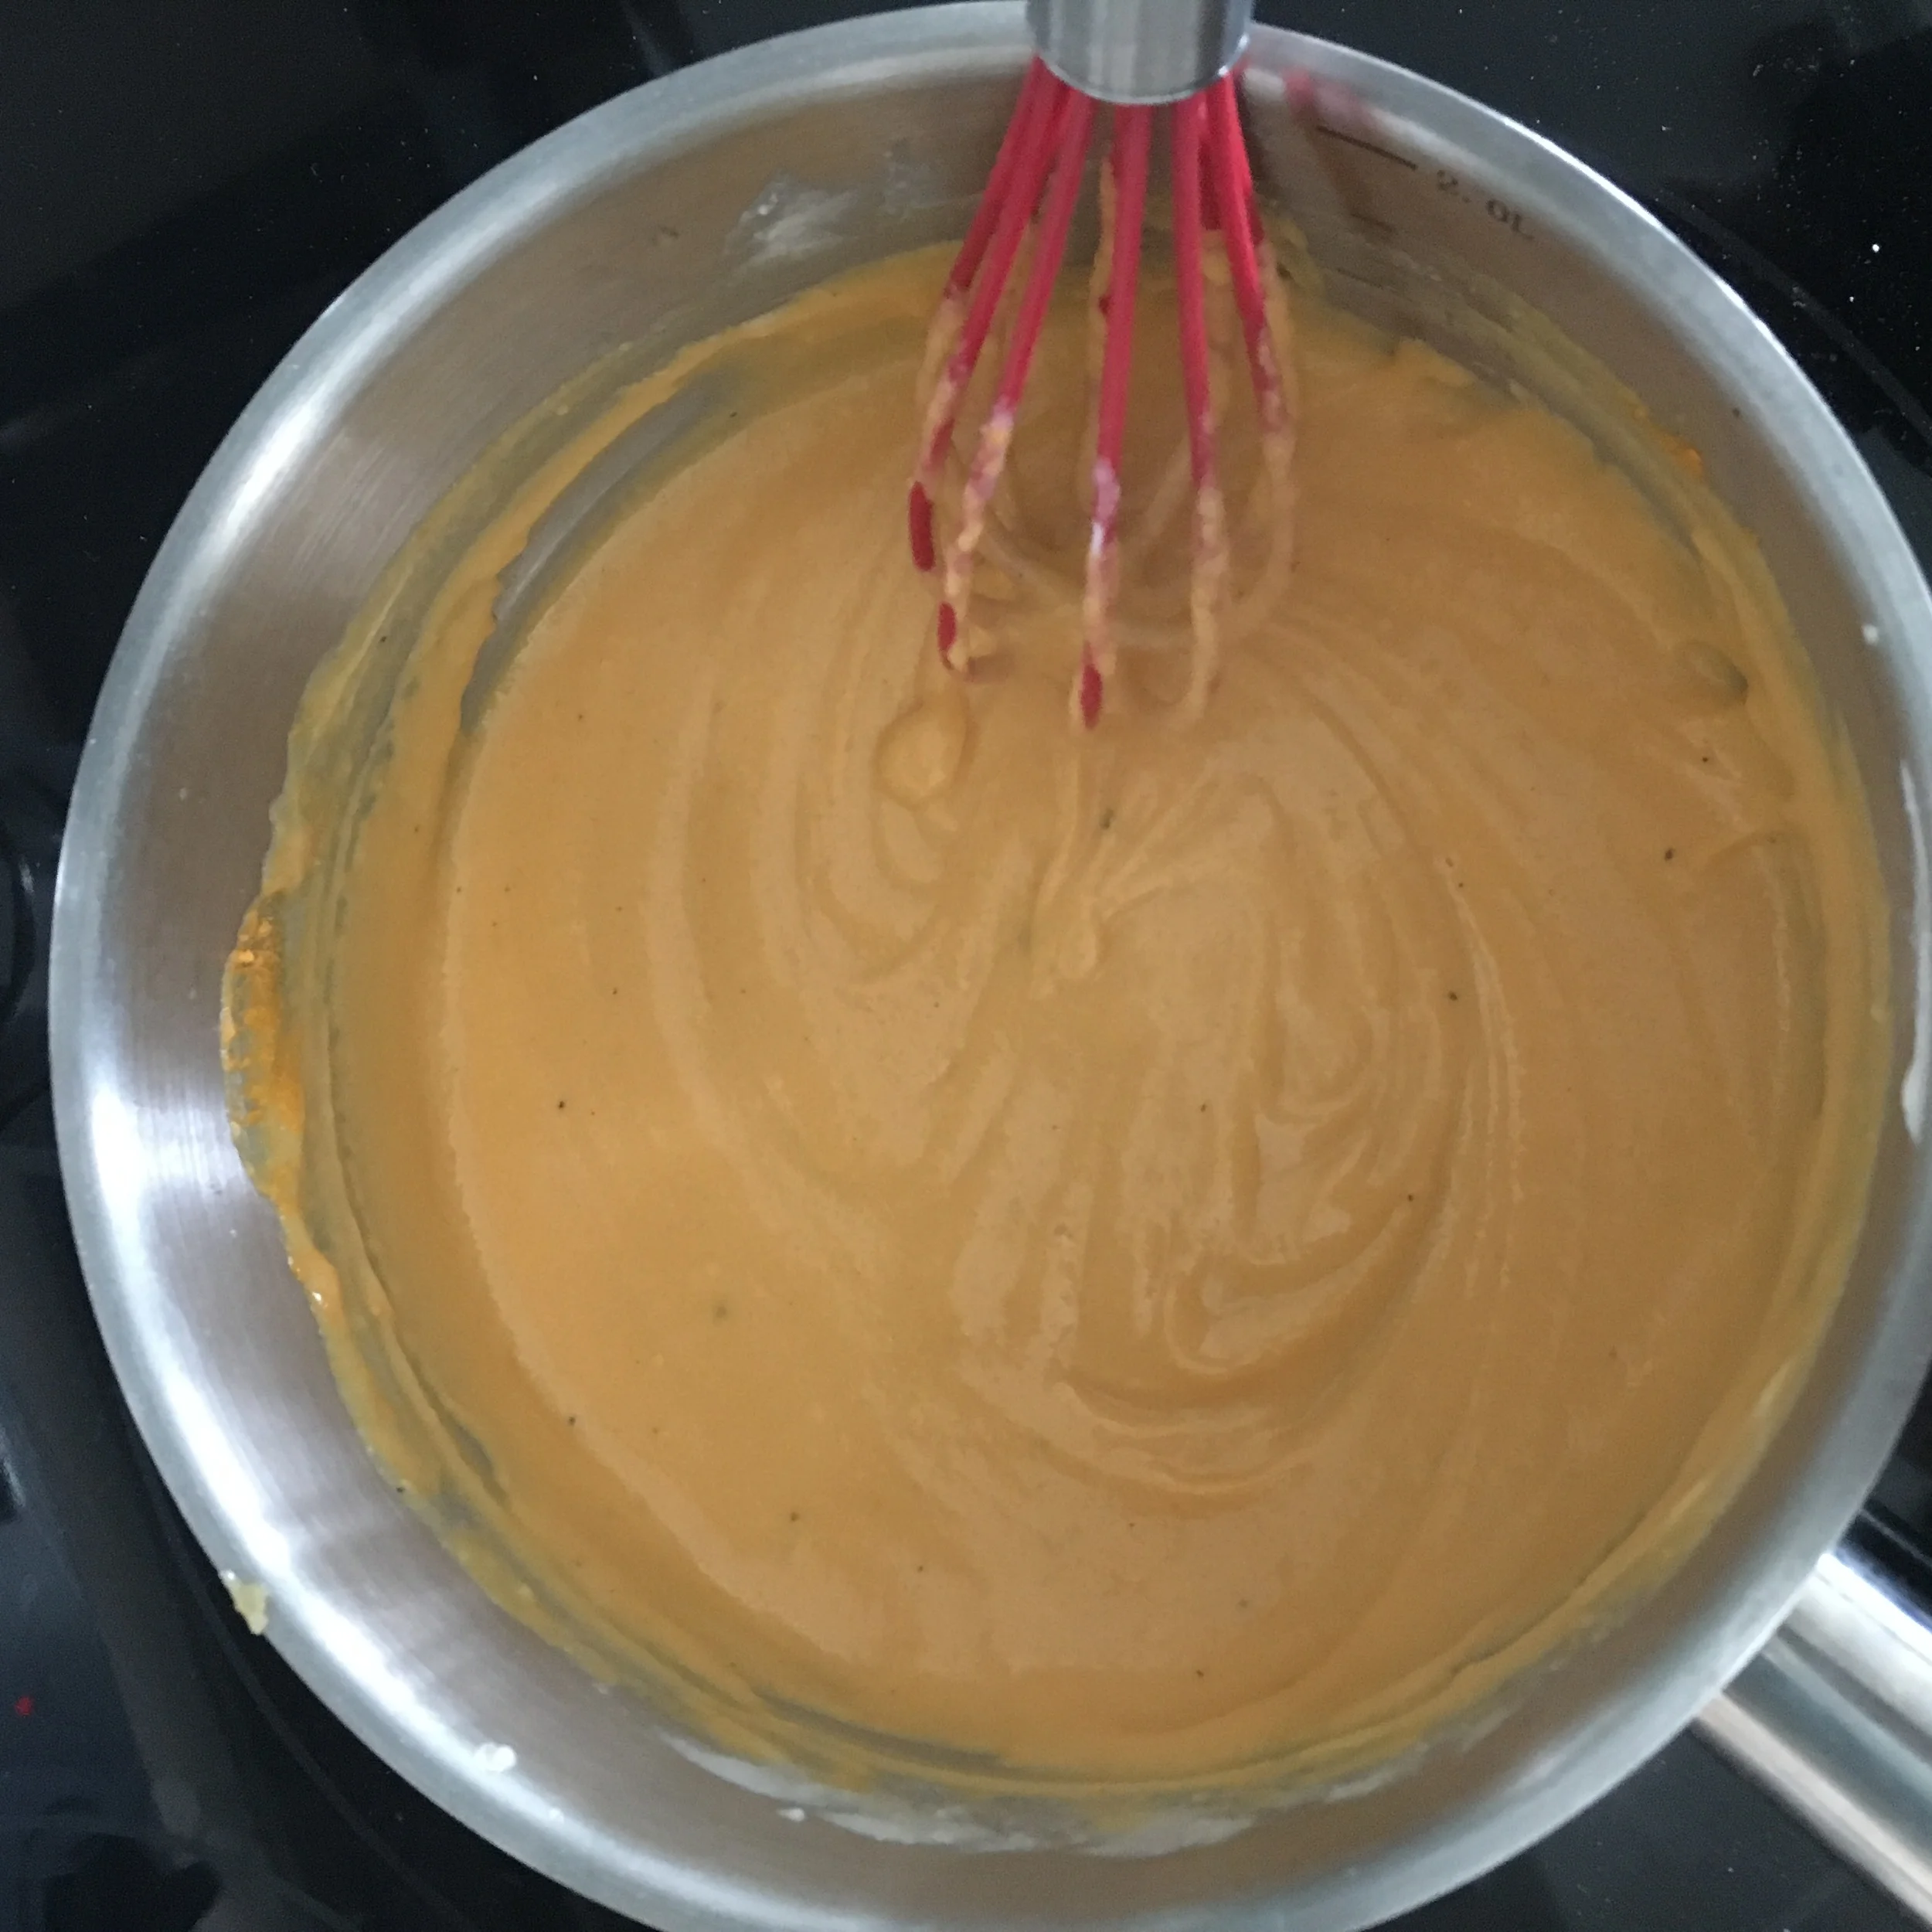
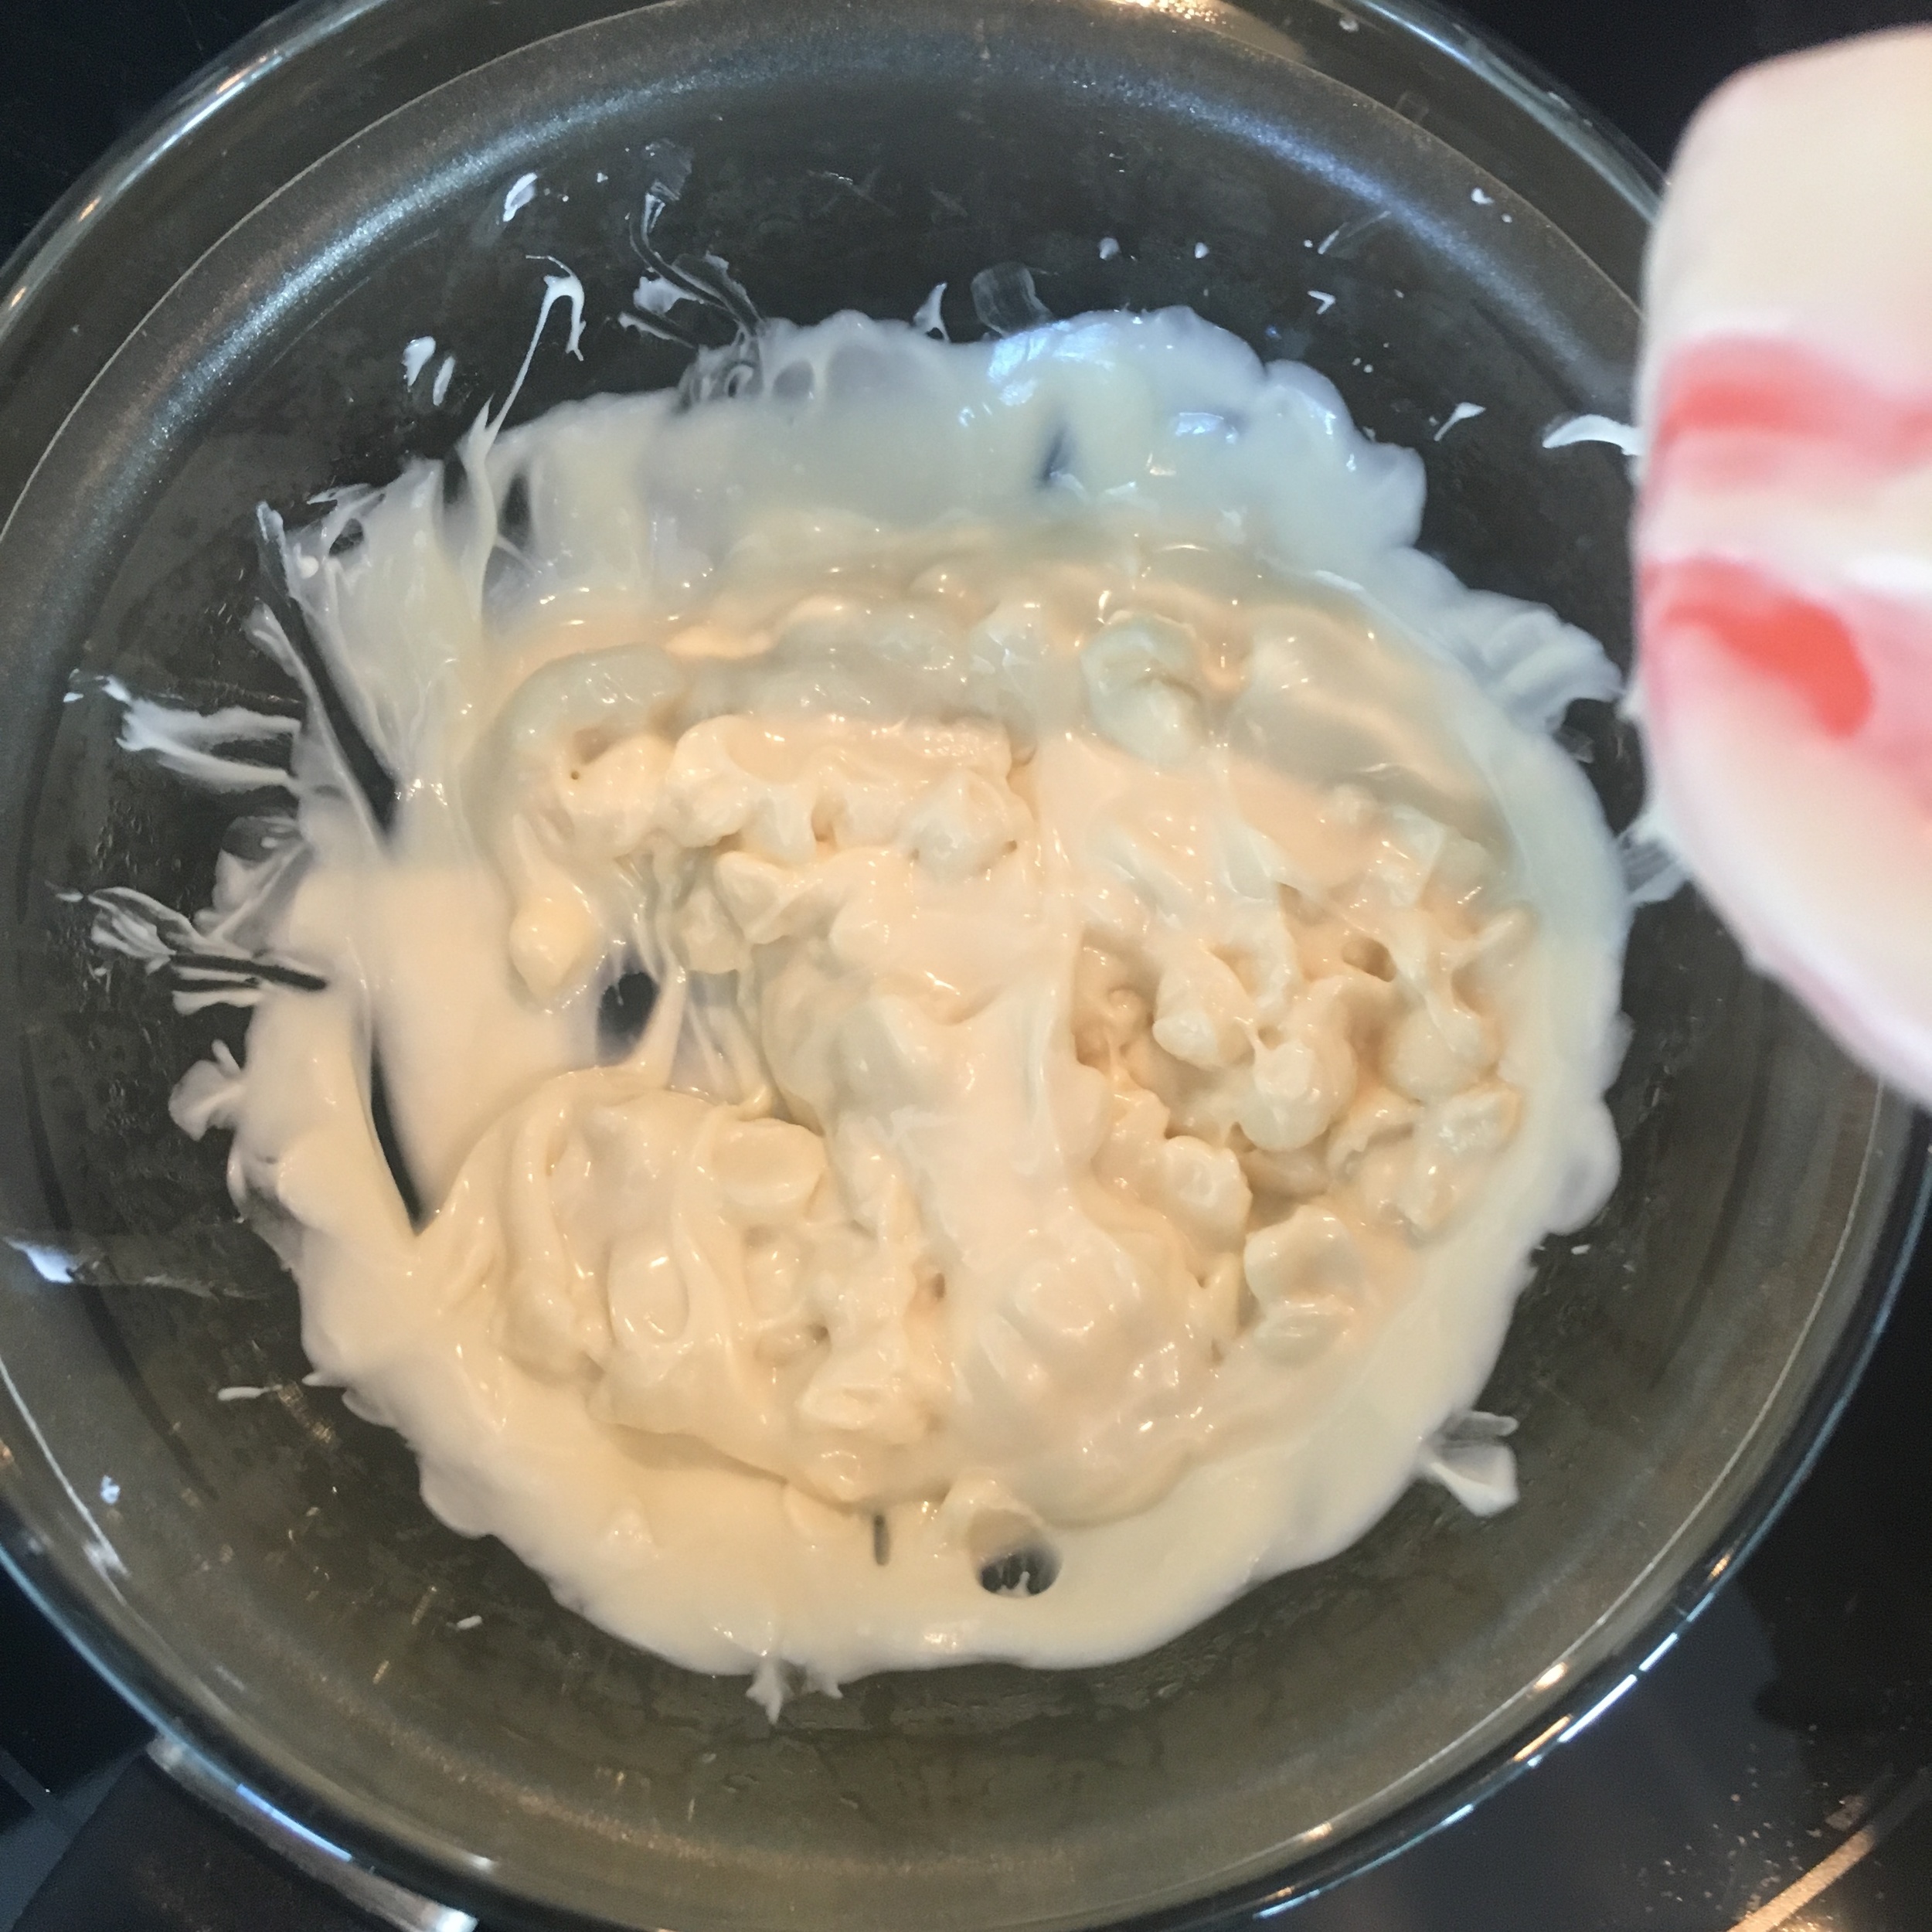
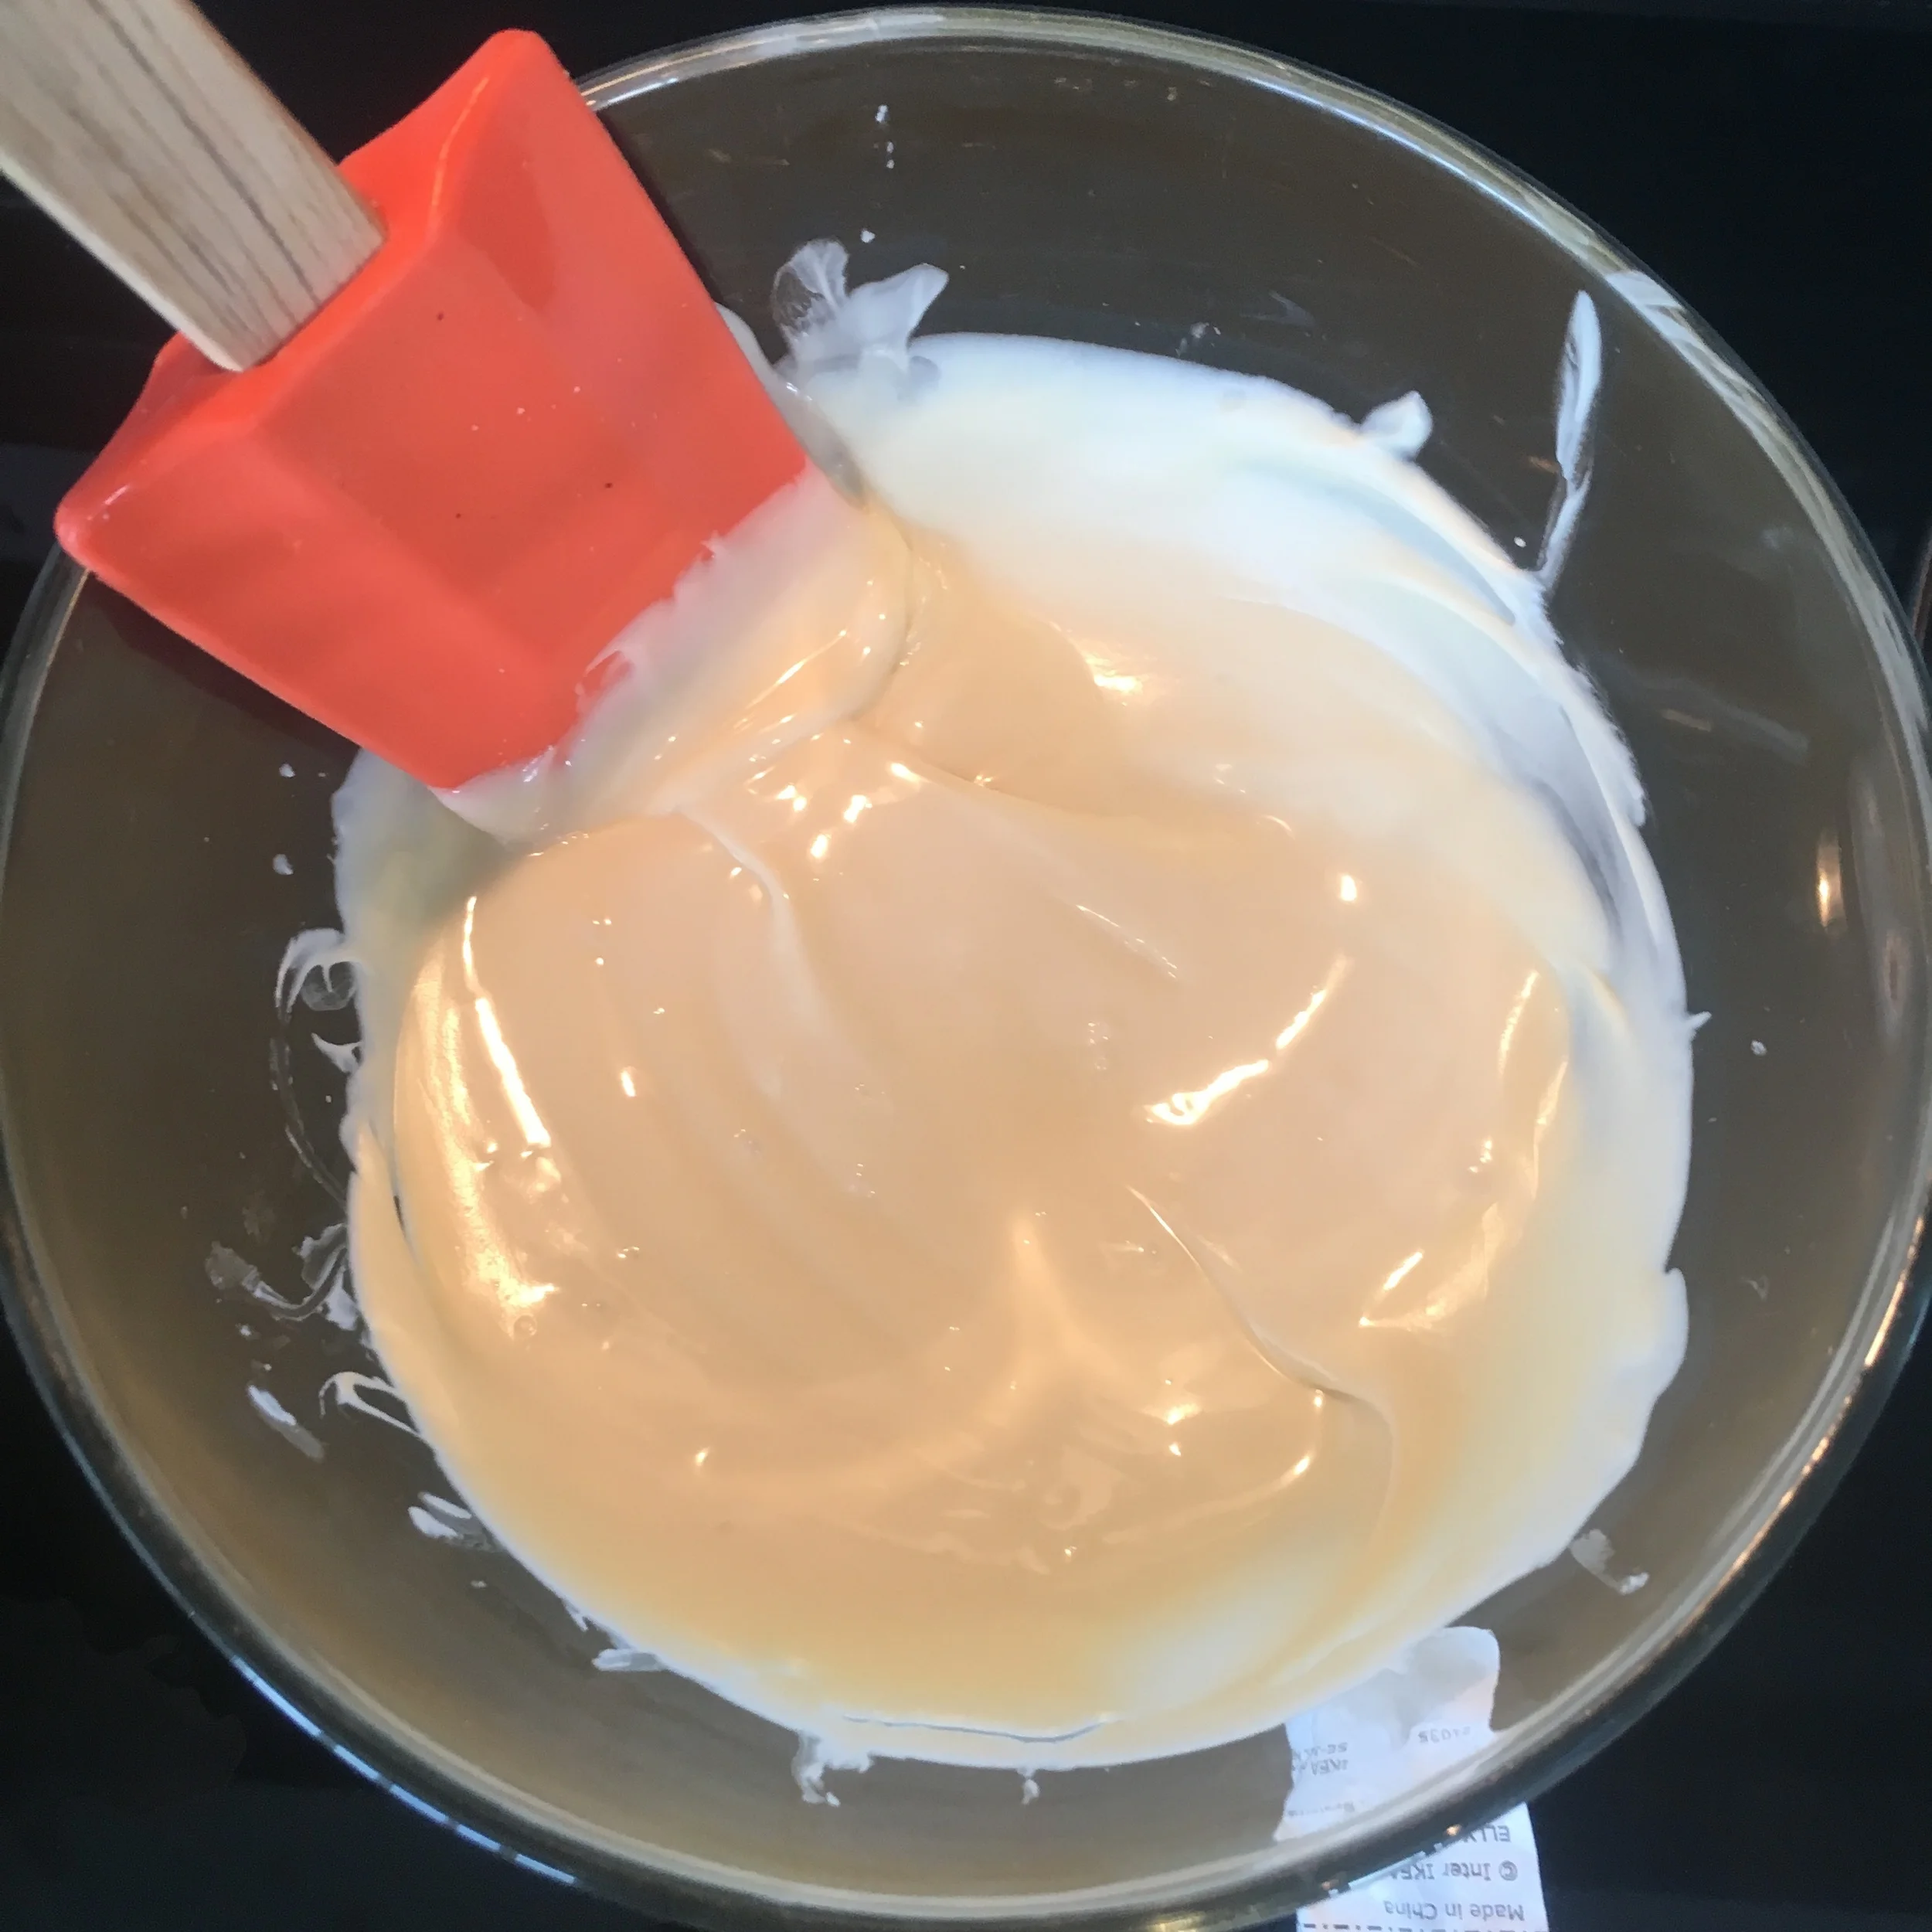
Once the squash is tender remove it from the oven, transfer to a bowl and mash it with a potato masher. Once nicely mashed stir in your cheese and mix until it is fully incorporated. When ready cover with plastic wrap and place in the fridge overnight.

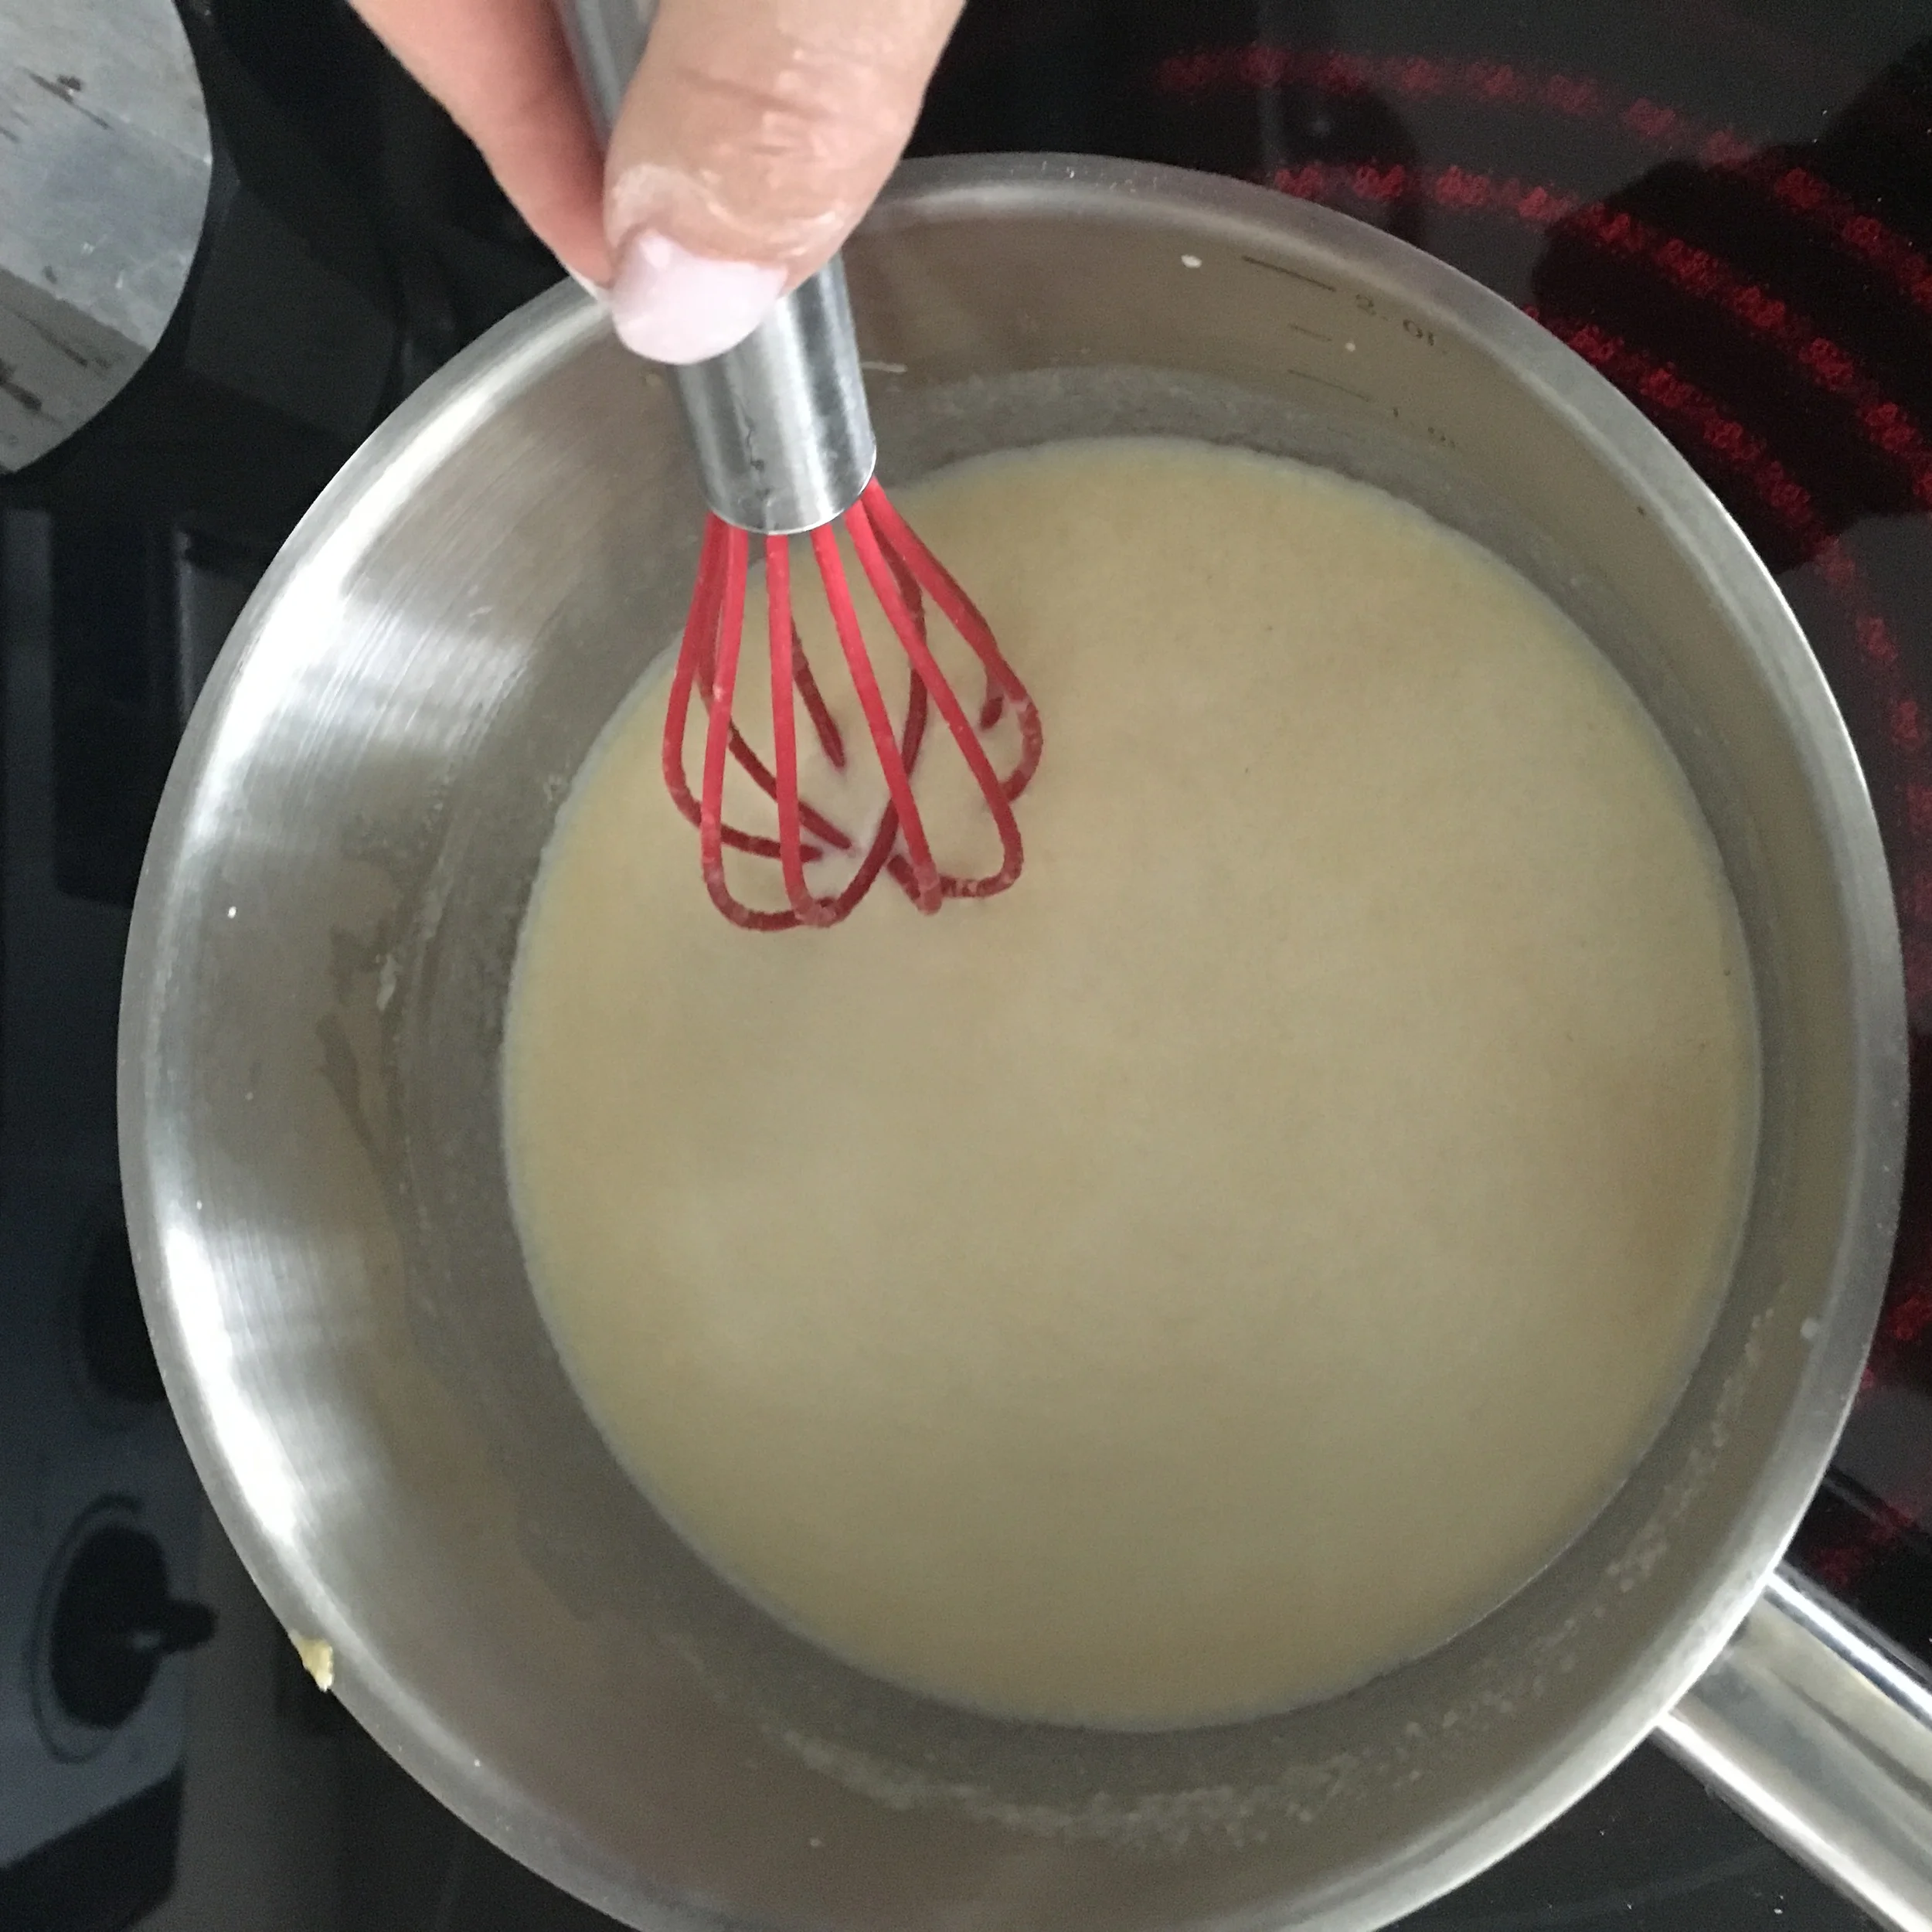
Next we are going to make the dough using the 'well method'. Place your flour on the counter and create a well or hole on the inside of the mound. Add your eggs, salt and oil to the inside of the hole and slowly start to stir the contents inside the hole with a fork. Slowly using the fork start to incorporate the flour wall lining the whole. DO THIS SLOWLY! Once the dough starts to form and thicken you can ditch the fork and use your hands to knead the dough. If you feel like the dough is dry keep kneading and add water for assistance.

When you are finished and have one big dough ball place in a large bowl, add a little olive oil to prevent the dough from drying out and cover with plastic wrap. Set aside for 30 minutes or so.

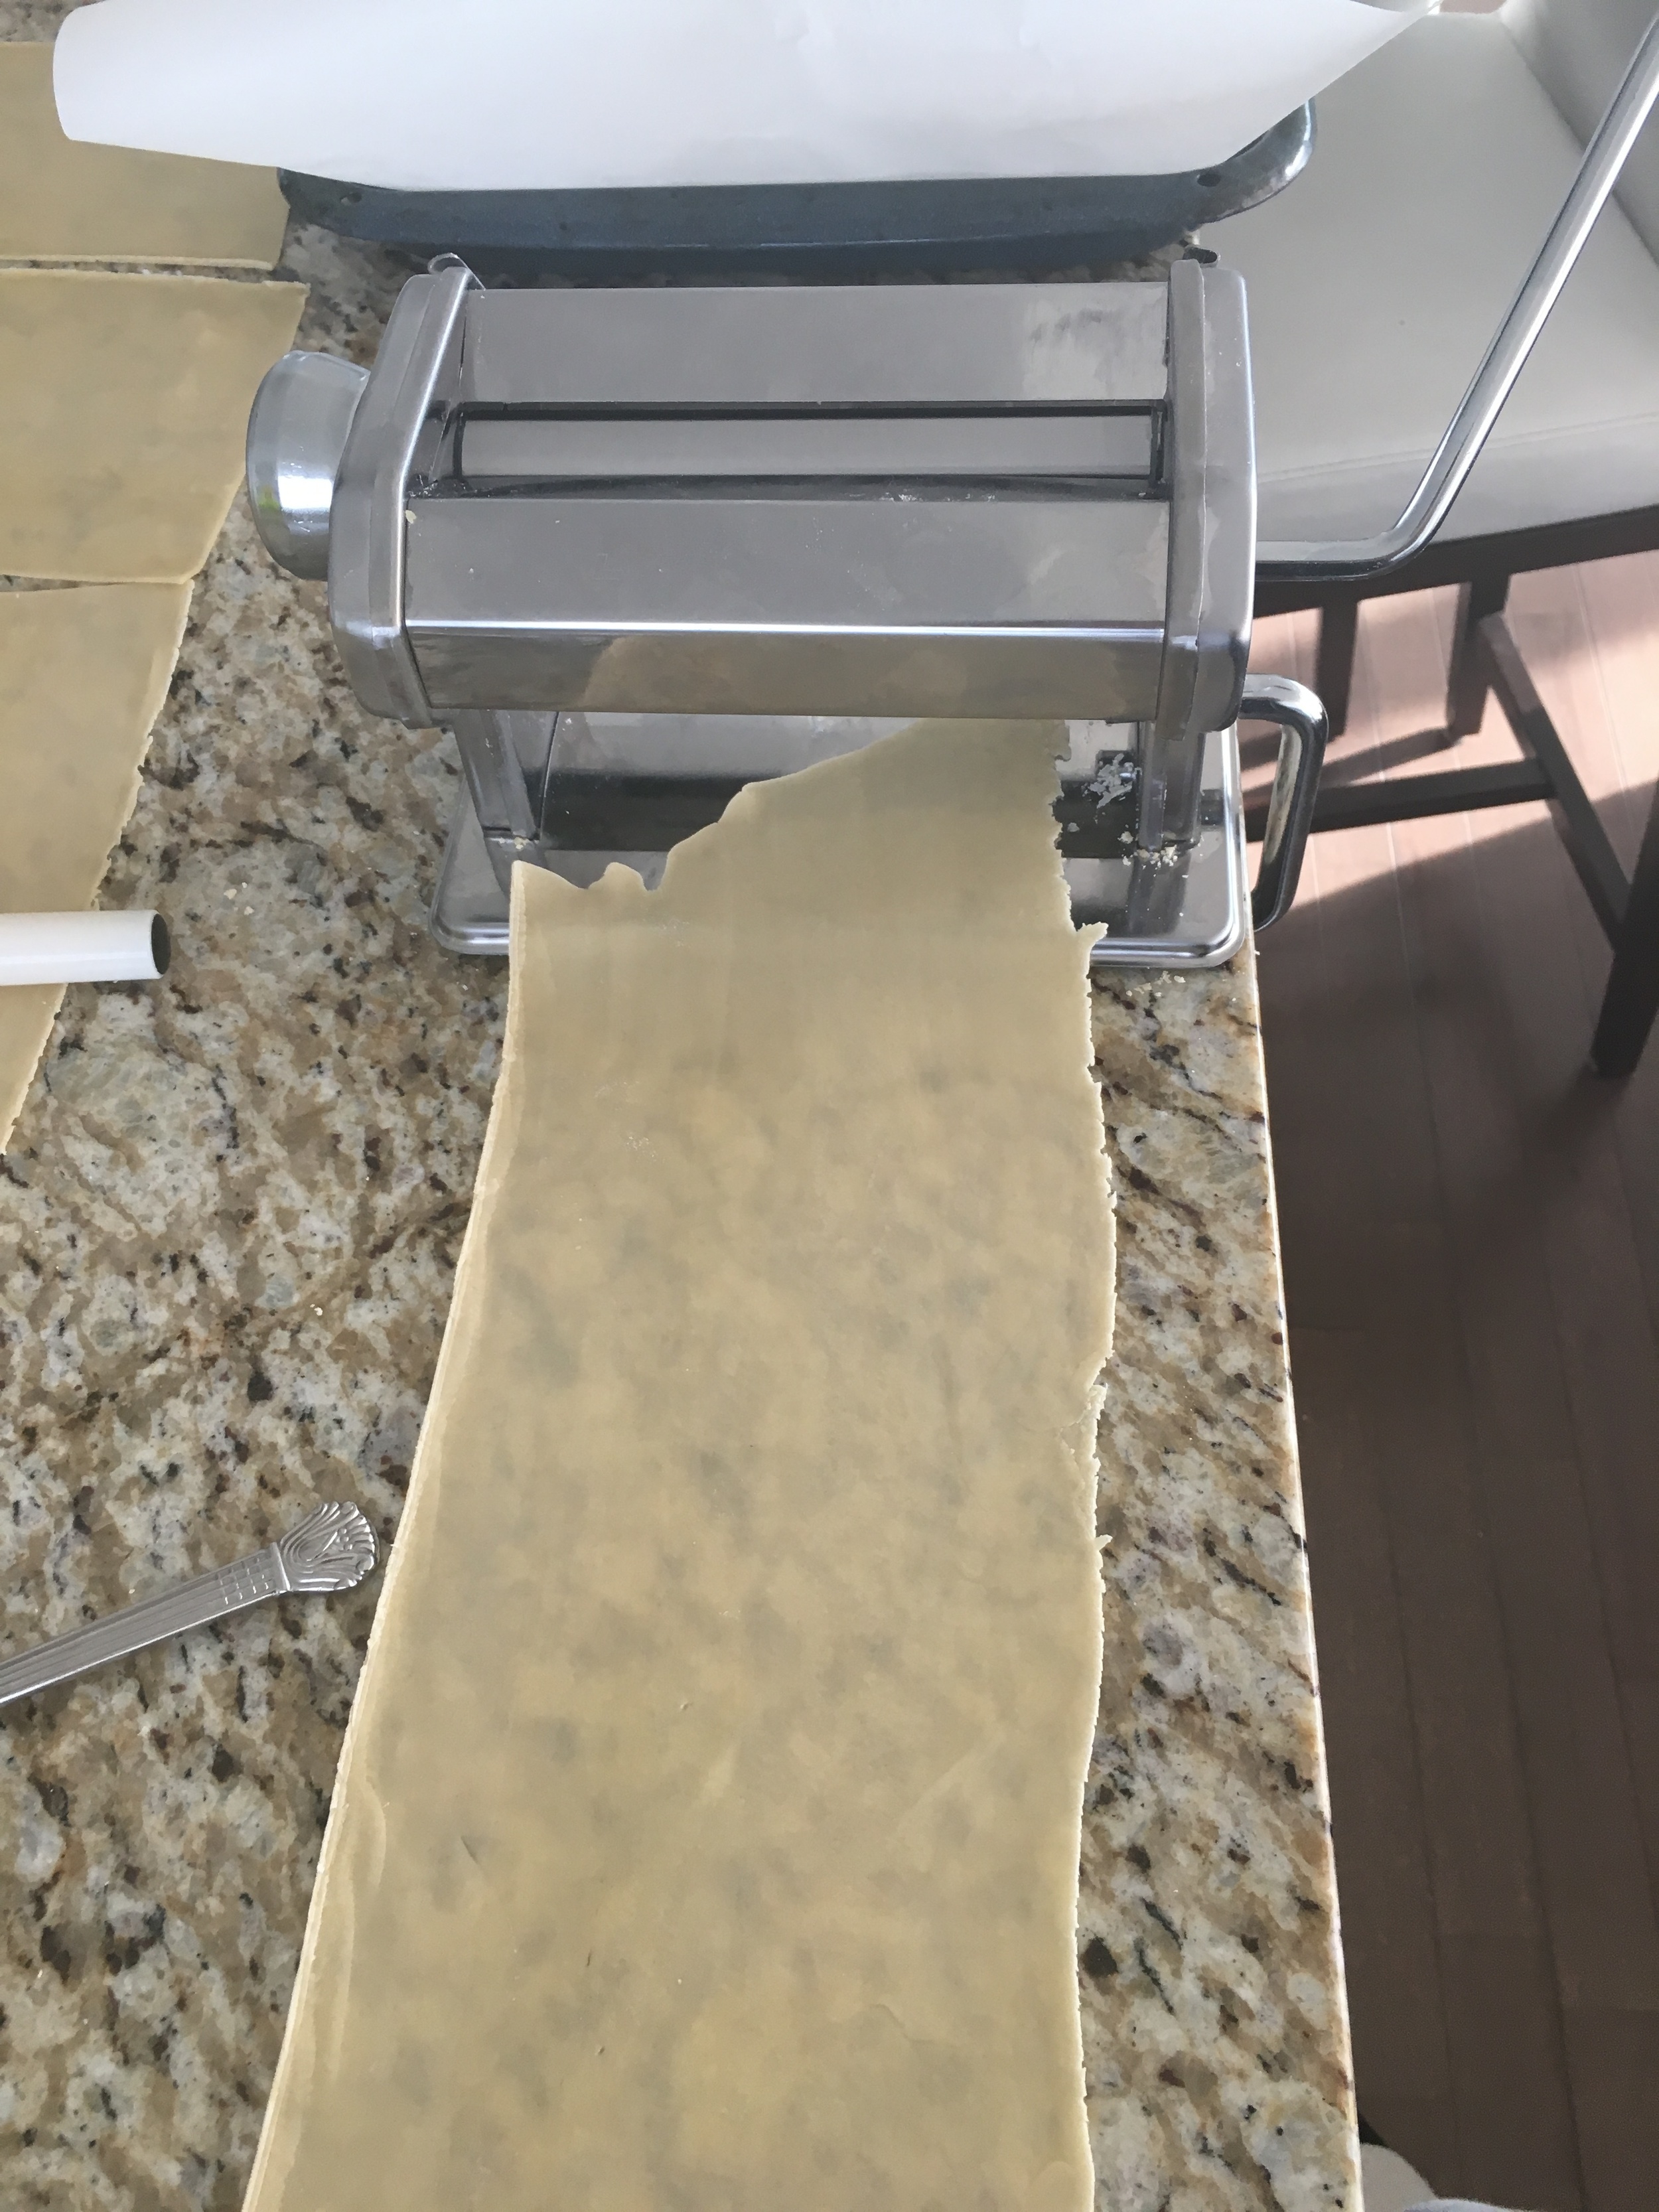
Prep your pasta maker! You are going to want to start on the widest (#1) setting and work your way to the thinnest (#9)

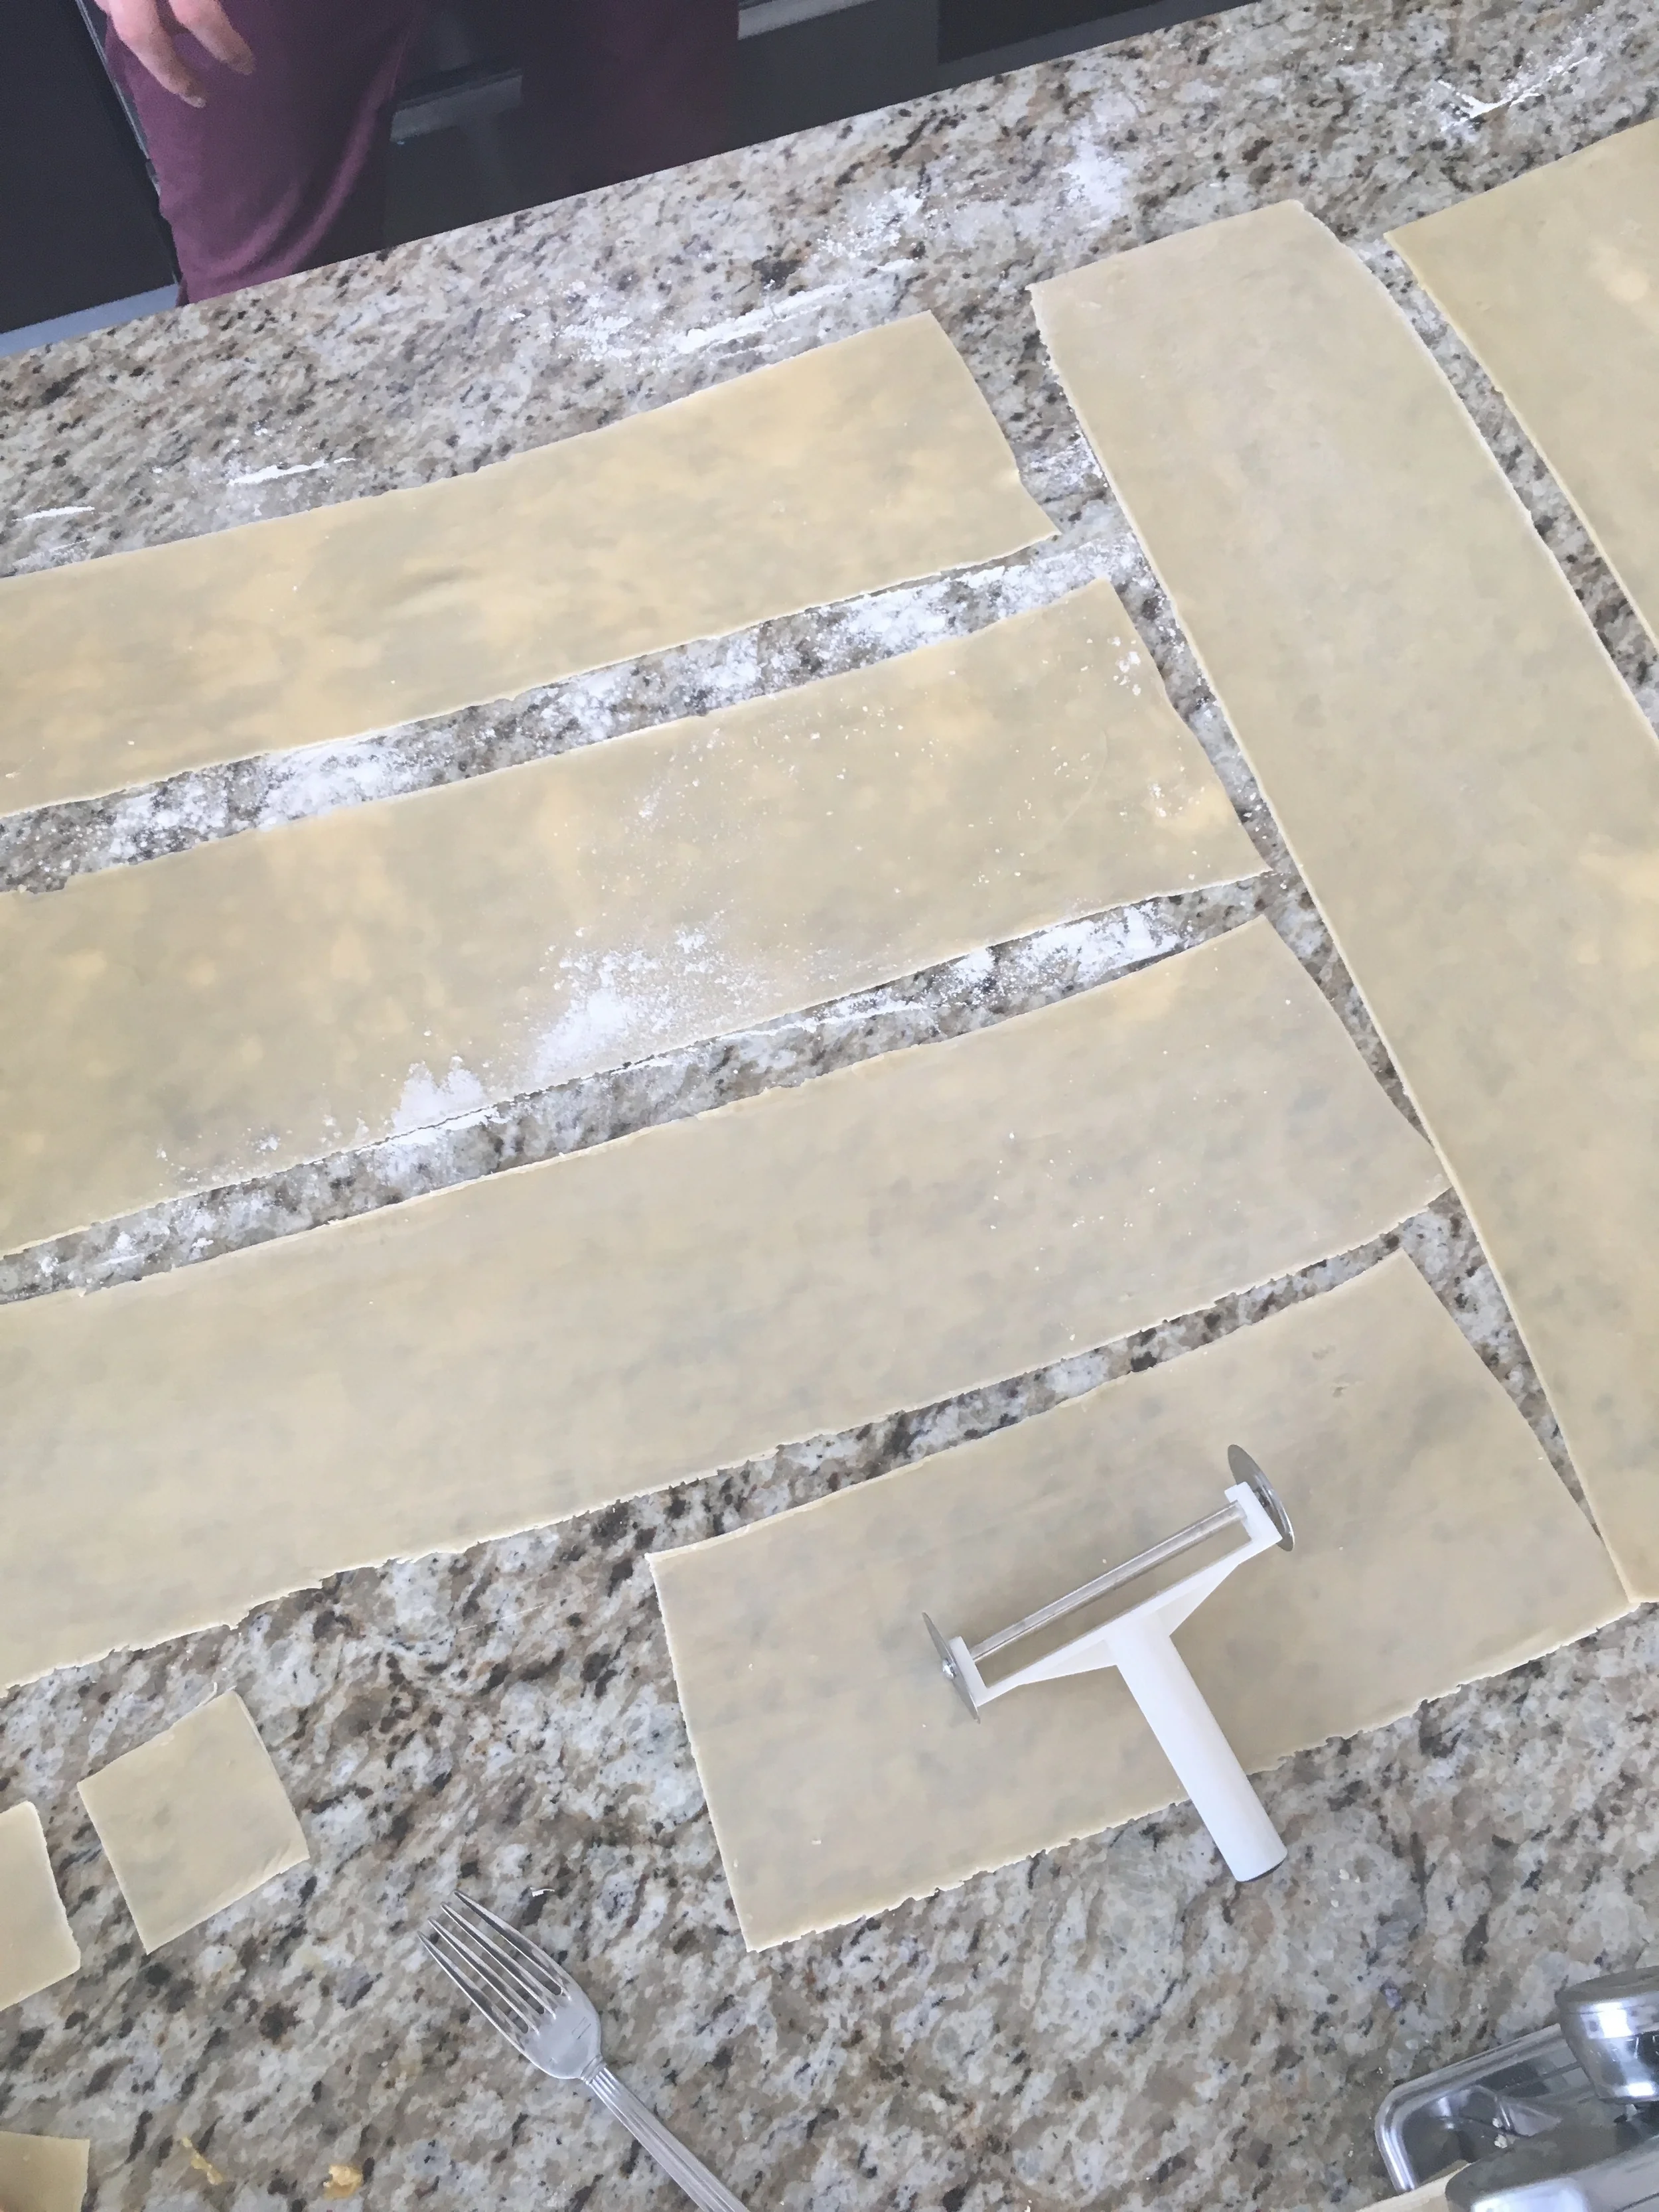
Break the dough into three parts and start to feed it through the pasta maker moving the knob each time from widest to thinnest setting. Make sure to help your dough through so it doesn't get caught or jammed.

Place all strips of previously rolled out pasta on the counter which has been already lightly covered in flour.

Use the sheets with the larger width as the ravioli tops and the ones with the smaller widths as your ravioli bottoms.

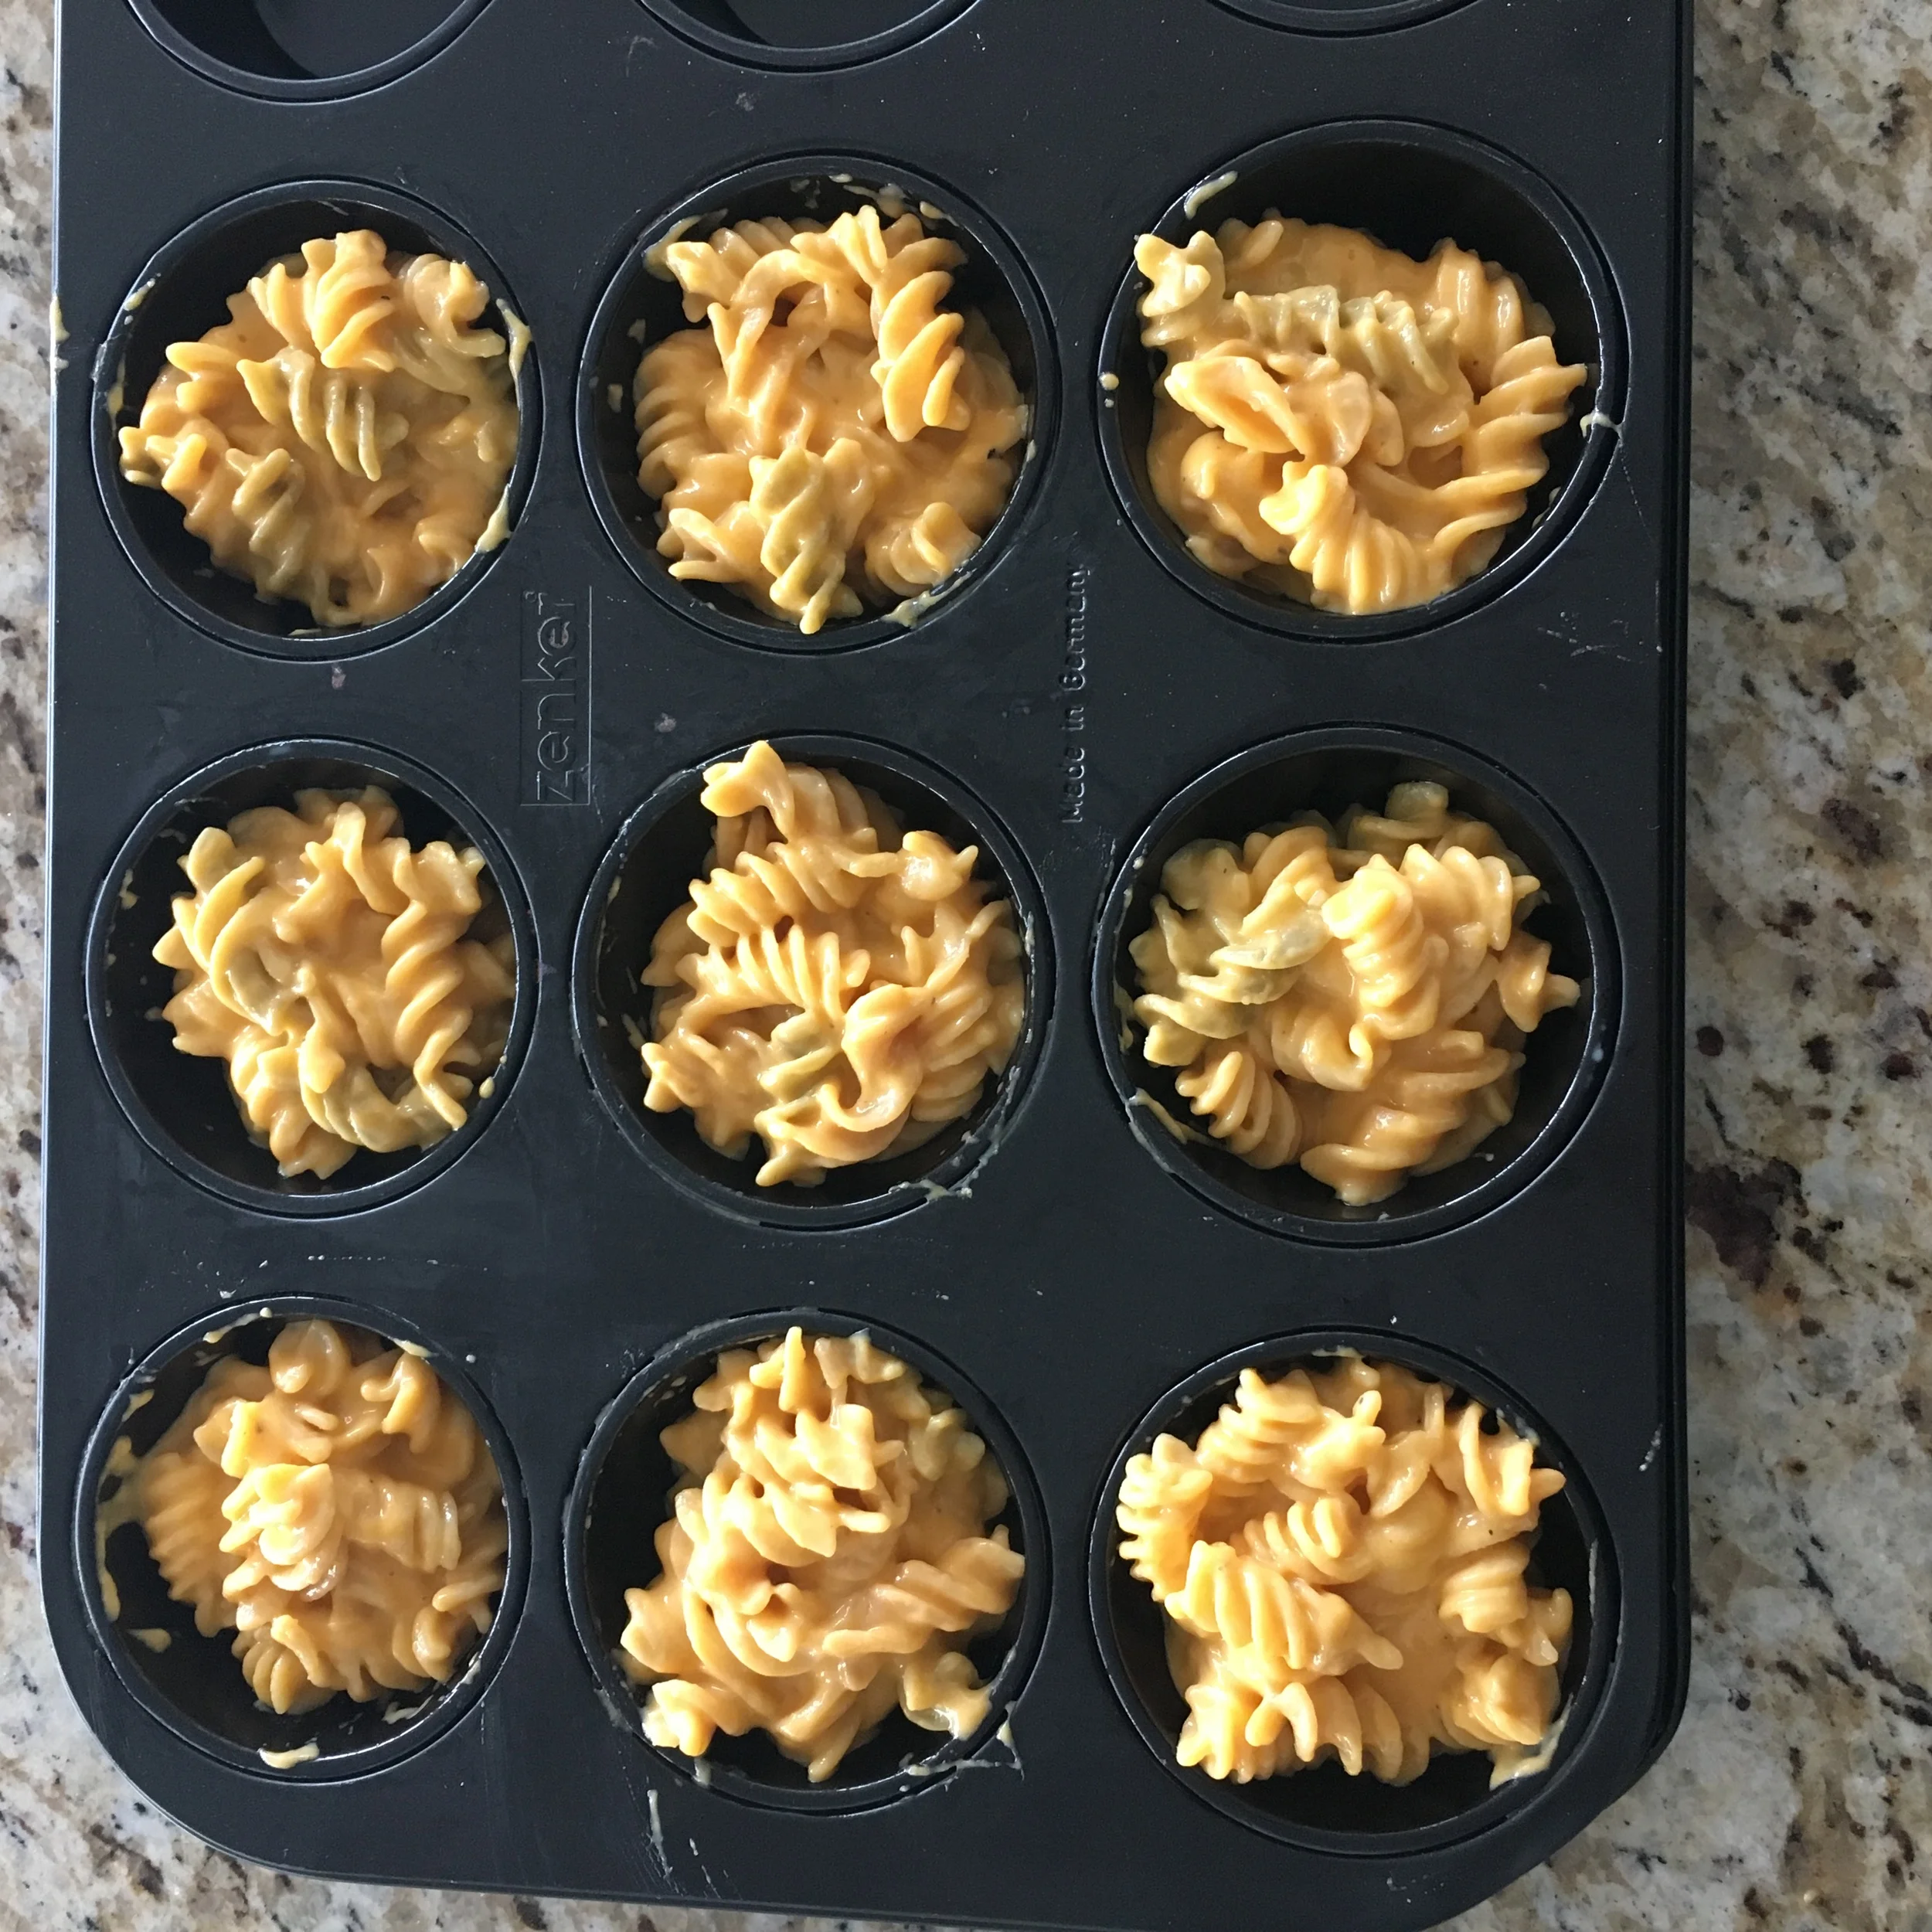
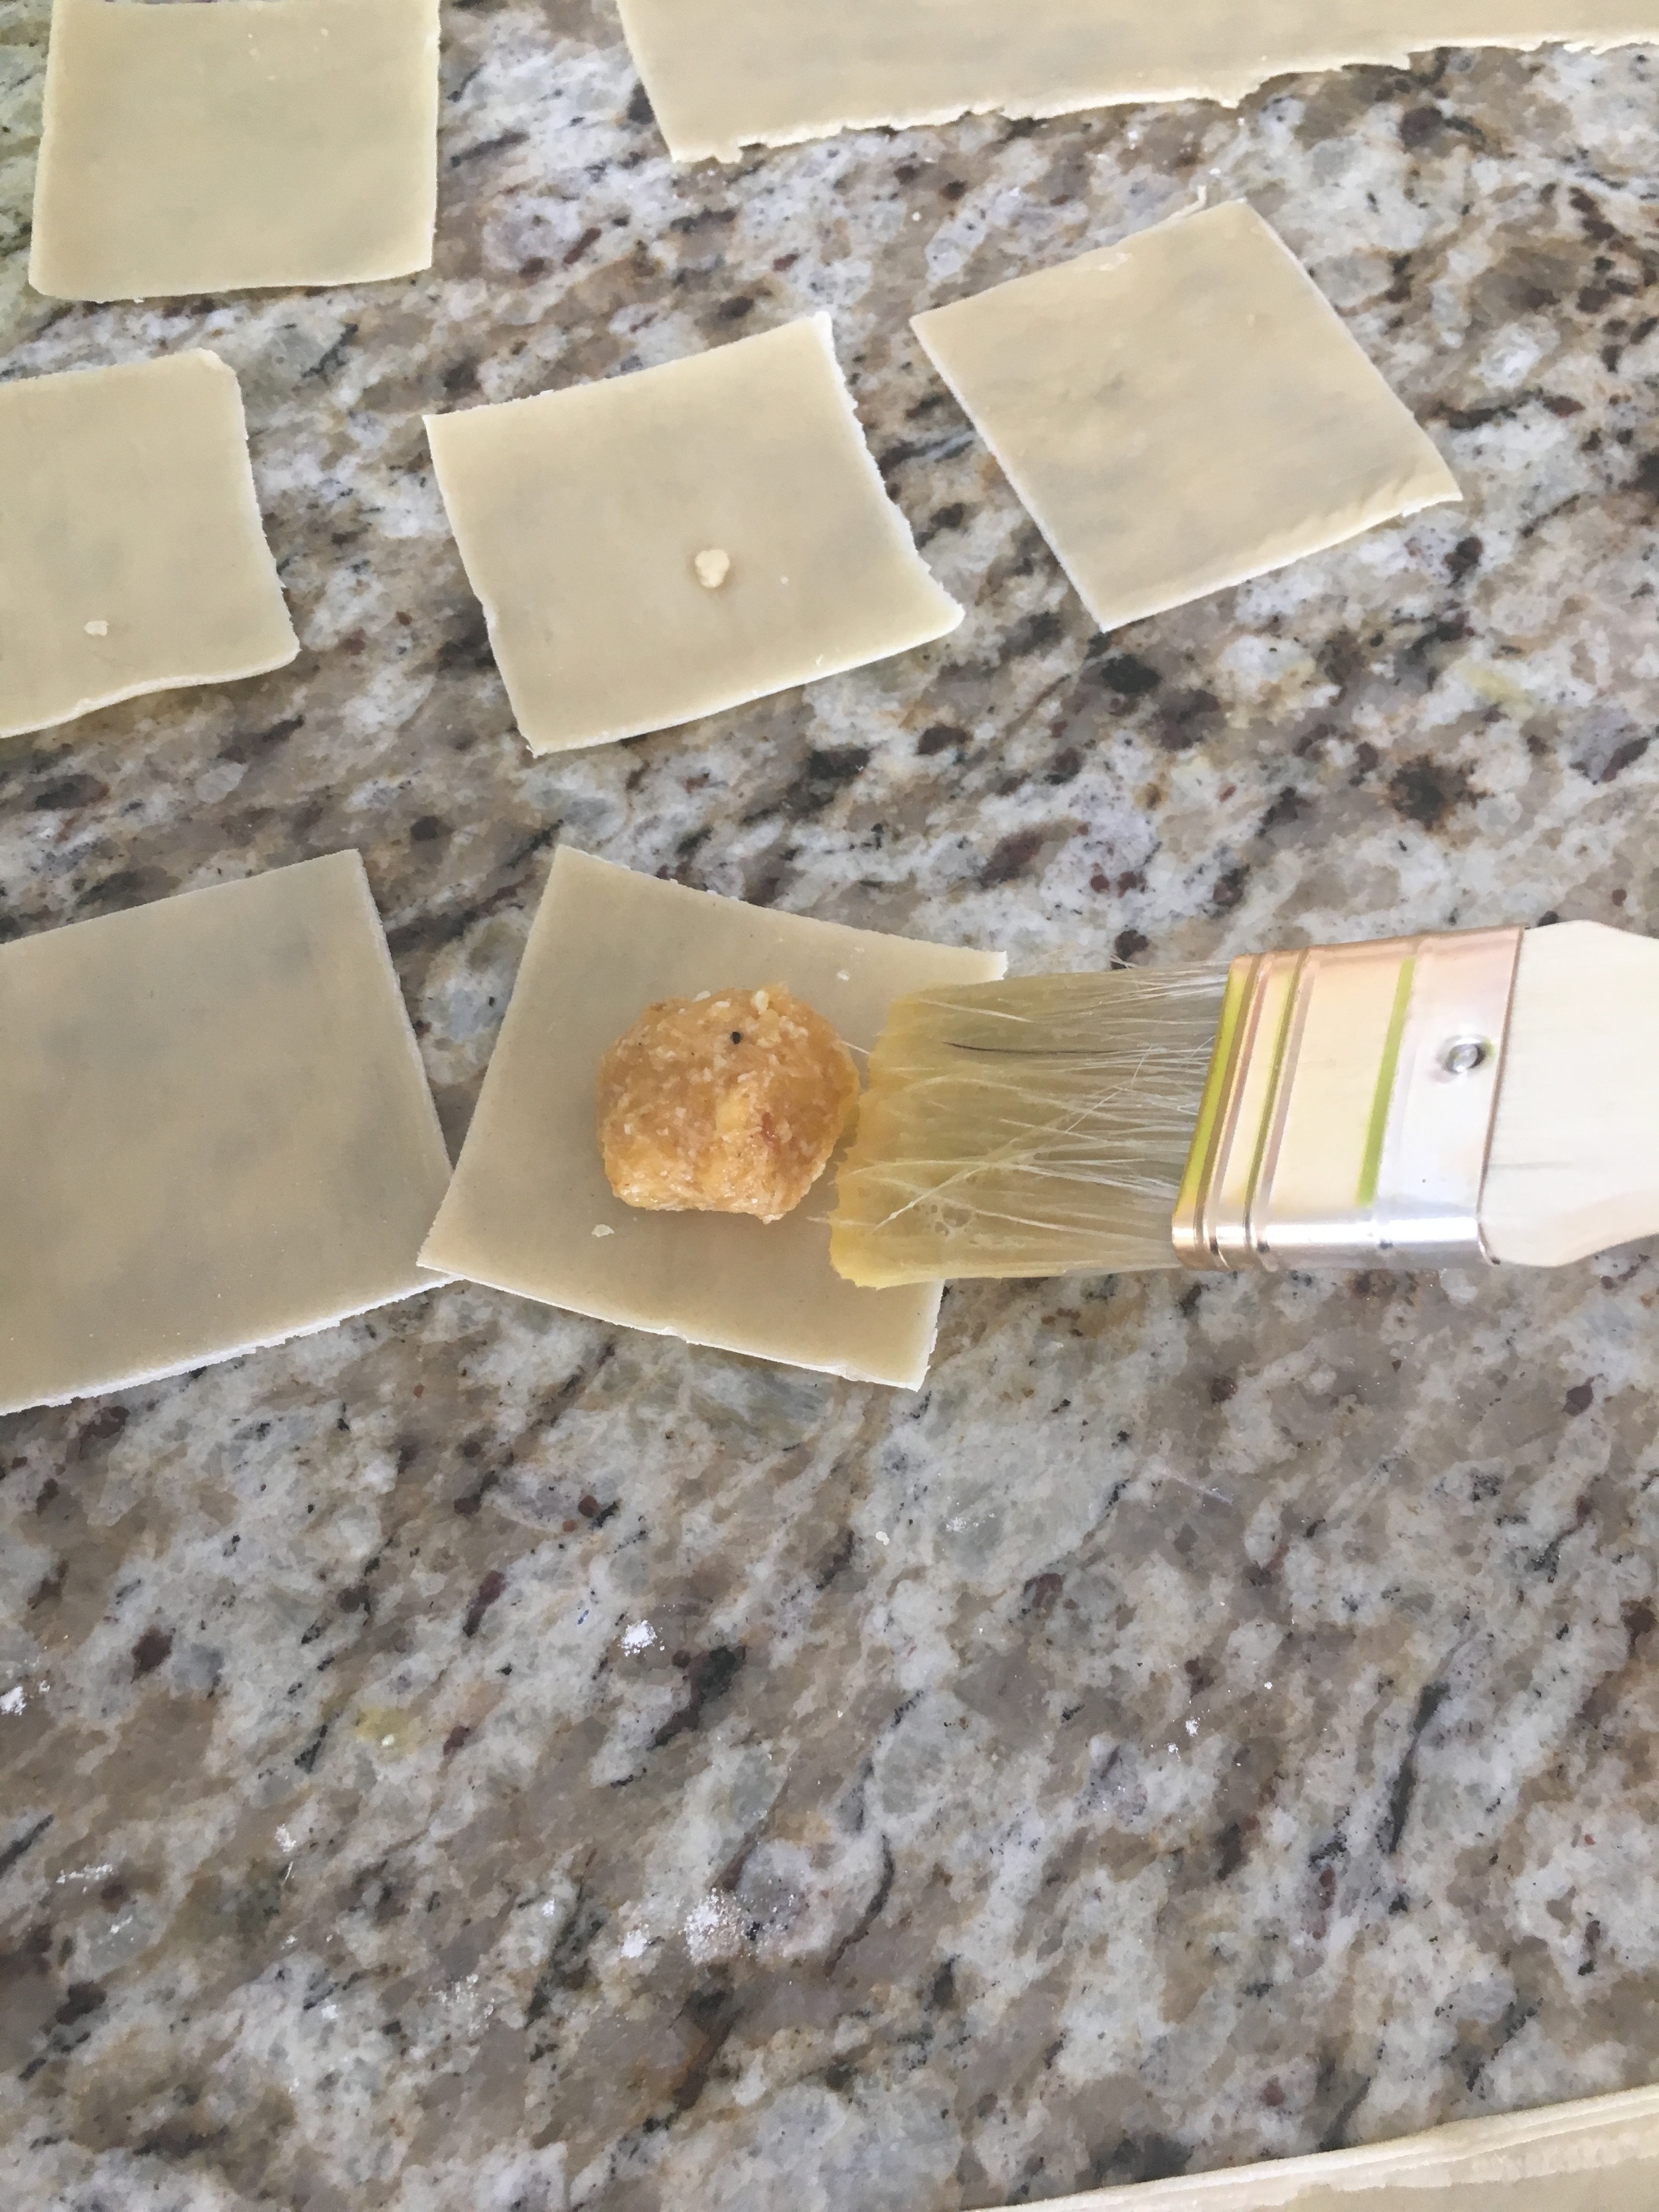
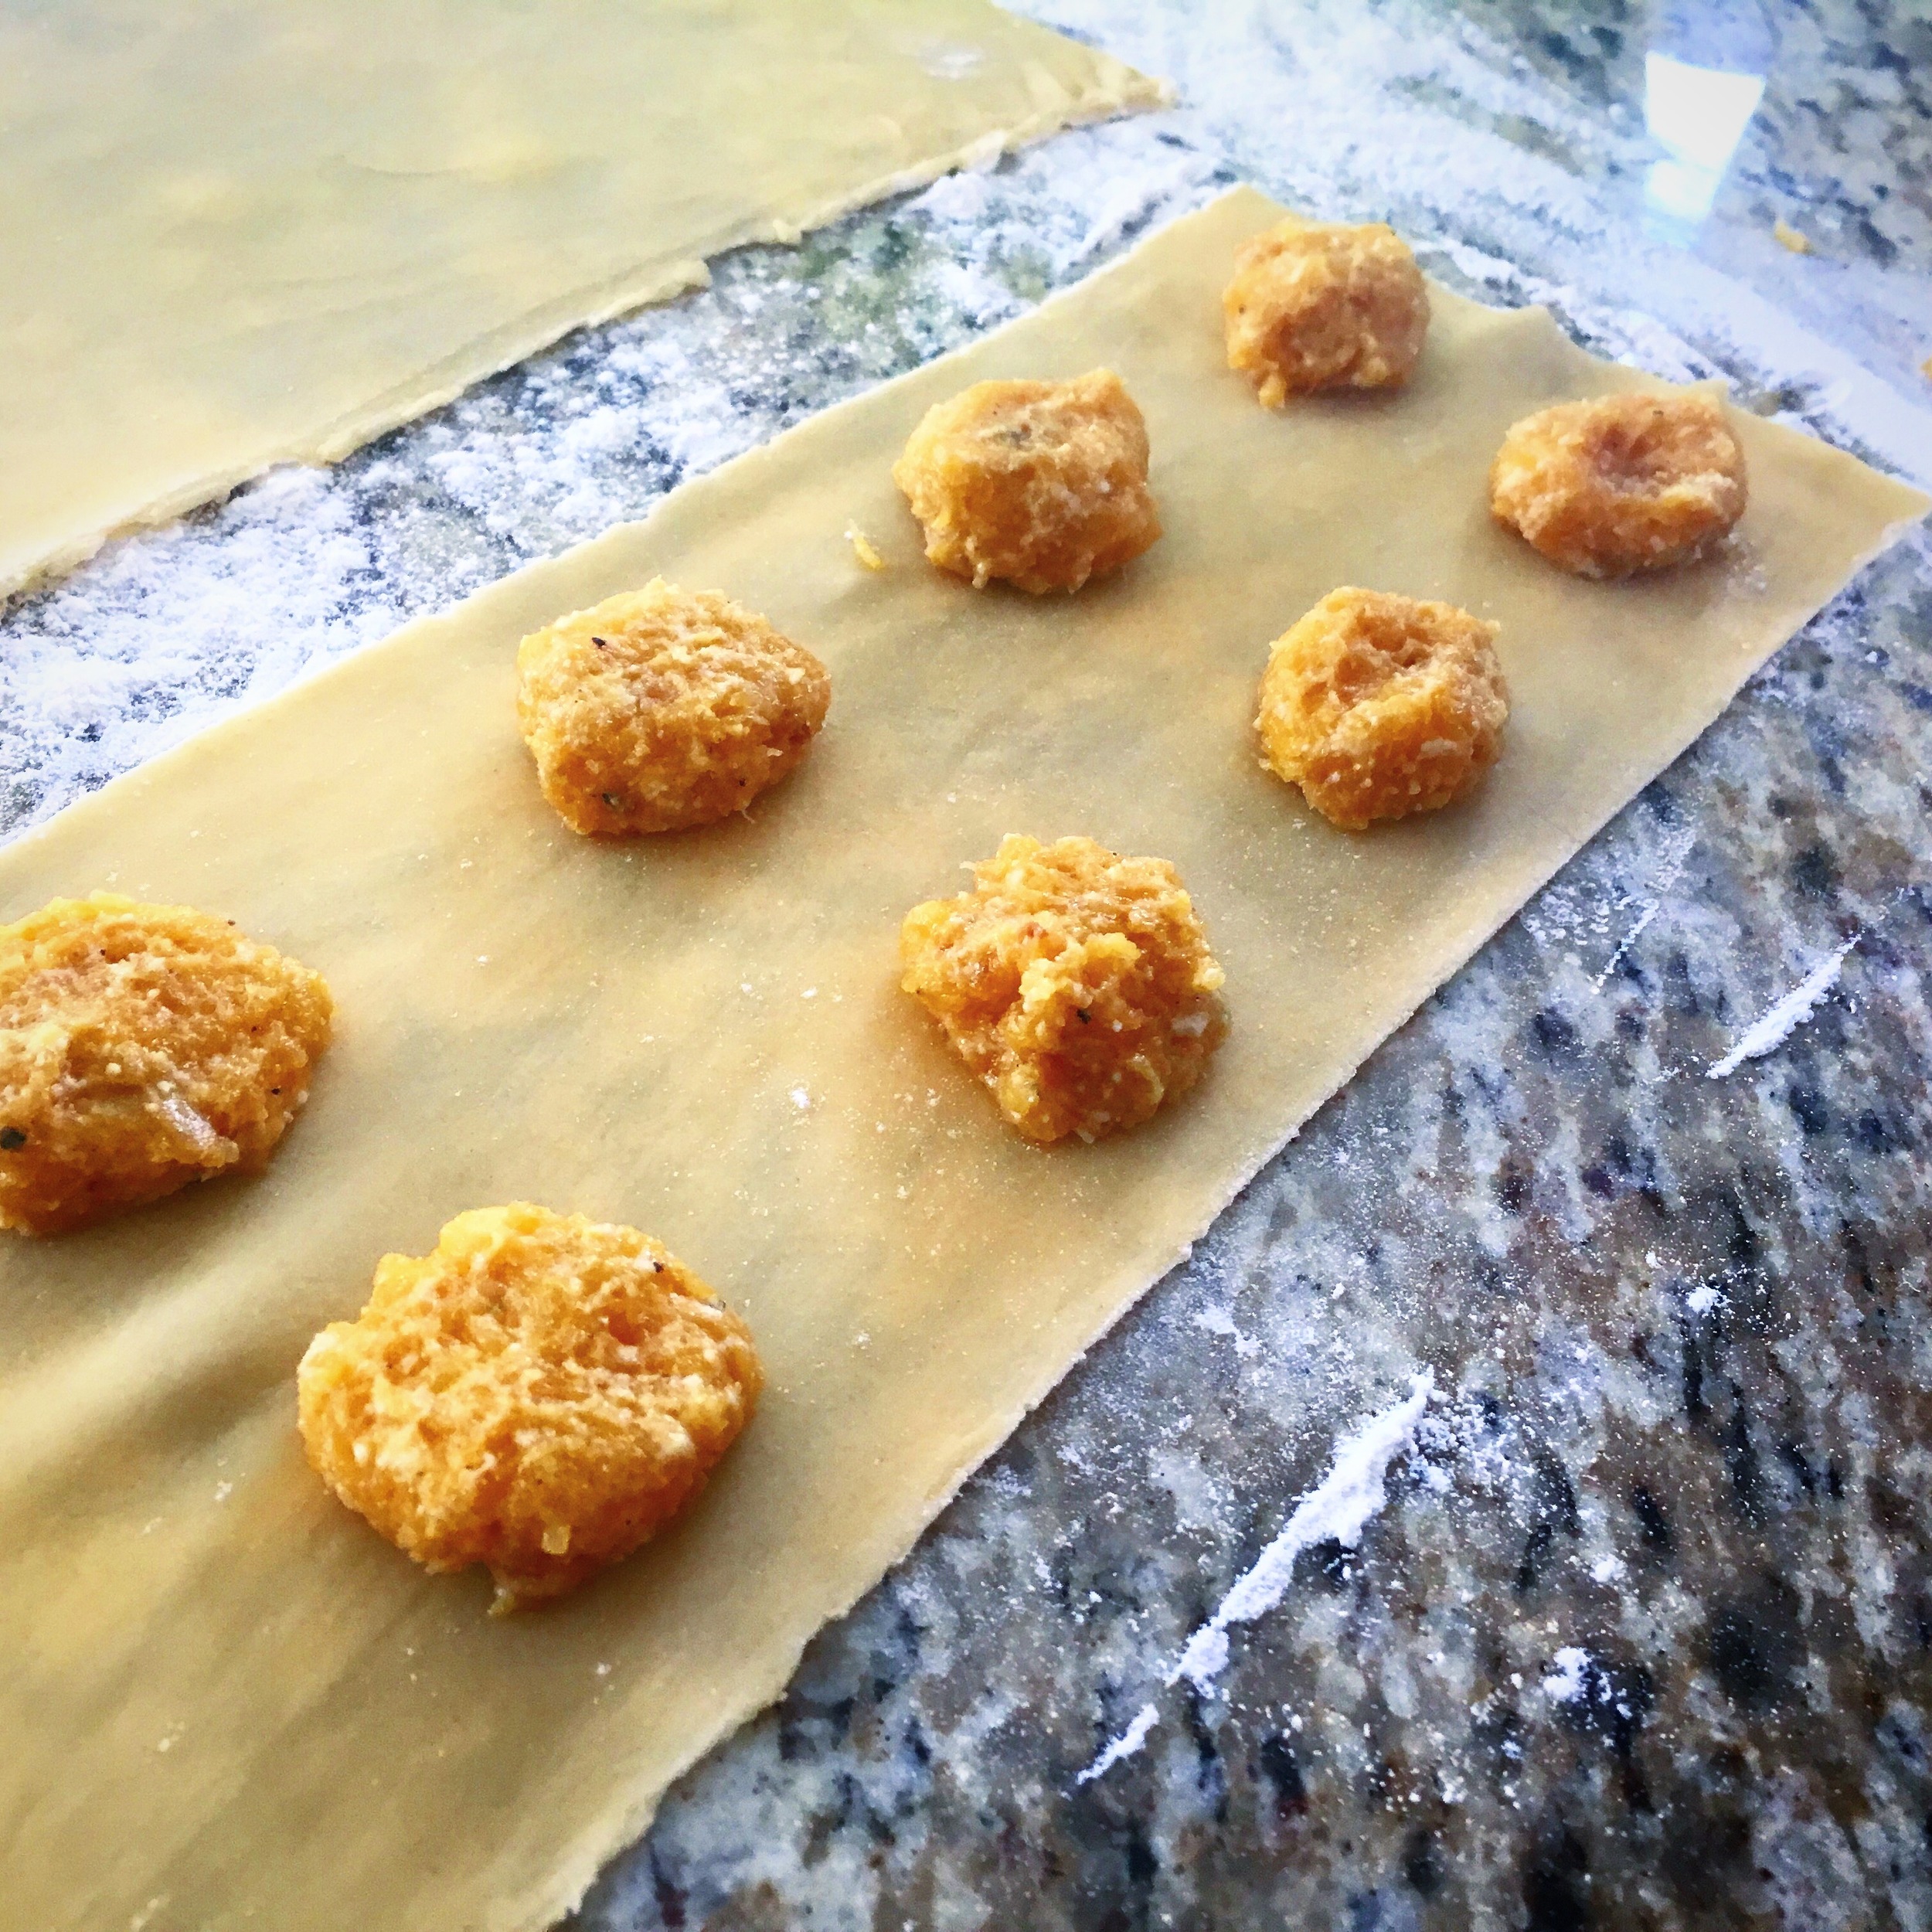
Start placing your butternut squash fillings 1 inch apart along the smaller width pasta. Use the egg wash to create a grid seal around each dab of filling. Place the wider pasta strip (top) on top.

Press the top down the center and each row so that it stretches out nicely over the filling mounds. Cut the dough in equal sections trying to create a 1/2 inch perimeter around the mounts.

Using a fork press on the outer corners to help the egg wash inside create a seal between top and bottom pasta layers and fully seal in the butternut squash filling inside.

Once sealed fully, place on a baking sheet lined with wax paper. Once you are finished making ravioli place the baking sheet covered in plastic wrap in the fridge to store until you are about 20-30 min from your meal time.

When you are ready boil a pot of water. Once the water is boiling add a tsp of salt and place the amount of ravioli you want to cook in the boiling water.  You can store the remaining amount by rolling it in wax paper and placing it in a ziplock bag and freezing it.

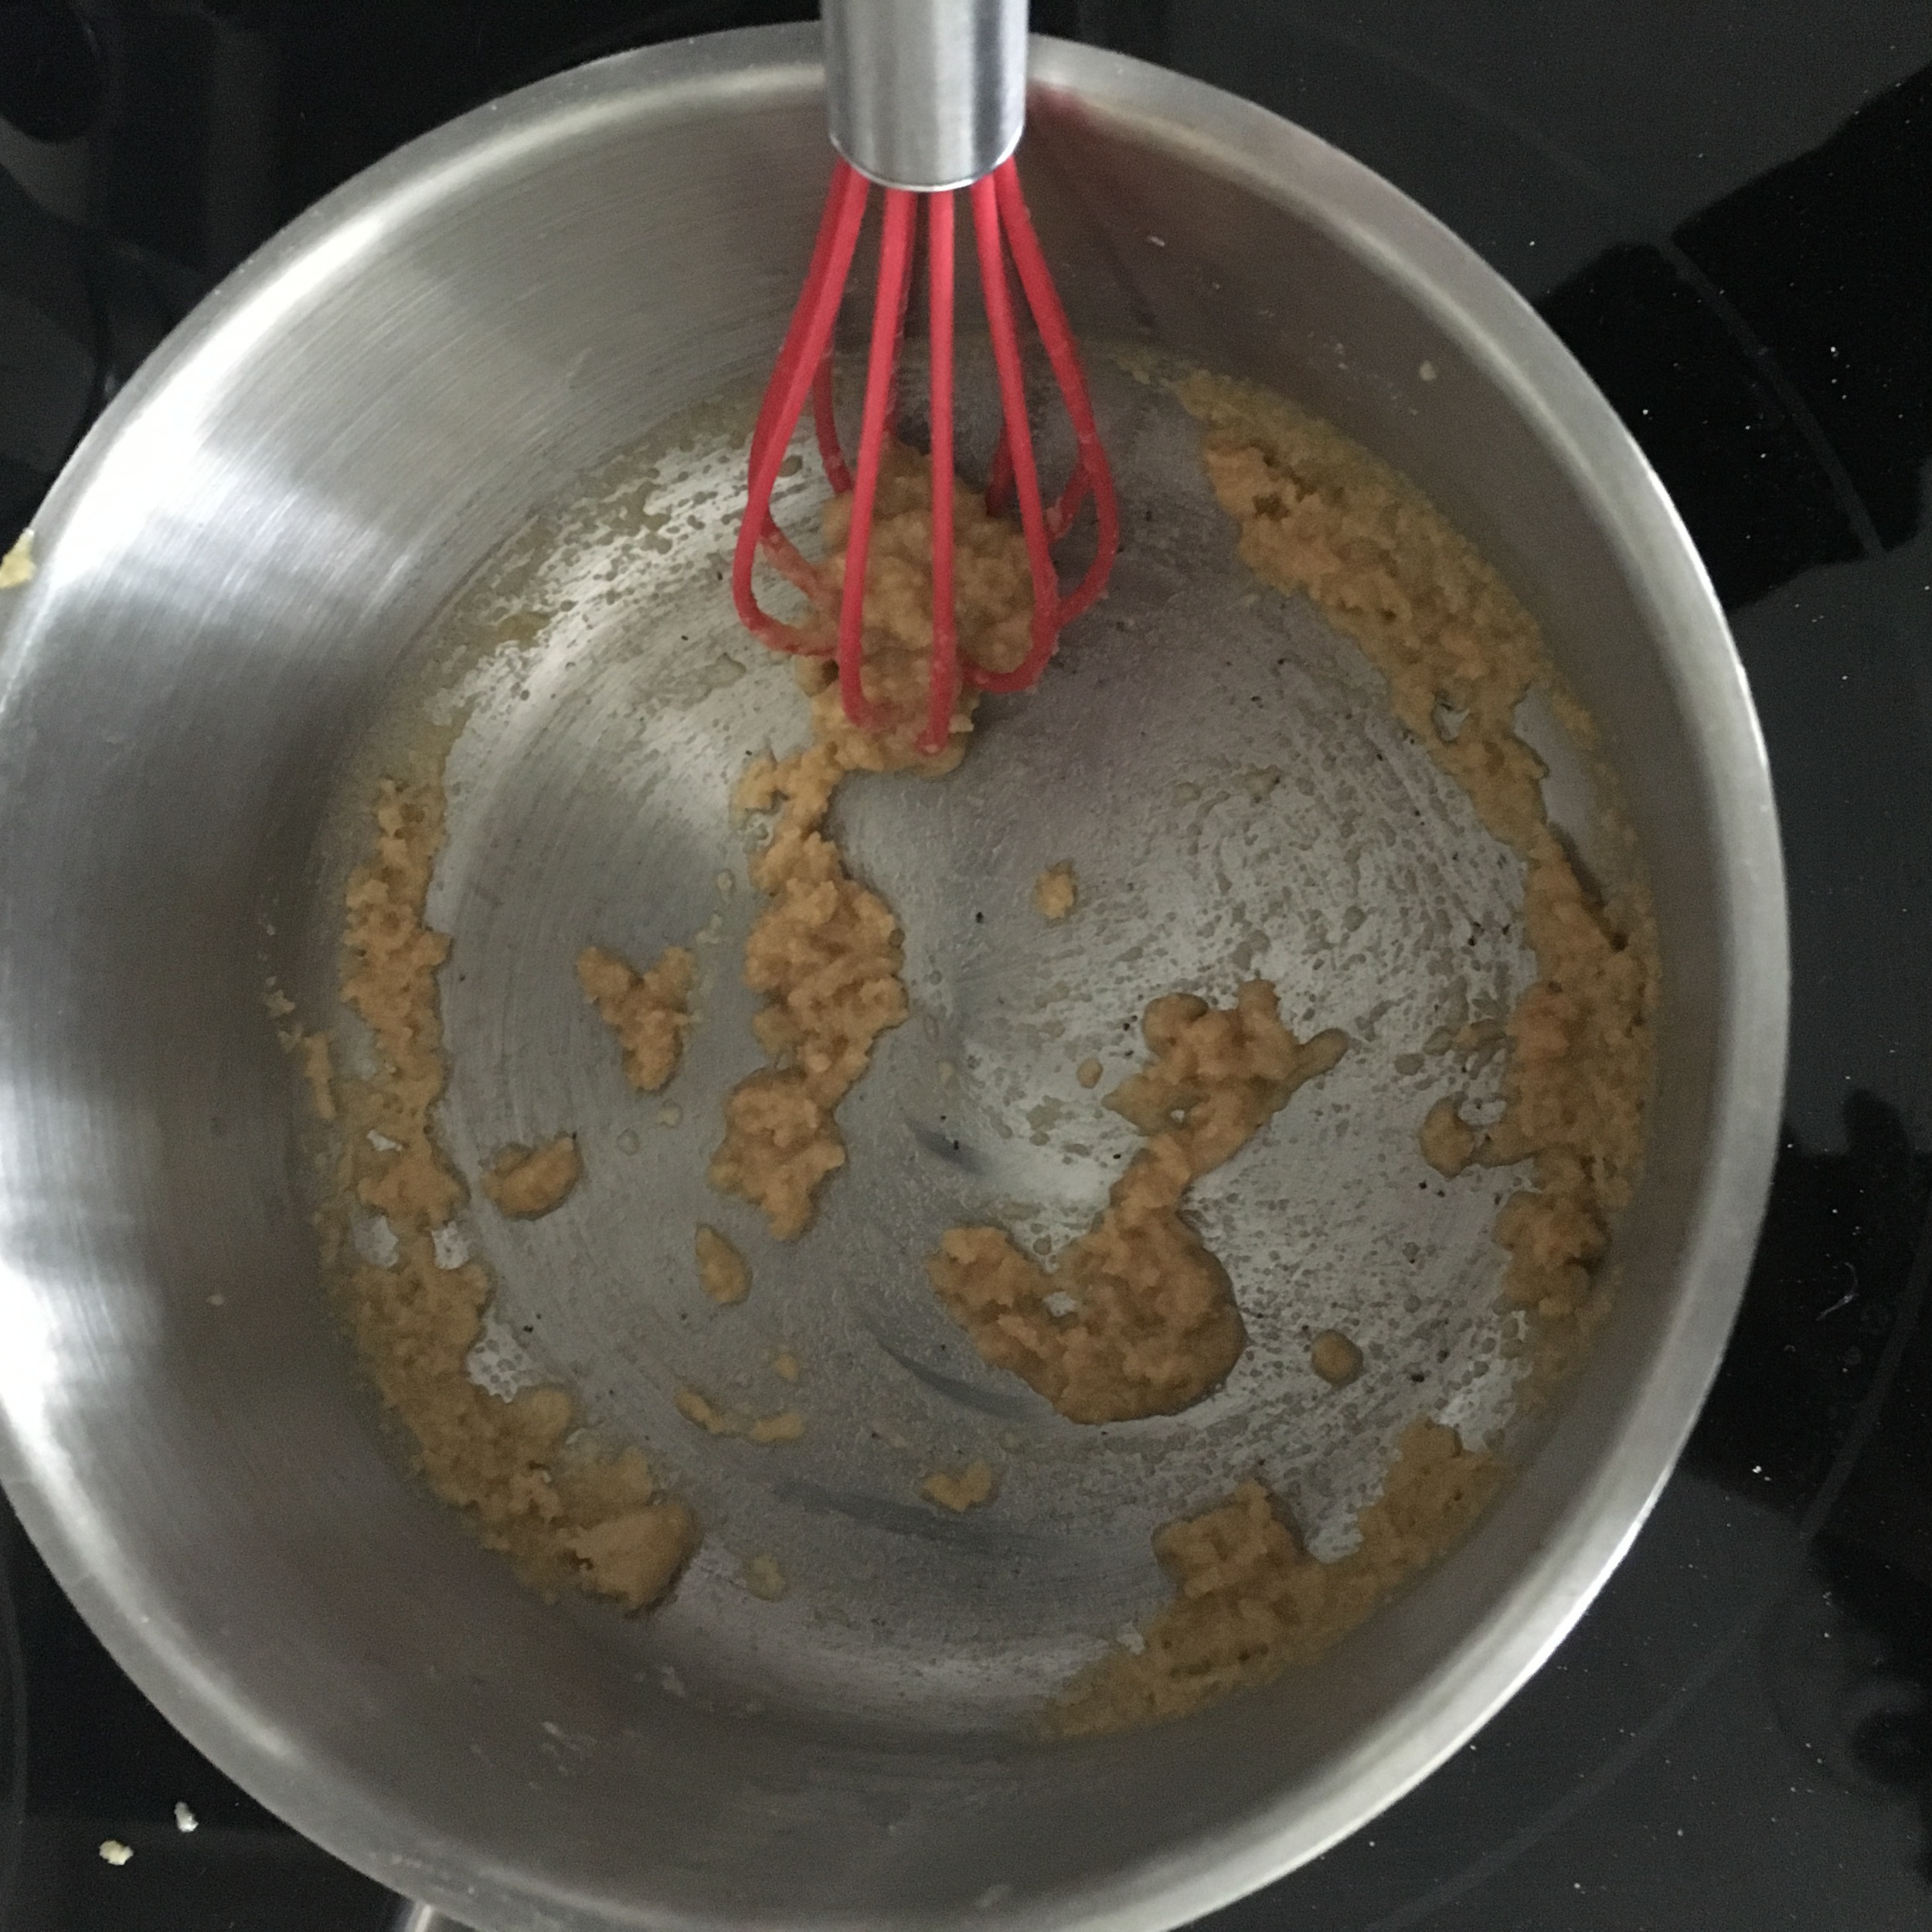
Next start to prep your sauce. In a sauce pan on medium heat add in your butter followed by your minced shallots. Once the shallots start to become clear add in your sage. Allow the sage to release its flavor into the butter. Stir so that it doesn't burn. Add some salt

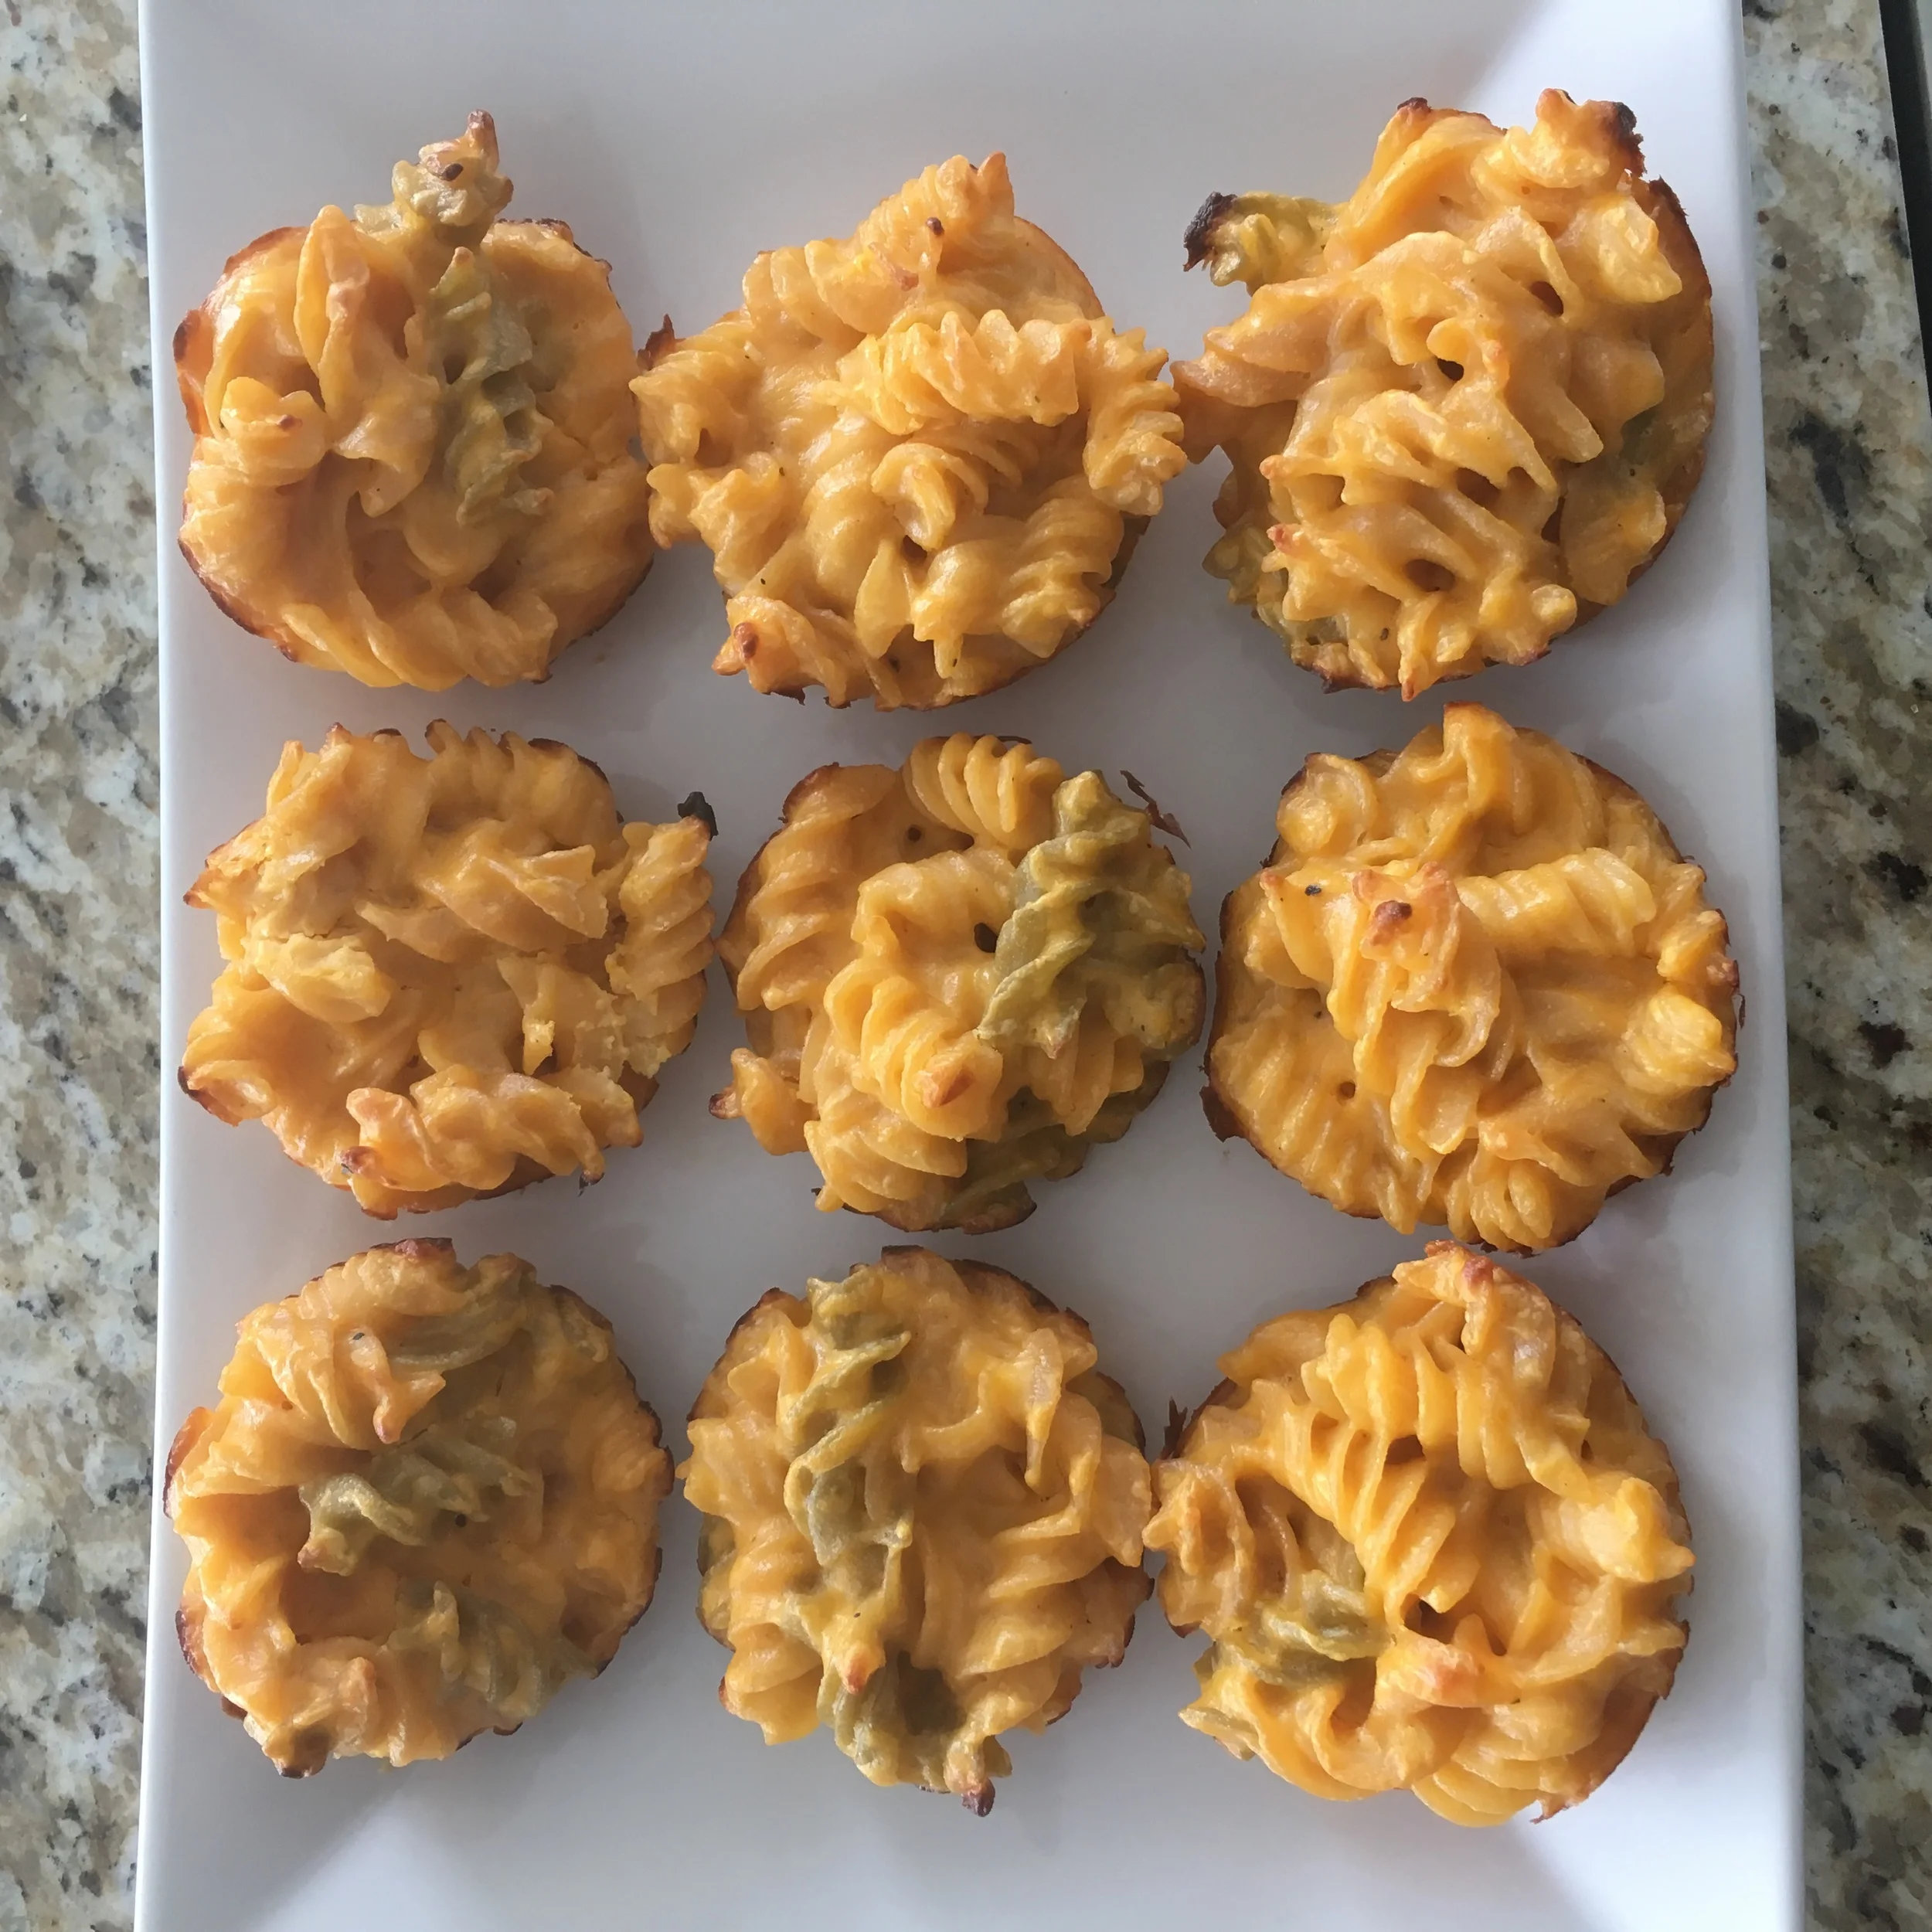
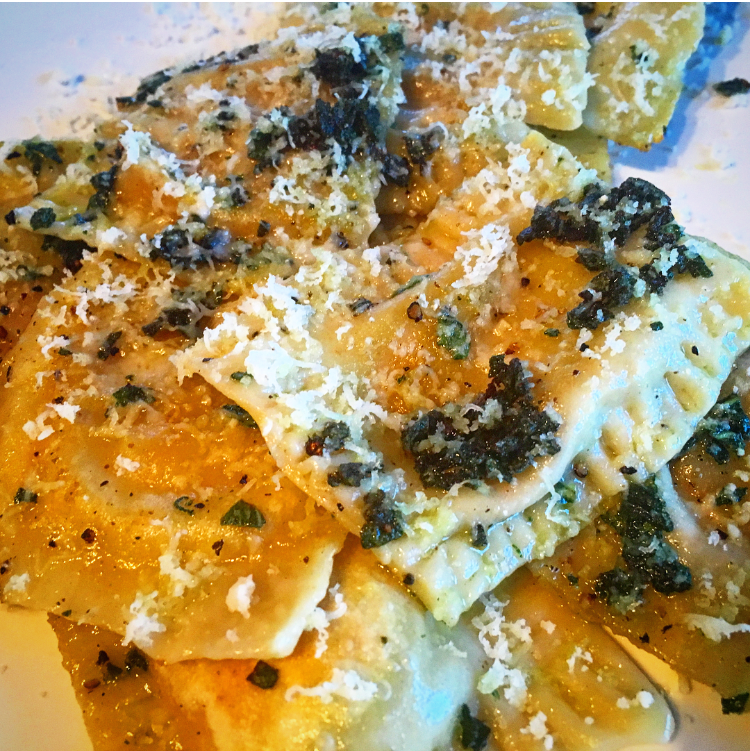
After about 6-7 minutes the ravioli should be ready and float to the top. Test to see if the pasta layers are fully cooked. When it is cooked drain and add to your sauce pan with butter and sage. Allow the ravioli to become fully dressed by the sauce before plating.

Add Parmesan cheese on top and garnish before serving. ENJOY!


I hope you enjoyed this recipe as much as I do. If you have any comments please leave them below and I'll be happy to answer them as soon as I can! There is also a video down below if you need more guidance while cooking!!!  Bon Appetite!!!


STUFFED & FRIED ZUCCHINI FLOWERS (SQUASH BLOSSOMS)

Okay so these fried zucchini flowers are actually amazing!!! I learned about them on my recent trip down to Todos Santos, Mexico and they are now one of my favorite new things. Think fried artichokes but stuffed with whatever your palate desires. You dont need to dip them in anything because they are delicious and flavorful all by themselves. You just need to try them! TRUST ME!

INGREDIENTS:

Stuffing - You can honestly do whatever you want here. I did the following:

1-2 Cups of Chorizo (taken out of its casing and pre-cooked)
1 Cup of Quinoa (pre cooked and cooled)
1/2 Cup of Cubed Cheese (I used a soft white cheese)

Olive Oil
12-20 Zucchini Flowers (washed)
2 Eggs (whisked)
1-2 Cups of All Purpose Flour
Salt (as desired)

DIRECTIONS

Cook your quinoa and let it cool.

Take your Chorizo out of the casing and fry it up. Once finished set aside to cool.

Once cooled mix your Chorizo, quinoa and cheese together. This will be your stuffing. Open the center of the flower and add in your stuffing (1-2 TSP) and set aside till all flowers are stuffed.

Once you are ready to fry up the flowers add oil to a pan and let it heat up on medium heat.

Roll your stuffed flowers into your flour followed by your egg wash and again in your flour before plopping it in the oil. Once four or five of them are in your pan make sure you rotate them so they dont burn and allow those to cook until they are golden. (If you notice that they are cooking to quickly and getting burnt turn the heat to low)

Once ready remove the flowers from the the pan and set aside on a plate covered in paper towel to absorb excess oil.

Continue battering and cooking the rest of your flowers until you are done. Lightly salt the plate full of flowers before serving!


I hope you enjoyed this recipe as much as I do. If you have any comments please leave them below and I'll be happy to answer them as soon as I can! Happy cooking!!!


GLUTEN FREE MAC AND CHEESE BITES

I love me some good old mac & cheese!!!! Nothing says comfort food to me like a bowl of mac & cheese does. For me it always brings back childhood memories. Nowadays I find myself not eating so much of it because I am more calorie and health conscious but I'll admit these gluten free mac& cheese bites are great for any party that you may be throwing. They aren't difficult to make at all and kids love them for birthday parties. I'm totally going to add these to my Super Bowl menu this year! Enjoy

INGREDIENTS:

Rice Pasta (I substituted this for regular elbow pasta)
2 TBSP of Butter
2 TBSP of Quinoa Flour (I substituted this for flour)
1.5 Cups of Milk
2 OZ Cream Cheese
3/4 Cup of Sharp Cheddar Cheese
3/4 Cup of shredded Mozzarella (optional)
1 Packet of Kraft Dinner Powdered Cheese Sauce (optional)
Salt and Pepper (as desired)
1 Egg (whisked)

**You will also need a muffin tray that is sprayed with non stick cooking spray or buttered.


DIRECTIONS:

Preheat oven to 400 degrees

Boil water to make your pasta. Salt the water and throw in your pasta.

In a sauce pan add in your butter. Allow to melt on medium low heat then throw in your quinoa flour. Whisk together until fully incorporated. .

Next add in your milk slowly stirring with your whisk the whole time.  Allow milk to come to a simmer before removing from heat and adding in all your cheeses! Whisk together until smooth.

By now your pasta should be ready to be drained. Drain and allow access water to drip off before returning to pot. Add your egg to the pot with the pasta followed by the cheese sauce. Mix together so pasta is evenly covered. You can add pepper and salt now if you wish (remember that the cheese and butter does add salt to the dish already so you dont need much)

Scoop out pasta into your muffin tray (remember it has to be buttered or sprayed with non stick for easy removal later).

Place in oven and allow to bake for 16-17 minutes or until golden on the top!

Remove from oven and allow to cool for 5 minutes before removing from muffin tin.

They are now ready to serve! Enjoy!!!


I hope you enjoyed this recipe as much as I do. If you have any comments please leave them below and I'll be happy to answer them as soon as I can! Happy cooking!!!


CHOCOLATE COVERED STRAWBERRIES

Chocolate covered strawberries are a great dessert to have at your party or event. There are so many cool designs techniques that make them versatile for different occasions and really fun to make. I made mine using dark chocolate and white chocolate but you can easily interchange those with milk chocolate or ground walnuts! Just have fun with it :)

INGREDIENTS:

15 Large Strawberries
170 Grams of Dark Baking Chocolate (you an also use milk chocolate)
1/2 a bag of White Chocolate (I used Hersey's mini chocolate chips)

**You will also need toothpicks, Styrofoam and a zip-lock bag!

DIRECTIONS:

Wash your strawberries and place them on a drying rack. It is important for them to be free of moisture before you coat them so leave them to dry for at least an hour. Stick a toothpick in the fat end of the strawberry to help you grip them better.

If your dark chocolate comes in a bar break it up into smaller chunks so it melts faster and evenly. I used a food processor to do this quickly.

The best way to melt chocolate is to use a method called "double boiling" on low heat. This is done by filling up a small pot with water and bringing it to a light simmer. One the water starts to simmer reduce heat to low.

Next place your chopped up chocolate into a glass bowl slightly bigger then the pot so that the bottom of the glass bowl does not hit the bottom of the pot but is still submerged in the water (see photos)

You will slowly start to see the chocolate melt. Using a spatula move the chocolate around so that it evenly melts. Stir often with spatula in order to get the best consistency. Make sure no water gets into the chocolate!

Repeat the double boil process in a new glass bowl with your white chocolate.

Dip your strawberries in the dark chocolate. Use the toothpick to help you rotate the strawberry so it is evenly covered in chocolate on all sides. Allow access chocolate to drip off before placing it upside down to dry so the toothpick is in the Styrofoam.

Continue until all the strawberries are covered and place upside down on the Styrofoam to dry.

Next put the white chocolate in a zip lock bag and push it to one corner. Cut a small hole in that corner so that the white chocolate can come out slowly. Pick up a strawberry and quickly move across it (side to side or back and forth) while squeezing the white chocolate bag to create your design. Place it back upside down on the Styrofoam. Repeat with remaining strawberries.

Once finished place strawberries and Styrofoam in the freezer for 30min to 1 hour to harden. Once harden you can serve them to your guest.


I hope you enjoyed this recipe. I would love to know your thoughts! If you have and suggestions or question please feel free to leave them in the comments below!

MINI ROSE APPLE PIE

Recently I've been searching for new recipes to try and add to my Superbowl Sunday menu. Next weekend is the Super Bowl which means a lot of friends across the nation will gathered around together and spend their entire Sunday eating and cheering for their favorite team! Even though I'm not a big football fan I still do enjoy participating in this event and getting together with friends to watch the game, drink and eat food. Since most of the time these gatherings don't involve an actual sit down meal finger foods and bite-size food are always a good choice. This way as people get hungry they can just grab a little bite and don't even need a plate necessarily. That is why I decided to try these mini rose apple pies. They are small enough to fit into your palm and take about two's bites to devour. Just enough of the dessert to satisfy you without having to commit to filling up on this one dessert choice. It also helps that they are super pretty! hehe

Servings: One 200Gr Pie Crust makes about 6 mini pies roses.

INGREDIENTS:

3 Apples (Washed and cut into quarters, remove seeds than slice thinly)
6 TBSP of White Granulated Sugar
1/4 -1/2 of a Lemon (juiced)
400Gr PiIlsberry Pre-made Pie Crust
Cinnamon Spice (as desired)
Icing sugar for garnish (as desired)

*You will also need toothpicks and a baking tray covered in wax paper/ nonstick baking sheet.
 

DIRECTIONS:

In a sauce pan add in your thinly sliced apples, 2 TBSP of sugar and lemon juice. Fill sauce pan with water to submerge your apples and place on stove on High heat. Bring your water to a boil, then reduce heat letting it simmer for an additional two minutes before draining the water.

Lay the apples out on a absorbent cloth to suck up any access water.

Preheat over to 350 Degrees.

Next lay out one of your pie crust. Sprinkle it with the remaining sugar (more or less as you please) and cinnamon.

Cut the dough into 3/4 to 1 inch strips and place your apple slices slightly overlapping along the strip. Roll the strip and tie off the end using a toothpick to hold it in place. 

Place strip on baking tray (previously covered with wax paper)

 Bake for 20 to 25 minutes or until golden.

 Remove from oven and allow to cool before sprinkling icing sugar on top. Enjoy!!!


I hope you enjoyed this recipe as much as I do. If you have any comments please leave them below and I'll be happy to answer them as soon as I can! Happy cooking!!!