BLACK FIG & OLIVE TAPENADE

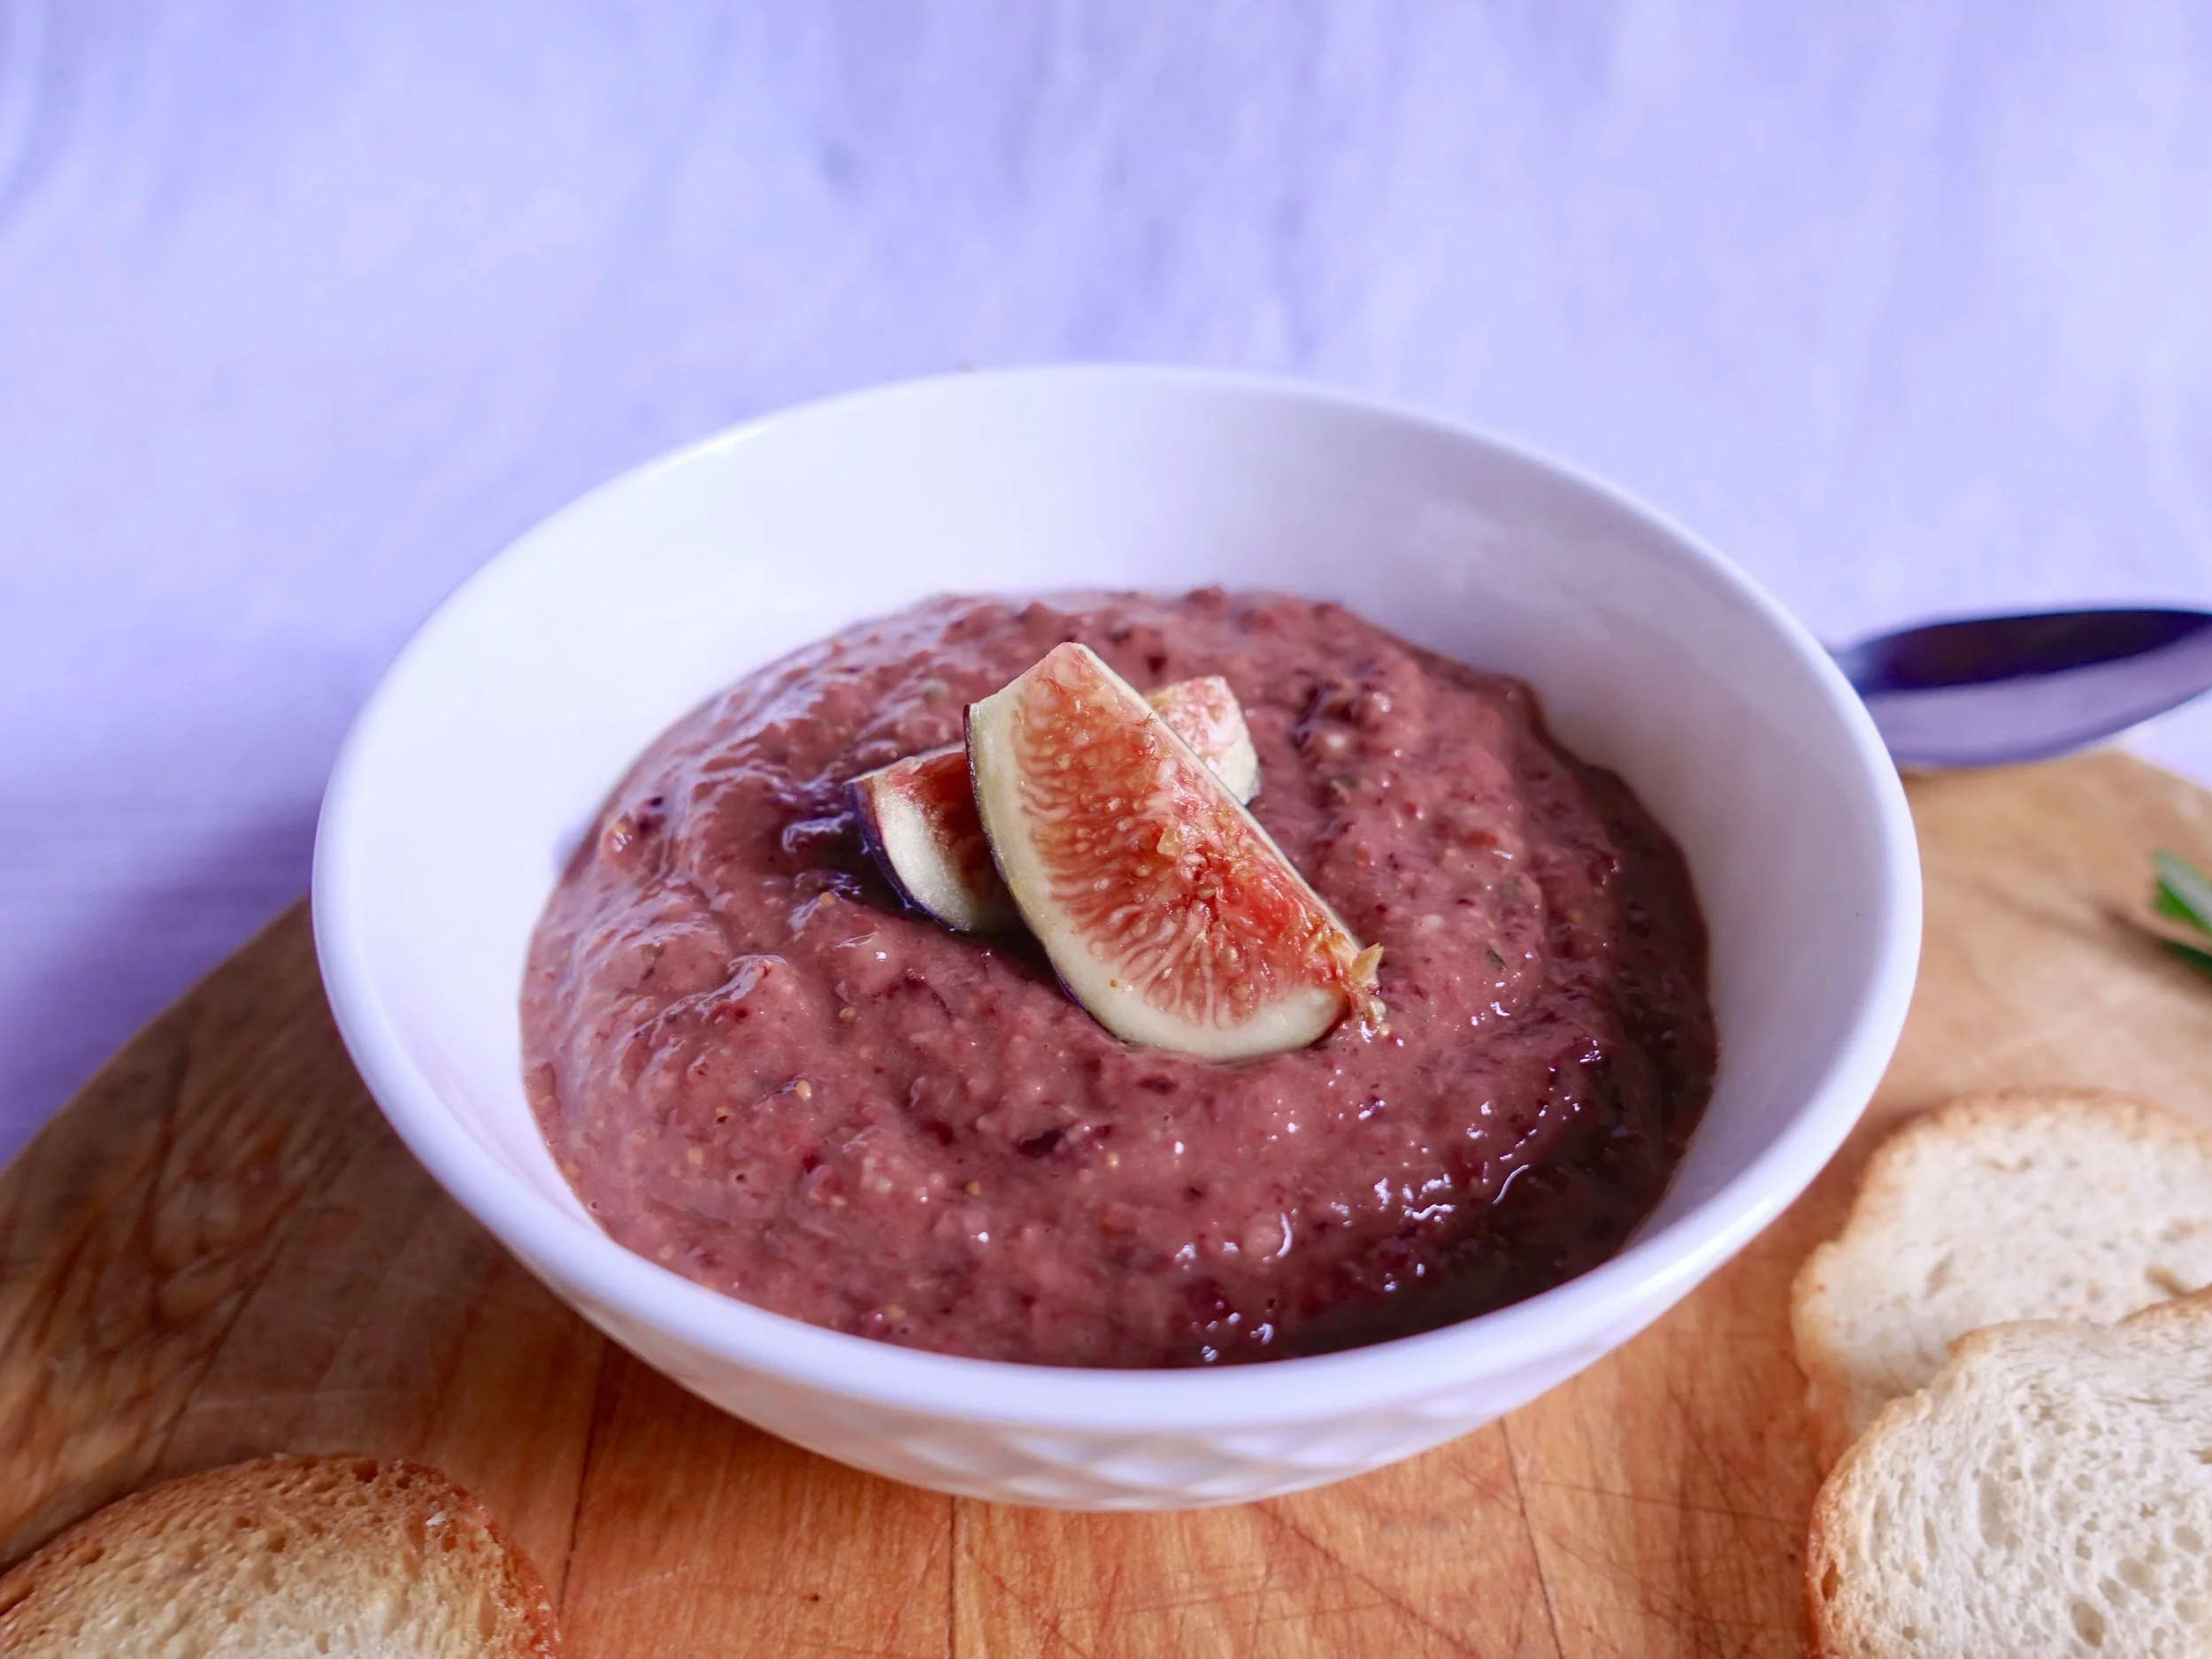
Is it just me or does the combination of sweet back fig and savoury black olives sound like the perfect pairing! I love this recipe for that exact taste profile and spread across a crisp or accompanied with Parmesan cheese it is a perfect appetizer. If you're looking for something to serve at your next dinner party that's both quick to whip up and as easy as throwing everything into a food process - this tapenade is perfect! Enjoy!

INGREDIENTS:

Yields 1.5 Cups of Tapenade

1 Cup of Black Fig - Rinsed and Cut Up
1/2 Cup of Pitted Black Olives
1 Clove of Garlic Clove - peeled and chopped
2 Tsp of Capers - drained and rinsed
1 Tsp of Fresh Rosemary
Squeeze of lemon
1/4 Cup of Olive Oil
Salt and Pepper to taste

DIRECTIONS:

Place figs, pitted olives, garlic, capers, and rosemary in the food processor and blend until pureed.

Add a good squeeze of lemon juice and continue to mix.

While the motor is running add the olive oil. Season with salt and pepper as per your taste (I usually add a little salt no pepper but to each their own).

Black Fig and Olive Tapenade

I hope you enjoyed this recipe as much as I do. If you have any comments please leave them below and I'll be happy to answer them as soon as I can! Bon Appetite!!!

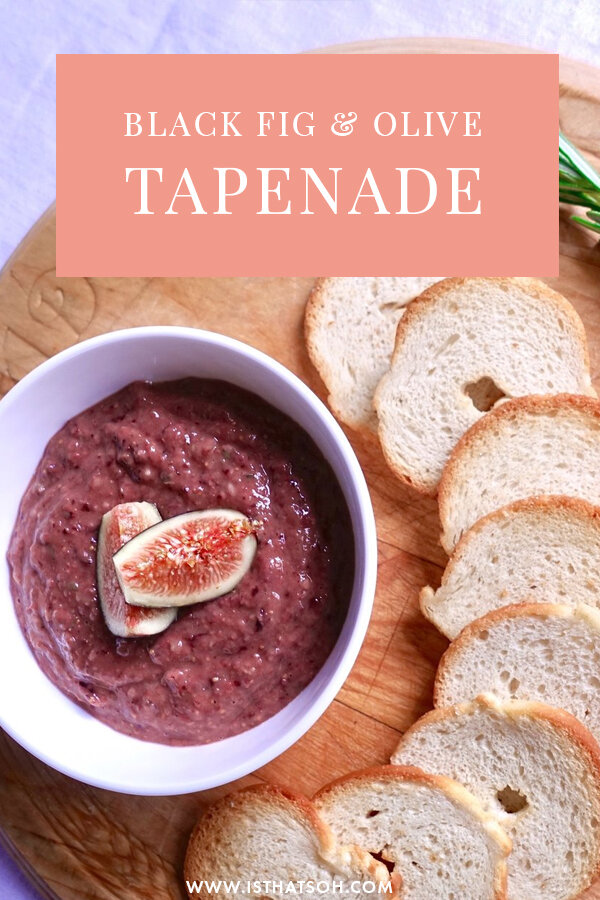
PIN THIS POST

STRAWBERRY FIZZ COCKTAIL

This past weekend I made a delicious cocktail using some fresh organic Ontario strawberries I picked myself! Since I was at the cottage on Georgian Bay I of course used some Georgian Bay Vodka but you can use whatever you have. I thought this was such an easy yet delicious cocktail I had to share it with you.

INGREDIENTS:

3-4 Strawberries (leave one for garnish and muddle the rest)
1 Oz of Vodka (I used Georgian Bay because it has hints of Vanilla)
4 Oz of Tamarind Jarritos Soda

DIRECTIONS:

Muddle the strawberries and pour into your glass, top with vodka and Tamarind Jarritos Soda. Garnish with a slice of strawberry!

*You can chill the vodka and Jarritos soda to ensure the drink is cold and refreshing.

Sitting on the beach having a Strawberry Fizz Cocktail

PIN THIS POST

'CHICKEN' NUGGETS - VEGETARIAN

As a kid I loved chicken nuggets!!! They were legit my favorite meal as a child. I recently have been trying to eat healthier, but still have cravings for my beloved chicken nuggets. So when I came across this recipe I thought it was a happy compromise. If you are looking into becoming vegetarian or vegan and want to transition yourself into the lifestyle this is a good recipe for you. It is also pretty easy to make gluten-free as you only have to change the panko bread crumbs to a gluten free option like rice or corn crumbs. Either way I hope you enjoy this recipe as much as I did.

VIDEO POSTED BELOW

INGREDIENT:

1 (15oz) Can of Chickpeas (Drained and Washed)
2 Eggs (or Vegan Egg Substitute) - One will be used for the breading
1 Cup of Chickpea Flour - 1/2 Cup will be used for the breading
1 TSP of Salt
1/2 TSP Onion Powder
1/2 TSP Garlic Powder
1 TBSP of Poultry Seasoning
1 Cup of Bread Crumbs or Rice/Corn Crumbs for GF option

DIRECTIONS:

Place chickpeas in a food processor and pulse until no large chunks remain. Once finished place chickpeas in a bowl and add one egg and mix together.

Add 1/2 Cup of chickpea flour to bowl along with salt, onion powder and garlic powder. Mix until fully incorporated.*

Form nuggets and place on a baking sheet covered in parchment paper.

Once finished place baking tray in the fridge for 20 minutes to that the nuggets maintain form.

When ready remove nuggets from fridge and preheat over to 375 degrees.

Beat your last egg (this is your egg wash). Mix your poultry seasoning with the remaining flour in a bowl. Add breadcrumbs (or gluten free option) to another bowl. Dip each nugget into the flour, followed by the egg wash and lastly the bread crumbs and place back on the parchment paper.

Once oven is ready place baking tray with nuggets in the oven to cook for 20 minutes flipping the nuggets over half way through.

ENJOY!!!

*If you find that the nuggets are really wet and hard to form you can add an extra TBSP of chickpea flour.

I hope you enjoyed this recipe as much as I do. If you have any comments please leave them below and I'll be happy to answer them as soon as I can! Bon Appetite!!!

VEGAN TOFU FRIED RICE

This fried rice recipe has got some POWER! I love a little spice in my food so you know I'm gonna turn it up with this dish but if that's not for you go easy on the garlic chili sauce. I love me some Asian fried rice!!! If you are vegan this tofu dish is perfect for you and if you are not... well dont stop there! I've been known to add some shrimp to this baby or even chicken but you can remix this however you want - just make it your own. Enjoy

VIDEO POSTED BELOW

INGREDIENT:

3/4 Cup of Tofu (diced)
1 Cup of Brown Rice
3-4 TBSP of Soya Sauce or Tamari
2 TBSP of Brown Sugar
1 TBSP of Peanut Butter
1-2 TBSP of Garlic Chili Sauce
1 TSP of Sesame Seed Oil (optional)
4 Cloves of Garlic (Crushed or minced - 1 for Sauce 3 For veggies)
Veggies (Corn, Celery, Peas and Carrots)

DIRECTIONS:

Preheat the oven at 400 degrees.

Place diced tofu on a baking tray covered in parchment (wax) paper. Place in the over for 30 minutes or until lightly browned.

Next get your rice cooking (I usually do two parts water to one part rice)

Time to compose the sauce, add the soya sauce, brown sugar, peanut butter, sesame seed oil, garlic and garlic chili sauce to a bowl and mix!

Once the tofu is ready throw it in the sauce and let it marinate for 5 minutes and soak up all that goodness. 

After five minutes you want to throw it in a pan on medium heat and let that cook up for 5 minutes. DO NOT throw all the sauce in with the tofu, just whatever it is coated in is fine - keep sauce for the veggies and rice.

Remove tofu from pan once cooked and throw in a little more sauce along with the veggies. You want them to soften so you may want to cover the pan to speed up that process and keep moisture in - stir every couple minutes.

Once the veggies are soft add the tofu back in along with some cooked rice and the remainder of the sauce. Mix it all together before serving.

*If you are adding an alternative protein (i.e. chicken or shrimp) you can make extra sauce and marinate it in that prior to cooking it separately and then adding it in at the end.

I hope you enjoyed this recipe as much as I do. If you have any comments please leave them below and I'll be happy to answer them as soon as I can! Bon Appetite!!!

WALNUT & DATE ENERGY BITES!

Okay lets face it, sometimes throughout the day you crave a snack and what you end up choosing can really make or break your diet. One way to avoid making such an easy mistake is to be prepared! These energy bites are both vegan and paleo and taste AMAZING! When hunger strikes or you need a boost of energy grab one of these babies and feel guilt-free! They last for about 7 days when stored in the fridge and are so easy to make that you have no excuse lol ;) Happy eating my friends!

VIDEO POSTED BELOW

INGREDIENT:

1 Cup of Walnuts
1/2 a Cup of Unsweetened Coconut
16-18 Pitted Dates
1 TSP of Cinnamon
1/3 Cup of Almond Butter
1 TSP of Vanilla Extract
3 TBSP of Hemp Hearts
2/3 Cup of Oats

DIRECTIONS:

Place walnuts and unsweetened coconut in a food processor and pulse until the walnuts have been broken down into small chunks.

Add in dates, cinnamon, almond butter and vanilla extract and continue to pulse until the dates have been broken down into small chunks.

Transfer contents to a bowl, add in your hemp hearts and oats, and mix all ingredients together with your hands.

Once nicely mixed start to roll the ingredients into balls and place on a lined baking sheet lined with parchment paper.

Allow balls to sit for 30 minutes to dry and harden.

*You can store them up to a week in the fridge in a sealed container!

ENJOY!!!!

I hope you enjoyed this recipe as much as I do. If you have any comments please leave them below and I'll be happy to answer them as soon as I can! Bon Appetite!!!