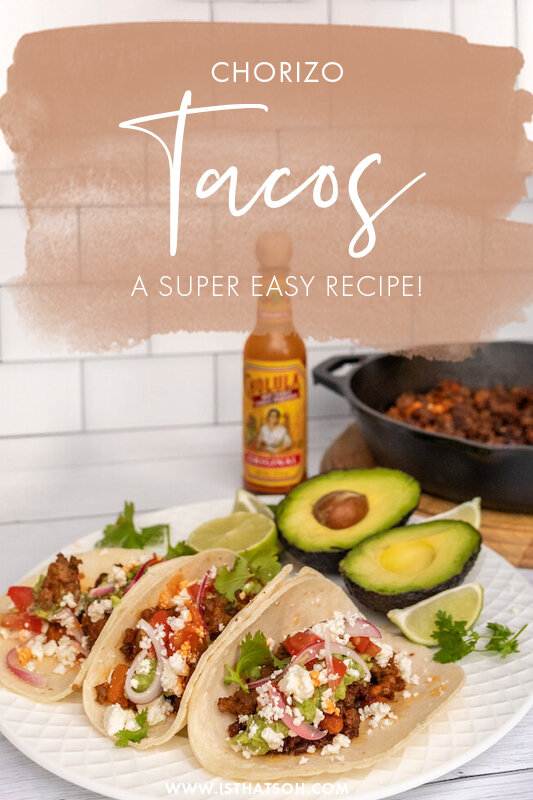
CHORIZO TACOS WITH POTATO!!! A SUPER EASY AND DELICIOUS RECIPE!

Is there a better way to celebrate the end of the work week than with margaritas and tacos? I think not! For the last 4 weeks in a row, Adam’s family and I have been partying it up every Friday with this chorizo potato taco recipe. First introduced to us by my sister, this recipe has become a Weiers family favorite and I am not mad about it. If you are looking for an easy Carne taco recipe to whip up for your next taco Tuesday or get together, baby you found it! It’s so easy, juicy, and packed full of flavor your friends will be begging you for the recipe.

Enjoy!

INGREDIENTS:

- Serves 4 People -

- Chorizo Filling -

8 Pork Sausage (If you can’t find chorizo sausage you can use mild or Italian with the Chorizo spices)
1 Spanish Onion - diced
1 medium Sweet Potato - peeled and diced

- Chorizo Spice Mix -

1 TBSP of Ancho Chilli Powder
1 TBSP of Paprika
1/2 TSP of Kosher Salt
1/2 TSP of Garlic Powder
I/2 TSP of Onion Powder
1/2 TSP of Cumin
1/2 TSP of Ground Black Pepper
1/4 TSP of Oregano
1/4 TSP of Thyme
1/4 TSP of Coriander
1/4 TSP of Ground Clove
Pinch of Cinnamon
1 Bay Leaf

- Optional Ingredients and Garnishes -

Tortillas
Hot Sauce
Guacamole
Tomatoes - diced
Jalapeno
Cilantro
Cojita
Red Onion - pickled

DIRECTIONS:

In a large bowl, remove raw pork sausage from casing. If the sausage is not already spiced with chorizo, make and add in the chorizo spice mix. Mix thoroughly and set aside to marinate for 30 minutes.

When ready, in a large skillet add in a handful of sausage, allow to cook on medium heat until the fat starts to render out before adding in your onions. Cook onions until translucent, around 2-3- minutes before adding in the remaining sausage, breaking it apart as it cooks for 5-7 minutes.

When further fat is released from the sausage, add in sweet potato and allow to cook further for 30 or so minutes until the potato is tender and meat is fully cooked. Stir every few minutes to avoid burning and to ensure both the meat and potatoes are being cooked evenly.

Remove from heat and build your taco using tortillas and optional garnishes.

Enjoy!


If you like this recipe or have any comments/questions, feel free to leave them in the comment section below!


PIN THIS POST

HEALTHY GRAB AND GO BREAKFAST EGG MUFFINS 2 WAYS - LOW CARB & VEGETARIAN OPTION

As someone who thrives on being a busy body, I often forget to eat or worse, go after items high in carbs and sugar as a way to sustain my energy and curb my cravings. Knowing this, I decided to make some delicious, healthy, grab and go egg bites that I can batch make and store in the fridge for easy access throughout the week. This has totally helped me choose better snacking foods and its super easy to just warm up quickly in the microwave before I head out the door. I love them in the morning or after a workout and they are packed full of protein and veggies so you can have two or three completely guilt free!

Hope you like them!

INGREDIENTS:

- Makes 12 Servings -

Butter to Greece Baking Sheet
!2 Large Eggs
1 Small Sweet Onion - chopped roughly
Salt and Pepper To Taste

- For 6 Muffins Italian Style -
1/4 Cup of Freshly Grated Mozerella
5-6 Cherry Tomatoes, Sliced
3-4 Strips of Prosciutto

- For 6 Muffins Greek Vegetarian Style -
1/4 Cup of Grated Halloumi
1/4 Cup of Crumbled Feta Cheese
A handful of Freshly Washed Spinach

DIRECTIONS:

Preheat oven to 350.

Greece baking tray wel.

Mix eggs, onion, salt and pepper in a large bowl and whip together.

Pour mixture into baking tray till each muffin cup is 1/2 way full.

Add in ingredients for both the Italian and Greek style.

Bake for 25-30 minutes until the tops brown slightly.

Remove and let sit for 10 minutes before trying to remove them from the tray.

Enjoy!

P.s You can store these eggs muffins in the fridge for 3-4 days in a ziplock bag or sealed container and warm up in the microwave for an easy grab and go snack!!


If you like this recipe or have any comments/questions, feel free to leave them in the comment section below!


PIN THIS POST

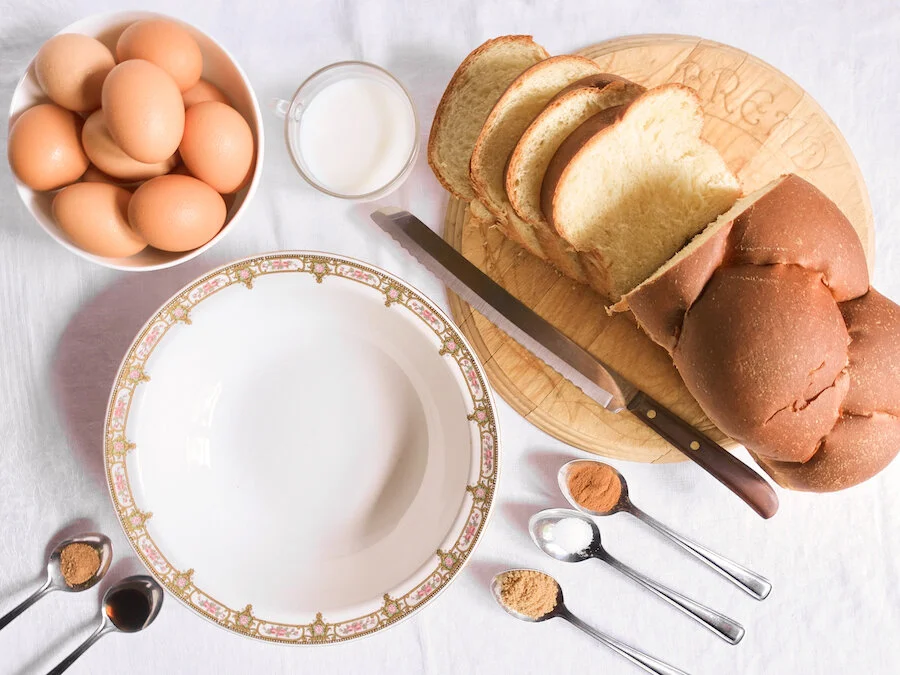
NUTELLA & MARSCAPONE FRENCH TOAST

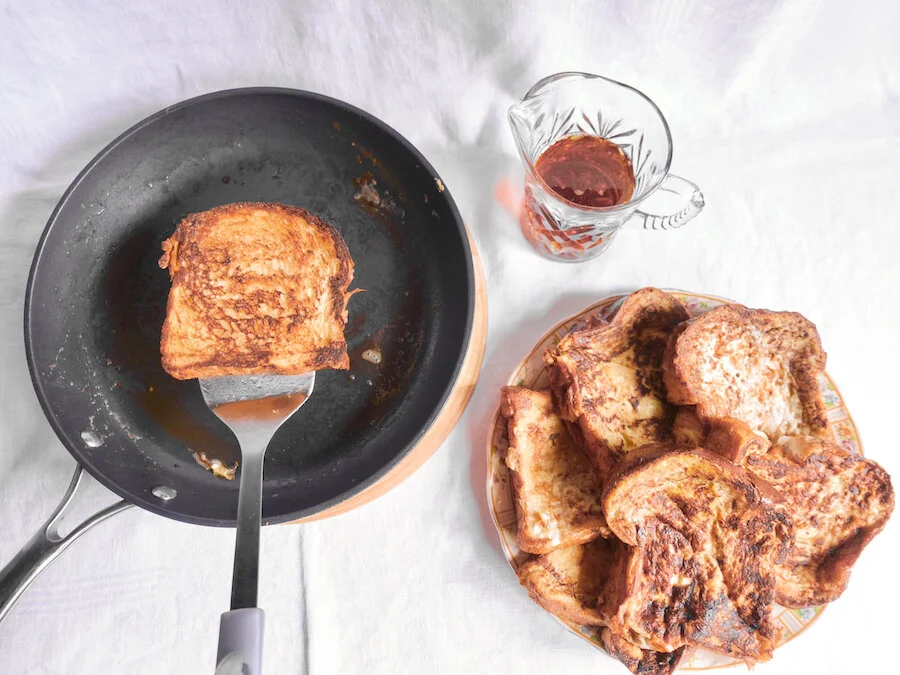
Usually a savory over sweet person, this has to be the most decadent french toast I have ever had, not to mention the most beautiful. I honestly think you don’t even need the maple syrup because of how sweet it is already - its dessert for breakfast, lets call a spade a spade. LOL But damn was it good and so worthy of a post on the blog so here you go! Don’t blame me if you get a cavity! LOL

INGREDIENTS:

-French Toast For Two -

6 Pieces of Chellah Bread Slicked in 1’ Thick Pieces
6 Eggs
1 SP of Cinnamon
1/4 Cup of Brown Sugar
1/2 TSP of Vanilla Extract
1/4 TSP of Nutmeg
Pinch of Salt
Butter for the pan
1 Jar of Nutella
I Jar of Marscapone
Icing Sugar for dusting

-Additional Toppings -

Maple Syrup

DIRECTIONS:

Whisk eggs, cinnamon, brown sugar, vanilla extract, nutmeg and salt in a bowl until fully incorporated.

Heat pan on high and add butter. While butter is melting take a piece of bread and soak it in egg mixture, 4 seconds each side. Place in pan with melted butter and allow to cook until golden brown- flip and repeat to other side

When all the toast is ready spread a thin layer of Nutella between the first and second layer. Then spread a thin layer or marscapone between the second and third layer. Spread a thin layer of Nutella between the third and fourth layer.

Dust the stack of french toast with icing sugar using a sifter before adding maple syrup and eating.

ENJOY!!!


I hope you enjoyed this recipe as much as I do. If you have any comments please leave them below and I'll be happy to answer them as soon as I can! Bon Appetite!!!


PIN THIS POST

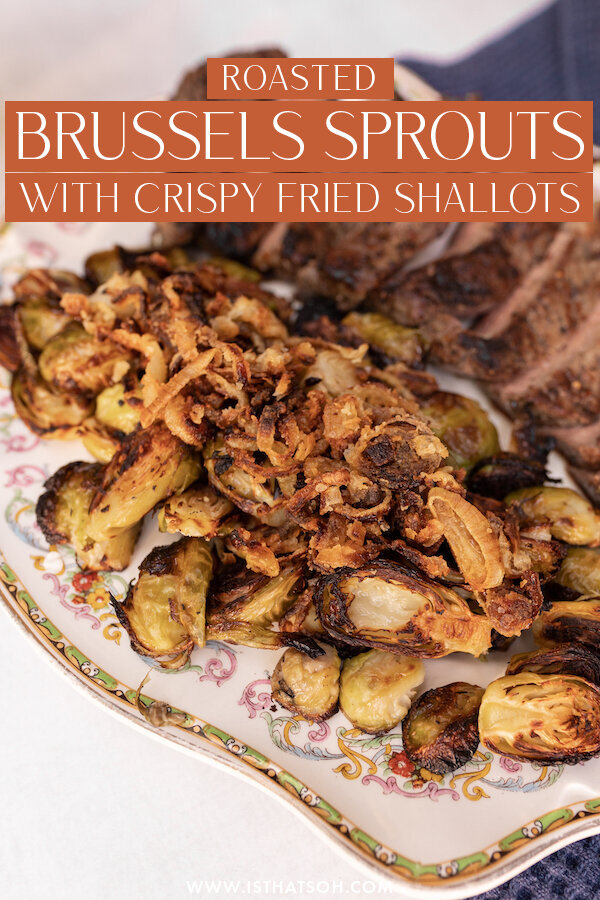
ROASTED BRUSSELS SPROUTS WITH CRISPY FRIED SHALLOTS

Made this simple brussel sprout recipe with crispy fried shallots and it was amazing. Loved the saltiness of the shallots against the dense Brussel sprouts drizzled in lemon. Delicious, salty, and perfect as a low carb veggie side for any meat dish you are cooking, I would also recommend making a little bit of extra fried shallots so you can have them with your meat as well. Further, Cassava flour is a keto-friendly flour making this a perfect side for any low carb diets but if you don’t have access to that flour, normal white flour makes a great substitute.

Enjoy!

INGREDIENTS:

- Serves 2-3 people

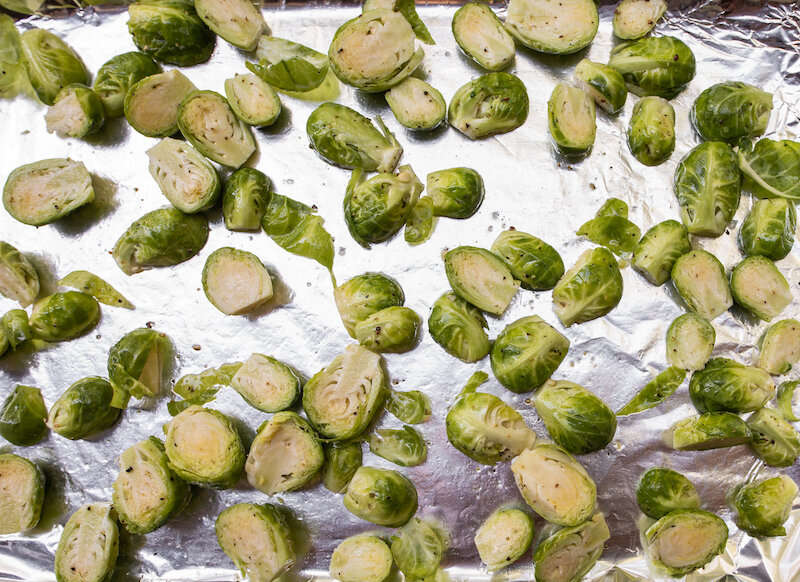
1.5 LBS of Brussels Sprouts - washed, remove steam and top layers, and cut into halves
6 TBSP of Olive Oil - Split into 2 portions, one 2.5 TBSP and 3.5 TBSP
Sea Salt and Pepper
3-4 Shallots - sliced Into onion rounds
1/4 Cup of Cassava Flour
Sea Salt
Freshly Squeezed Lemon

DIRECTIONS:

Set oven to 400 degrees.

Toss brussels sprouts in 2.5 TBSP of olive oil until evenly coated and sprinkle with salt and pepper.

Place brussels sprouts on a baking tray lined with aluminum foil and allow to bake in the oven for 30 or so minutes until tender.

While brussels sprouts are in the oven chop up shallots and place in a bowl. Add 1/4 Cup of Cassava flour and 1/4 TSP of salt, mix until the shallots are evenly coated.

Heat up 3.5 TBSP of olive oil in a skillet on medium-high. Once ready, reduce heat to low - medium and sprinkle in your floured shallots. Toss them every 3-5 minutes to make sure they don’t burn. Once nicely golden and crispy, set aside.

When the brussels sprouts are getting close to finished you can broil them for the last two minutes if you want them extra crispy.

When ready, plate brussels sprouts, add crispy shallots on top and drizzle with fresh lemon juice.

Serve while hot and enjoy!

burssels sprouts-4 copy.jpg

If you like this recipe or have any comments/questions, feel free to leave them in the comment section below!

PIN THIS POST

CHICKEN PUTTANESCA - LOW CARB KETO FRIENDLY MEALS

Most often seen in its pasta form, puttanesca originated in Naples, Italy, and is said to be a sauce created by the ladies of pleasure. One story told is that the ladies would visit restaurants at the end of the night and they would ask for leftover ingredients. These ingredients would all go into one pot to create this salty, vibrant sauce. Today, the sauce is most often found made from tomatoes, black olives, capers, anchovies, onions, and garlic, and served commonly on pasta.

I, however, have been trying to stay low carb since starting Keto and decided to skip the pasta and use cauliflower rice instead. The results were fantastic and the saltiness of the sauce was perfect. Further, the chicken was tender and just fell off the bone.

If you are looking for a great, low carb meal this one is sure to be a hit!

Enjoy!

INGREDIENTS:

- Serves 2-3 people

3LBS of Chicken Thighs or Drumsticks
Salt
2 TBSP of Olive OIl
3 Cloves of Garlic - thinly sliced
4 Anchovy Fillets in Oil
1/2 TSP of Red Chilli Pepper Flakes
2 TBSP of Concentrated Tomato Paste
1 Cup of Olives - crushed and pitted
3/4 CUP of Dry White Wine - and a little extra for drinking
2 TBSP of Capers - drained
2 Bay Leaves
Lemon Peel - 3 x 2” stripes

- Optional Bases -

Pasta
Cauliflower Rice - low carb option

DIRECTIONS:

Clean and pat dry your chicken before seasoning with salt.

In a large skillet, heat 2 TBSP of olive oil and sear the chicken, turning it occasionally until the fat and skin is a golden brown color. Once done, transfer chicken to a baking dish.

As you near the end of searing all your chicken, preheat the oven to 350.

Once done searing the chicken you will have a lot of delicious chicken bits stuck to the bottom of your skillet along with a pool of fat, remove fat from skillet, reduce heat to medium and add in your anchovies and garlic. Once the garlic is soft (about 2-3 minutes) add in your red chili flakes and tomato paste, and mix until well incorporated.

Next add in your olives, wine, bay leaves, capers, and lemon peel to the skillet. Using your wooden spoon or spatula, scrape the bottom of the pan so as to lift up all the good bits stuck to the bottom. Allow this sauce to simmer for 4-5 minutes or until most of the liquid from the wine evaporates.

Next, add 1 cup of water to the baking dish with all the seared chicken (they should be snuggled together) and add in the sauce from the skillet. Place entire baking dish in oven uncovered and allow to bake in the sauce for another 20-30 minutes

Once ready, remove from oven and serve either alone or with pasta or on a bed of cauliflower rice.

Enjoy!

NOTE: The chicken should be plenty salty from the capers and anchovies but if it is not you can always taste the sauce when it comes out of the oven and add extra salt as desired.

brighterPUT-2 copy.jpg

If you like this recipe or have any comments/questions, feel free to leave them in the comment section below!


PIN THIS POST