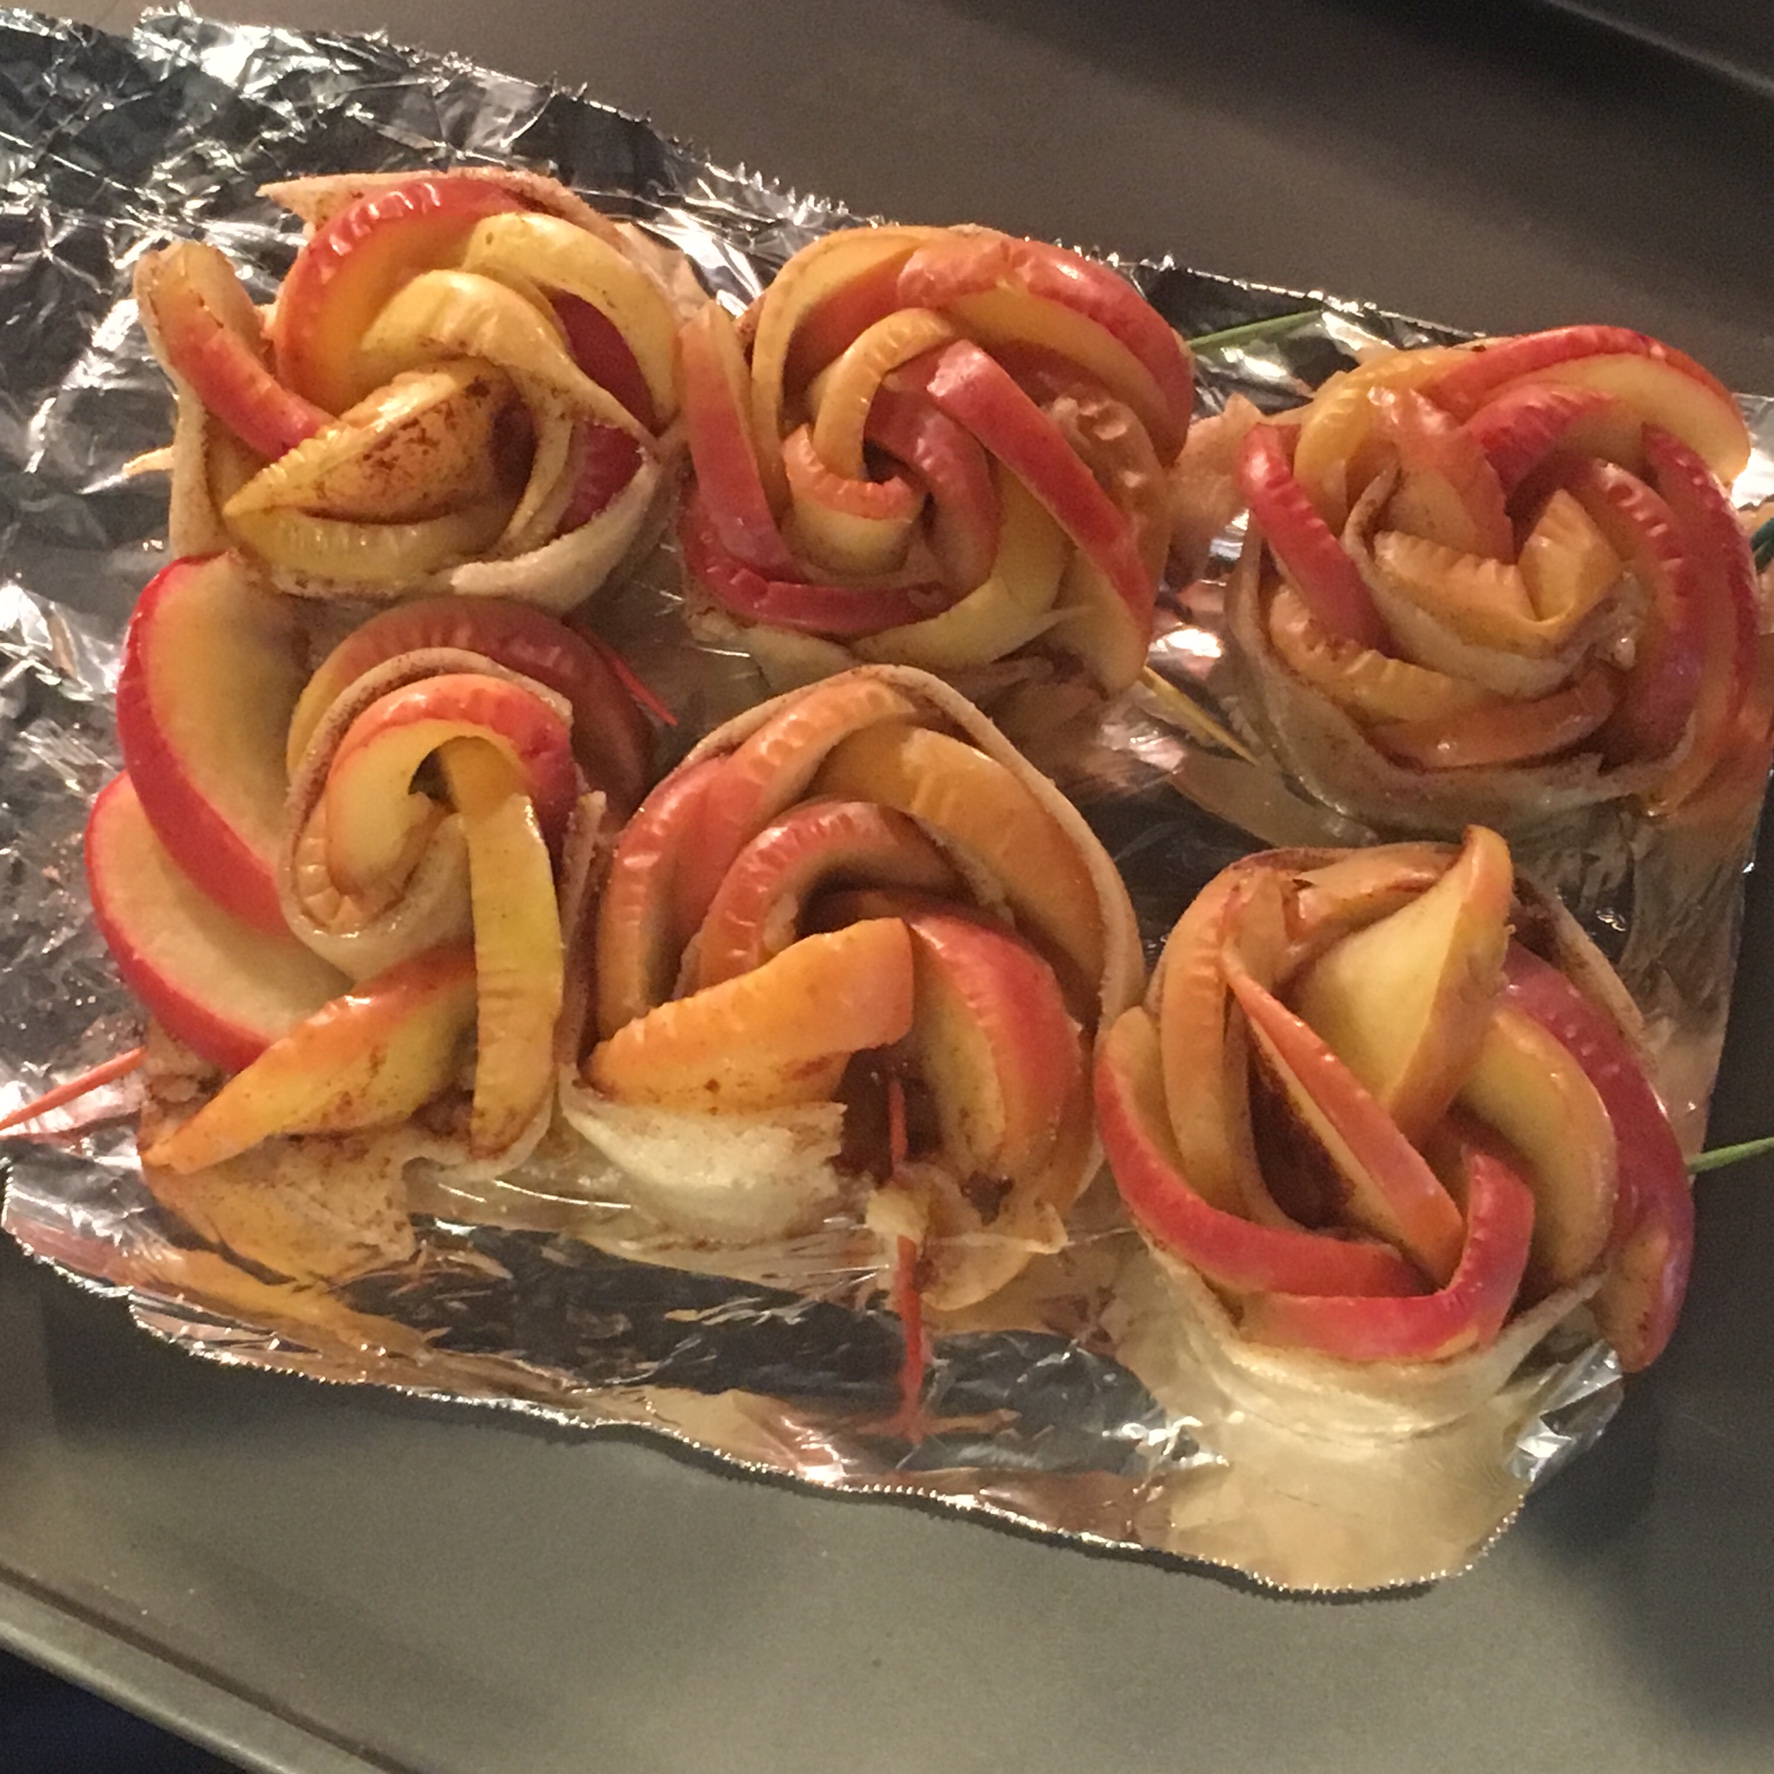
MINI ROSE APPLE PIE

Recently I've been searching for new recipes to try and add to my Superbowl Sunday menu. Next weekend is the Super Bowl which means a lot of friends across the nation will gathered around together and spend their entire Sunday eating and cheering for their favorite team! Even though I'm not a big football fan I still do enjoy participating in this event and getting together with friends to watch the game, drink and eat food. Since most of the time these gatherings don't involve an actual sit down meal finger foods and bite-size food are always a good choice. This way as people get hungry they can just grab a little bite and don't even need a plate necessarily. That is why I decided to try these mini rose apple pies. They are small enough to fit into your palm and take about two's bites to devour. Just enough of the dessert to satisfy you without having to commit to filling up on this one dessert choice. It also helps that they are super pretty! hehe

Servings: One 200Gr Pie Crust makes about 6 mini pies roses.

INGREDIENTS:

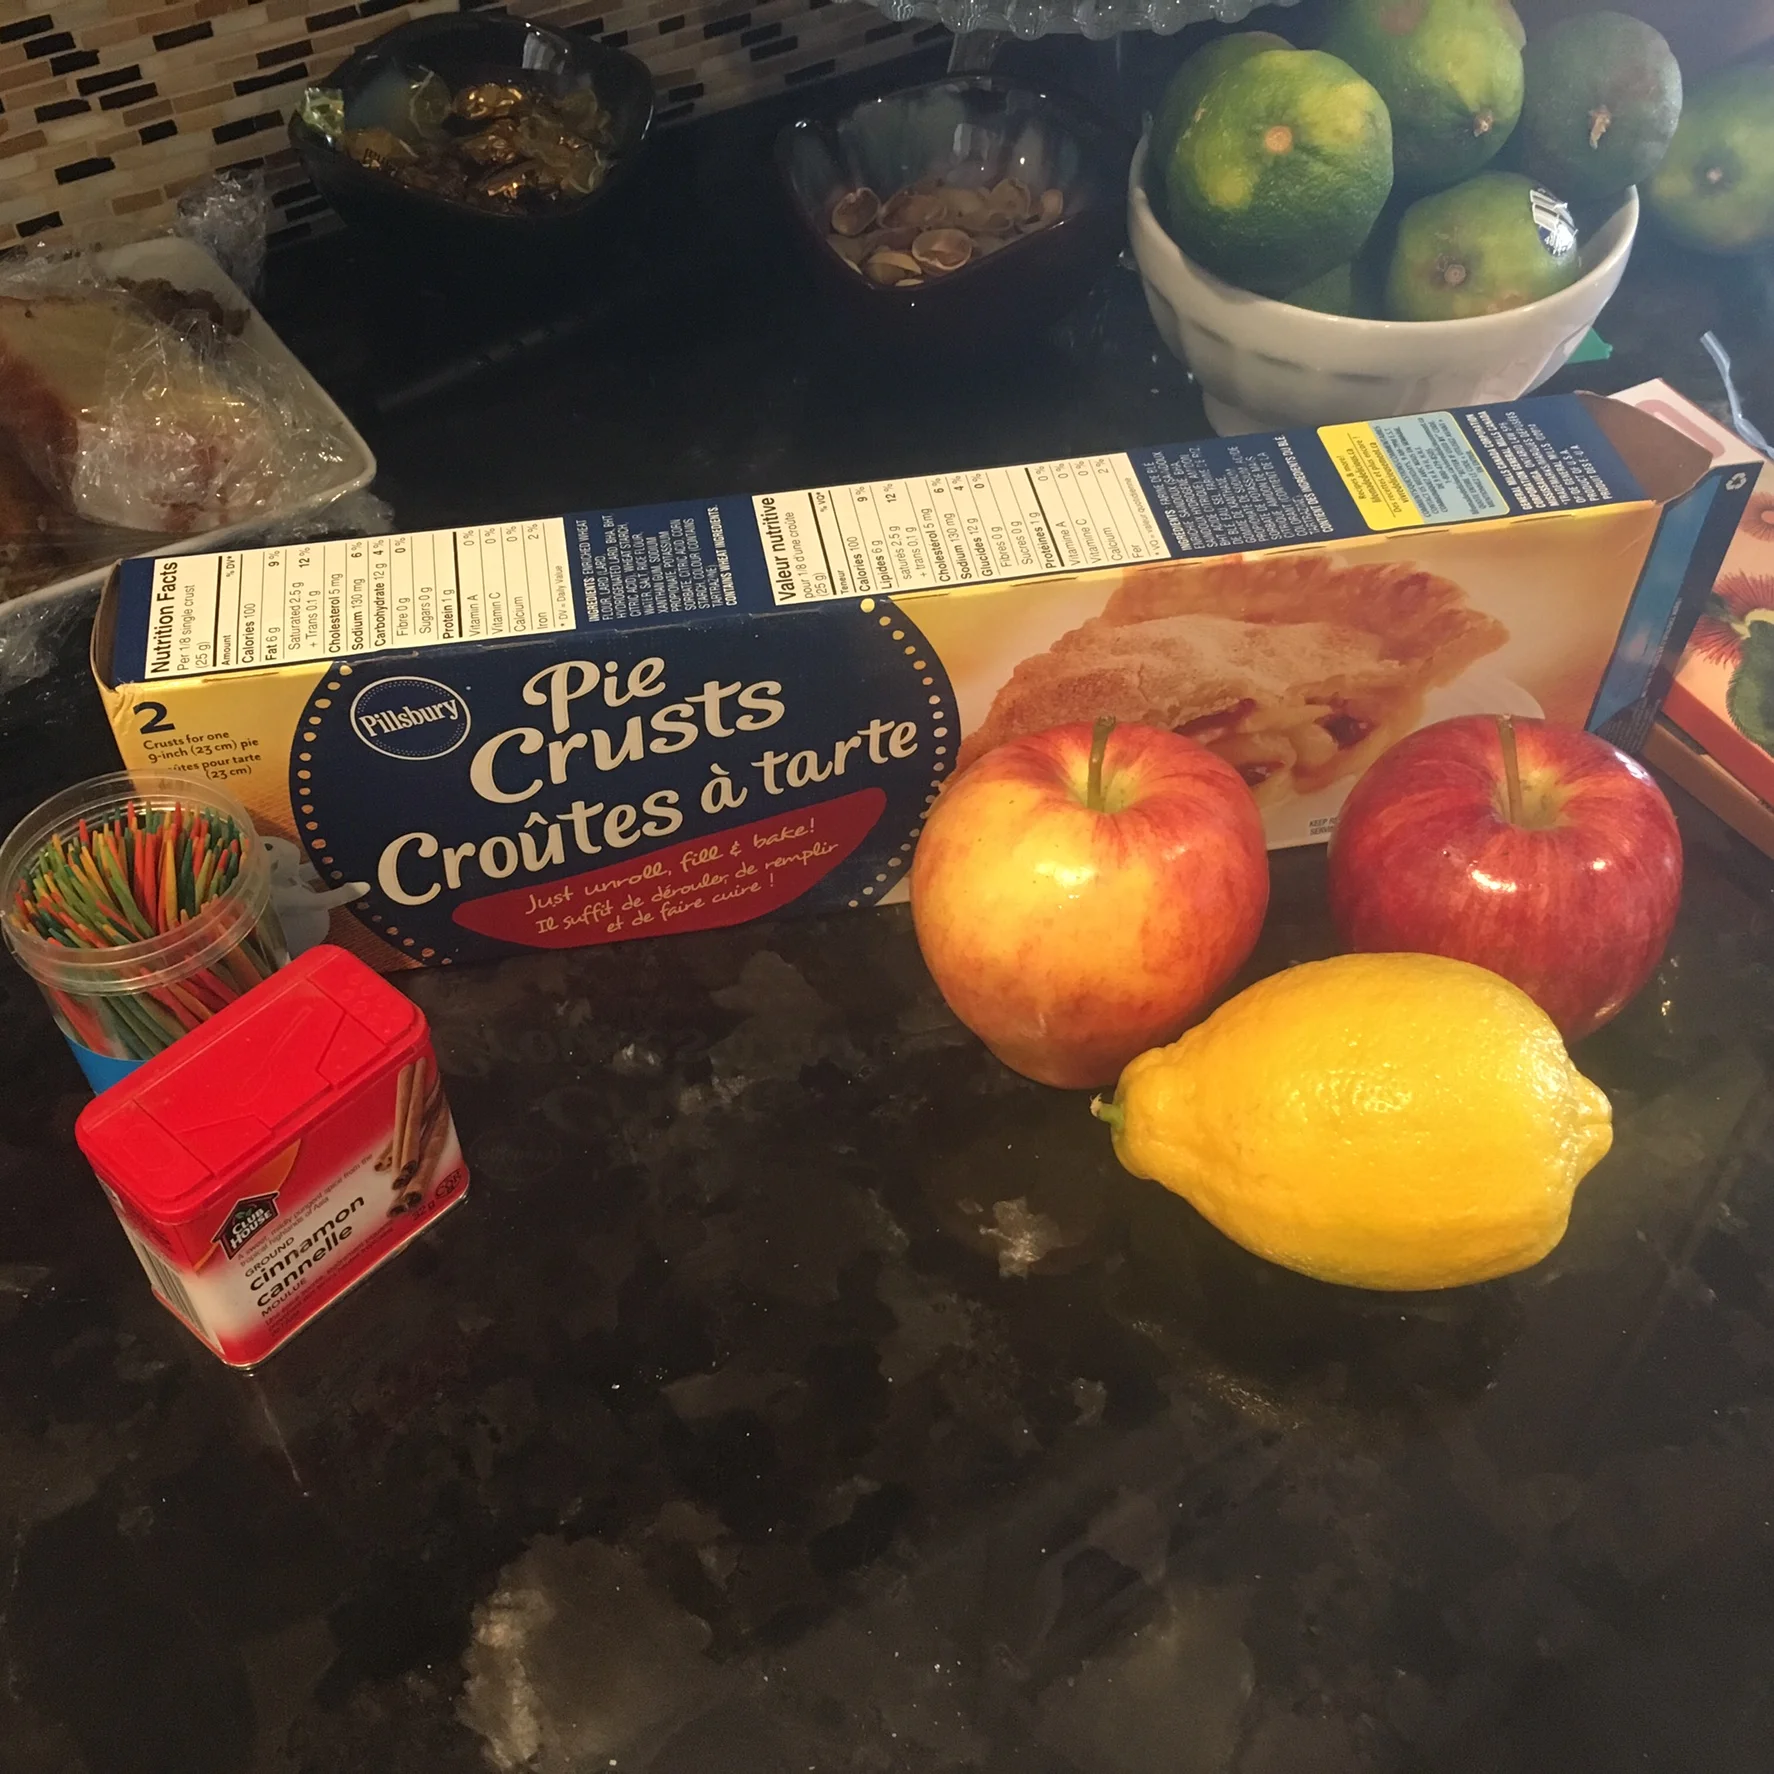
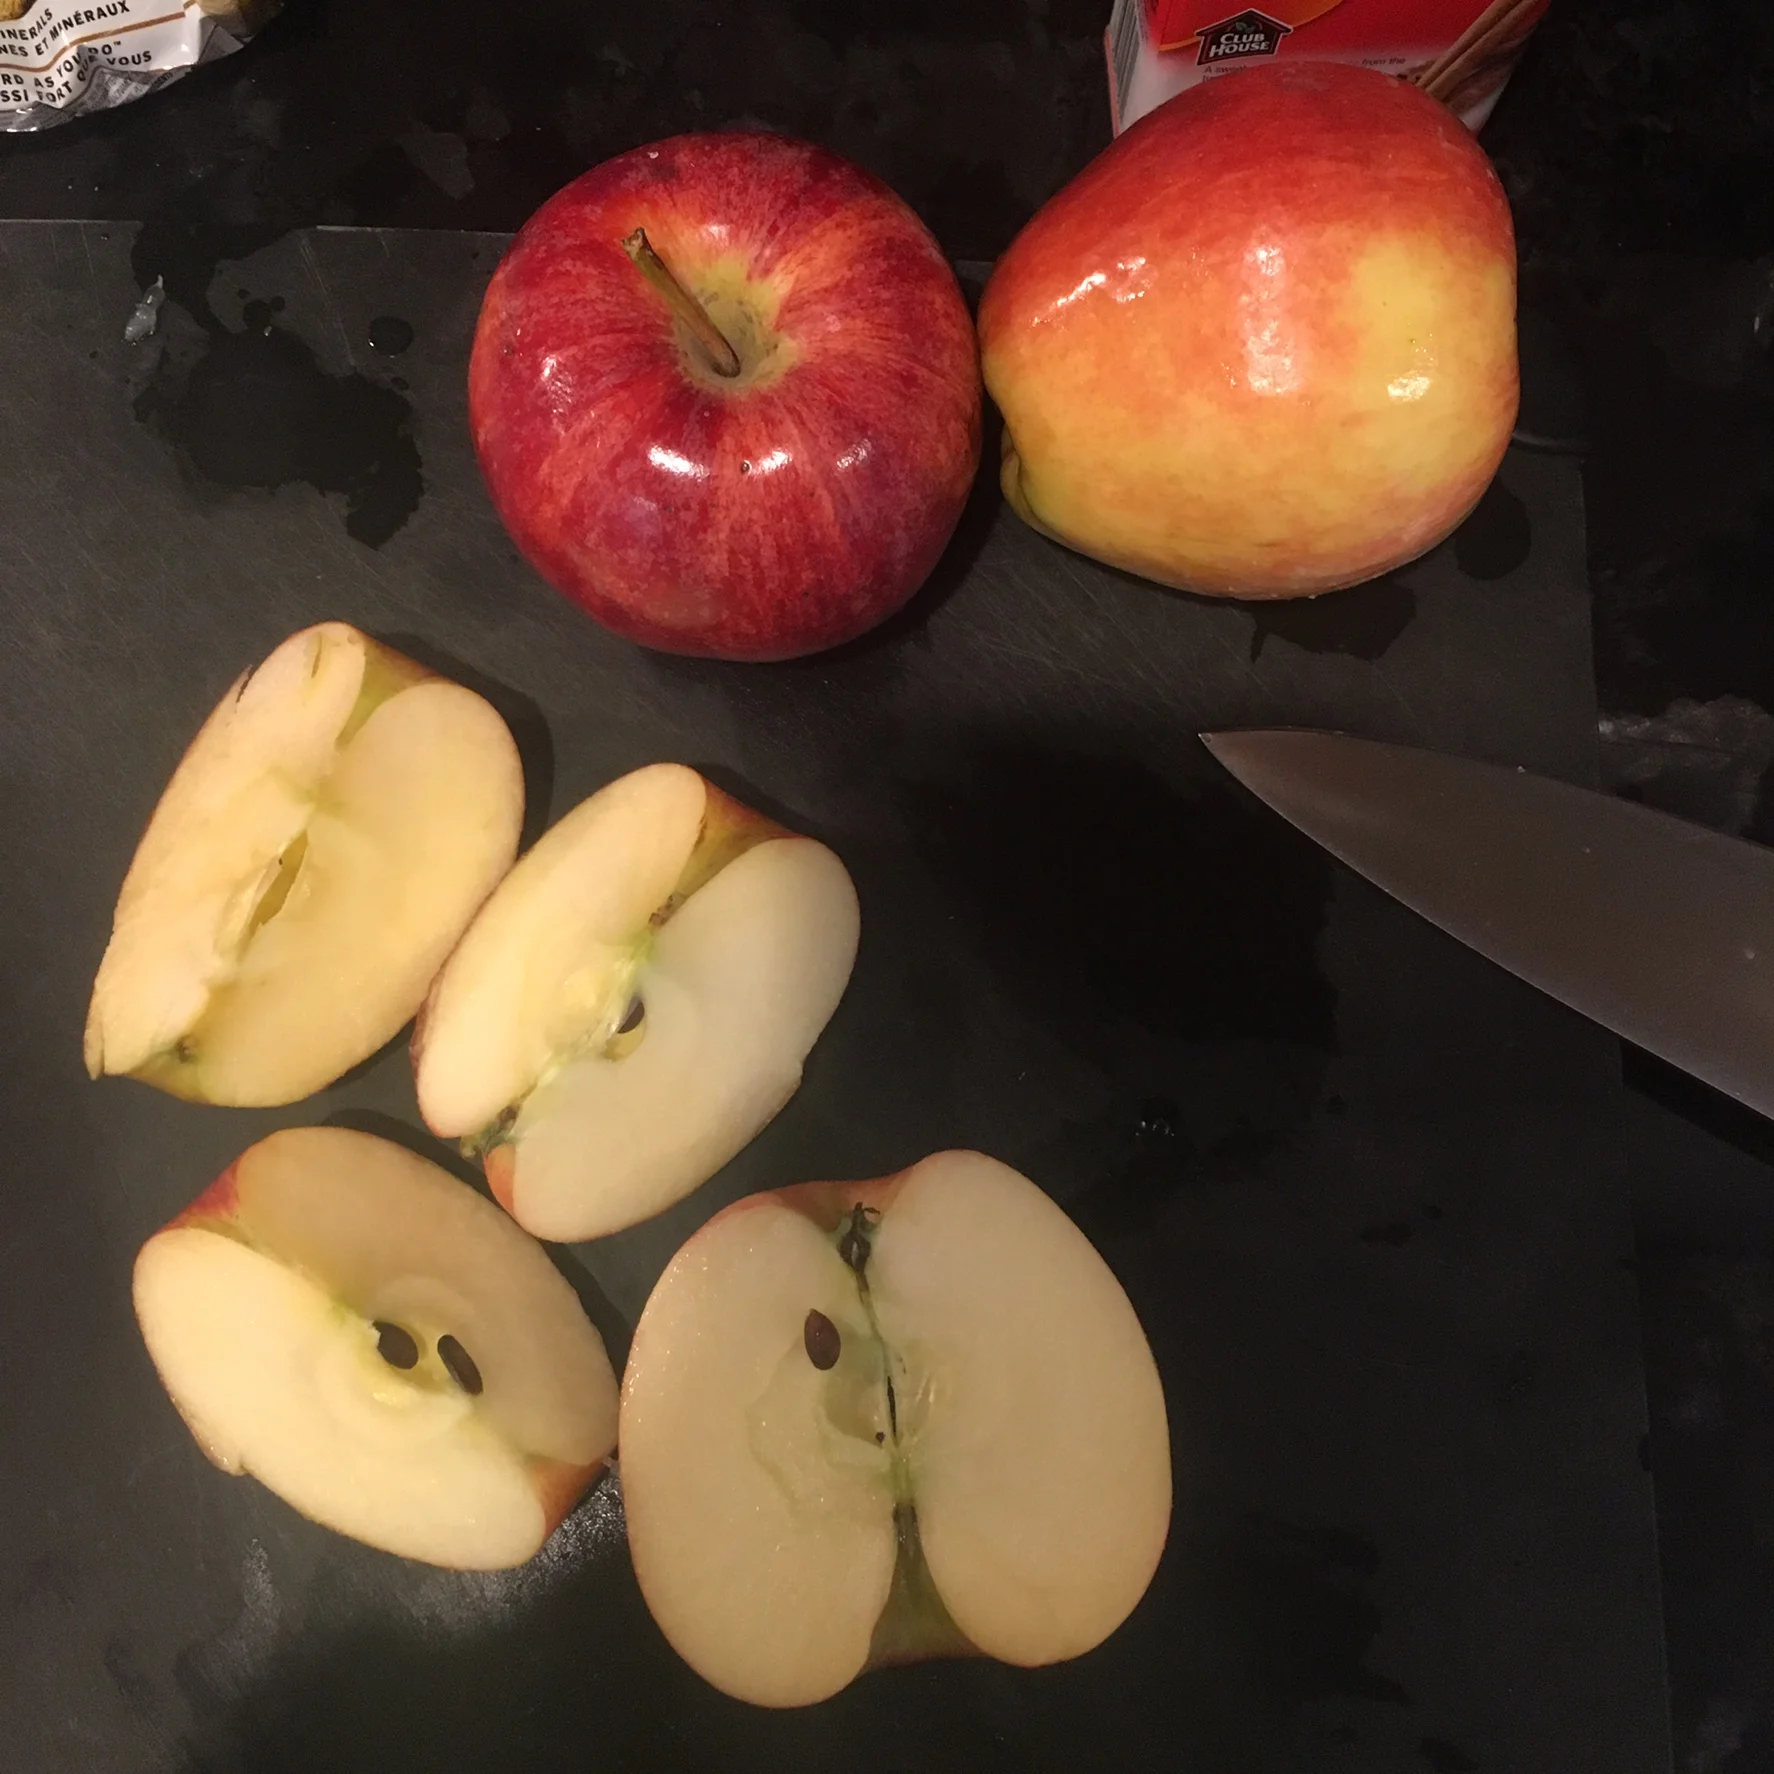
3 Apples (Washed and cut into quarters, remove seeds than slice thinly)
6 TBSP of White Granulated Sugar
1/4 -1/2 of a Lemon (juiced)
400Gr PiIlsberry Pre-made Pie Crust
Cinnamon Spice (as desired)
Icing sugar for garnish (as desired)

*You will also need toothpicks and a baking tray covered in wax paper/ nonstick baking sheet.
 

DIRECTIONS:

In a sauce pan add in your thinly sliced apples, 2 TBSP of sugar and lemon juice. Fill sauce pan with water to submerge your apples and place on stove on High heat. Bring your water to a boil, then reduce heat letting it simmer for an additional two minutes before draining the water.

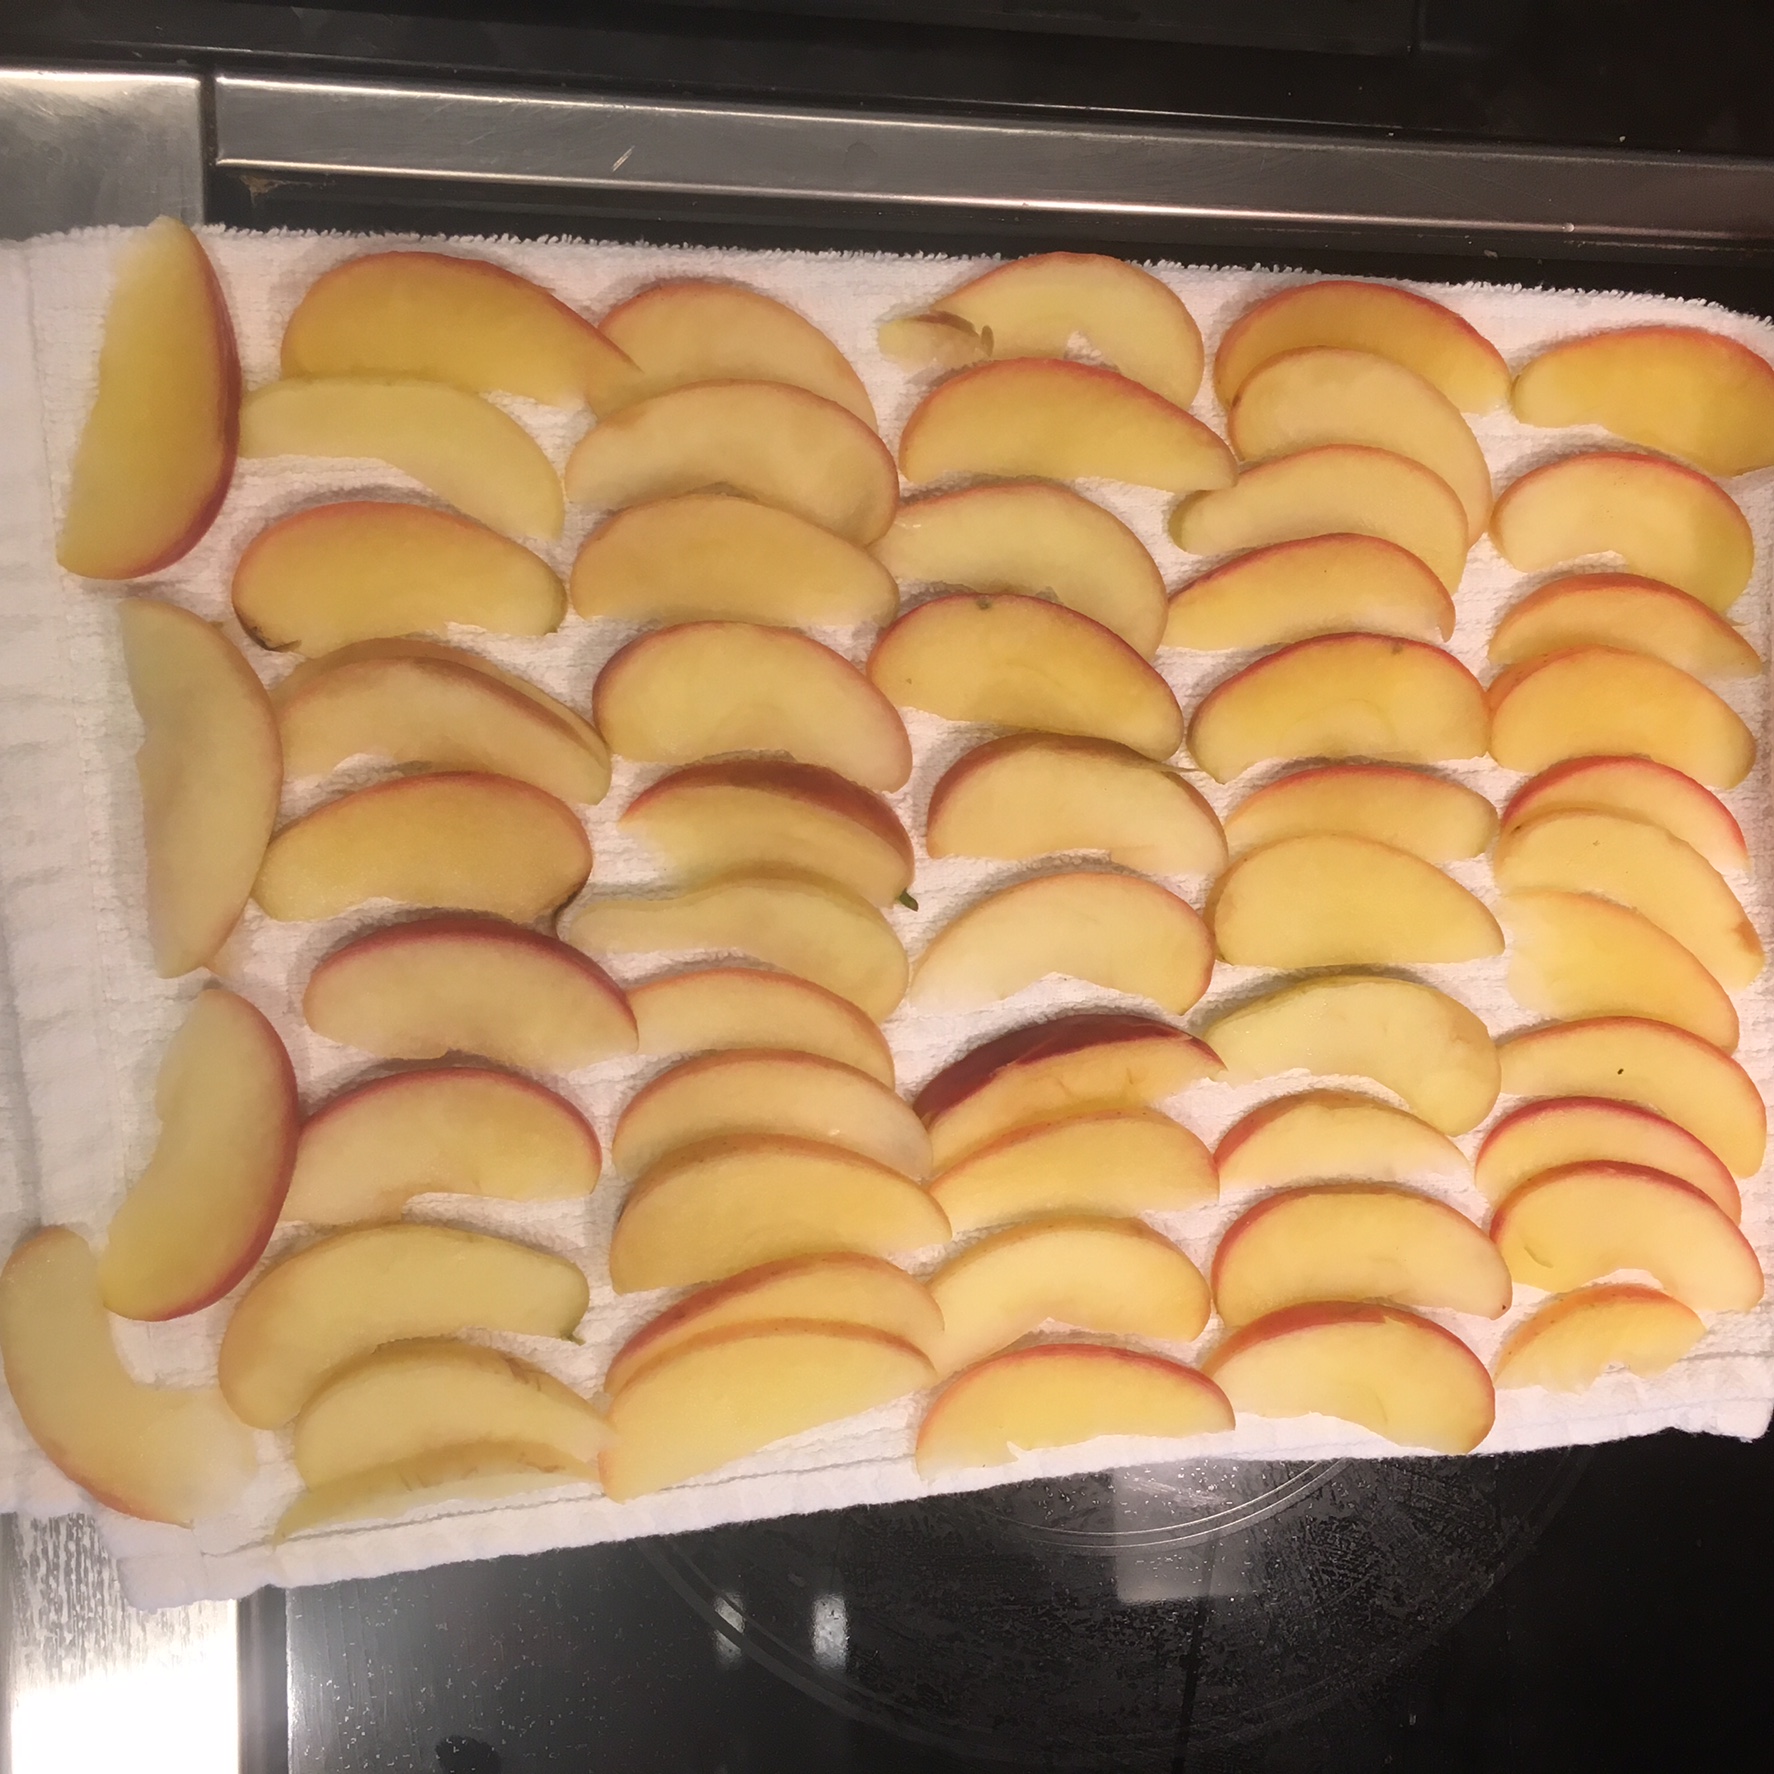
Lay the apples out on a absorbent cloth to suck up any access water.

Preheat over to 350 Degrees.

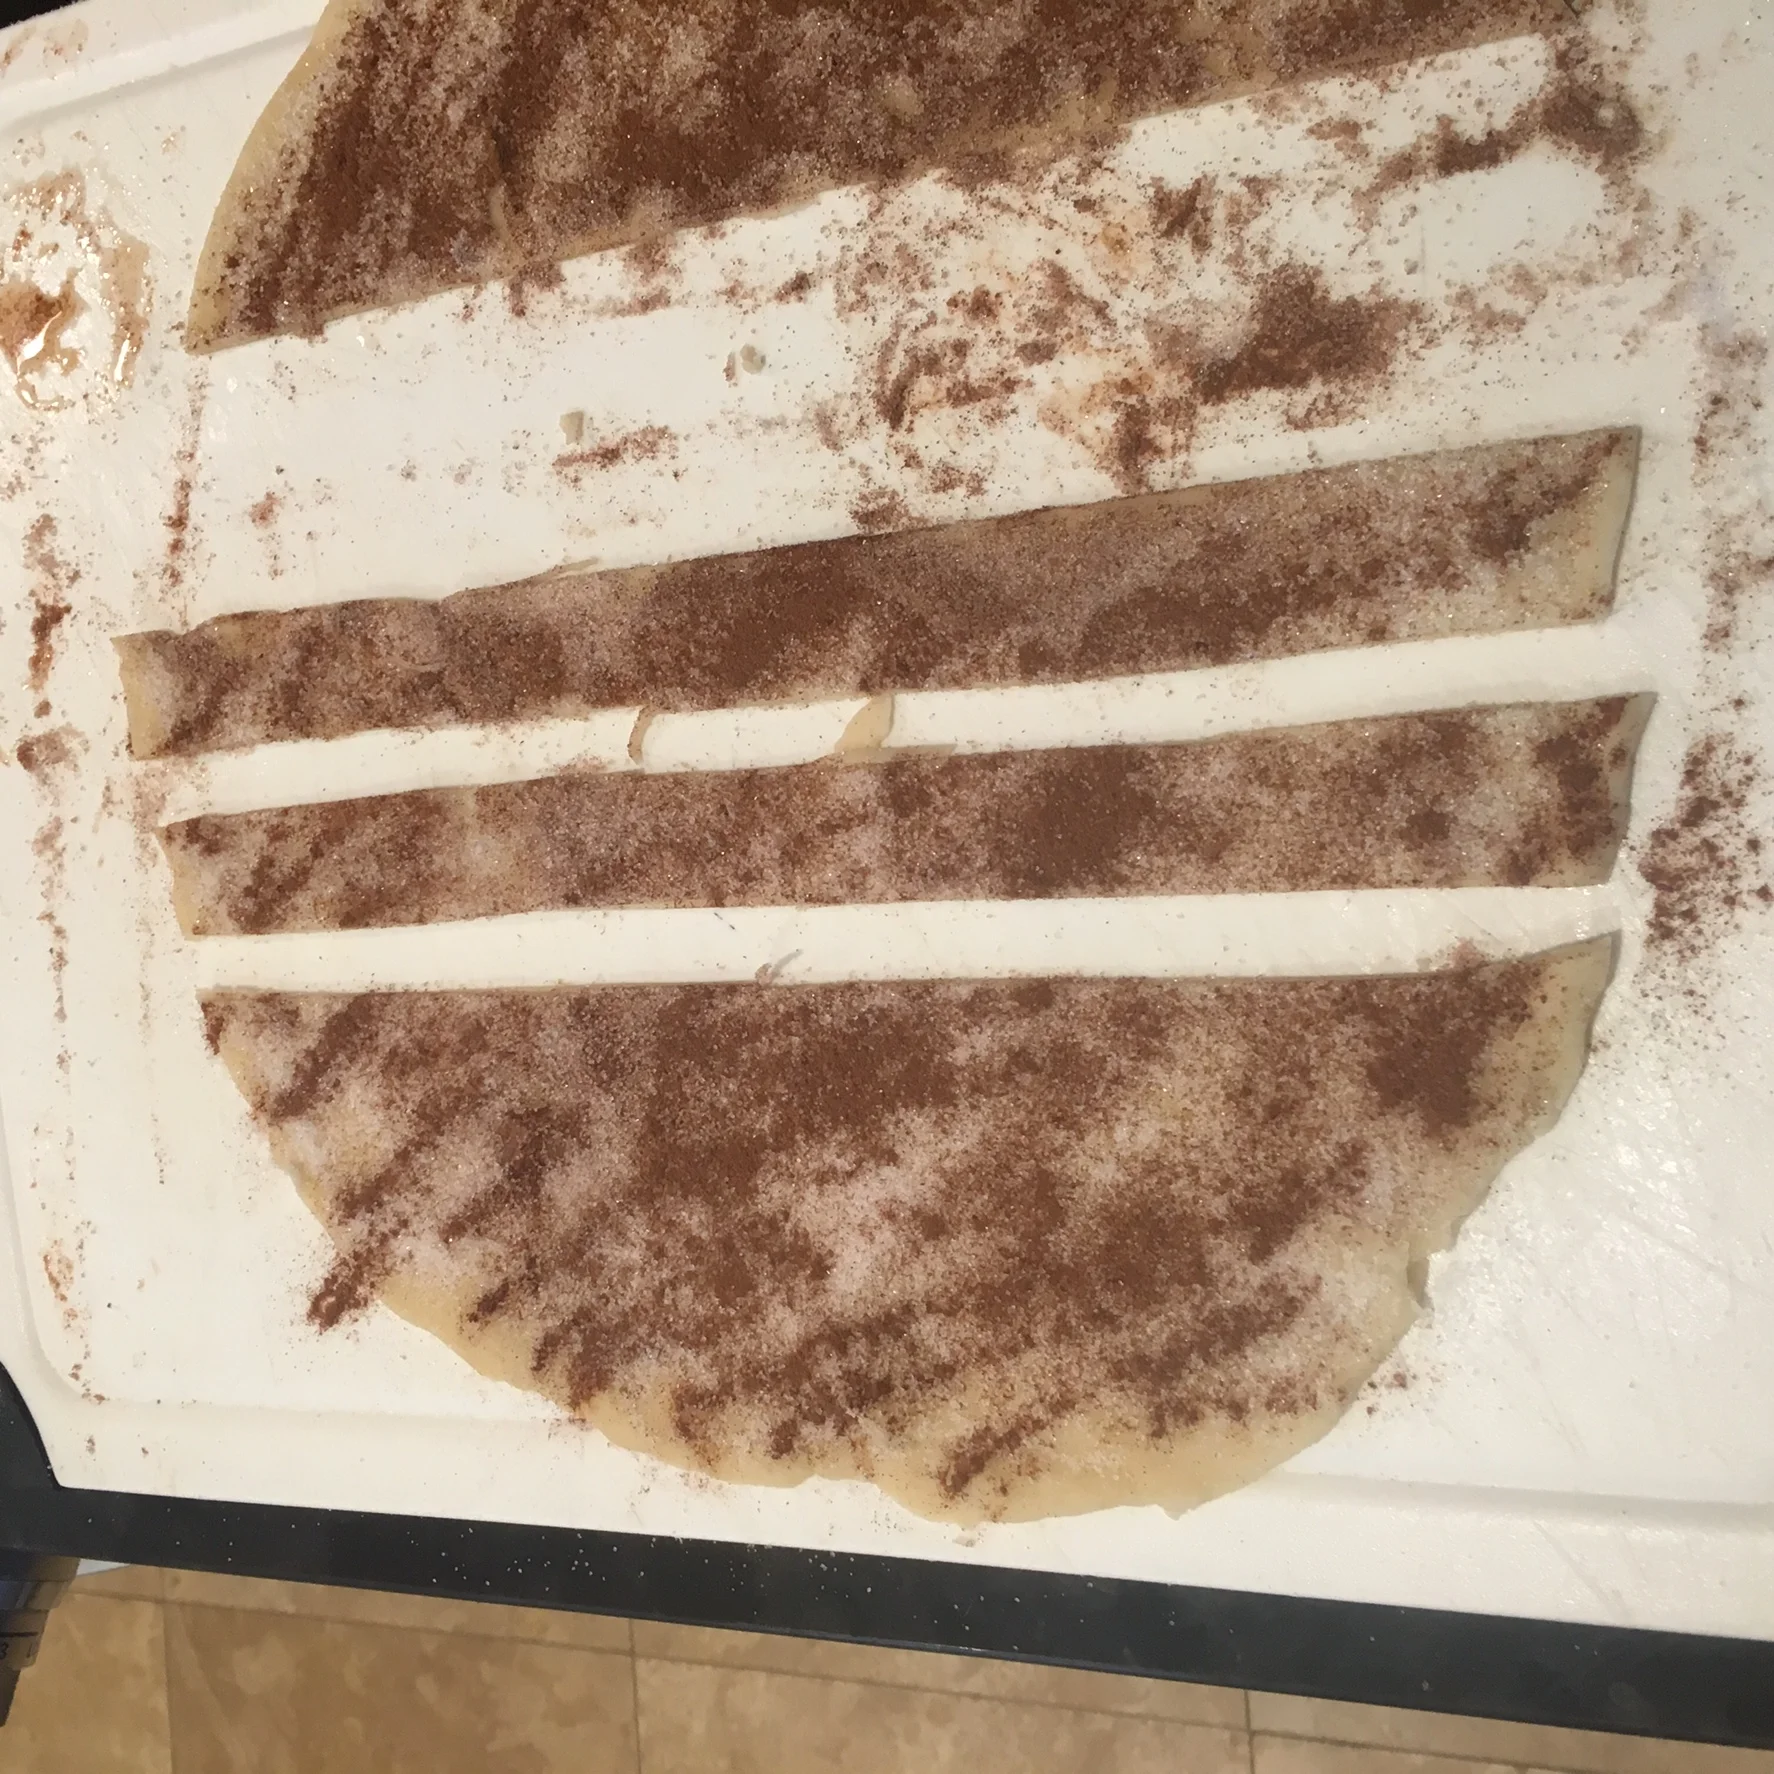
Next lay out one of your pie crust. Sprinkle it with the remaining sugar (more or less as you please) and cinnamon.

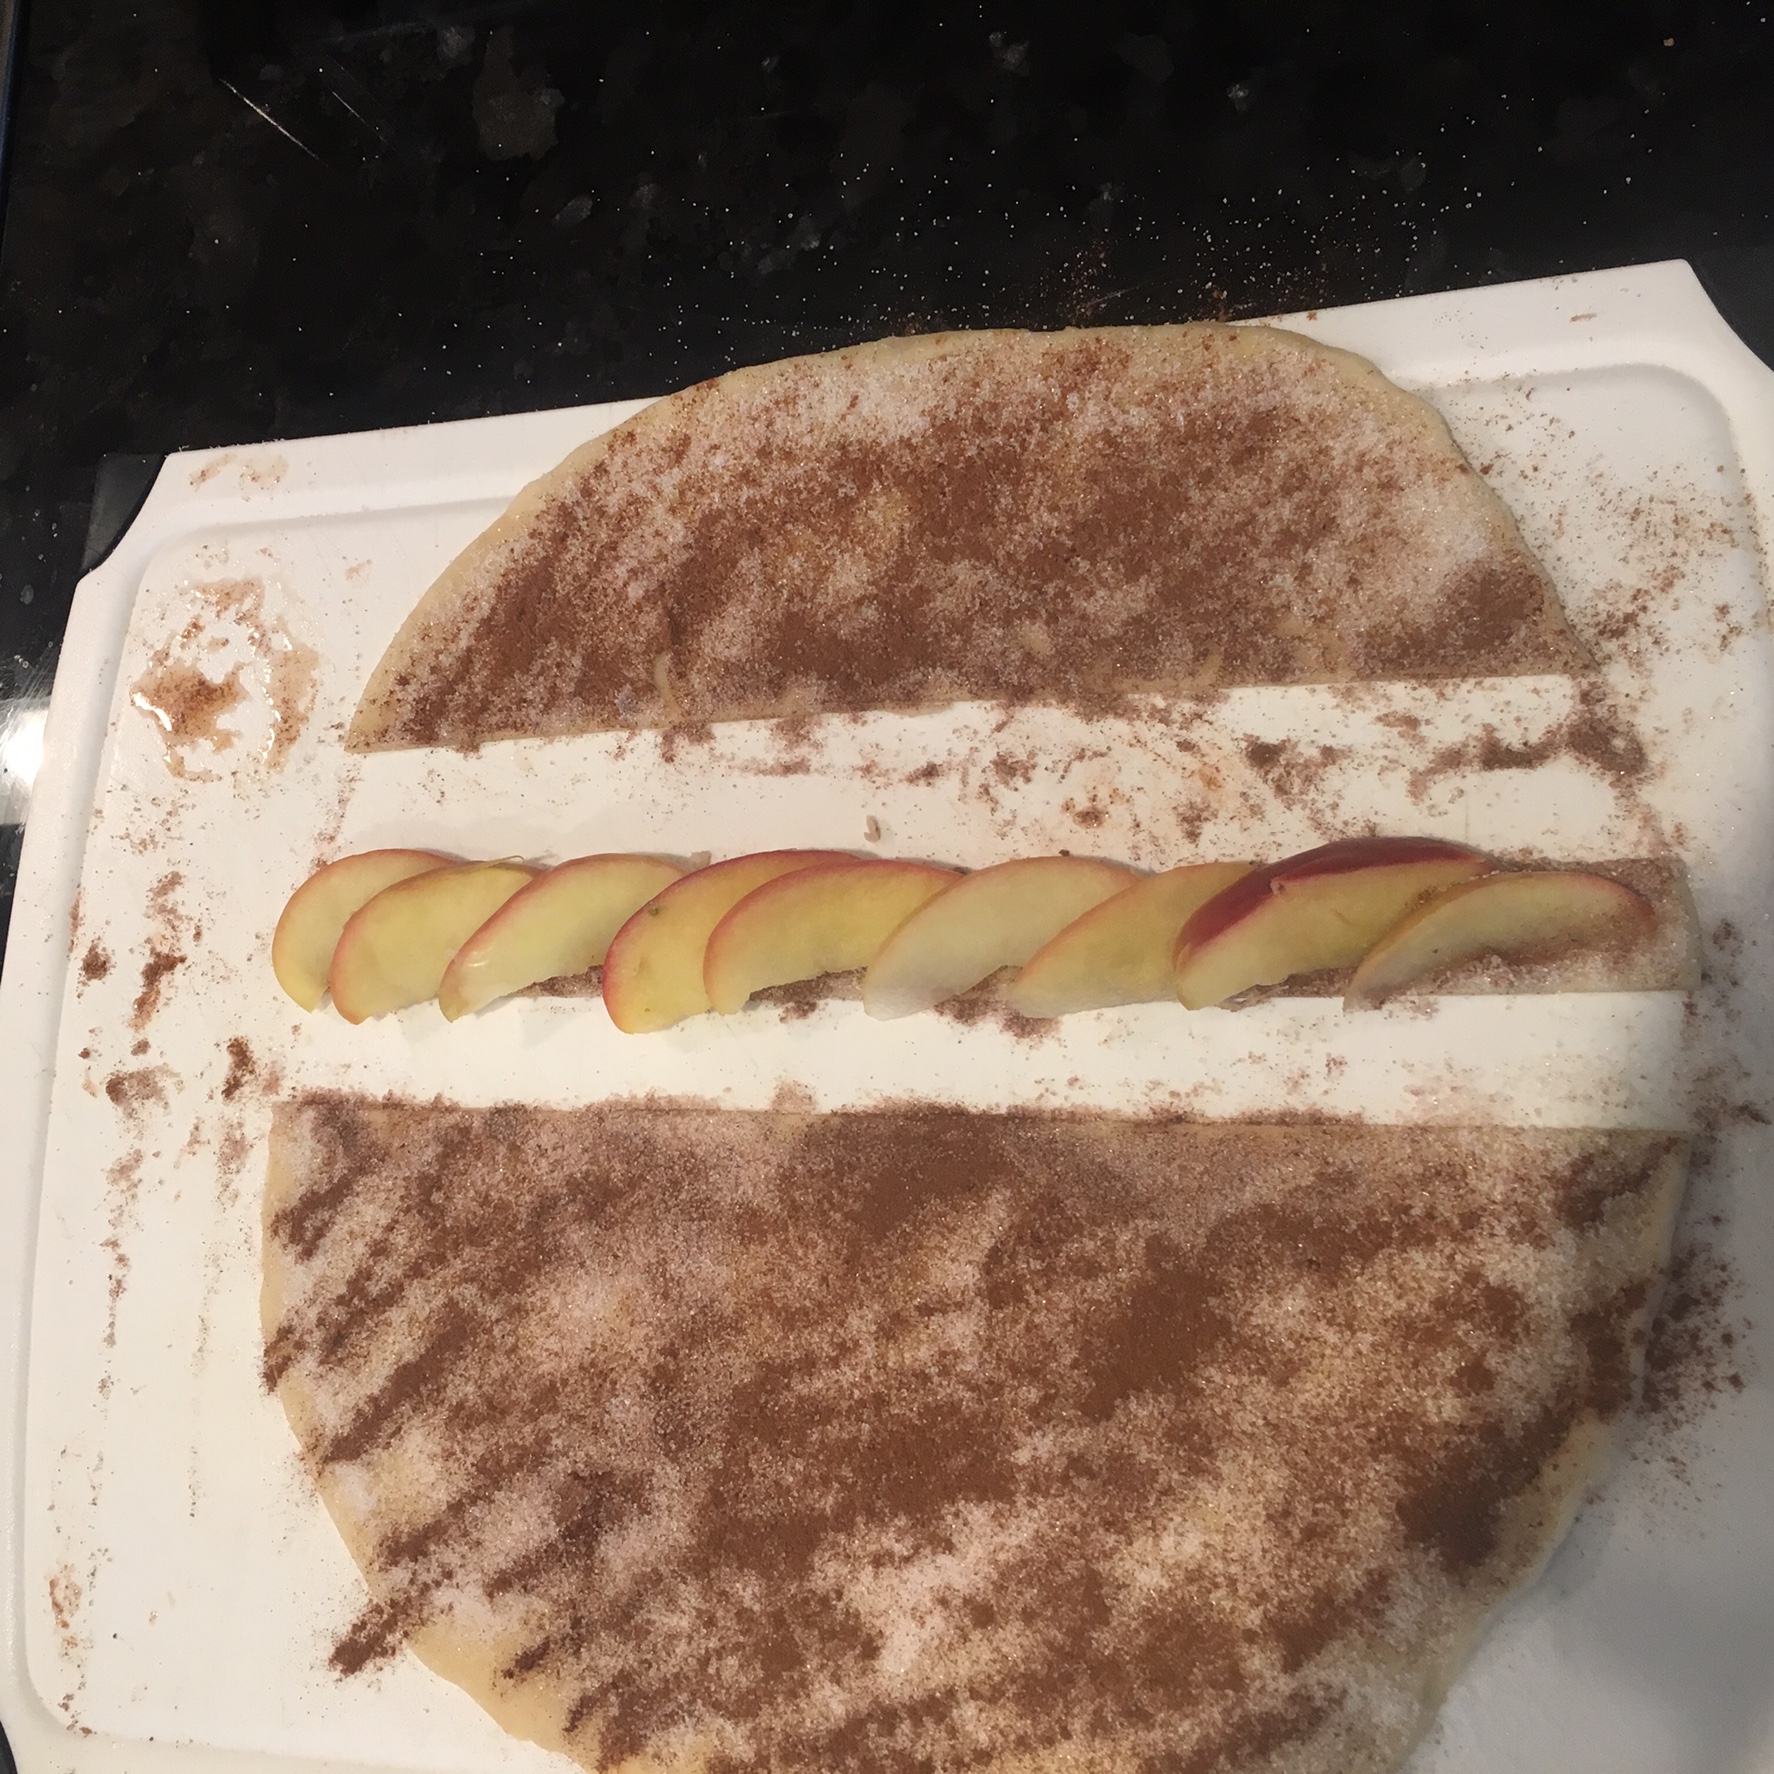
Cut the dough into 3/4 to 1 inch strips and place your apple slices slightly overlapping along the strip. Roll the strip and tie off the end using a toothpick to hold it in place. 

Place strip on baking tray (previously covered with wax paper)

 Bake for 20 to 25 minutes or until golden.

 Remove from oven and allow to cool before sprinkling icing sugar on top. Enjoy!!!


I hope you enjoyed this recipe as much as I do. If you have any comments please leave them below and I'll be happy to answer them as soon as I can! Happy cooking!!!

CHORIZO AND POTATO TACOS

My sister was the first person to introduce me to chorizo and potato tacos. She made them for a big family gathering and they were an instant hit. Every time I have made these since there hasn't been a single spec of left overs. They are so yummy they are the epitome of "I bet you can't just have one." and will have you saying, "Are you going to finish that? cause I will!" I also find tacos are great for entertaining large groups of people because they have this make you own/style it to your liking that gets other people involved in the meal process. Plus they're super easy to make! BONUS! ...but your guest don't need to know that ;)

Makes 12-14 Tacos

INGREDIENTS:

4-5 Yukon Potato (cubed)
1 TBSP of Lemon Juice
1 TBSP of Olive Oil
1 Sweet or Yellow Onion (chopped)
1-2 LBS of Uncooked Chorizo Sausage (remove chorizo from casing by cutting open the casing)
1-2 Jalapeno Chile (remove seed and chop finely)
Salt and Pepper (as desired)
Tortillas
Suggested Taco Fixings - Salsa, Guacamole, Hot Sauce (I love Valentina's), Bean paste. There is also sour cream, cheese and lettuce but these are not typical Mexican toppings.

*Place your cubed potatoes in a large bowl and cover in water. Add in your lemon juice - this will stop your potatoes from browning while you are prepping everything else.

DIRECTIONS:

Okay so the first thing we are going to do is boil the potatoes (first we boil them then we fry them). So when you're ready get a pot, drain the potatoes existing water and fill it with fresh water. Place the pot on the stove and bring it to a boil on high heat.

Once boiling lower heat and let it continue to cook for 4-6 minutes, drain and set aside.

While the potatoes are cooking, in a large skillet add in the olive oil over medium. Once the oil is warm throw in your onions and lower heat to medium and let your onions start to sweat and release their juices.

When the onions start to soften and become clear throw in your chorizo stirring well to help break up the meat. Cook the chorizo on medium to high for 6-8 minutes.

Next add in the cooked potatoes and jalapenos. You will notice that the potatoes will start to absorb the flavors and oils of the chorizo and turn orange - this is good!!! Continue to cook for about 10-15 minutes stirring occasionally to avoid burning, but it is also great to let the meat and potatoes to get crisp too! You can add salt and pepper to your liking.


I hope you enjoyed this recipe as much as I do. If you have any comments please leave them below and I'll be happy to answer them as soon as I can! Happy cooking!!!

TRADITIONAL MEXICAN CEVICHE

I love me some ceviche and I found that discarded avocado skins make a great serving device for dinner parties because they are easy to carry, they wont leak and they are of course biodegradable! Ceviche originally came from Peru but has since evolved and been expanded on with other South American cuisines. One of my favorite styles is typically seen in Mexican cuisines where they use whole white fish and habanero peppers to give it a refreshing and spicy flavor. Enjoy.

Makes 15 Avocado Cups (small servings)

INGREDIENTS:

2lbs of White Fish (Sea Bass works)
8-10 Garlic Cloves (chopped finely)
2 TSP of Salt
1 TSP of Black Pepper
1 Habanero (remove seed and chop finely)
4 TSP of Cilantro (chopped)
20 Limes (juiced)
1 Medium Red Onion (chopped finely)

DIRECTIONS:

Mix all ingredients except the onion in a bowl. Make sure all ingredients are covered in lime juice. Cover and place in fridge and allow to marinate for 2-3 hours.

After the two or three hours add the onion into the mix, place in avocado cups and serve.


I hope you enjoyed this recipe as much as I do. If you have any comments please leave them below and I'll be happy to answer them as soon as I can! Happy cooking!!!


 

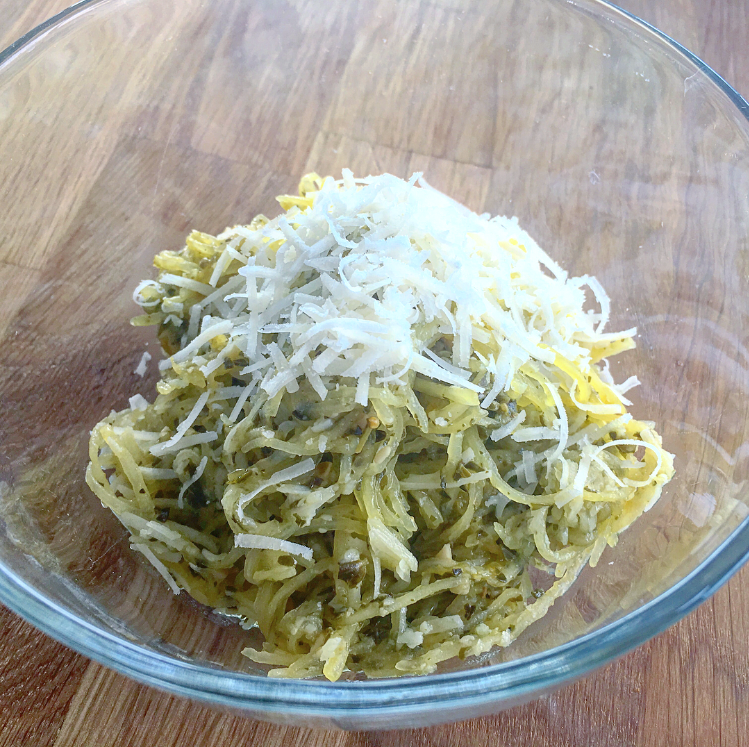
SPAGHETTI SQUASH PESTO


Spaghetti squash is actually super easy to make it just takes more time then wheat based pasta. If time is not a factor it is a great way to have a gluten free meal that taste great. This recipe is for a spaghetti squash pesto pasta but you can technically make the sauce whatever you want using the same principles. If you want to simplify the recipe even more you can buy a pre-made pesto sauce. If you are cooking for a group of more then two people this can be a very economical healthy meal to make as the ingredients wont cost you very much. 

INGREDIENTS

1 Spaghetti Squash around 3lbs
1 Small Jar of Pre-made Pesto
1 Block of Parmesan Cheese

If you want fresh pesto here are ingredients you will need

1/2 Cup of Olive Oil
3 Cups of Basil
2 Cloves of Garlic
1/4 Cup of Pine Nuts
3/4 Cup of Grated Parmesan Cheese
Salt and Pepper to taste


DIRECTIONS:

Preheat oven to 375 degrees.

Throw in the spaghetti squash whole for about 60 minutes.

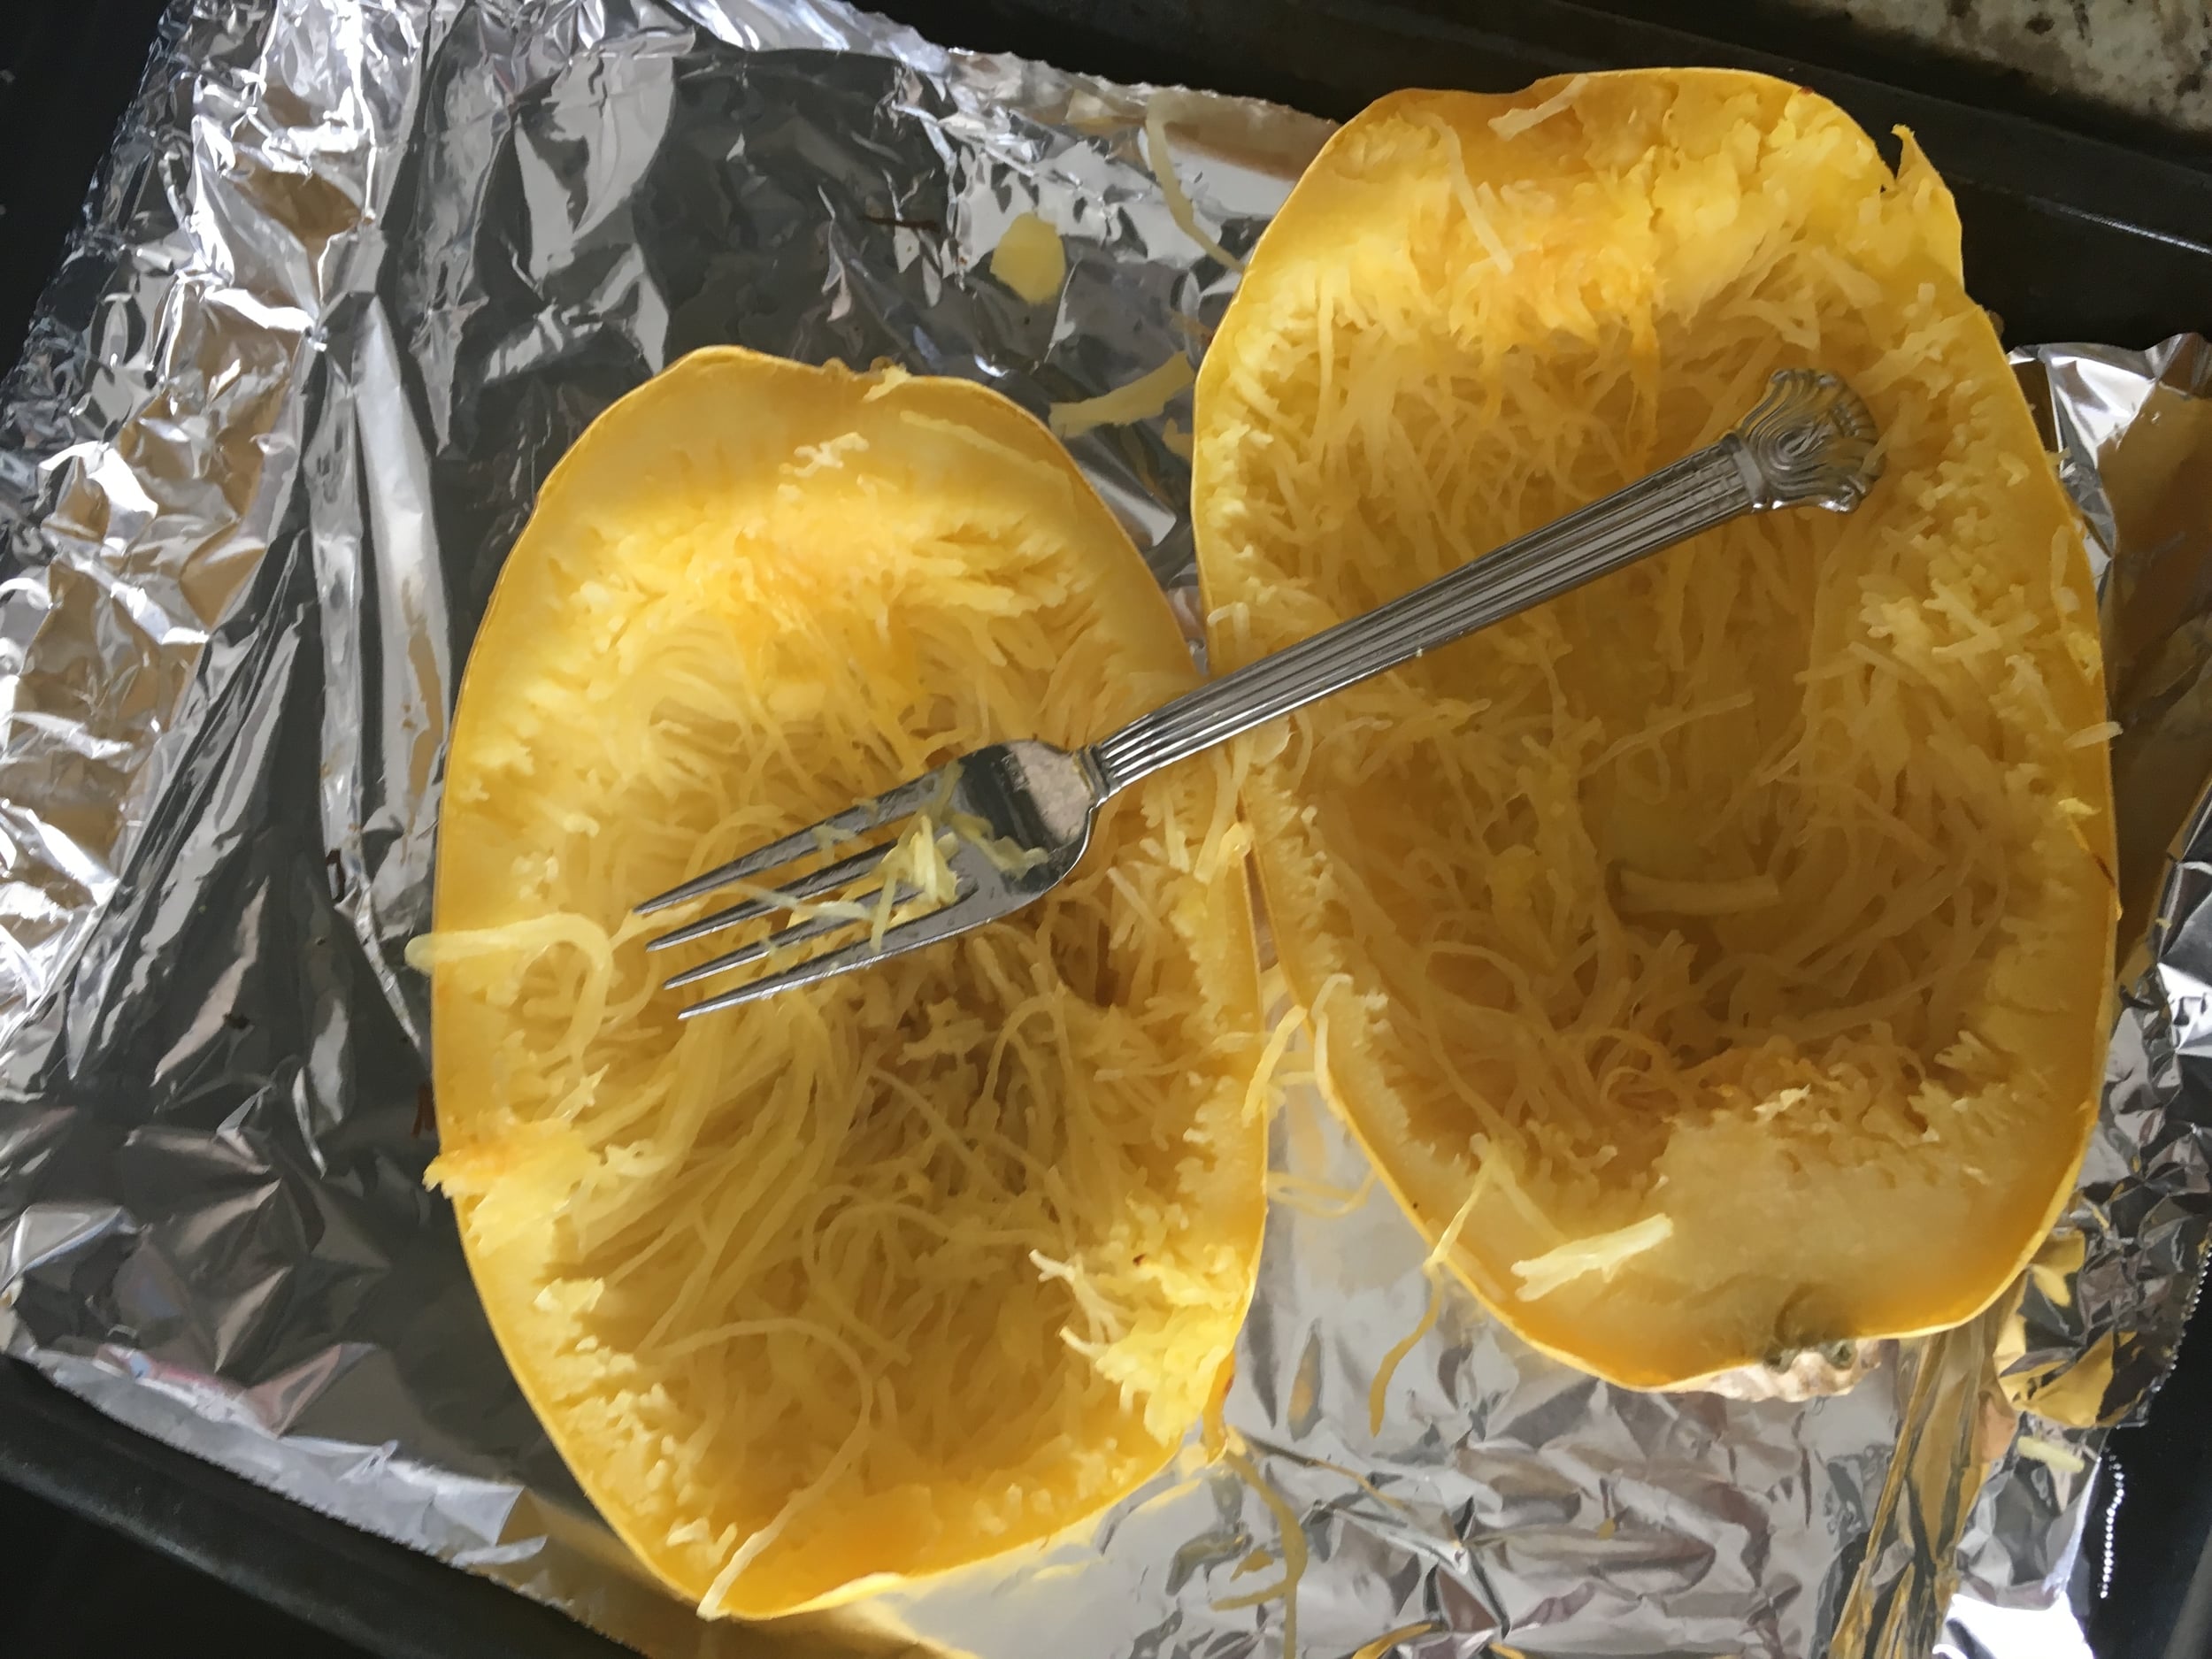
Remove the spaghetti squash from the oven and cut in half and take out the seeds.

If the spaghetti squash is not cooked/stringy enough place back in the oven for an additional 10 minutes.

While the squash is in the oven you can either start to make your pesto or use a pre-made pesto. Warm up the pre-made pesto in a skillet or place the basil, garlic, and pine nuts in a food processor. Pulse until coarsely chopped before adding in the olive oil continuing until fully incorporated. Next move to a bowl and add in the Parmesan and salt and pepper - Mix them in.

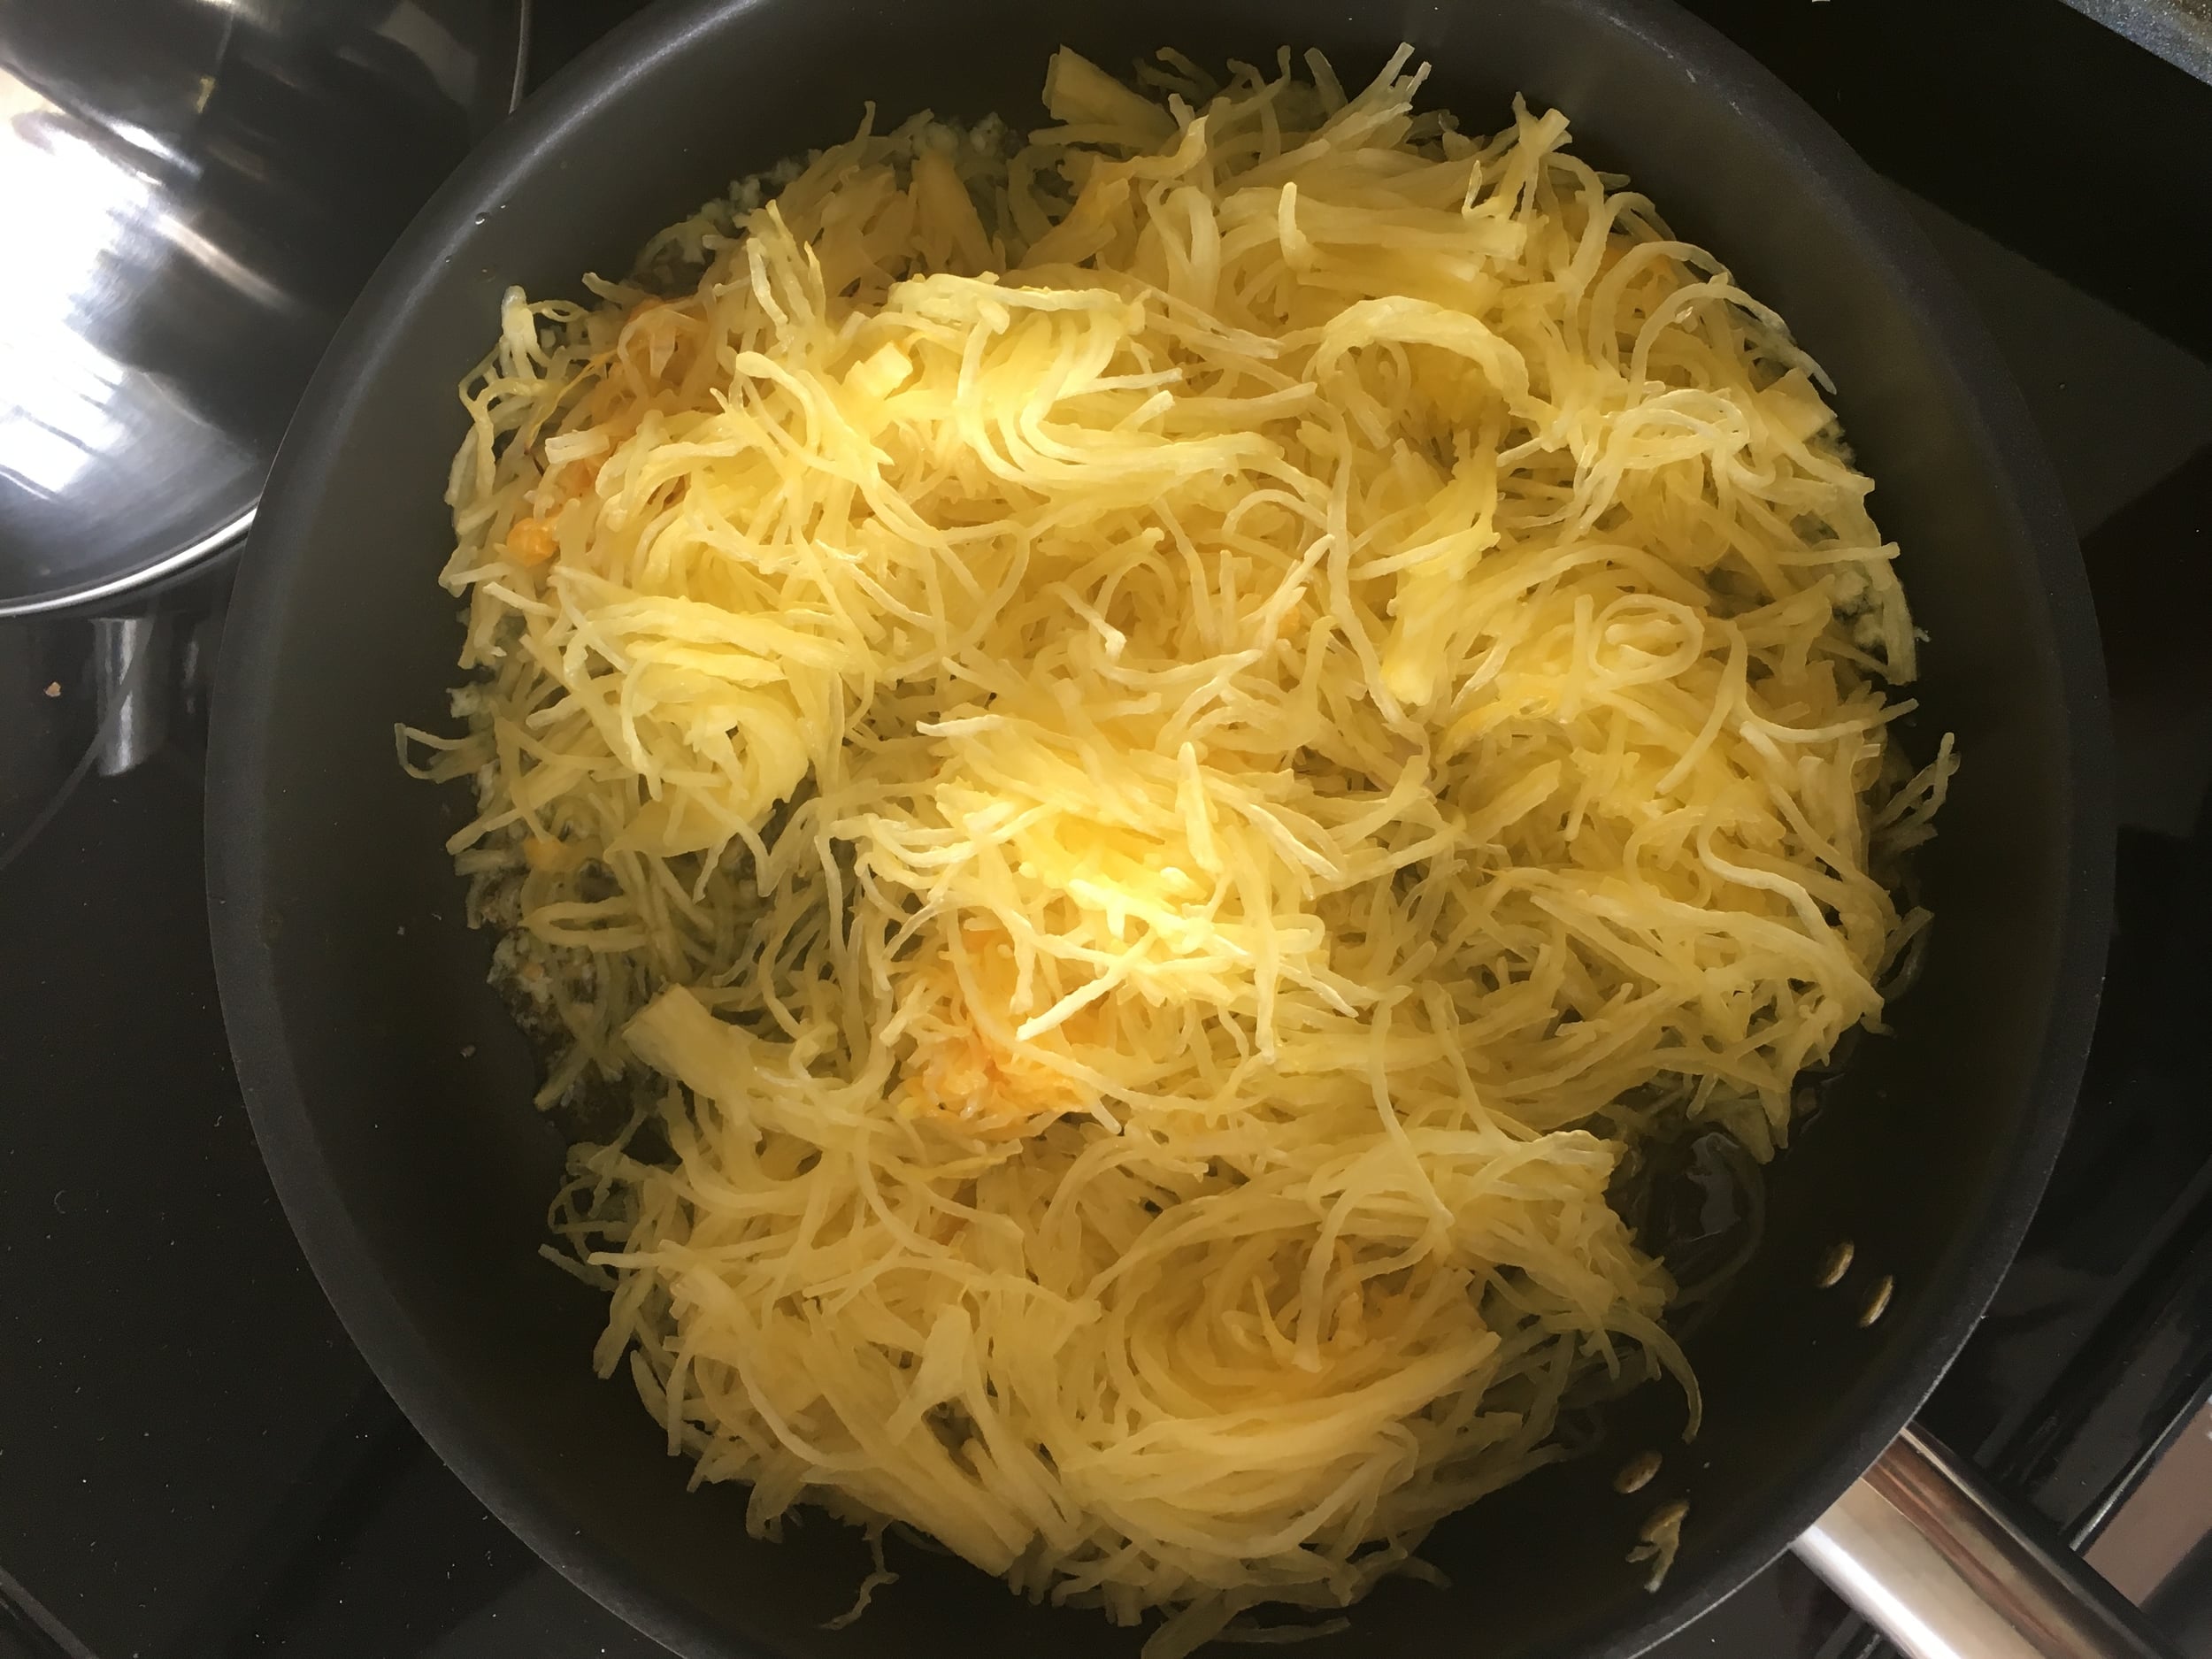
Finally once the squash is ready remove from the oven and start to shred the inside of the squash with a fork and place it in the skillet or bowl with the pesto. Mix the two together to the pesto and squash is evenly distributed.  Serve.


I hope you enjoyed this recipe as much as I do. If you have any comments please leave them below and I'll be happy to answer them as soon as I can! Happy cooking!!!
CRACK CHICKEN MARINADE

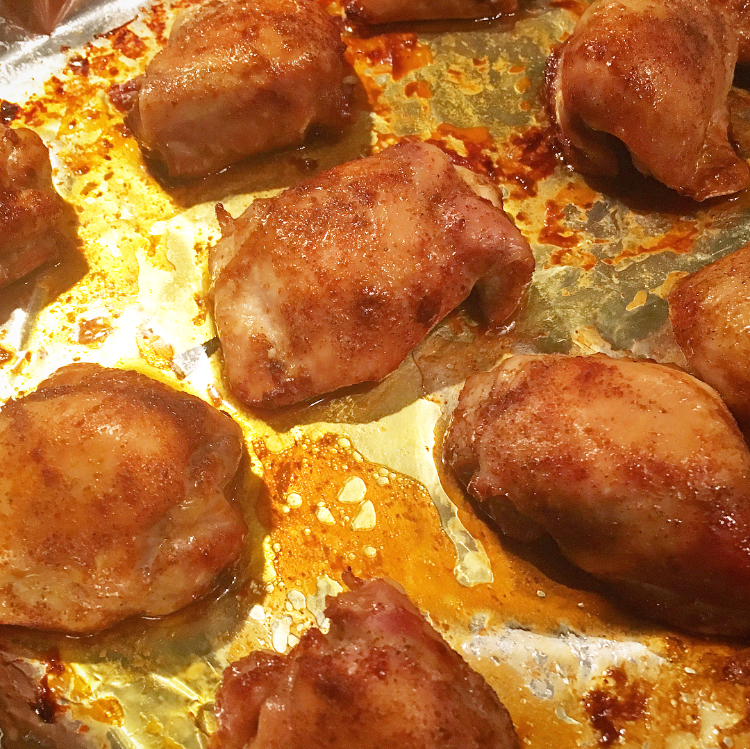
This is one of my favorite marinades my boyfriends dad uses to make chicken thighs. The chicken comes out moist with a crispy outside layer. It smells and taste delicious and is not overly spicy. I really enjoy this chicken recipe and I'm sure if you like dark meat so will you.

INGREDIENTS

12 Boneless Skinless Chicken Thighs (rinsed)
1-2 TBSP of Olive Oil
1 TSP of Ginger
1 TSP of Celery Salt
1 TSP of Cayenne Pepper
2 TBSP of Soy Sauce

DIRECTIONS

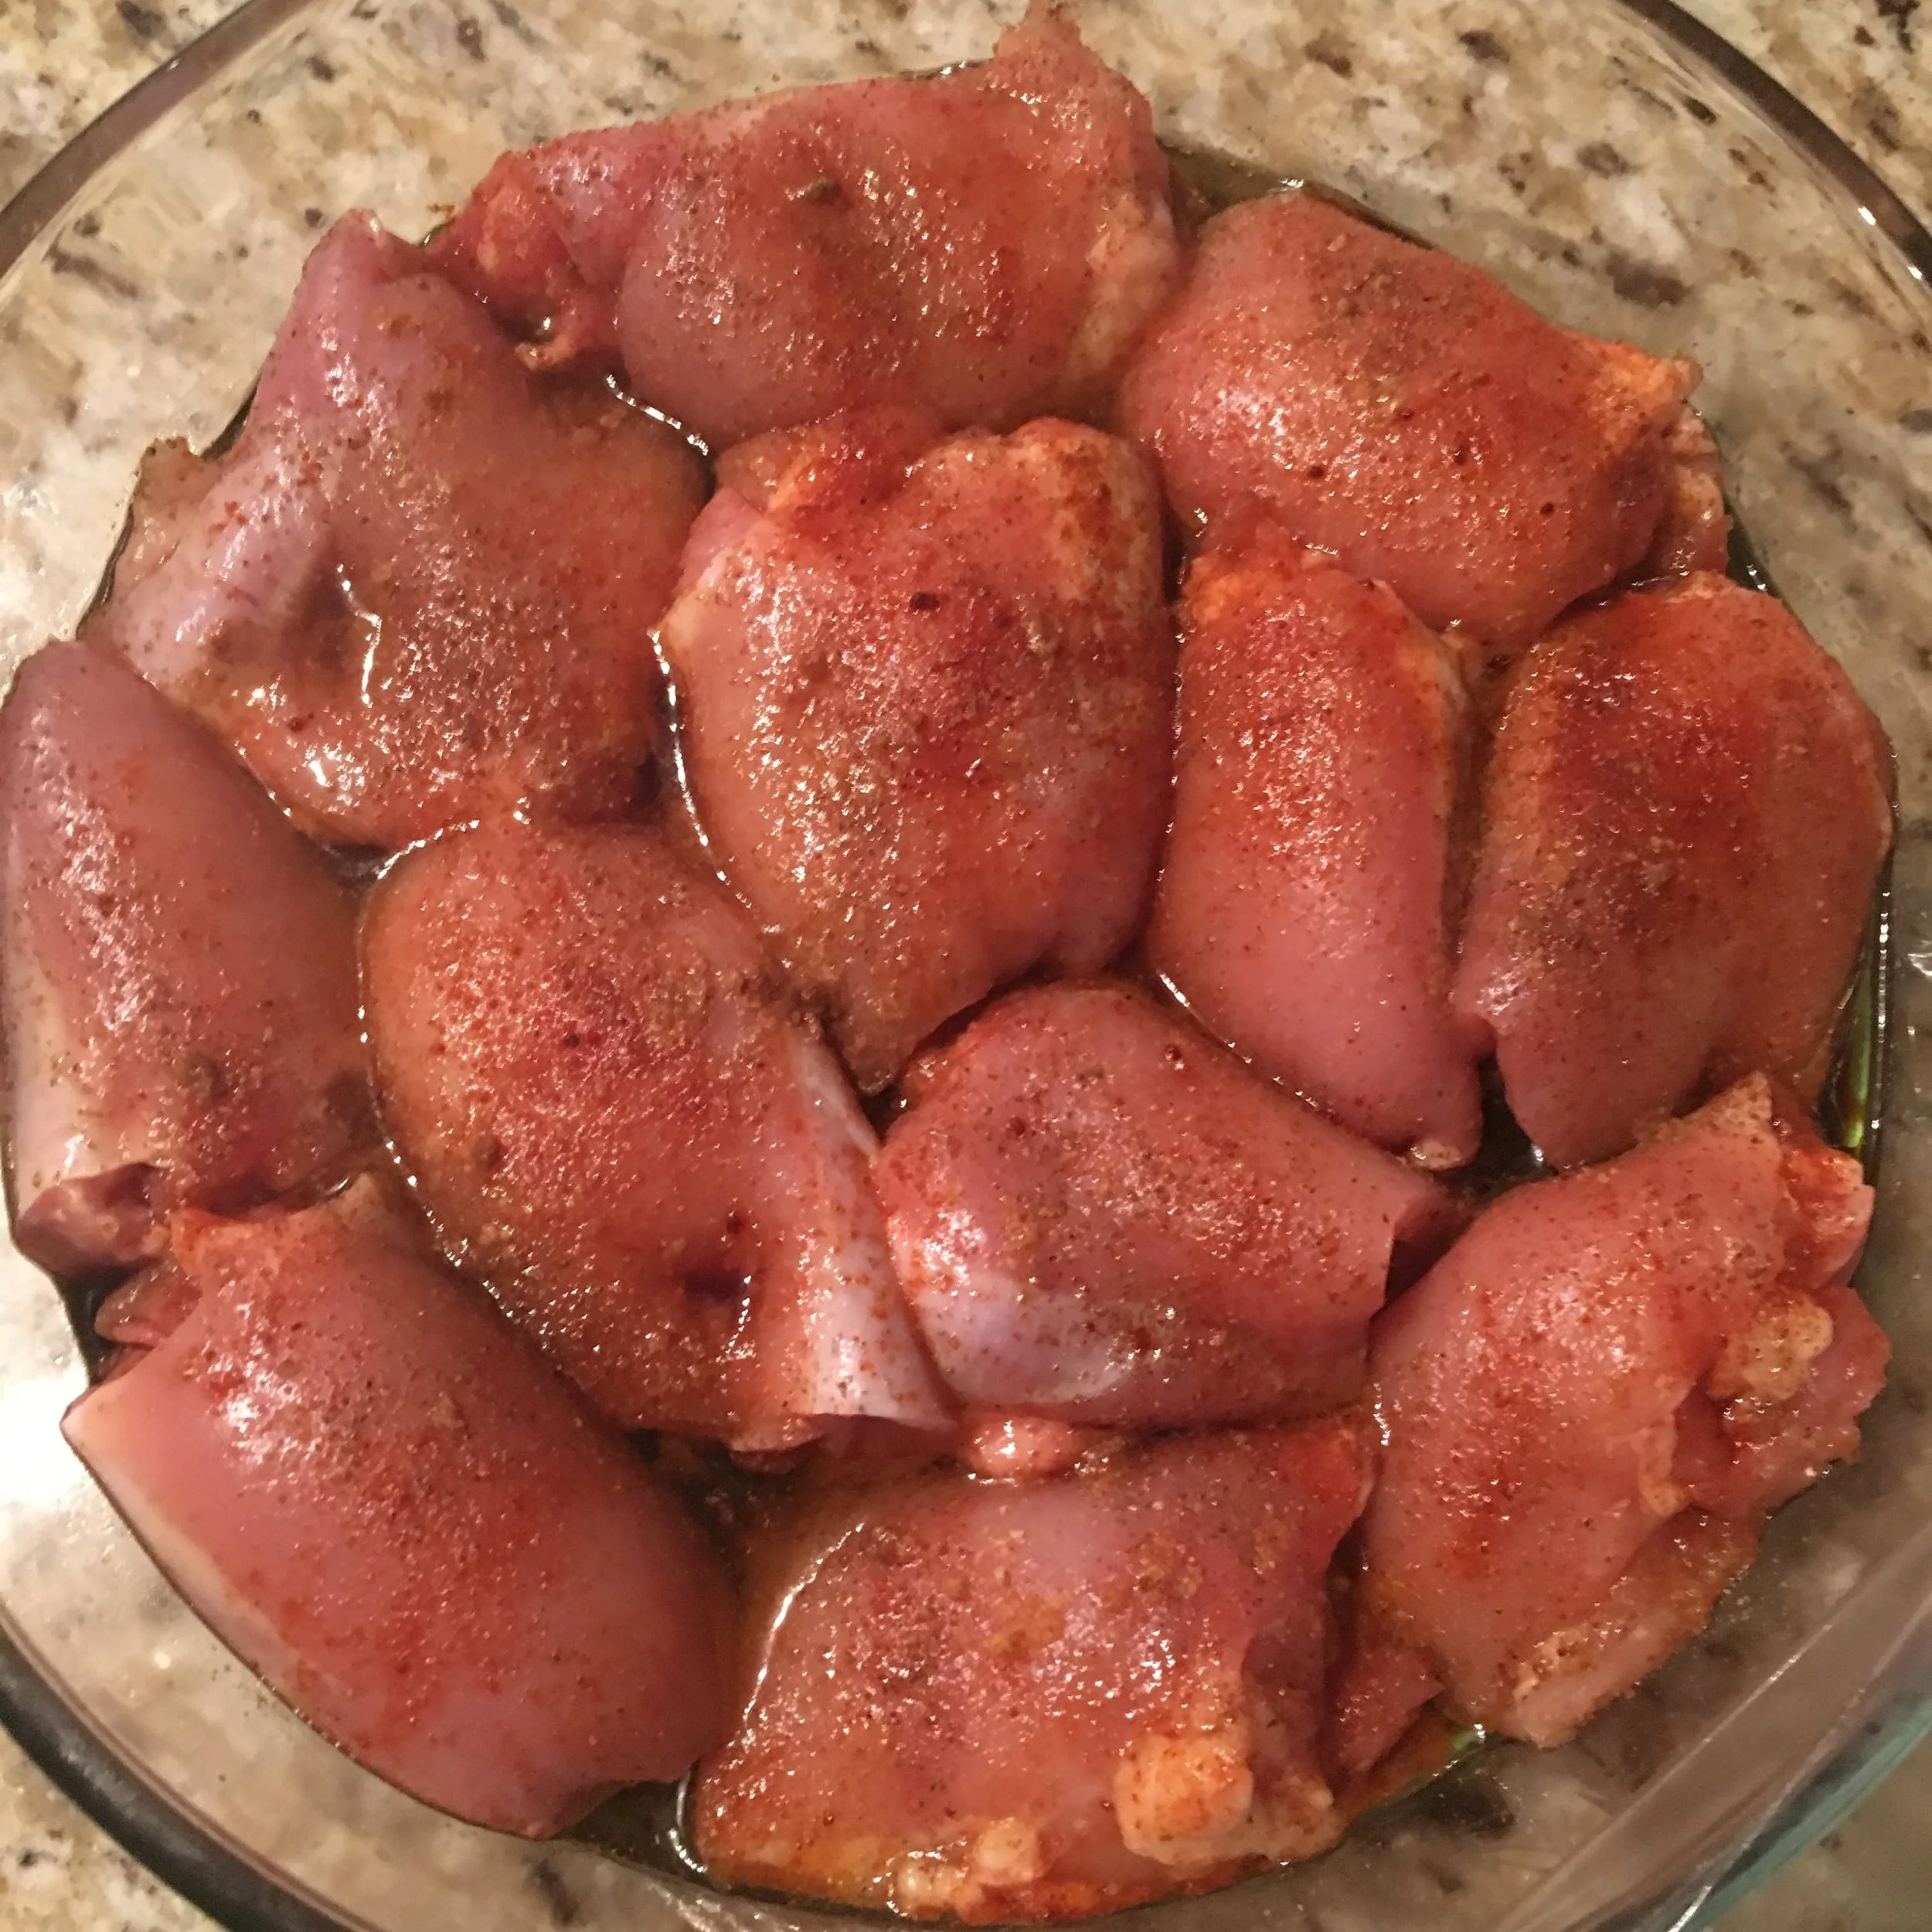
Add all ingredients to a flat bowl and allow chicken to marinate for at least 30 minutes before cooking. Store in cool place while marinating.

Preheat oven to 350 degrees.

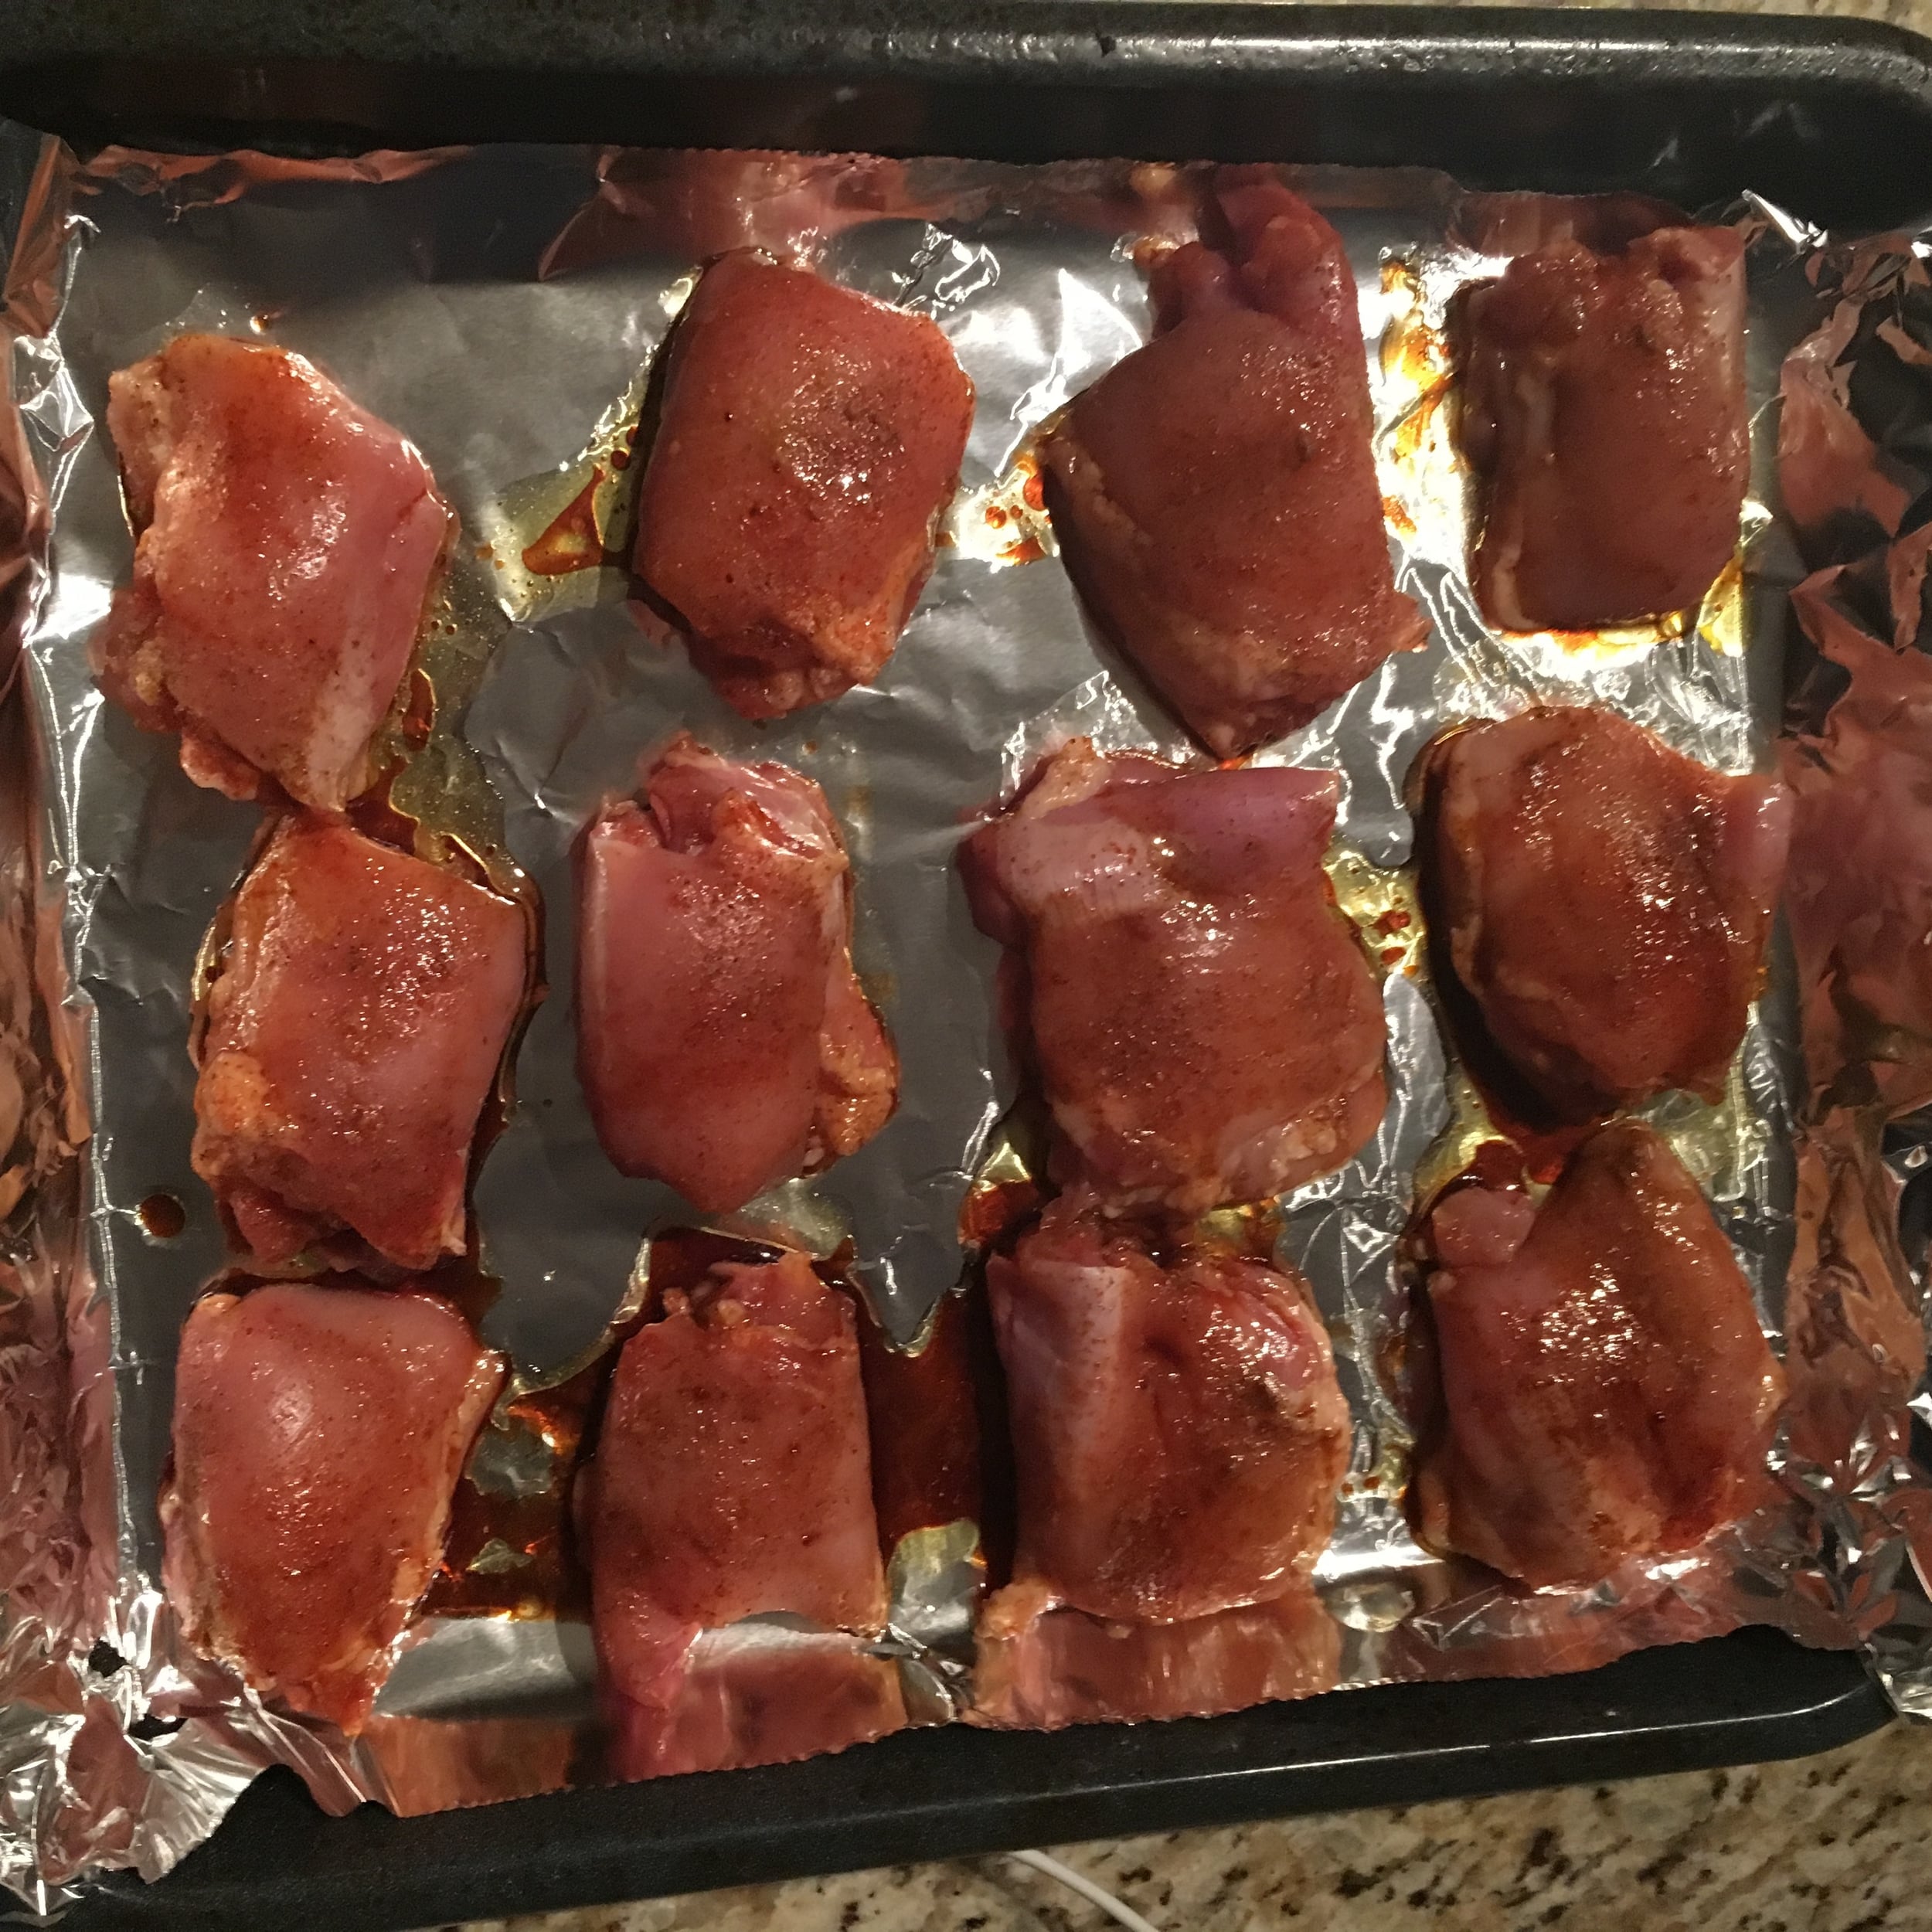
Place marinated chicken thighs on a baking tray lined with aluminum foil.

Bake or 30-40 minutes.

If you want them crisp broil them for an additional 10 minutes at the end.


I hope you enjoyed this recipe as much as I do. If you have any comments please leave them below and I'll be happy to answer them as soon as I can! Happy cooking!!!