MY FAIL PROOF BANANA BREAD!

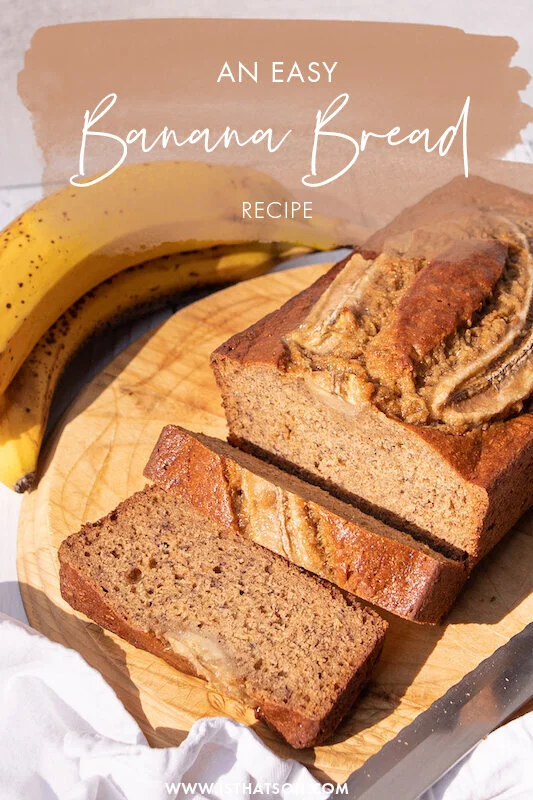
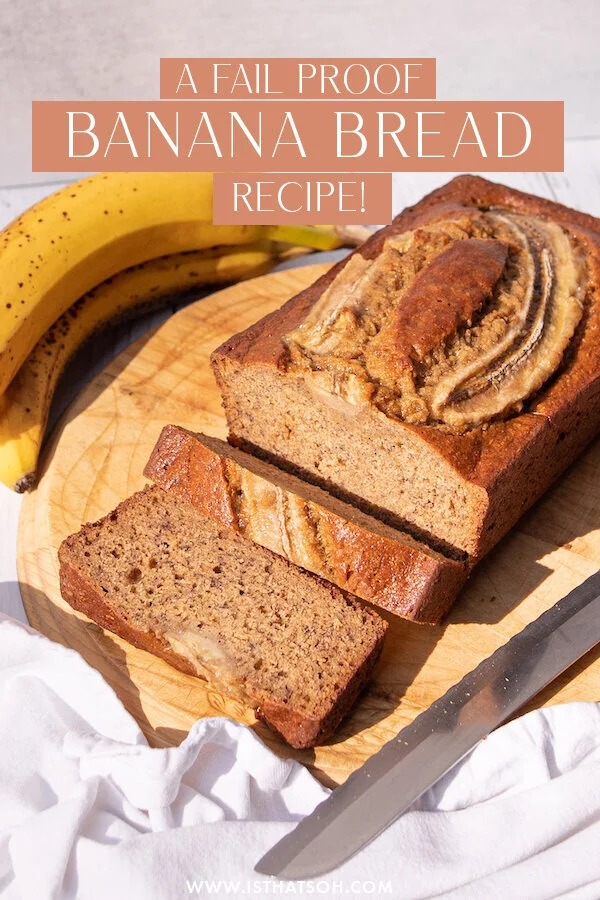
If you ever have overripe bananas, don’t throw them away! One of my favorite ways to use them is to make this glorious easy moist banana bread recipe. Even if I am on a diet that doesn't mean everyone else I know is and who wouldn't mind receiving a nice loaf of banana bread as a gift ;) Get creative... you can even add some walnuts or chocolate chips to this easy recipe if you want.

Enjoy!

INGREDIENTS:

1/3 Cup of Unsalted Butter (melted)
3/4 Cup of Brown Sugar
3 Bananas - (2 mashed and one for garnish)
1 TSP of Vanilla Extract
2 Egg (whisked)
2 Cups of All-Purpose Flour
1/4 TSP of Salt
1 TSP Baking Soda
1 TSP of Cinnamon


CHECK OUT THESE OTHER BREAD RECIPES!


DIRECTIONS:

Preheat over to 350 degrees.

Get a baking tray or loaf baking tray and butter all sides.

In a large bowl add in your butter and sugar. Blend with a hand blender until they come together.

Next, add in your banana and vanilla extract. Continue to blend.

Lastly, add in your egg and blend only until incorporated (don’t over blend).

In a second bowl add in your flour, salt, baking soda and cinnamon - whisk together until evenly mixed.

Slowly start to add in your dry ingredients to your wet ingredient bowl and mix on low with your hand blender. You may have to use a spatula to scrape the dry ingredient that build up on the side.

Once blended, scoop out your banana bread batter and place in your baking tray.

Garnish the banana bread batter with the 3rd banana before placing the tray in the oven to bake for about 1 hour (check at 50 minutes). Take a toothpick and stick it in the middle of the bread if when you pull it out nothing is on the toothpick it is ready.

Set aside to cool before cutting and serving.


FOLLOW ME ON INSTAGRAM @ISTHATSOH


I hope you enjoyed this classic banana bread recipe as much as I do. If you have any comments please leave them below and I'll be happy to answer them as soon as I can! Happy baking!!!


PIN THIS POST

MOLTEN CHOCOLATE CAKE!!!!

This molten chocolate cake is one of those desserts where you just can't say no to. My boyfriend's mom gave me this recipe after I tried one of her molten cakes straight out of the oven. So rich and decadent but small enough where you don't feel too guilty about indulging. The whole point of molten cakes is to underbaked them so that the chocolate center oozes out of it when cut into. If you have a chocolate lover in your family, this is sure to put a smile on their face. Enjoy!

INGREDIENTS:

Makes 6 small cakes

5 oz of bittersweet (not unsweetened) or semisweet chocolate (break into smaller blocks)
10 TBSP Unsalted Butter (melted)
3 Large Eggs
3 Large Egg Yokes
1.5 Cups of Icing Sugar
1/2 Cup of All Purpose Flour
Vanilla Ice Cream (optional)
 

DIRECTIONS:

Set the over to bake 450 Degrees and let it preheat.

Get 6 x 3/4 cup souffle dishes or custard cups and butter them.

While the oven is heating melt the chocolate and the butter down in a small heavy sauce pot on low heat, stirring all the time. Let it cool slightly.

In a bowl whisk the egg and egg yokes together. Then start to add in the icing sugar bit by bit, followed by the melted chocolate and finally by the flour. Whisk the whole time!!

When everything is whisked together and smooth pour the mixture into the buttered souffle dishes in equal portions.

Bake for 11-12 minutes. You want the cake sides and top to be set but the center to be runny. If you had prepared the batter ahead of time and refrigerated it during dinner you may need 2 or so more minutes (14min total max)

Run knife around the cakes to help release them. Place a plate upside down on top of the souffle dish and flip the dish so the cake is upside-down on the plate. Garnish with ice cream and it is ready to be served.

I really hope you liked this cake! If you have any questions or comments please leave them below I would love to hear from you about your baking experience. Bon Appetite :)


I hope you enjoyed this recipe as much as I do. If you have any comments please leave them below and I'll be happy to answer them as soon as I can! Bon Appetite!!!


 PIN THIS POST

HEALTHY GRAB AND GO BREAKFAST EGG MUFFINS 2 WAYS - LOW CARB & VEGETARIAN OPTION

As someone who thrives on being a busy body, I often forget to eat or worse, go after items high in carbs and sugar as a way to sustain my energy and curb my cravings. Knowing this, I decided to make some delicious, healthy, grab and go egg bites that I can batch make and store in the fridge for easy access throughout the week. This has totally helped me choose better snacking foods and its super easy to just warm up quickly in the microwave before I head out the door. I love them in the morning or after a workout and they are packed full of protein and veggies so you can have two or three completely guilt free!

Hope you like them!

INGREDIENTS:

- Makes 12 Servings -

Butter to Greece Baking Sheet
!2 Large Eggs
1 Small Sweet Onion - chopped roughly
Salt and Pepper To Taste

- For 6 Muffins Italian Style -
1/4 Cup of Freshly Grated Mozerella
5-6 Cherry Tomatoes, Sliced
3-4 Strips of Prosciutto

- For 6 Muffins Greek Vegetarian Style -
1/4 Cup of Grated Halloumi
1/4 Cup of Crumbled Feta Cheese
A handful of Freshly Washed Spinach

DIRECTIONS:

Preheat oven to 350.

Greece baking tray wel.

Mix eggs, onion, salt and pepper in a large bowl and whip together.

Pour mixture into baking tray till each muffin cup is 1/2 way full.

Add in ingredients for both the Italian and Greek style.

Bake for 25-30 minutes until the tops brown slightly.

Remove and let sit for 10 minutes before trying to remove them from the tray.

Enjoy!

P.s You can store these eggs muffins in the fridge for 3-4 days in a ziplock bag or sealed container and warm up in the microwave for an easy grab and go snack!!


If you like this recipe or have any comments/questions, feel free to leave them in the comment section below!


PIN THIS POST

ROASTED BRUSSELS SPROUTS WITH CRISPY FRIED SHALLOTS

Made this simple brussel sprout recipe with crispy fried shallots and it was amazing. Loved the saltiness of the shallots against the dense Brussel sprouts drizzled in lemon. Delicious, salty, and perfect as a low carb veggie side for any meat dish you are cooking, I would also recommend making a little bit of extra fried shallots so you can have them with your meat as well. Further, Cassava flour is a keto-friendly flour making this a perfect side for any low carb diets but if you don’t have access to that flour, normal white flour makes a great substitute.

Enjoy!

INGREDIENTS:

- Serves 2-3 people

1.5 LBS of Brussels Sprouts - washed, remove steam and top layers, and cut into halves
6 TBSP of Olive Oil - Split into 2 portions, one 2.5 TBSP and 3.5 TBSP
Sea Salt and Pepper
3-4 Shallots - sliced Into onion rounds
1/4 Cup of Cassava Flour
Sea Salt
Freshly Squeezed Lemon

DIRECTIONS:

Set oven to 400 degrees.

Toss brussels sprouts in 2.5 TBSP of olive oil until evenly coated and sprinkle with salt and pepper.

Place brussels sprouts on a baking tray lined with aluminum foil and allow to bake in the oven for 30 or so minutes until tender.

While brussels sprouts are in the oven chop up shallots and place in a bowl. Add 1/4 Cup of Cassava flour and 1/4 TSP of salt, mix until the shallots are evenly coated.

Heat up 3.5 TBSP of olive oil in a skillet on medium-high. Once ready, reduce heat to low - medium and sprinkle in your floured shallots. Toss them every 3-5 minutes to make sure they don’t burn. Once nicely golden and crispy, set aside.

When the brussels sprouts are getting close to finished you can broil them for the last two minutes if you want them extra crispy.

When ready, plate brussels sprouts, add crispy shallots on top and drizzle with fresh lemon juice.

Serve while hot and enjoy!

burssels sprouts-4 copy.jpg

If you like this recipe or have any comments/questions, feel free to leave them in the comment section below!


PIN THIS POST

TRADITIONAL ITALIAN HOMEMADE FOCACCIA (SO EASY)

Is there anything better than the smell of fresh bread?

Especially when it’s covered in all your favorite focaccia toppings?

My Achilles heel, sun dried tomato focaccia is one of those traditional Italian appetizers that I can never turn down. As soon as I spot it (usually across the room), you know I’m right there, having a slice - okay 2, maybe 3….

While in self-isolation I had time to perfect this amazing homemade focaccia dough recipe I learned while in Italy and I must say, it stands the test of time! The dough always turns out perfect - fluffy and doughy with a crisp bottom and golden crust. Oh, and did I mention it’s also a vegan focaccia!

I can’t wait for you to enjoy it too!

FOCACCIA BREAD INGREDIENTS:

Serving: 8-10 Servings

-Focaccia Dough-
1 3/4 Warm water
1 Package of Yeast
1 TBSP of Sugar
5 CUPS of All-Purpose Flour
1 TBSP of Kosher Salt
1 CUP of Olive Oil - Spilt in two halves

-Optional Focaccia Toppings-
Coarse Sea Salt
Cherry Tomatoes
Kalamata Olives
Basil
Capers
Rosemary
Garlic


HERE ARE SOME OTHER BREAD RECIPES YOU MAY LIKE!


FOCACCIA RECIPE DIRECTIONS:

The first thing you need to do is activate the yeast so you will need to combine the warm water, yeast and sugar in a bowl. Stir and let it sit for 10-15 minutes until it starts bubbling and becomes very aromatic.

When ready, in a mixer using the hook attachment, combine the flour, salt, half a cup of the olive oil, and the yeast mixture on the lowest speed. After it is well mixed, increase the speed to three (low/medium) until it becomes smooth.

Once smooth, remove the dough from the mixer and place on a floured surface. Kneed the dough by hand until the dough stops being sticky. If you need to sprinkle more flour to help it along, do so.

When ready, form a ball with the dough. Using the mixing bowl you used before, coat the sides of the bowl with some oil and place the dough once again inside. Coat the dough with a little bit of oil as well before covering it with a cloth or plastic wrap, and place somewhere warm for about an hour until it doubled in size.

Take your cooking sheet or jelly roll pan (pan with lip) and cover with parchment paper (including the sides). Put a heavy coat of olive oil on the parchment paper before putting the dough on top. Focaccia is a heavily oiled bread so be generous with the olive oil.

making a FOCACCIA RECIPE

Place the dough on the pan and stretch out with your fingers, flipping the dough over to allow the olive oil on the tray to coat both sides. Use your fingers to stretch the dough the full length of the pan and create finger holes so as to give it an uneven texture. Place the stretched dough in a warm place until it once again doubles in size (approximately one hour).

When dough is close to ready, preheat oven to 450.


If you want to add toppings to your focaccia you can do so at this point. If you want it plain you should still liberally sprinkle it with coarse sea salt.

When ready, bake until the top is golden brown, about 25-30 minutes. Remove from the oven and allow to cool before serving to your guest.

focaccia bread recipe

Buon Appetito!


FOLLOW ME ON INSTAGRAM @ISTHATSOH


If you like this vegan focaccia dough recipe or have any comments/questions, feel free to leave them in the comment section below!


PIN THIS POST FOCACCIA BREAD RECIPE

ITALIAN Focaccia recipe.jpg