'CHICKEN' NUGGETS - VEGETARIAN

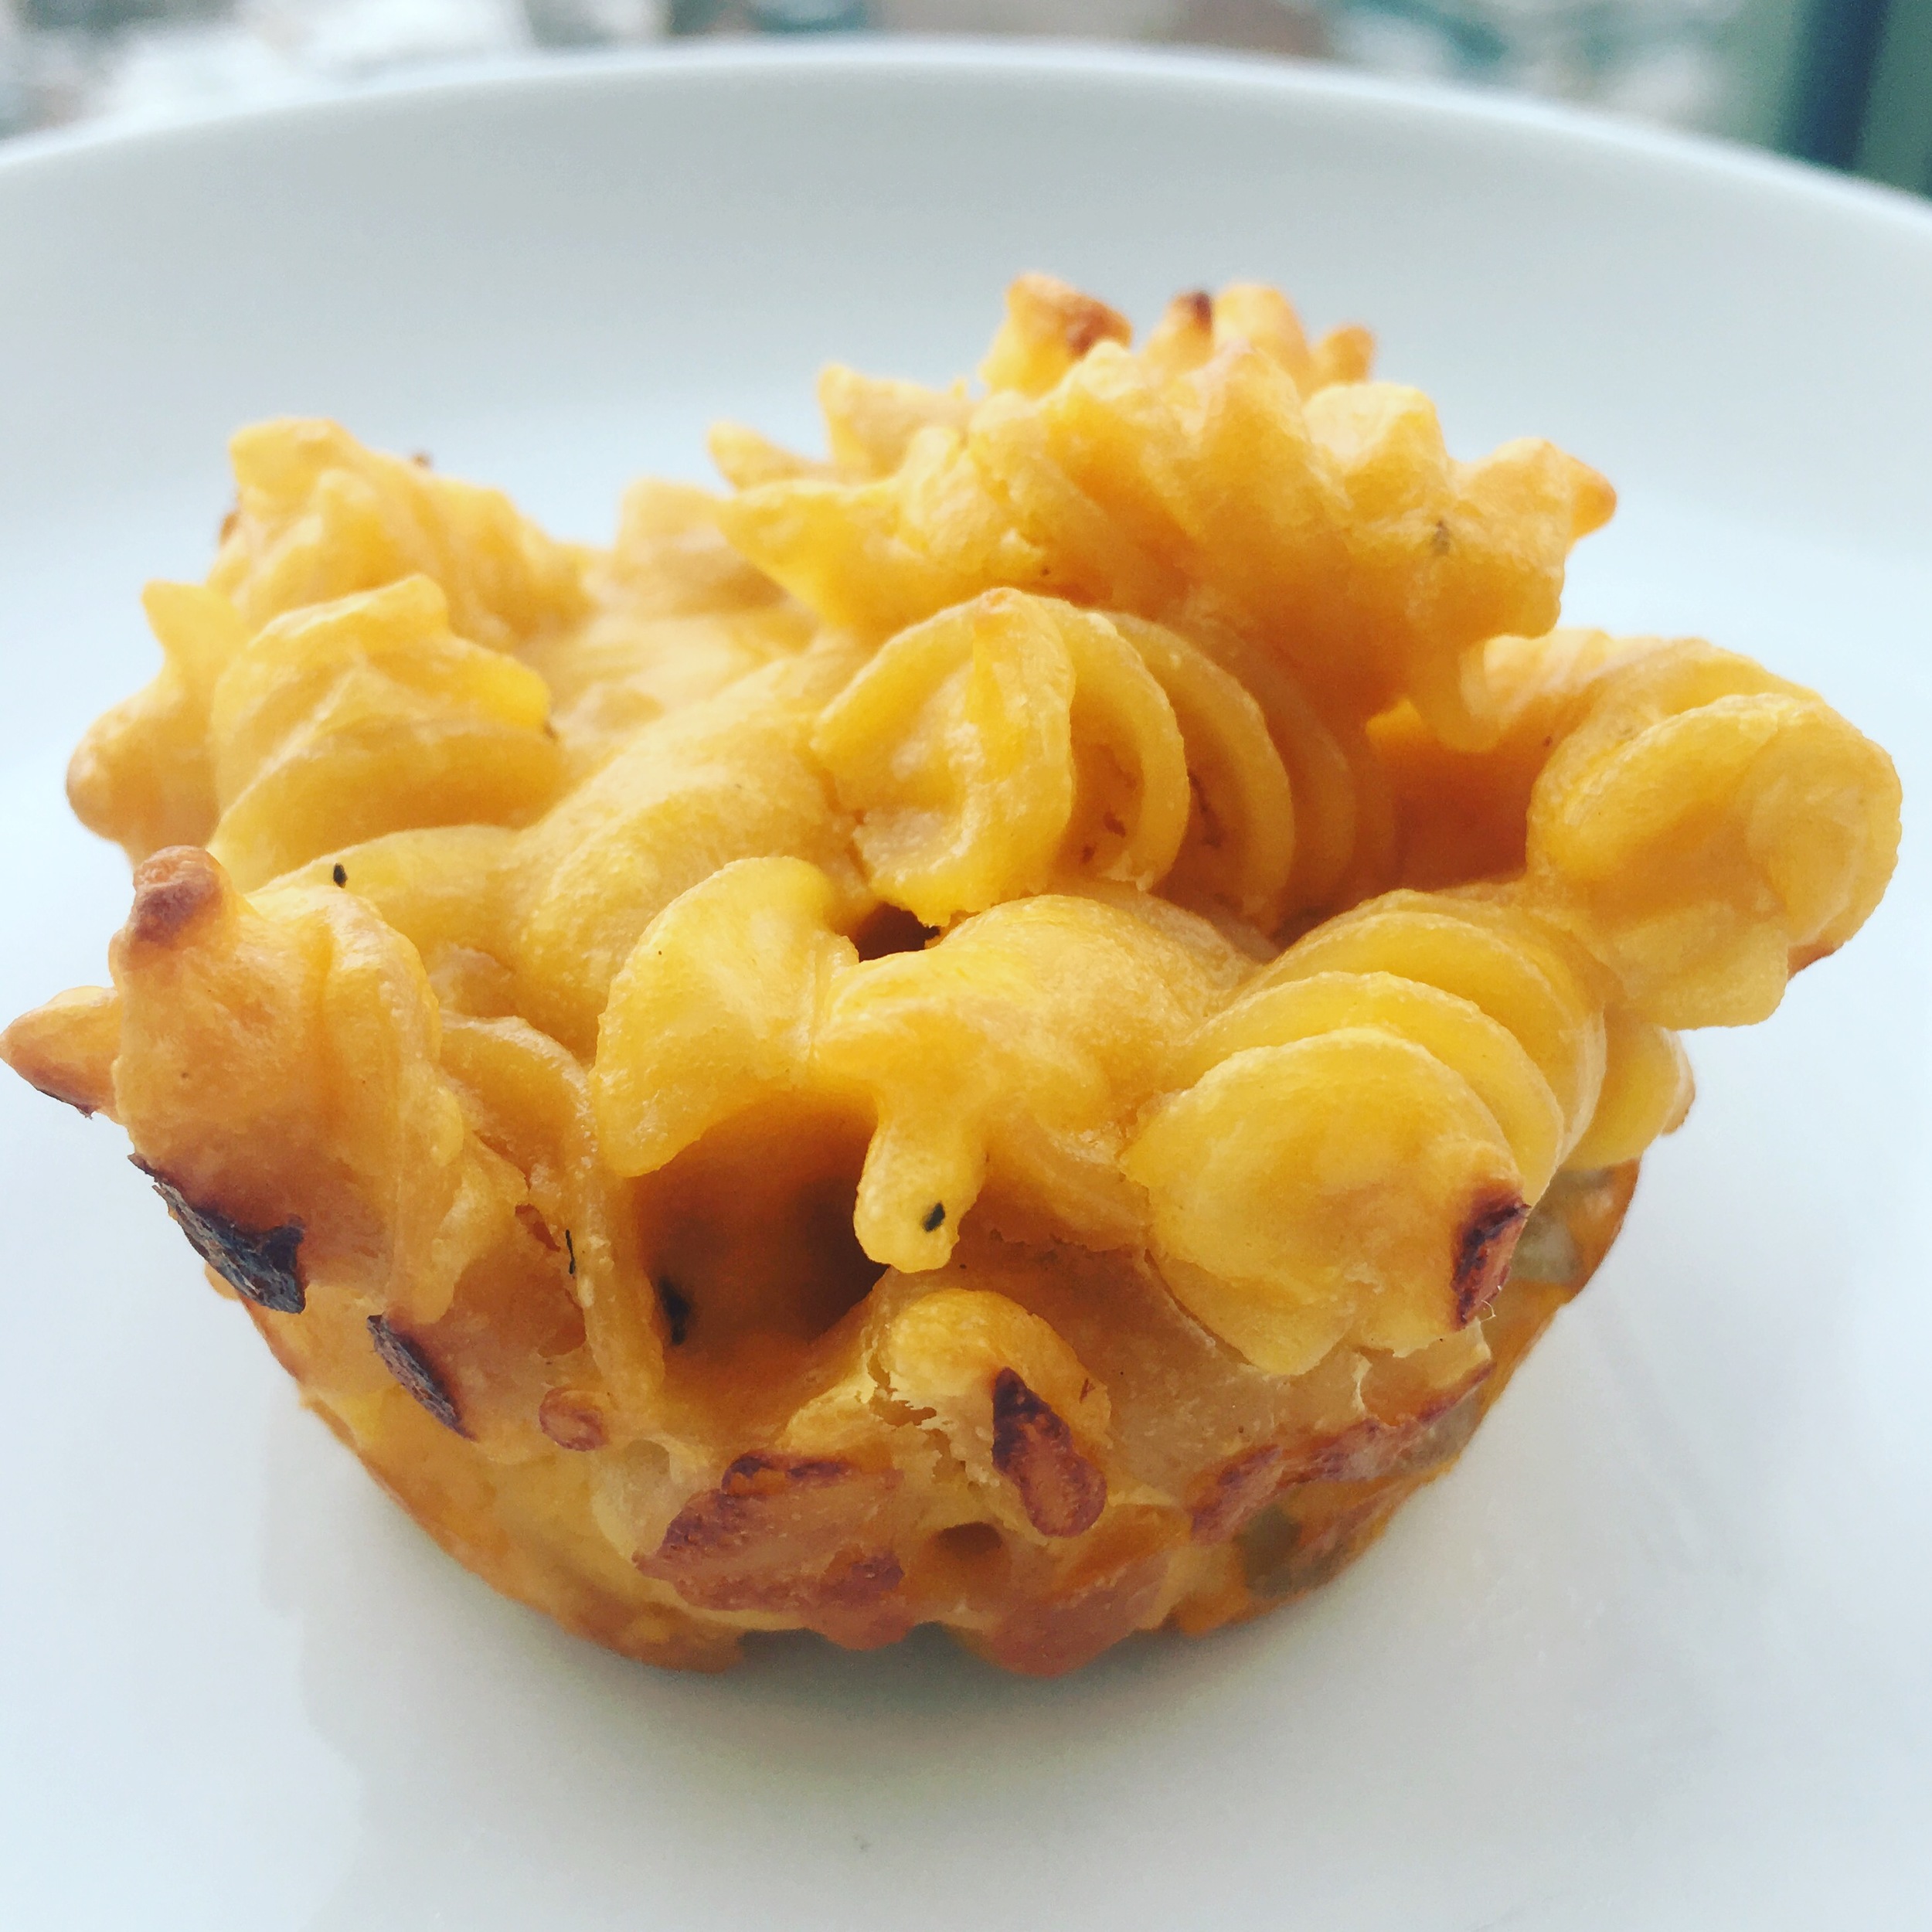
As a kid I loved chicken nuggets!!! They were legit my favorite meal as a child. I recently have been trying to eat healthier, but still have cravings for my beloved chicken nuggets. So when I came across this recipe I thought it was a happy compromise. If you are looking into becoming vegetarian or vegan and want to transition yourself into the lifestyle this is a good recipe for you. It is also pretty easy to make gluten-free as you only have to change the panko bread crumbs to a gluten free option like rice or corn crumbs. Either way I hope you enjoy this recipe as much as I did.

VIDEO POSTED BELOW

INGREDIENT:

1 (15oz) Can of Chickpeas (Drained and Washed)
2 Eggs (or Vegan Egg Substitute) - One will be used for the breading
1 Cup of Chickpea Flour - 1/2 Cup will be used for the breading
1 TSP of Salt
1/2 TSP Onion Powder
1/2 TSP Garlic Powder
1 TBSP of Poultry Seasoning
1 Cup of Bread Crumbs or Rice/Corn Crumbs for GF option

DIRECTIONS:

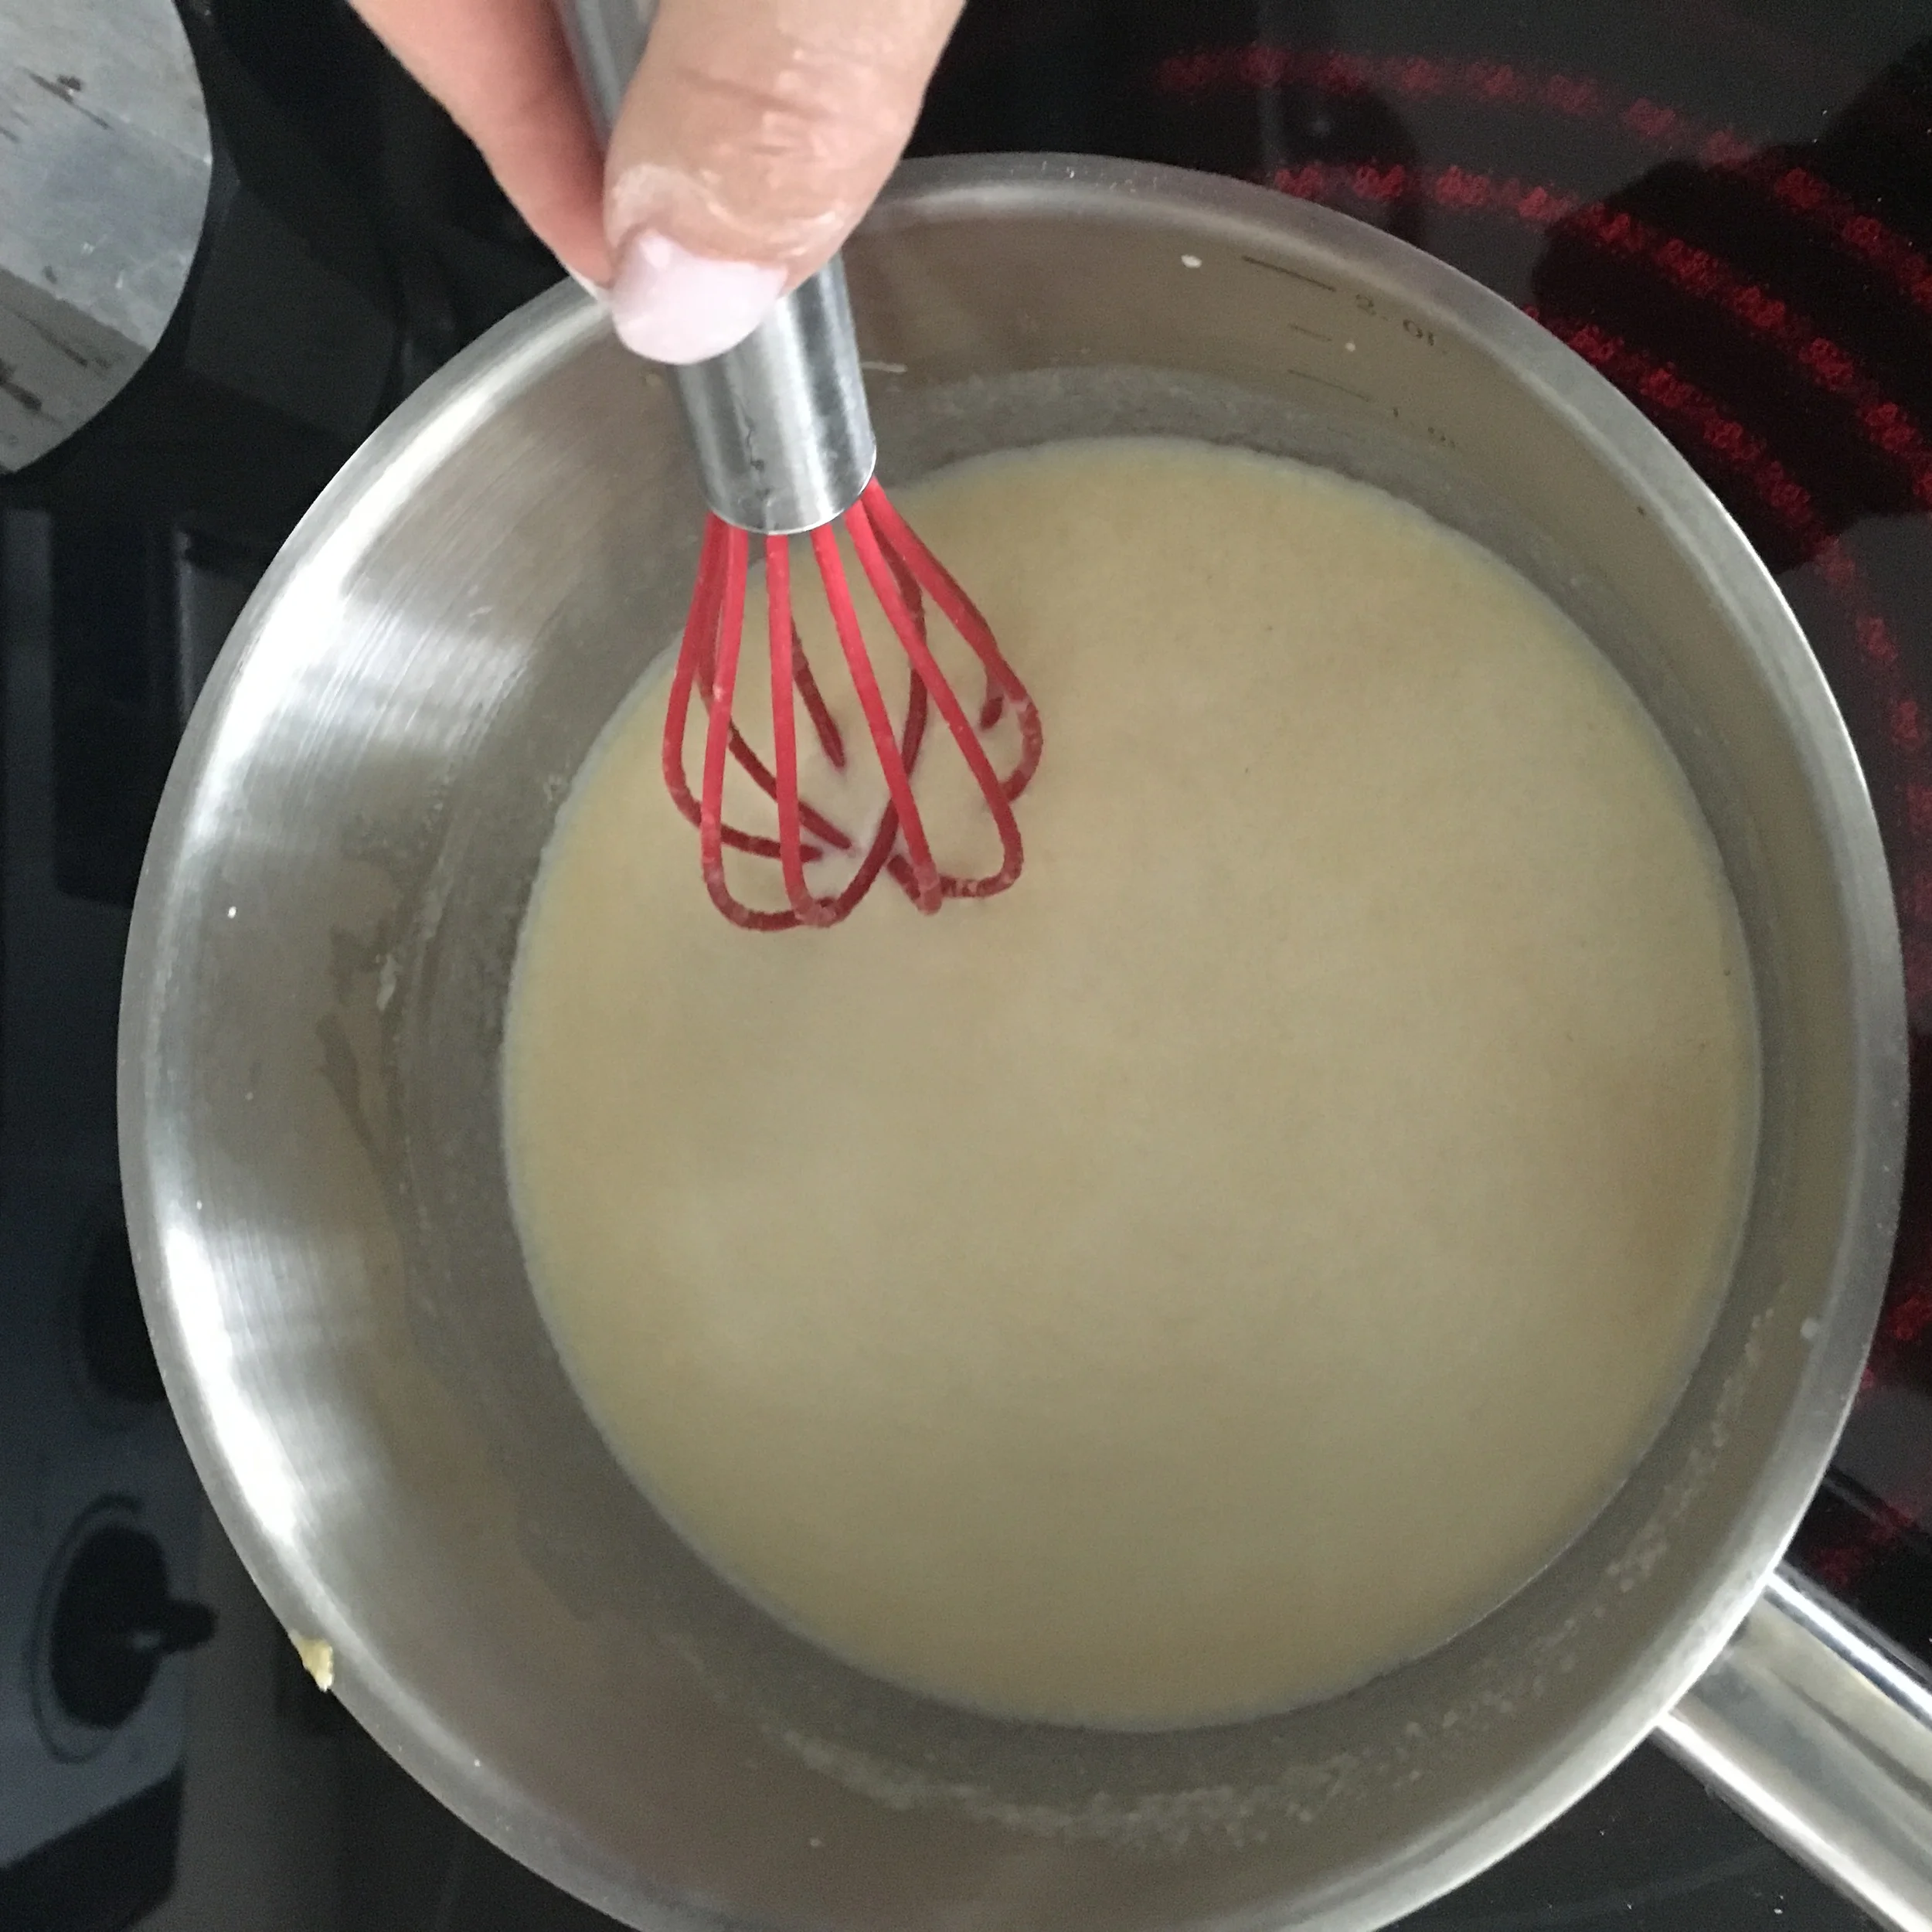
Place chickpeas in a food processor and pulse until no large chunks remain. Once finished place chickpeas in a bowl and add one egg and mix together.

Add 1/2 Cup of chickpea flour to bowl along with salt, onion powder and garlic powder. Mix until fully incorporated.*

Form nuggets and place on a baking sheet covered in parchment paper.

Once finished place baking tray in the fridge for 20 minutes to that the nuggets maintain form.

When ready remove nuggets from fridge and preheat over to 375 degrees.

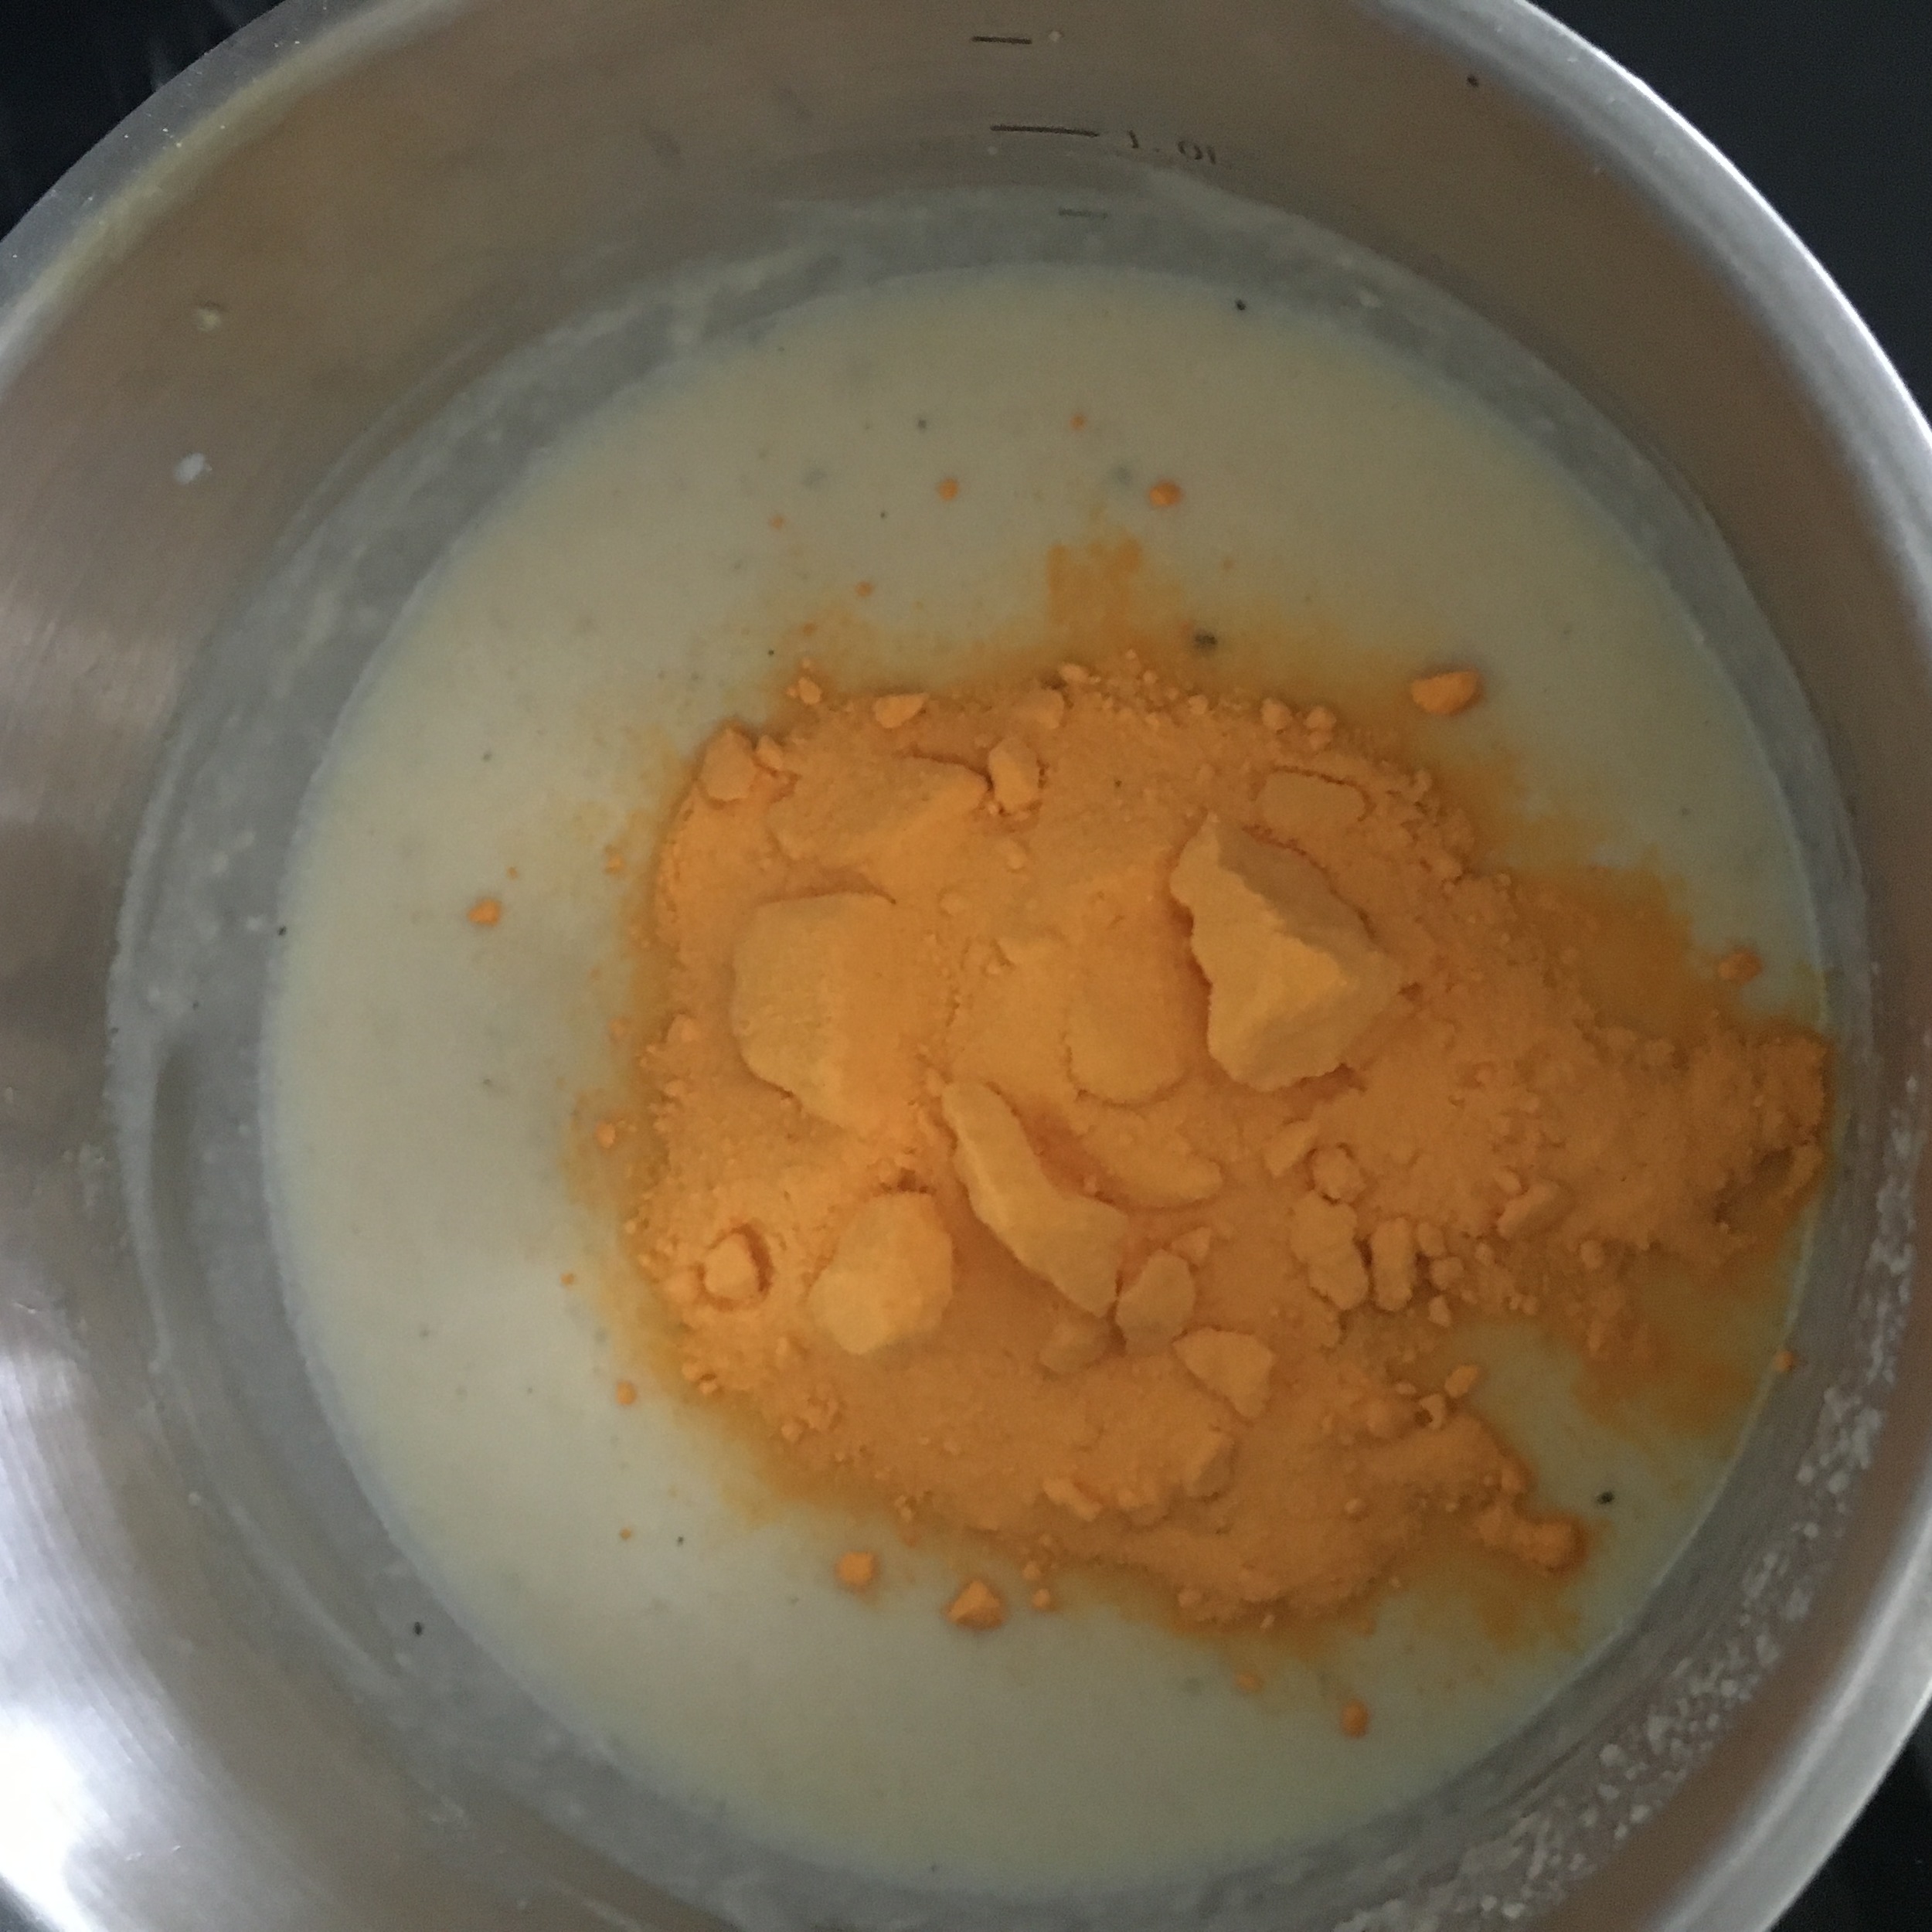
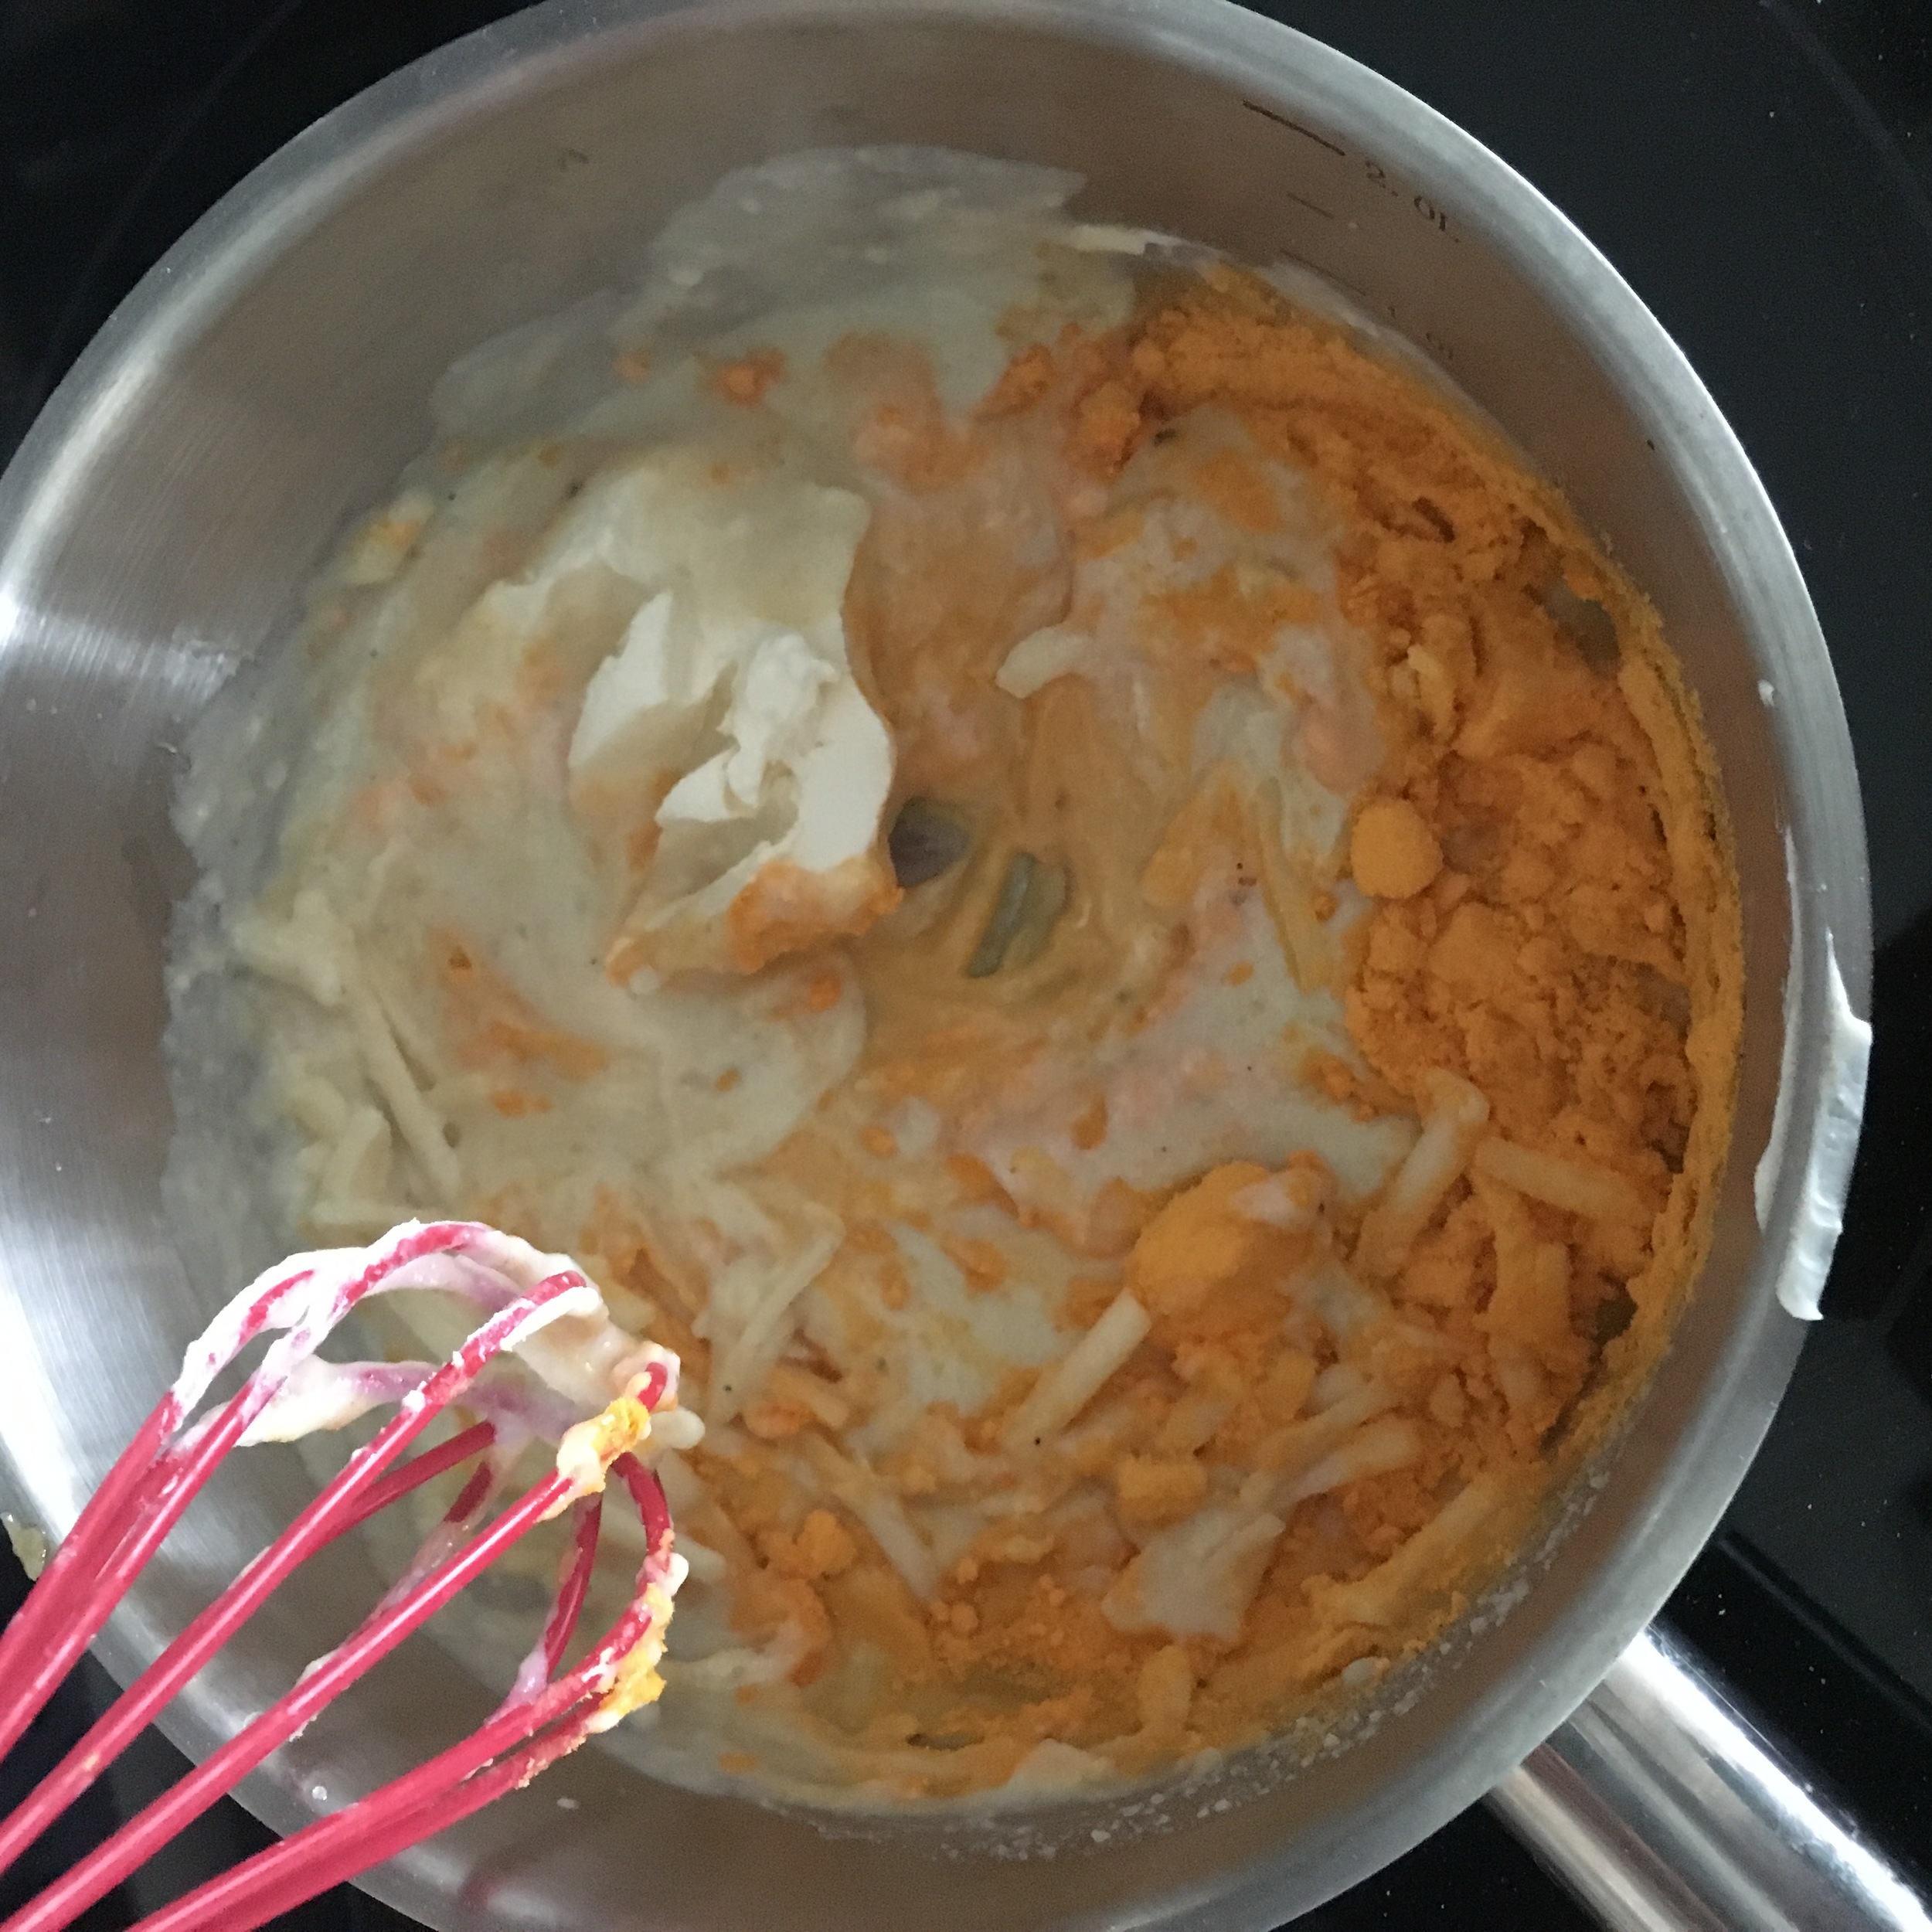
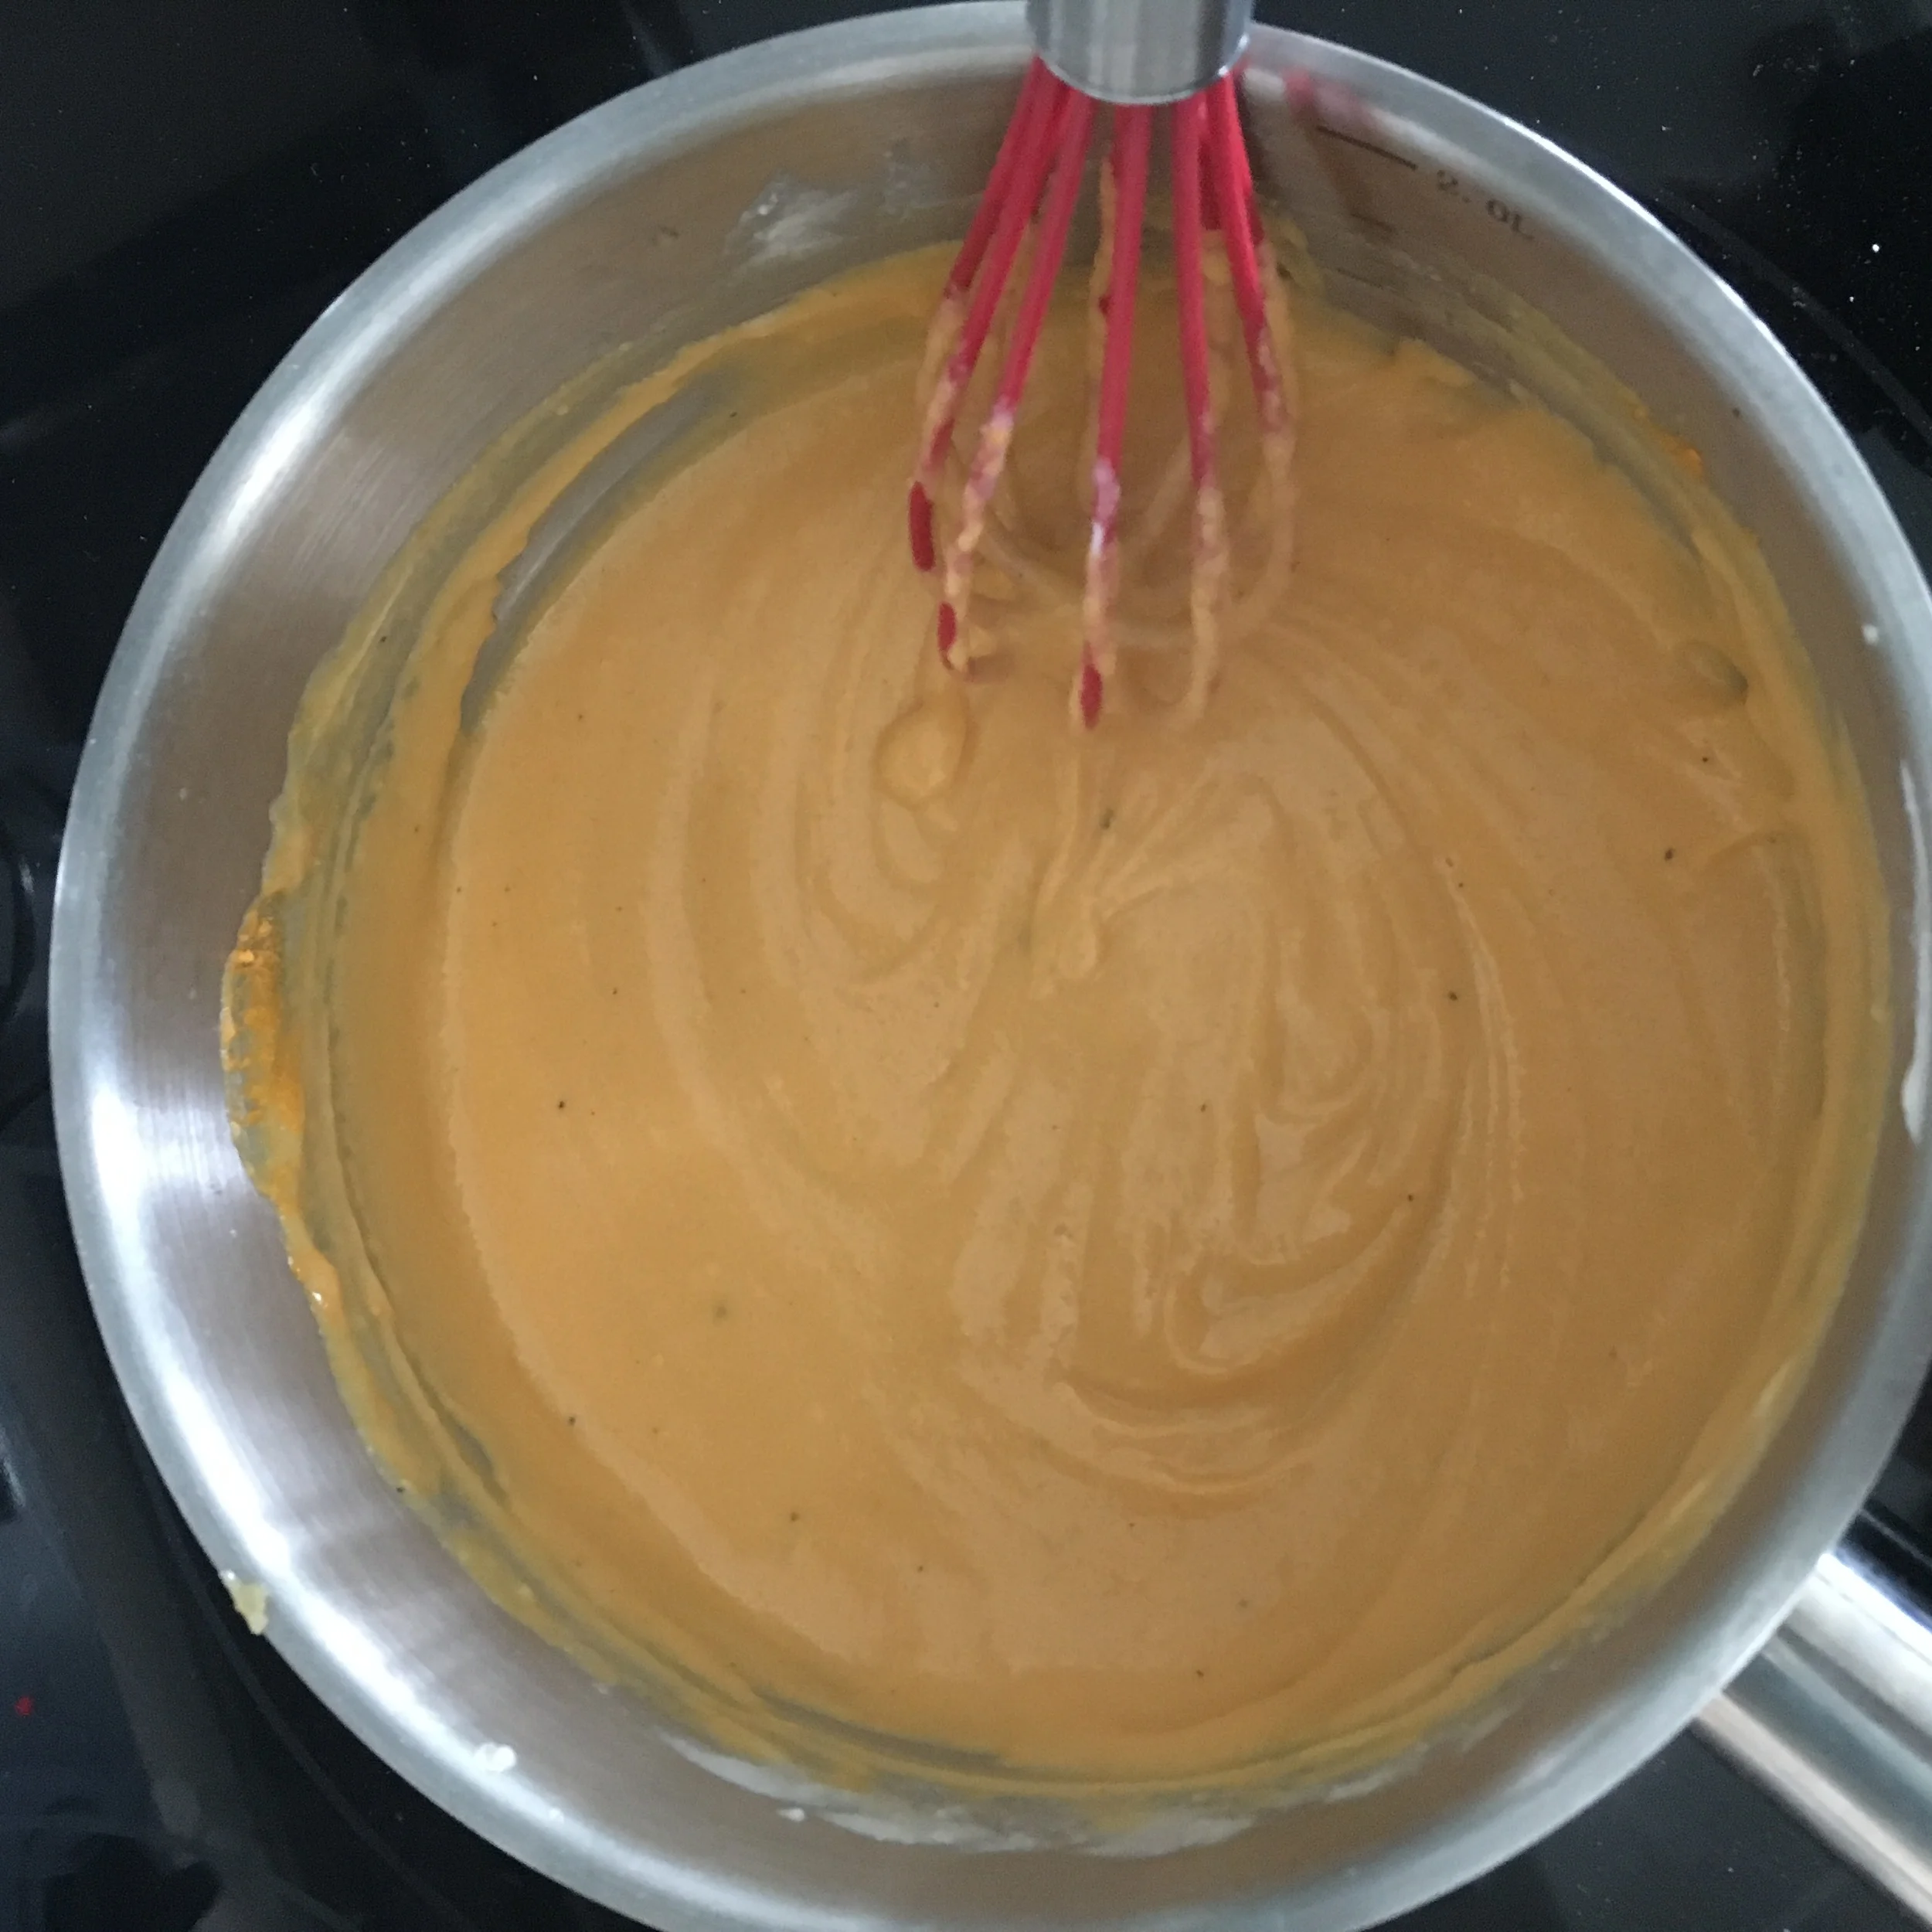
Beat your last egg (this is your egg wash). Mix your poultry seasoning with the remaining flour in a bowl. Add breadcrumbs (or gluten free option) to another bowl. Dip each nugget into the flour, followed by the egg wash and lastly the bread crumbs and place back on the parchment paper.

Once oven is ready place baking tray with nuggets in the oven to cook for 20 minutes flipping the nuggets over half way through.

ENJOY!!!

*If you find that the nuggets are really wet and hard to form you can add an extra TBSP of chickpea flour.

I hope you enjoyed this recipe as much as I do. If you have any comments please leave them below and I'll be happy to answer them as soon as I can! Bon Appetite!!!

VEGAN AND WHEAT FREE CARROT CAKE

So to start I must admit I am not vegan nor have a gluten free diet but this past weekend I was browsing my bookshelf and remembered this vegan cook book I have and decided to pull it out (for anyone who is interested in knowing more about the cookbook I will post a link below). As I perused the pages I came across this carrot cake recipe I 'dog eared' (weird expression I know) and decided to try it out. The results were a very nice and moist cake that I am sure will make any vegan person jump for joy.

INGREDIENTS:

Can of vegan, oil based non stick cooking spray
3/4 Cup Garbanzo Bean Flour
1 1/4 Cup Rice Flour
2 TSP Xanthan Gum
2 TSP Baking Soda
1/4 TSP Salt
2 TSP Cinnamon
1/2 Cup Apple Sauce
1 Cup Canola Oil
1 Cup Water
1 1/4 Cup of Maple Syrup
1 TSP Vanilla Extract
2 Cups Grated Carrots

Frosting - choose whichever flavor you like (mine was cream cheese) pre-made or I can list ingredients below.

Coconut Cream Cheese Frosting
8 OZ firm Silken Tofu
12 OZ Soy cream cheese
1 Cup of Powdered Sugar
1 TSP of coconut extract
1/2 Cup of Unsweetened Coconut
2 TSP of Xanthem Gum (for thickening)

DIRECTIONS: - SHORT VIDEO BELOW

*Like with most cakes you start by mixing all the dry ingredients together in one bow.. mixing all the wet ingredients in another bowl and then combining them together...vegan baking is the same

Preheat the oven to 325 degrees

Grab a 9 inch bread baking pan and coat it in non-stick cooking spray.

In a large bowl mix your garbanzo bean flour, rice flour, xantham gum, baking soda, sat and cinnamon together.

In a separate medium bowl mix your applesauce, canola oil, water, vanilla extract and maple syrup.

Next mix your wet ingredients into the bowl with the dry ingredients and stir until it is well incorporated. Then add in your grated carrots and mix well.

Pour cake mix into the coated baking pan and bake in the over for 75-80 minutes

Once finished remove from the oven and allow to cool before adding icing on top.

To make the frosting simply place all ingredients except the unsweetened coconut in a food processor and blend until smooth. Stir in the coconut after by hand. If possible you can make this the night before and refrigerate so it has more time to set and thicken.


For those who are interested in the cookbook I got this recipe from 'Sinfully Vegan' by Lois Dieterly.


I hope you enjoyed this recipe as much as I do. If you have any comments please leave them below and I'll be happy to answer them as soon as I can! Bon Appetite!!!

GLUTEN FREE MAC AND CHEESE BITES

I love me some good old mac & cheese!!!! Nothing says comfort food to me like a bowl of mac & cheese does. For me it always brings back childhood memories. Nowadays I find myself not eating so much of it because I am more calorie and health conscious but I'll admit these gluten free mac& cheese bites are great for any party that you may be throwing. They aren't difficult to make at all and kids love them for birthday parties. I'm totally going to add these to my Super Bowl menu this year! Enjoy

INGREDIENTS:

Rice Pasta (I substituted this for regular elbow pasta)
2 TBSP of Butter
2 TBSP of Quinoa Flour (I substituted this for flour)
1.5 Cups of Milk
2 OZ Cream Cheese
3/4 Cup of Sharp Cheddar Cheese
3/4 Cup of shredded Mozzarella (optional)
1 Packet of Kraft Dinner Powdered Cheese Sauce (optional)
Salt and Pepper (as desired)
1 Egg (whisked)

**You will also need a muffin tray that is sprayed with non stick cooking spray or buttered.


DIRECTIONS:

Preheat oven to 400 degrees

Boil water to make your pasta. Salt the water and throw in your pasta.

In a sauce pan add in your butter. Allow to melt on medium low heat then throw in your quinoa flour. Whisk together until fully incorporated. .

Next add in your milk slowly stirring with your whisk the whole time.  Allow milk to come to a simmer before removing from heat and adding in all your cheeses! Whisk together until smooth.

By now your pasta should be ready to be drained. Drain and allow access water to drip off before returning to pot. Add your egg to the pot with the pasta followed by the cheese sauce. Mix together so pasta is evenly covered. You can add pepper and salt now if you wish (remember that the cheese and butter does add salt to the dish already so you dont need much)

Scoop out pasta into your muffin tray (remember it has to be buttered or sprayed with non stick for easy removal later).

Place in oven and allow to bake for 16-17 minutes or until golden on the top!

Remove from oven and allow to cool for 5 minutes before removing from muffin tin.

They are now ready to serve! Enjoy!!!


I hope you enjoyed this recipe as much as I do. If you have any comments please leave them below and I'll be happy to answer them as soon as I can! Happy cooking!!!


MINI ROSE APPLE PIE

Recently I've been searching for new recipes to try and add to my Superbowl Sunday menu. Next weekend is the Super Bowl which means a lot of friends across the nation will gathered around together and spend their entire Sunday eating and cheering for their favorite team! Even though I'm not a big football fan I still do enjoy participating in this event and getting together with friends to watch the game, drink and eat food. Since most of the time these gatherings don't involve an actual sit down meal finger foods and bite-size food are always a good choice. This way as people get hungry they can just grab a little bite and don't even need a plate necessarily. That is why I decided to try these mini rose apple pies. They are small enough to fit into your palm and take about two's bites to devour. Just enough of the dessert to satisfy you without having to commit to filling up on this one dessert choice. It also helps that they are super pretty! hehe

Servings: One 200Gr Pie Crust makes about 6 mini pies roses.

INGREDIENTS:

3 Apples (Washed and cut into quarters, remove seeds than slice thinly)
6 TBSP of White Granulated Sugar
1/4 -1/2 of a Lemon (juiced)
400Gr PiIlsberry Pre-made Pie Crust
Cinnamon Spice (as desired)
Icing sugar for garnish (as desired)

*You will also need toothpicks and a baking tray covered in wax paper/ nonstick baking sheet.
 

DIRECTIONS:

In a sauce pan add in your thinly sliced apples, 2 TBSP of sugar and lemon juice. Fill sauce pan with water to submerge your apples and place on stove on High heat. Bring your water to a boil, then reduce heat letting it simmer for an additional two minutes before draining the water.

Lay the apples out on a absorbent cloth to suck up any access water.

Preheat over to 350 Degrees.

Next lay out one of your pie crust. Sprinkle it with the remaining sugar (more or less as you please) and cinnamon.

Cut the dough into 3/4 to 1 inch strips and place your apple slices slightly overlapping along the strip. Roll the strip and tie off the end using a toothpick to hold it in place. 

Place strip on baking tray (previously covered with wax paper)

 Bake for 20 to 25 minutes or until golden.

 Remove from oven and allow to cool before sprinkling icing sugar on top. Enjoy!!!


I hope you enjoyed this recipe as much as I do. If you have any comments please leave them below and I'll be happy to answer them as soon as I can! Happy cooking!!!

PEANUT BUTTER, BANANA, ROLLED OAT CHOCOLATE CHIP COOKIES - GLUTEN FREE

I found this recipe while looking for a good healthy dessert recipe as a reward for a job well done on my post Christmas diet. I originally found this recipe on MyRecipe.com (ill post the link below) and made some adjustments for what I liked/had in my pantry. I was a little worried when making them that they wouldn't come out to my high 'flour based' cookie standards (these are gluten free) but they are actually quiet delicious! Don't be worried - as i was - at the end when you have mix all the ingredients together and it seems kinda runny; once backed the cookies maintain their structure/hold. Did I mention that they are also under 100 Cal a pop?? ENJOY!

INGREDIENTS:

1/2 a Cup of Flax seed meal
1/2 a Cup of Almond Flour
1.5 Cups of Rolled Oats
1 TSP of Baking Soda
3/4 Cup of Peanut Butter
2 TBSP Butter (you can use non dairy butter substitute)
1/3 Cup of Granulated Sugar
1/3 Cup of Brown Sugar
2 Mashed Ripe Bananas
1/2 TSP Vanilla Extract
2 Eggs (lightly beaten)
1 Cup of Semi Sweet Chocolate Chips
1/4 Cup of Unsalted Roasted Sunflower Seeds

DIRECTIONS:

Preheat oven to 350 degrees.

In a medium size bowl add in your flax seed meal, almond flour, rolled oats and baking soda. Whisk together until fully blended.

In a large bowl mix your butter, peanut butter, granulated and brown sugars. Blend with a electronic beater on medium speed until smooth.

Add in your eggs, bananas and vanilla extract to the large bowl! Keep beating till they are incorporated.

Start to add in - bit by bit - the contents of the medium bowl followed by the chocolate chips and sunflower seeds. Fold the mixtures over one another till they are fully incorporated.

Scoop cooking dough out of bowl and place on a lined baking tray about 2 inches apart. Place in oven for 12 minutes or until edges are brown.

Remove from oven and let cool on cooling rack for a couple minutes before eating.


I hope you enjoyed this recipe as much as I do. If you have any comments please leave them below and I'll be happy to answer them as soon as I can! Happy cooking!!!


Original Recipe -> http://www.myrecipes.com/recipe/pb-banana-oat-cookies