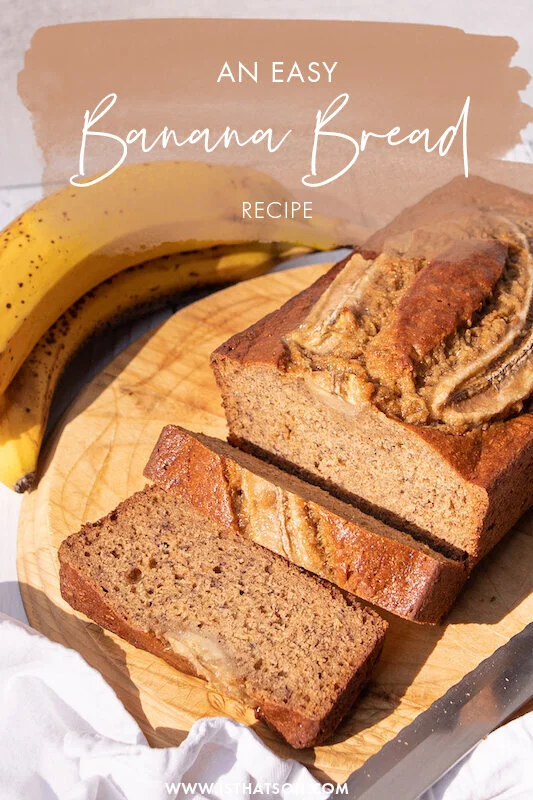
MY FAIL PROOF BANANA BREAD!

If you ever have overripe bananas, don’t throw them away! One of my favorite ways to use them is to make this glorious easy moist banana bread recipe. Even if I am on a diet that doesn't mean everyone else I know is and who wouldn't mind receiving a nice loaf of banana bread as a gift ;) Get creative... you can even add some walnuts or chocolate chips to this easy recipe if you want.

Enjoy!

INGREDIENTS:

1/3 Cup of Unsalted Butter (melted)
3/4 Cup of Brown Sugar
3 Bananas - (2 mashed and one for garnish)
1 TSP of Vanilla Extract
2 Egg (whisked)
2 Cups of All-Purpose Flour
1/4 TSP of Salt
1 TSP Baking Soda
1 TSP of Cinnamon


CHECK OUT THESE OTHER BREAD RECIPES!


DIRECTIONS:

Preheat over to 350 degrees.

Get a baking tray or loaf baking tray and butter all sides.

In a large bowl add in your butter and sugar. Blend with a hand blender until they come together.

Next, add in your banana and vanilla extract. Continue to blend.

Lastly, add in your egg and blend only until incorporated (don’t over blend).

In a second bowl add in your flour, salt, baking soda and cinnamon - whisk together until evenly mixed.

Slowly start to add in your dry ingredients to your wet ingredient bowl and mix on low with your hand blender. You may have to use a spatula to scrape the dry ingredient that build up on the side.

Once blended, scoop out your banana bread batter and place in your baking tray.

Garnish the banana bread batter with the 3rd banana before placing the tray in the oven to bake for about 1 hour (check at 50 minutes). Take a toothpick and stick it in the middle of the bread if when you pull it out nothing is on the toothpick it is ready.

Set aside to cool before cutting and serving.


FOLLOW ME ON INSTAGRAM @ISTHATSOH


I hope you enjoyed this classic banana bread recipe as much as I do. If you have any comments please leave them below and I'll be happy to answer them as soon as I can! Happy baking!!!


PIN THIS POST

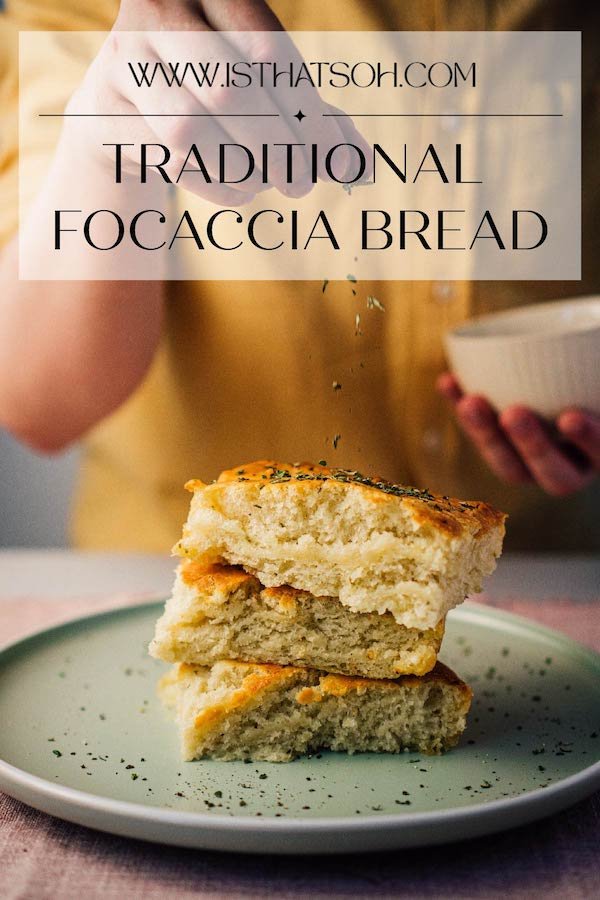
TRADITIONAL ITALIAN HOMEMADE FOCACCIA (SO EASY)

Is there anything better than the smell of fresh bread?

Especially when it’s covered in all your favorite focaccia toppings?

My Achilles heel, sun dried tomato focaccia is one of those traditional Italian appetizers that I can never turn down. As soon as I spot it (usually across the room), you know I’m right there, having a slice - okay 2, maybe 3….

While in self-isolation I had time to perfect this amazing homemade focaccia dough recipe I learned while in Italy and I must say, it stands the test of time! The dough always turns out perfect - fluffy and doughy with a crisp bottom and golden crust. Oh, and did I mention it’s also a vegan focaccia!

I can’t wait for you to enjoy it too!

FOCACCIA BREAD INGREDIENTS:

Serving: 8-10 Servings

-Focaccia Dough-
1 3/4 Warm water
1 Package of Yeast
1 TBSP of Sugar
5 CUPS of All-Purpose Flour
1 TBSP of Kosher Salt
1 CUP of Olive Oil - Spilt in two halves

-Optional Focaccia Toppings-
Coarse Sea Salt
Cherry Tomatoes
Kalamata Olives
Basil
Capers
Rosemary
Garlic


HERE ARE SOME OTHER BREAD RECIPES YOU MAY LIKE!


FOCACCIA RECIPE DIRECTIONS:

The first thing you need to do is activate the yeast so you will need to combine the warm water, yeast and sugar in a bowl. Stir and let it sit for 10-15 minutes until it starts bubbling and becomes very aromatic.

When ready, in a mixer using the hook attachment, combine the flour, salt, half a cup of the olive oil, and the yeast mixture on the lowest speed. After it is well mixed, increase the speed to three (low/medium) until it becomes smooth.

Once smooth, remove the dough from the mixer and place on a floured surface. Kneed the dough by hand until the dough stops being sticky. If you need to sprinkle more flour to help it along, do so.

When ready, form a ball with the dough. Using the mixing bowl you used before, coat the sides of the bowl with some oil and place the dough once again inside. Coat the dough with a little bit of oil as well before covering it with a cloth or plastic wrap, and place somewhere warm for about an hour until it doubled in size.

Take your cooking sheet or jelly roll pan (pan with lip) and cover with parchment paper (including the sides). Put a heavy coat of olive oil on the parchment paper before putting the dough on top. Focaccia is a heavily oiled bread so be generous with the olive oil.

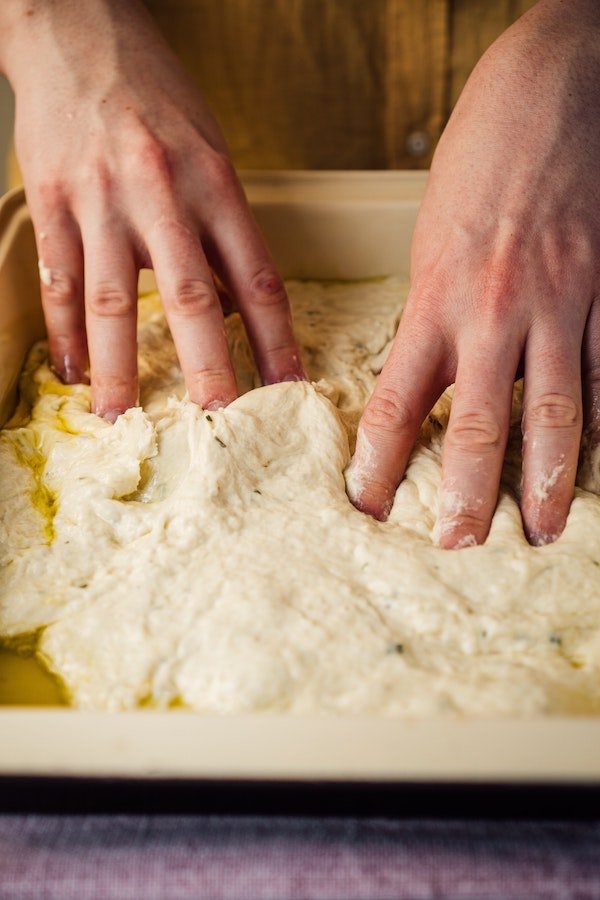
making a FOCACCIA RECIPE

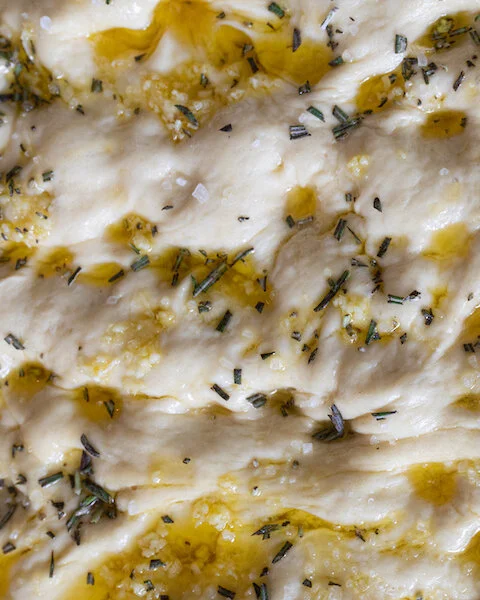
Place the dough on the pan and stretch out with your fingers, flipping the dough over to allow the olive oil on the tray to coat both sides. Use your fingers to stretch the dough the full length of the pan and create finger holes so as to give it an uneven texture. Place the stretched dough in a warm place until it once again doubles in size (approximately one hour).

When dough is close to ready, preheat oven to 450.


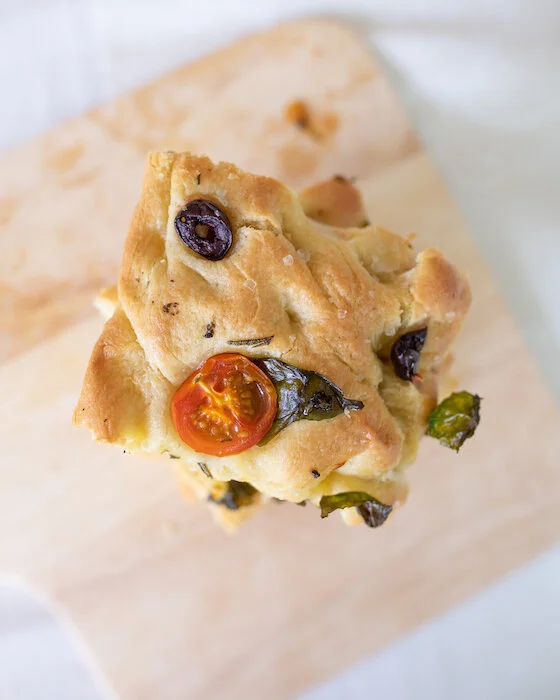
If you want to add toppings to your focaccia you can do so at this point. If you want it plain you should still liberally sprinkle it with coarse sea salt.

When ready, bake until the top is golden brown, about 25-30 minutes. Remove from the oven and allow to cool before serving to your guest.

focaccia bread recipe

Buon Appetito!


FOLLOW ME ON INSTAGRAM @ISTHATSOH


If you like this vegan focaccia dough recipe or have any comments/questions, feel free to leave them in the comment section below!


PIN THIS POST FOCACCIA BREAD RECIPE

ITALIAN Focaccia recipe.jpg

PEEK-A-BOO SHORTBREAD LINZER COOKIES

The Best Shortbread Linzer Cookie Recipe

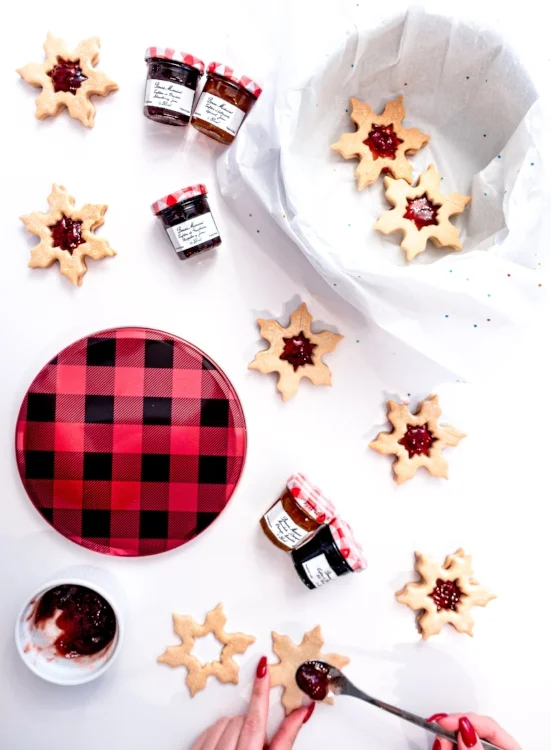
It's not always easy to keep up financially with the holidays. Although I love giving people gifts and putting a smile on my friends and family members faces, my thoughtful nature can get quiet expensive if I'm buying everyone gifts. That is why during the holidays I love to bake! Putting your efforts towards spreading holiday cheer through making something can often be the perfect gift to share with loved ones. One of my go - to holiday gifts this year are these super cute peek-a-boo shortbread snowflakes. I filled mine with my favourite jam, Bonne Maman but you can use Nutella, Dulce De Leche, or whatever filling you like! Enjoy!


FOLLOW ME ON INSTAGRAM @ISTHATSOH


Peek a boo jam filled shortbread snowflakes

INGREDIENTS FOR SHORTBREAD LINZER COOKIES:

1 CUP of unsalted softened butter
3/4 Cup of Icing Sugar
1/2 TSP of Vanilla Extract
1/4 TSP of Salt
2 Cups of All Purpose Flour
1/2 Cup of your favorite jam!

*you can dust the cookies with icing sugar at the end for extra effect!

STRAWBERRY JAM

LOOKING TO DO SOME HOLIDAY BAKING? CHECK OUT THESE OTHER FUN RECIPES!


HOW TO MAKE SHORTBREAD LINZER COOKIES:

In a mixer or by hand place softened butter, sugar, vanilla, and salt in a bowl and mix until well incorporated. 

Add in your all-purpose flour bit by bit till a dough starts to form. (TIP: If it is too sticky you can always add a little bit more flour at the end)

Once the dough is formed wrap in plastic wrap and place in the fridge for 20 minutes.

Once ready, preheat oven to 325 degrees.

Roll out dough between two pieces of wax paper! Use snowflake cut out to make your desired shape and place on a baking tray lined with a cookie sheet or wax paper. Half of these will become 'Peek-A-Boo' tops to the cookie (TIP: Once on the baking tray it is easier to make the smaller inside 'Peek-A-Boo' cut-outs using a smaller snowflake and extracting the inside cut out with a toothpick!)

When ready place in the oven for 20 minutes or until cookies become golden on the edges. Rotate the trays halfway (about 10 minutes).

Let cool before sandwiching a layer of jam between the bottom full shortbread cookie and the 'peek-a-boo' cut out top shortbread cookie!

Enjoy!


If you like this Shortbread Linzer Cookie recipe or have any comments/questions, feel free to leave them in the comment section below!


PIN THIS POST

HOLIDAY GINGERBREAD COOKIES

THE BEST GINGERBREAD COOKIE RECIPE!

Queue the Christmas music, ......"It's beginning to look a lot like Christmas!"
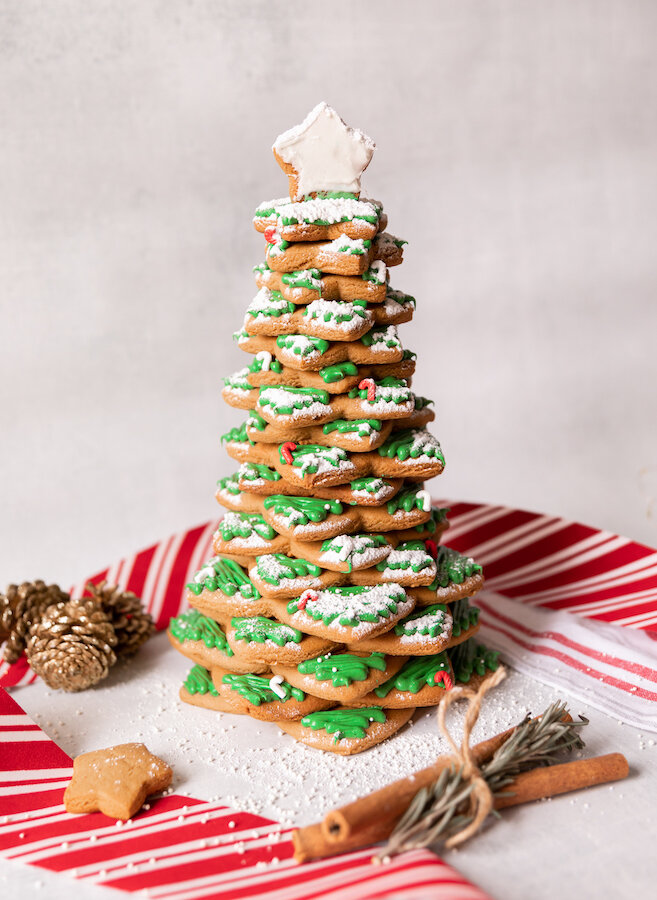
The holidays are a great excuse to get together with family and celebrate. With all the parties and gatherings you are going to this year perhaps a little baking session is needed. Here's an easy and fun gingerbread cookie recipe that is not only delicious but great for any party. This year I was even thinking I could write people’s names on them and use them as place cards on a dinner table! Or keep some blank cookies for my nephew and nieces to decorate as a pre-dinner activity. I recently made a 3D gingerbread Christmas tree which turned out amazing! The creative opportunities are endless! Enjoy!

Makes about 30 cookies


FOLLOW ME ON INSTAGRAM @ISTHATSOH


INGREDIENTS FOR GINGERBREAD COOKIES:

1/3 of a Cup Butter (unsalted) - softened
1 Cup Granulated Sugar
1 Large Egg - at room temperature
1/3 of a Cup of Fancy Molasses
2 and 3/4 Cups of Flour (All Purpose)
1 1/2 TSP of Ginger
1 TSP of Cinnamon
1/2 TSP Baking Soda
1/4 TSP Ground Cloves
Pinch of Salt

*You will also need cookie cutters and icing!


LOOKING FOR SOME FUN HOLIDAY BAKING? CHECK OUT THESE OTHER RECIPES!


HOW TO MAKE GINGERBREAD COOKIES:

Blend softened butter and sugar together until fluffy. Add in your egg and fancy molasses.

In a separate bowl mix your flour, ginger, cinnamon, baking soda, ground cloves, and salt. Whisk until well mixed.

Slowly start to add your flour mixture into your butter mixture until a dough starts to form. You may want to finish it off with your hands.

Make two dough balls from the mixture and wrap in plastic wrap before placing them in the fridge for an hour.

After an hour, remove the dough balls from the fridge and let them rest for 10 minutes before rolling them out to 1/4 inch thickness. I used my clean countertop to roll the dough out and placed wax parchment paper on top of the dough for easy rolling.

Cut out your shapes and place them on a baking tray lined with parchment paper. Place each shape 1/2 - 1 inch apart because the cookies do spread out and puff up a little.

Bake 350 degrees for 10-12 minutes. 10 if you want them soft and 12 if you want them crunchy.

Remove from oven and allow to cool down before decorating.


If you like this gingerbread cookie recipe or have any comments/questions about how to make gingerbread cookies, feel free to leave them in the comment section below!


PIN THIS POST

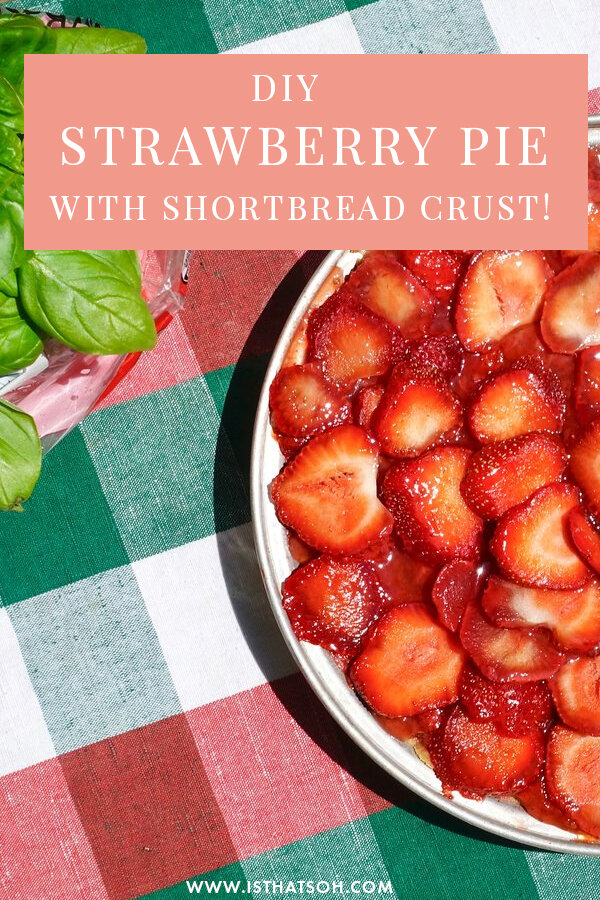
STRAWBERRY PIE WITH SHORTBREAD CRUST!

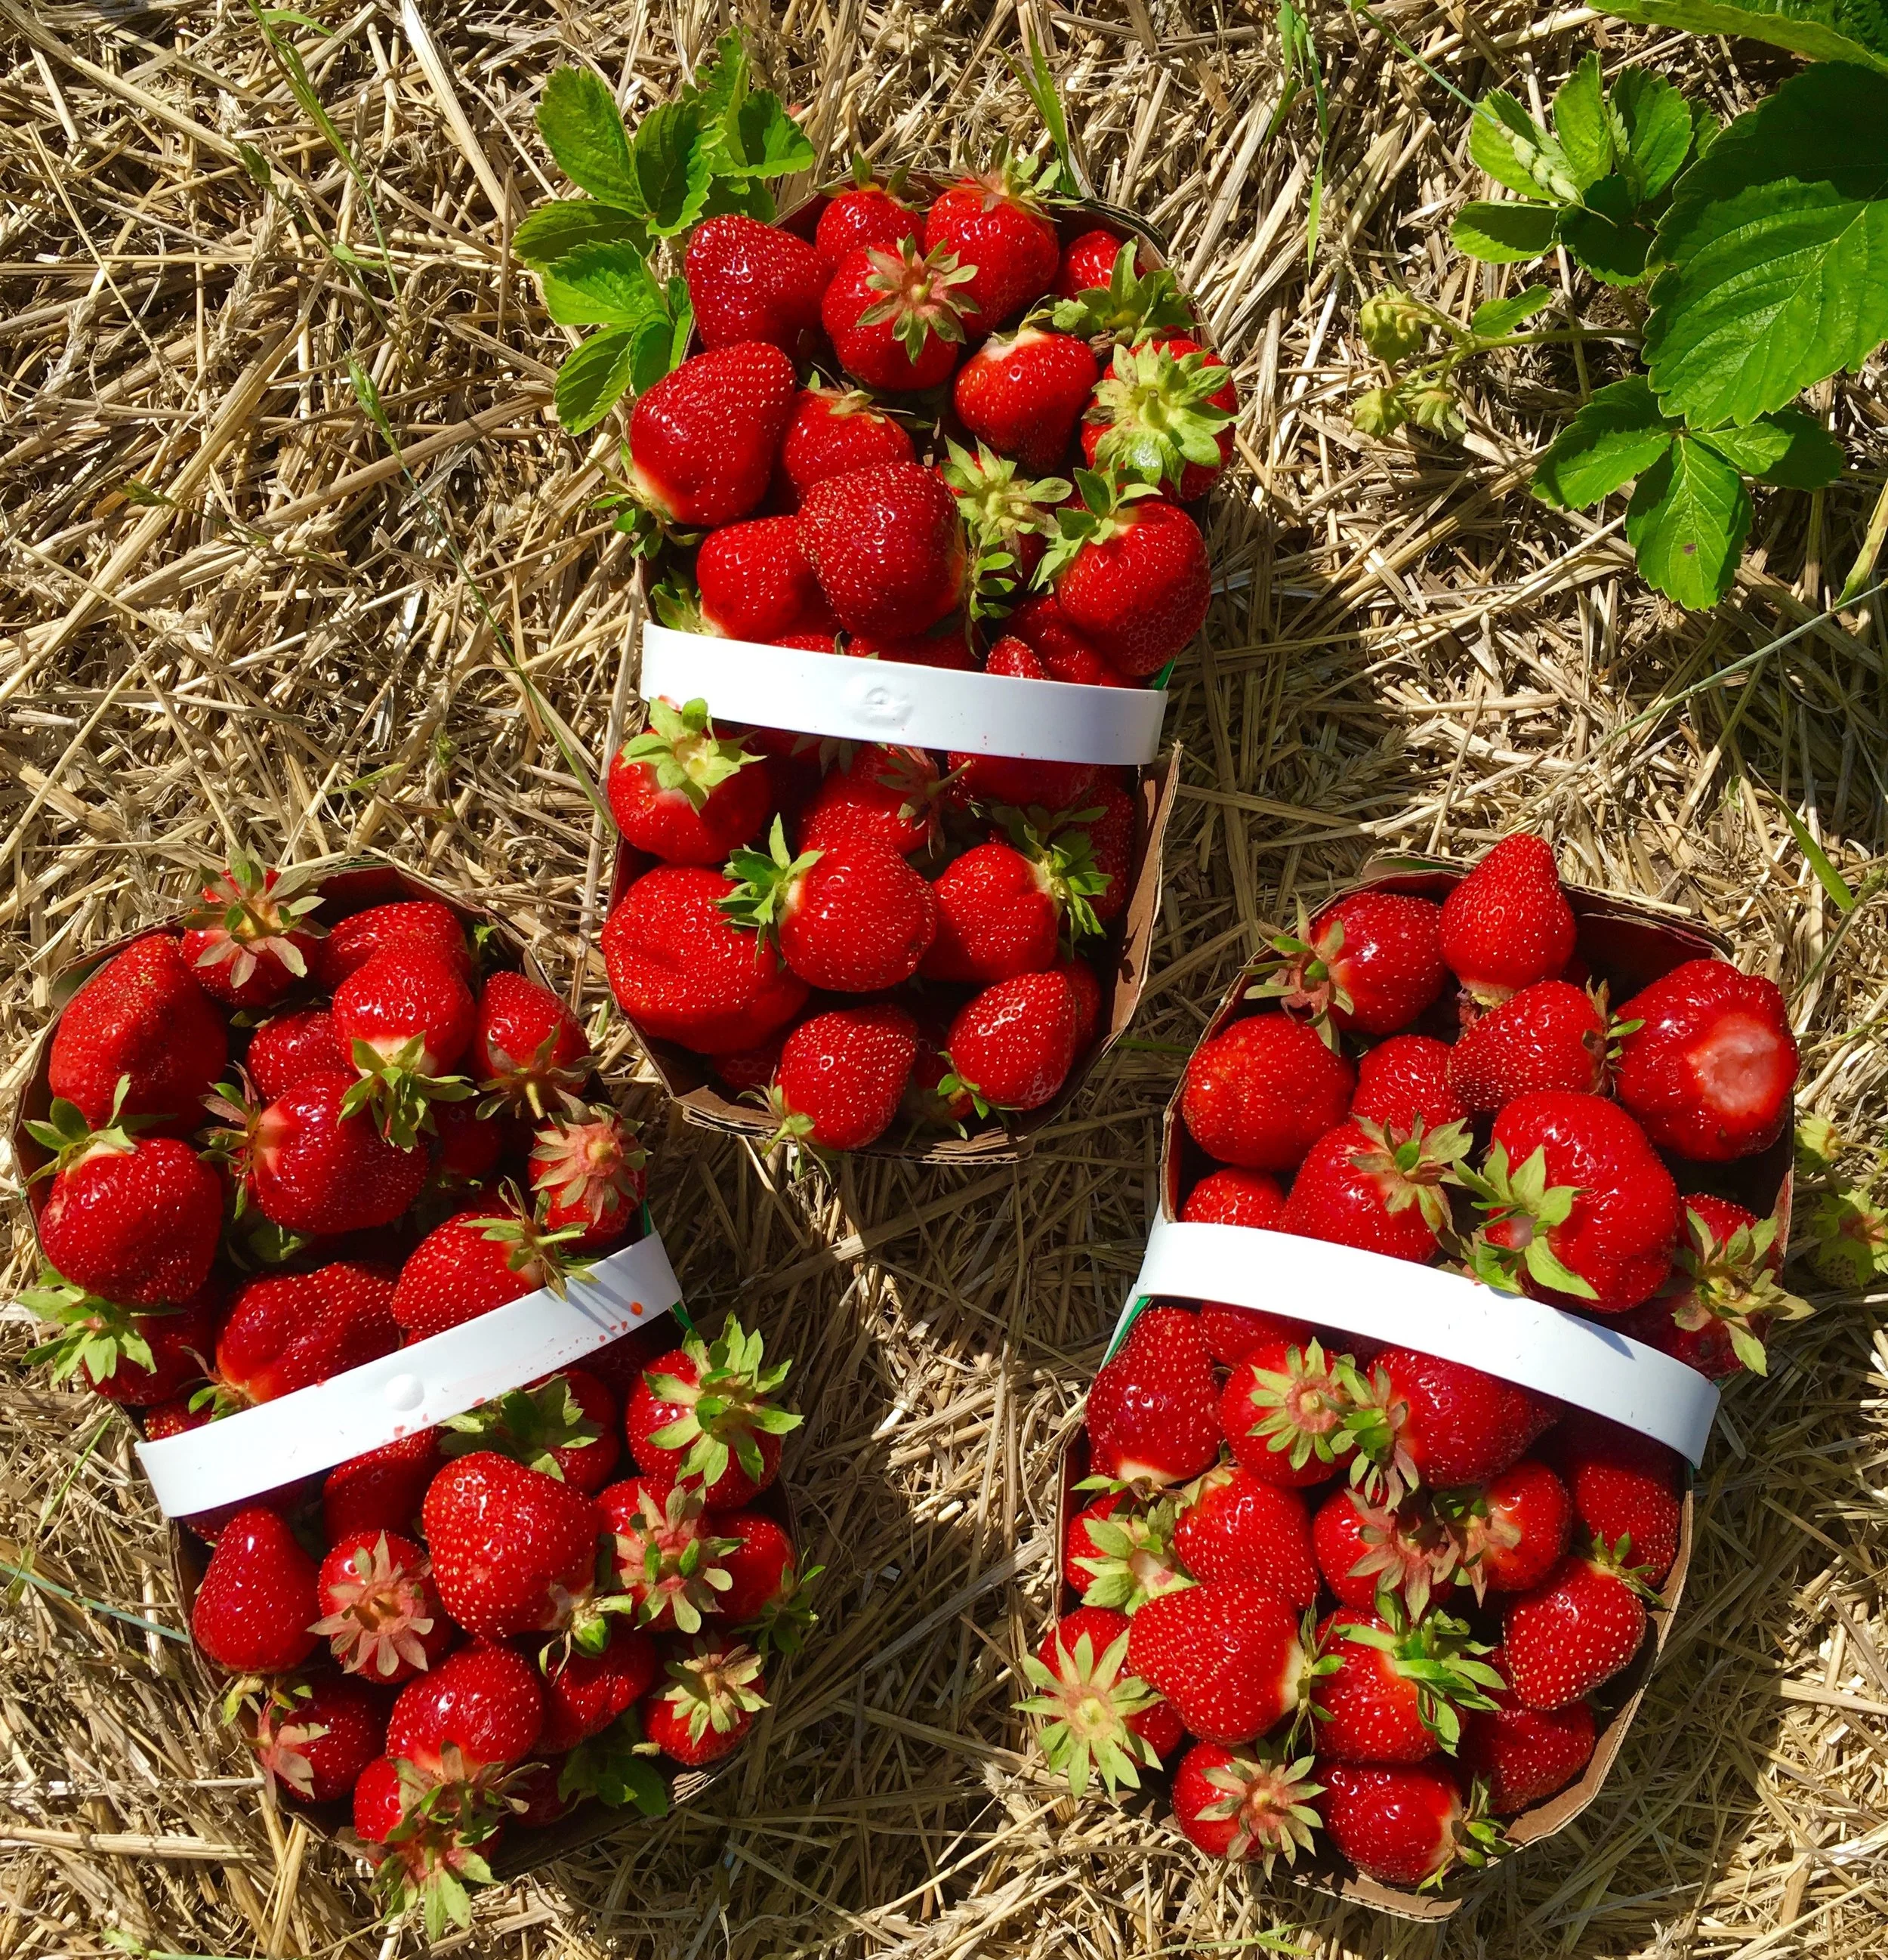
Since strawberry season is upon us I thought it would be perfectly fitting to make a strawberry pie last weekend. Since I was at the cottage and there is a lovely organic strawberry picking farm close by, off I went to pick my own strawberries! The result of that adventure was of course this delicious strawberry pie recipe. What is so clutch about this recipe (and can easily be used for any pie recipe) is the shortbread cookie crust bottom! WOW it's good! The best part is that even for a non pie maker/baker like me this recipe was so easy. Not to mention that the pie got devoured in one sitting and I had to make three more - I didn't mind.

INGREDIENTS:

CRUST
1/2 Cup of Butter (Softened)
1/4 Cup of Sugar
1 Cup of All Purpose Flour

STRAWBERRY FILLING

1 Quart of Strawberries (divide into two portions)
1 Cup of White Sugar
3 TBSP of Cornstarch
3/4 Cup of Water

DIRECTIONS:

Beat the soft butter with the sugar until fluffy.

Add in flour bit my bit until crumbly cookie dough starts to form. Press dough into a 9 Inch pie pan. Refrigerate for 10 minutes to harden

Preheat Over to 400 degrees (200 Celsius). After pie crust has been in the fridge for 10 minutes let bake in the oven for 10-15 minutes until golden and firm. Set aside to cool.

Separate the strawberries into two parts - you are going to mash half to create the filling and keep the other half to place on top for decoration.

Take the mashed strawberries and place in a sauce pot and bring to a boil, add in sugar and stir often for 10 minutes.

Mix cornstarch and water in a bowl and add into the boiled strawberry mixture - reduce heat to a simmer and allow to thicken.

Once ready remove from heat and let cool.

Once your strawberry sauce is cooled pour into shortbread crust and top with remaining strawberries.

Keep in fridge until ready to serve! It is great on its own or with some ice cream!

Enjoy!

Fresh Organic Ontario Strawberries

PIN THIS POST