STUFFED & FRIED ZUCCHINI FLOWERS (SQUASH BLOSSOMS)

Okay so these fried zucchini flowers are actually amazing!!! I learned about them on my recent trip down to Todos Santos, Mexico and they are now one of my favorite new things. Think fried artichokes but stuffed with whatever your palate desires. You dont need to dip them in anything because they are delicious and flavorful all by themselves. You just need to try them! TRUST ME!

INGREDIENTS:

Stuffing - You can honestly do whatever you want here. I did the following:

1-2 Cups of Chorizo (taken out of its casing and pre-cooked)
1 Cup of Quinoa (pre cooked and cooled)
1/2 Cup of Cubed Cheese (I used a soft white cheese)

Olive Oil
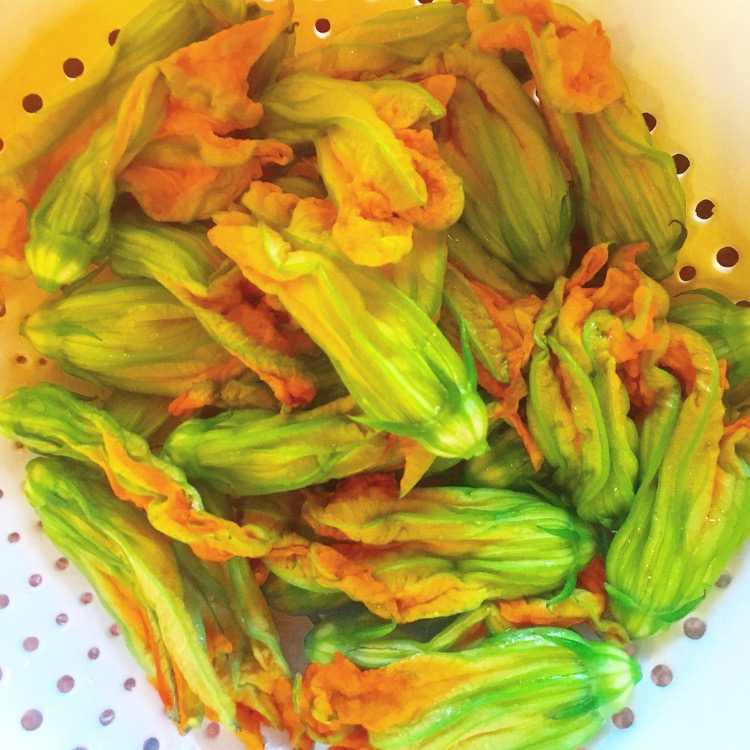
12-20 Zucchini Flowers (washed)
2 Eggs (whisked)
1-2 Cups of All Purpose Flour
Salt (as desired)

DIRECTIONS

Cook your quinoa and let it cool.

Take your Chorizo out of the casing and fry it up. Once finished set aside to cool.

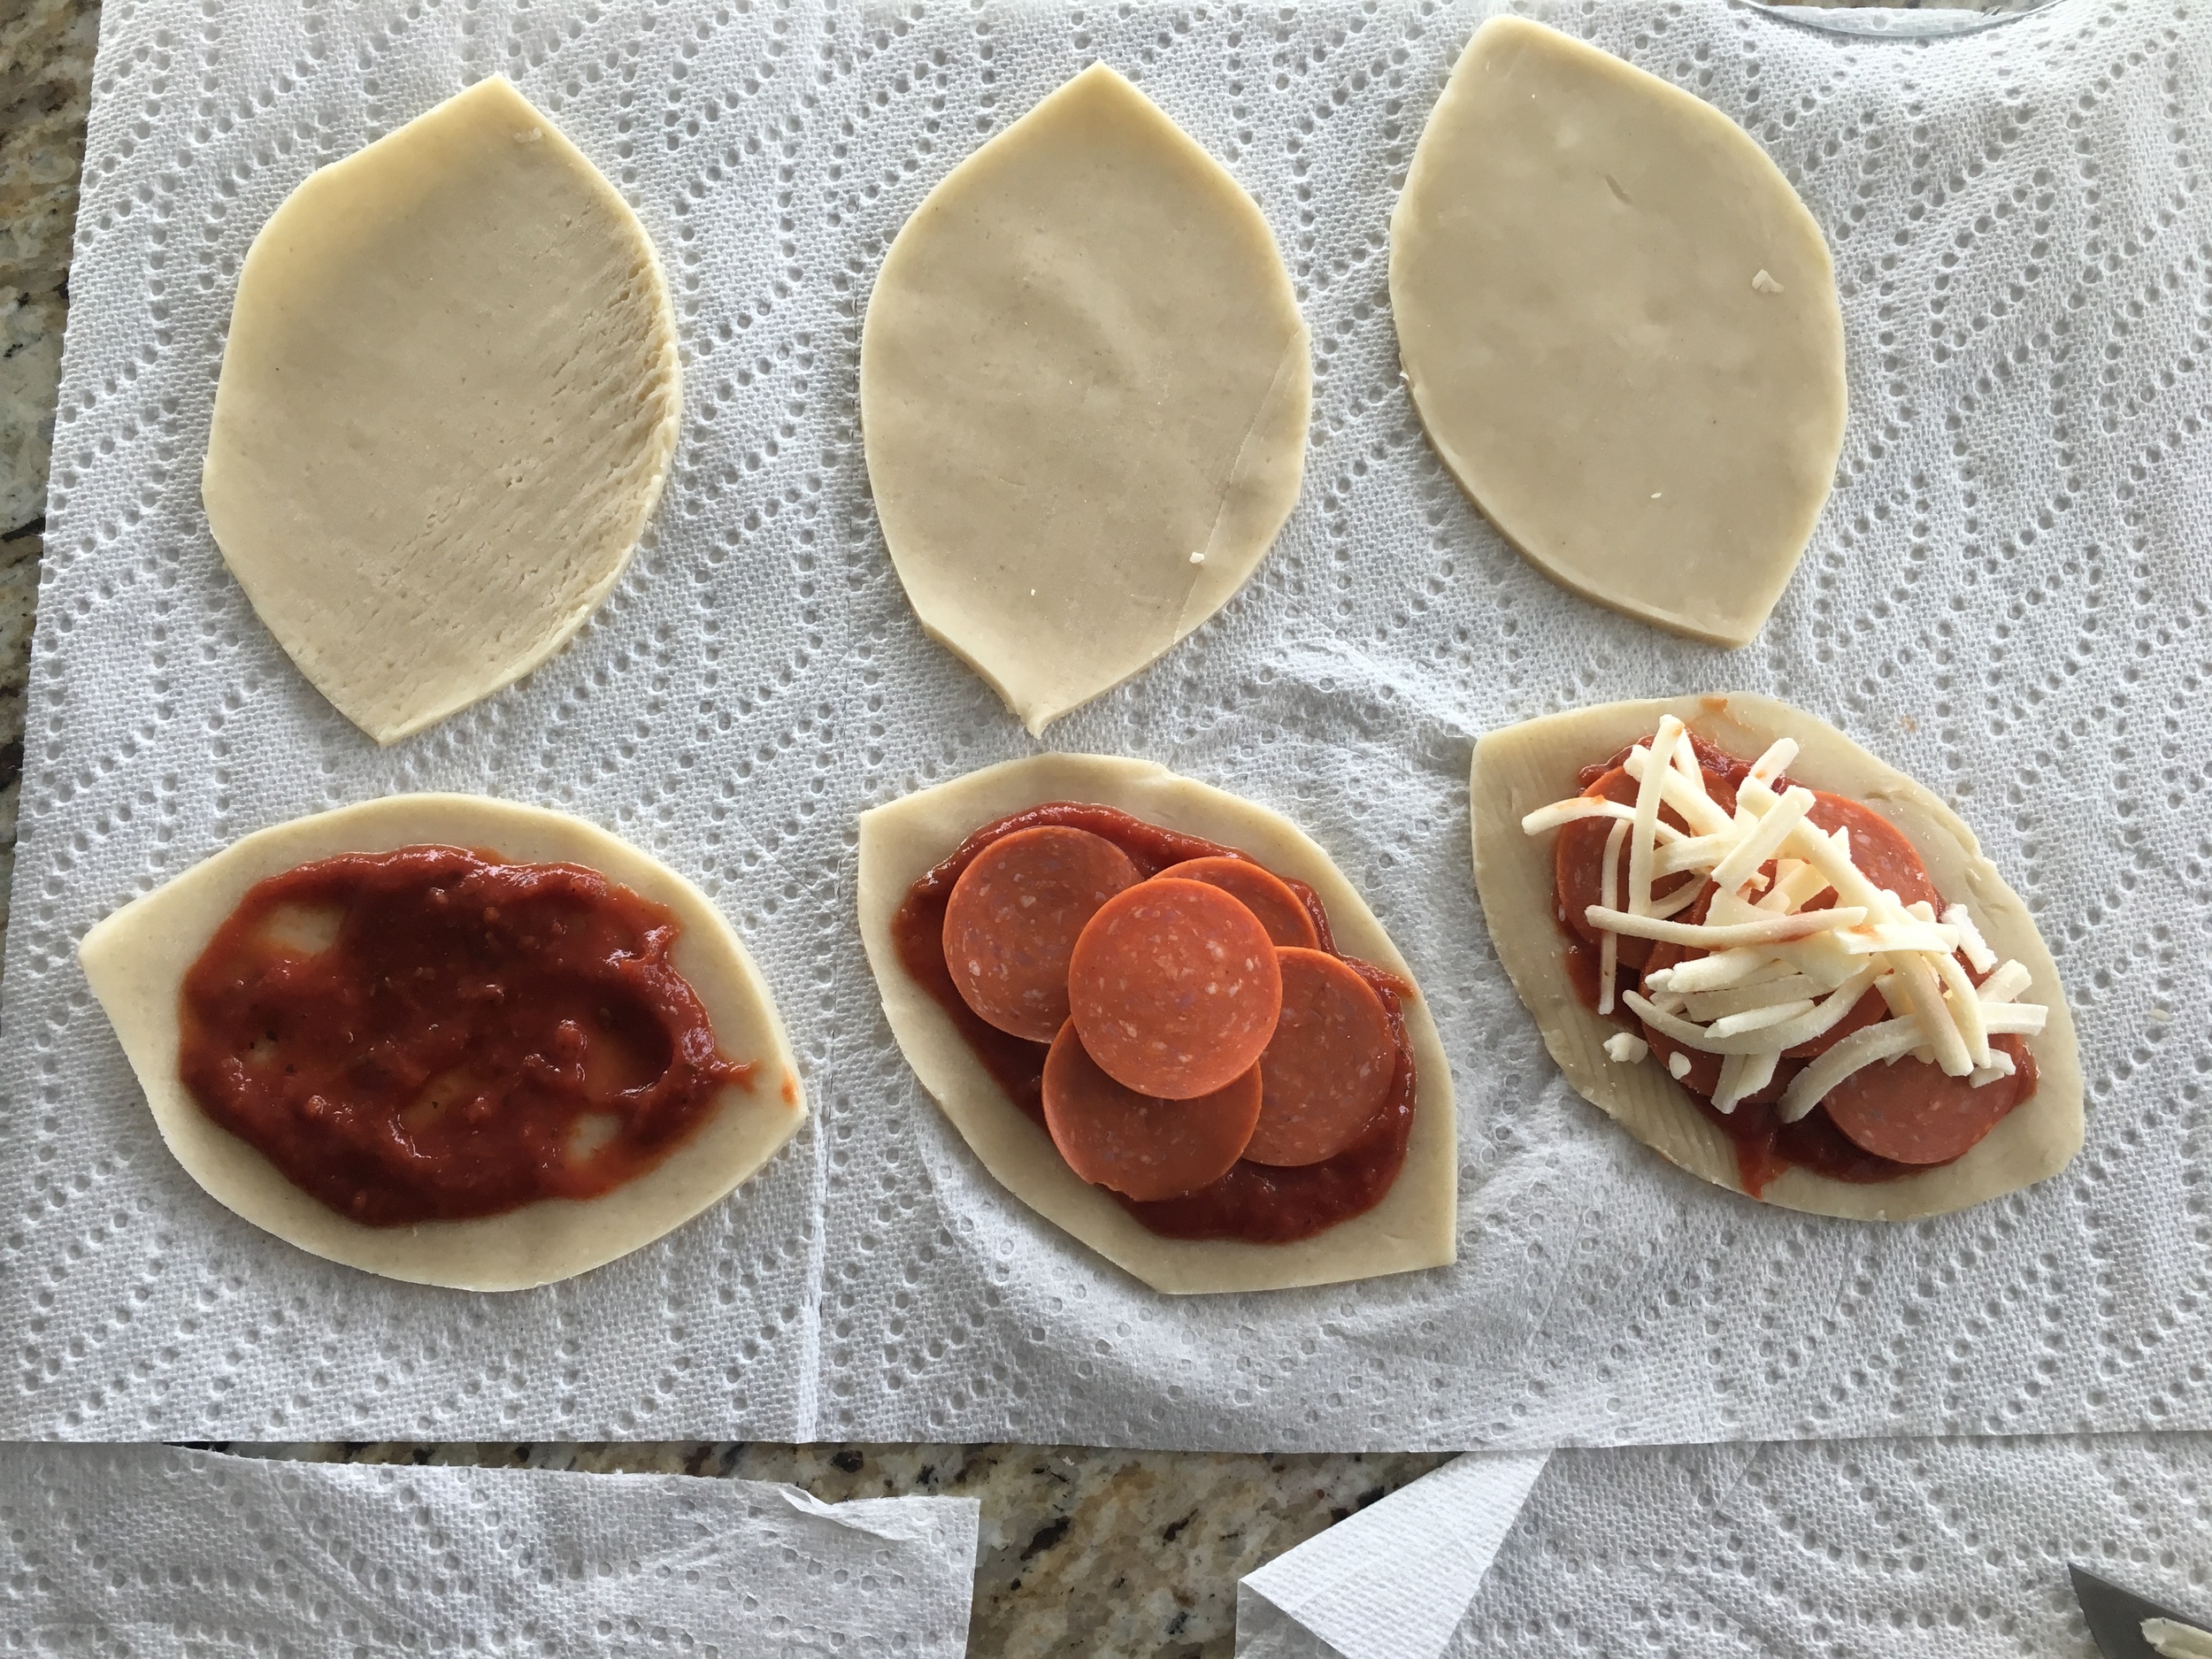
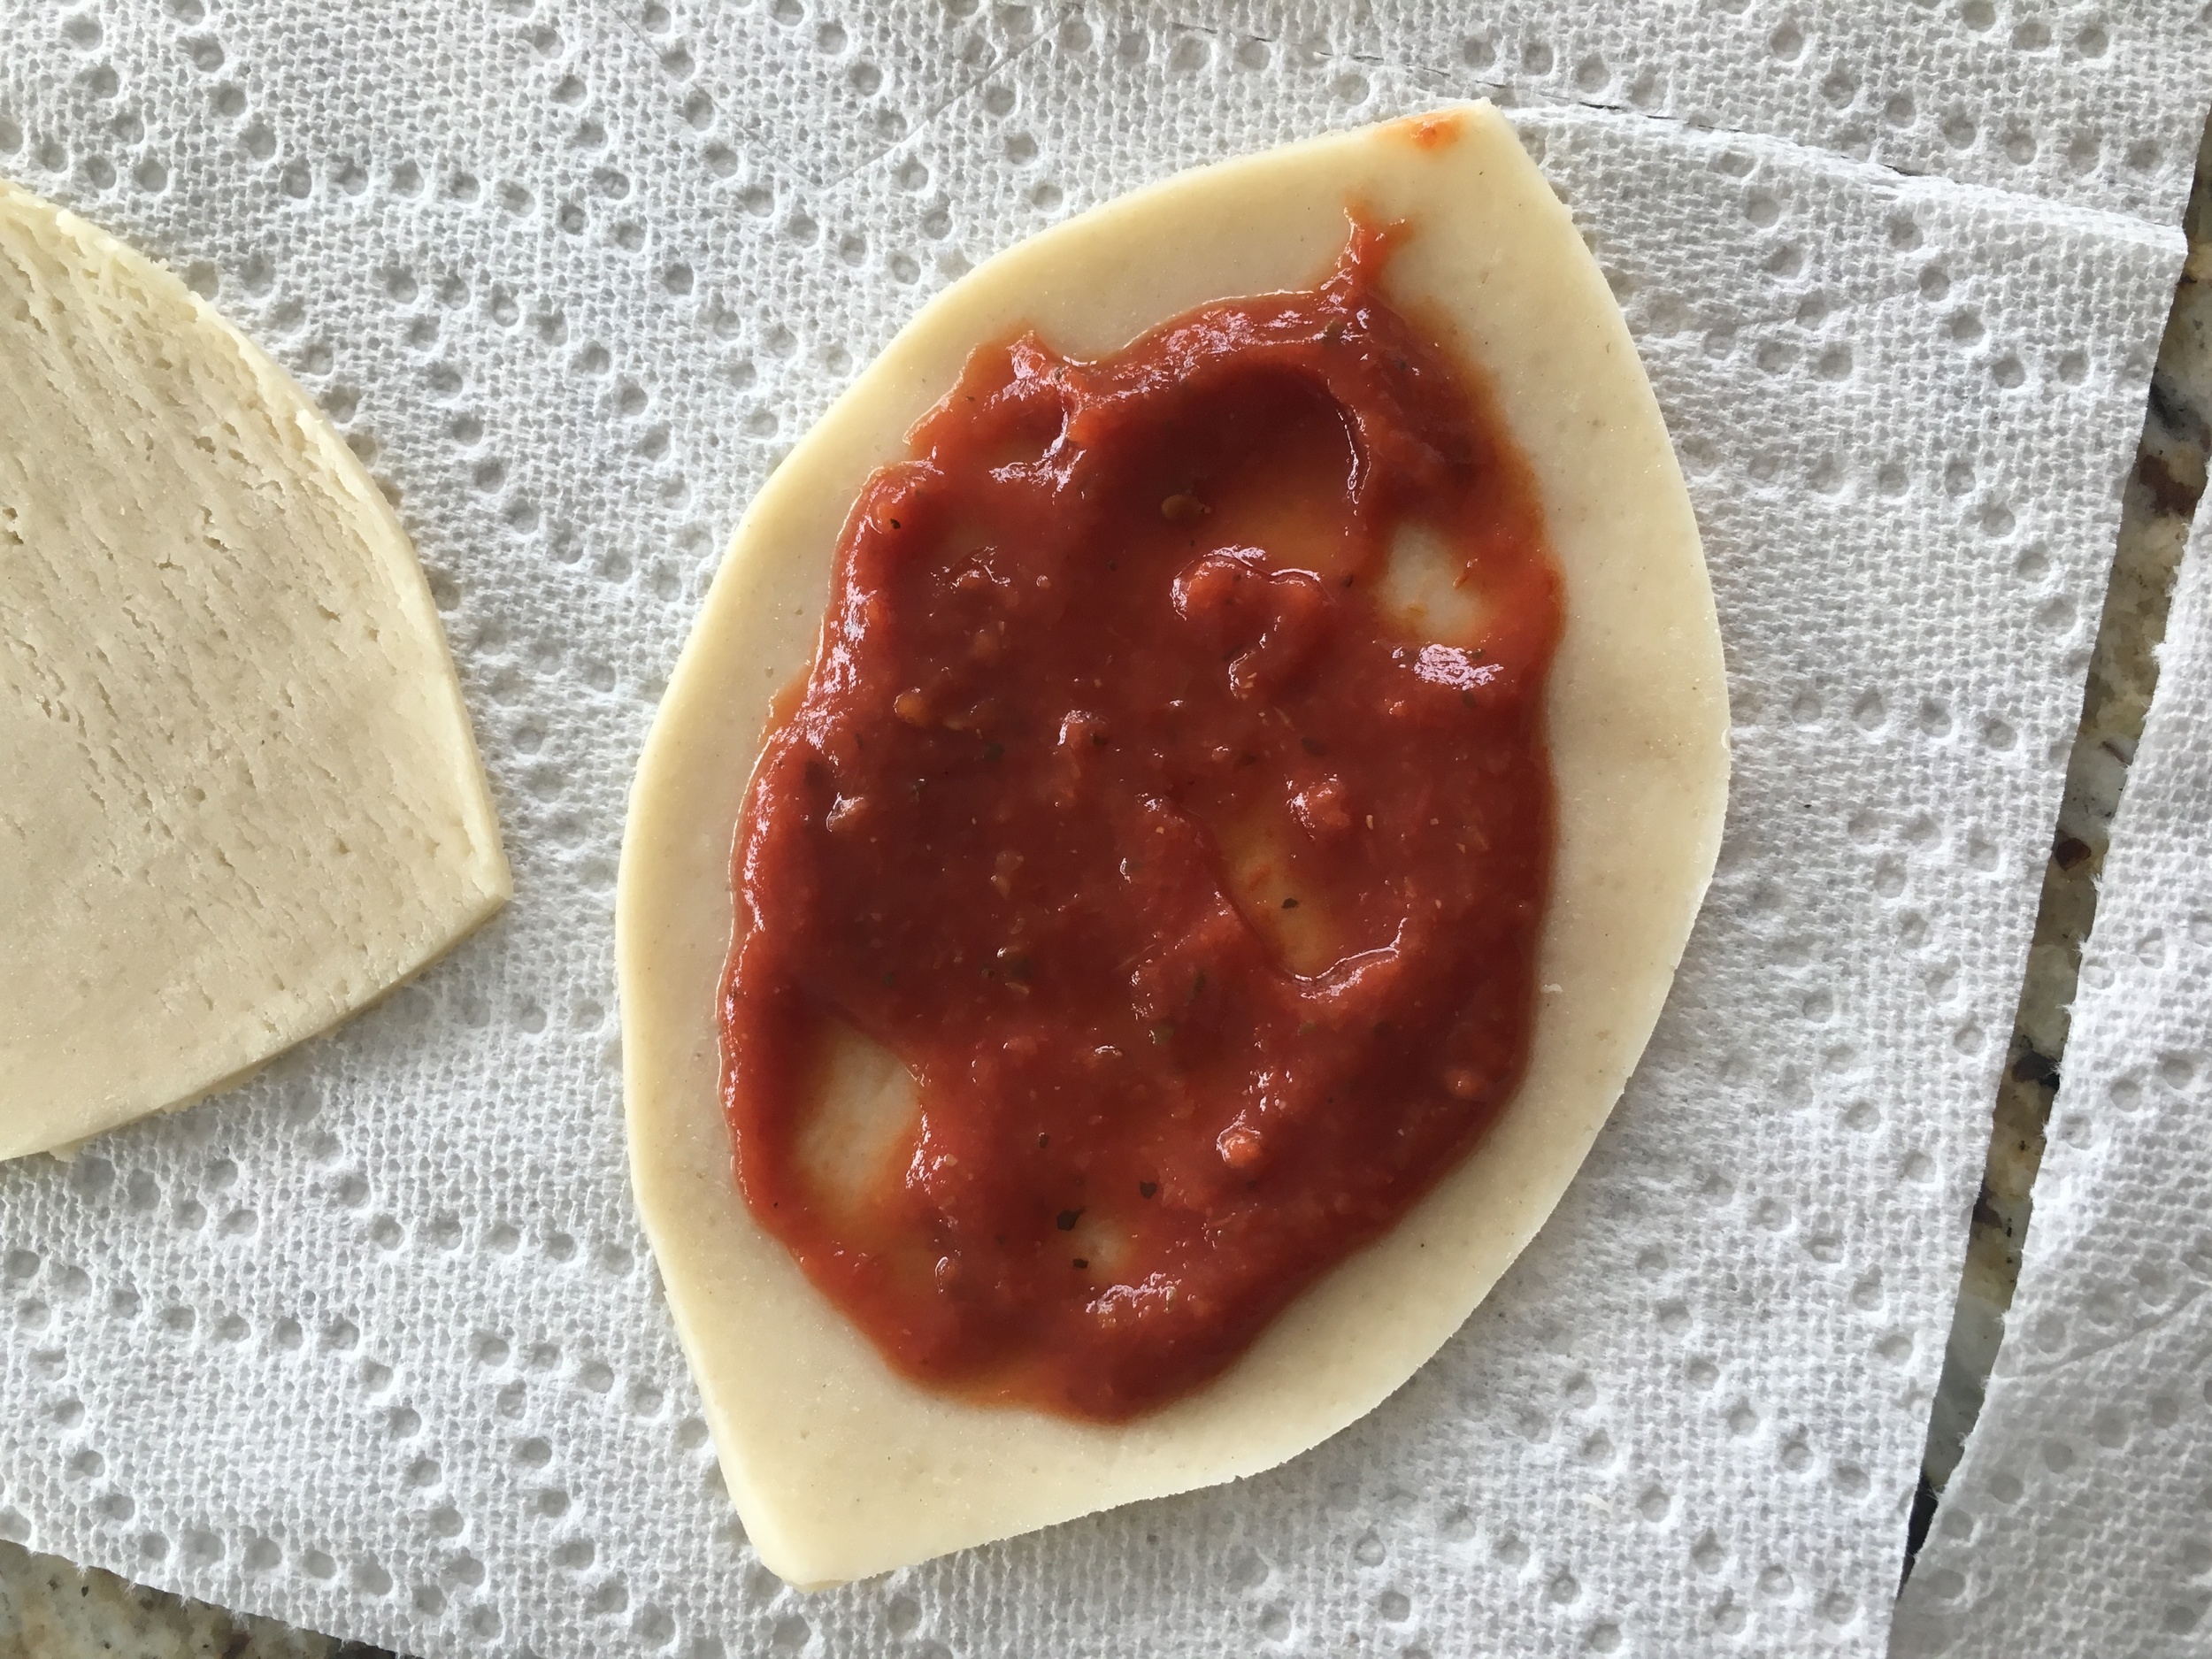
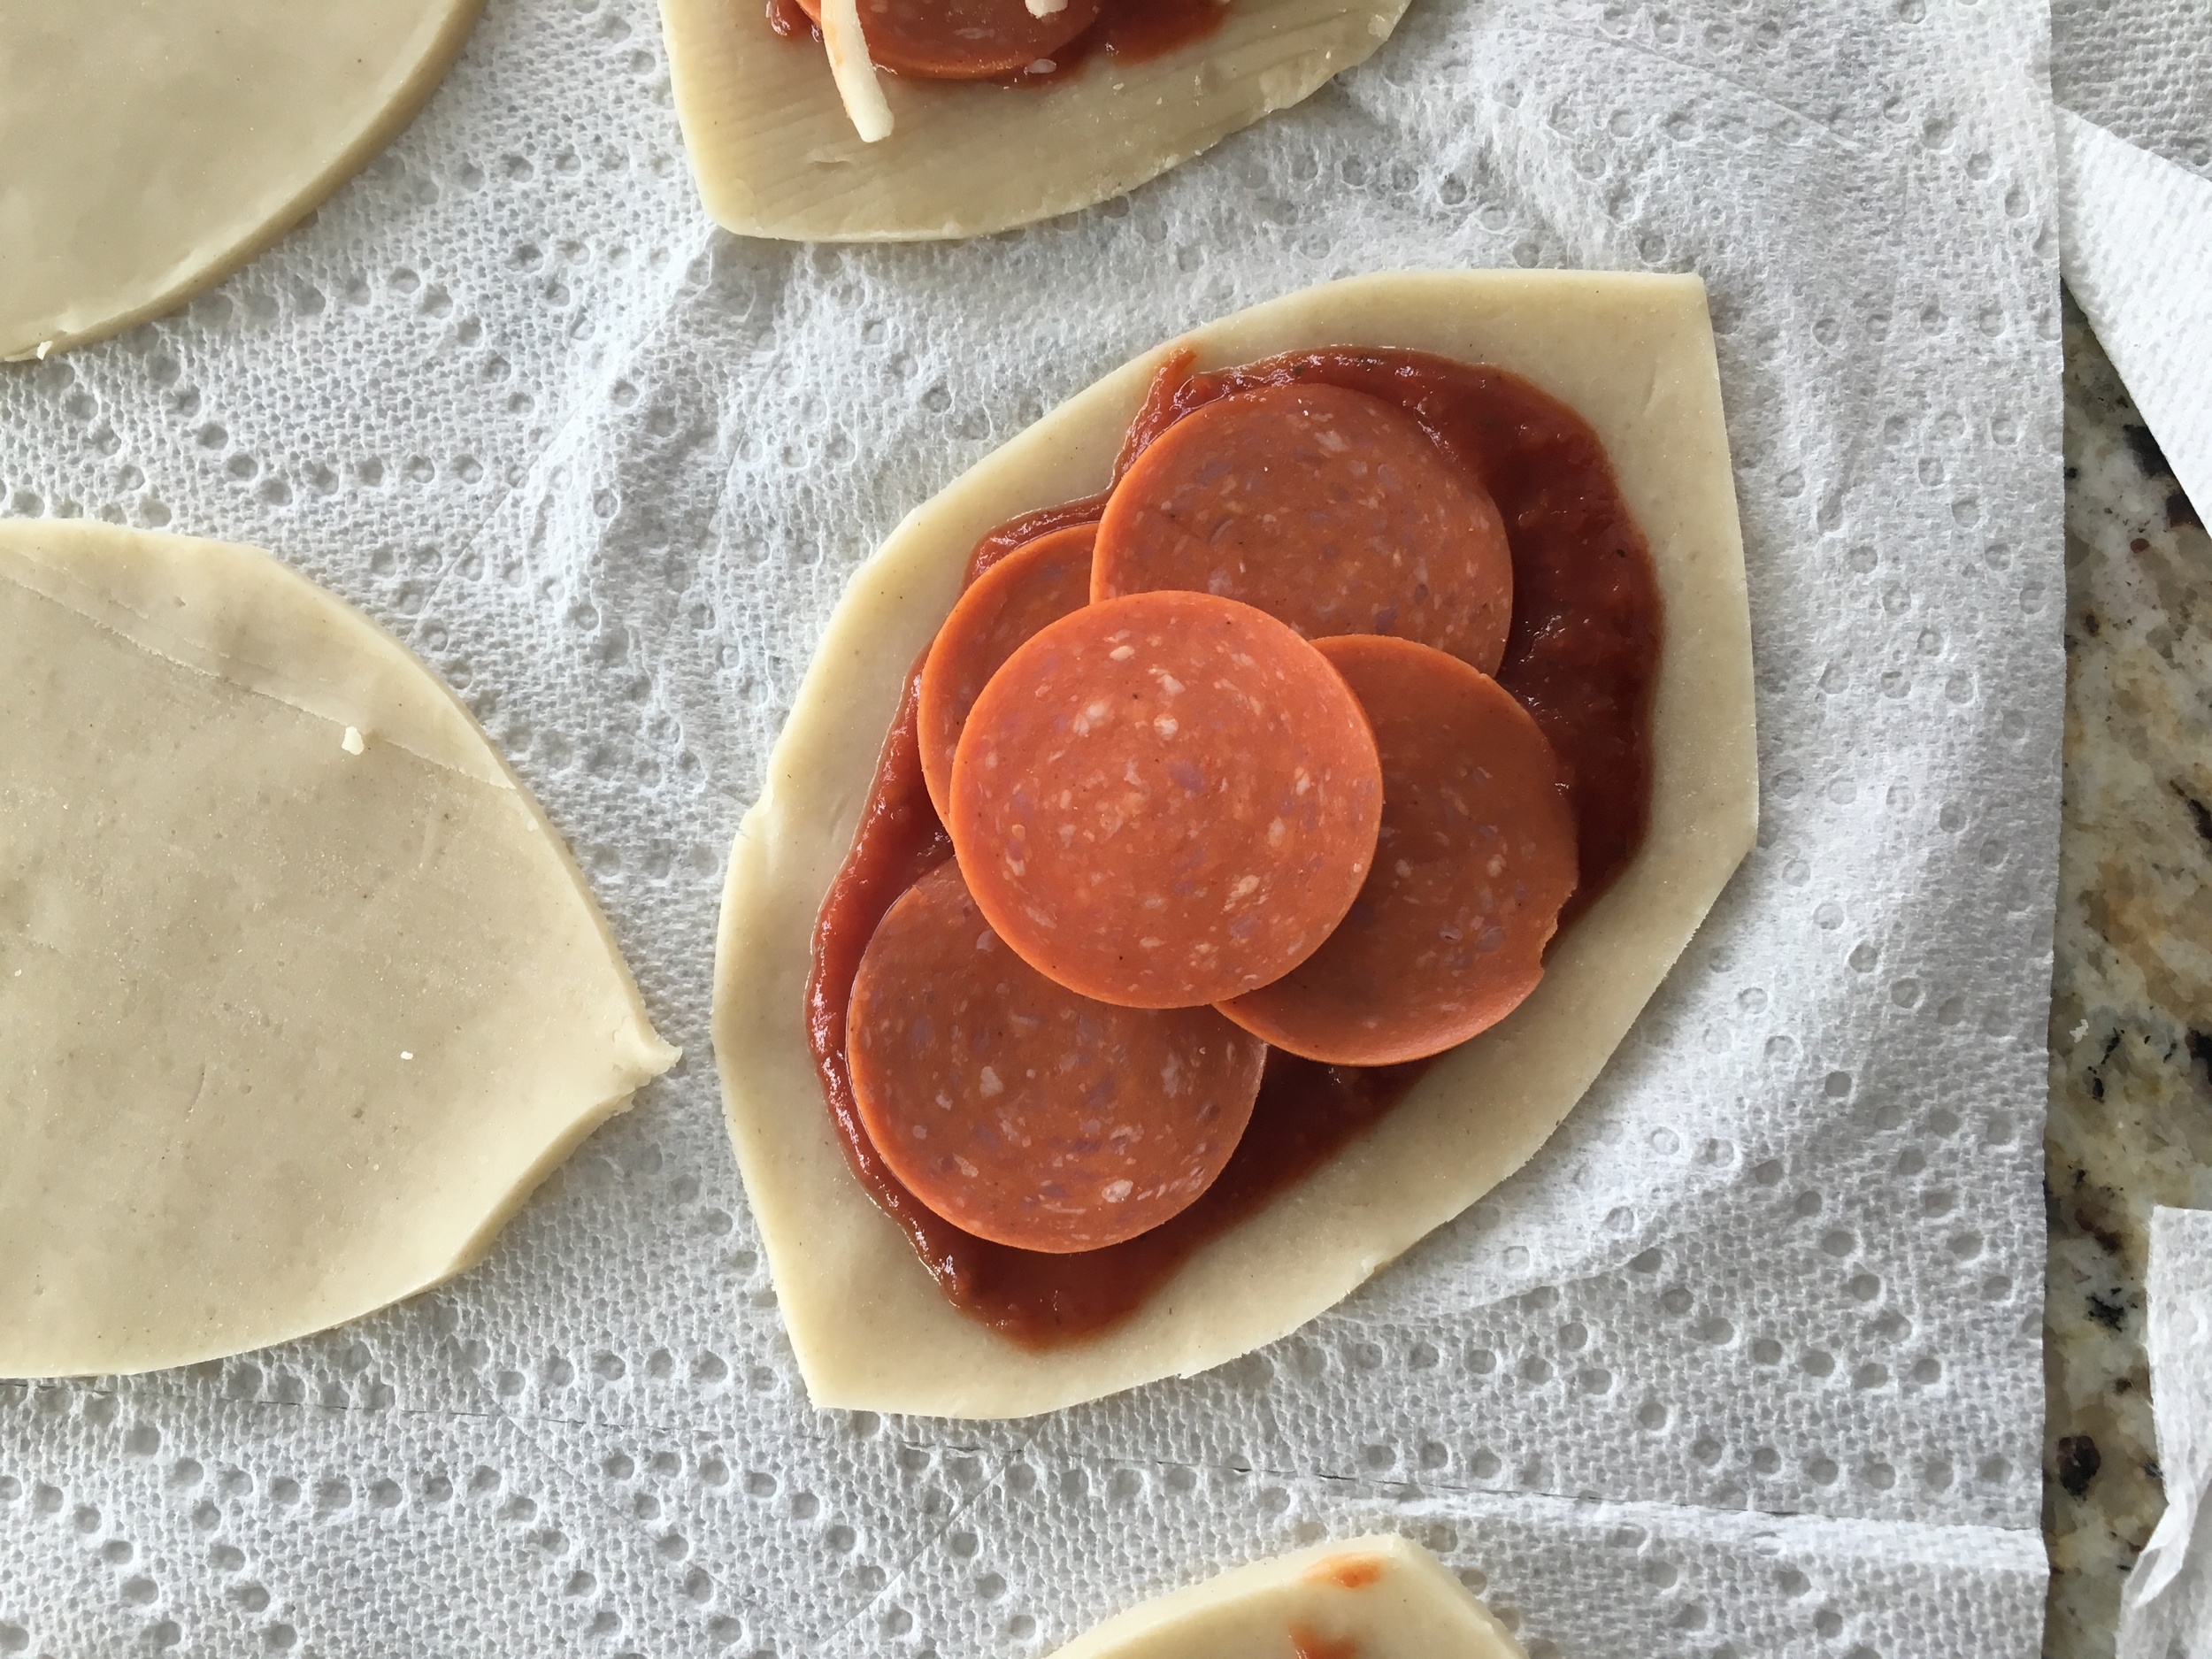
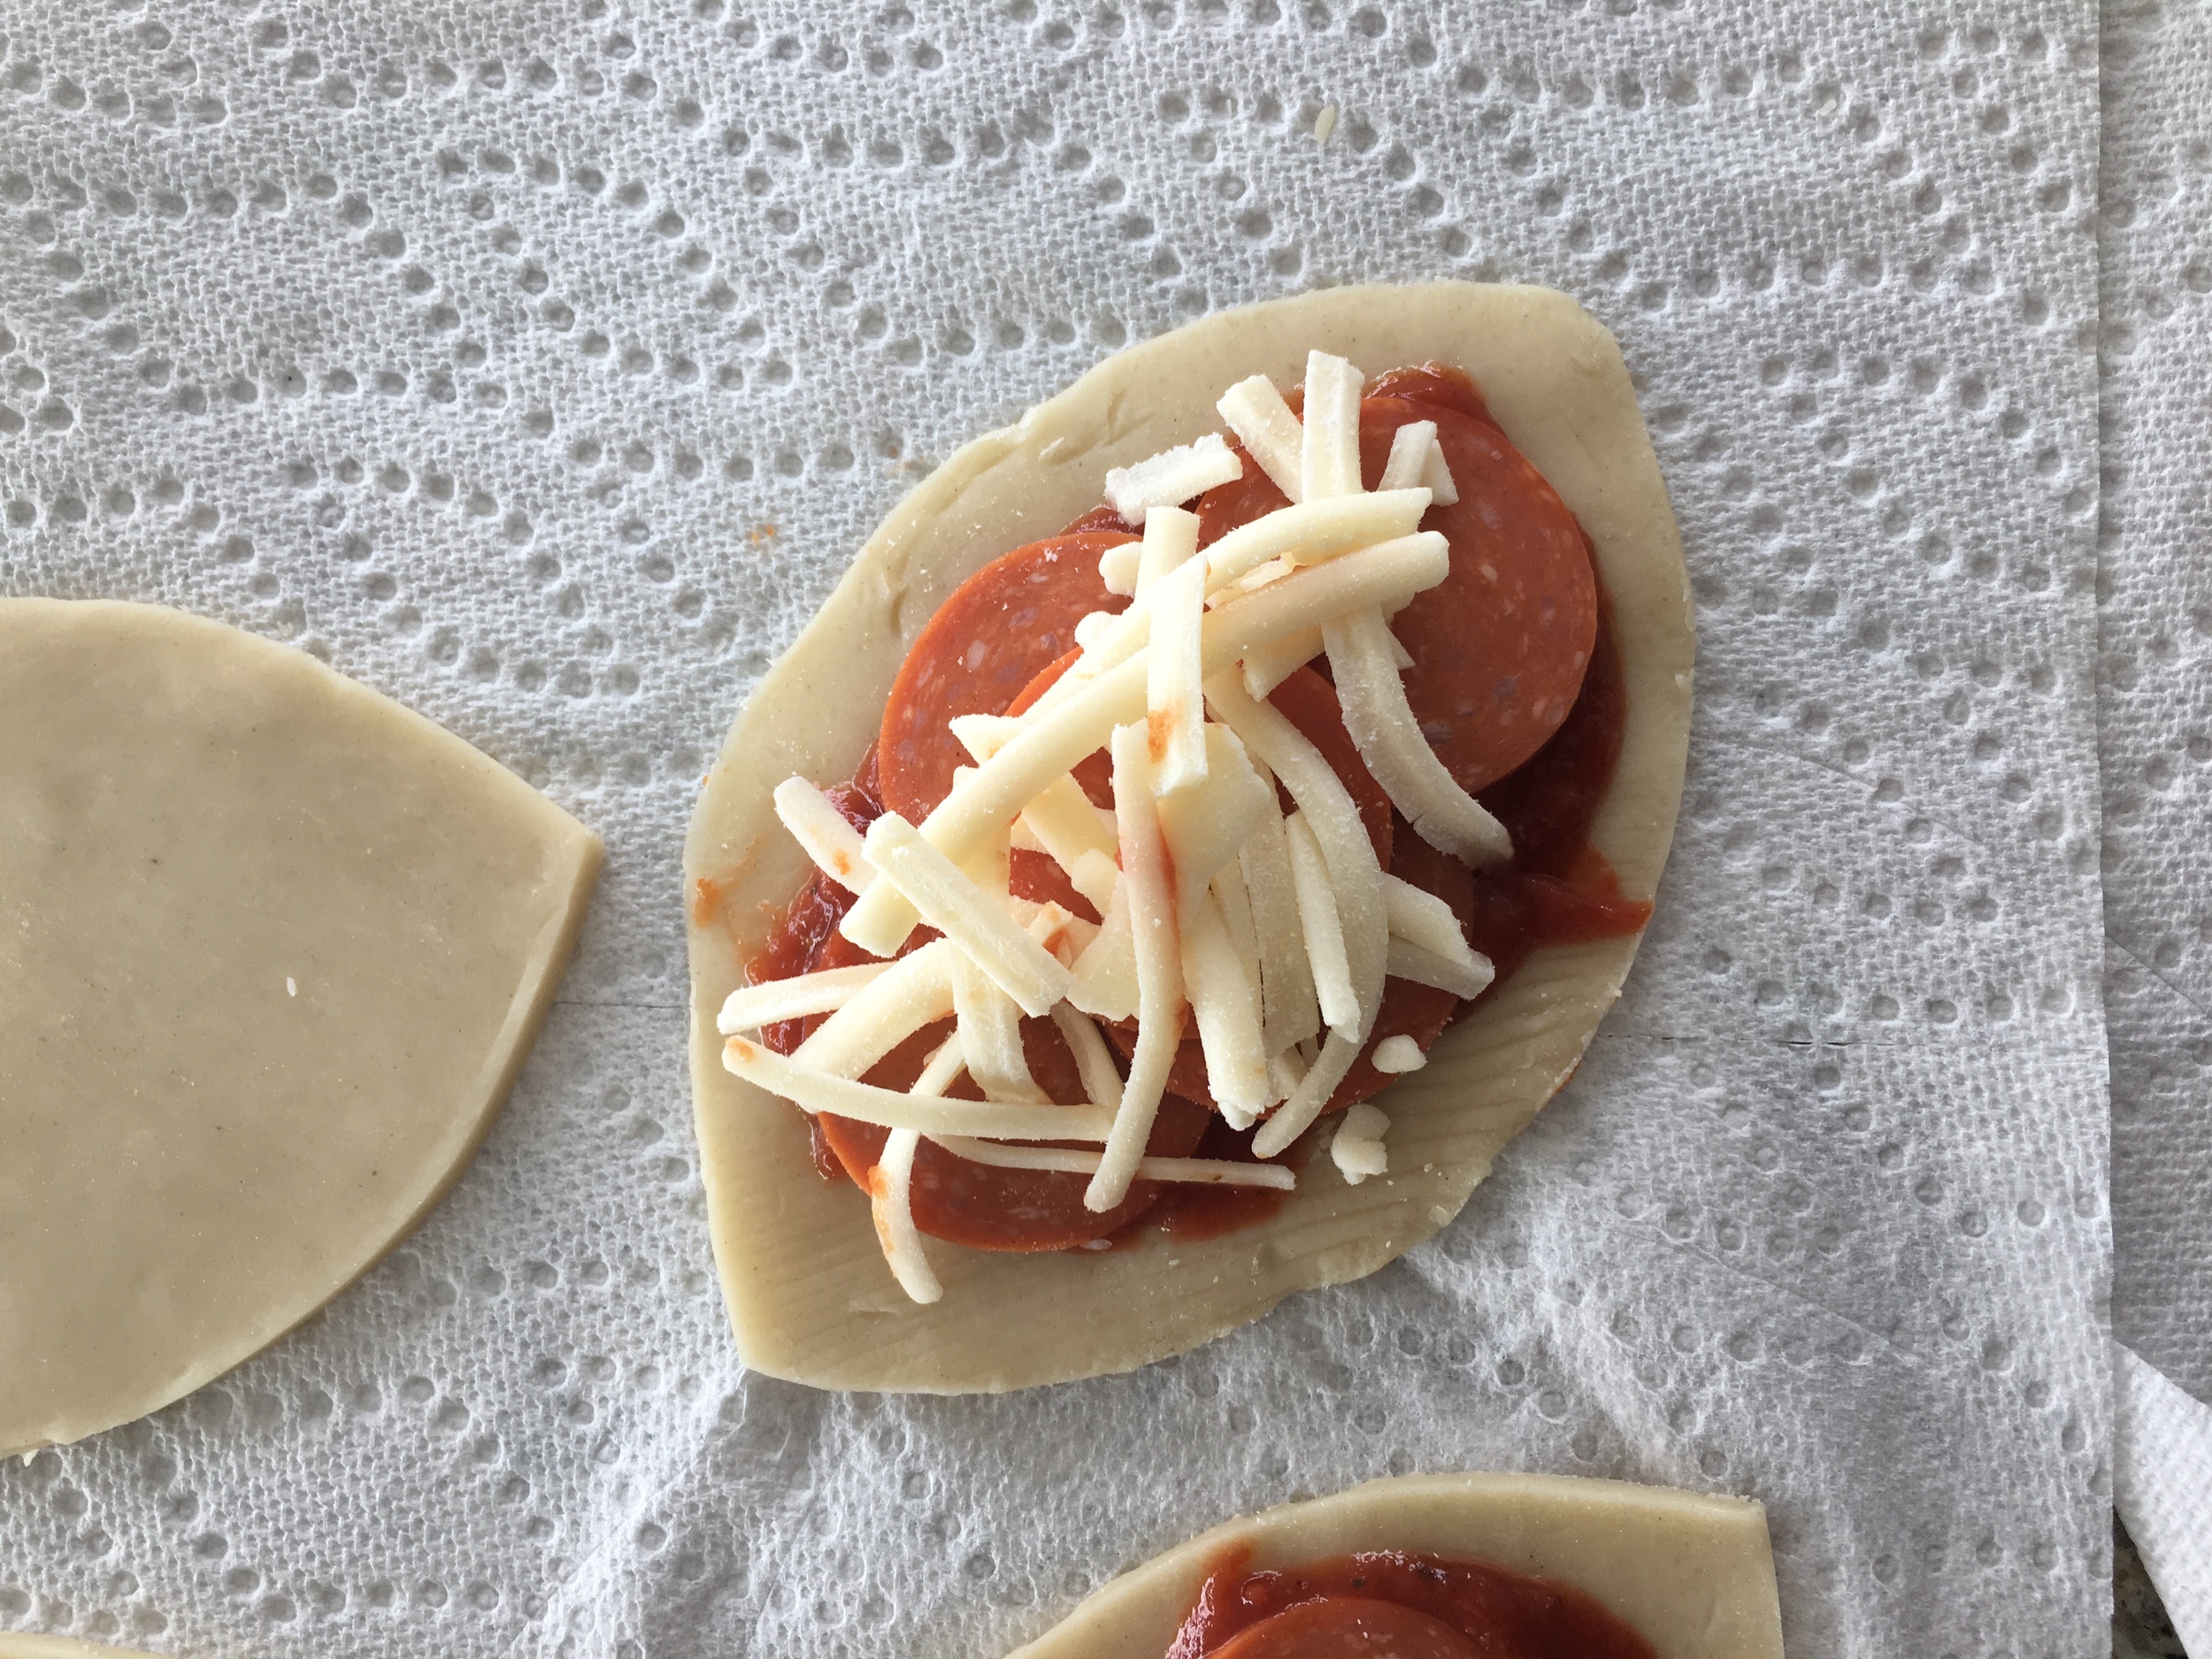
Once cooled mix your Chorizo, quinoa and cheese together. This will be your stuffing. Open the center of the flower and add in your stuffing (1-2 TSP) and set aside till all flowers are stuffed.

Once you are ready to fry up the flowers add oil to a pan and let it heat up on medium heat.

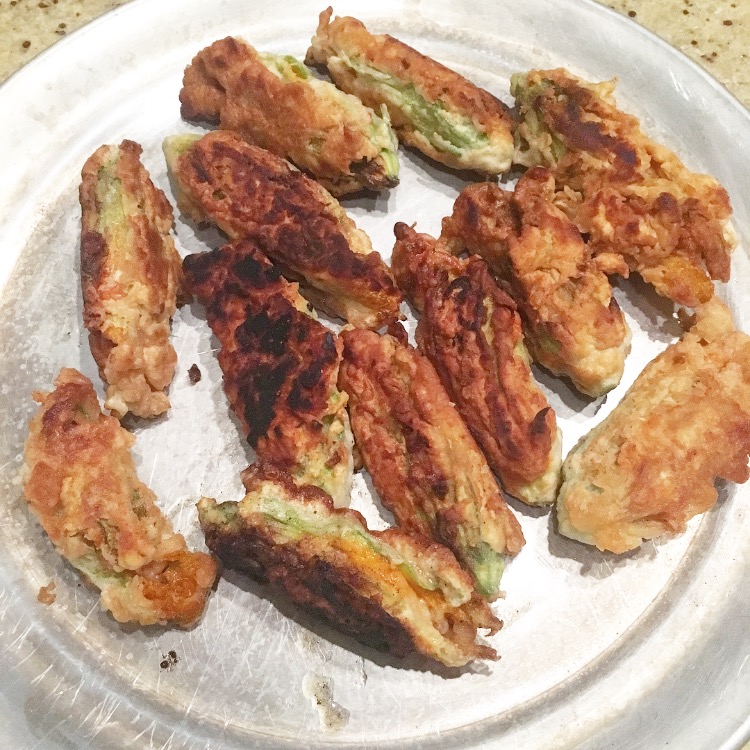
Roll your stuffed flowers into your flour followed by your egg wash and again in your flour before plopping it in the oil. Once four or five of them are in your pan make sure you rotate them so they dont burn and allow those to cook until they are golden. (If you notice that they are cooking to quickly and getting burnt turn the heat to low)

Once ready remove the flowers from the the pan and set aside on a plate covered in paper towel to absorb excess oil.

Continue battering and cooking the rest of your flowers until you are done. Lightly salt the plate full of flowers before serving!


I hope you enjoyed this recipe as much as I do. If you have any comments please leave them below and I'll be happy to answer them as soon as I can! Happy cooking!!!


GLUTEN FREE MAC AND CHEESE BITES

I love me some good old mac & cheese!!!! Nothing says comfort food to me like a bowl of mac & cheese does. For me it always brings back childhood memories. Nowadays I find myself not eating so much of it because I am more calorie and health conscious but I'll admit these gluten free mac& cheese bites are great for any party that you may be throwing. They aren't difficult to make at all and kids love them for birthday parties. I'm totally going to add these to my Super Bowl menu this year! Enjoy

INGREDIENTS:

Rice Pasta (I substituted this for regular elbow pasta)
2 TBSP of Butter
2 TBSP of Quinoa Flour (I substituted this for flour)
1.5 Cups of Milk
2 OZ Cream Cheese
3/4 Cup of Sharp Cheddar Cheese
3/4 Cup of shredded Mozzarella (optional)
1 Packet of Kraft Dinner Powdered Cheese Sauce (optional)
Salt and Pepper (as desired)
1 Egg (whisked)

**You will also need a muffin tray that is sprayed with non stick cooking spray or buttered.


DIRECTIONS:

Preheat oven to 400 degrees

Boil water to make your pasta. Salt the water and throw in your pasta.

In a sauce pan add in your butter. Allow to melt on medium low heat then throw in your quinoa flour. Whisk together until fully incorporated. .

Next add in your milk slowly stirring with your whisk the whole time.  Allow milk to come to a simmer before removing from heat and adding in all your cheeses! Whisk together until smooth.

By now your pasta should be ready to be drained. Drain and allow access water to drip off before returning to pot. Add your egg to the pot with the pasta followed by the cheese sauce. Mix together so pasta is evenly covered. You can add pepper and salt now if you wish (remember that the cheese and butter does add salt to the dish already so you dont need much)

Scoop out pasta into your muffin tray (remember it has to be buttered or sprayed with non stick for easy removal later).

Place in oven and allow to bake for 16-17 minutes or until golden on the top!

Remove from oven and allow to cool for 5 minutes before removing from muffin tin.

They are now ready to serve! Enjoy!!!


I hope you enjoyed this recipe as much as I do. If you have any comments please leave them below and I'll be happy to answer them as soon as I can! Happy cooking!!!


CHOCOLATE COVERED STRAWBERRIES

Chocolate covered strawberries are a great dessert to have at your party or event. There are so many cool designs techniques that make them versatile for different occasions and really fun to make. I made mine using dark chocolate and white chocolate but you can easily interchange those with milk chocolate or ground walnuts! Just have fun with it :)

INGREDIENTS:

15 Large Strawberries
170 Grams of Dark Baking Chocolate (you an also use milk chocolate)
1/2 a bag of White Chocolate (I used Hersey's mini chocolate chips)

**You will also need toothpicks, Styrofoam and a zip-lock bag!

DIRECTIONS:

Wash your strawberries and place them on a drying rack. It is important for them to be free of moisture before you coat them so leave them to dry for at least an hour. Stick a toothpick in the fat end of the strawberry to help you grip them better.

If your dark chocolate comes in a bar break it up into smaller chunks so it melts faster and evenly. I used a food processor to do this quickly.

The best way to melt chocolate is to use a method called "double boiling" on low heat. This is done by filling up a small pot with water and bringing it to a light simmer. One the water starts to simmer reduce heat to low.

Next place your chopped up chocolate into a glass bowl slightly bigger then the pot so that the bottom of the glass bowl does not hit the bottom of the pot but is still submerged in the water (see photos)

You will slowly start to see the chocolate melt. Using a spatula move the chocolate around so that it evenly melts. Stir often with spatula in order to get the best consistency. Make sure no water gets into the chocolate!

Repeat the double boil process in a new glass bowl with your white chocolate.

Dip your strawberries in the dark chocolate. Use the toothpick to help you rotate the strawberry so it is evenly covered in chocolate on all sides. Allow access chocolate to drip off before placing it upside down to dry so the toothpick is in the Styrofoam.

Continue until all the strawberries are covered and place upside down on the Styrofoam to dry.

Next put the white chocolate in a zip lock bag and push it to one corner. Cut a small hole in that corner so that the white chocolate can come out slowly. Pick up a strawberry and quickly move across it (side to side or back and forth) while squeezing the white chocolate bag to create your design. Place it back upside down on the Styrofoam. Repeat with remaining strawberries.

Once finished place strawberries and Styrofoam in the freezer for 30min to 1 hour to harden. Once harden you can serve them to your guest.


I hope you enjoyed this recipe. I would love to know your thoughts! If you have and suggestions or question please feel free to leave them in the comments below!

FOOTBALL PEPPERONI PIZZA PIES

Now that's a real pizza pie. Note that I only did this with pie crust because that's what I had in the fridge. They tasted great but personally as a pizza connoisseur I would have preferred to use pizza dough! I just like that texture better but that's just me. They still taste great it just depends on what you like. You do you! Anyways for Superbowl 50 I would totally add these to my menu. They are easy and filling and dont take to much time or effort to make. Your guest will definitely enjoy these little pizza pies and how they look like little footballs!!!

Yields: 3 Pie's

INGREDIENTS:

200 Grams of Pillsbury Pie Crust (you can also use pizza dough)
Tomato Sauce
Pepperoni Slices
Mozzarella Cheese
Garlic Powder *forgot to add this to ingredients photo

Ingredients for Egg Wash (Optional)
1 Egg (beaten)
1 TBSP of Milk
1 TSP of Salt

DIRECTIONS:

Preheat over to 375 degrees.

Roll out your pie crust and using a bowl imprint your football shape or use it as a guide. Cut out your football shapes - you can get about 6 of them out of 200 grams of dough. (If you need to roll up the dough in a ball and roll it out again to get another piece, do so.

Next add your toppings starting with tomato sauce. I did pepperoni and mozzarella cheese. I also sprinkled the pizza with garlic powder at the end for extra flavor. Using a clean brush use the egg wash along the edge of the football. Place another layer of dough on top and with a fork press down the sides to seal the football.

Egg wash the top of the football before cutting your football laces into the top of the football.

Bake in the oven for 20 minutes before removing and allowing to cool slightly.

Serve with a side of tomato sauce for dipping.


I hope you enjoyed this recipe as much as I do. If you have any comments please leave them below and I'll be happy to answer them as soon as I can! Happy cooking!!!

MINI ROSE APPLE PIE

Recently I've been searching for new recipes to try and add to my Superbowl Sunday menu. Next weekend is the Super Bowl which means a lot of friends across the nation will gathered around together and spend their entire Sunday eating and cheering for their favorite team! Even though I'm not a big football fan I still do enjoy participating in this event and getting together with friends to watch the game, drink and eat food. Since most of the time these gatherings don't involve an actual sit down meal finger foods and bite-size food are always a good choice. This way as people get hungry they can just grab a little bite and don't even need a plate necessarily. That is why I decided to try these mini rose apple pies. They are small enough to fit into your palm and take about two's bites to devour. Just enough of the dessert to satisfy you without having to commit to filling up on this one dessert choice. It also helps that they are super pretty! hehe

Servings: One 200Gr Pie Crust makes about 6 mini pies roses.

INGREDIENTS:

3 Apples (Washed and cut into quarters, remove seeds than slice thinly)
6 TBSP of White Granulated Sugar
1/4 -1/2 of a Lemon (juiced)
400Gr PiIlsberry Pre-made Pie Crust
Cinnamon Spice (as desired)
Icing sugar for garnish (as desired)

*You will also need toothpicks and a baking tray covered in wax paper/ nonstick baking sheet.
 

DIRECTIONS:

In a sauce pan add in your thinly sliced apples, 2 TBSP of sugar and lemon juice. Fill sauce pan with water to submerge your apples and place on stove on High heat. Bring your water to a boil, then reduce heat letting it simmer for an additional two minutes before draining the water.

Lay the apples out on a absorbent cloth to suck up any access water.

Preheat over to 350 Degrees.

Next lay out one of your pie crust. Sprinkle it with the remaining sugar (more or less as you please) and cinnamon.

Cut the dough into 3/4 to 1 inch strips and place your apple slices slightly overlapping along the strip. Roll the strip and tie off the end using a toothpick to hold it in place. 

Place strip on baking tray (previously covered with wax paper)

 Bake for 20 to 25 minutes or until golden.

 Remove from oven and allow to cool before sprinkling icing sugar on top. Enjoy!!!


I hope you enjoyed this recipe as much as I do. If you have any comments please leave them below and I'll be happy to answer them as soon as I can! Happy cooking!!!