GLUTEN FREE MAC AND CHEESE BITES

I love me some good old mac & cheese!!!! Nothing says comfort food to me like a bowl of mac & cheese does. For me it always brings back childhood memories. Nowadays I find myself not eating so much of it because I am more calorie and health conscious but I'll admit these gluten free mac& cheese bites are great for any party that you may be throwing. They aren't difficult to make at all and kids love them for birthday parties. I'm totally going to add these to my Super Bowl menu this year! Enjoy
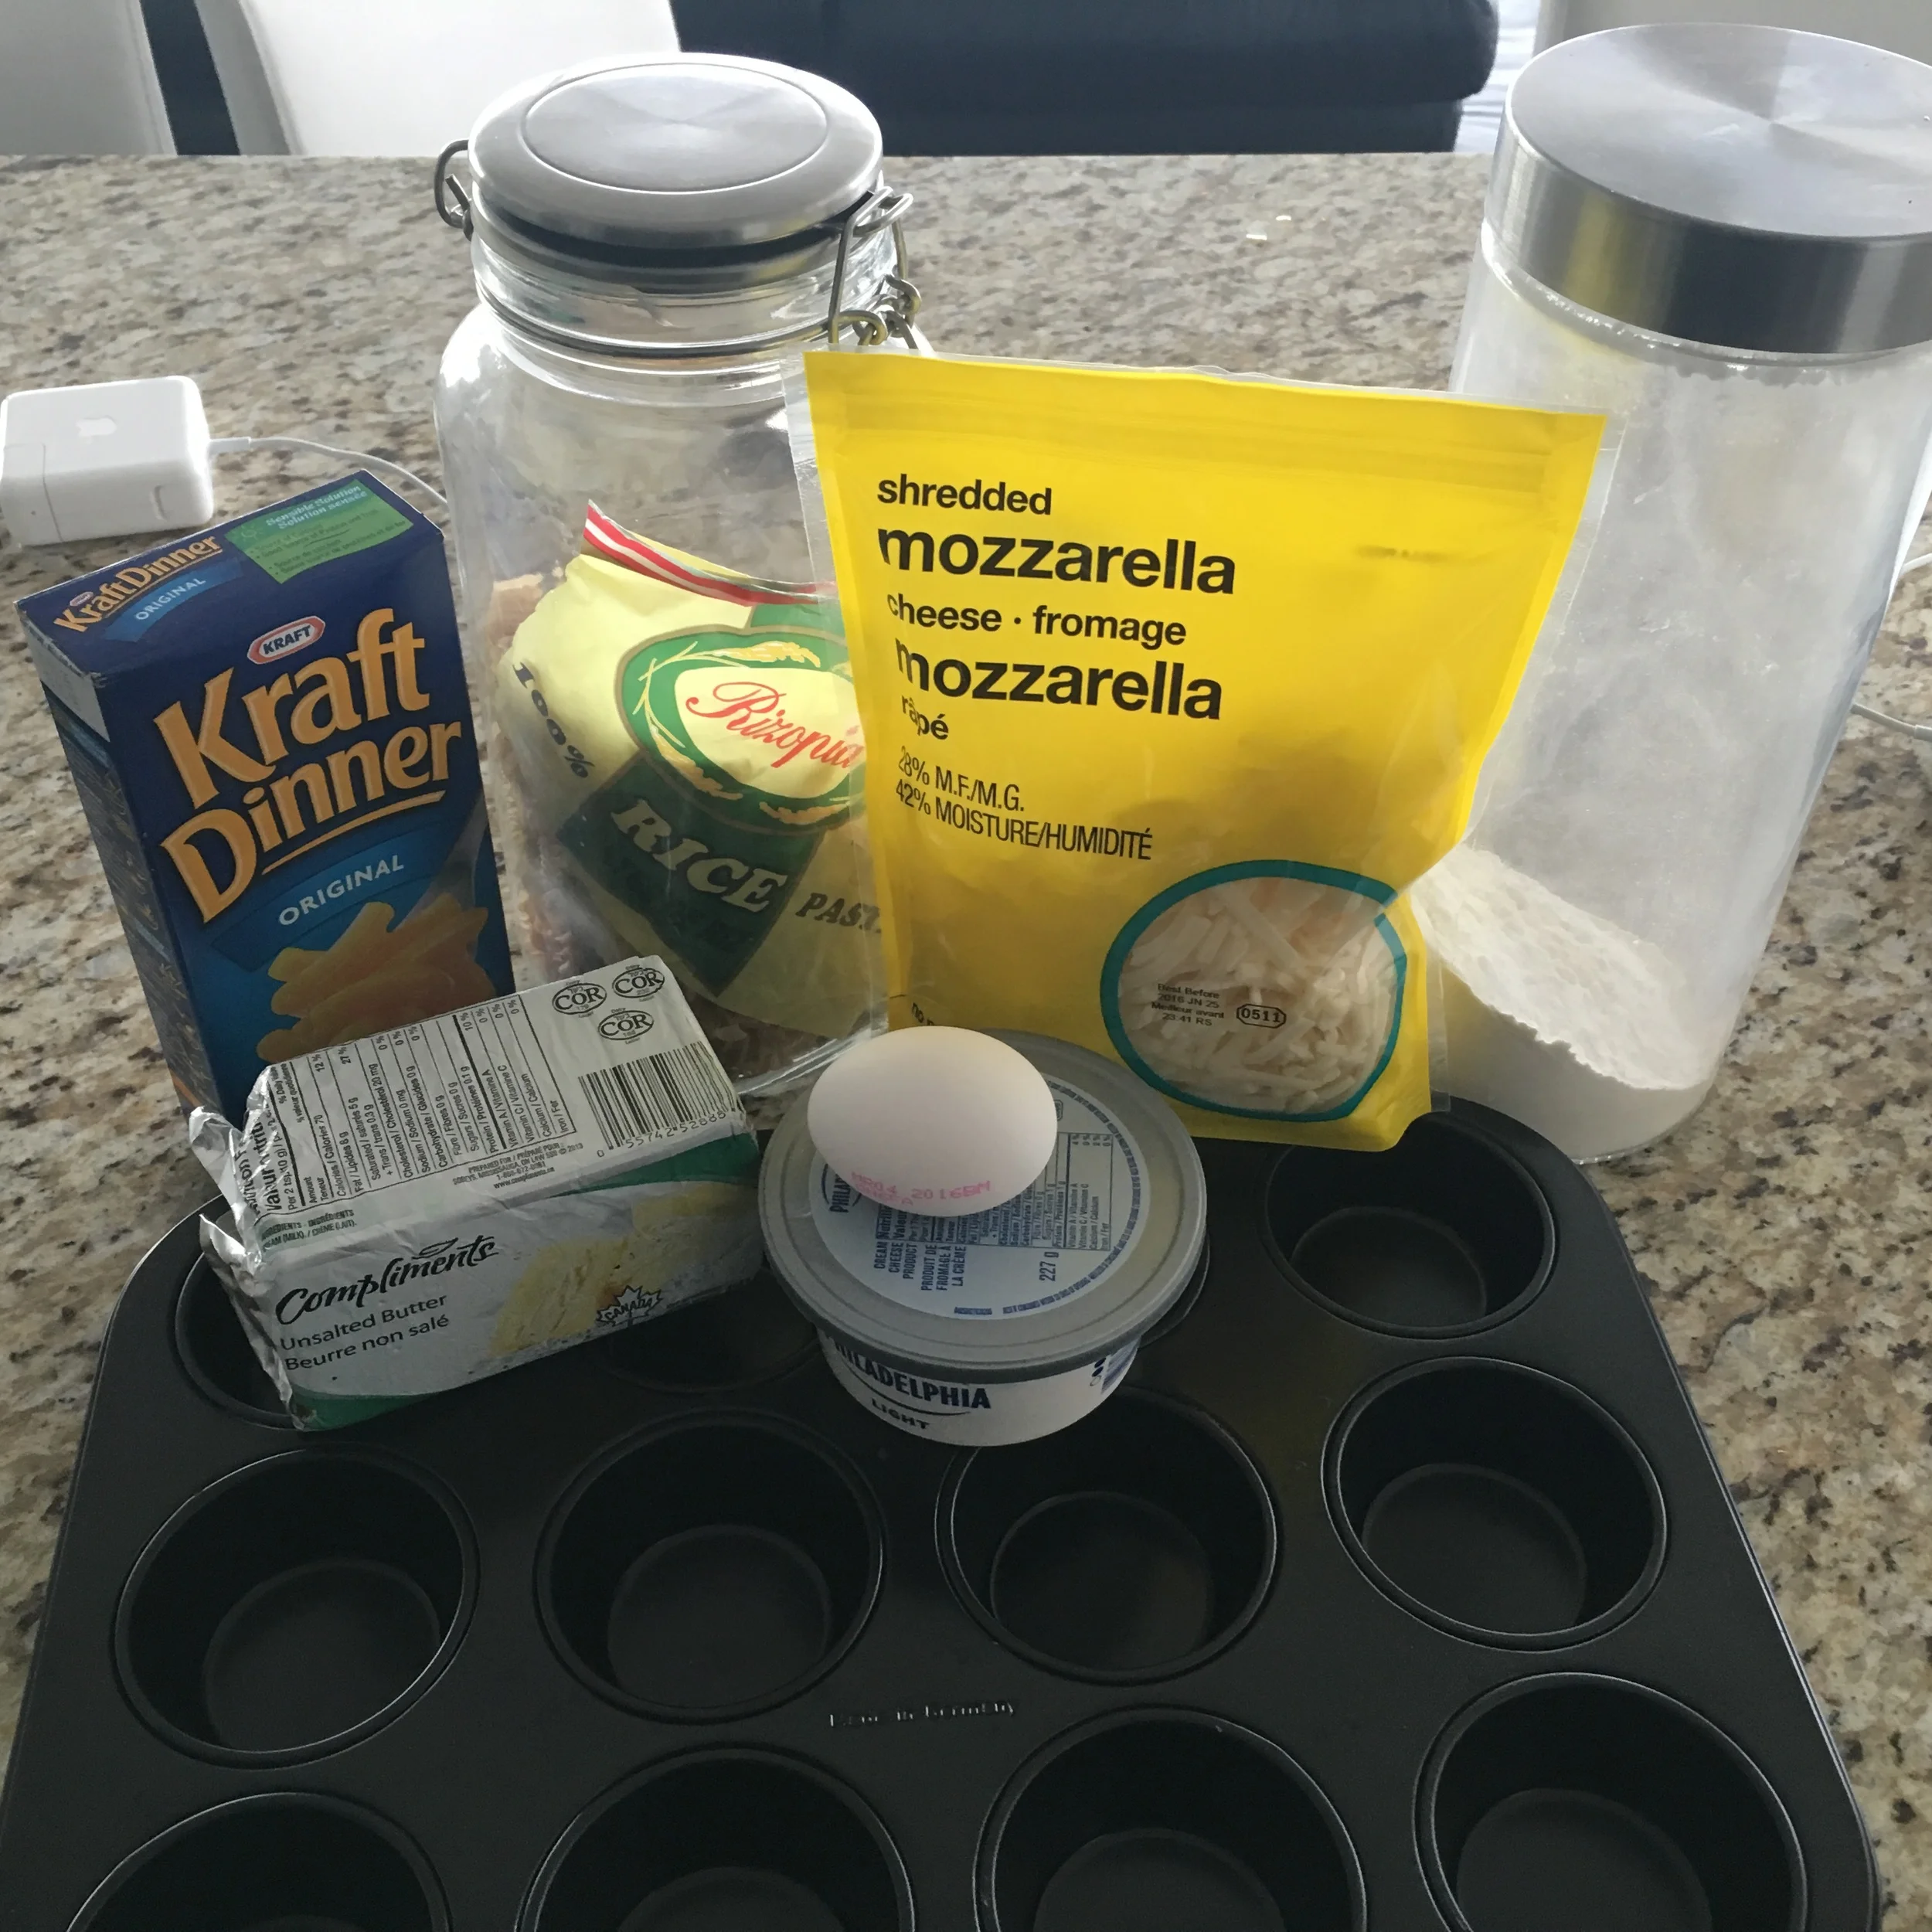
INGREDIENTS:

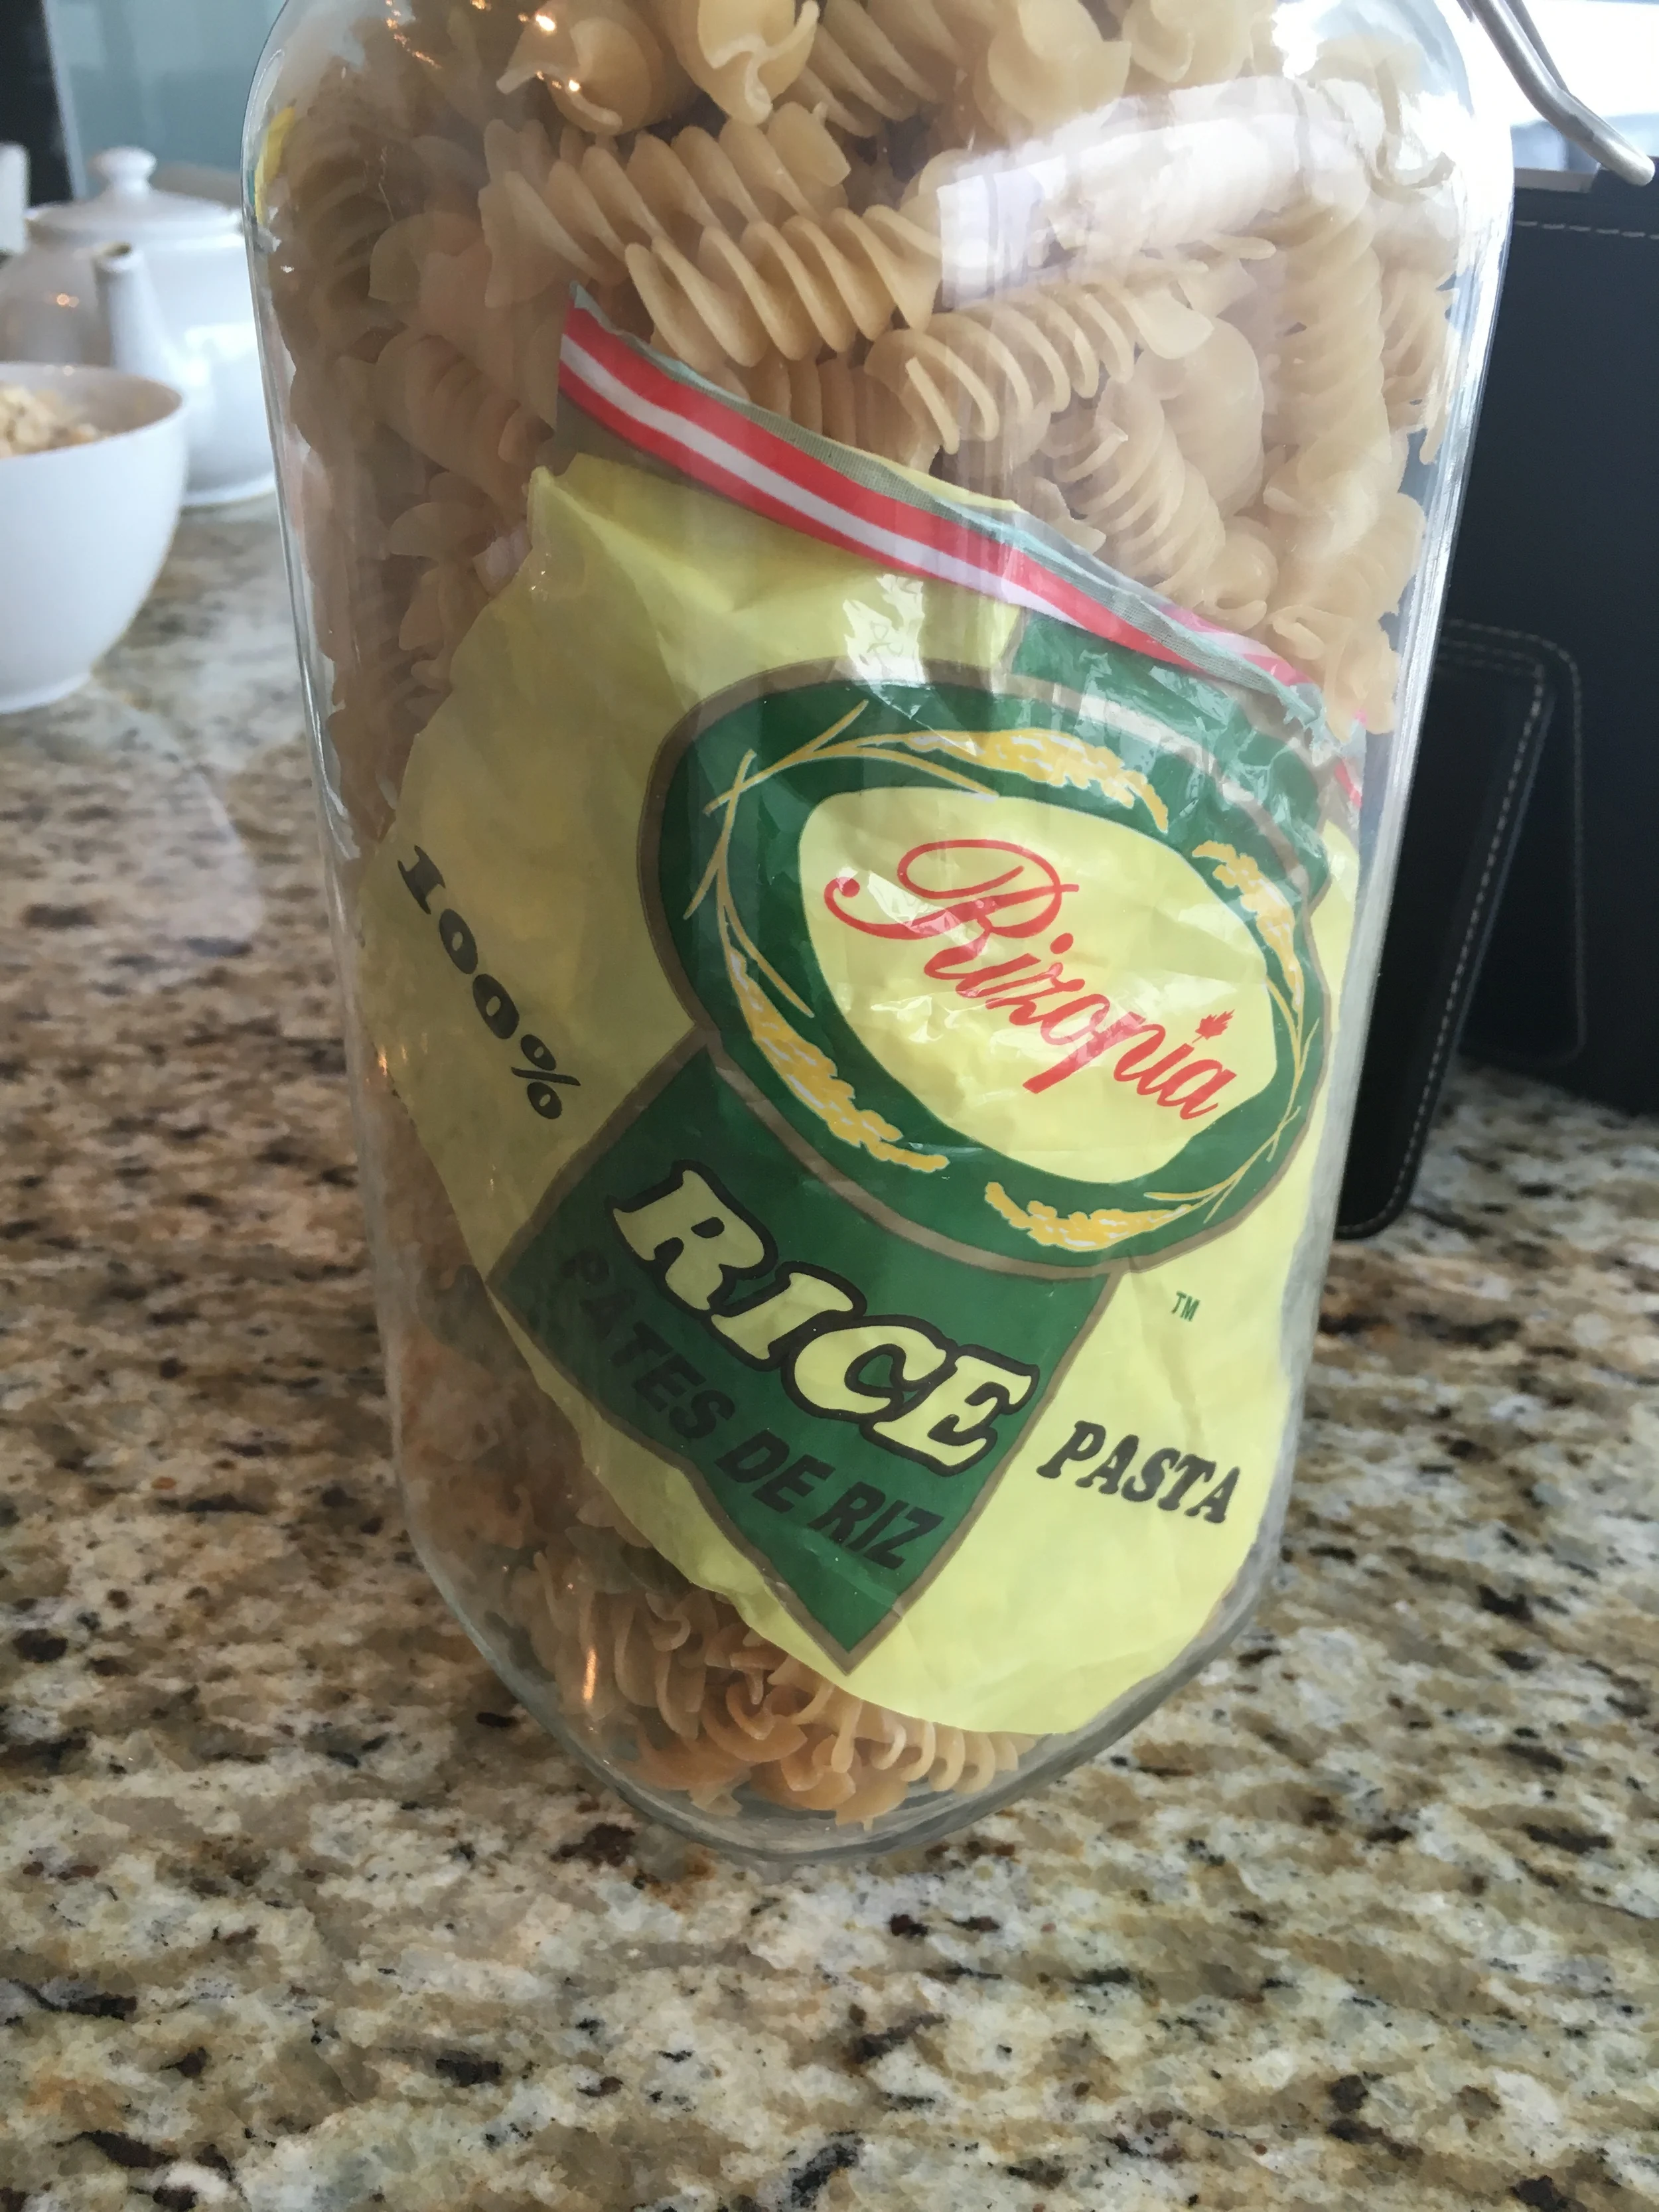
Rice Pasta (I substituted this for regular elbow pasta)
2 TBSP of Butter
2 TBSP of Quinoa Flour (I substituted this for flour)
1.5 Cups of Milk
2 OZ Cream Cheese
3/4 Cup of Sharp Cheddar Cheese
3/4 Cup of shredded Mozzarella (optional)
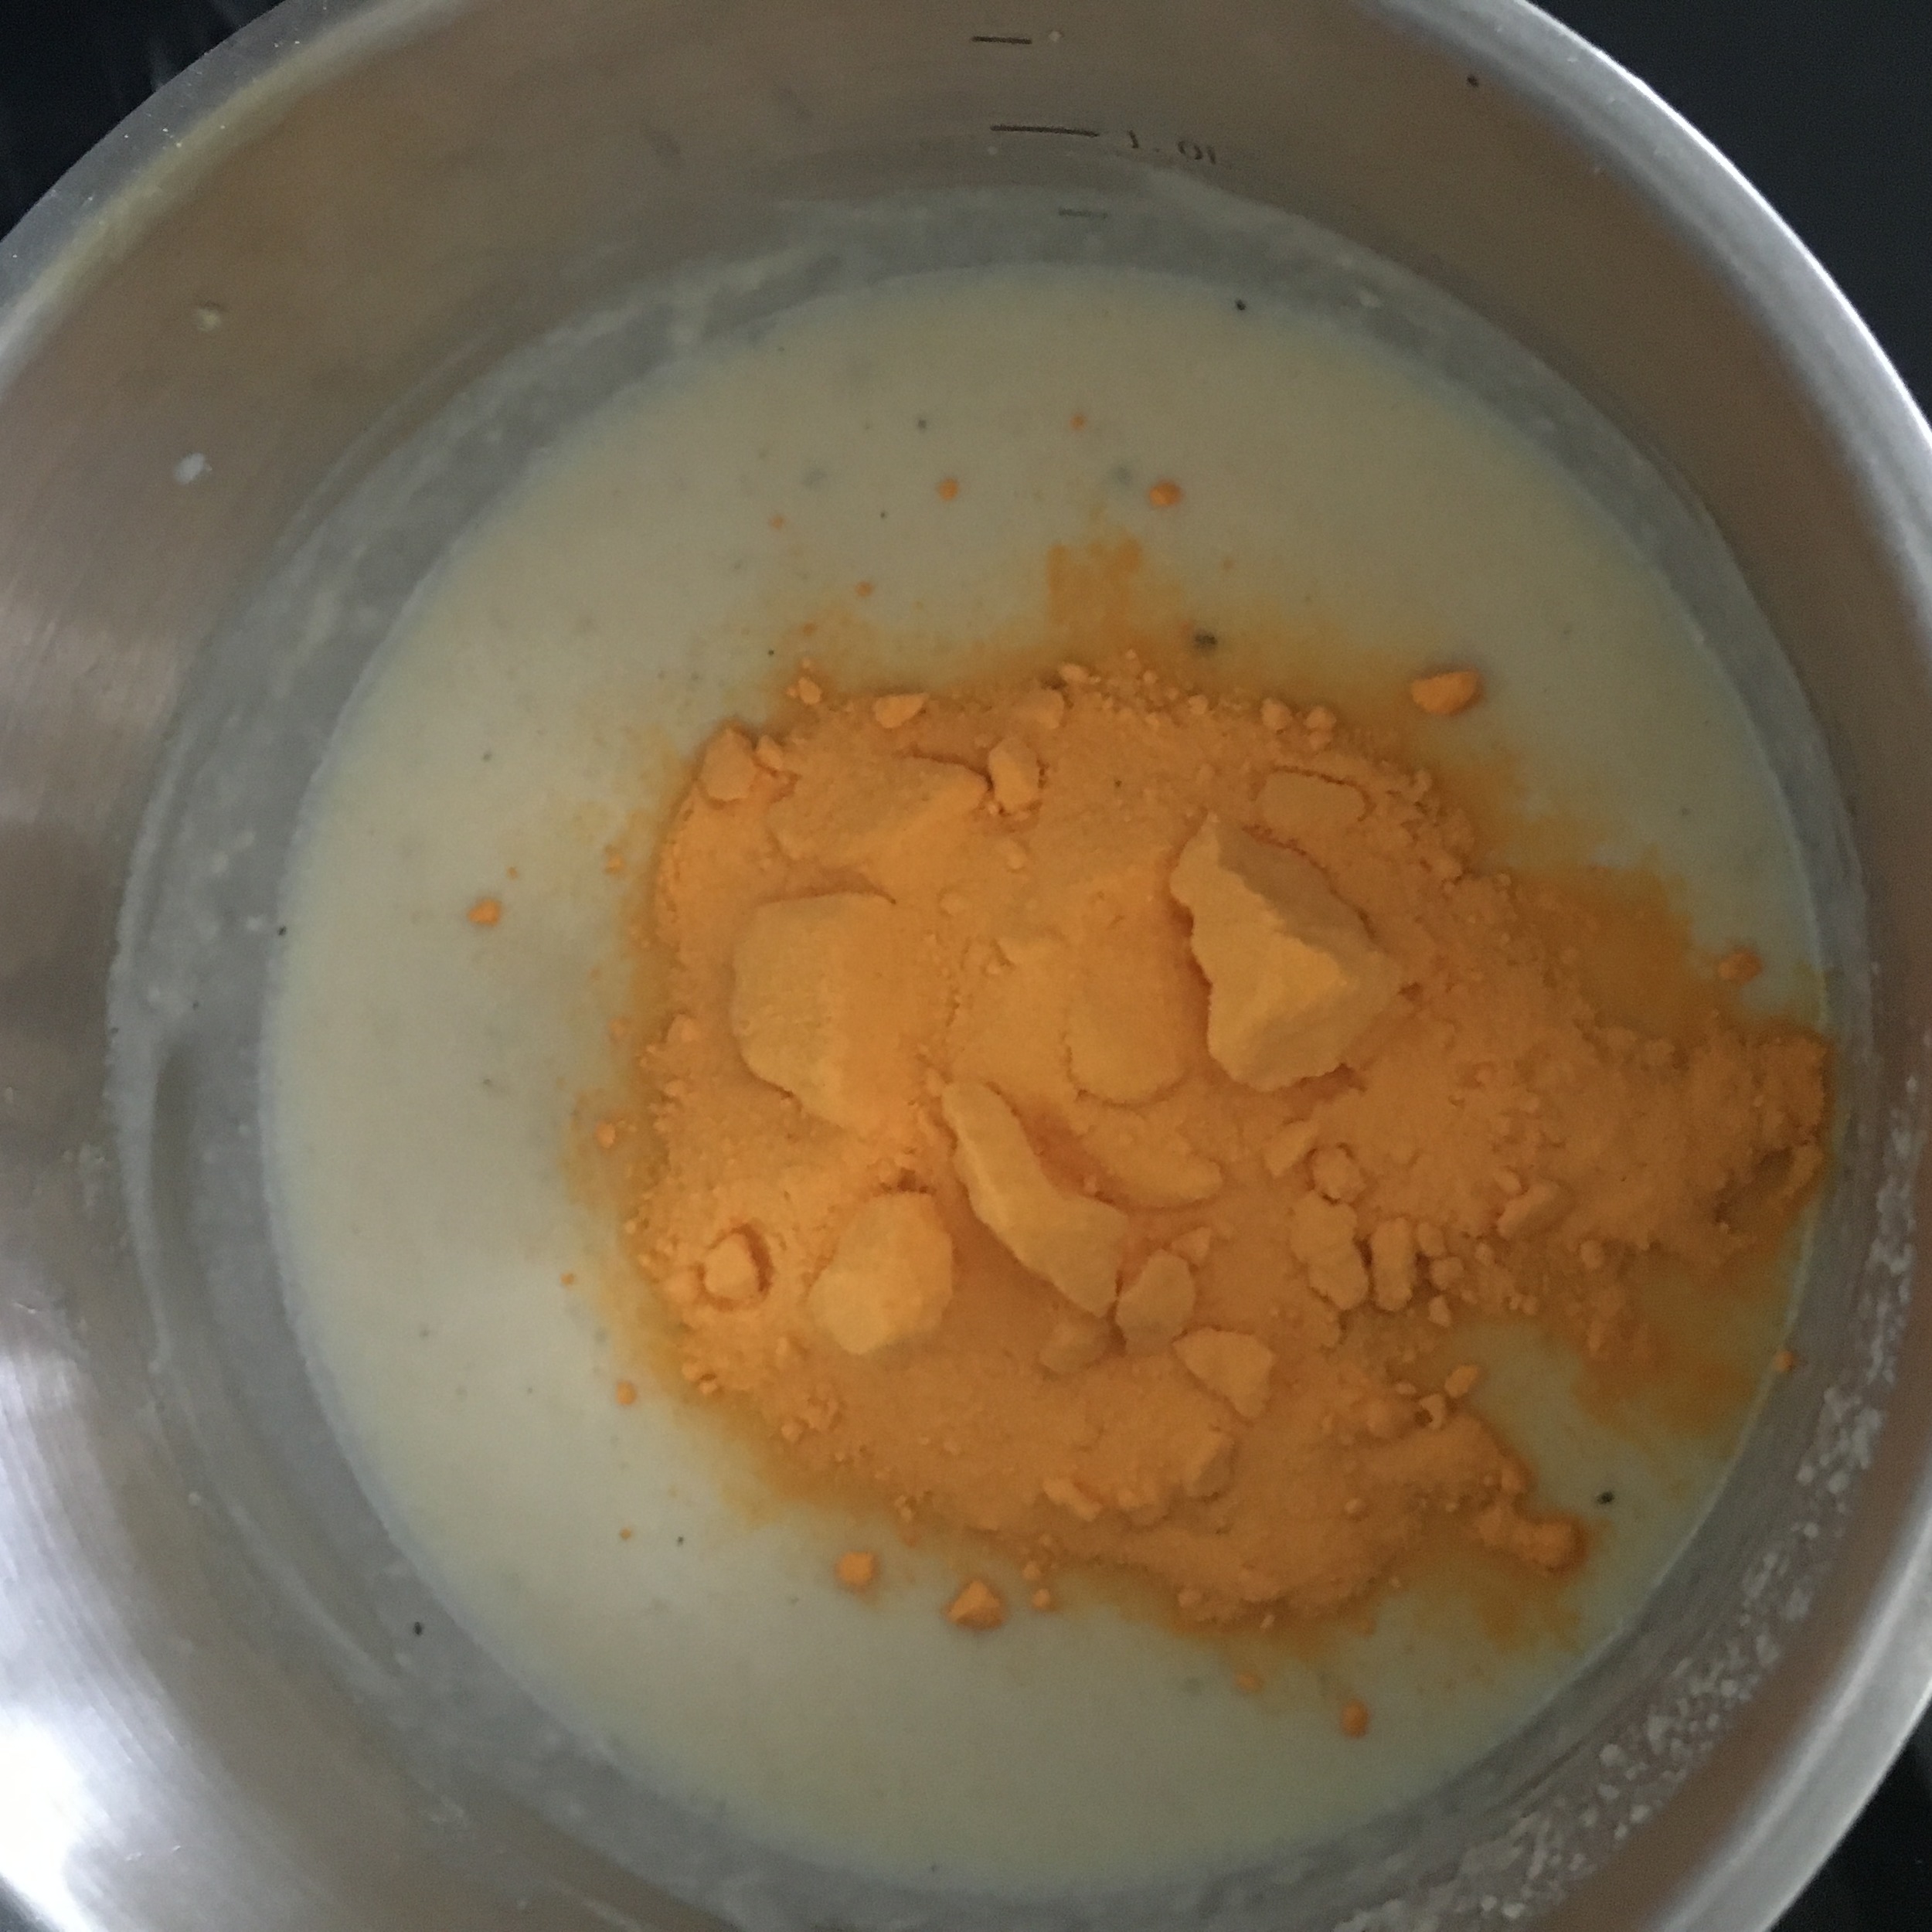
1 Packet of Kraft Dinner Powdered Cheese Sauce (optional)
Salt and Pepper (as desired)
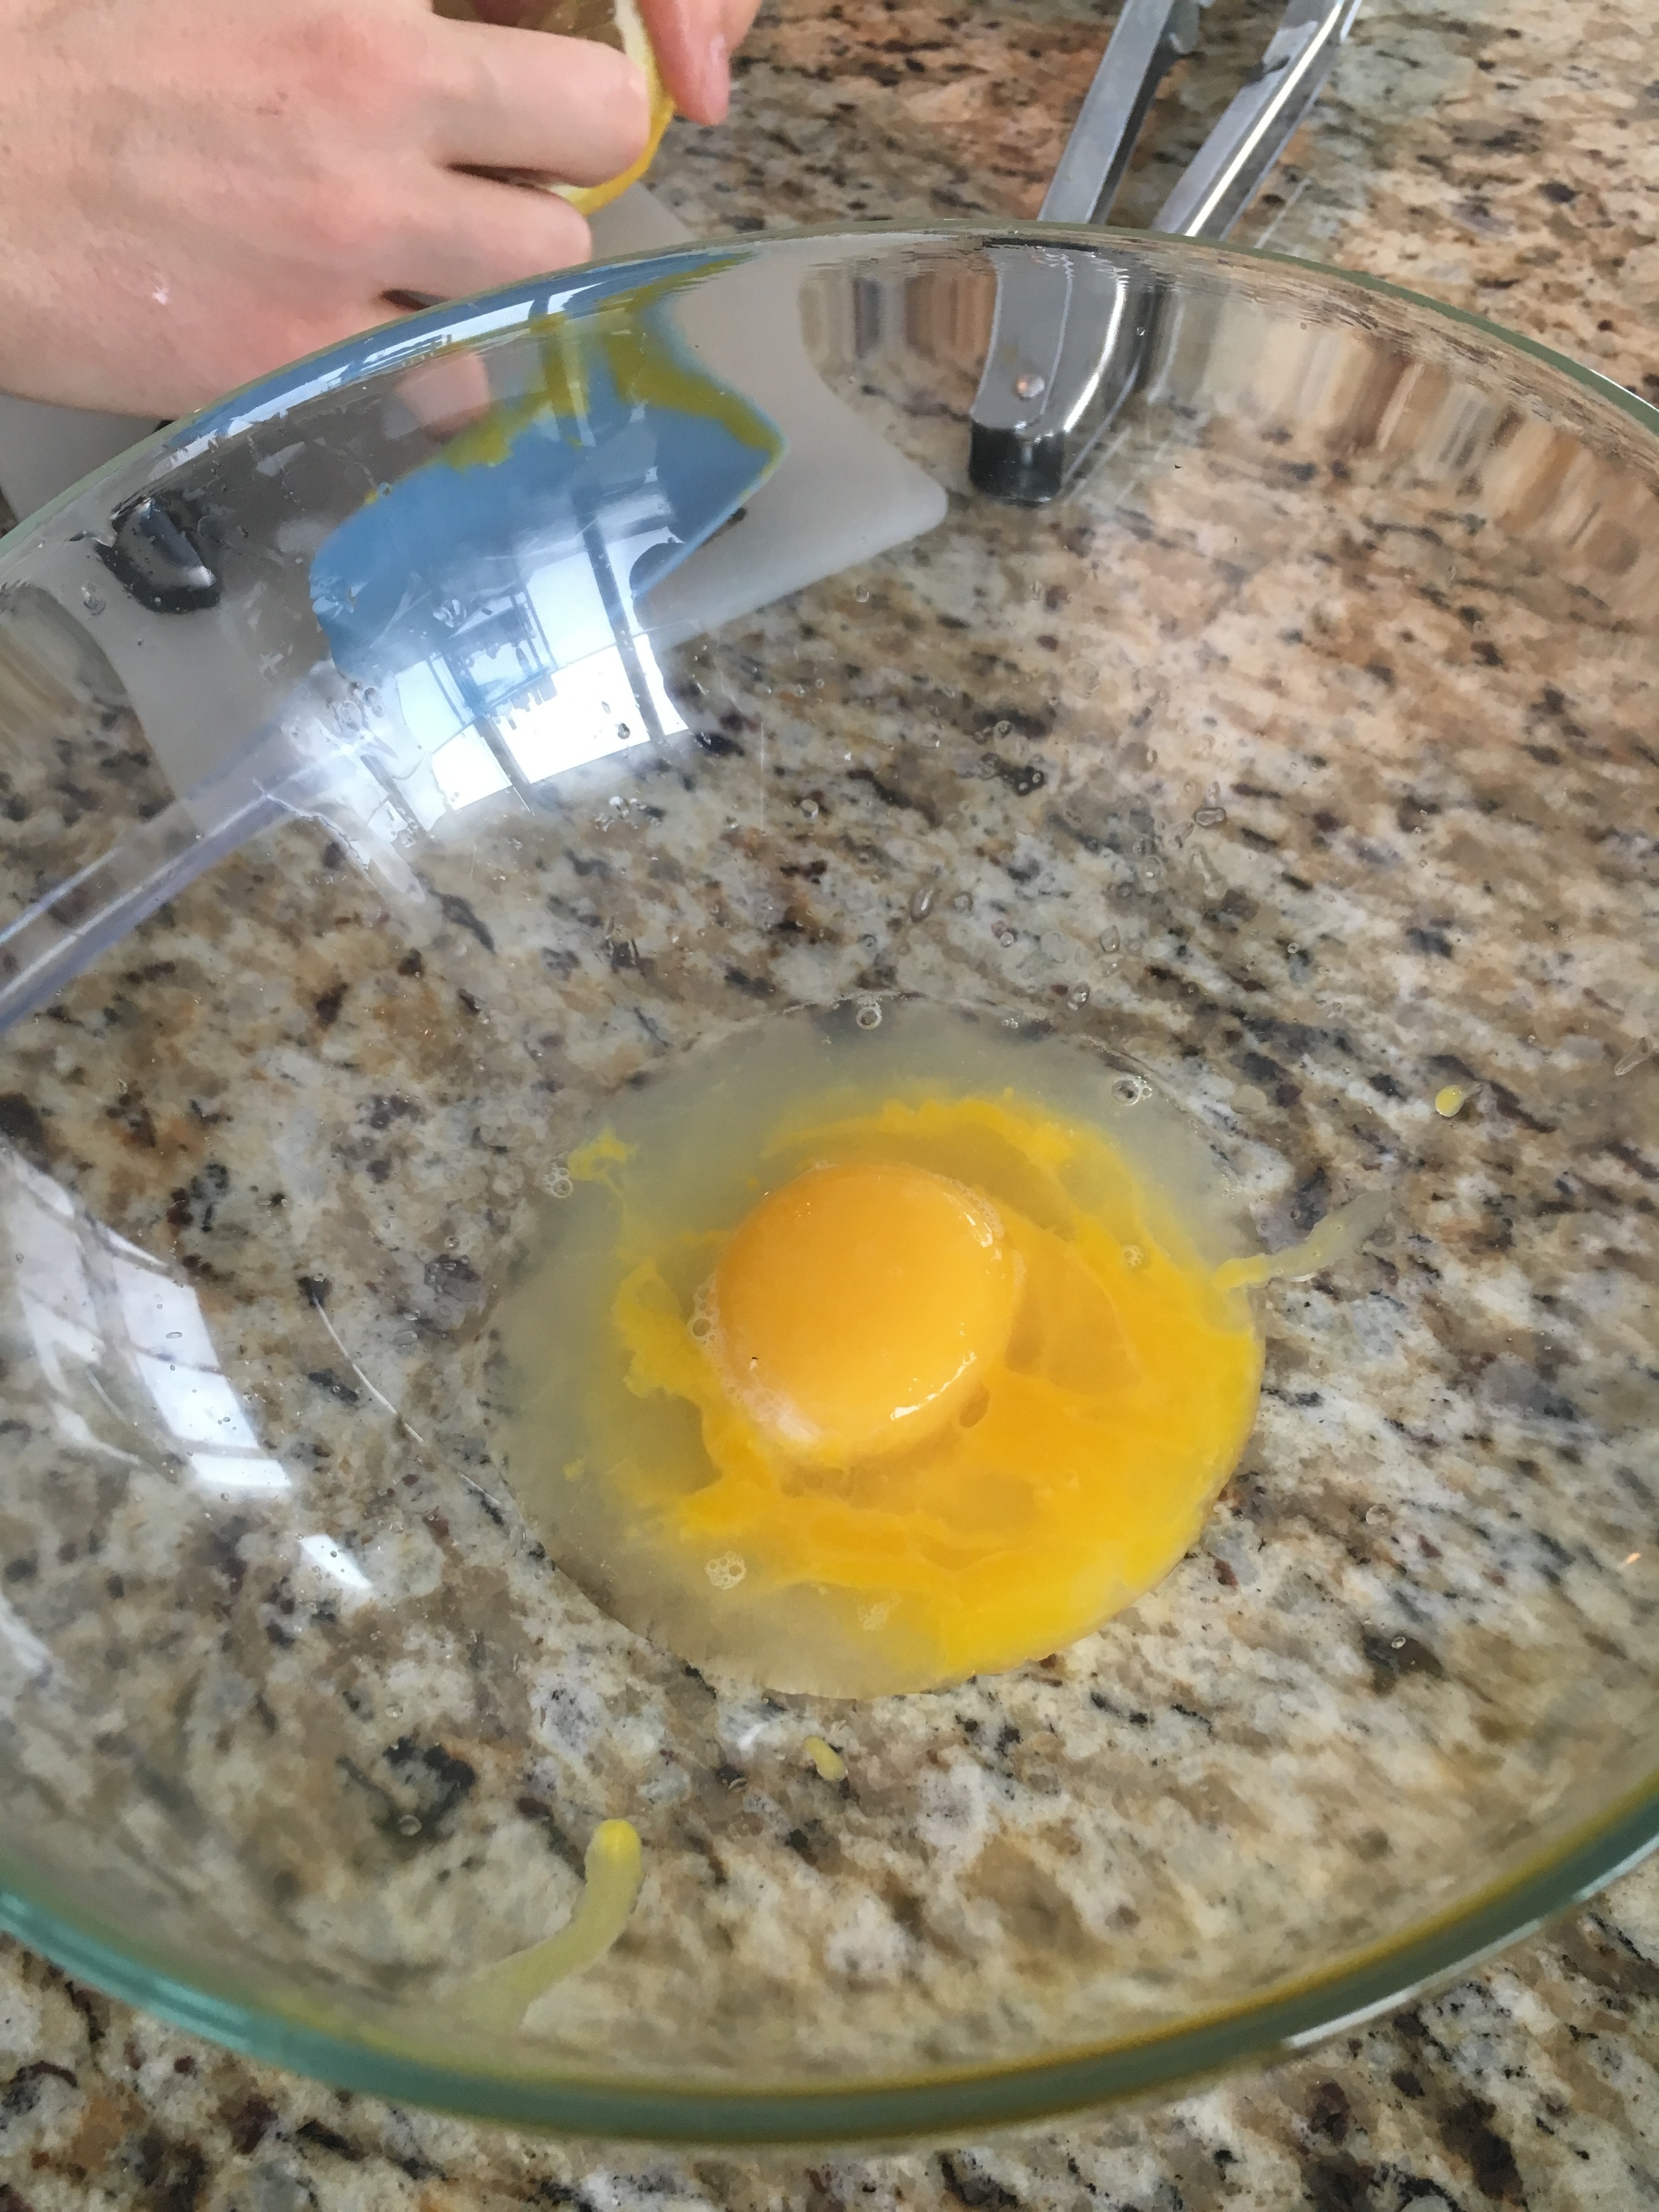
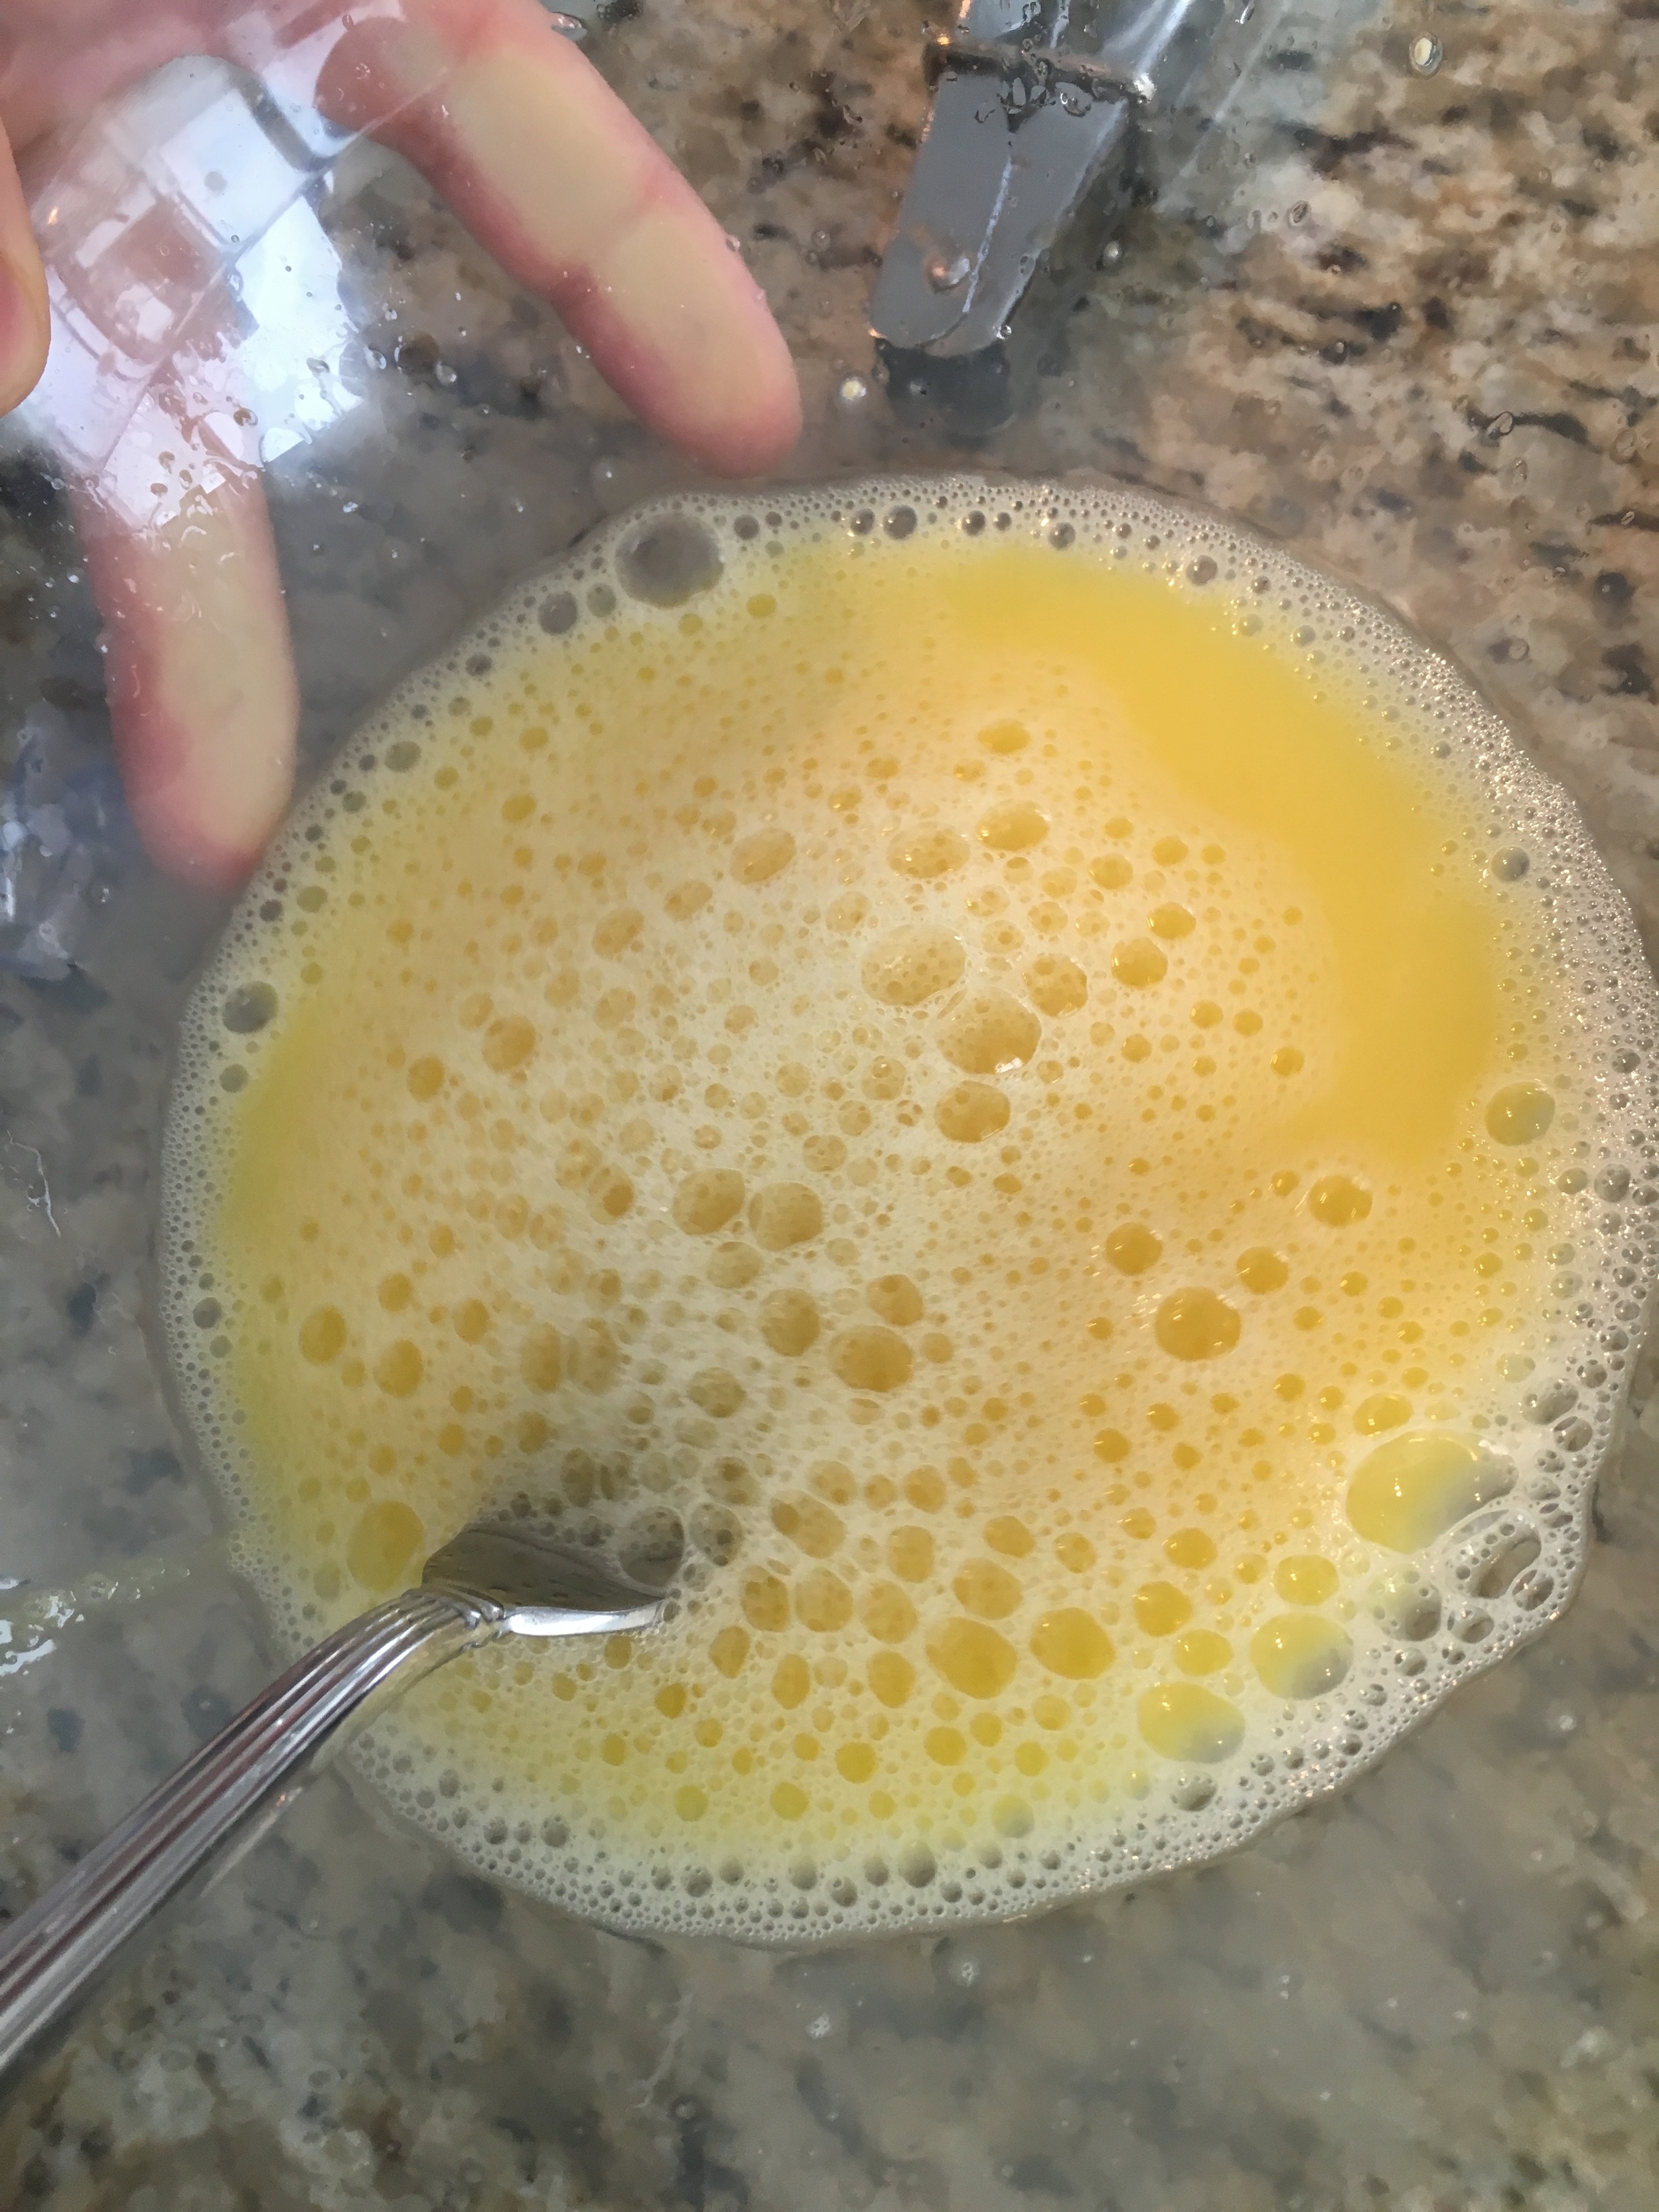
1 Egg (whisked)

**You will also need a muffin tray that is sprayed with non stick cooking spray or buttered.


DIRECTIONS:

Preheat oven to 400 degrees

Boil water to make your pasta. Salt the water and throw in your pasta.

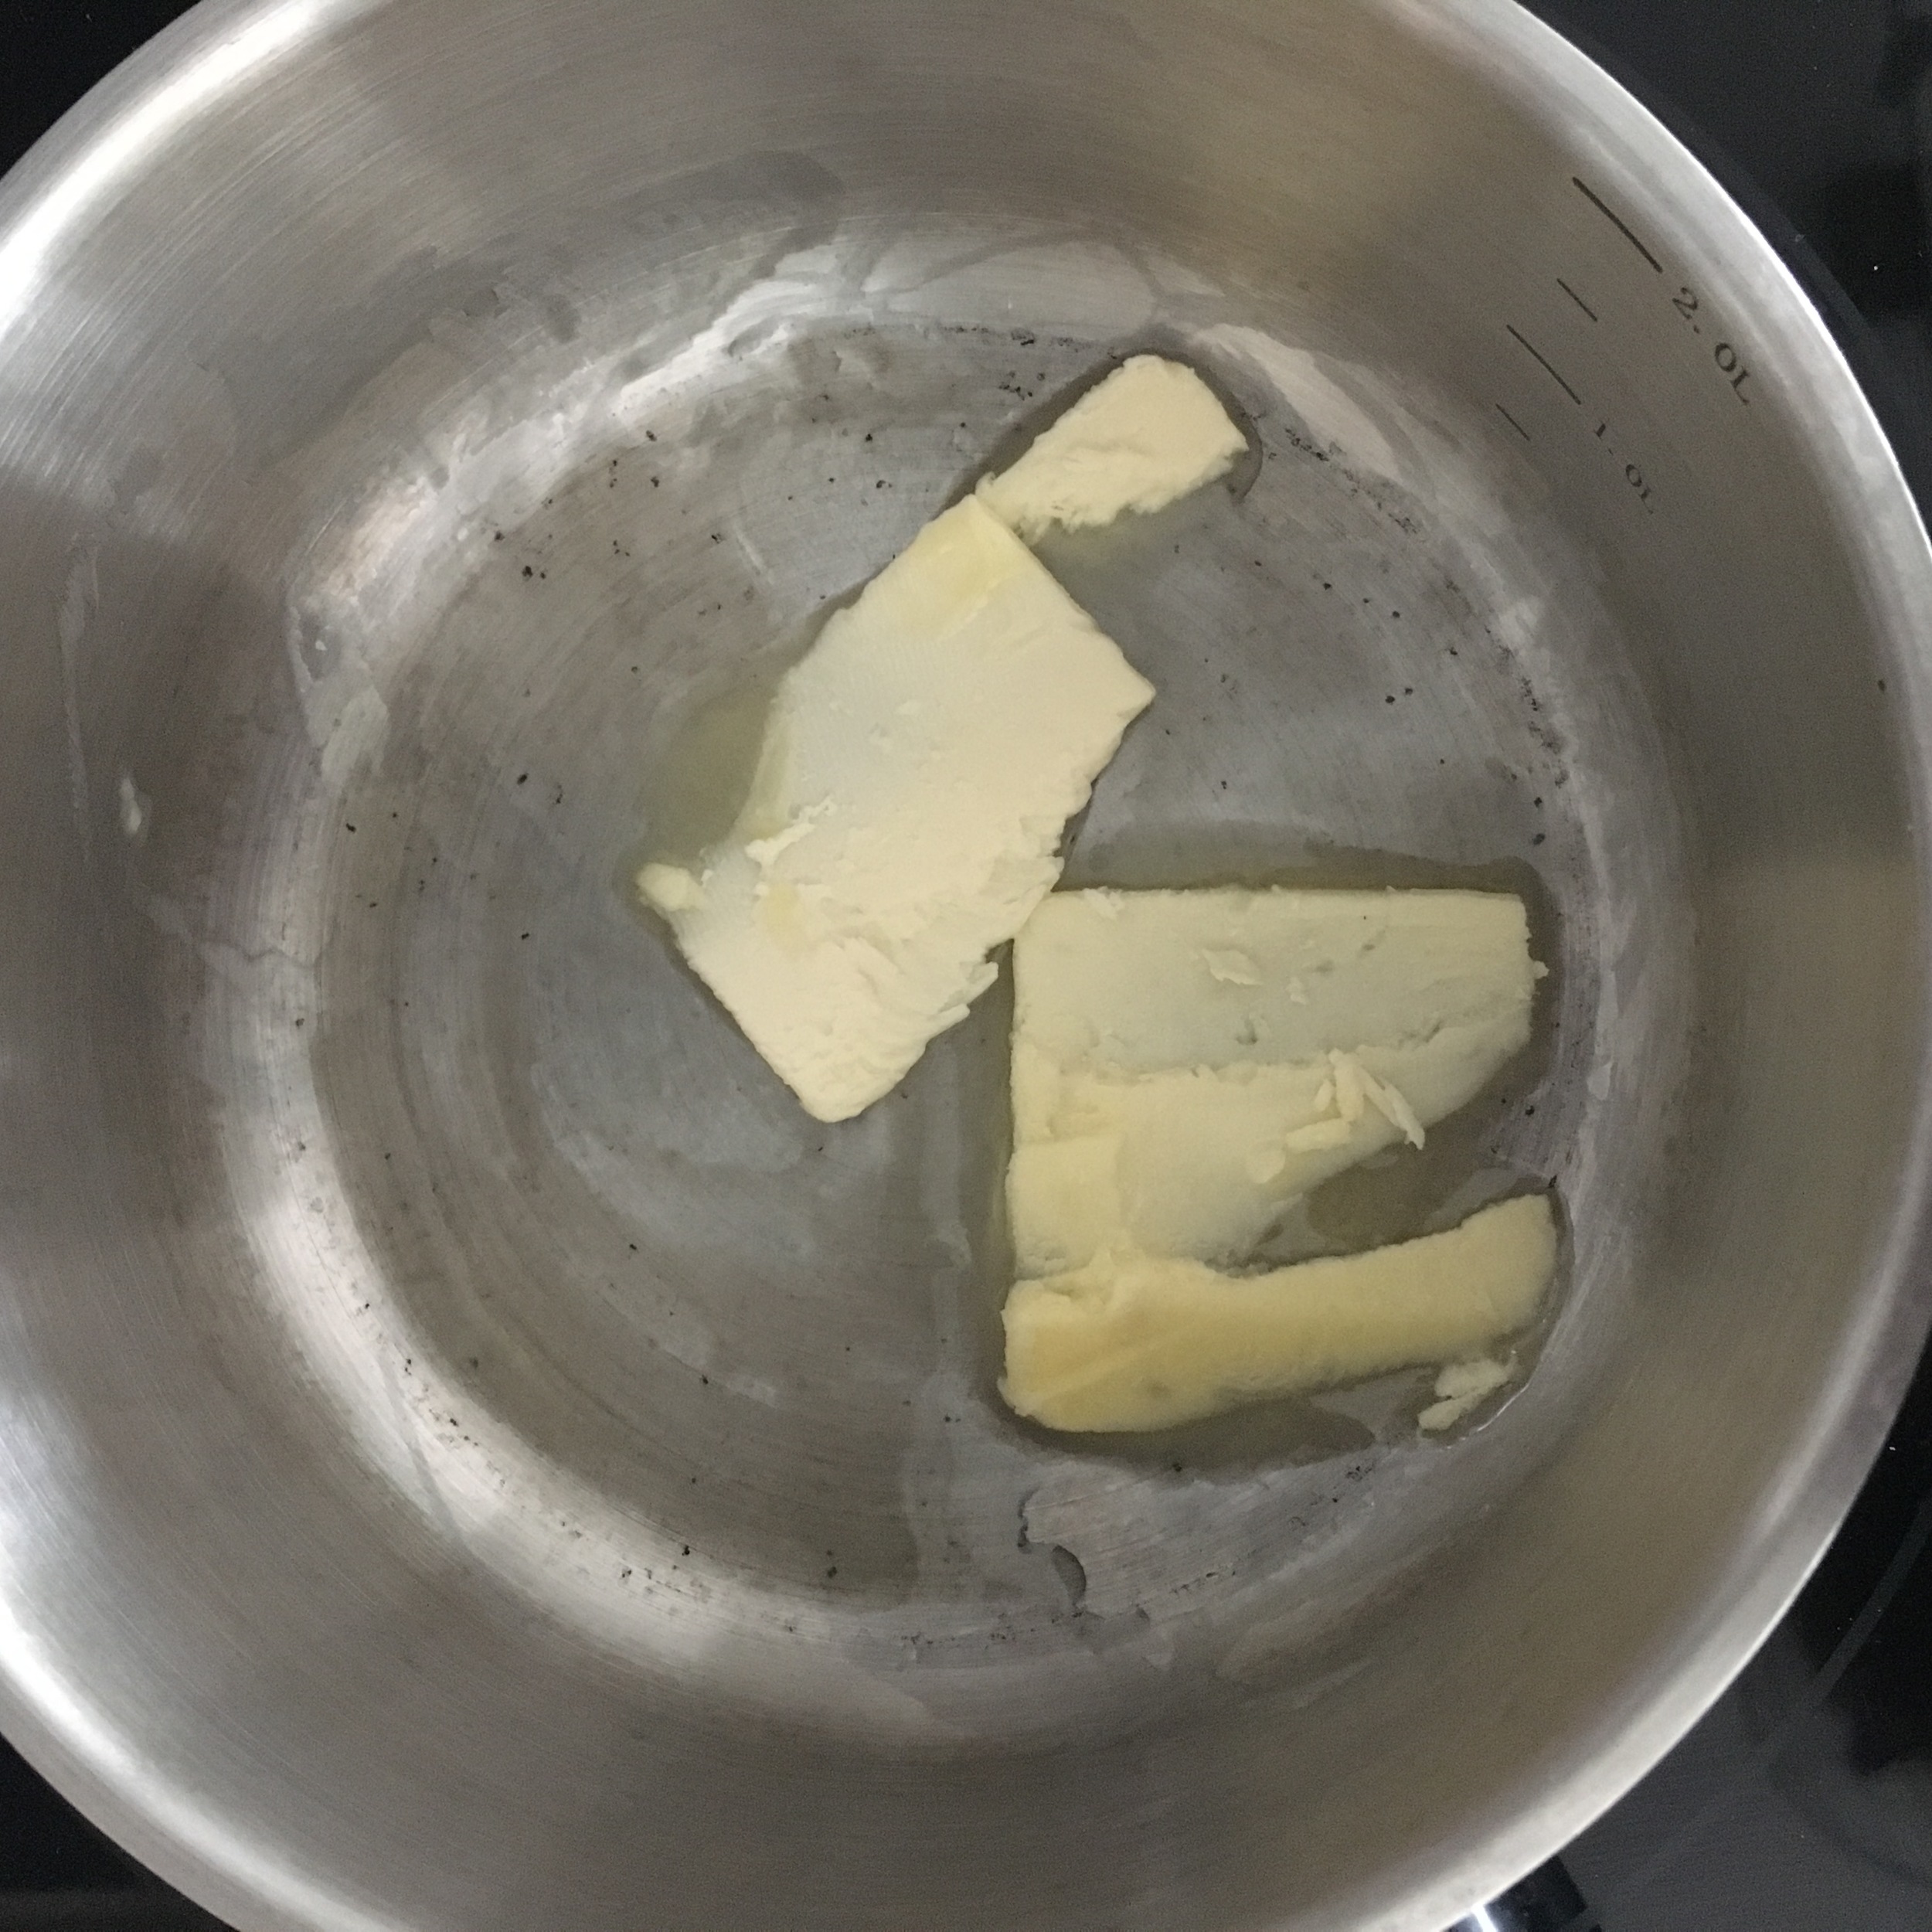
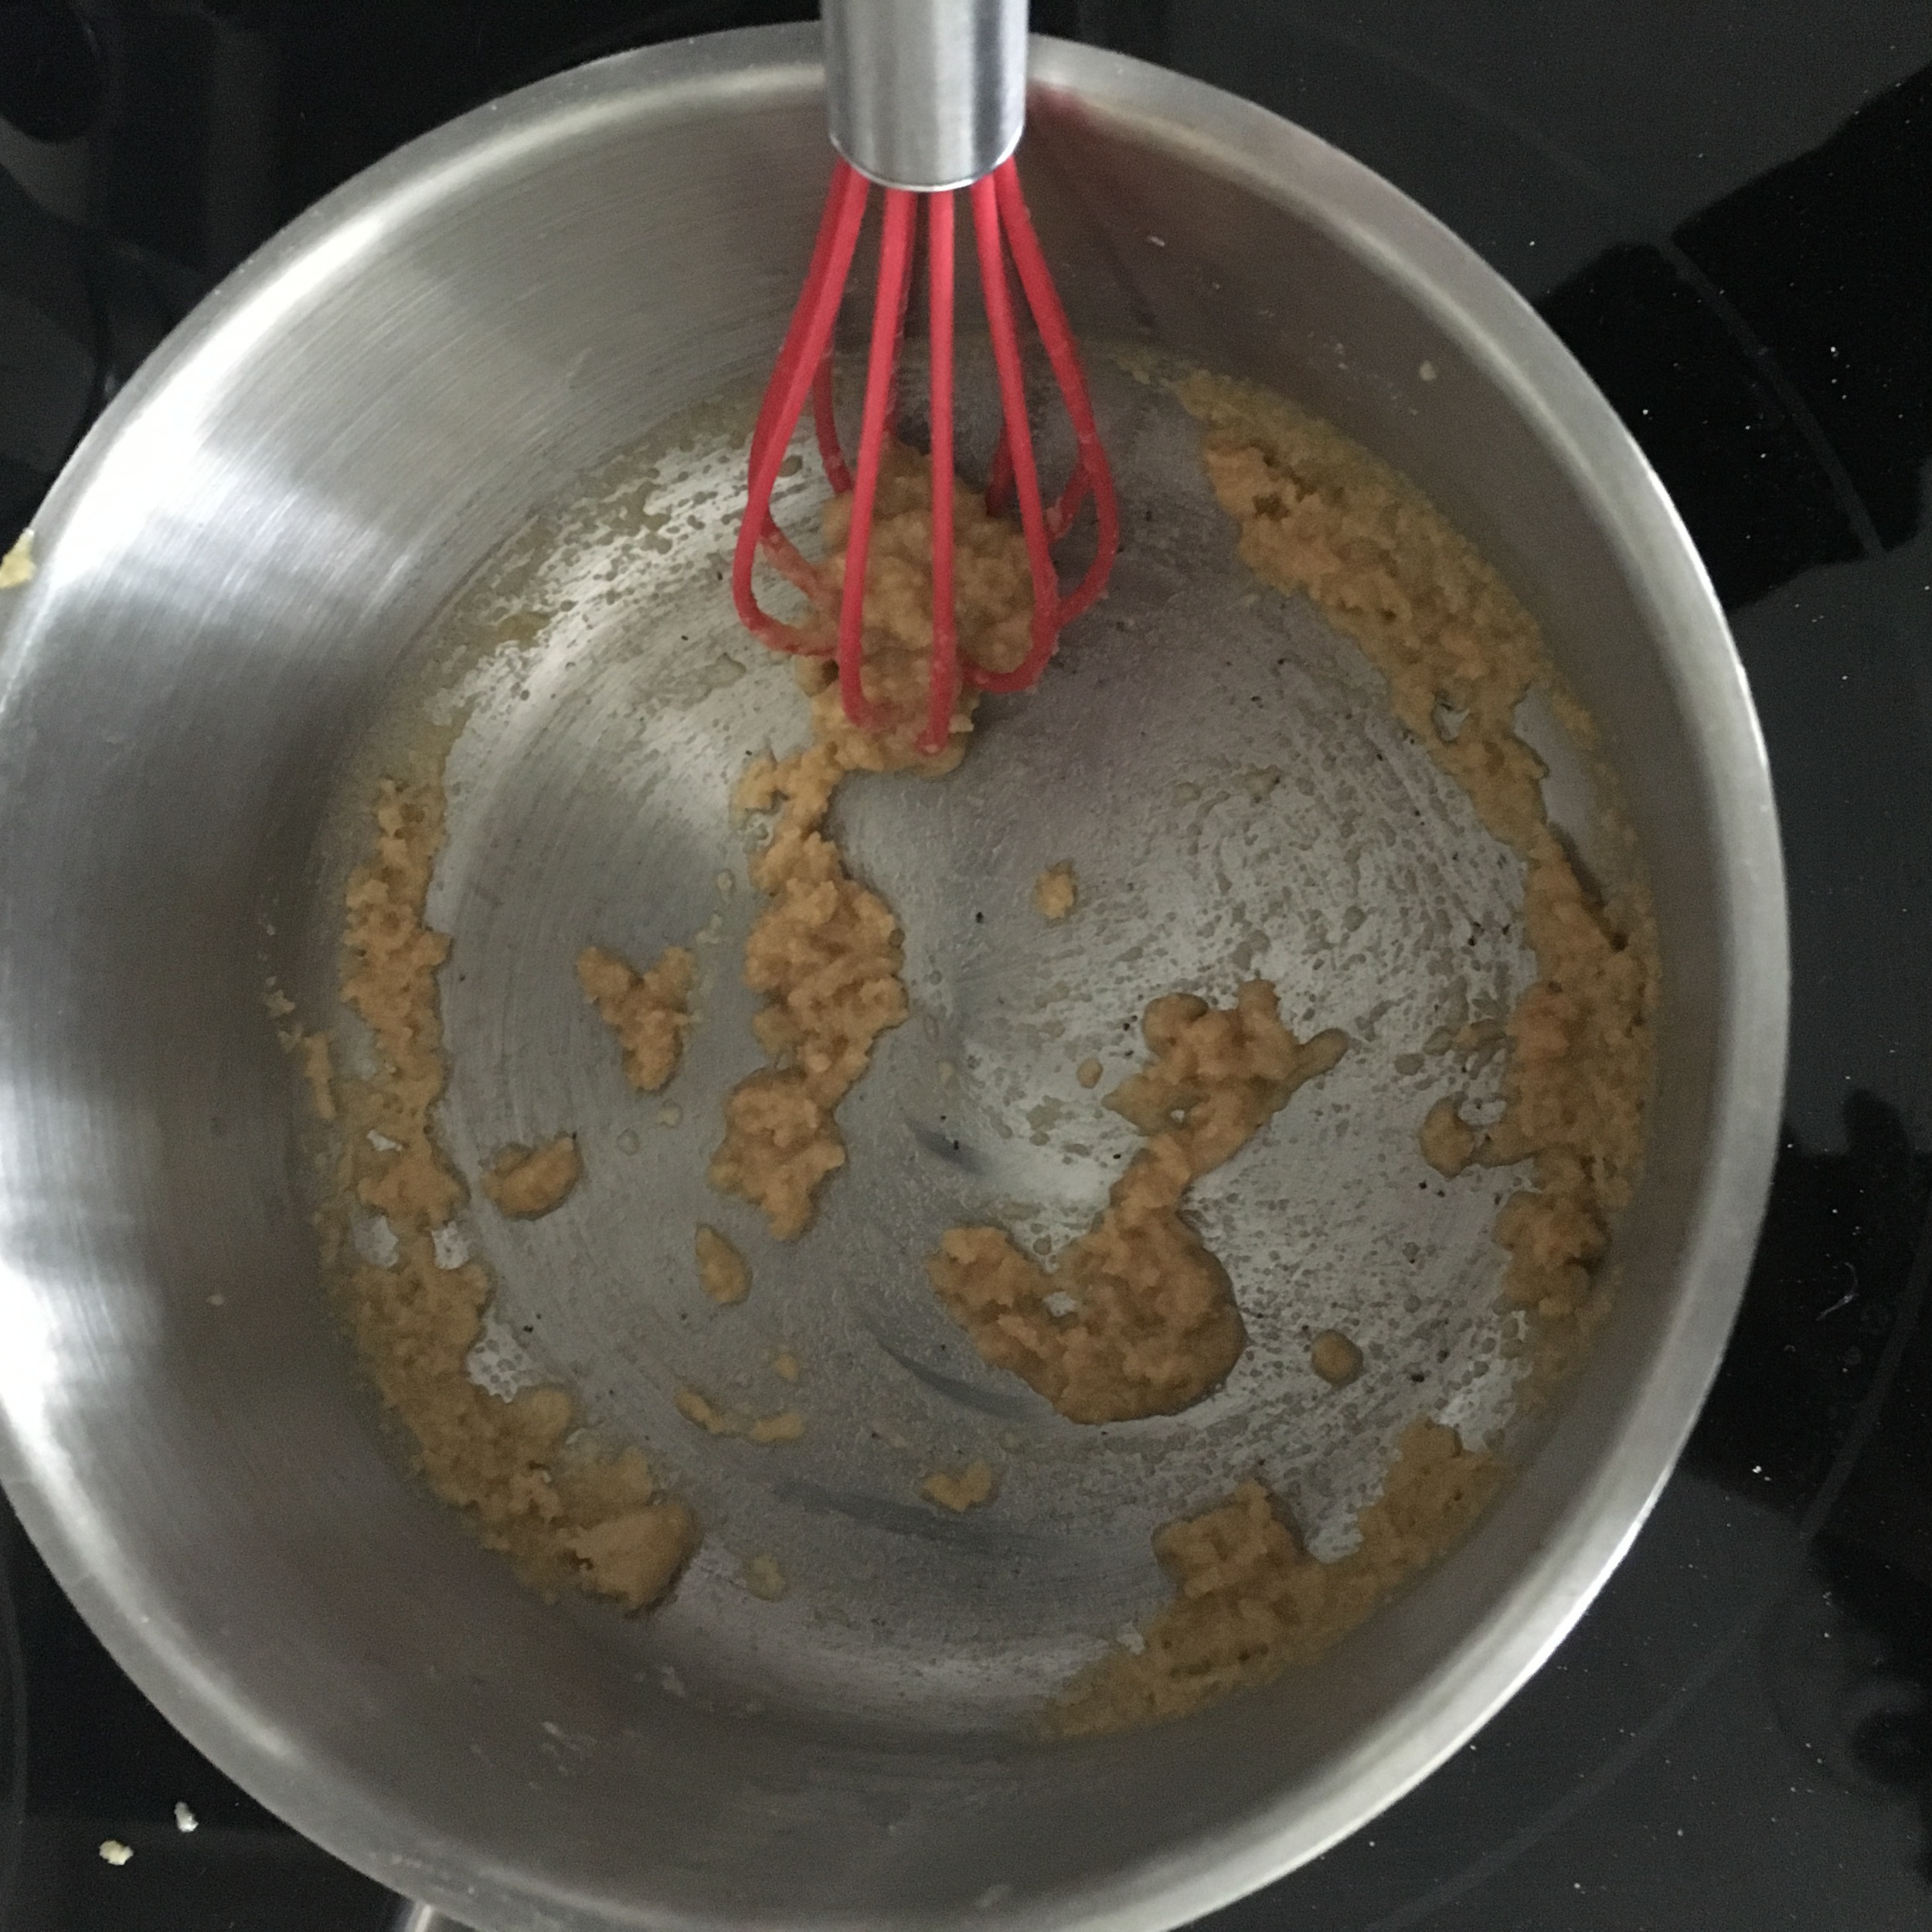
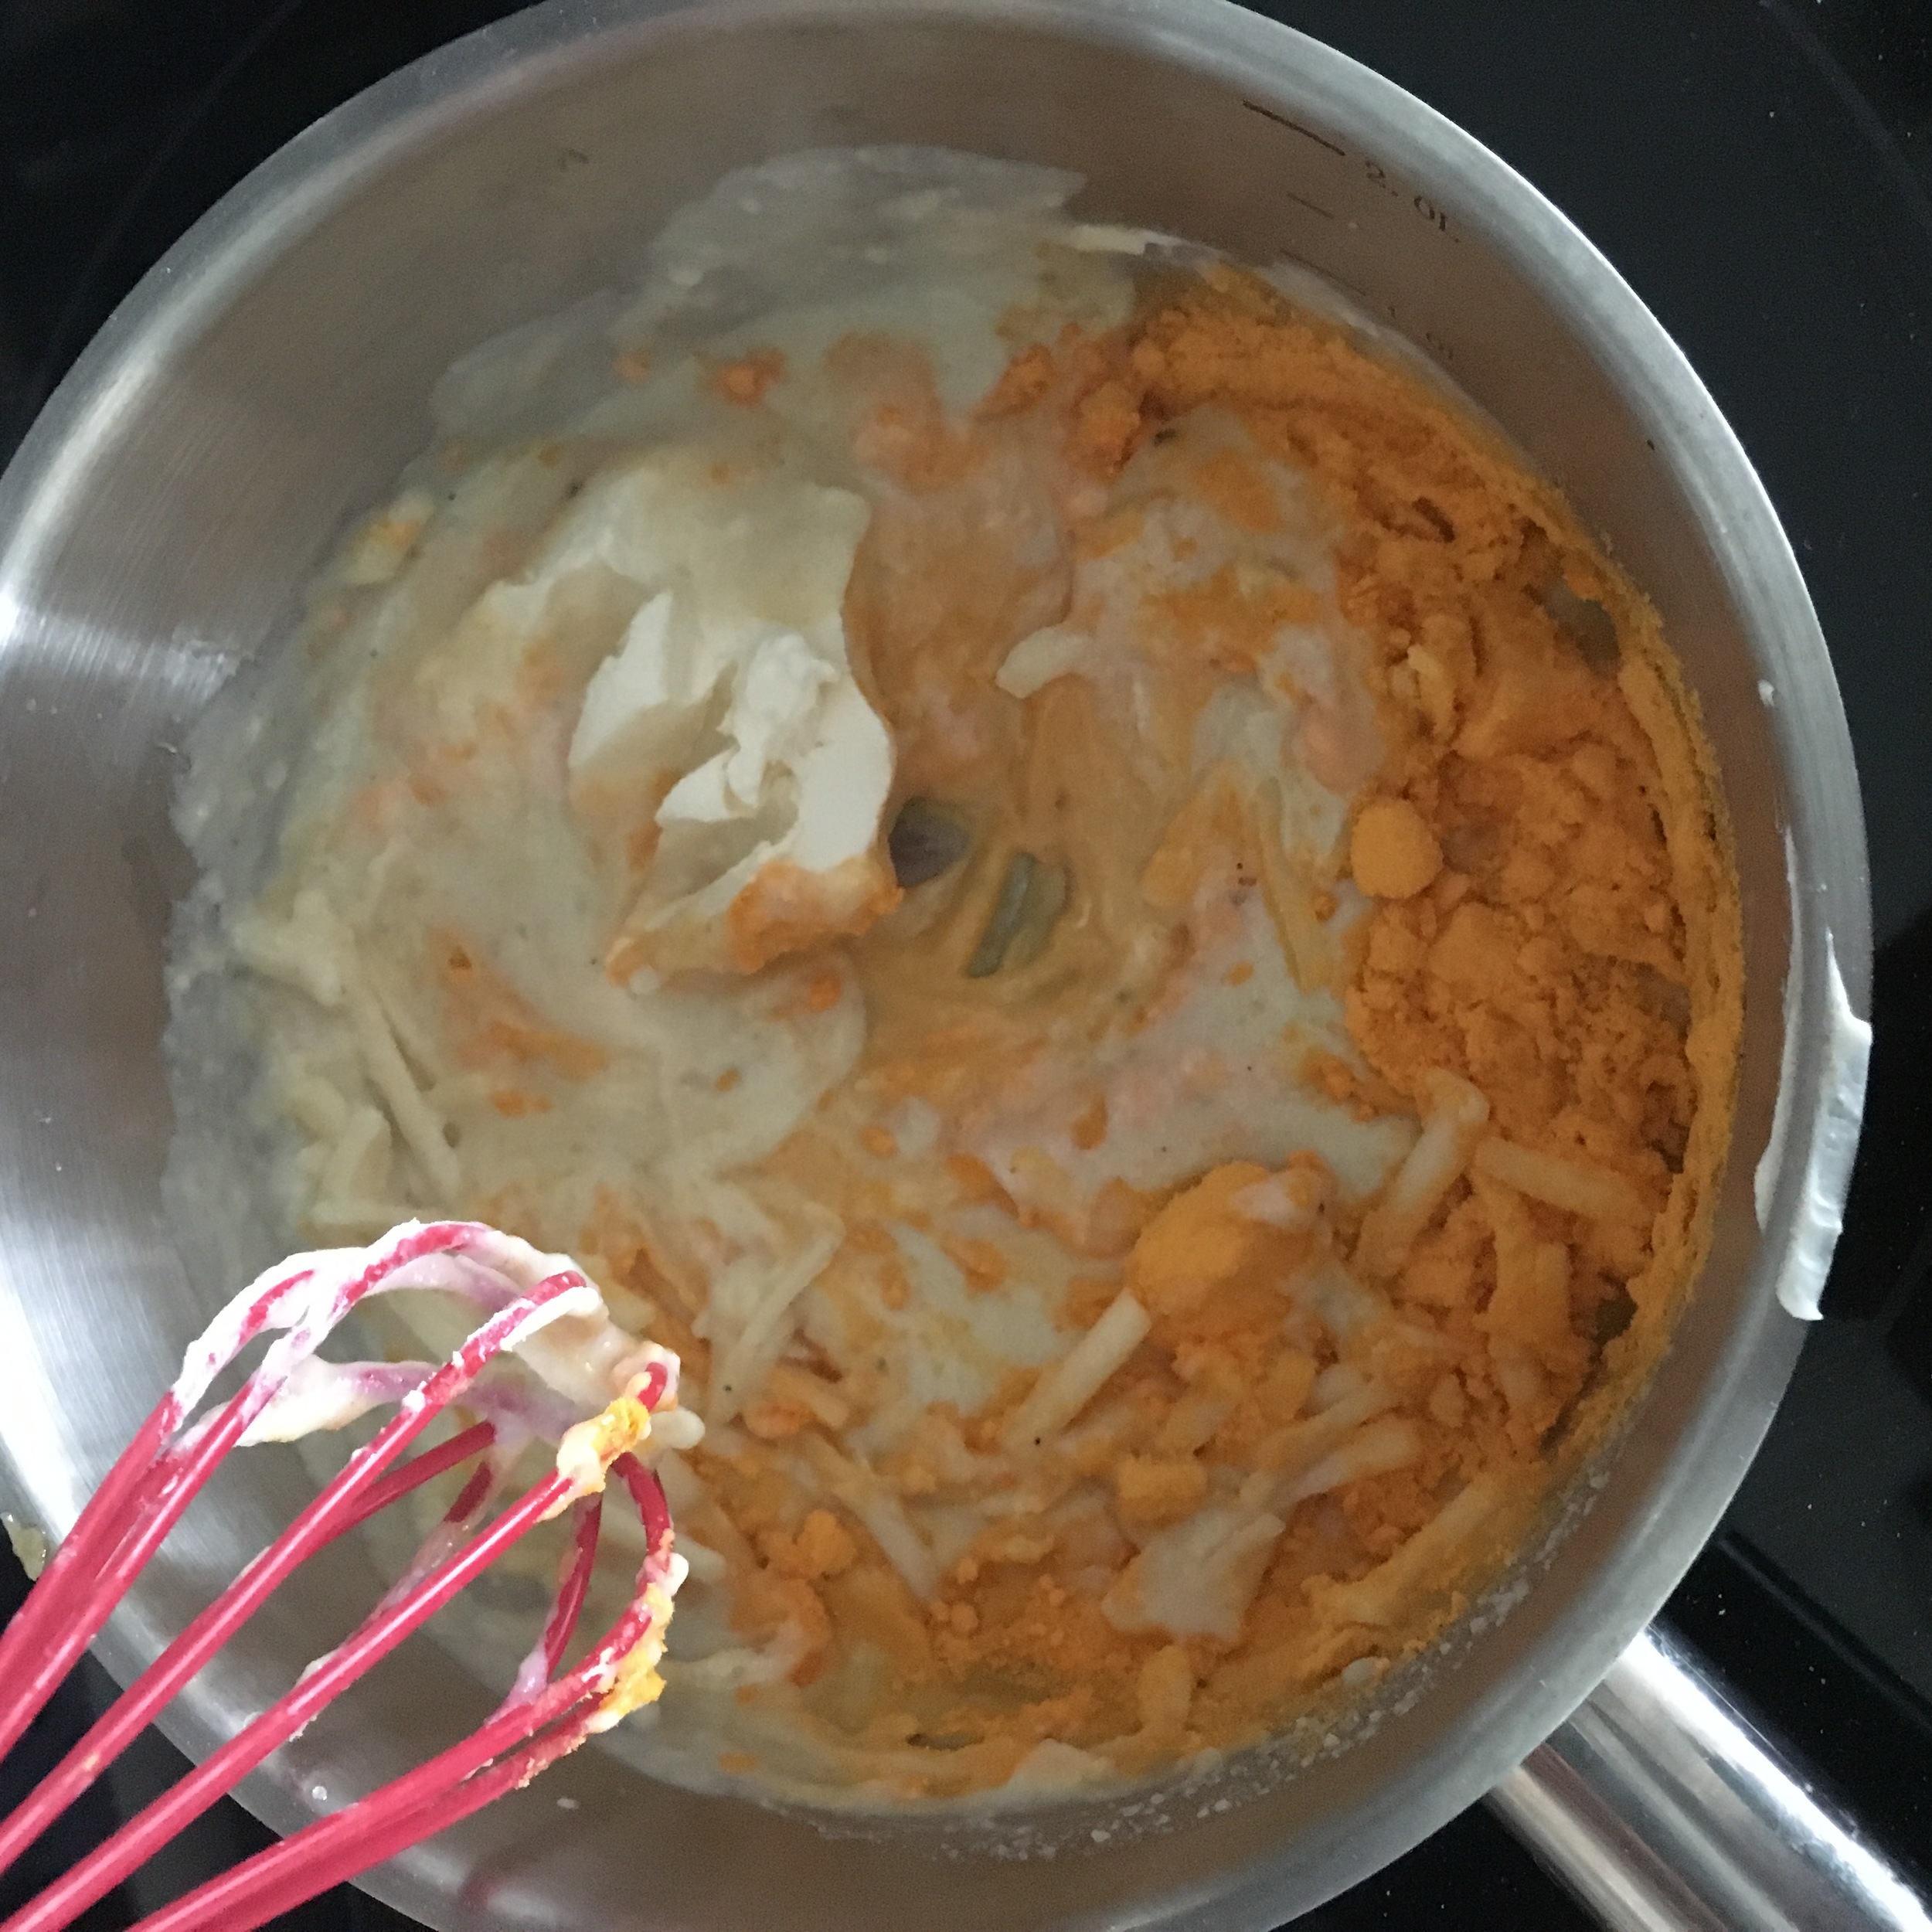
In a sauce pan add in your butter. Allow to melt on medium low heat then throw in your quinoa flour. Whisk together until fully incorporated. .

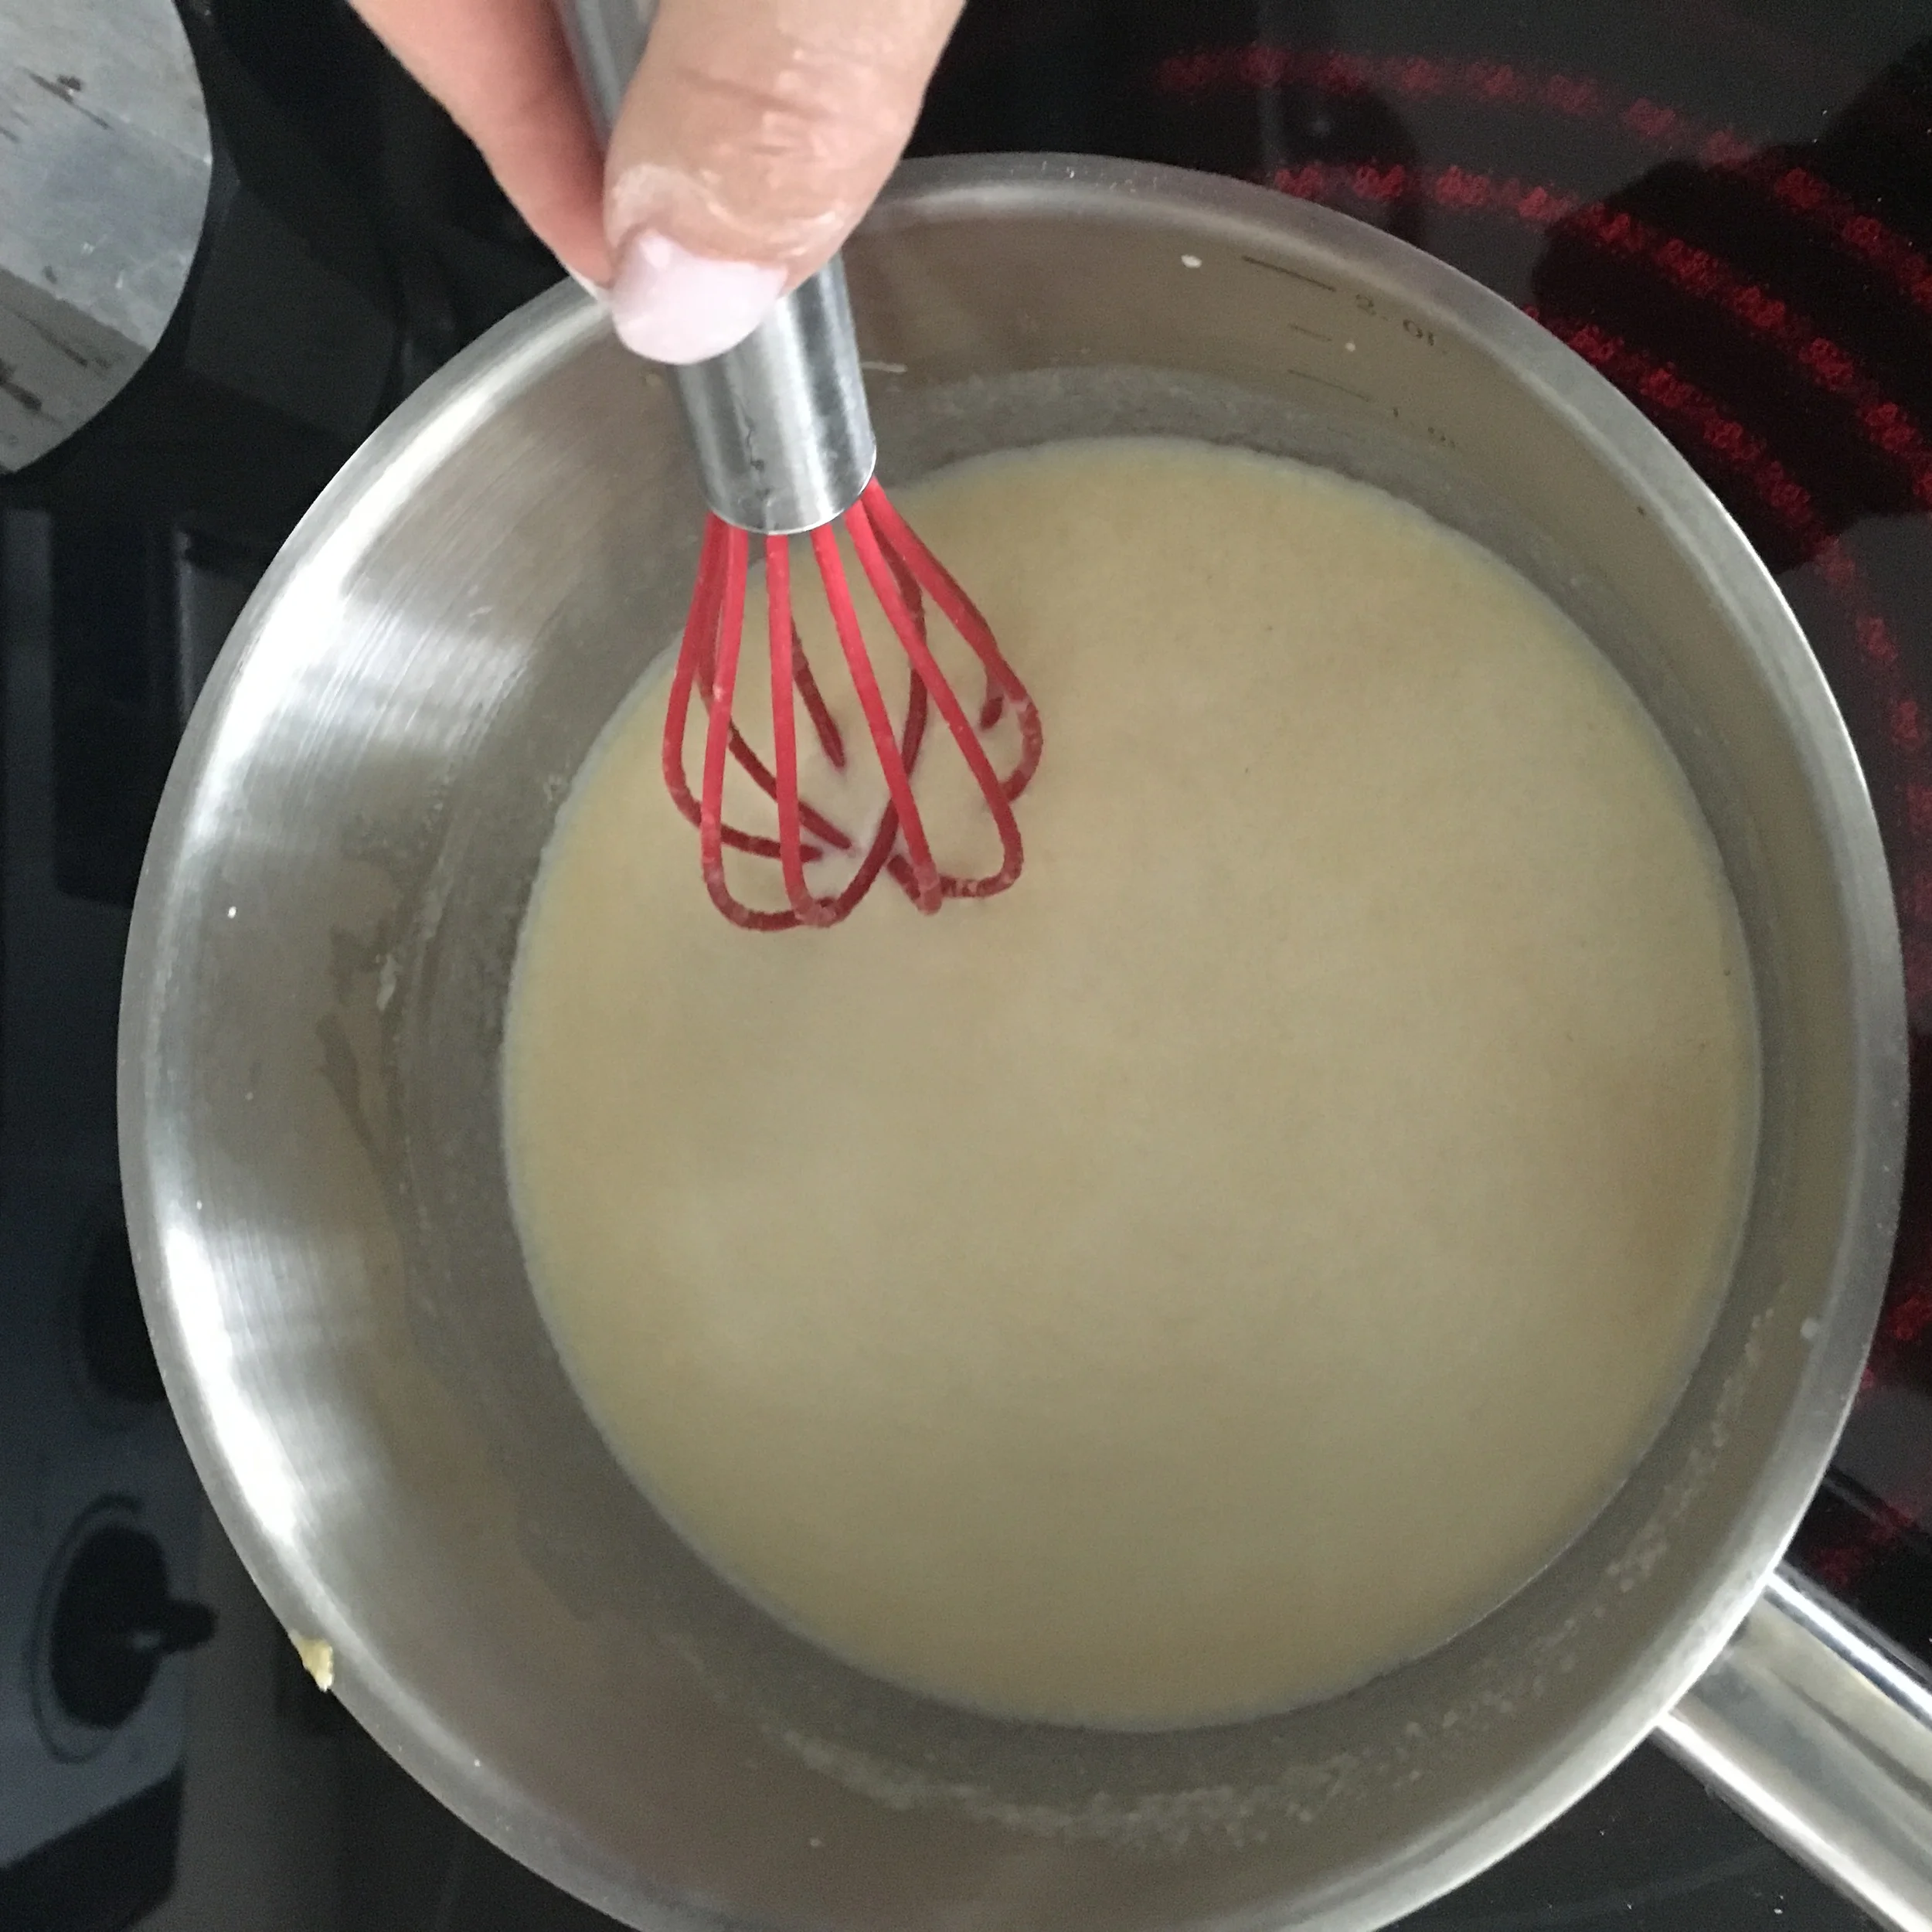
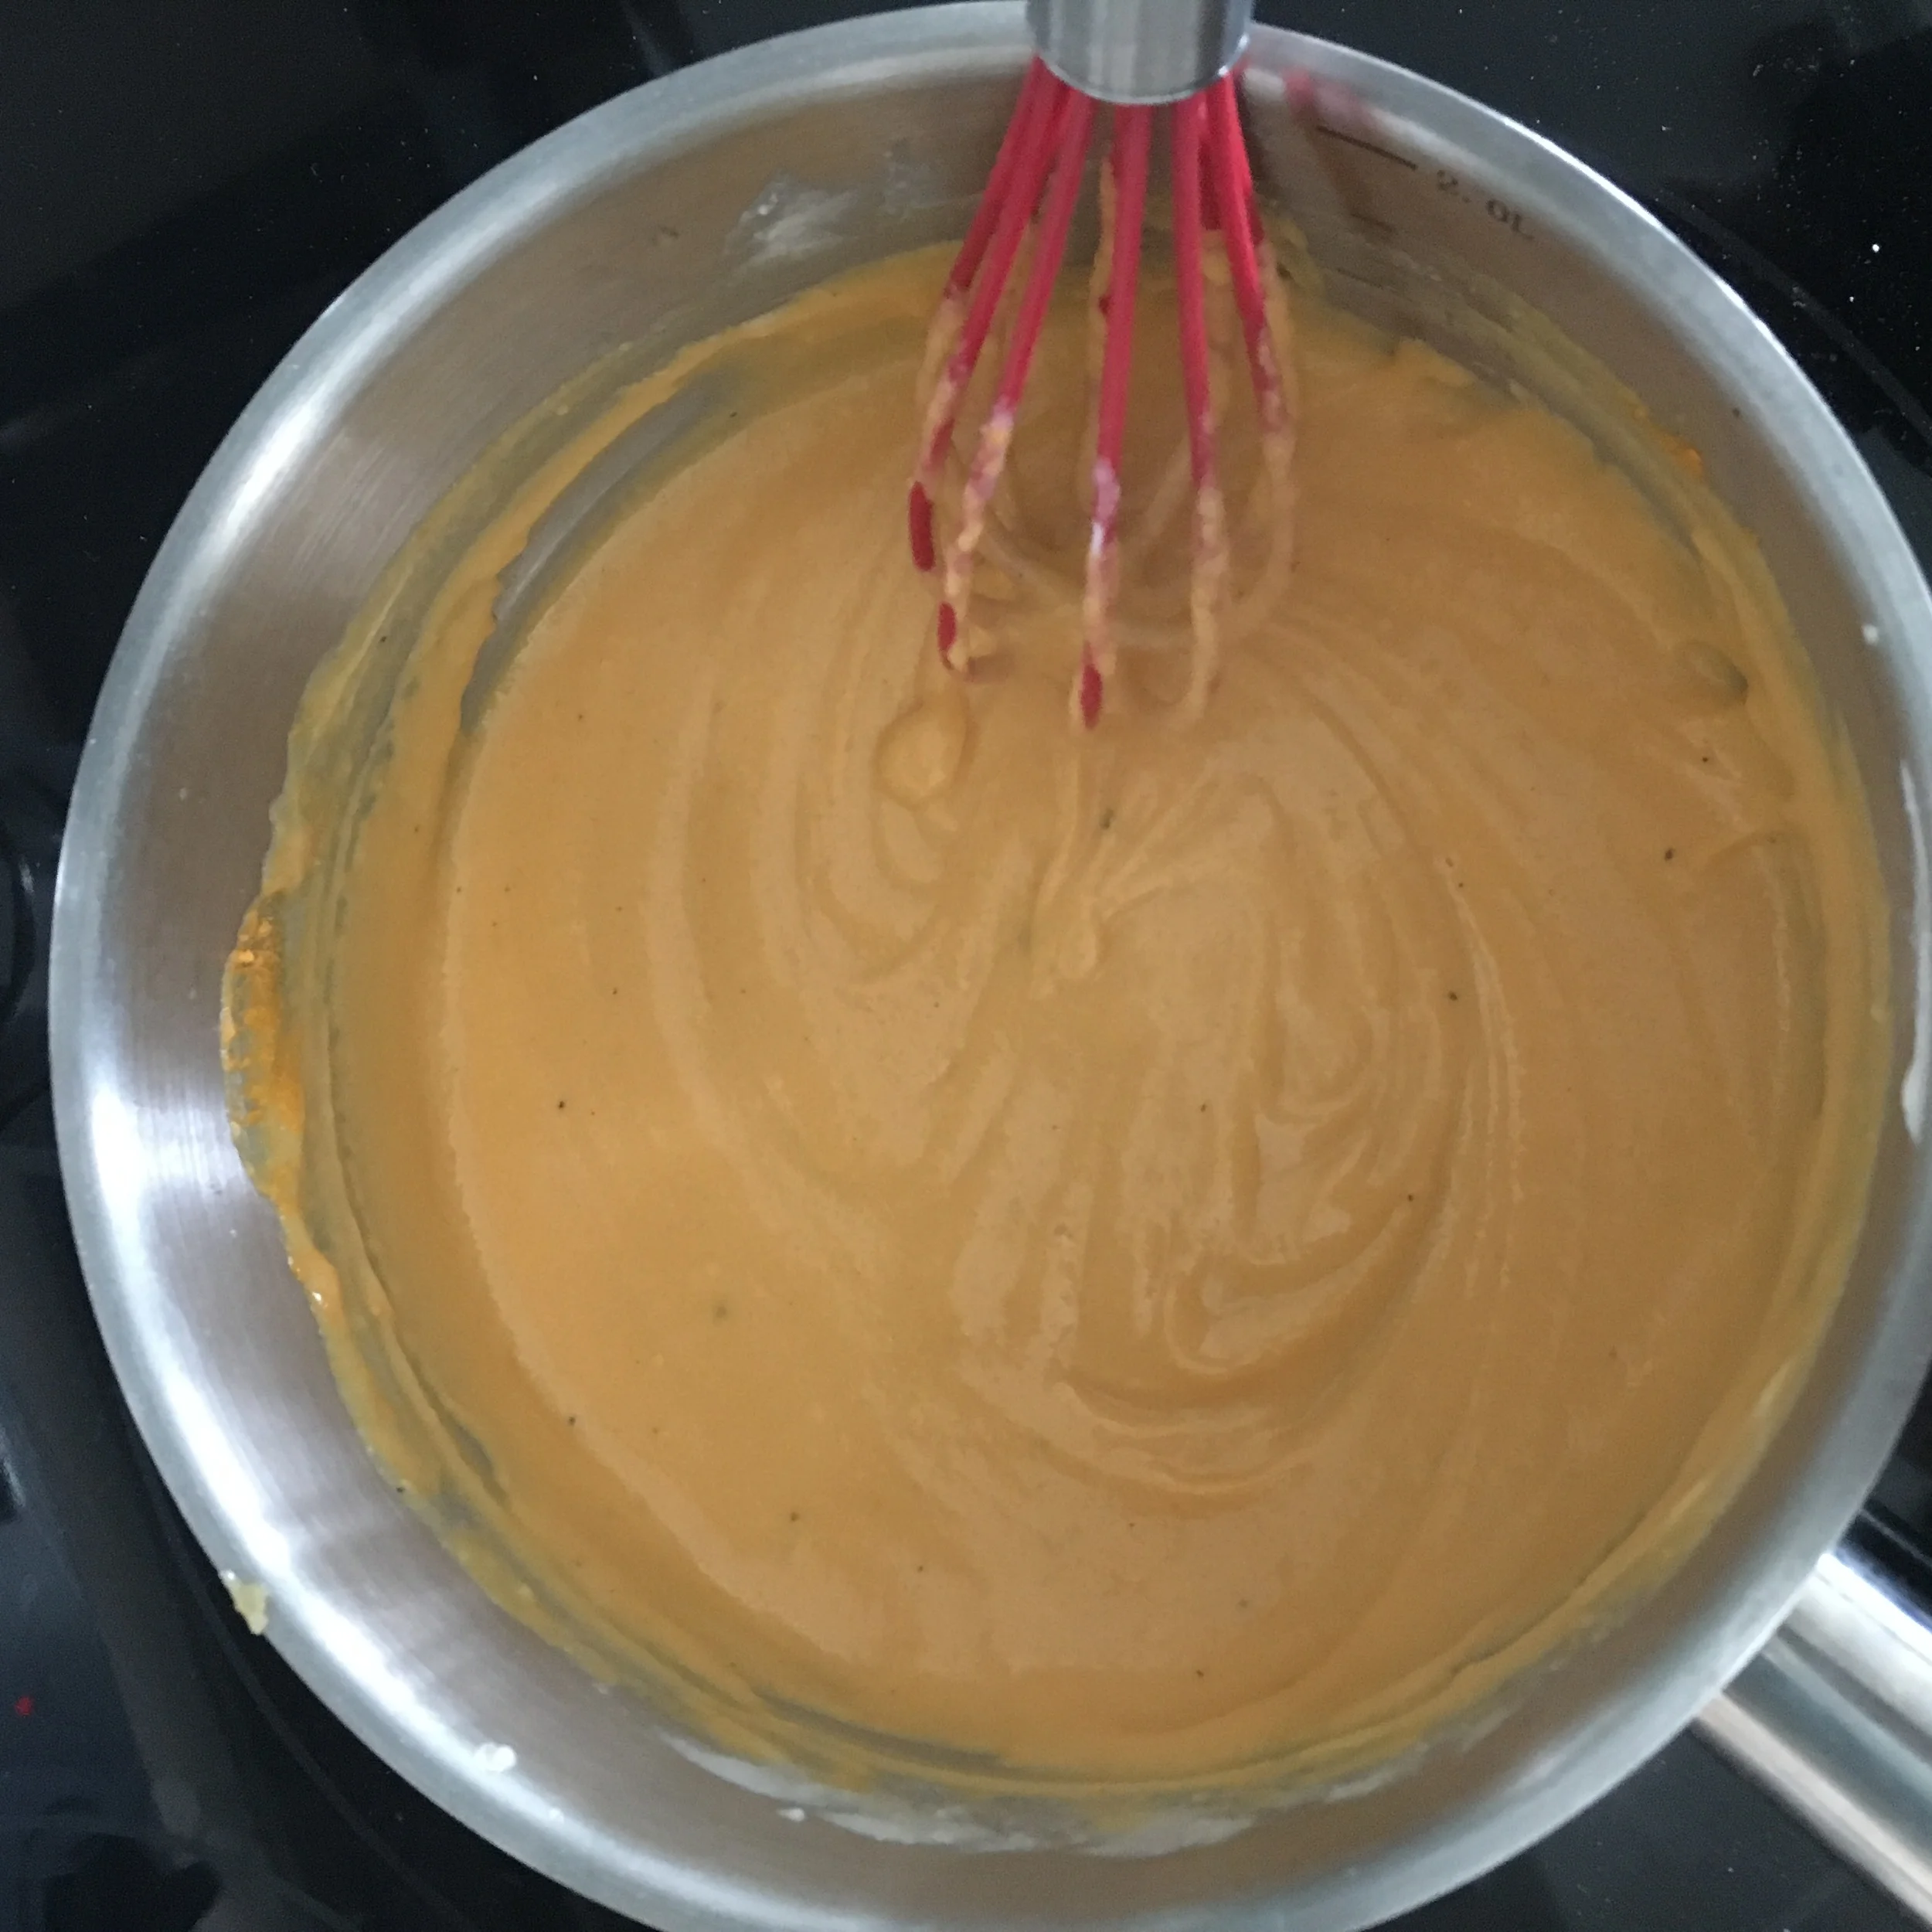
Next add in your milk slowly stirring with your whisk the whole time.  Allow milk to come to a simmer before removing from heat and adding in all your cheeses! Whisk together until smooth.

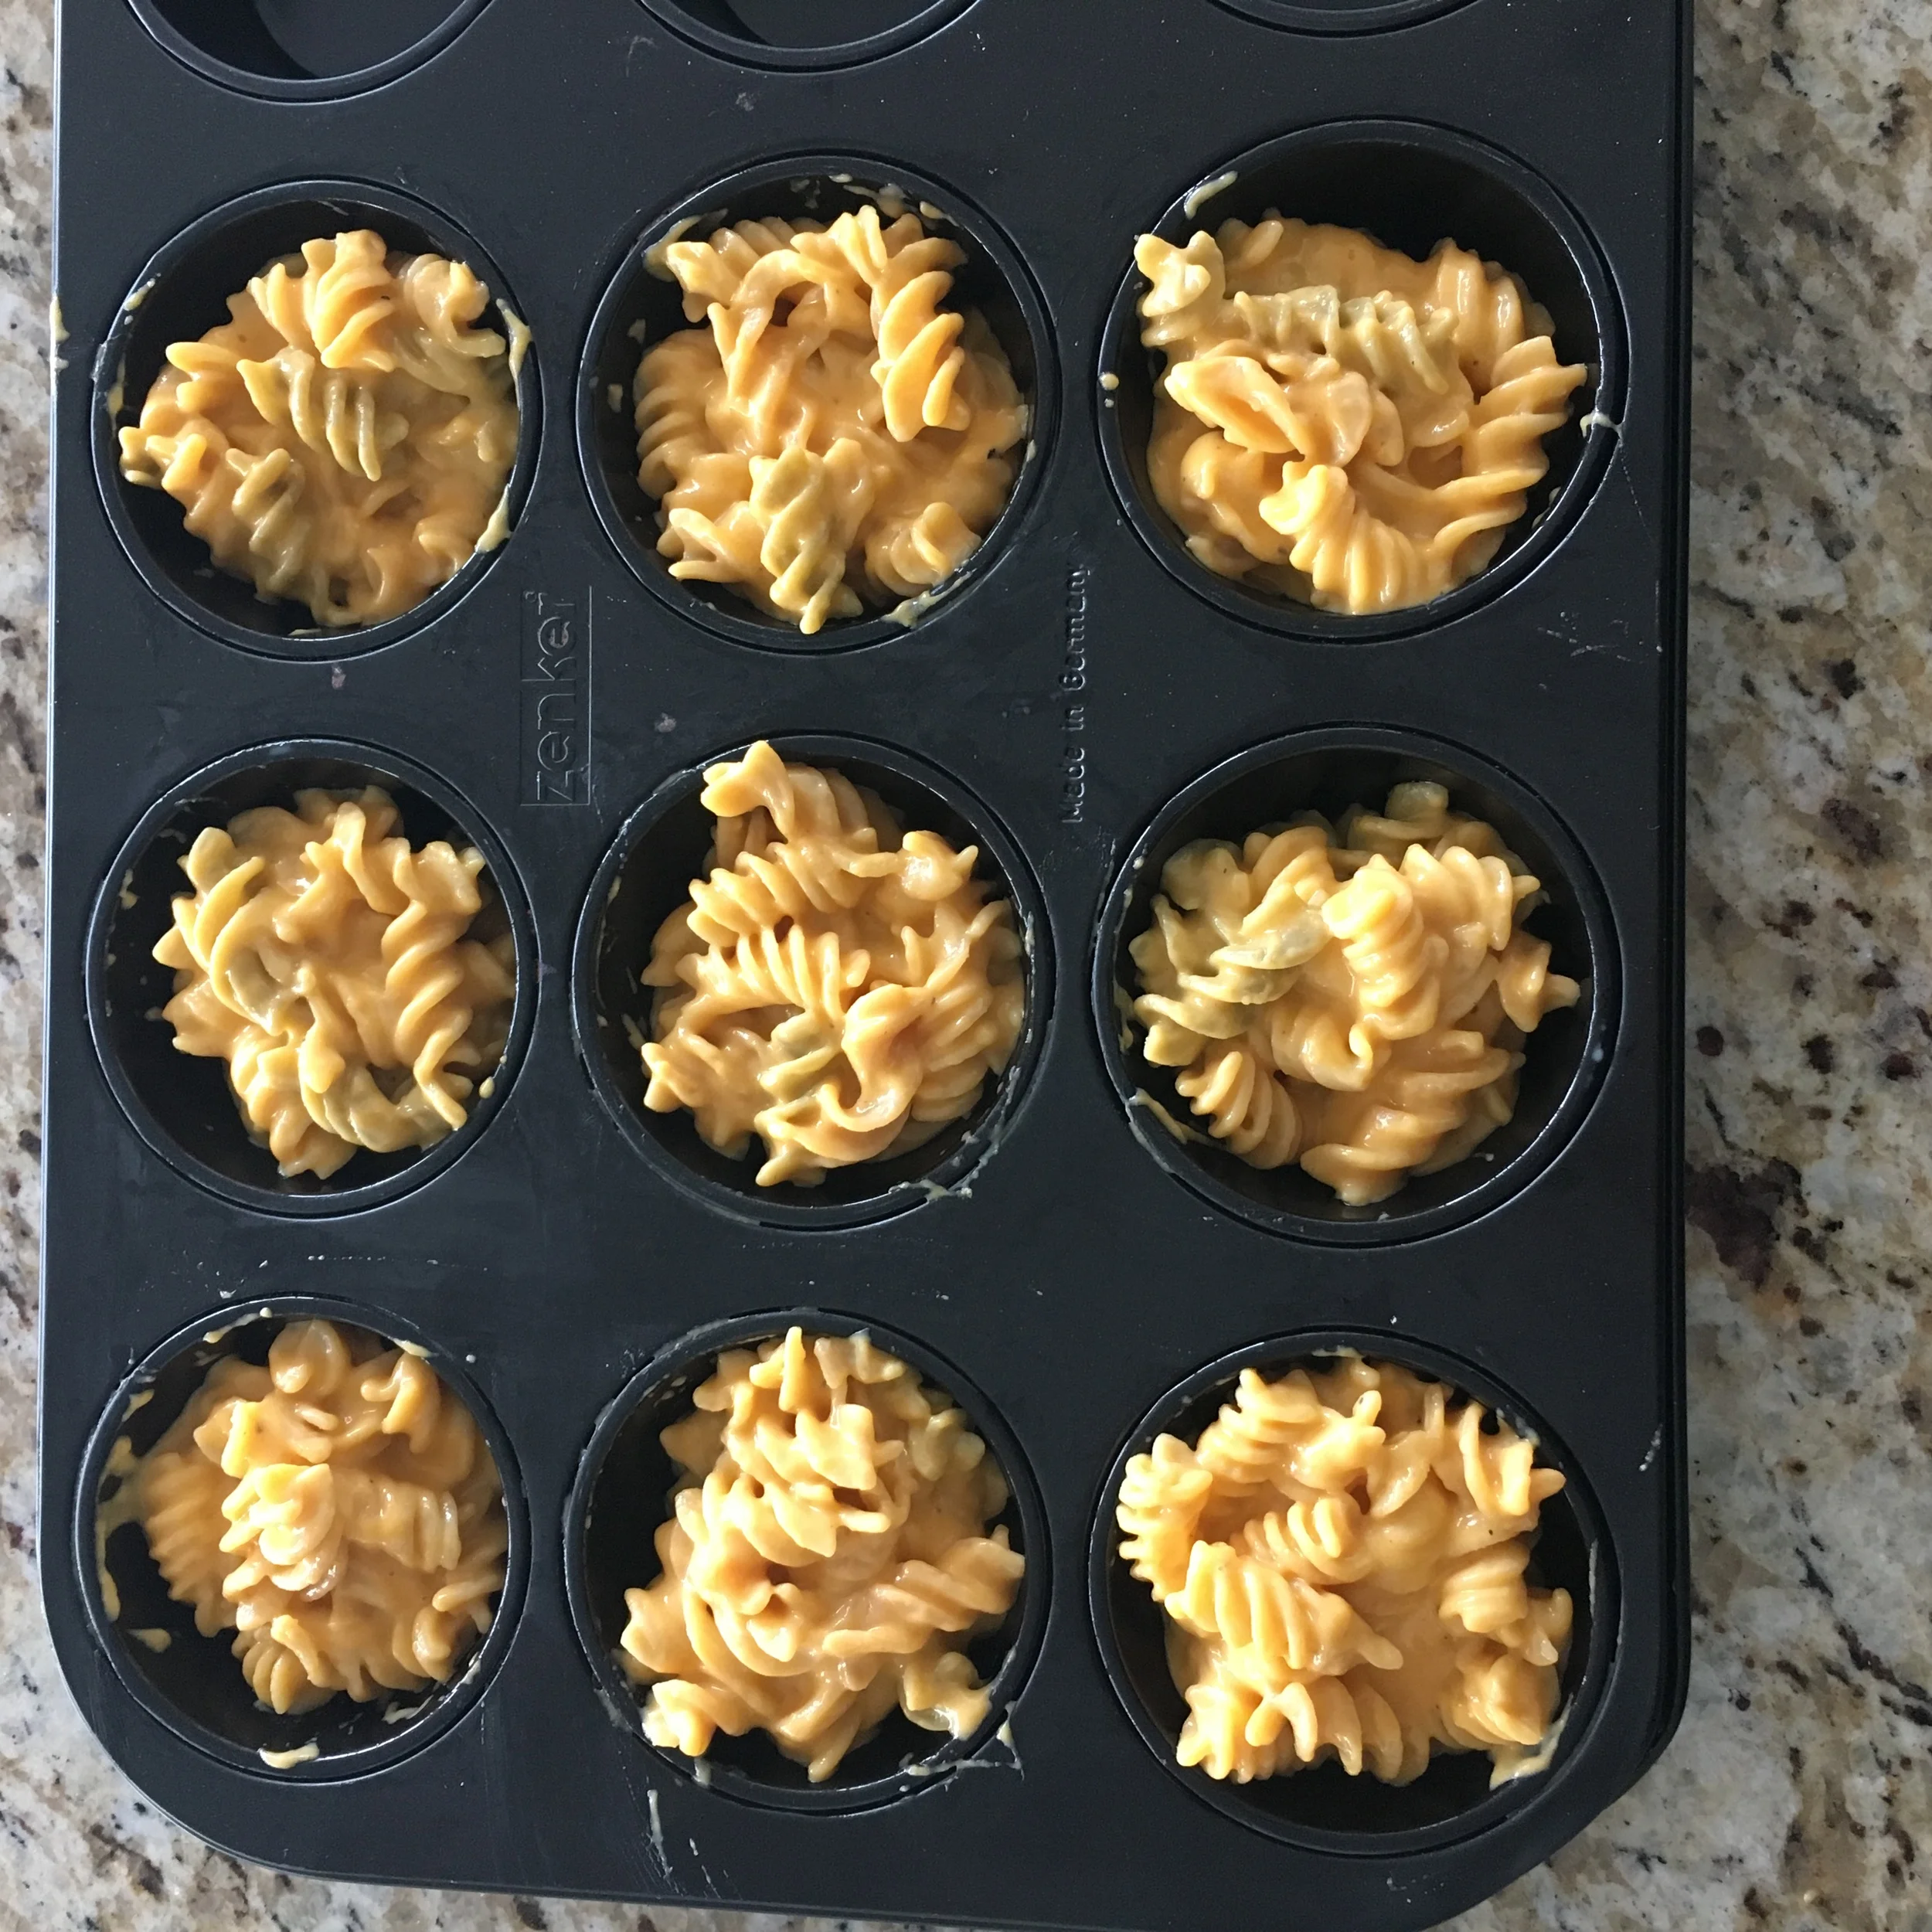
By now your pasta should be ready to be drained. Drain and allow access water to drip off before returning to pot. Add your egg to the pot with the pasta followed by the cheese sauce. Mix together so pasta is evenly covered. You can add pepper and salt now if you wish (remember that the cheese and butter does add salt to the dish already so you dont need much)

Scoop out pasta into your muffin tray (remember it has to be buttered or sprayed with non stick for easy removal later).

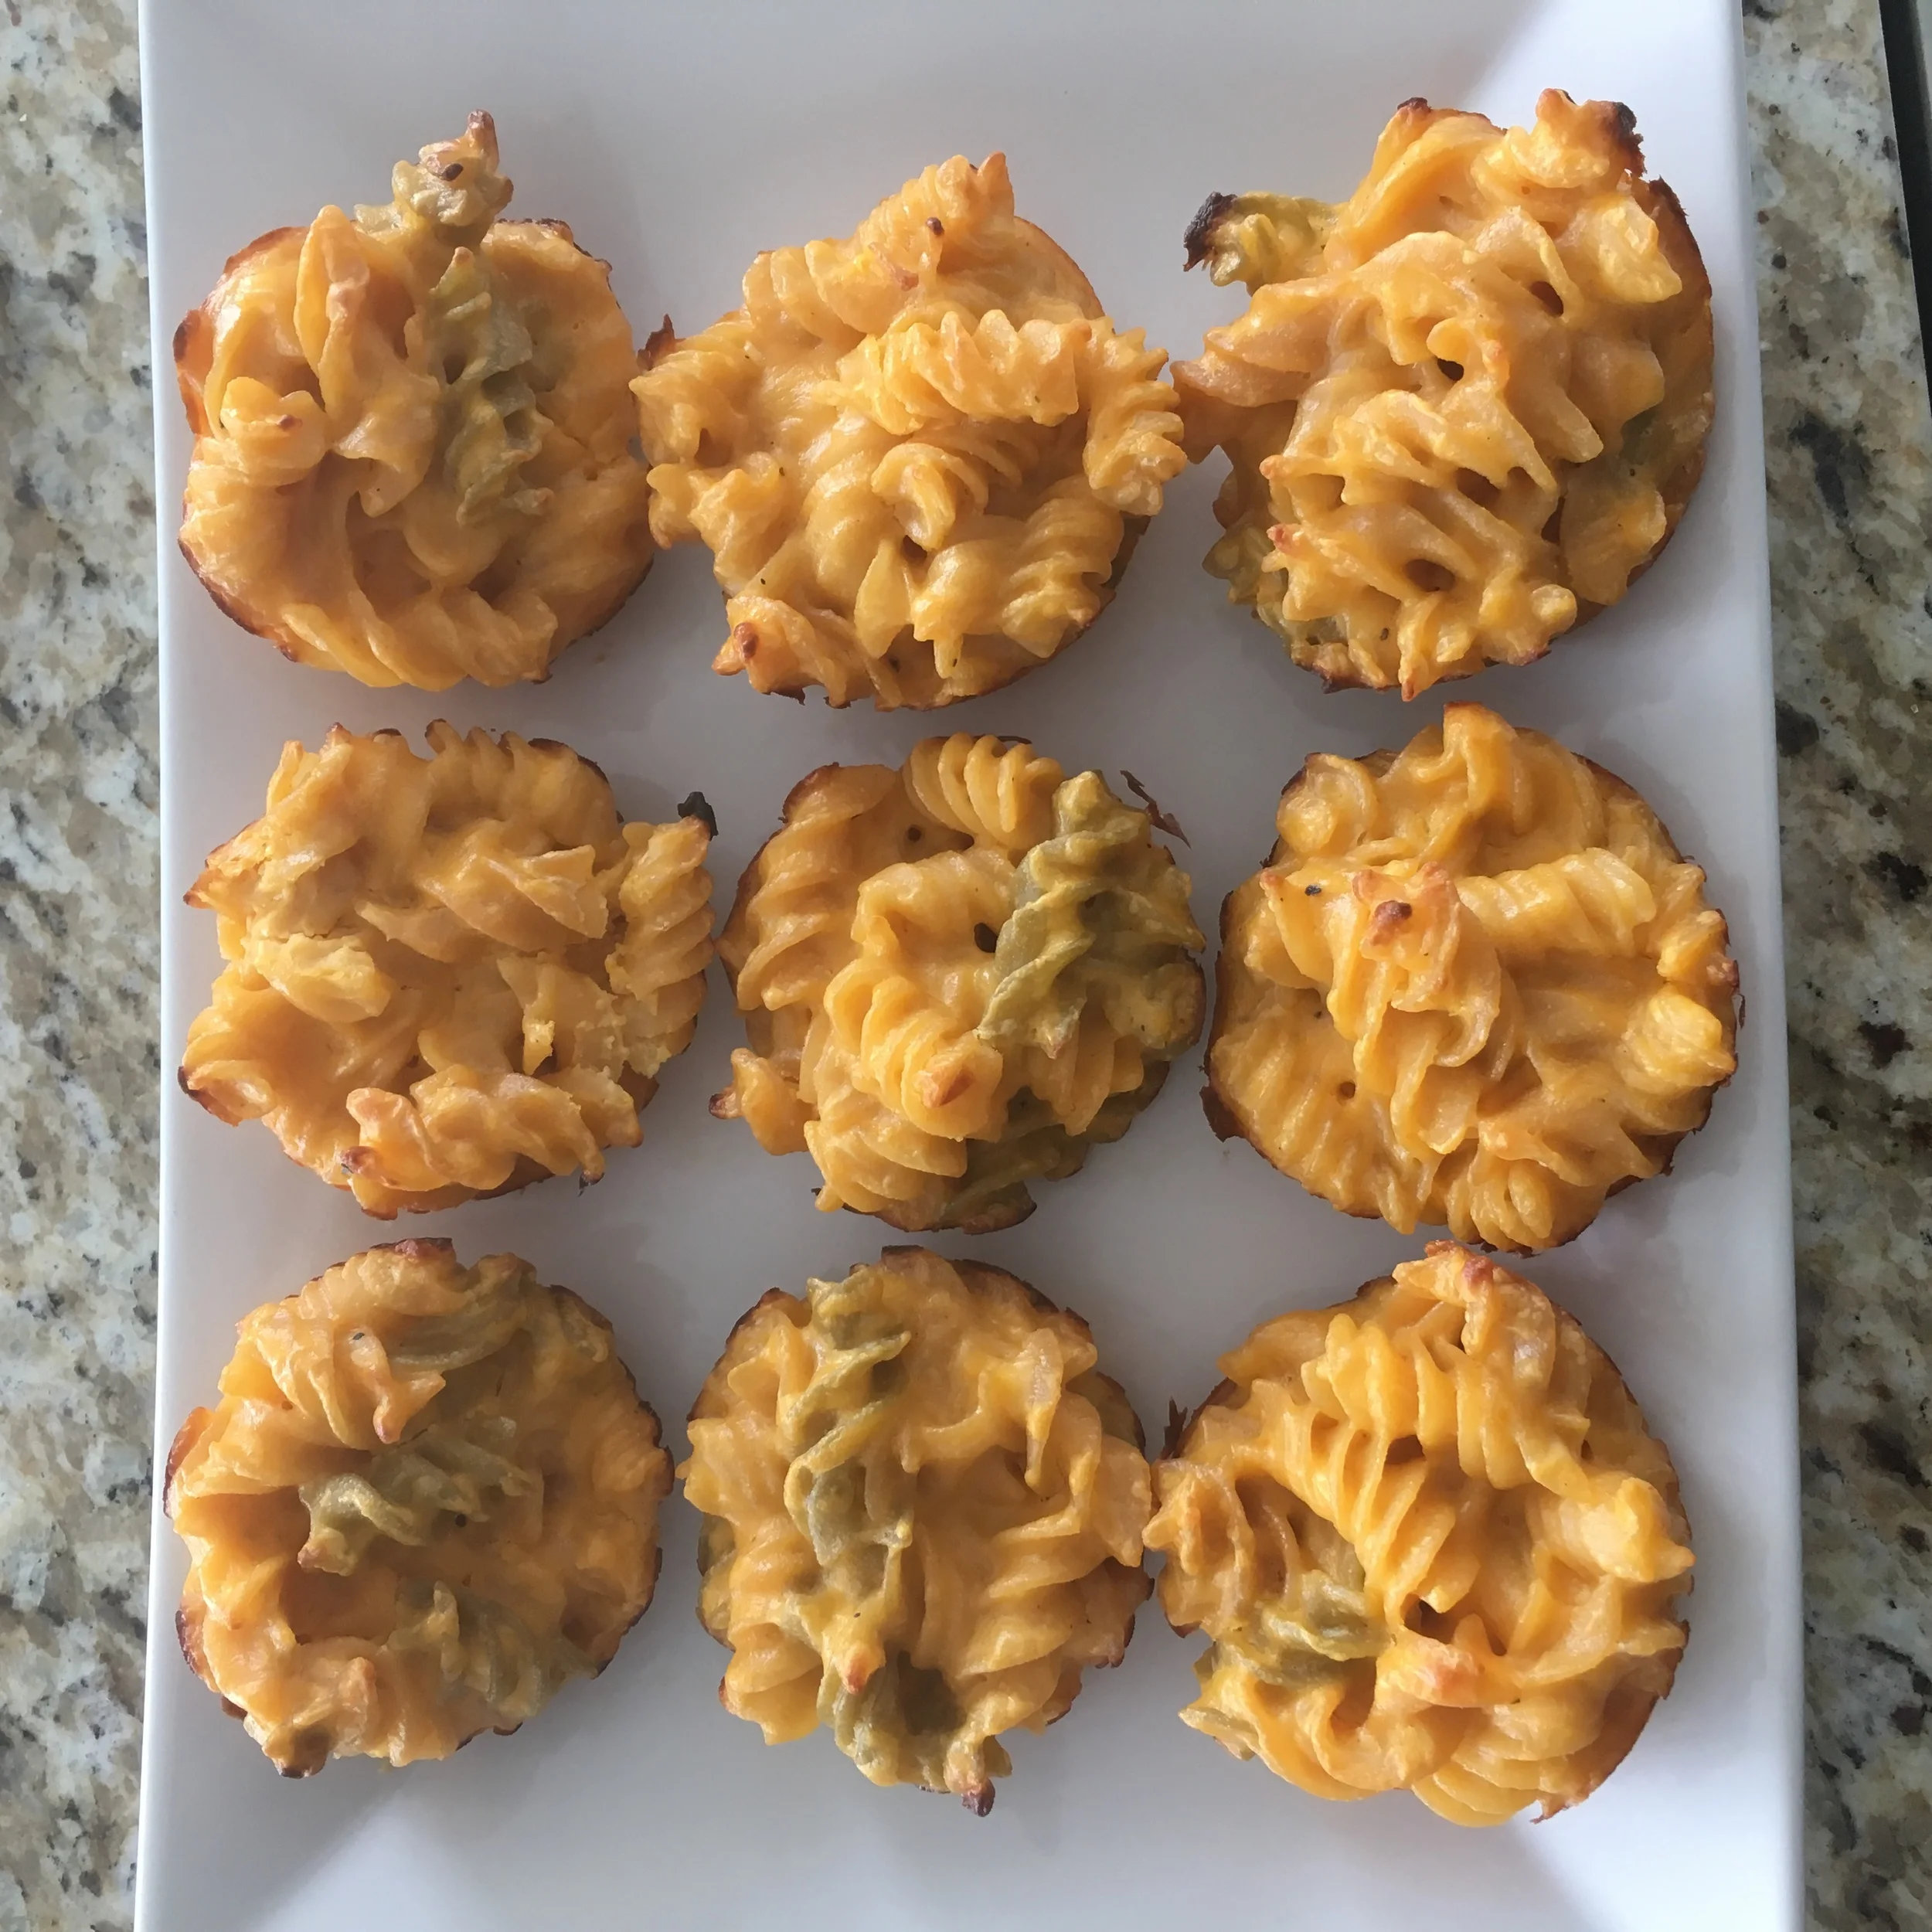
Place in oven and allow to bake for 16-17 minutes or until golden on the top!

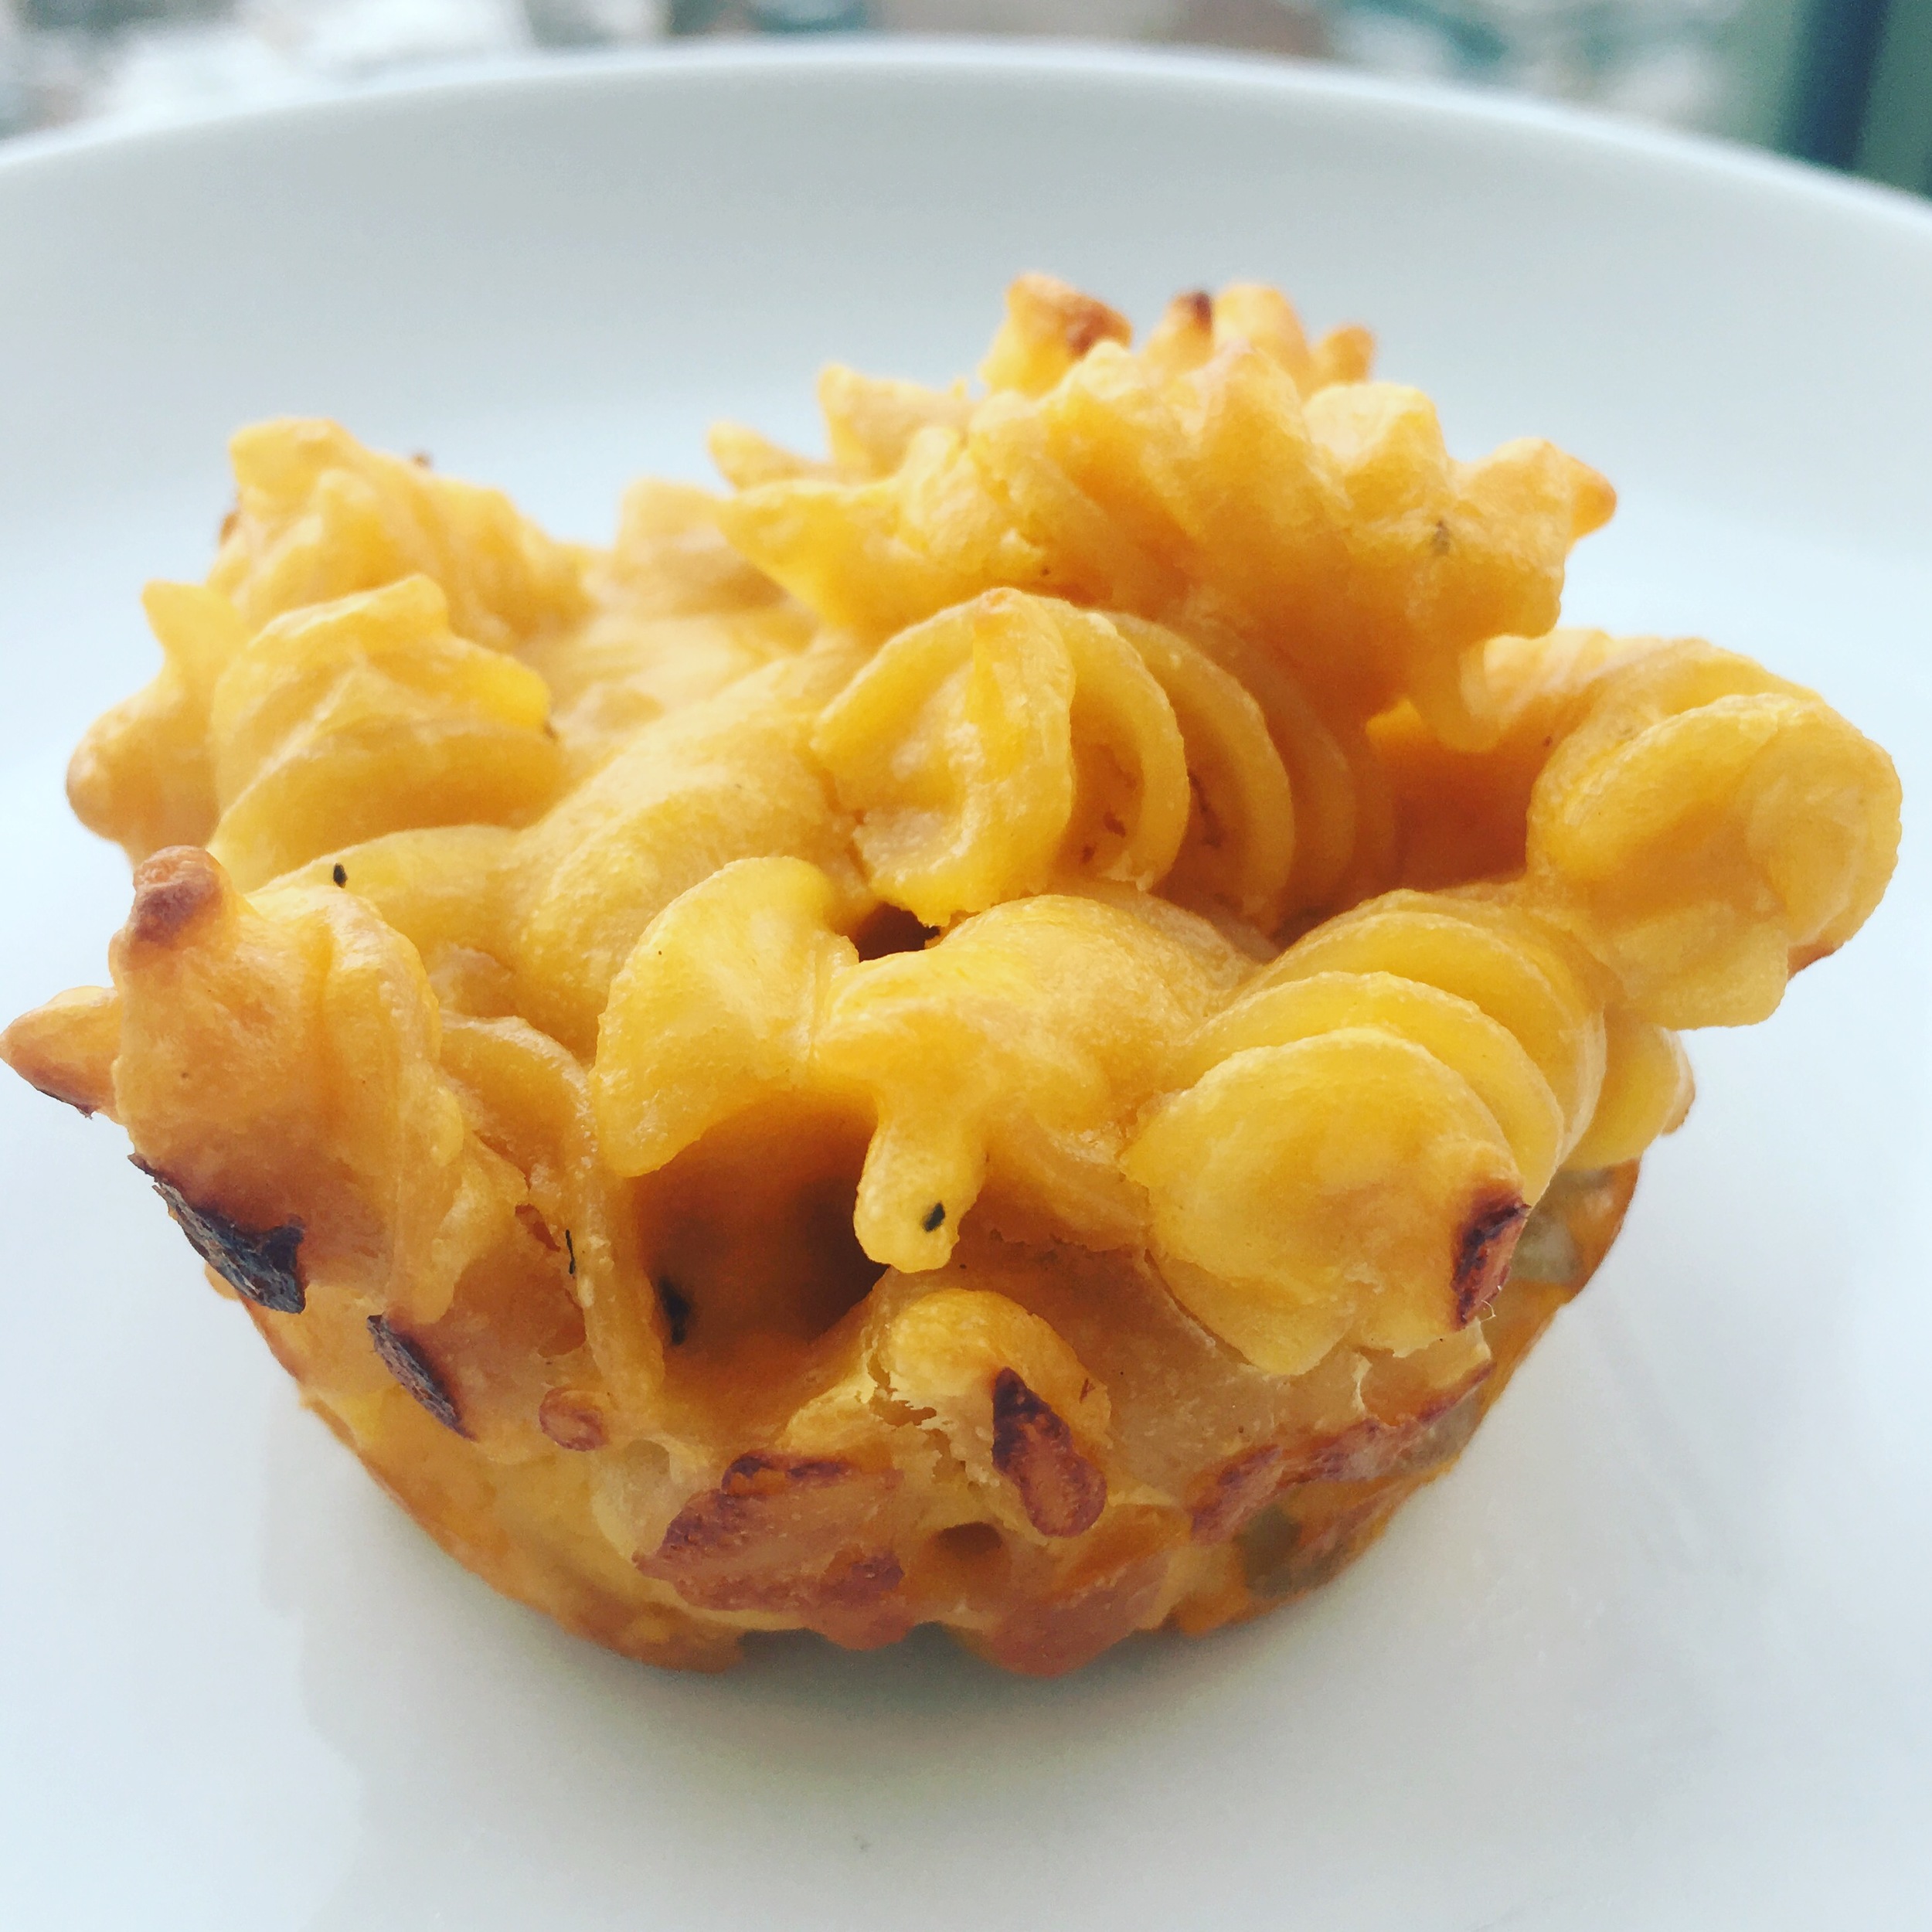
Remove from oven and allow to cool for 5 minutes before removing from muffin tin.

They are now ready to serve! Enjoy!!!


I hope you enjoyed this recipe as much as I do. If you have any comments please leave them below and I'll be happy to answer them as soon as I can! Happy cooking!!!


TRADITIONAL MEXICAN CEVICHE

I love me some ceviche and I found that discarded avocado skins make a great serving device for dinner parties because they are easy to carry, they wont leak and they are of course biodegradable! Ceviche originally came from Peru but has since evolved and been expanded on with other South American cuisines. One of my favorite styles is typically seen in Mexican cuisines where they use whole white fish and habanero peppers to give it a refreshing and spicy flavor. Enjoy.

Makes 15 Avocado Cups (small servings)

INGREDIENTS:

2lbs of White Fish (Sea Bass works)
8-10 Garlic Cloves (chopped finely)
2 TSP of Salt
1 TSP of Black Pepper
1 Habanero (remove seed and chop finely)
4 TSP of Cilantro (chopped)
20 Limes (juiced)
1 Medium Red Onion (chopped finely)

DIRECTIONS:

Mix all ingredients except the onion in a bowl. Make sure all ingredients are covered in lime juice. Cover and place in fridge and allow to marinate for 2-3 hours.

After the two or three hours add the onion into the mix, place in avocado cups and serve.


I hope you enjoyed this recipe as much as I do. If you have any comments please leave them below and I'll be happy to answer them as soon as I can! Happy cooking!!!


BABA's MACEDONIAN CHICKEN NOODLE SOUP - GLUTEN FREE!

After the holidays I was feeling rundown and definitely craved some of Baba's (Macedonian for Grandmother) Chicken Noodle Soup. She makes he broth from scratch so with her guidance I was able to replicate her soup. Since we will be makings everything from scratch you can control your salt and therefore your sodium level. Also I used rice noodles so that we can keep it gluten free. If you are not feeling well Baba's Chicken Noodle is definitely a good way to go because it is packed with nutrients from the vegetables used to create the broth. ENJOY

INGREDIENTS:

1 Whole Chicken
1 TBSP Salt (to wash the chicken)
1-2 TBSP White Vinegar (to wash the chicken)
3 Carrots (Chopped)
3 Celery Branches (Chopped)
3 Small Onions (Cut in quarters)
1 Whole Clove of Garlic (cut in half)
1 Lemon (you will need the zest and the juice)
2 Egg Yokes
Rice Noodles (use as much as desired)
Salt and Pepper as desired
 

DIRECTIONS:

Wash chicken in cold water. To wash further, rub with a bit of white vinegar and a bit of salt to kill any bacteria

Cut chicken in halves or quarters and remove any excess fat

Place chicken in deep pot and add cold water (about 3 litres per kg of chicken), and 1 tablespoon of salt

Bring water to a boil and then turn to medium heat uncovered

During the first 5 minutes of boiling, skim the excess fat and foam that rises to the top

After you have skimmed, add the chopped onion, celery, carrots and garlic

Cover and let boil on low to medium heat for 1.5 hours or until chicken is cooked

Remove chicken and set aside to cool

Remove carrots and set aside to cool

Remove onions, celery, and garlic to a strainer. Use ladel to mash this mixture through the strainer into the soup. Do this for 5 minutes and discard anything that doesn't go through strainer

Add zest of 1 lemon. Add a bit of salt to season, if necessary

In a medium bowl, mix 2 egg yokes, the juice of 1 lemon and a bit of cold water. Give it a good wisk for 2-3 minutes.

Add noodles to pot. As they are cooking, slowly add about 4-5 ladels of stock to the egg mixture, stirring as you do it. This will bring the egg mixture up to temperature of the stock and will make sure the yokes dont cook.

When noodles are half way done, slowly add the egg and stock mixture back into the pot, ladel by ladel

Remove skin off chicken and shred or chop chicken to your liking. Add back to the soup with the carrots

Remove from heat and cover to hang out for a few minutes or serve right away.

When serving, a squeeze of fresh lemon juice and some fresh cracked pepper make it perfect!


I hope you enjoyed this recipe as much as I do. If you have any comments please leave them below and I'll be happy to answer them as soon as I can! Happy cooking!!!

MANGO PEACH FRUIT ROLL UP - PLANT BASED, ORGANIC, GLUTEN FREE AND NO SUGAR ADDED

ACTUALLY the easiest thing to make on the planet. As a kid I loved fruit roll-up but as an adult I look for more healthier alternatives. Anyone can make a more natural fruit roll-up at home, all you need are the following:

INGREDIENTS:

FRUIT (I used 2 Large Mangos and 2 Peaches)

DIRECTIONS:

Cut the fruit up and place it in a blender till it is liquefied.

Pour the liquefied fruit on a banking sheet with wax paper or a non-stick baking mat. Spread the liquefied fruit out evenly using a spatula. Aim for about 1/8 to 1/4 inch thickness.

Bake at 175 Degrees for 3-4 hours. If it is thicker you will need to let it bake for longer. If you have a lot of liquefied fruit you can use two trays or just put it all on one and bake for longer (could be up to 12 hours to fully dehydrate)

**its actually not cooking the fruit at this temperature it is only dehydrating it of its water content which leaves the natural sugars behind to create the fruit roll up! This can be used for most fruit except for anything that is made of 80% juice like citrus fruit. Berries, mango, peaches, pairs, plums, apples and kiwi's work best