STUFFED ACORN SQUASH - VEGETARIAN AND VEGAN OPTIONS

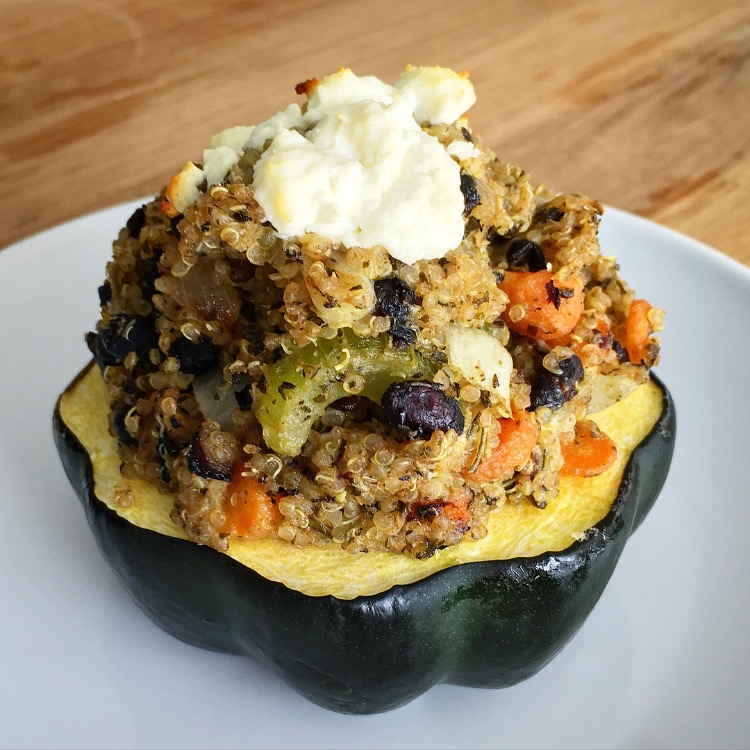
I have tried many different squash recipes, but this has to be one of my favorites. My girlfriend Lili made it for me the other day when I went to her house for dinner and it was not only healthy, but really tasty so of course I had to share the recipe with you guys. You can add any veggies that you like and can even switch up the pesto for tomato sauce if you want. Be creative but most of all have fun!

INGREDIENTS:

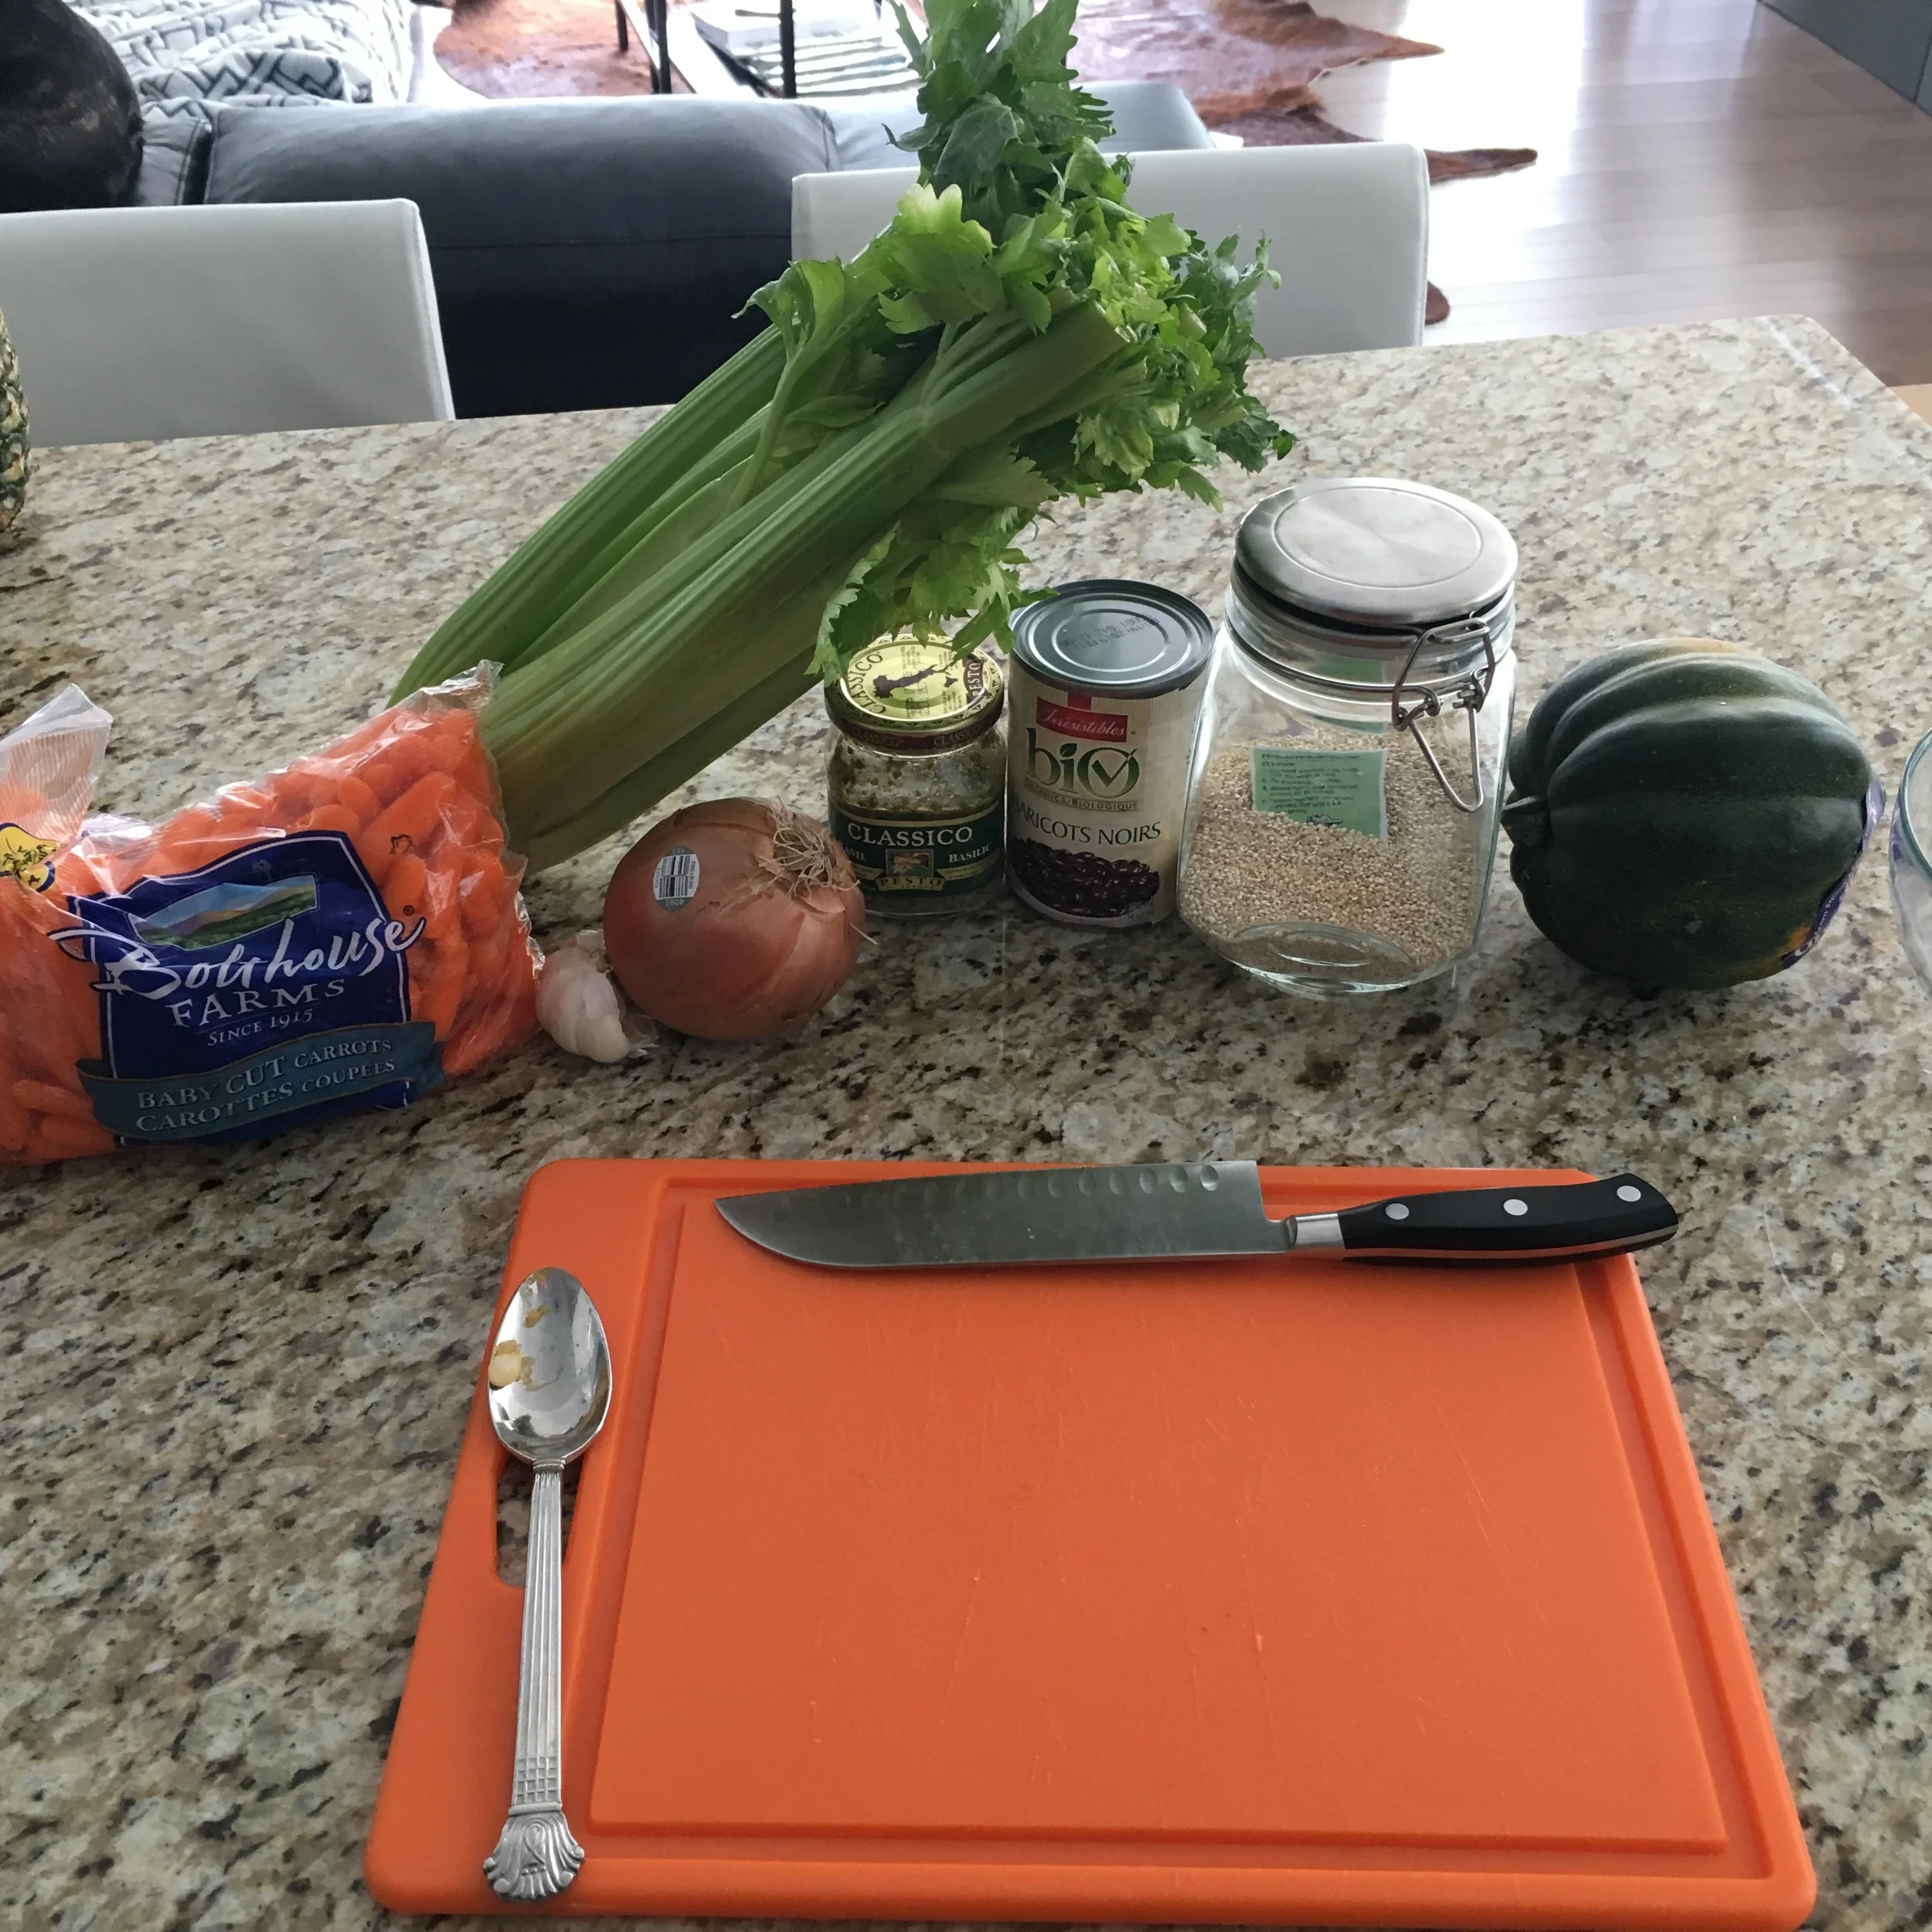
1 - 2 Acorn Squash
3/4 Cup of Uncooked Quinoa
1-2 TBSP of Olive Oil
1/2 Medium Spanish Onion (chopped)
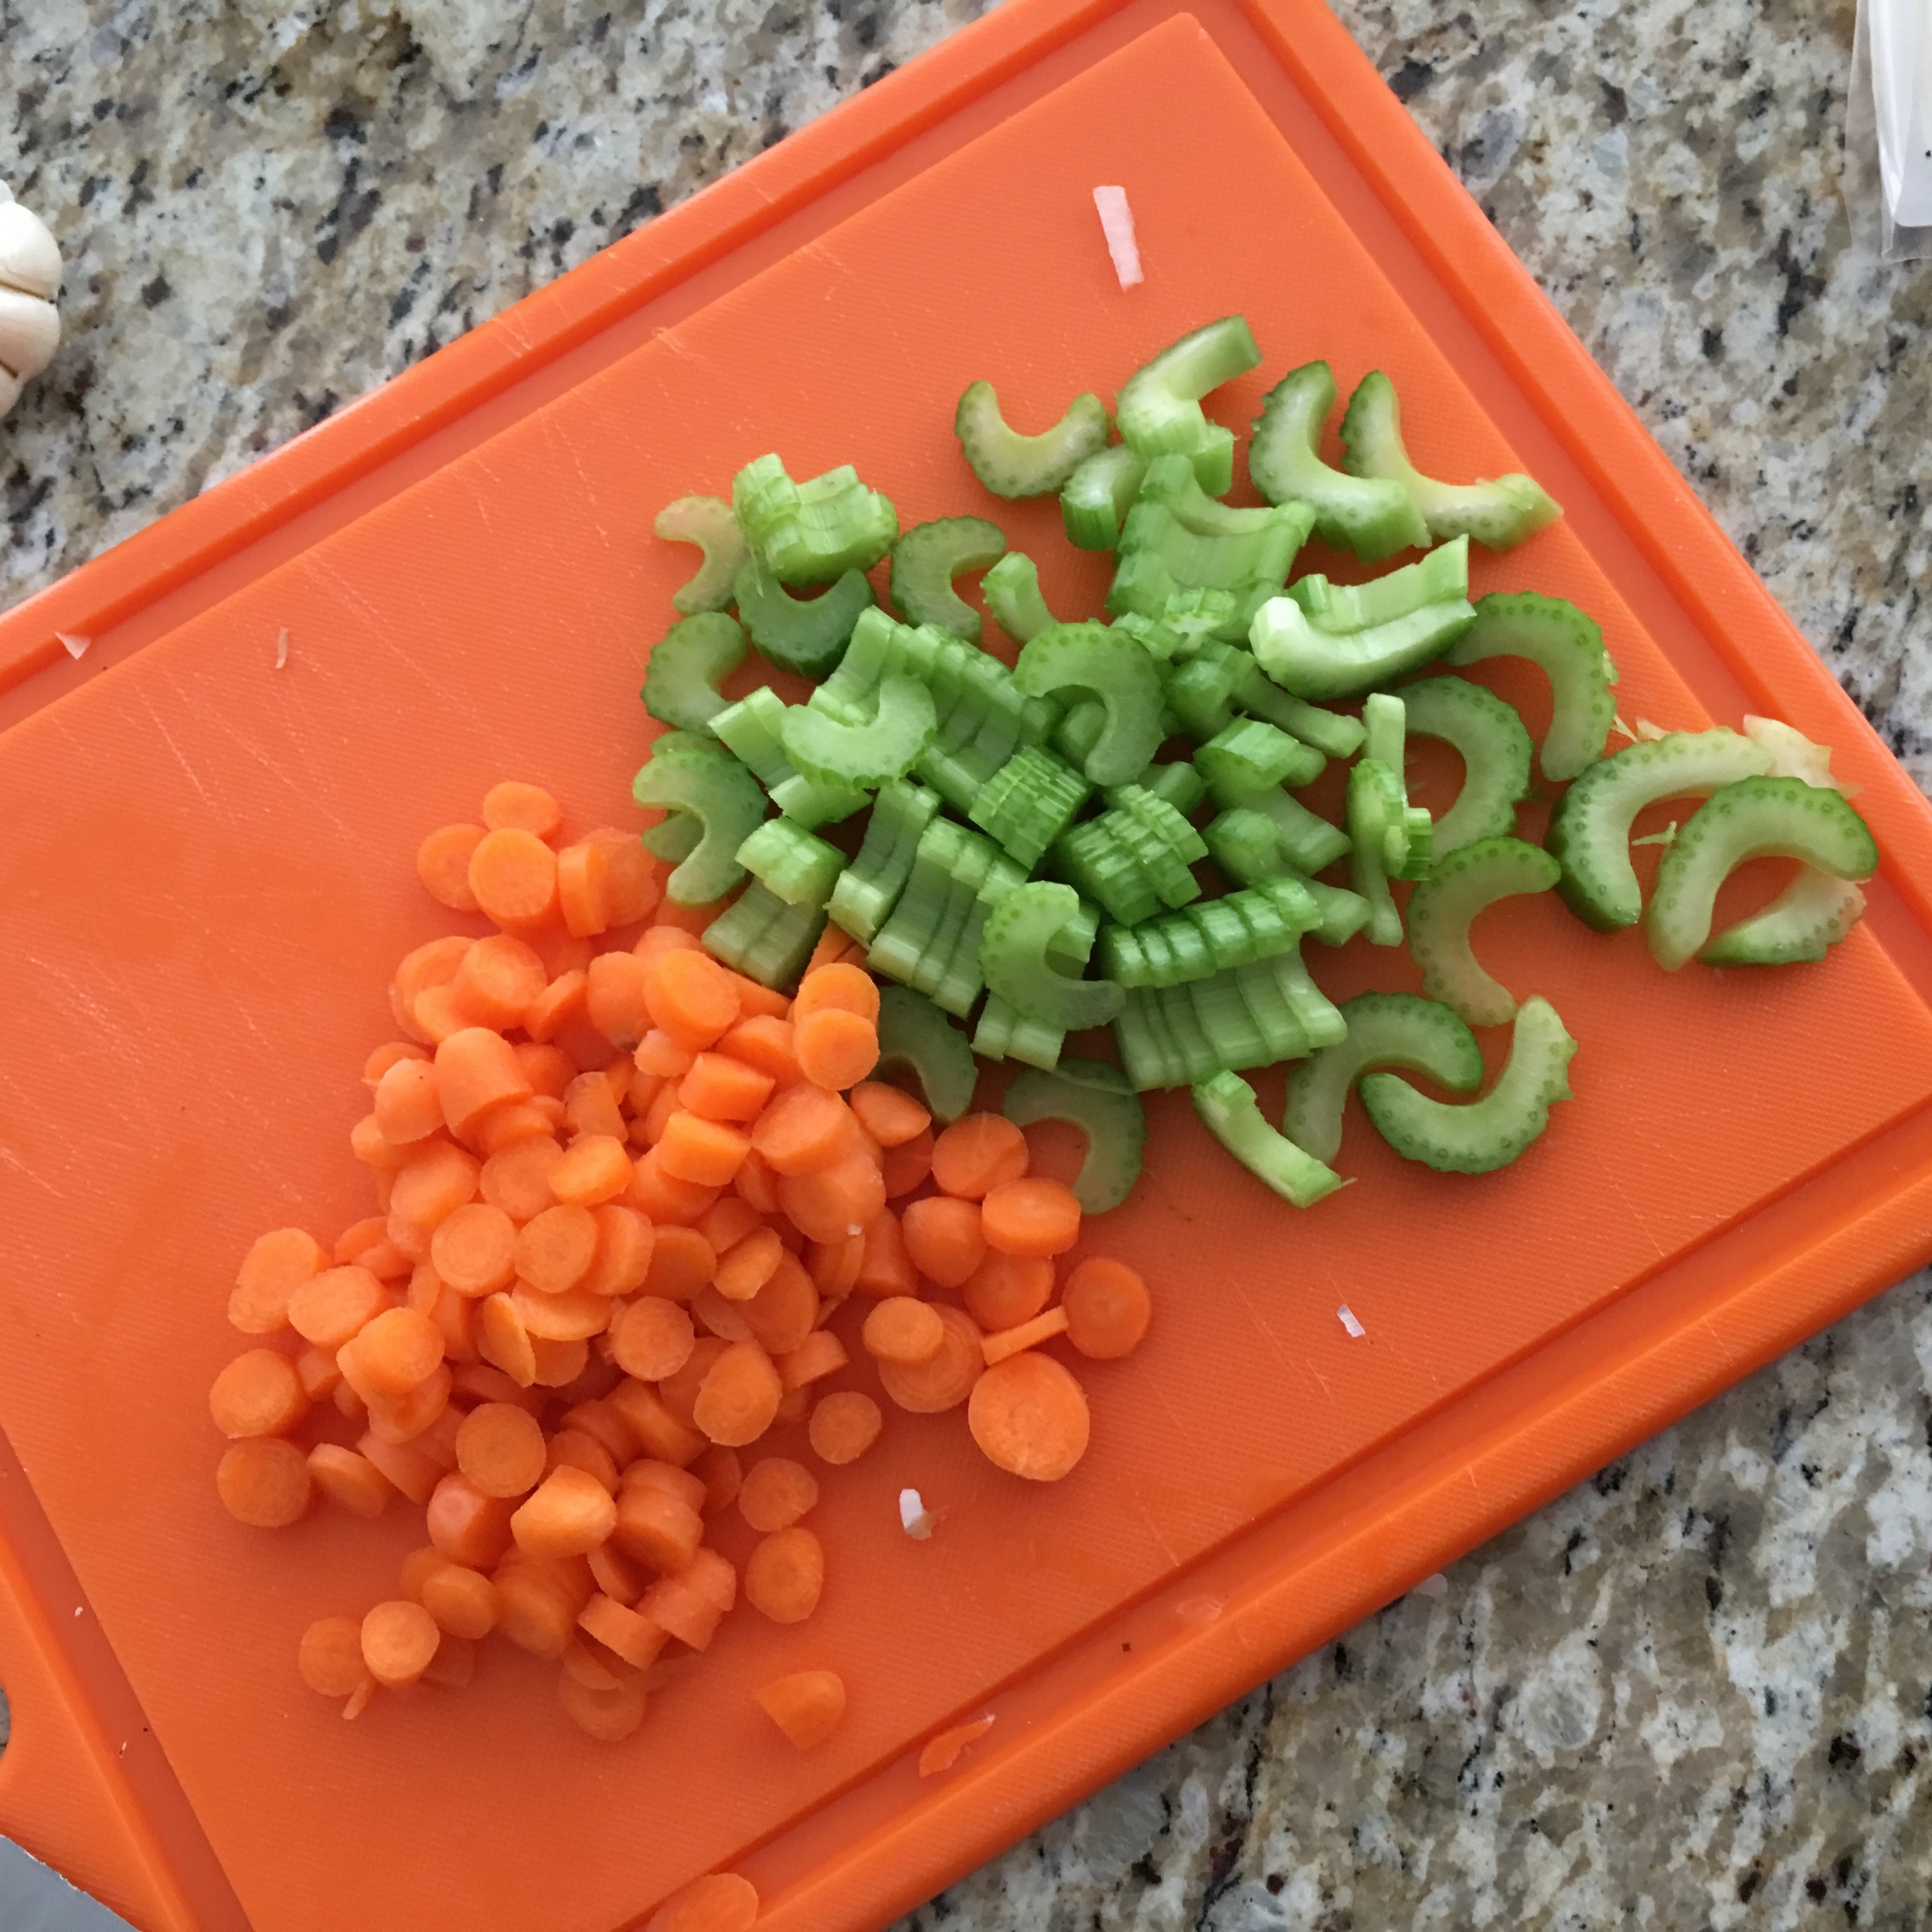
2 Celery Stock (chopped)
2 Clove of Garlic (minced)
1/2 Cup of Carrots (chopped)
1/2 Cup of Black Beans (drained and rinsed)
Pesto Sauce
2-3 TBSP of Goat Cheese, Feta Cheese, Halloumi (whichever you prefer/optional)
Salt and Pepper to taste

DIRECTIONS:

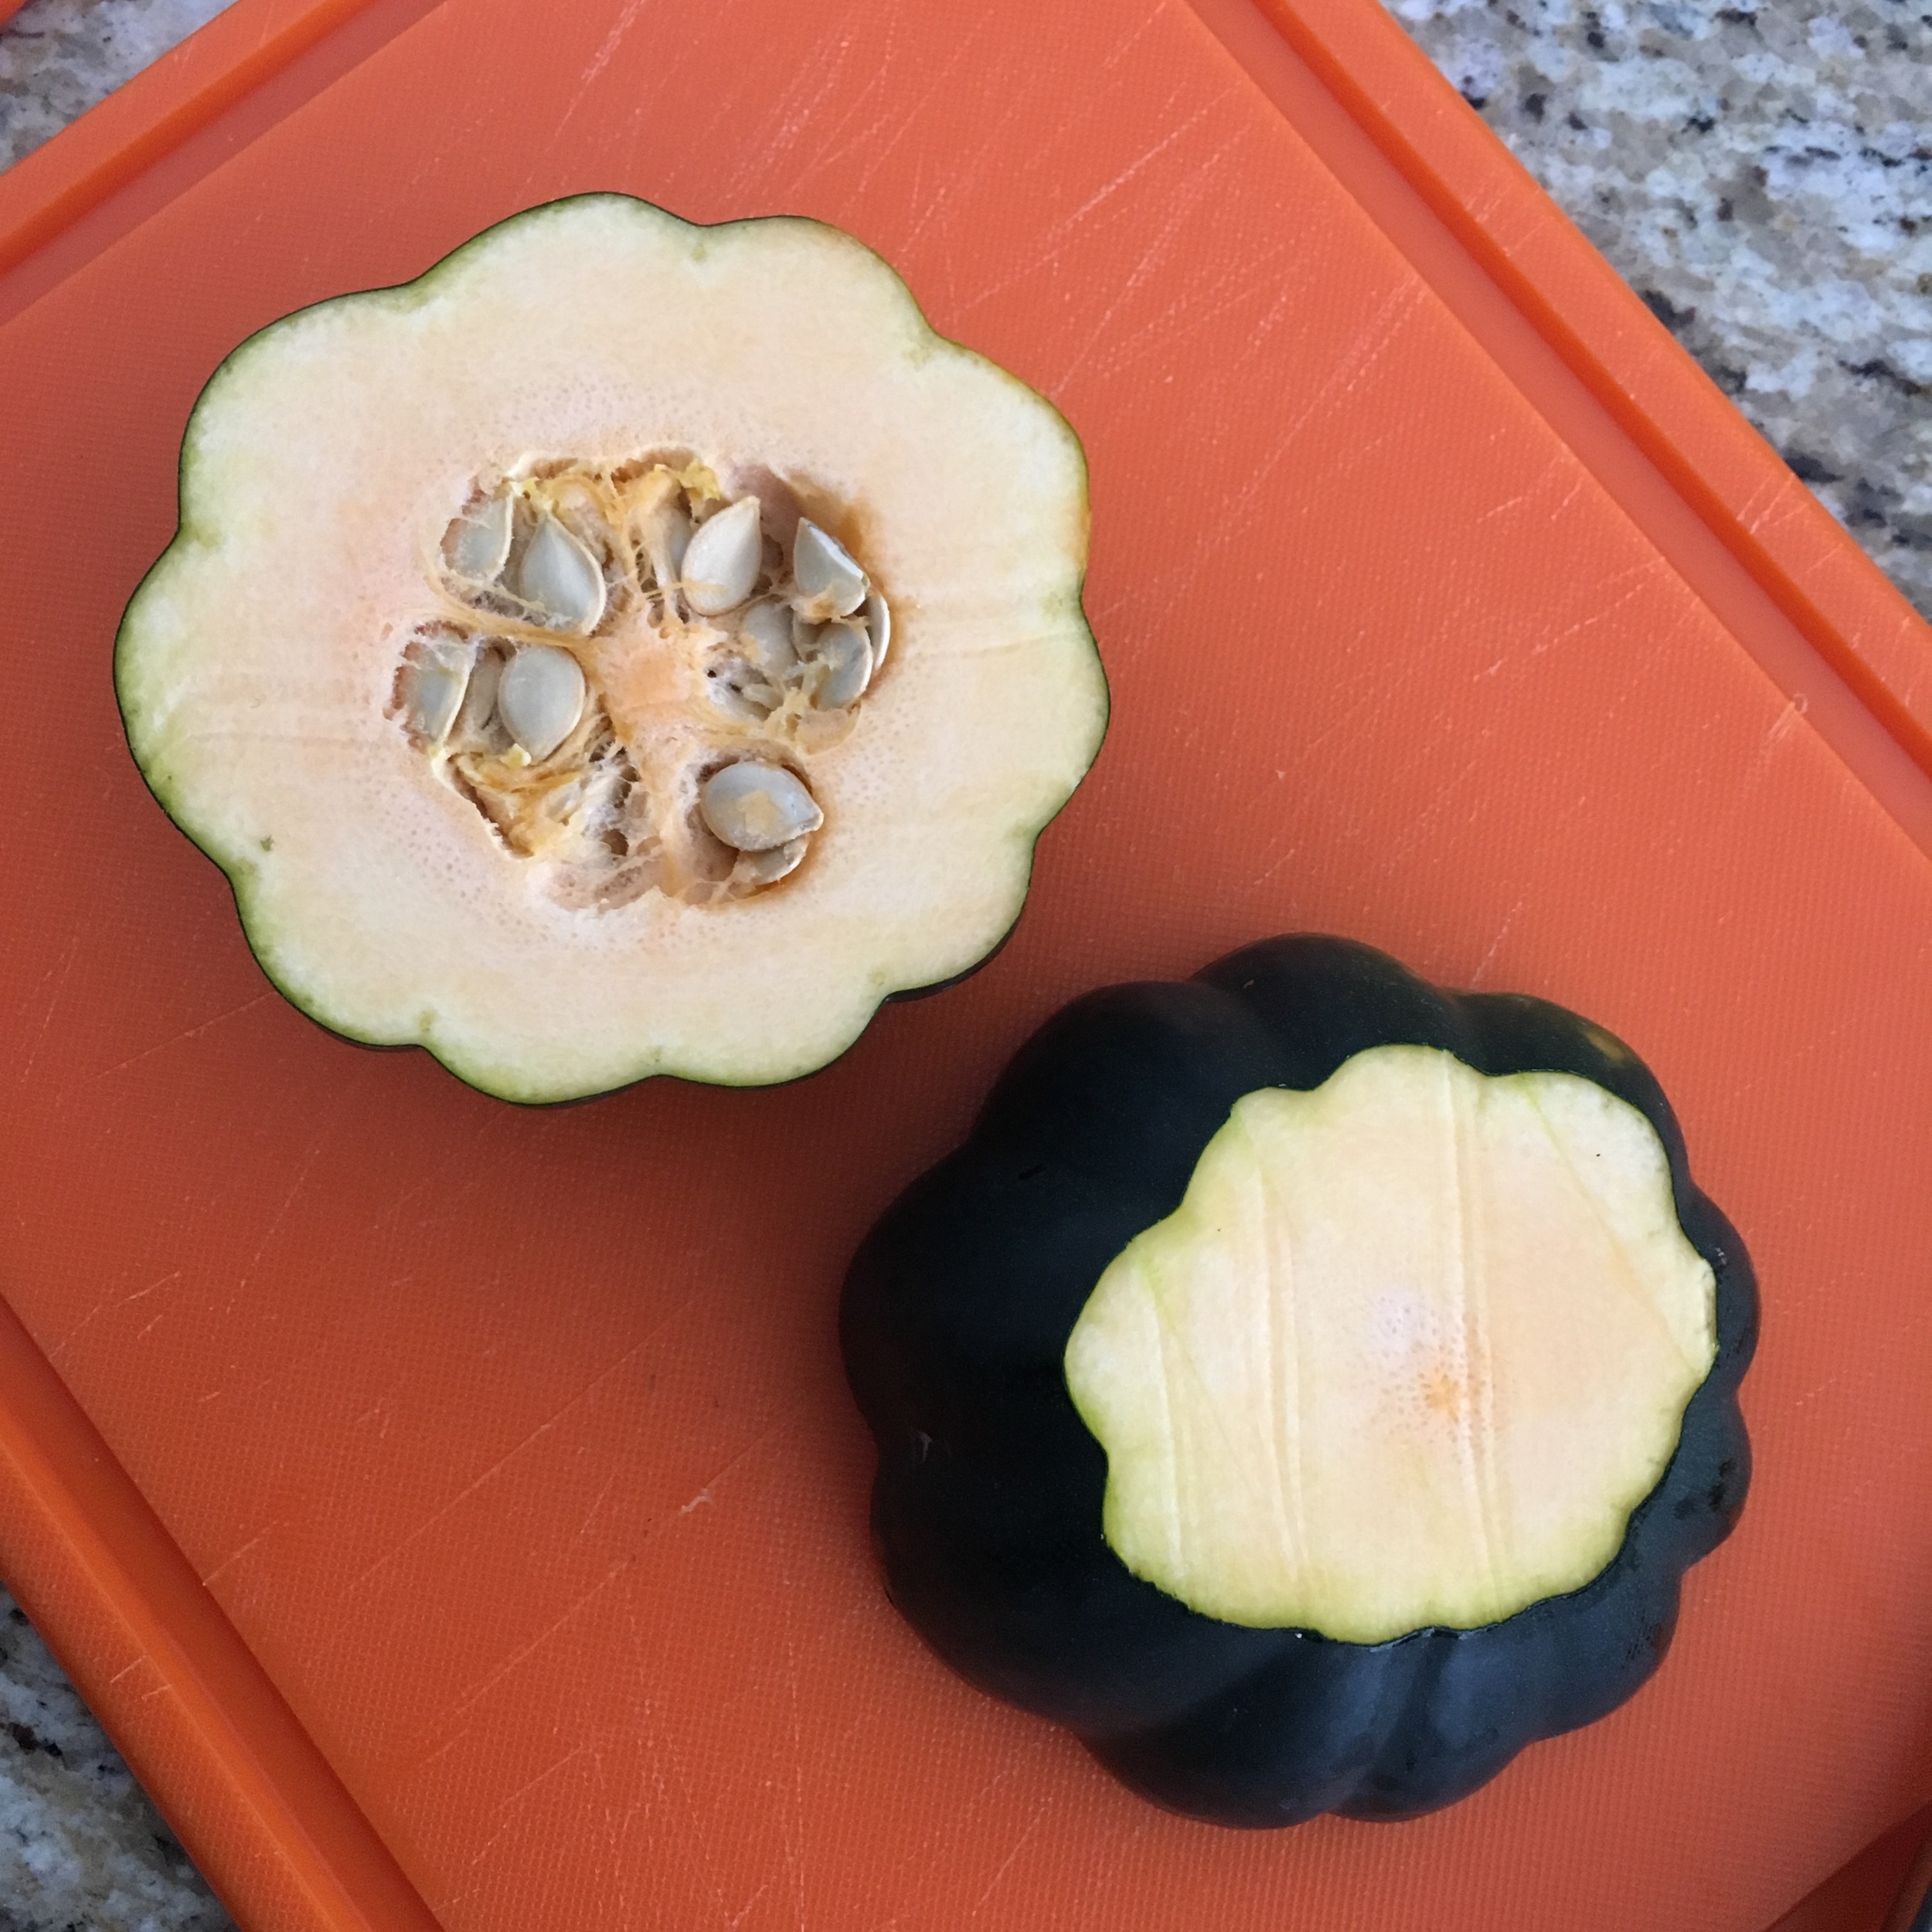
Preheat oven to 350 degrees. While oven is warming up go ahead and cut a small portion of the top and bottom of your acorn squash off to help it sit up straight. Next cut the squash in half, width-wise, and remove the seeds from the inside.

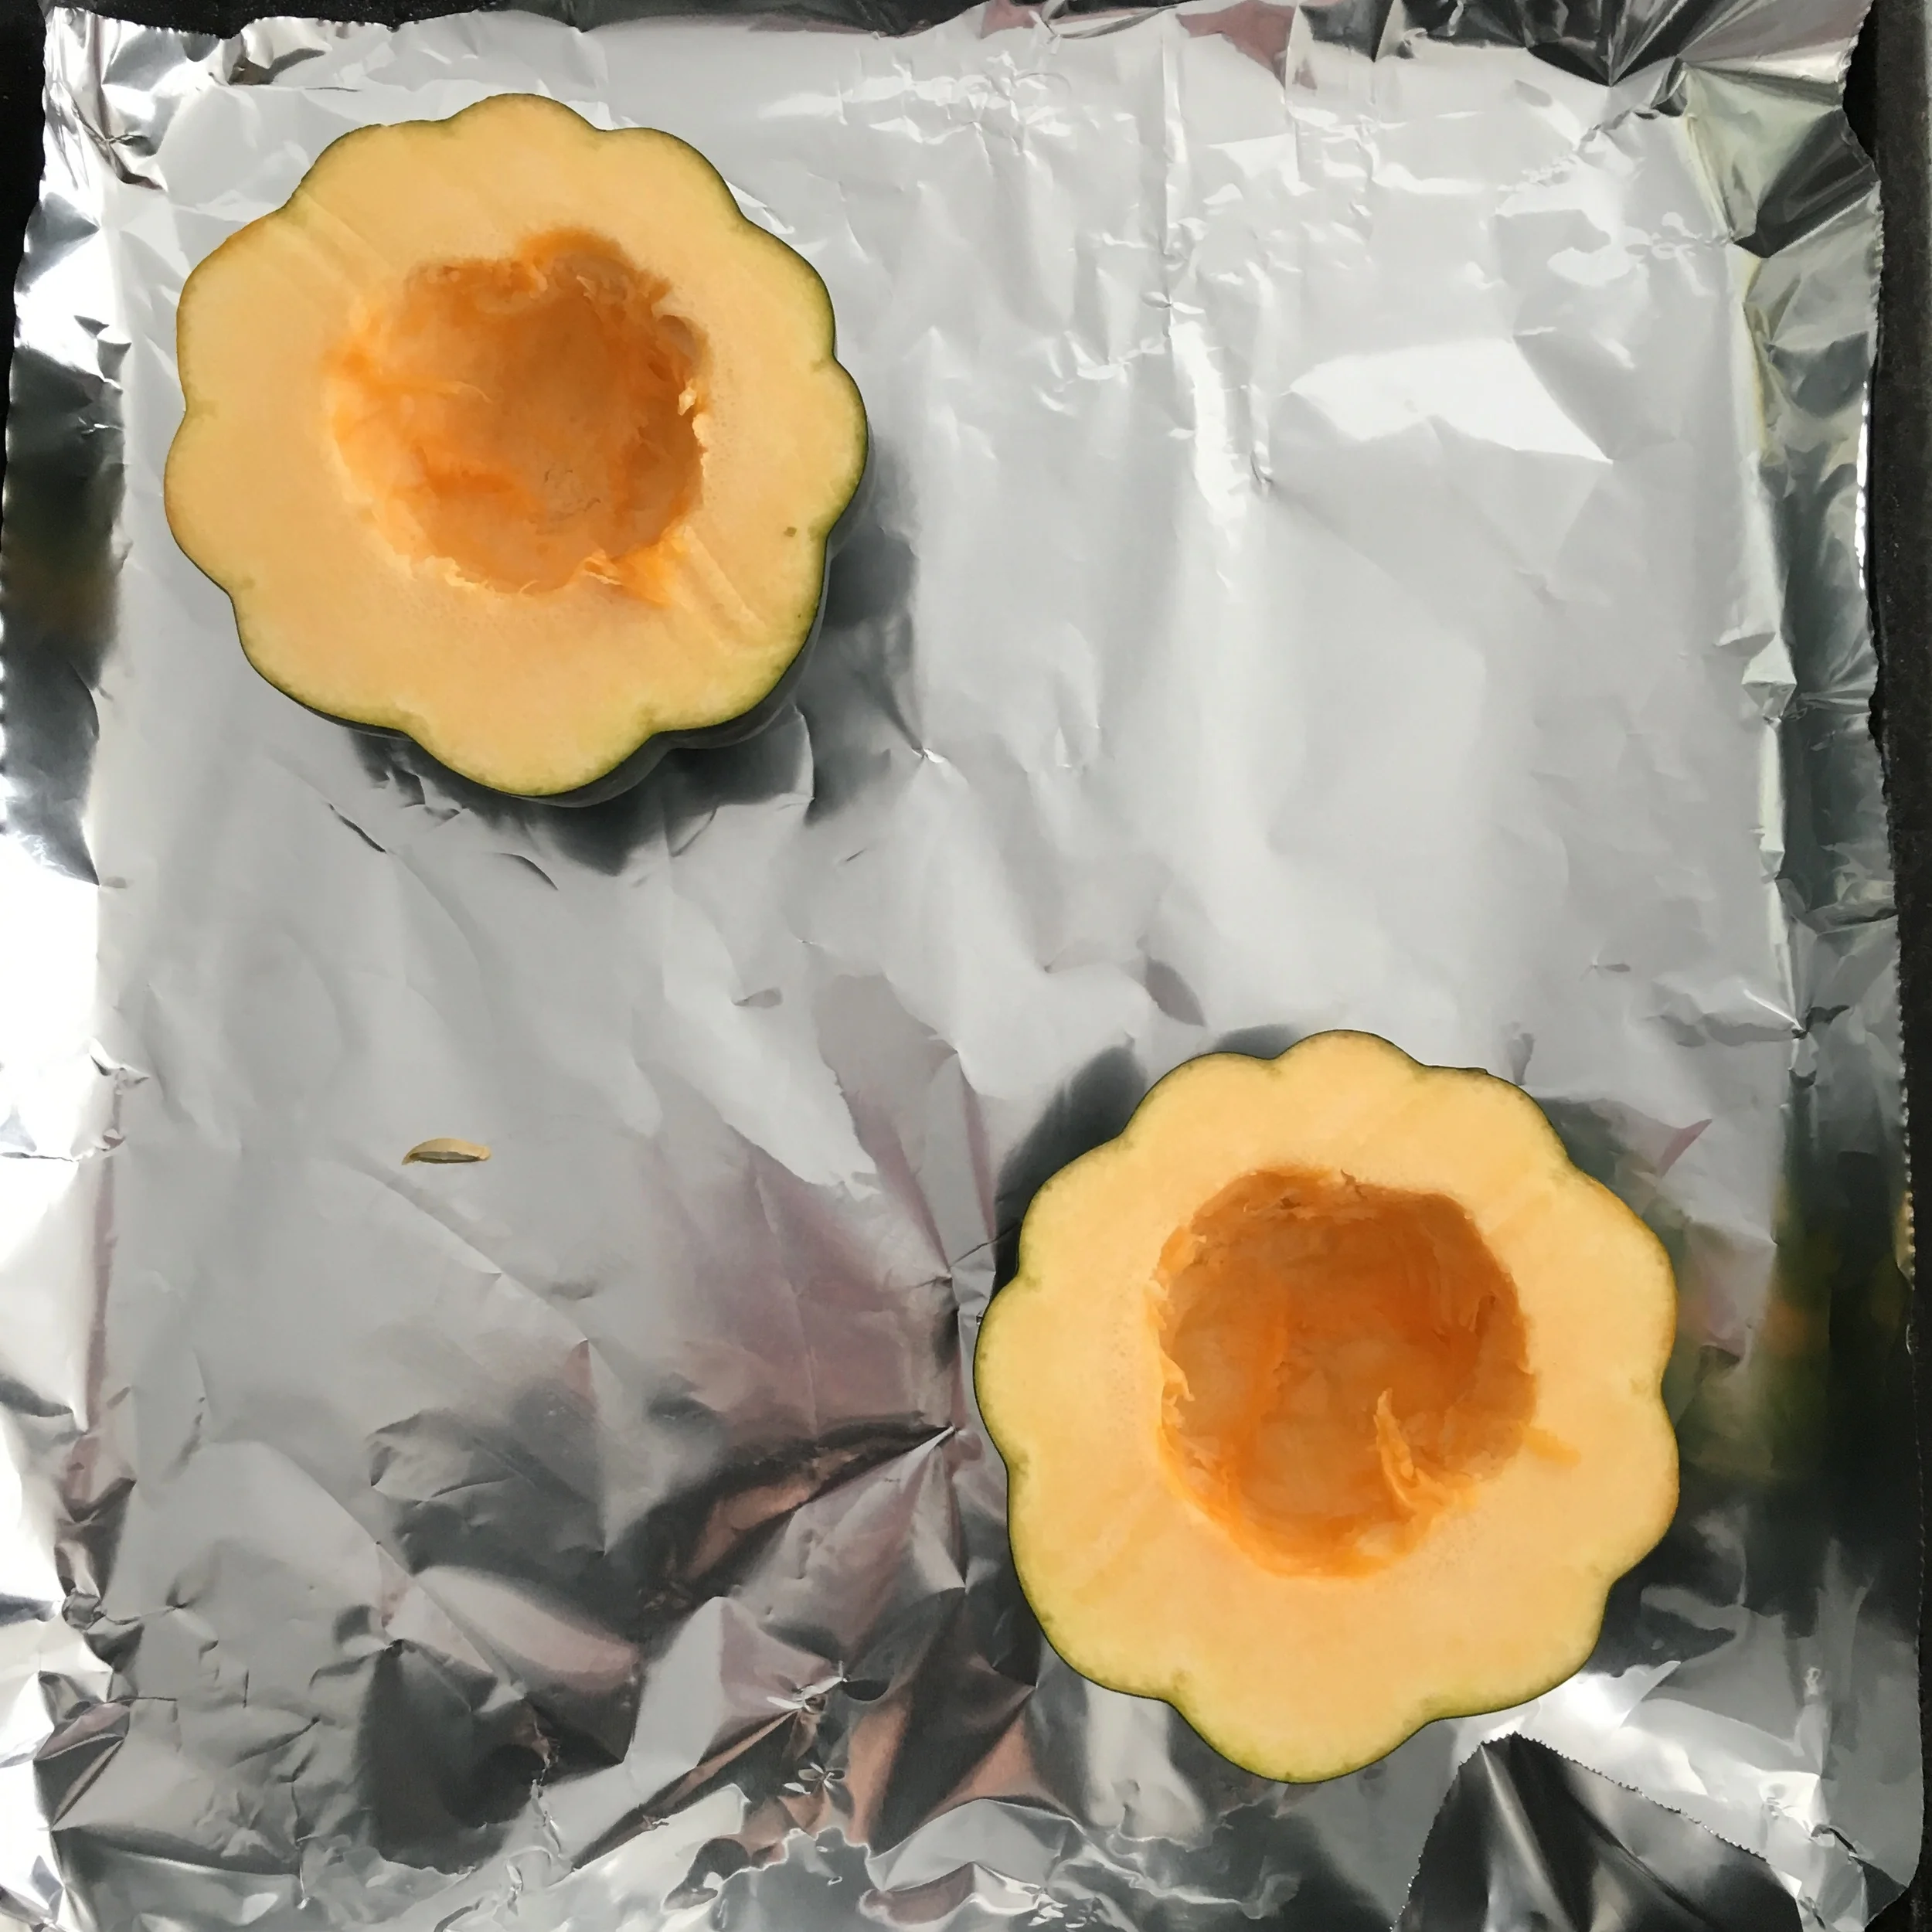
Place the squash on a baking tray that is lined with aluminum foil and bake for 30 minutes.

In the meantime make your quinoa.

While you are waiting for your quinoa to cook you can add the olive oil to a pan and throw in your chopped onions, celery, carrots, garlic and black beans. Sauté until the onions become translucent. I also like to salt and pepper my veggies as they are cooking

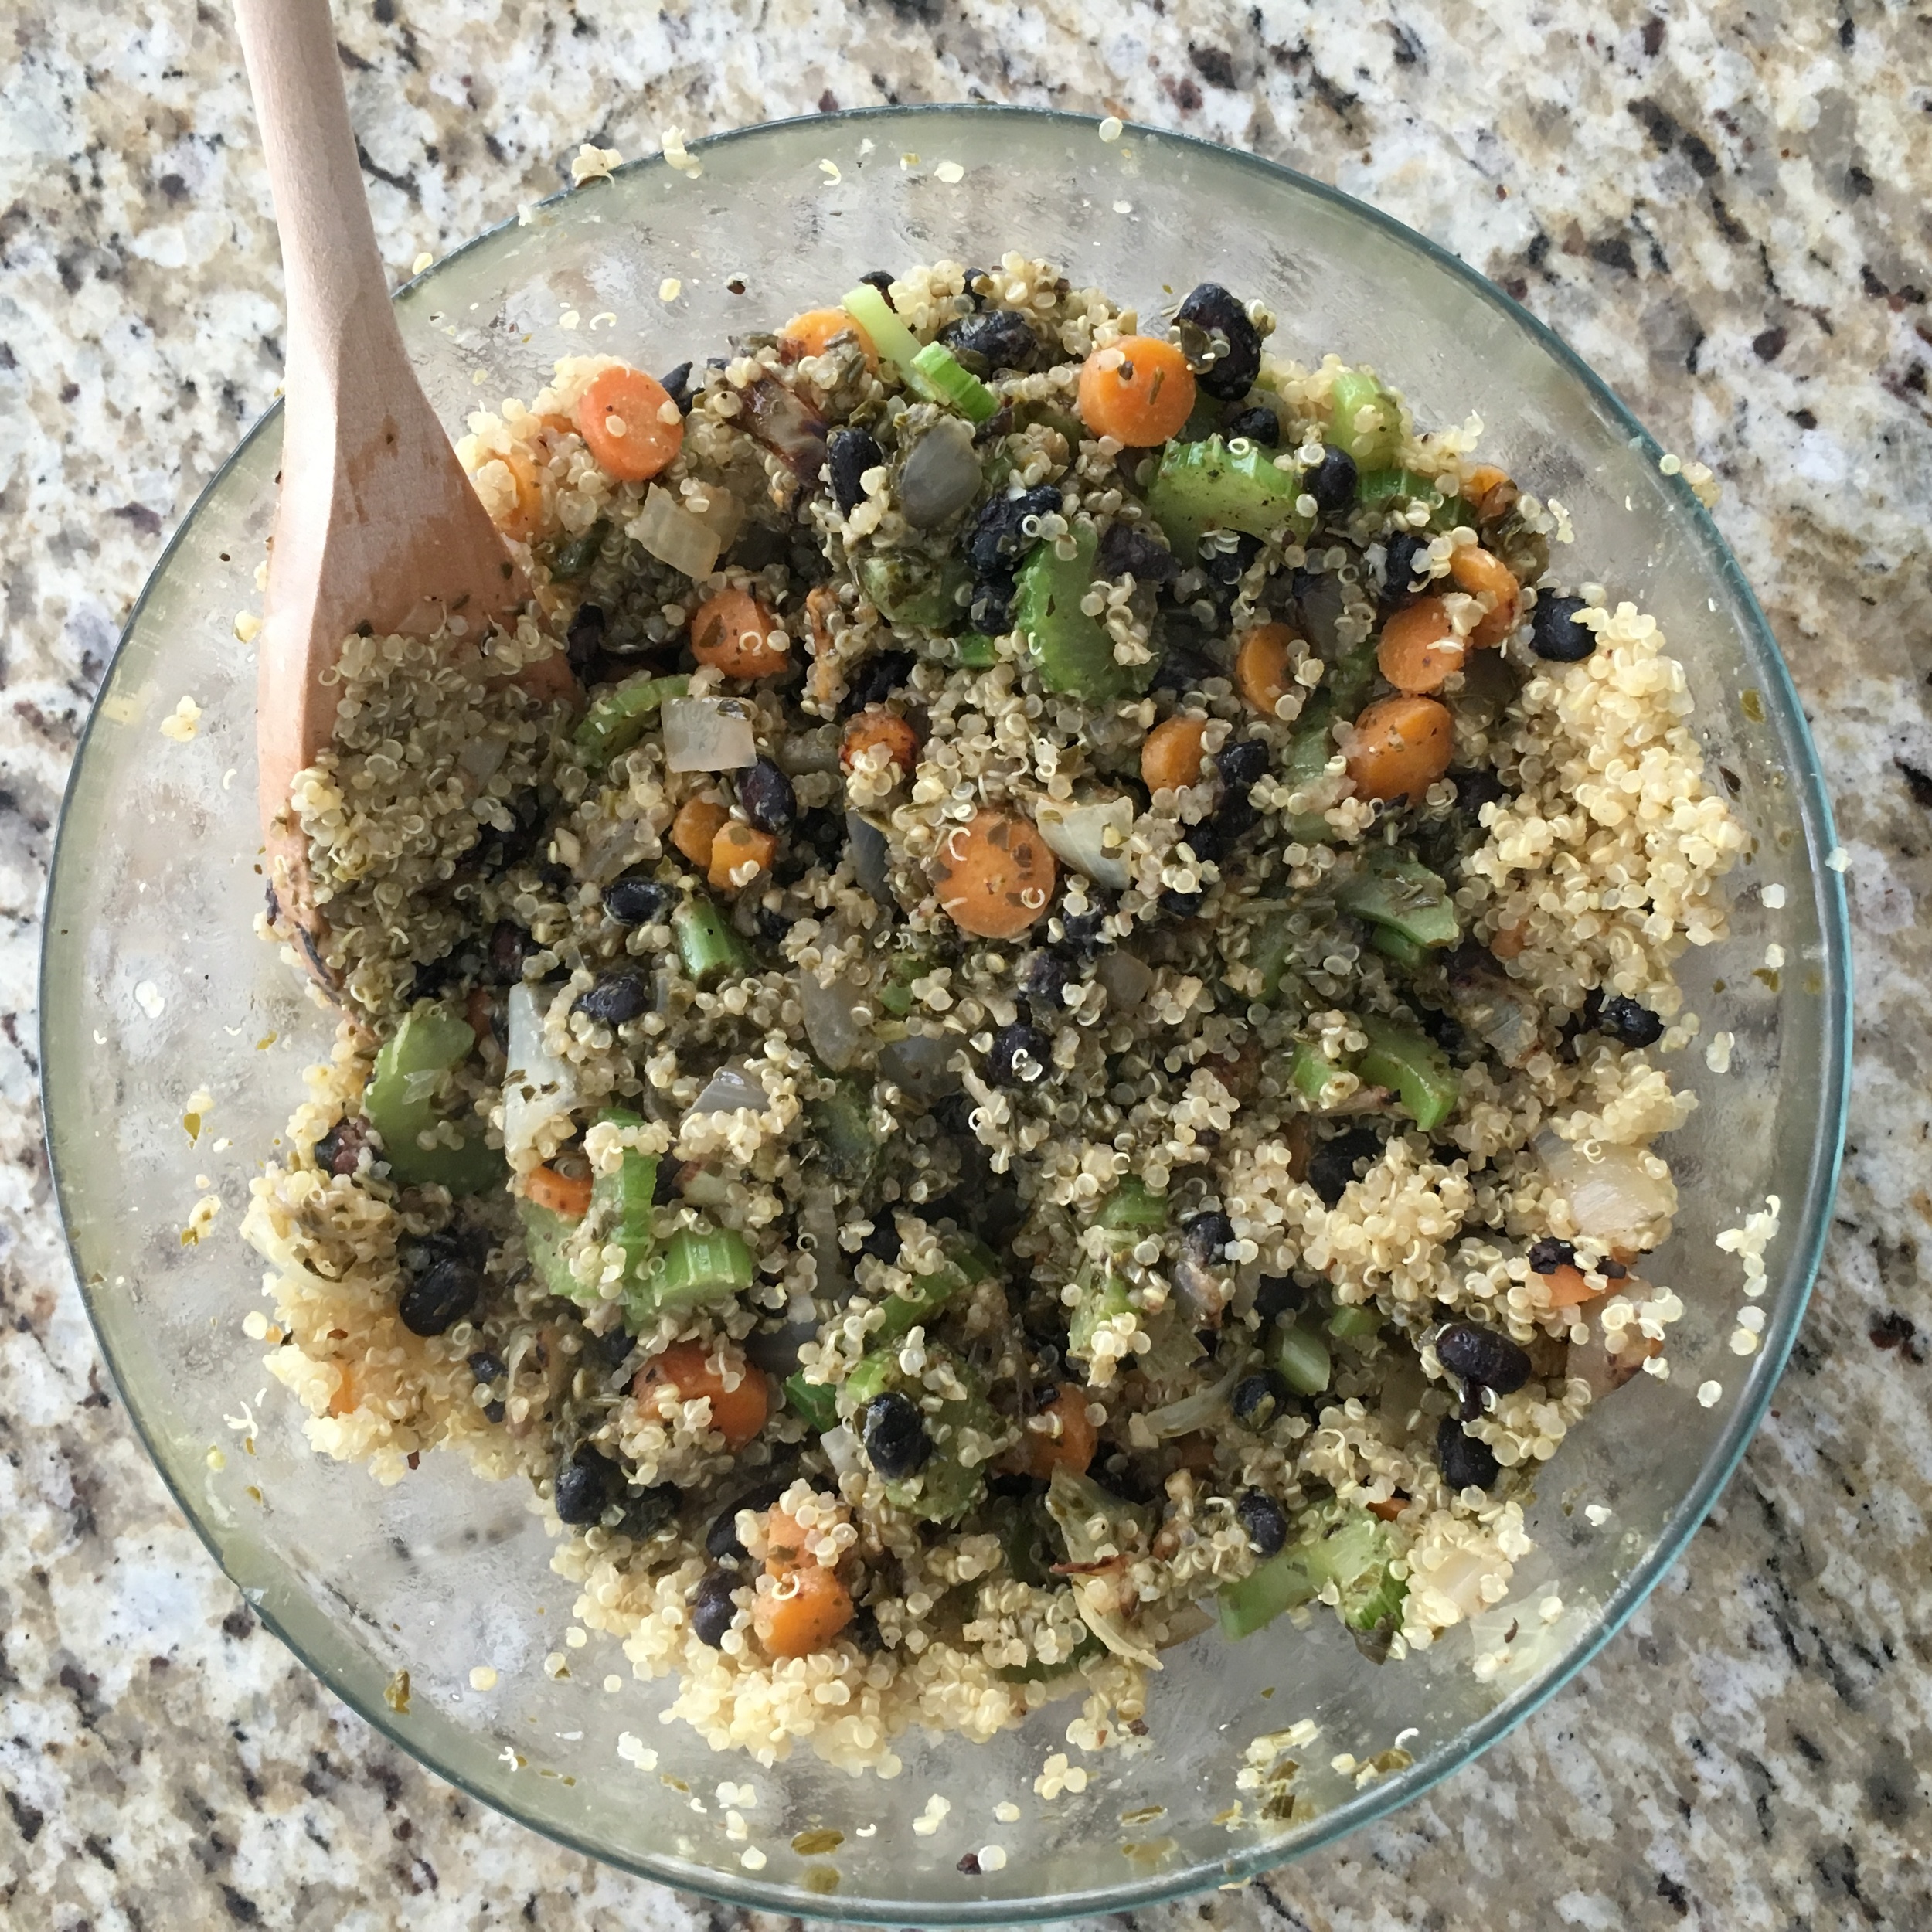
Once the quinoa is ready transfer to a bowl, add in your pesto and sauteed vegetables. Mix together. At this point you can add in your cheese if you want. Save a little for garnish!!

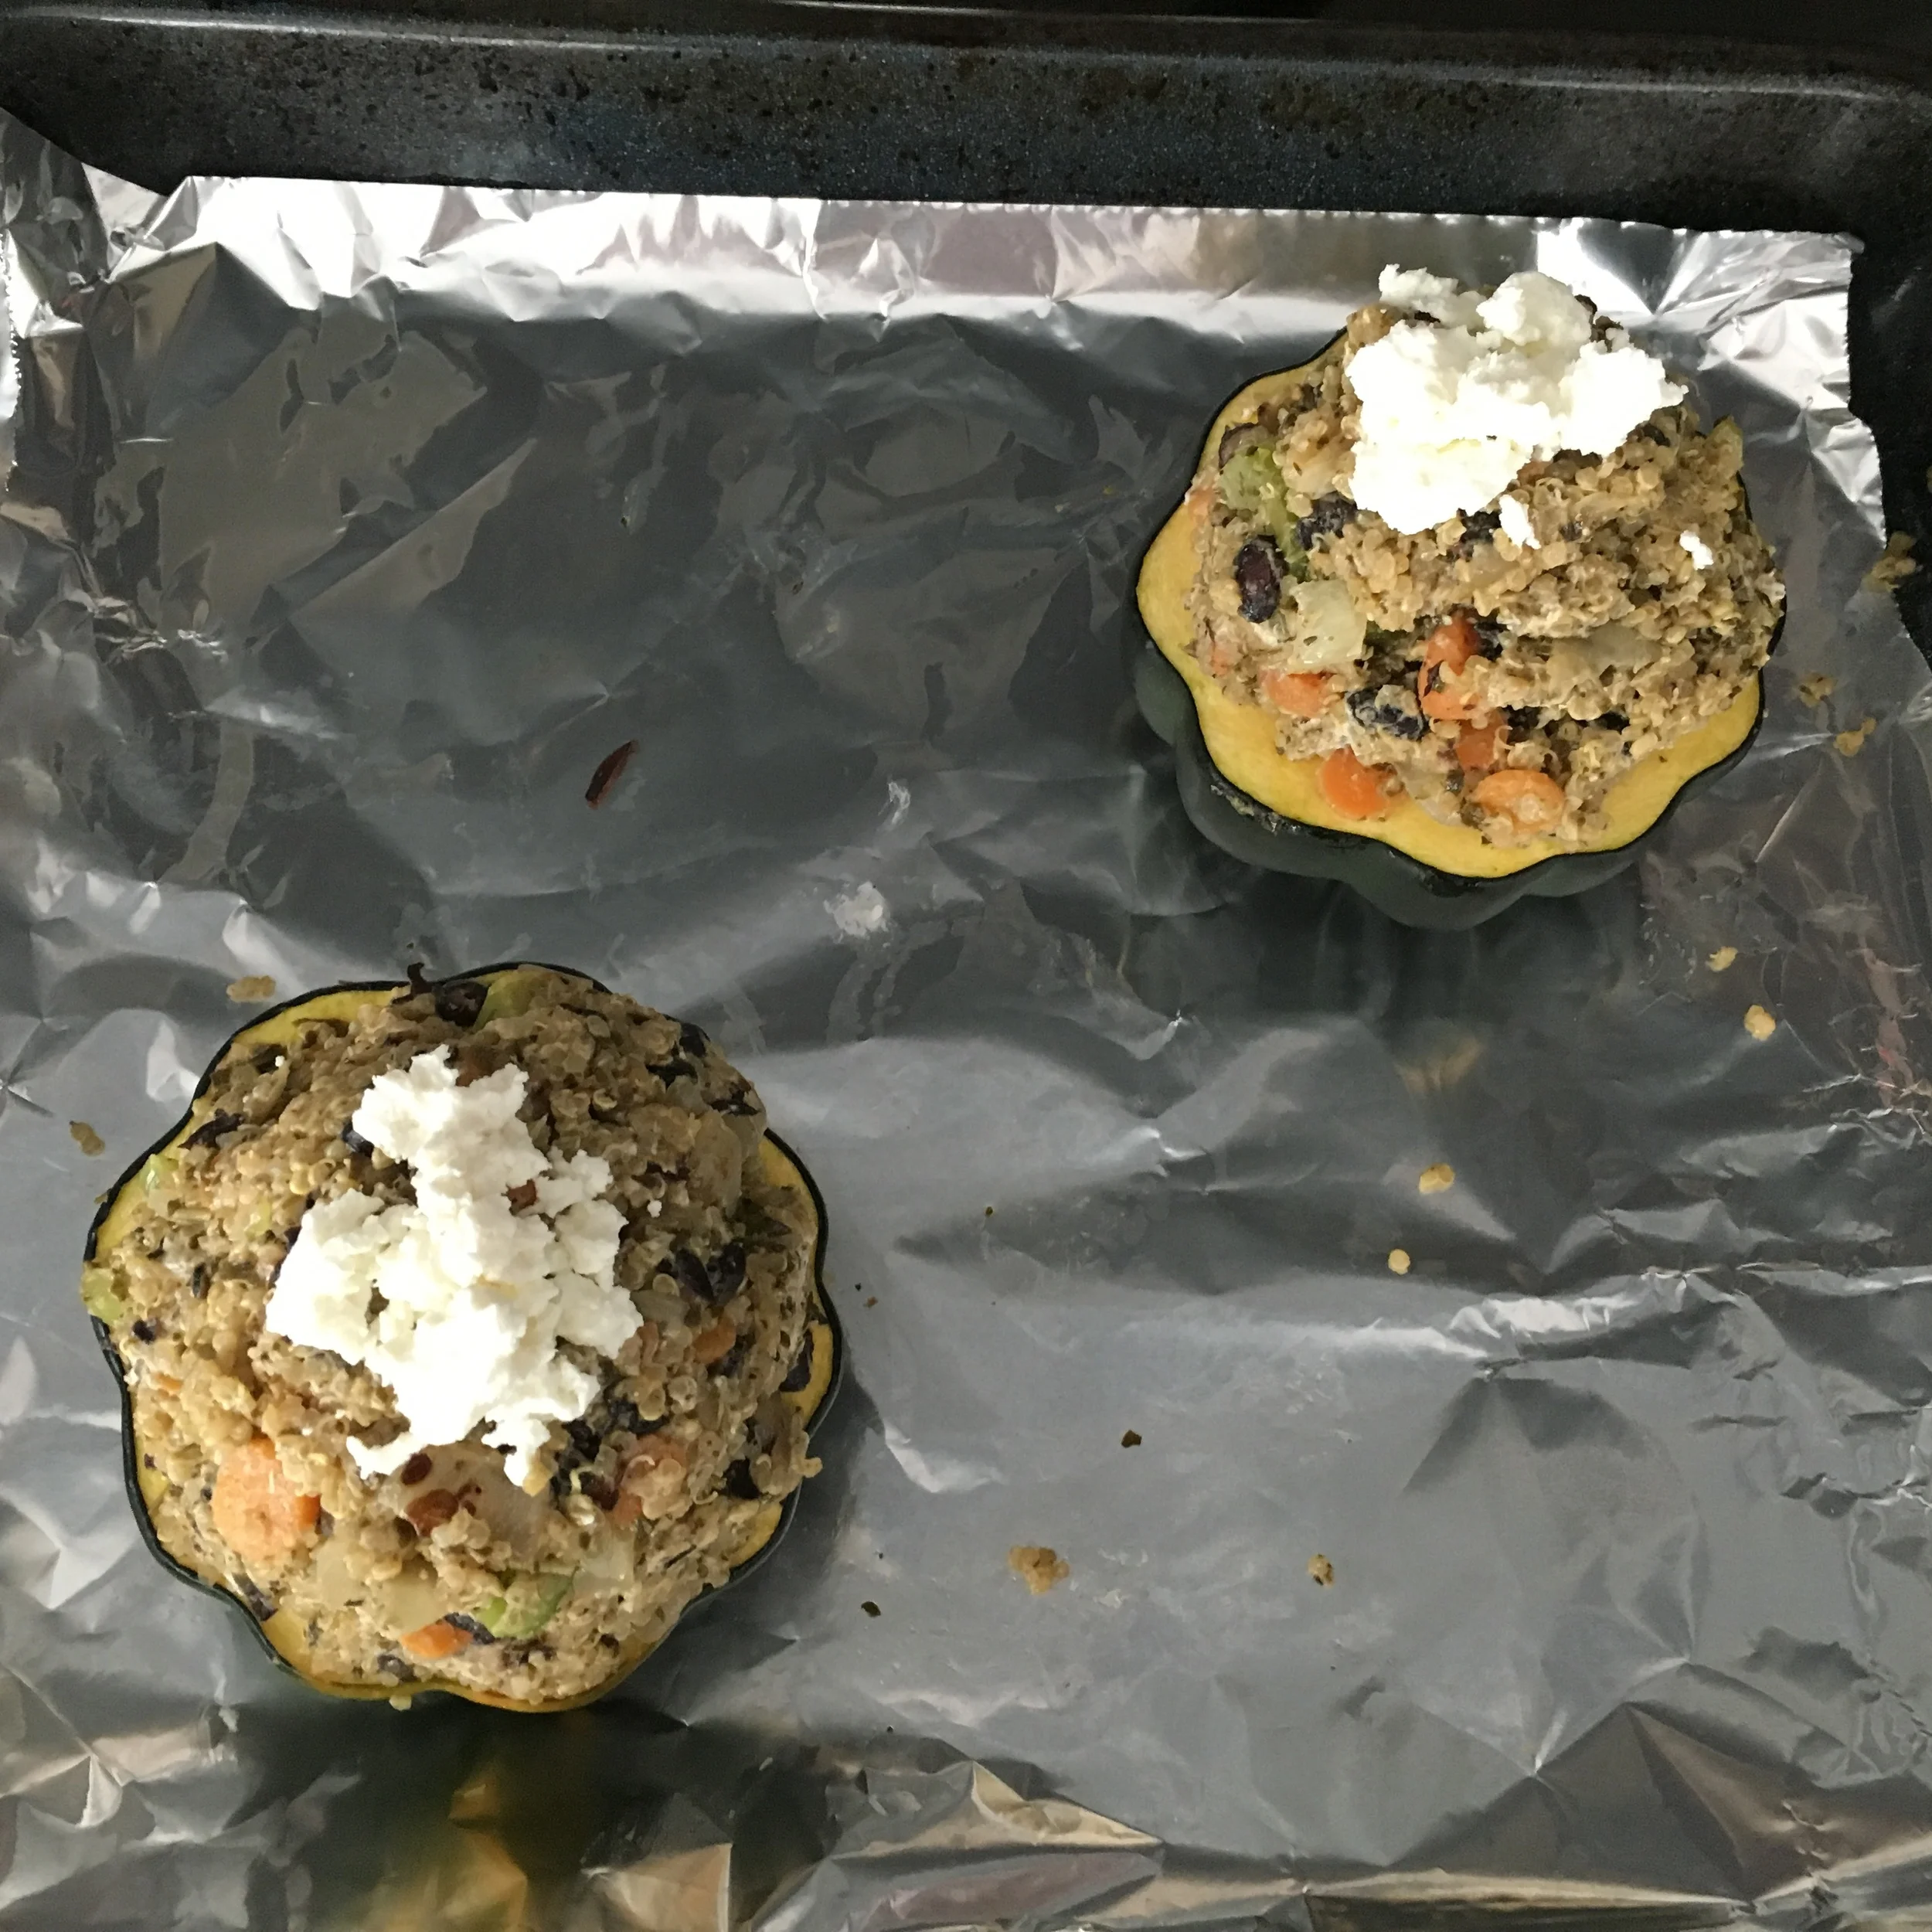
Once the squash has been in the oven for 30 minutes remove and stuff with the quinoa mixture. Garnish with cheese and pop back in the oven for an additional 30 minutes.

Once ready remove from oven and serve warm. Enjoy!


I hope you enjoyed this recipe as much as I do. If you have any comments please leave them below and I'll be happy to answer them as soon as I can!  Bon Appetite!!!

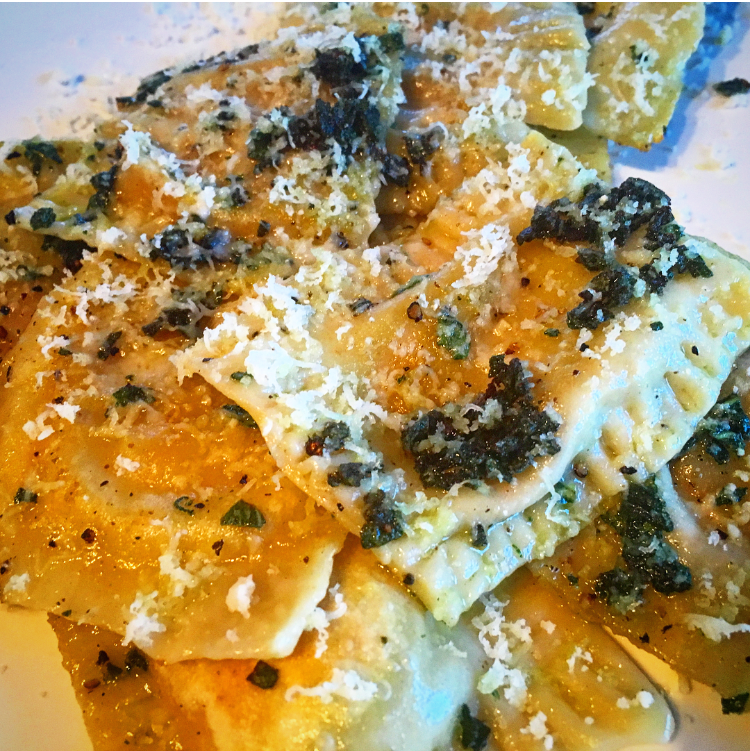
BUTTERNUT SQUASH RAVIOLI FROM SCRATCH!

I love ravioli! Actually I love anything that involves a filling wrapped in dough (ie perogies, dumplings, empendadas, calzone springrolls, etc). I recently made ravioli from scratch on valentines day weekend and it was such a fun experience. It is a bit lengthy so make sure you can devote a good 4 hours to it and make the filling the night before. I lucky snapchatted the whole experience so I was able to grab those videos and make a little film for you down below so dont forget to check that out!!! Enjoy!

INGREDIENTS
Filling - **Make the butternut squash filling the night before so that you can let it chill overnight.
1-2 Lbs Butternut Squash or 2 Packs of Pre-Peeled and Cut Butternut Squash
2 TBS of Olive Oil
Salt an Pepper (as desired)
1/8 Tsp of Ground Nutmeg
1/2 a Cup Parmesan or Ricotta Cheese or both! (1/2Cup of Ricotta, 1/4 Cup of Parmesan)

Dough-
3.5 Cups of All Purpose Flour
4 Eggs (3 For the dough 1 for the ravioli wash)
3 Tbsp Olive Oil
1/2 TSP of Salt
1/2 Cup of Water

Sauce -
8 Tbsp of Salted Butter
2 Tbsp of Shallots (minced)
1 Tbsp of Fresh Sage (Chopped)

OTHER MATERIALS

Pasta maker - I have a Lagostina Pasta Maker with Ravioli Attachment that works really well which I bought for around $67 CAD @ Canadian Tire! I didn't use the Ravioli attachment but you can if you like.

It essentially looks like this:

DIRECTIONS:

First we are going to make the filling. Preheat the oven at 350 degrees.

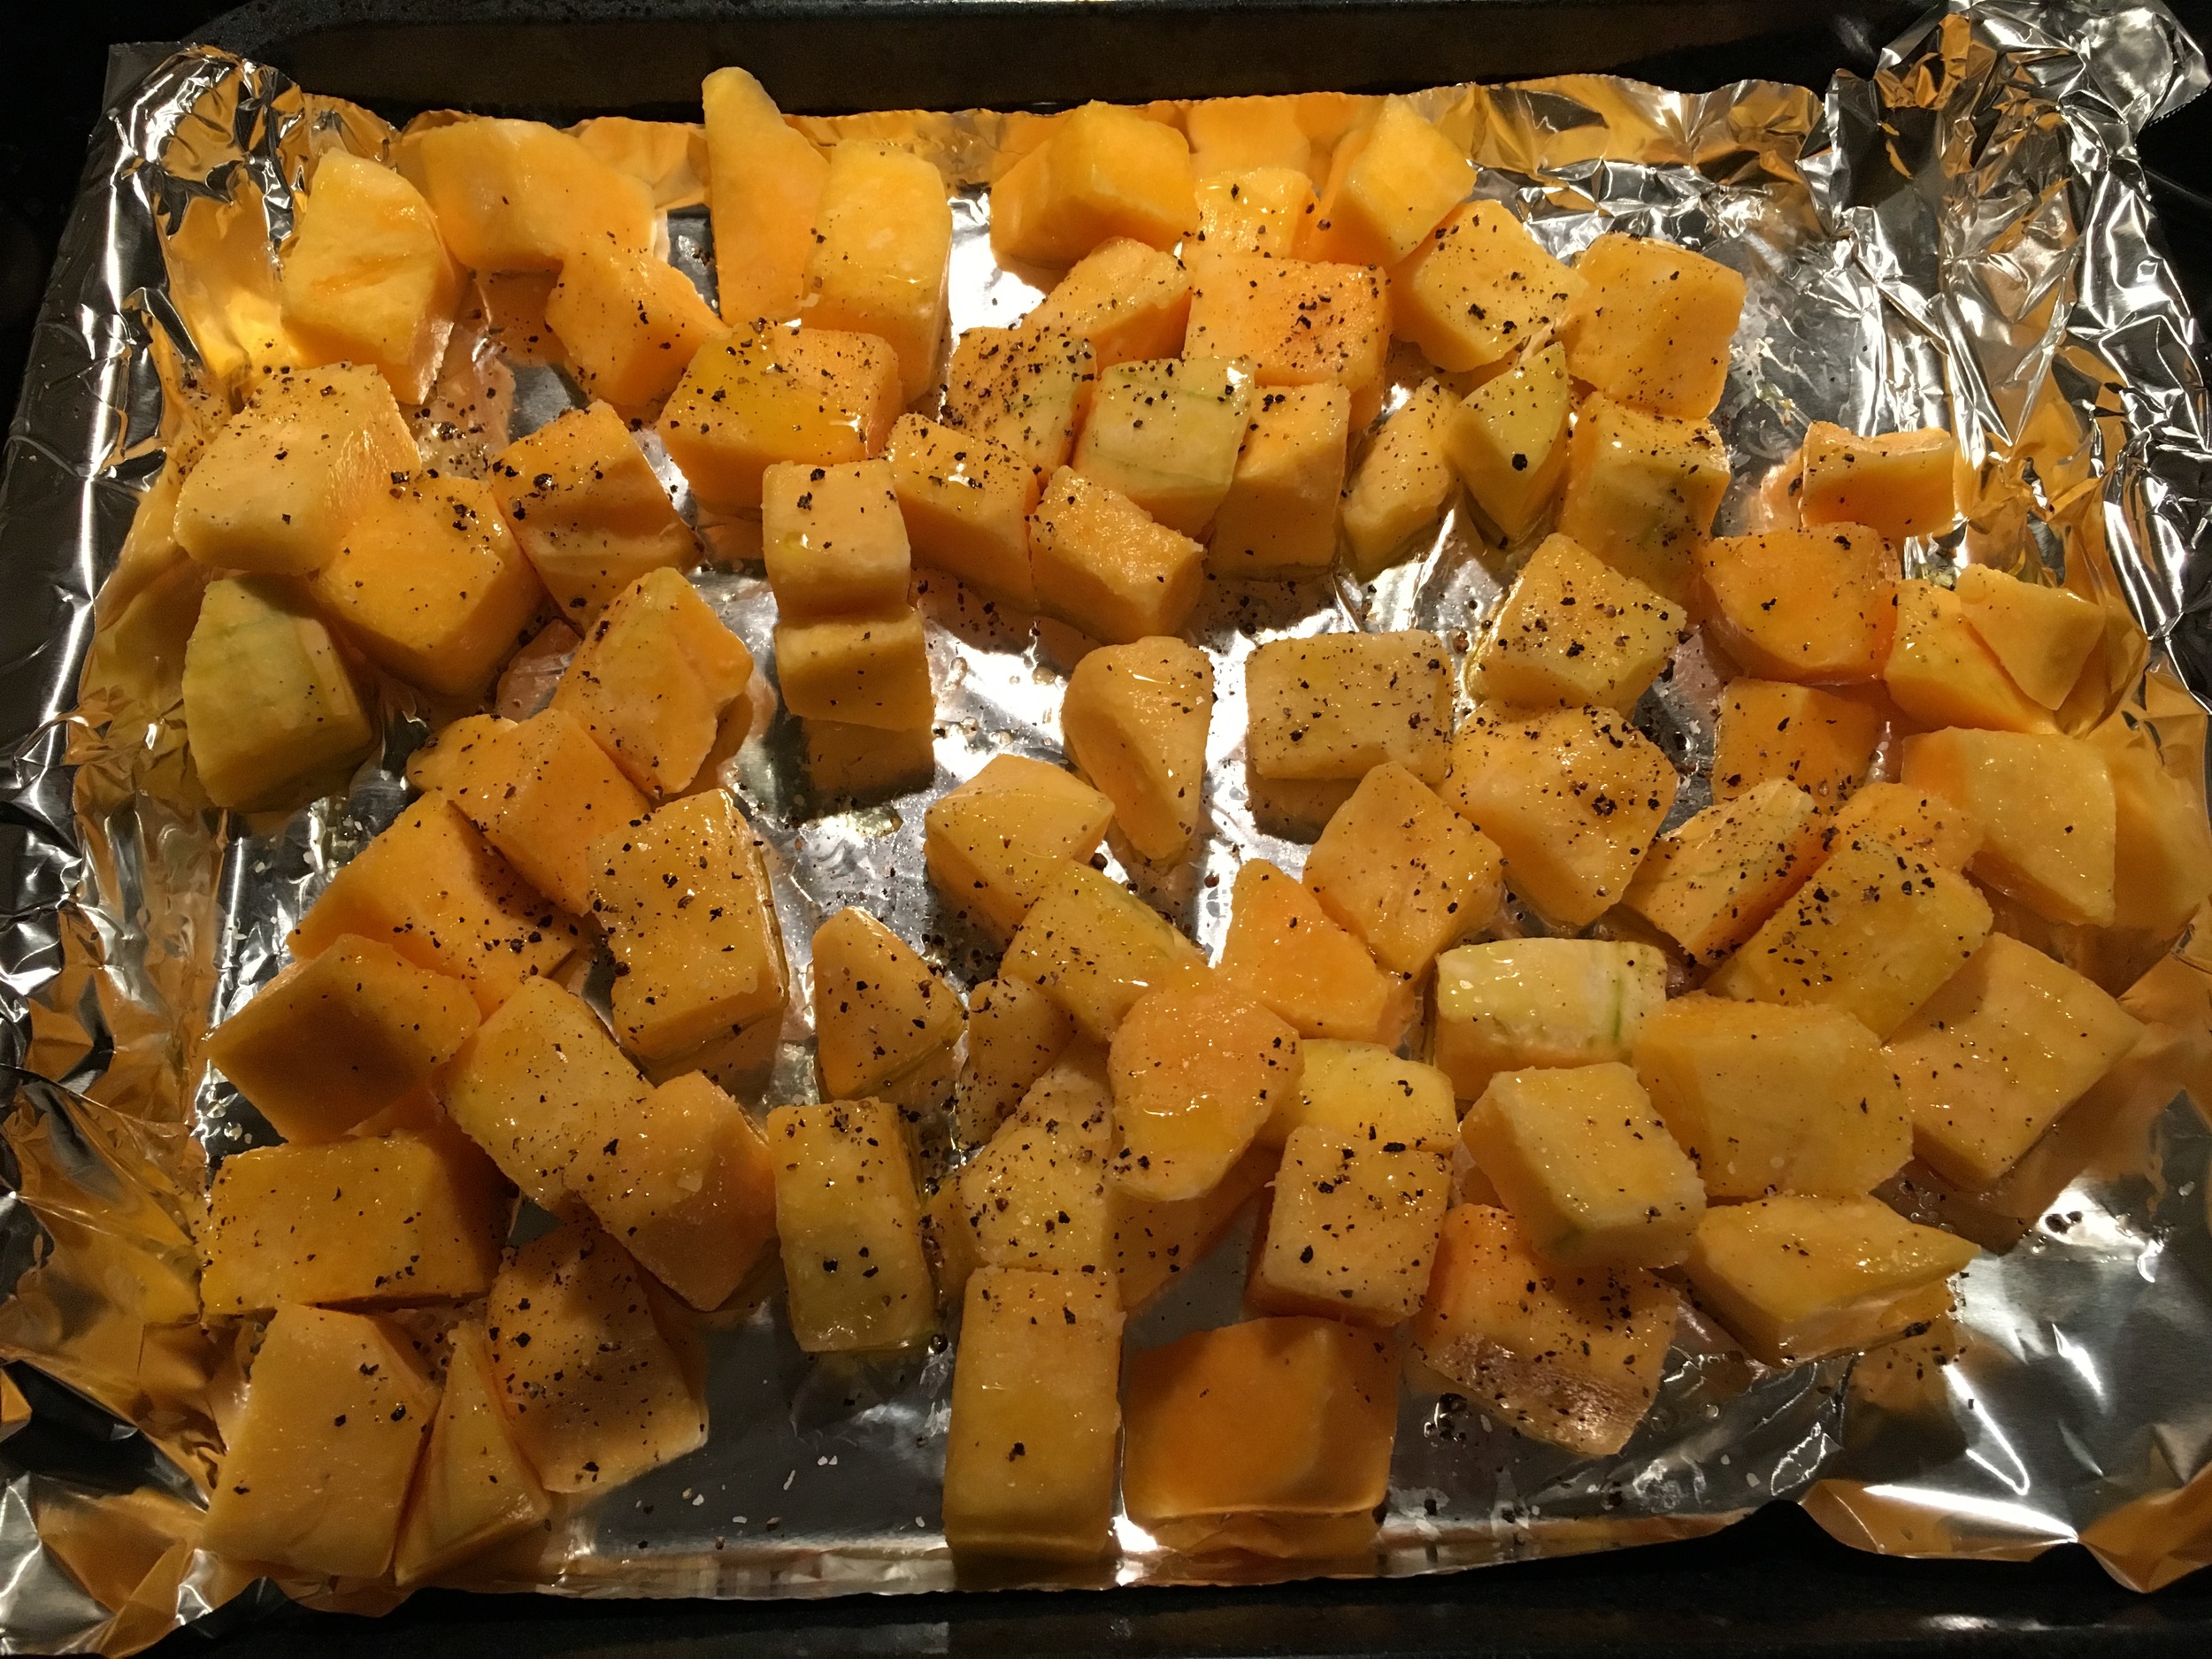
In a bowl combine your chopped and peeled butternut squash, olive oil, salt, pepper and nutmeg. Toss so that it is evenly covered before placing it on a baking tray covered in aluminum foil and popping it into the oven for 30 minute (or until tender).

Once the squash is tender remove it from the oven, transfer to a bowl and mash it with a potato masher. Once nicely mashed stir in your cheese and mix until it is fully incorporated. When ready cover with plastic wrap and place in the fridge overnight.

Next we are going to make the dough using the 'well method'. Place your flour on the counter and create a well or hole on the inside of the mound. Add your eggs, salt and oil to the inside of the hole and slowly start to stir the contents inside the hole with a fork. Slowly using the fork start to incorporate the flour wall lining the whole. DO THIS SLOWLY! Once the dough starts to form and thicken you can ditch the fork and use your hands to knead the dough. If you feel like the dough is dry keep kneading and add water for assistance.

When you are finished and have one big dough ball place in a large bowl, add a little olive oil to prevent the dough from drying out and cover with plastic wrap. Set aside for 30 minutes or so.

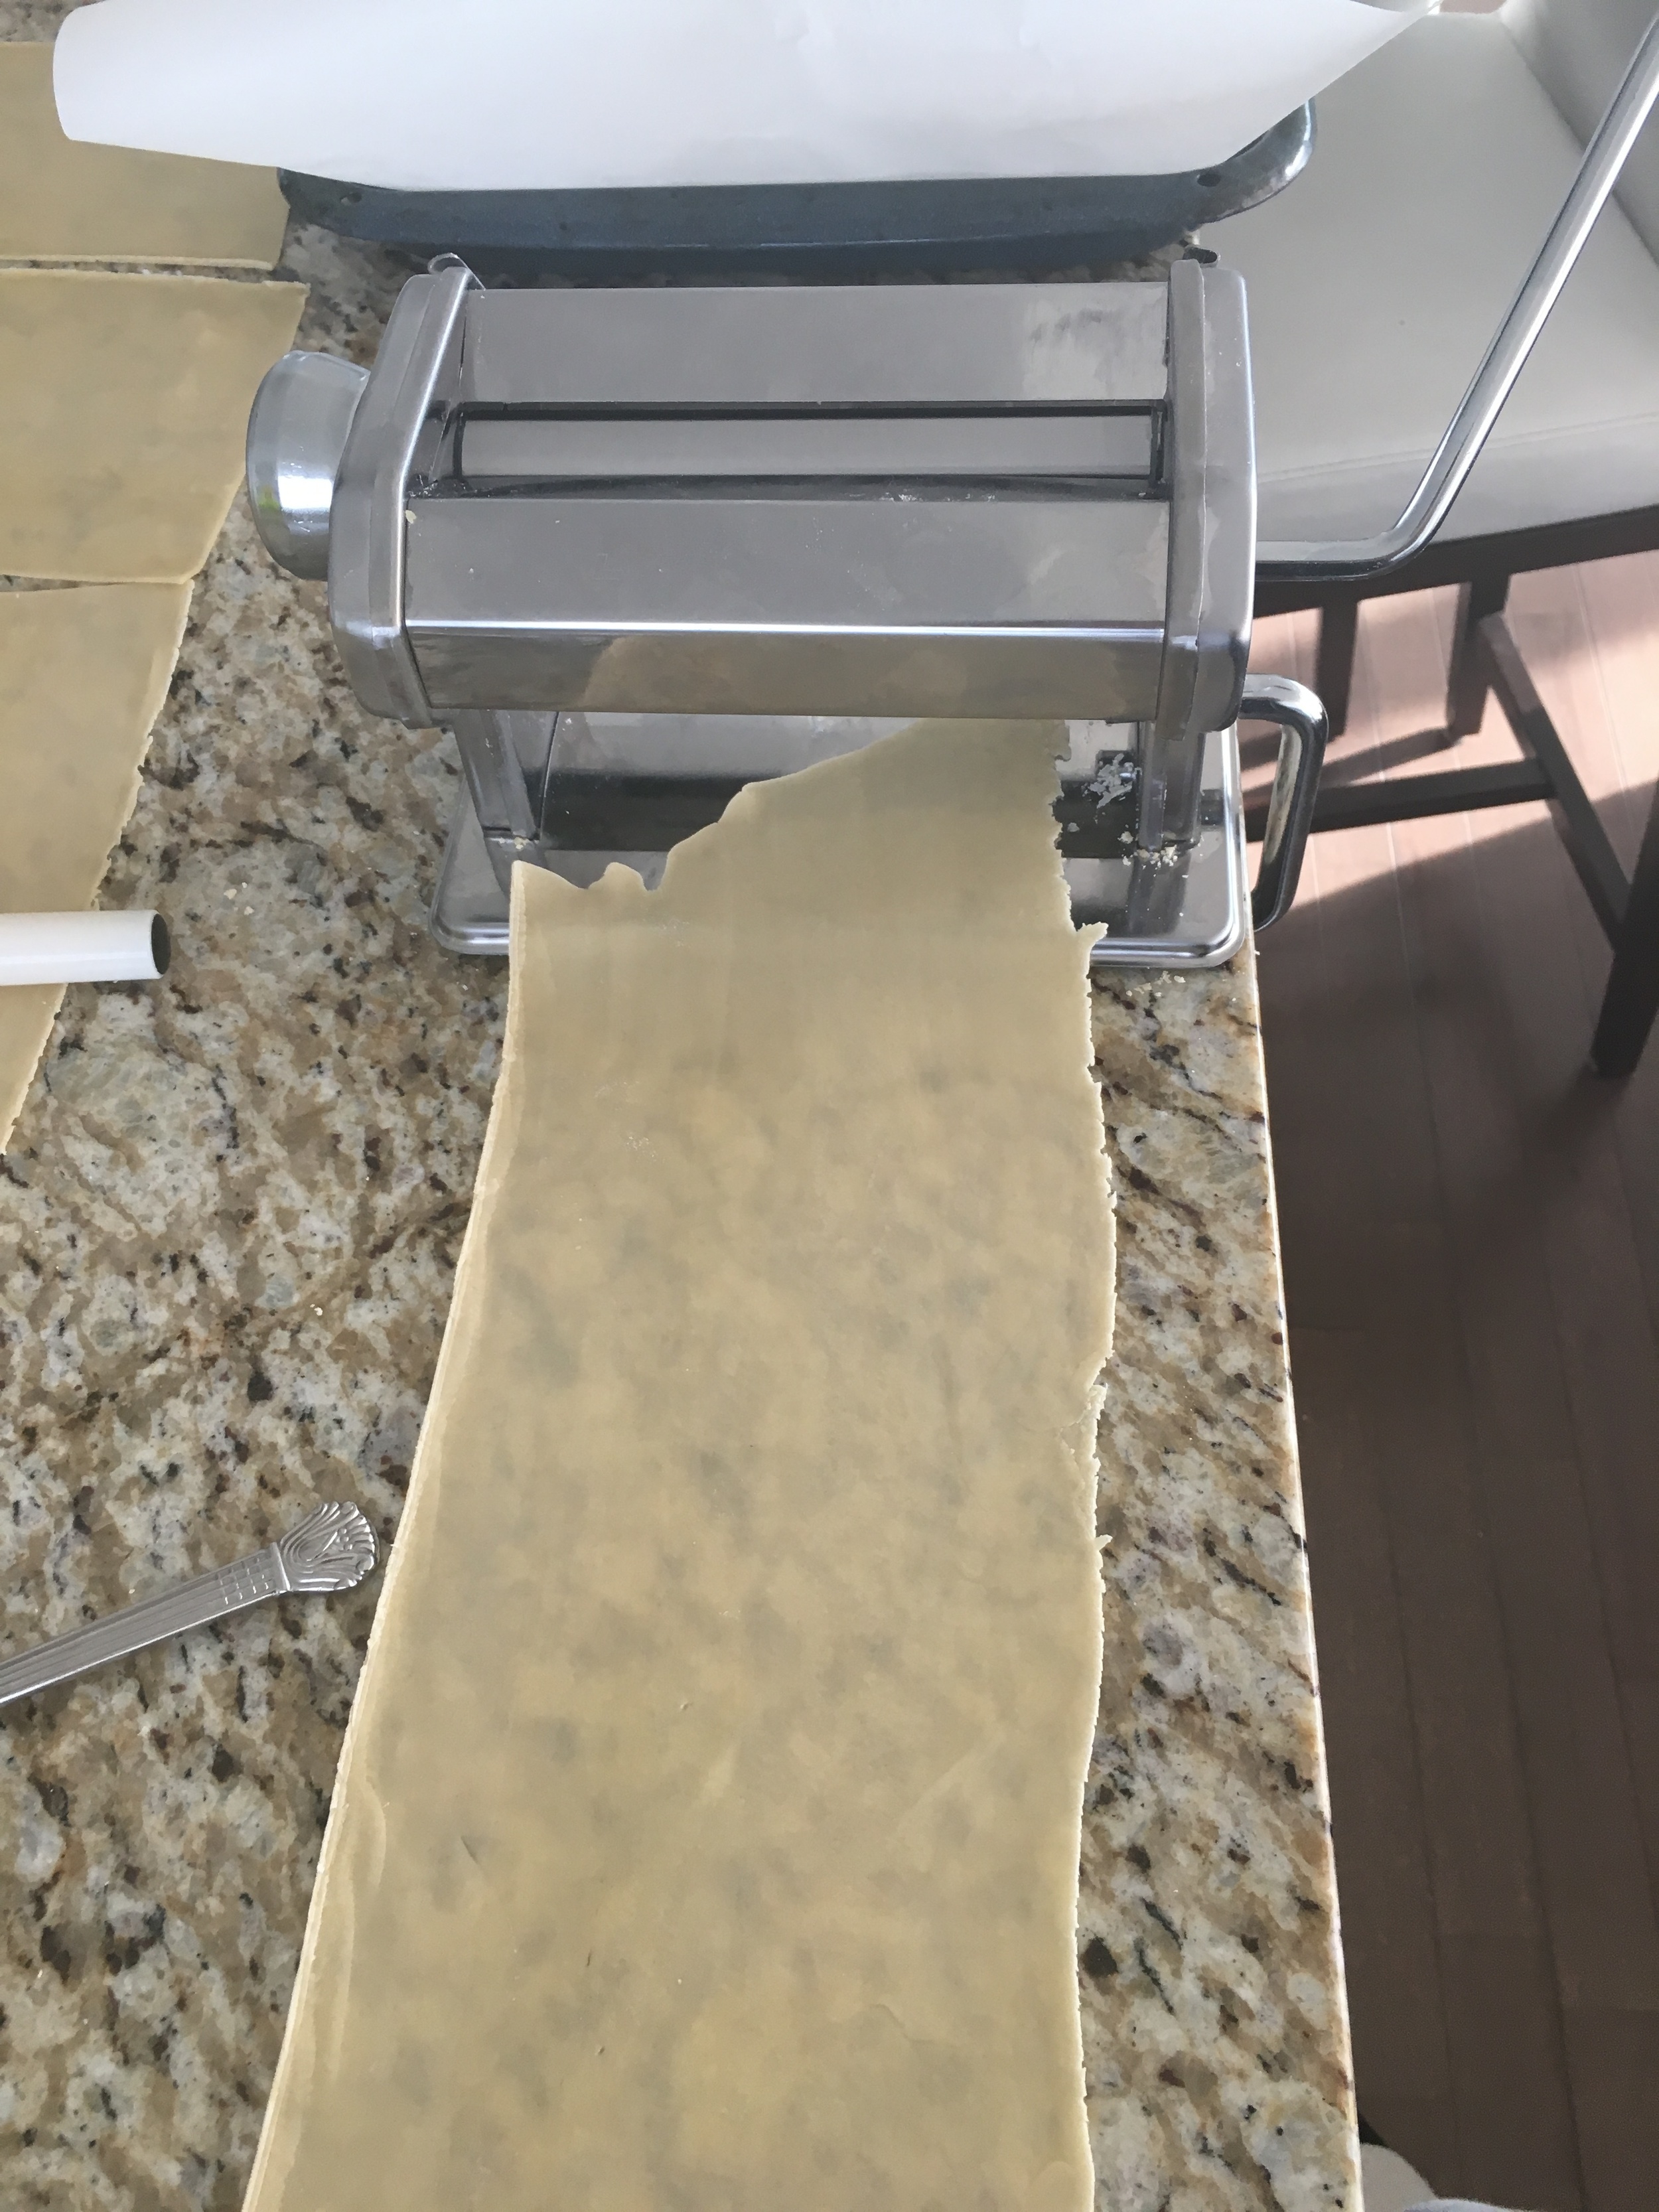
Prep your pasta maker! You are going to want to start on the widest (#1) setting and work your way to the thinnest (#9)

Break the dough into three parts and start to feed it through the pasta maker moving the knob each time from widest to thinnest setting. Make sure to help your dough through so it doesn't get caught or jammed.

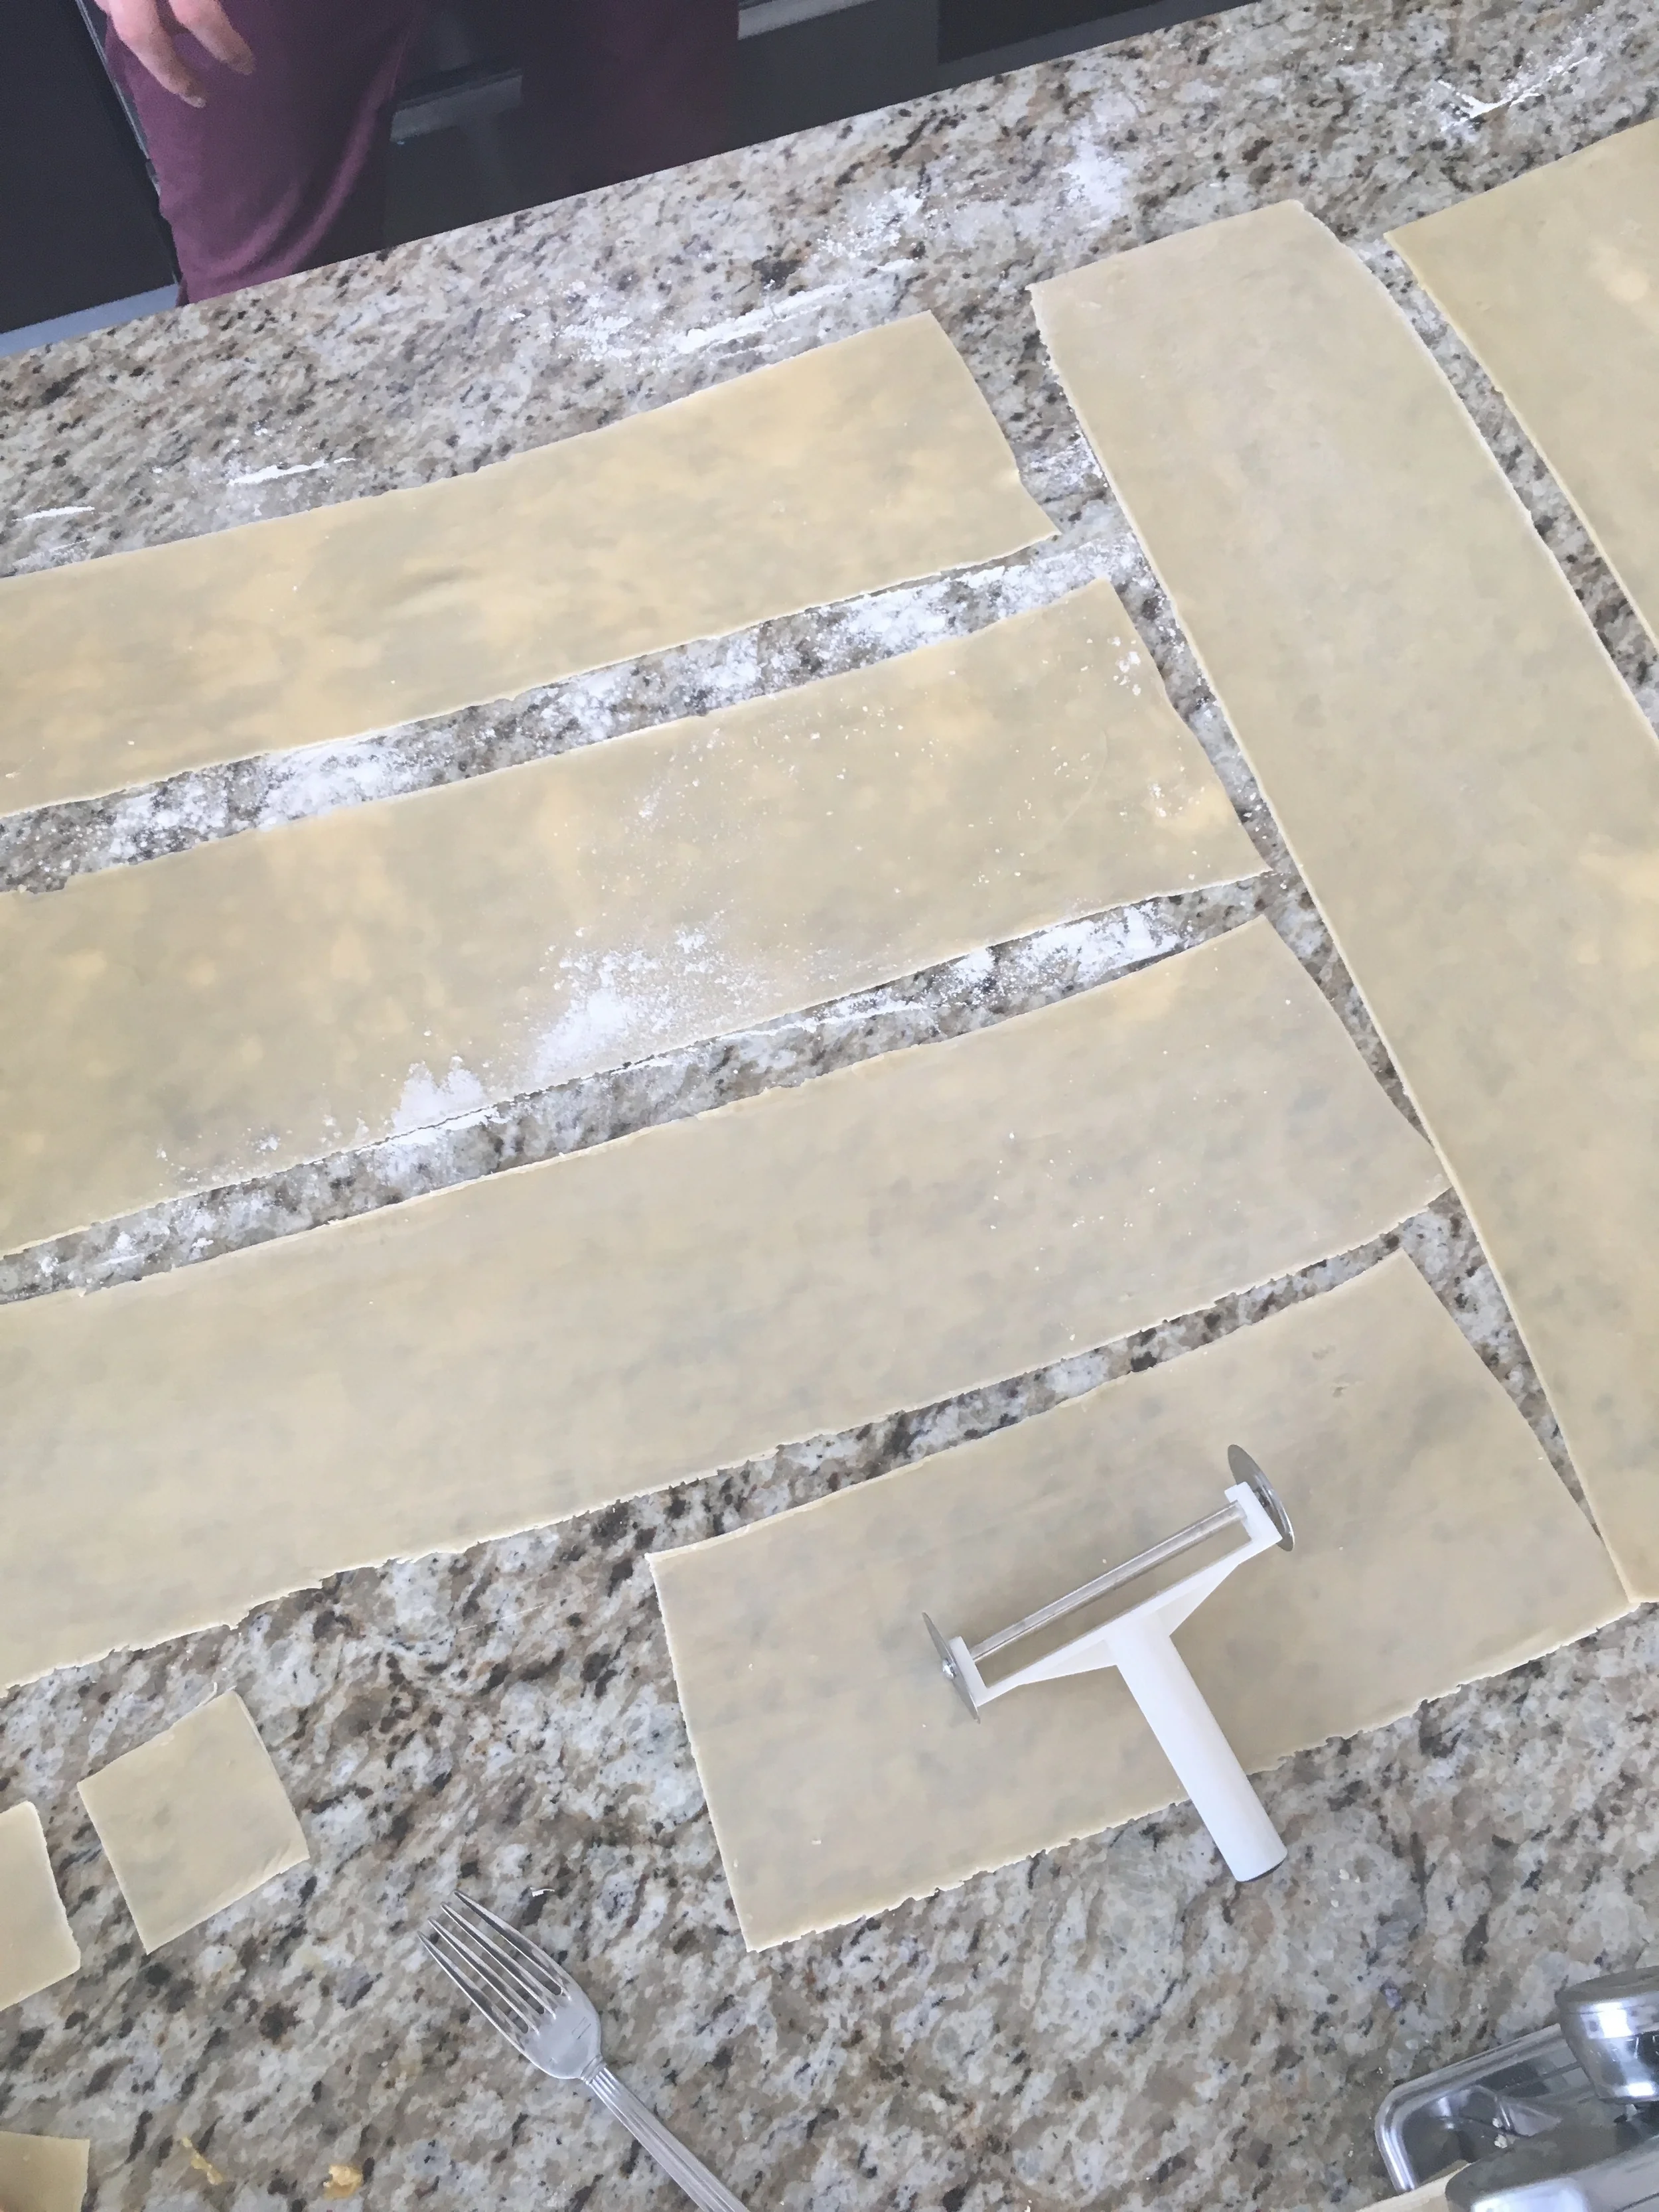
Place all strips of previously rolled out pasta on the counter which has been already lightly covered in flour.

Use the sheets with the larger width as the ravioli tops and the ones with the smaller widths as your ravioli bottoms.

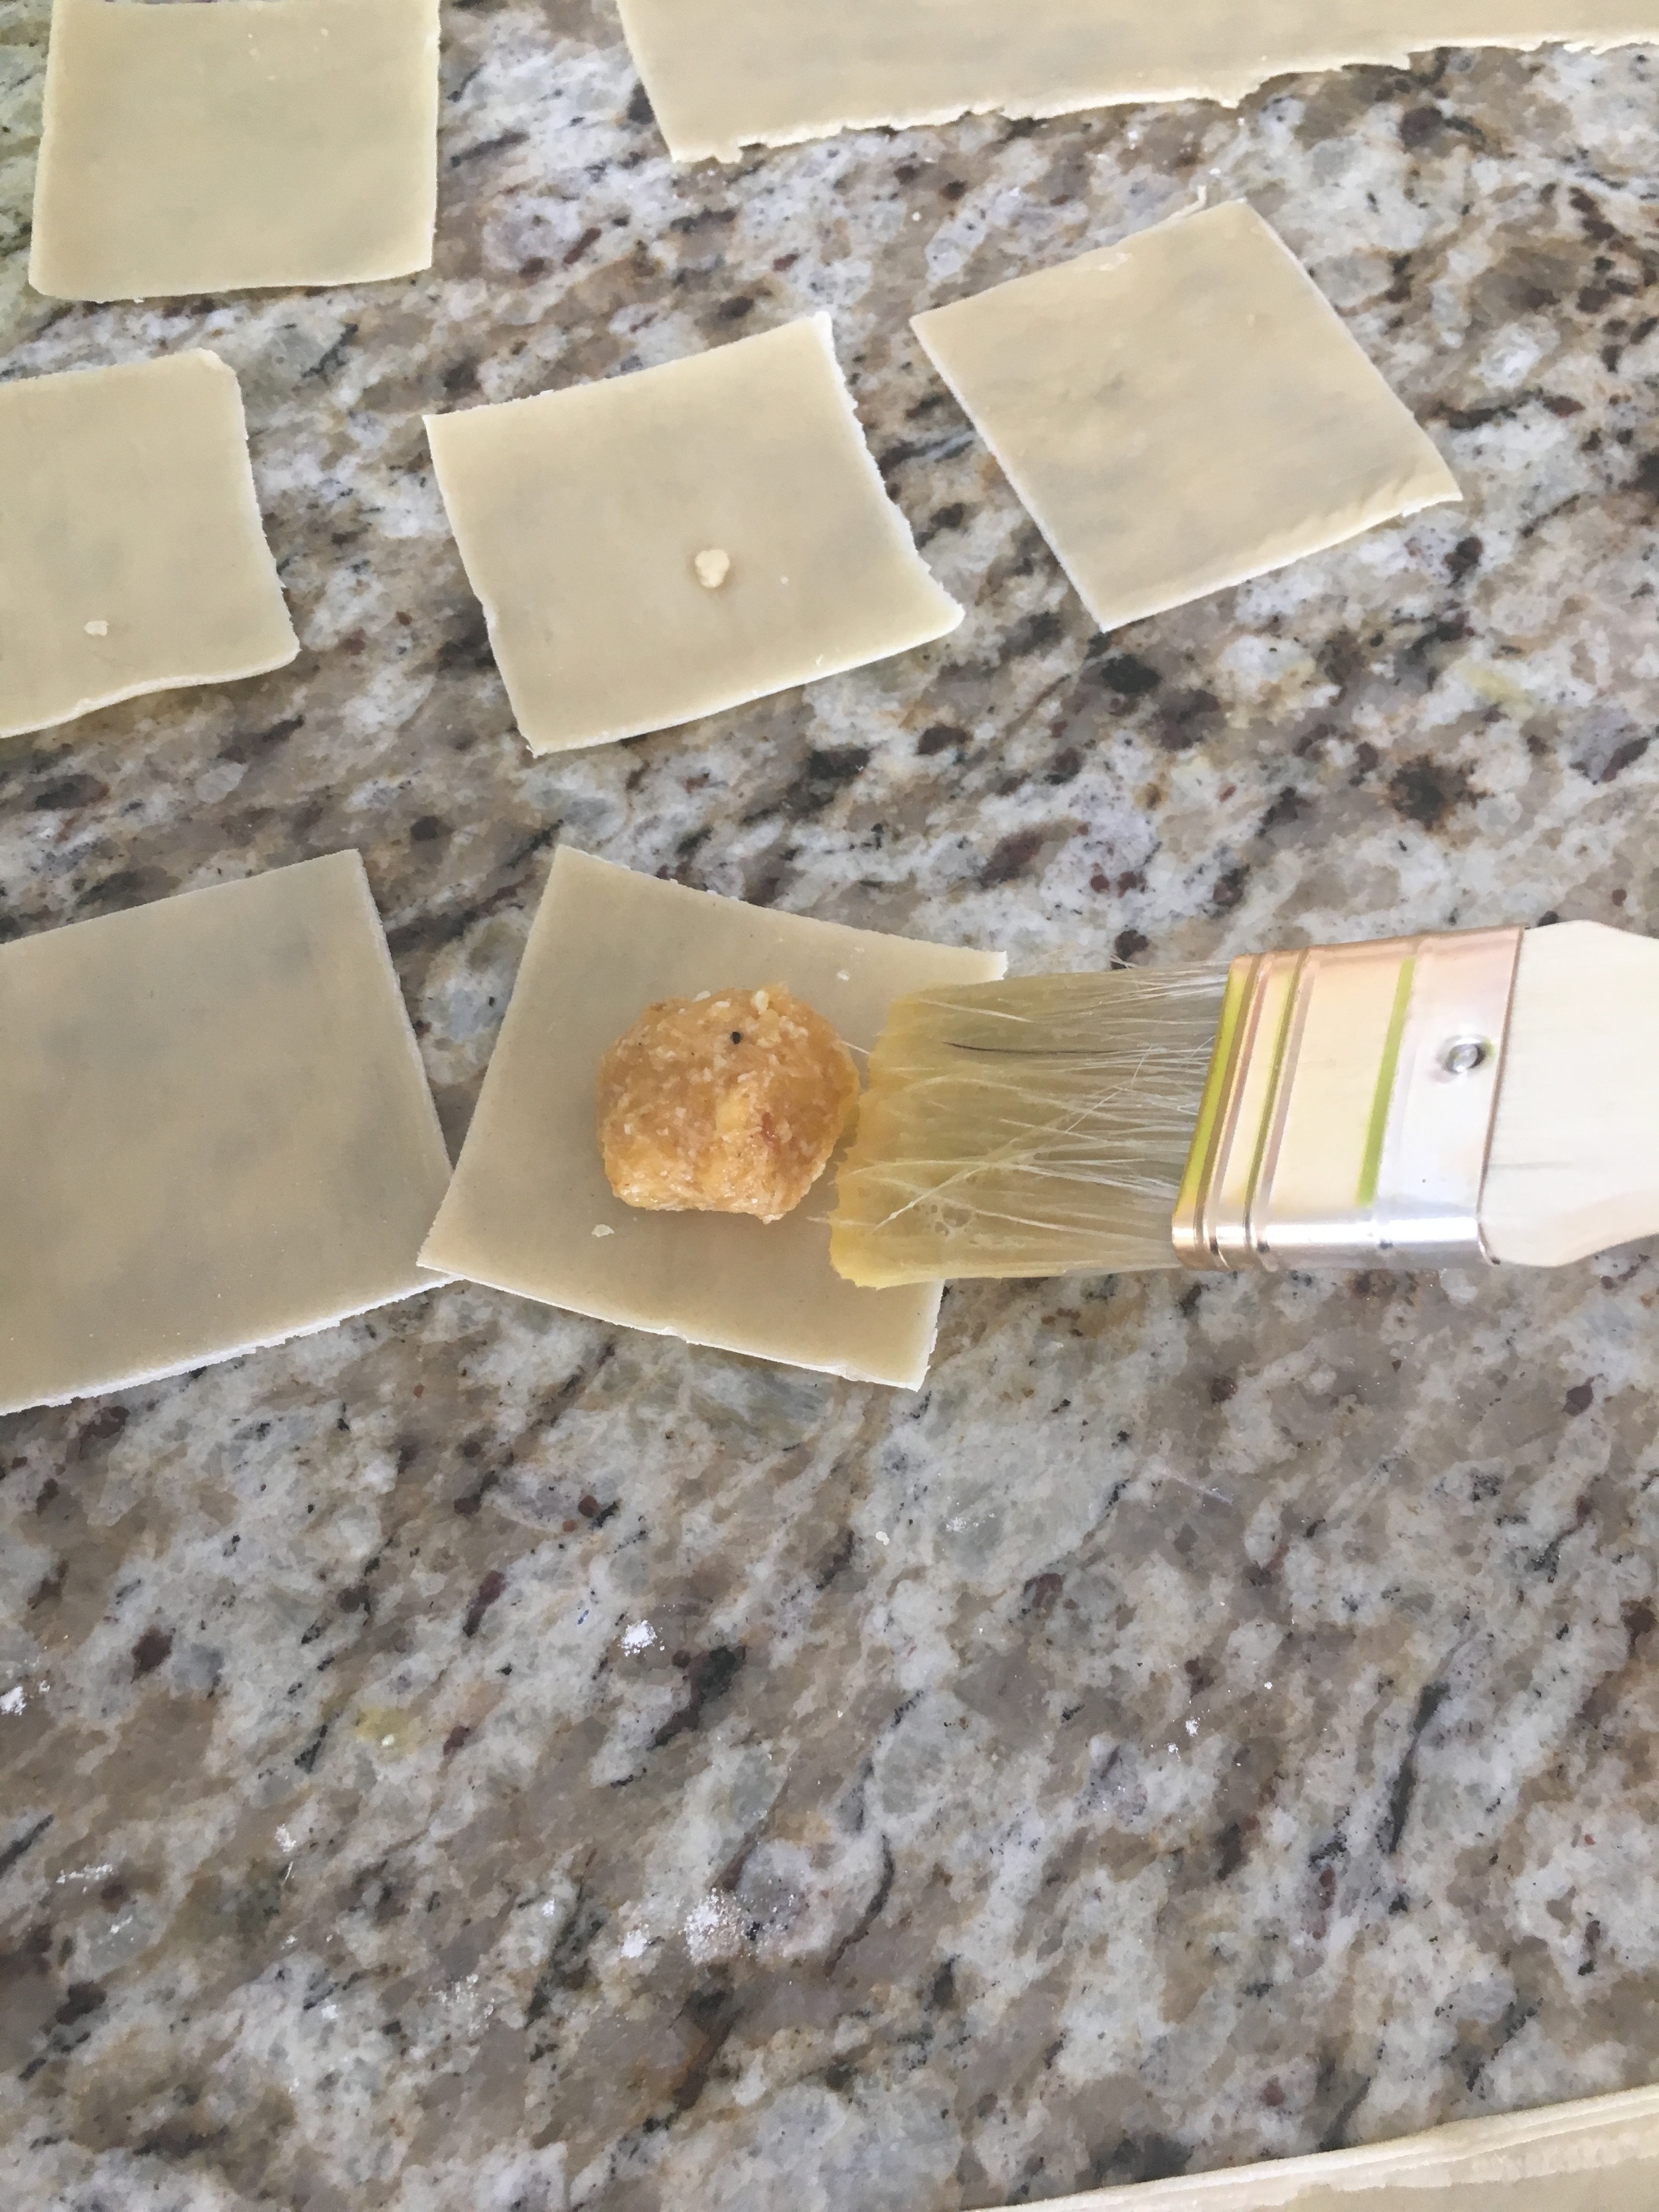
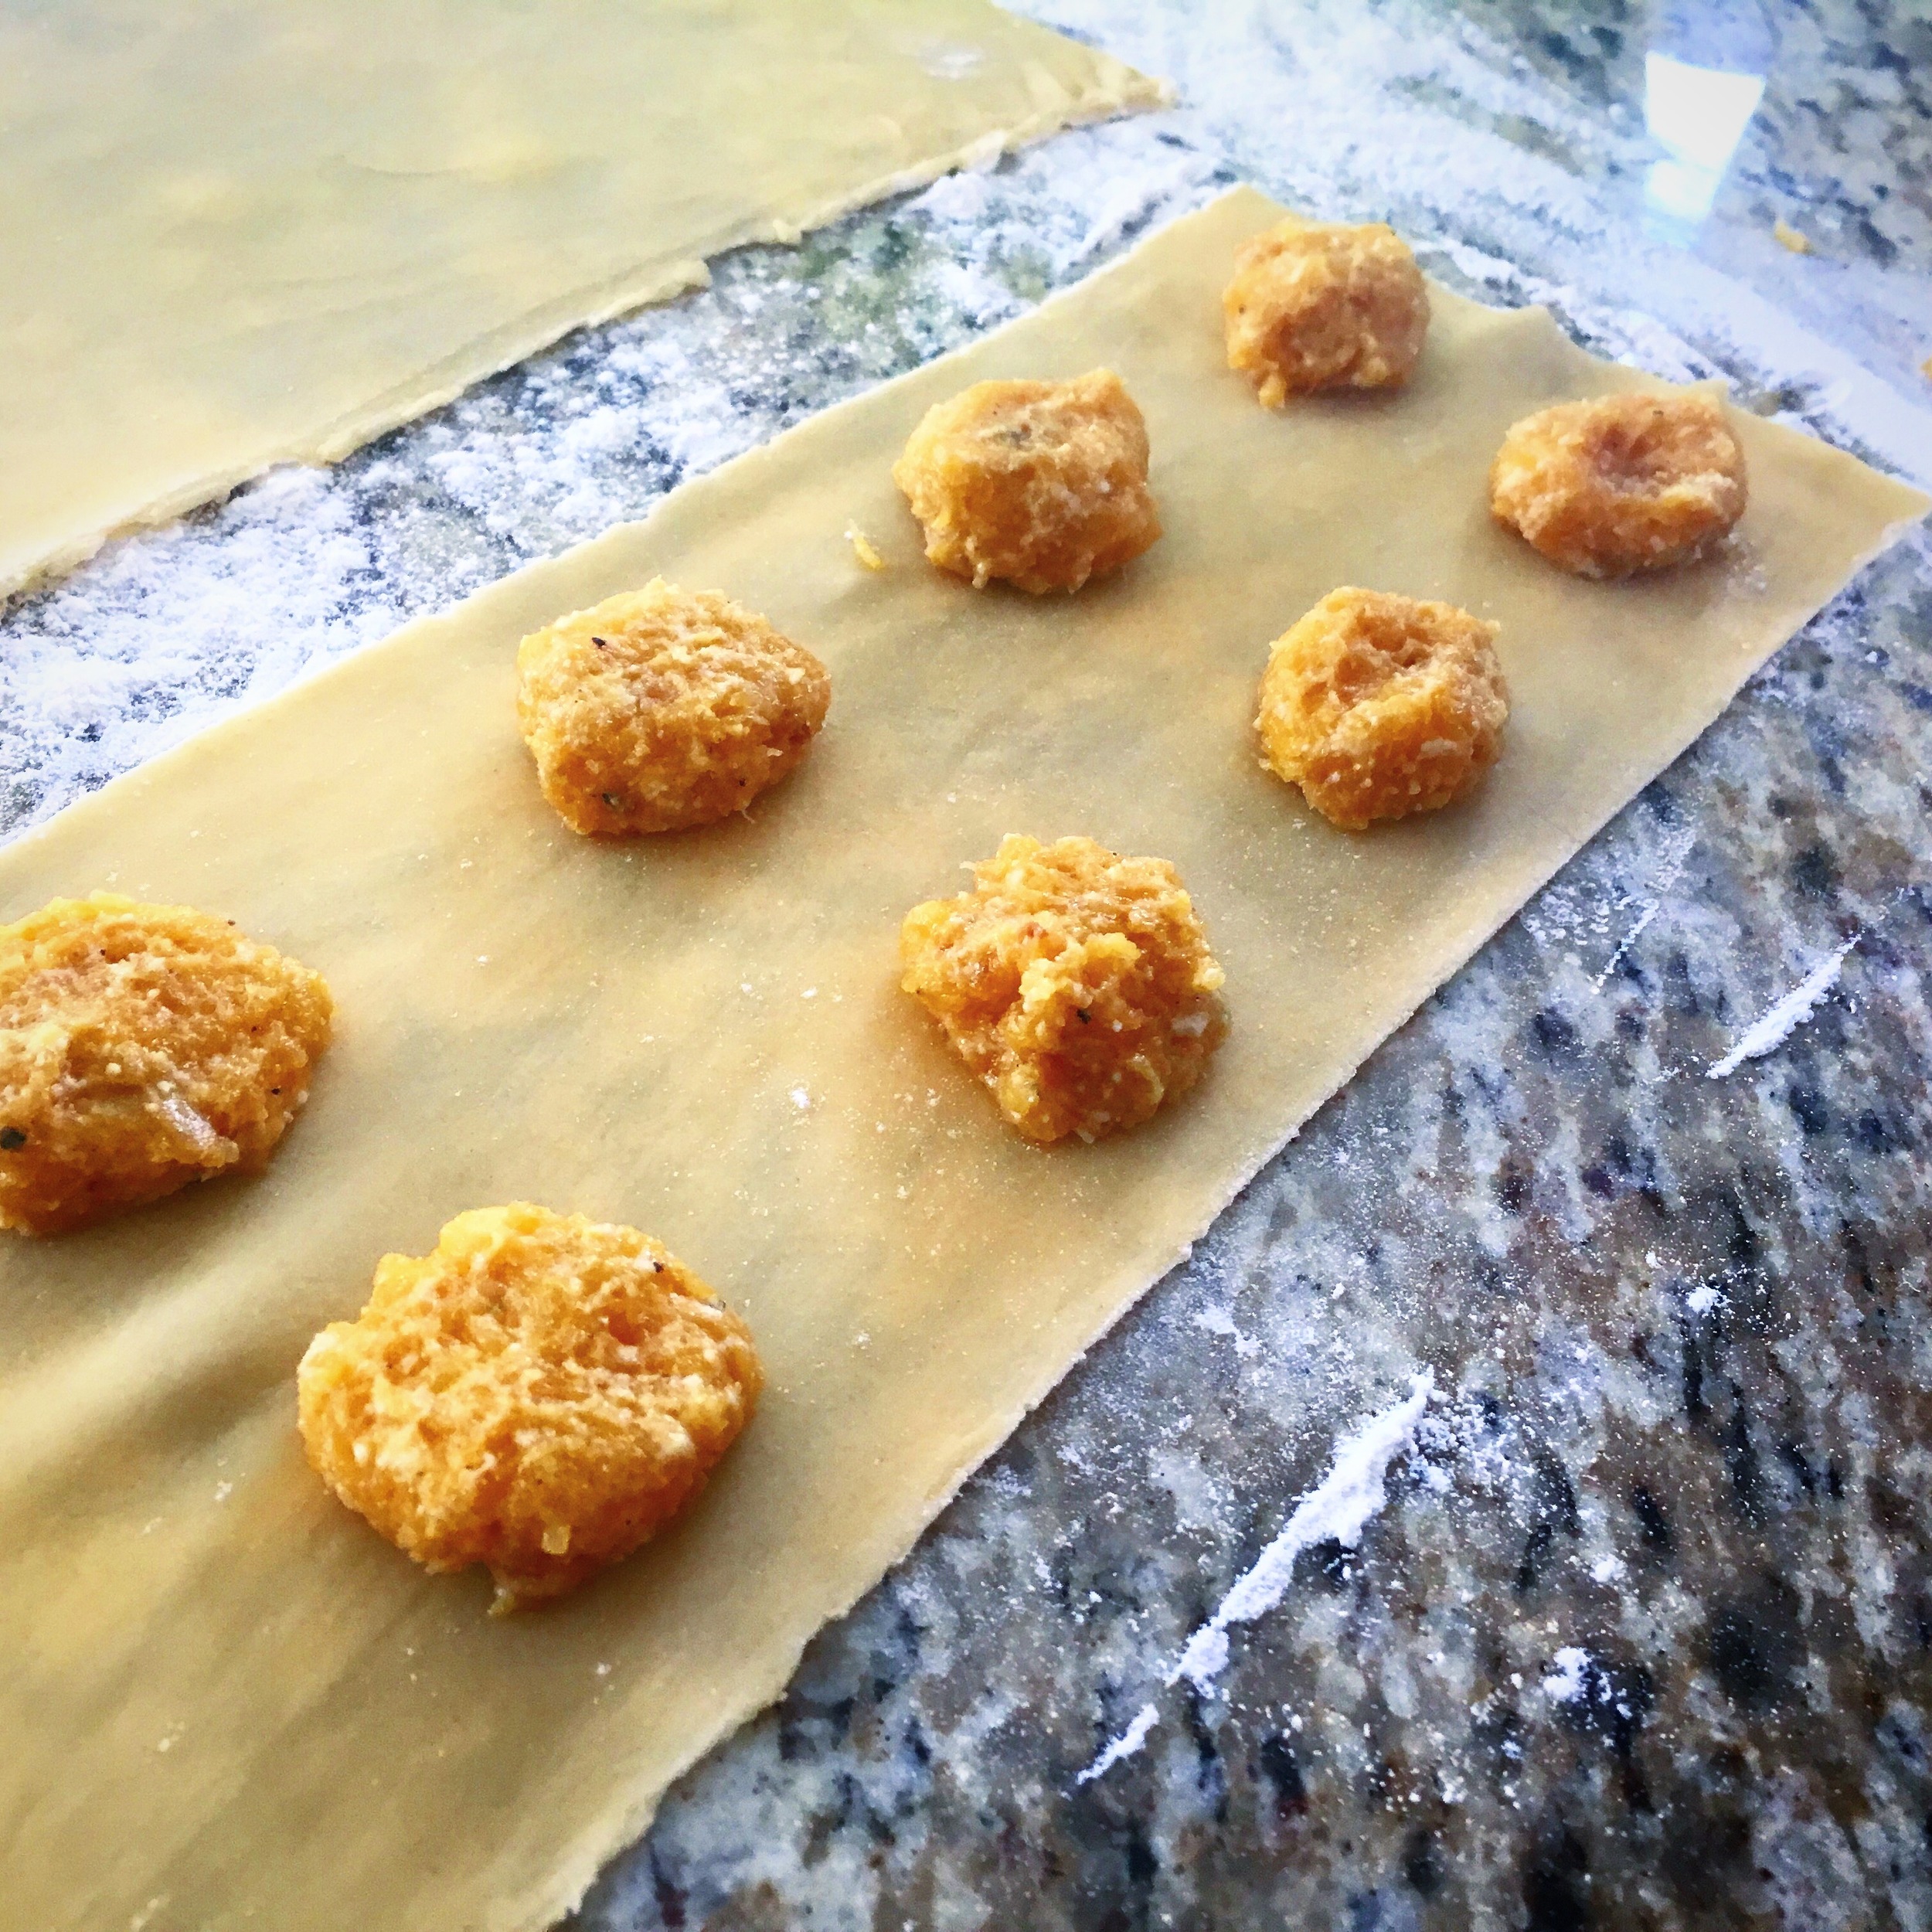
Start placing your butternut squash fillings 1 inch apart along the smaller width pasta. Use the egg wash to create a grid seal around each dab of filling. Place the wider pasta strip (top) on top.

Press the top down the center and each row so that it stretches out nicely over the filling mounds. Cut the dough in equal sections trying to create a 1/2 inch perimeter around the mounts.

Using a fork press on the outer corners to help the egg wash inside create a seal between top and bottom pasta layers and fully seal in the butternut squash filling inside.

Once sealed fully, place on a baking sheet lined with wax paper. Once you are finished making ravioli place the baking sheet covered in plastic wrap in the fridge to store until you are about 20-30 min from your meal time.

When you are ready boil a pot of water. Once the water is boiling add a tsp of salt and place the amount of ravioli you want to cook in the boiling water.  You can store the remaining amount by rolling it in wax paper and placing it in a ziplock bag and freezing it.

Next start to prep your sauce. In a sauce pan on medium heat add in your butter followed by your minced shallots. Once the shallots start to become clear add in your sage. Allow the sage to release its flavor into the butter. Stir so that it doesn't burn. Add some salt

After about 6-7 minutes the ravioli should be ready and float to the top. Test to see if the pasta layers are fully cooked. When it is cooked drain and add to your sauce pan with butter and sage. Allow the ravioli to become fully dressed by the sauce before plating.

Add Parmesan cheese on top and garnish before serving. ENJOY!


I hope you enjoyed this recipe as much as I do. If you have any comments please leave them below and I'll be happy to answer them as soon as I can! There is also a video down below if you need more guidance while cooking!!!  Bon Appetite!!!


MEXICAN SCREWDRIVERS

Recently while on vacation in Todos Santos, Mexico my friends and I came up with this drink which we dubbed 'The Mexican Screwdriver'. Since we had all this fresh citrus fruit available to use we had to take advantage! This is what we came up with and it is delicious! I think I drank about five of them one day beside the pool because they were so refreshing and totally hit the spot. Enjoy!

INGREDIENTS:

2 Oz of Vodka ( I like Tito's Vodka because its Gluten Free)
4 Oz of Freshly Squeezed Orange Juice
1/2 Oz of Cointreau
1 Oz of Freshly Squeezed Pomegranate Juice

DIRECTIONS:

Mix all Ingredients in a cocktail mixer. Give it a shake and add to a glass filled half way with ice. Serve!


I hope you enjoyed this recipe as much as I do. If you have any comments please leave them below and I'll be happy to answer them as soon as I can! Happy cooking!!!

STUFFED & FRIED ZUCCHINI FLOWERS (SQUASH BLOSSOMS)

Okay so these fried zucchini flowers are actually amazing!!! I learned about them on my recent trip down to Todos Santos, Mexico and they are now one of my favorite new things. Think fried artichokes but stuffed with whatever your palate desires. You dont need to dip them in anything because they are delicious and flavorful all by themselves. You just need to try them! TRUST ME!

INGREDIENTS:

Stuffing - You can honestly do whatever you want here. I did the following:

1-2 Cups of Chorizo (taken out of its casing and pre-cooked)
1 Cup of Quinoa (pre cooked and cooled)
1/2 Cup of Cubed Cheese (I used a soft white cheese)

Olive Oil
12-20 Zucchini Flowers (washed)
2 Eggs (whisked)
1-2 Cups of All Purpose Flour
Salt (as desired)

DIRECTIONS

Cook your quinoa and let it cool.

Take your Chorizo out of the casing and fry it up. Once finished set aside to cool.

Once cooled mix your Chorizo, quinoa and cheese together. This will be your stuffing. Open the center of the flower and add in your stuffing (1-2 TSP) and set aside till all flowers are stuffed.

Once you are ready to fry up the flowers add oil to a pan and let it heat up on medium heat.

Roll your stuffed flowers into your flour followed by your egg wash and again in your flour before plopping it in the oil. Once four or five of them are in your pan make sure you rotate them so they dont burn and allow those to cook until they are golden. (If you notice that they are cooking to quickly and getting burnt turn the heat to low)

Once ready remove the flowers from the the pan and set aside on a plate covered in paper towel to absorb excess oil.

Continue battering and cooking the rest of your flowers until you are done. Lightly salt the plate full of flowers before serving!


I hope you enjoyed this recipe as much as I do. If you have any comments please leave them below and I'll be happy to answer them as soon as I can! Happy cooking!!!


GLUTEN FREE MAC AND CHEESE BITES

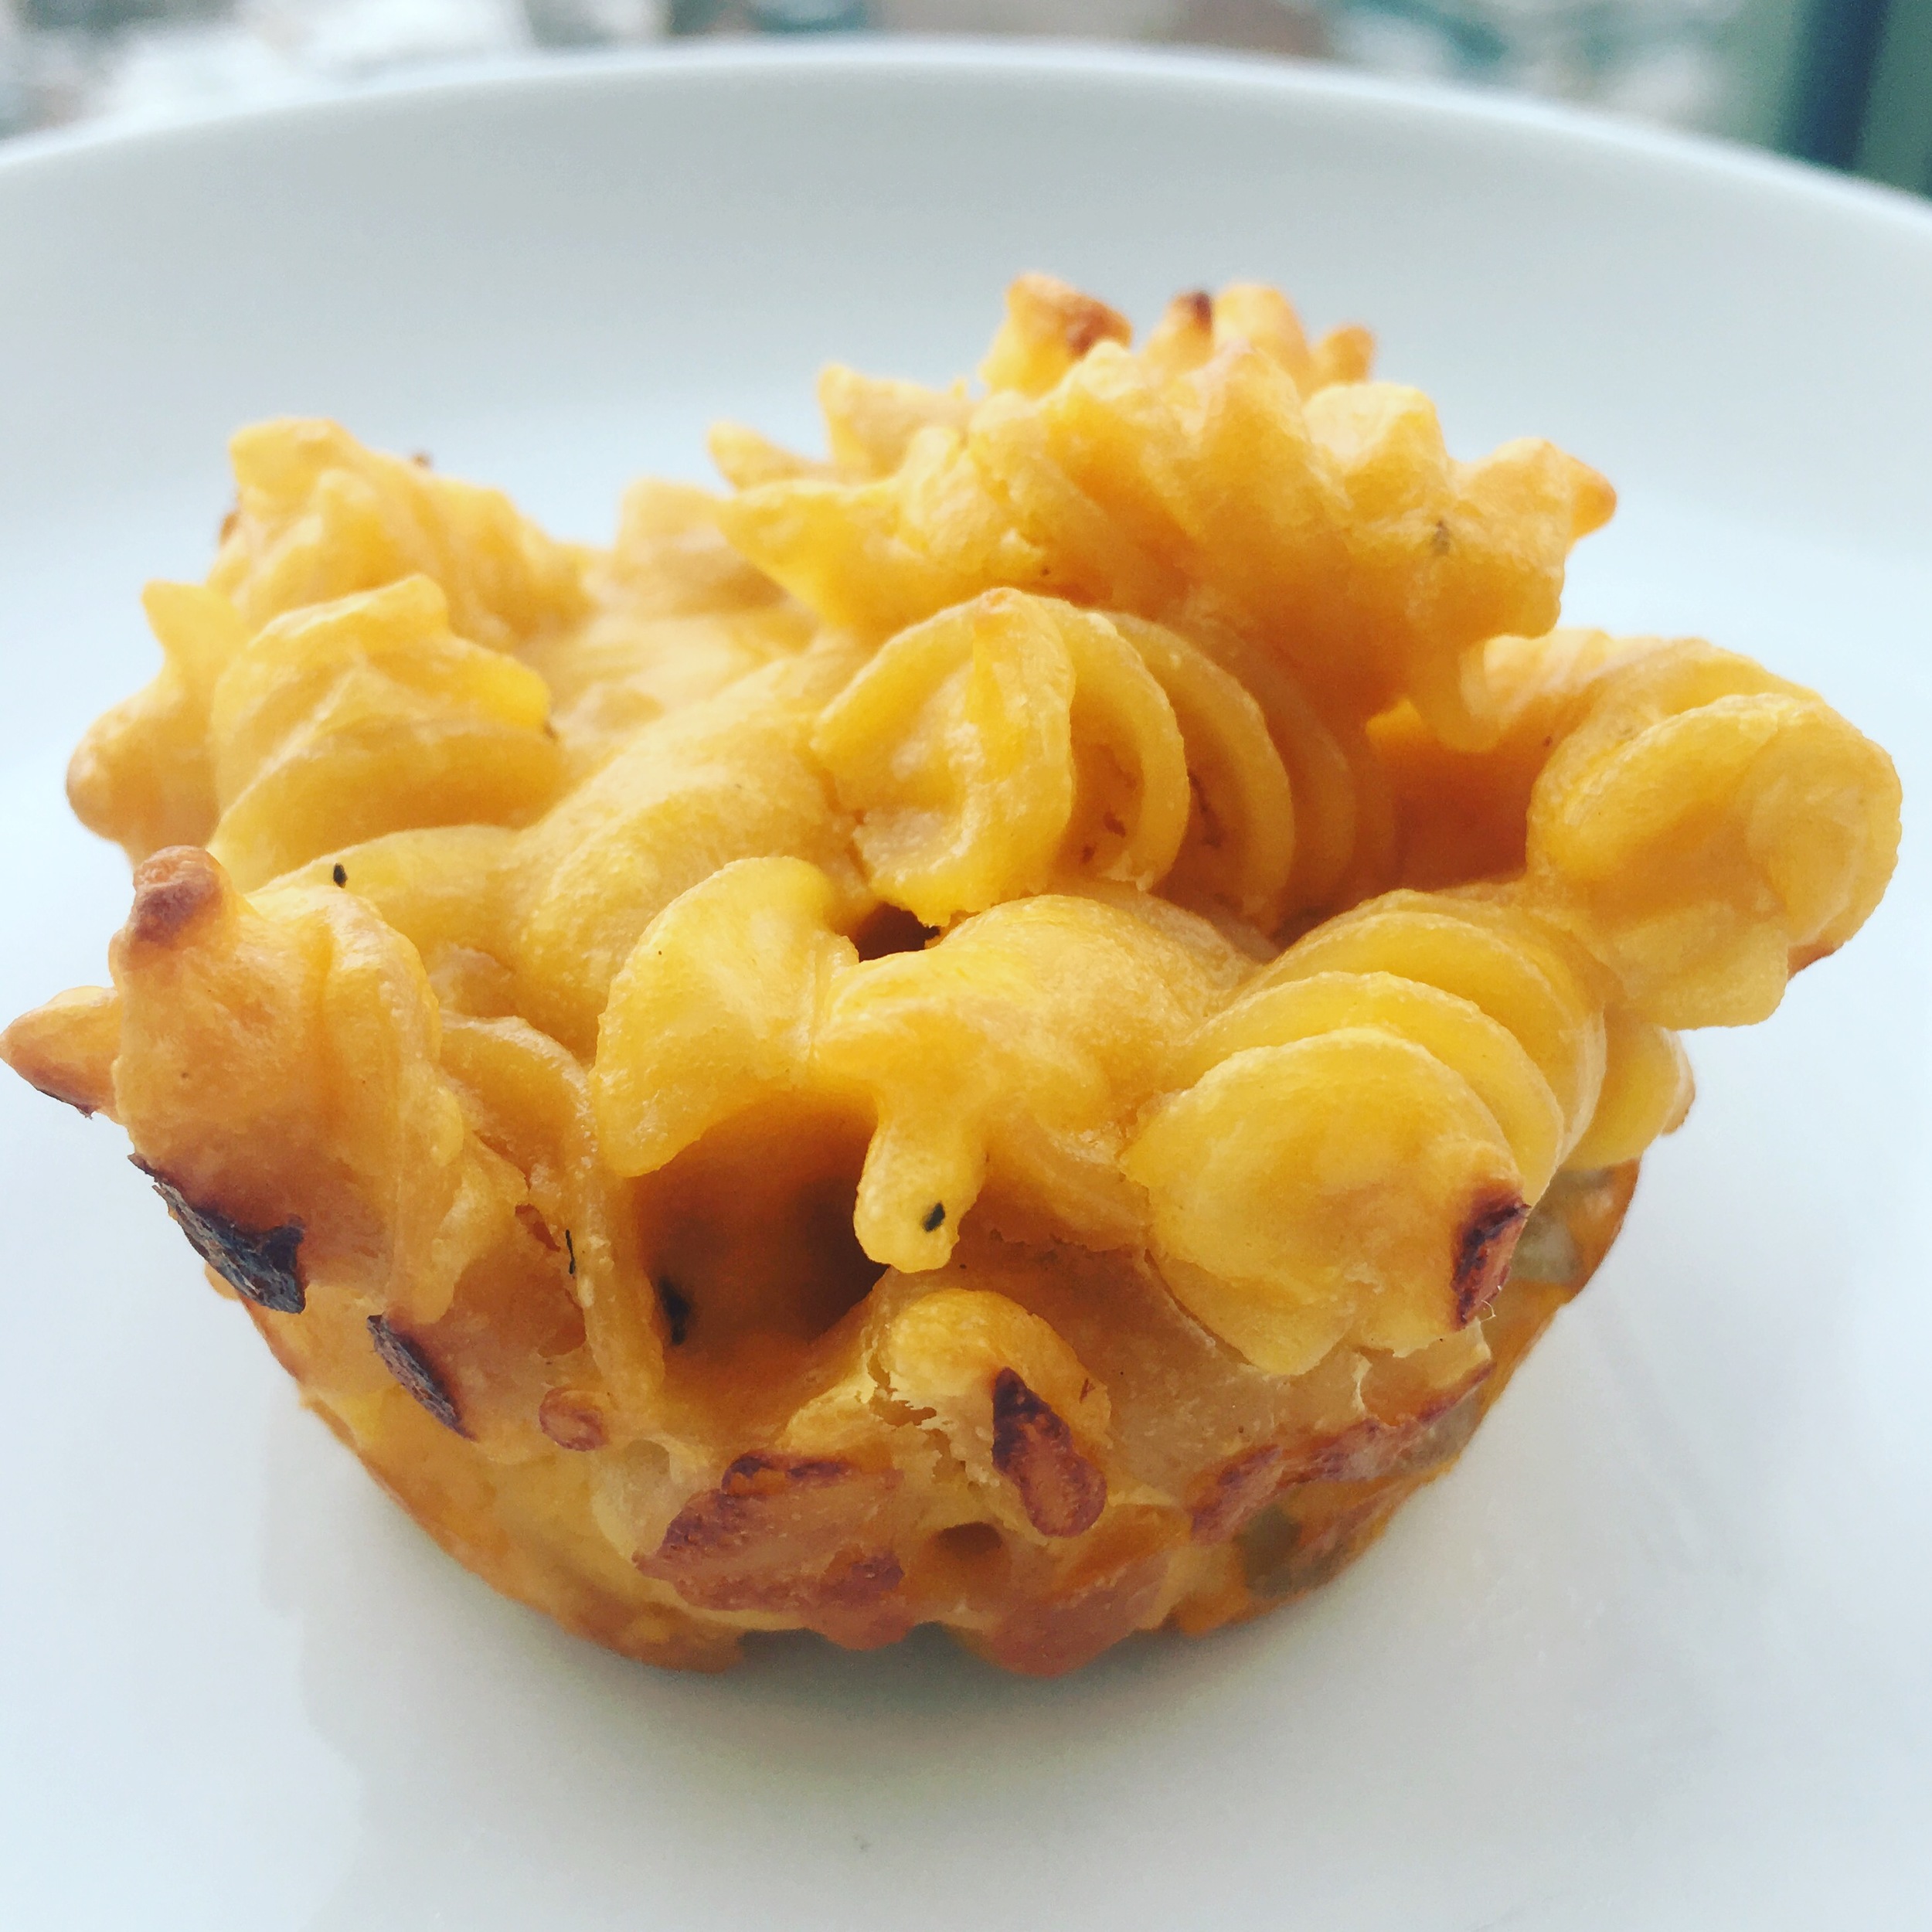
I love me some good old mac & cheese!!!! Nothing says comfort food to me like a bowl of mac & cheese does. For me it always brings back childhood memories. Nowadays I find myself not eating so much of it because I am more calorie and health conscious but I'll admit these gluten free mac& cheese bites are great for any party that you may be throwing. They aren't difficult to make at all and kids love them for birthday parties. I'm totally going to add these to my Super Bowl menu this year! Enjoy

INGREDIENTS:

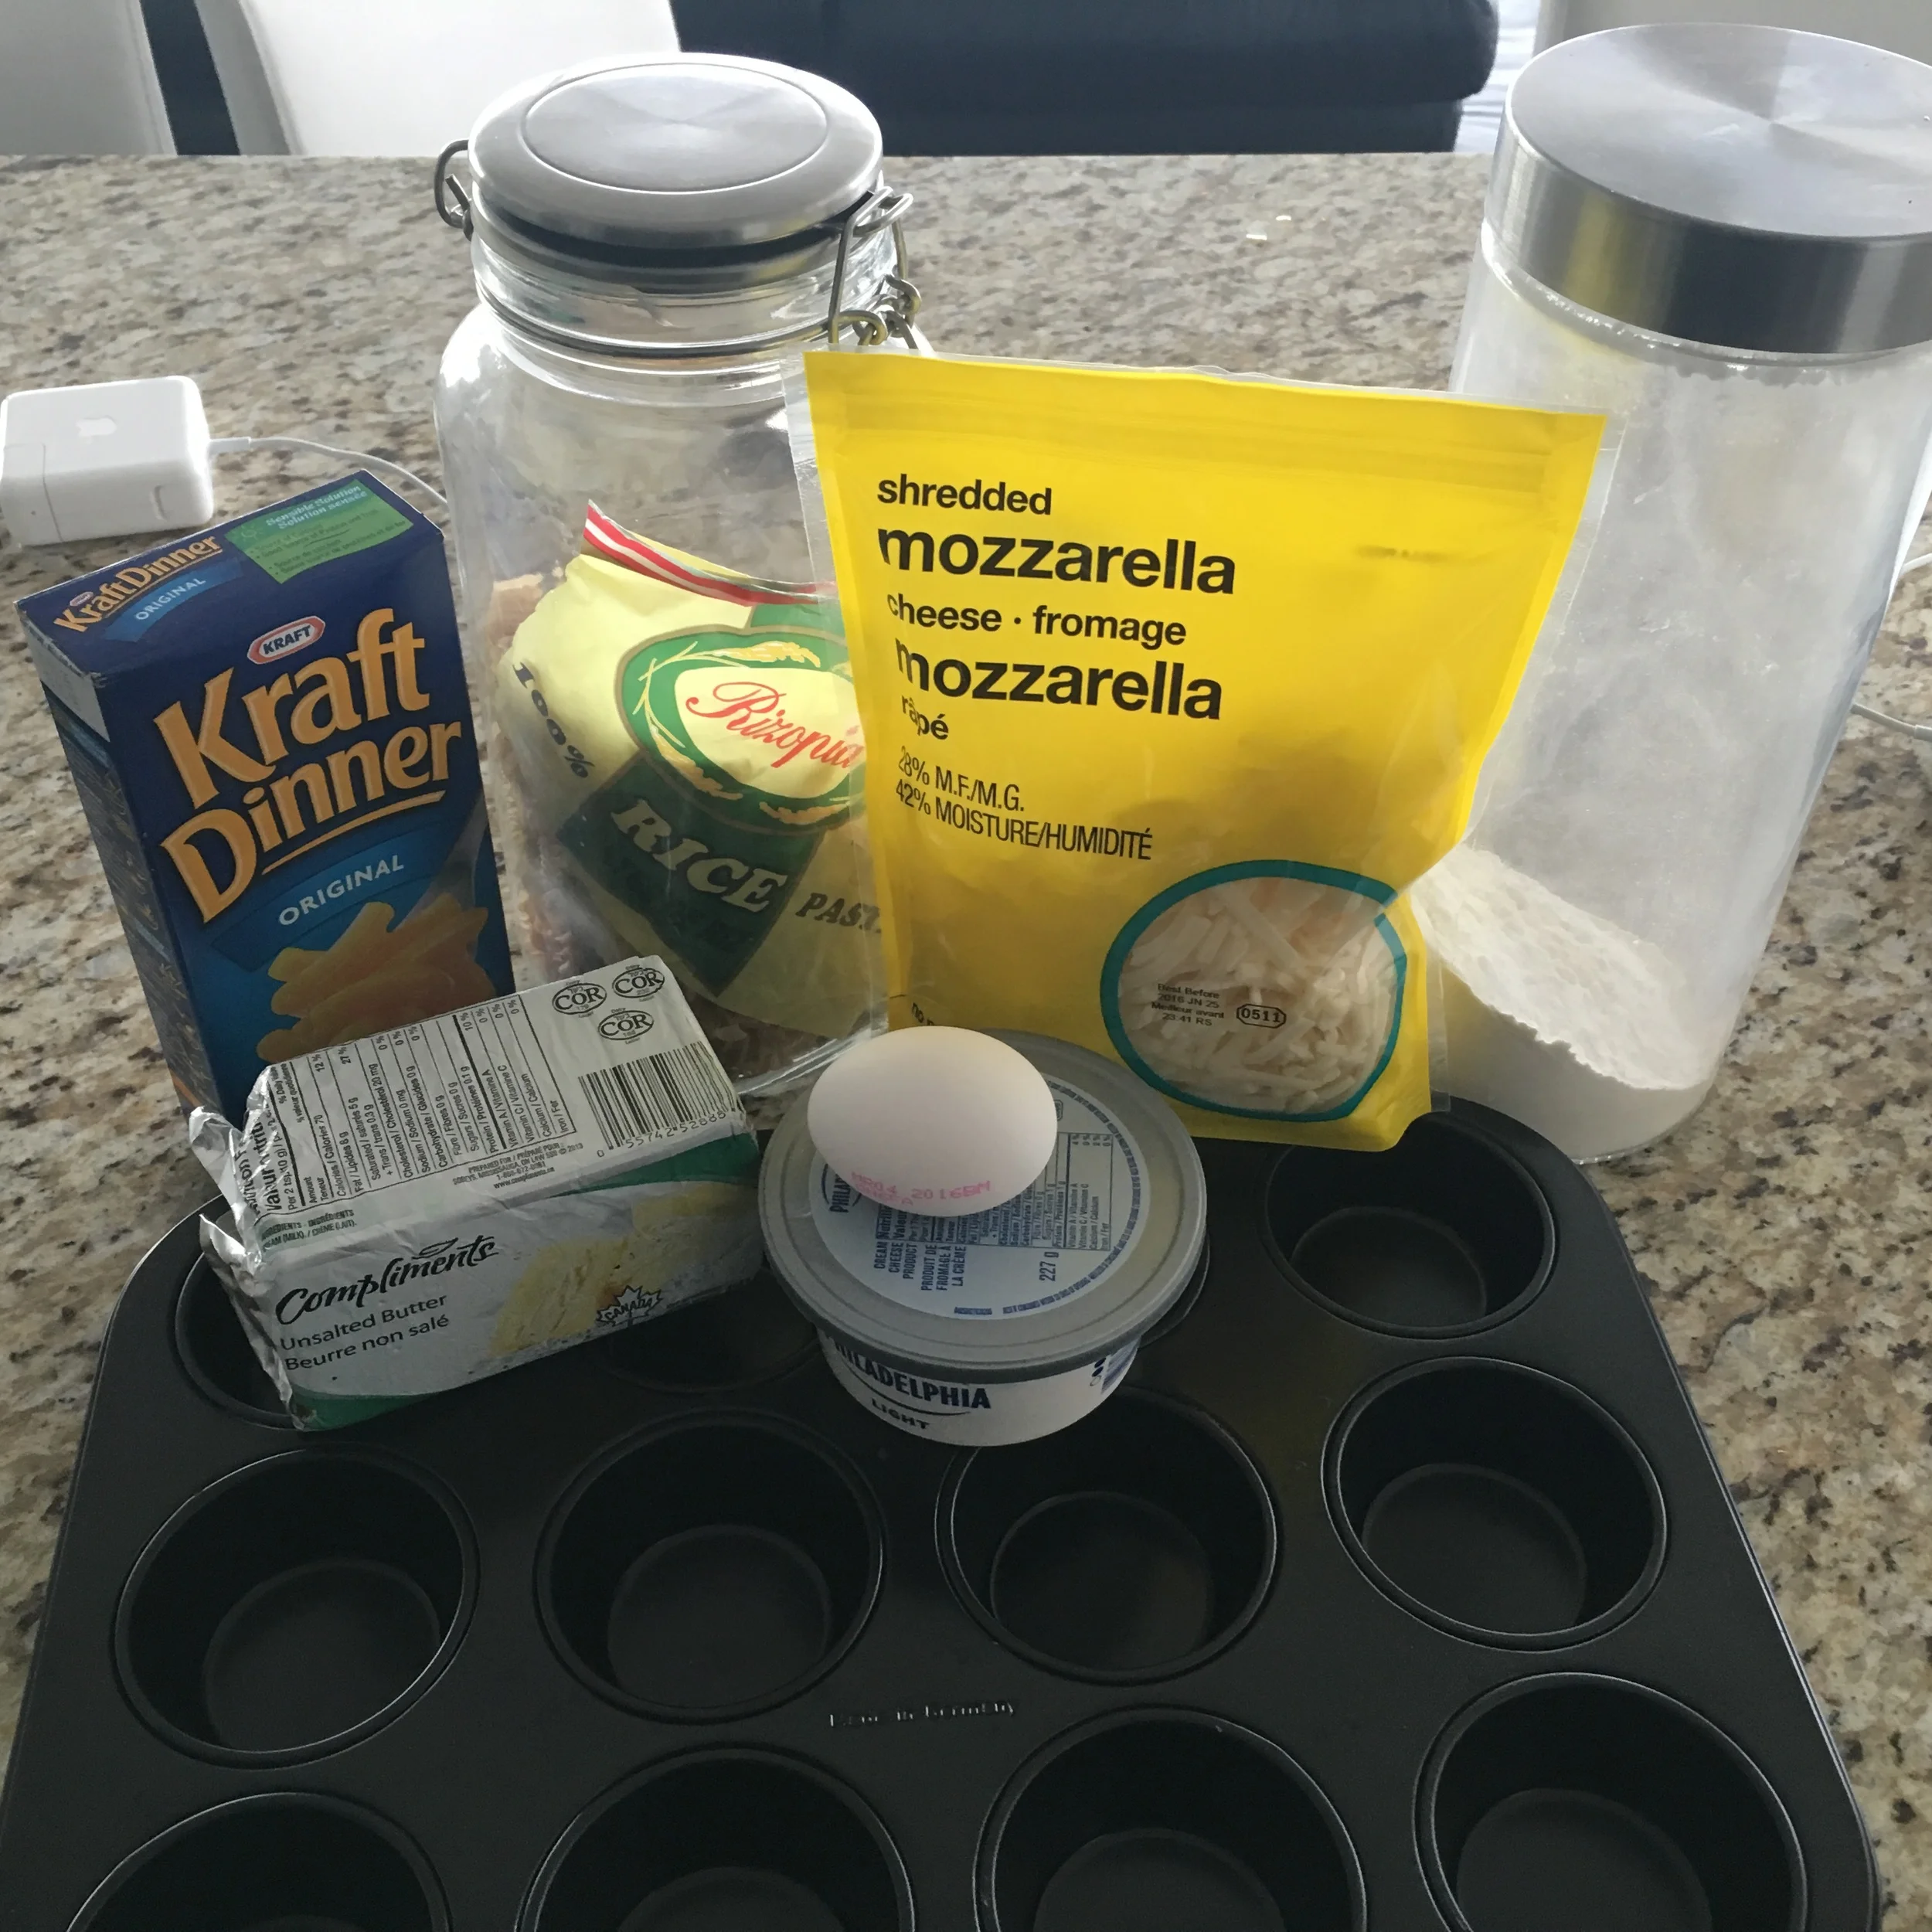
Rice Pasta (I substituted this for regular elbow pasta)
2 TBSP of Butter
2 TBSP of Quinoa Flour (I substituted this for flour)
1.5 Cups of Milk
2 OZ Cream Cheese
3/4 Cup of Sharp Cheddar Cheese
3/4 Cup of shredded Mozzarella (optional)
1 Packet of Kraft Dinner Powdered Cheese Sauce (optional)
Salt and Pepper (as desired)
1 Egg (whisked)

**You will also need a muffin tray that is sprayed with non stick cooking spray or buttered.


DIRECTIONS:

Preheat oven to 400 degrees

Boil water to make your pasta. Salt the water and throw in your pasta.

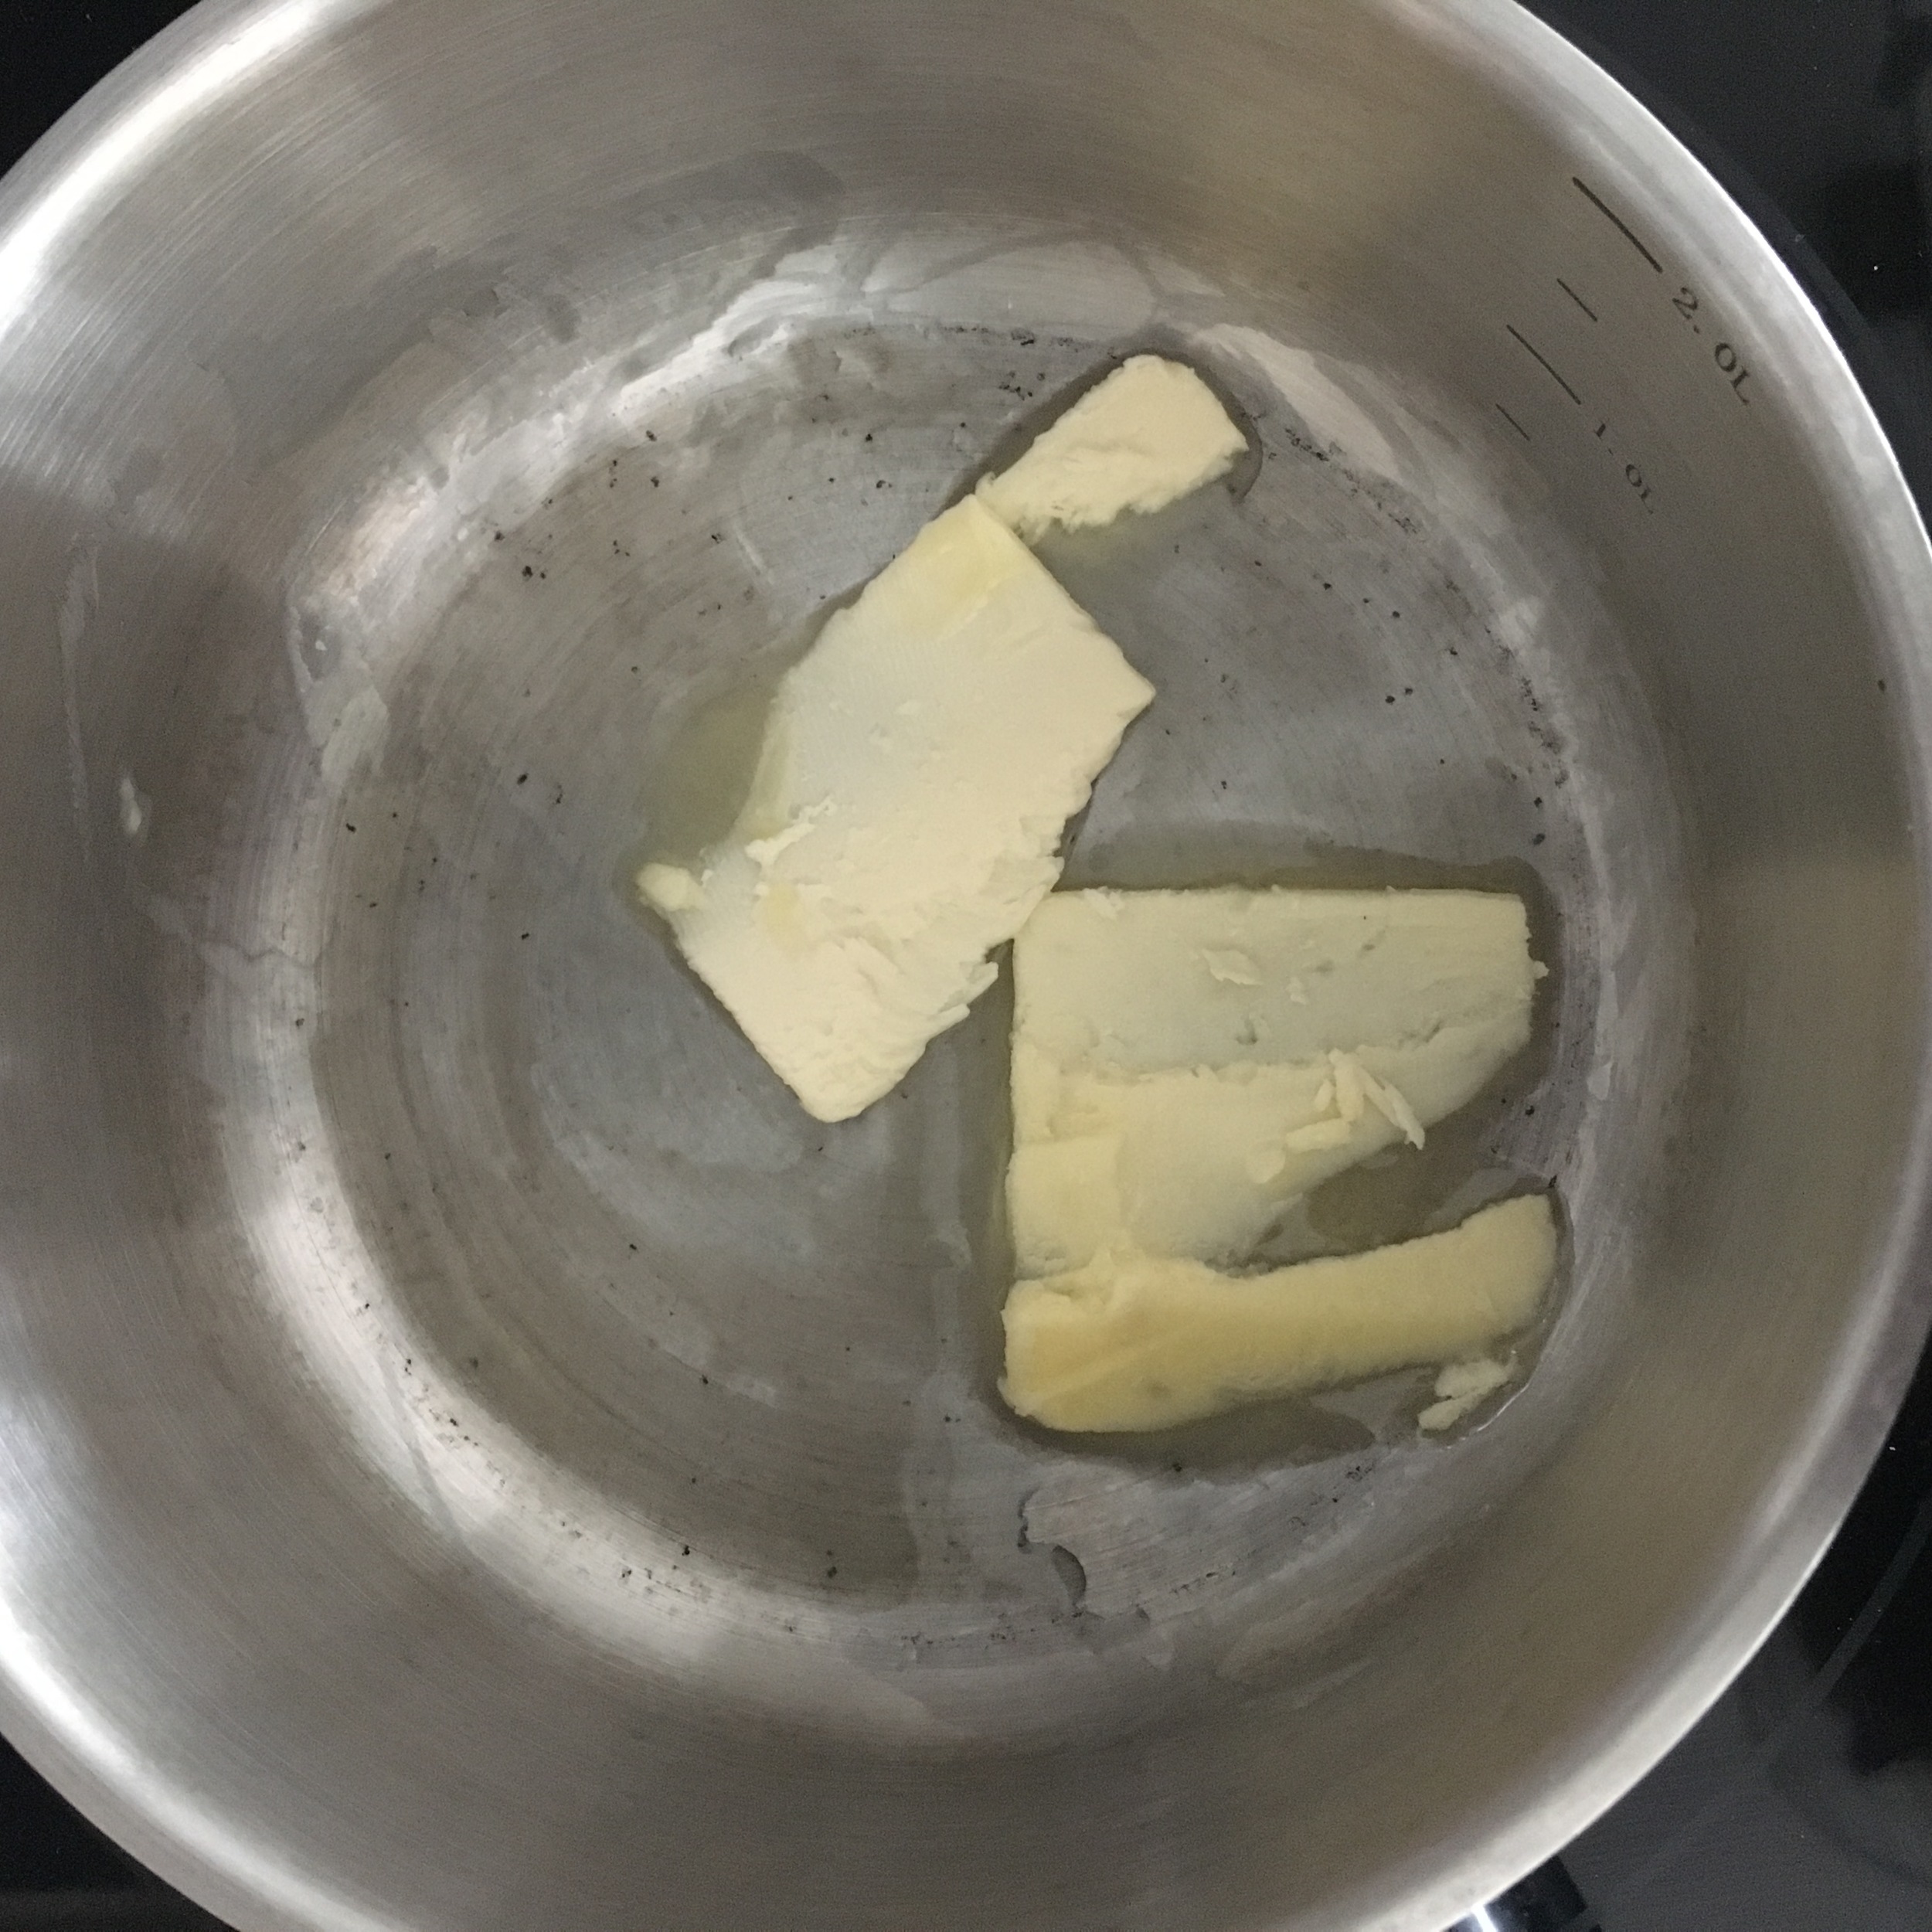
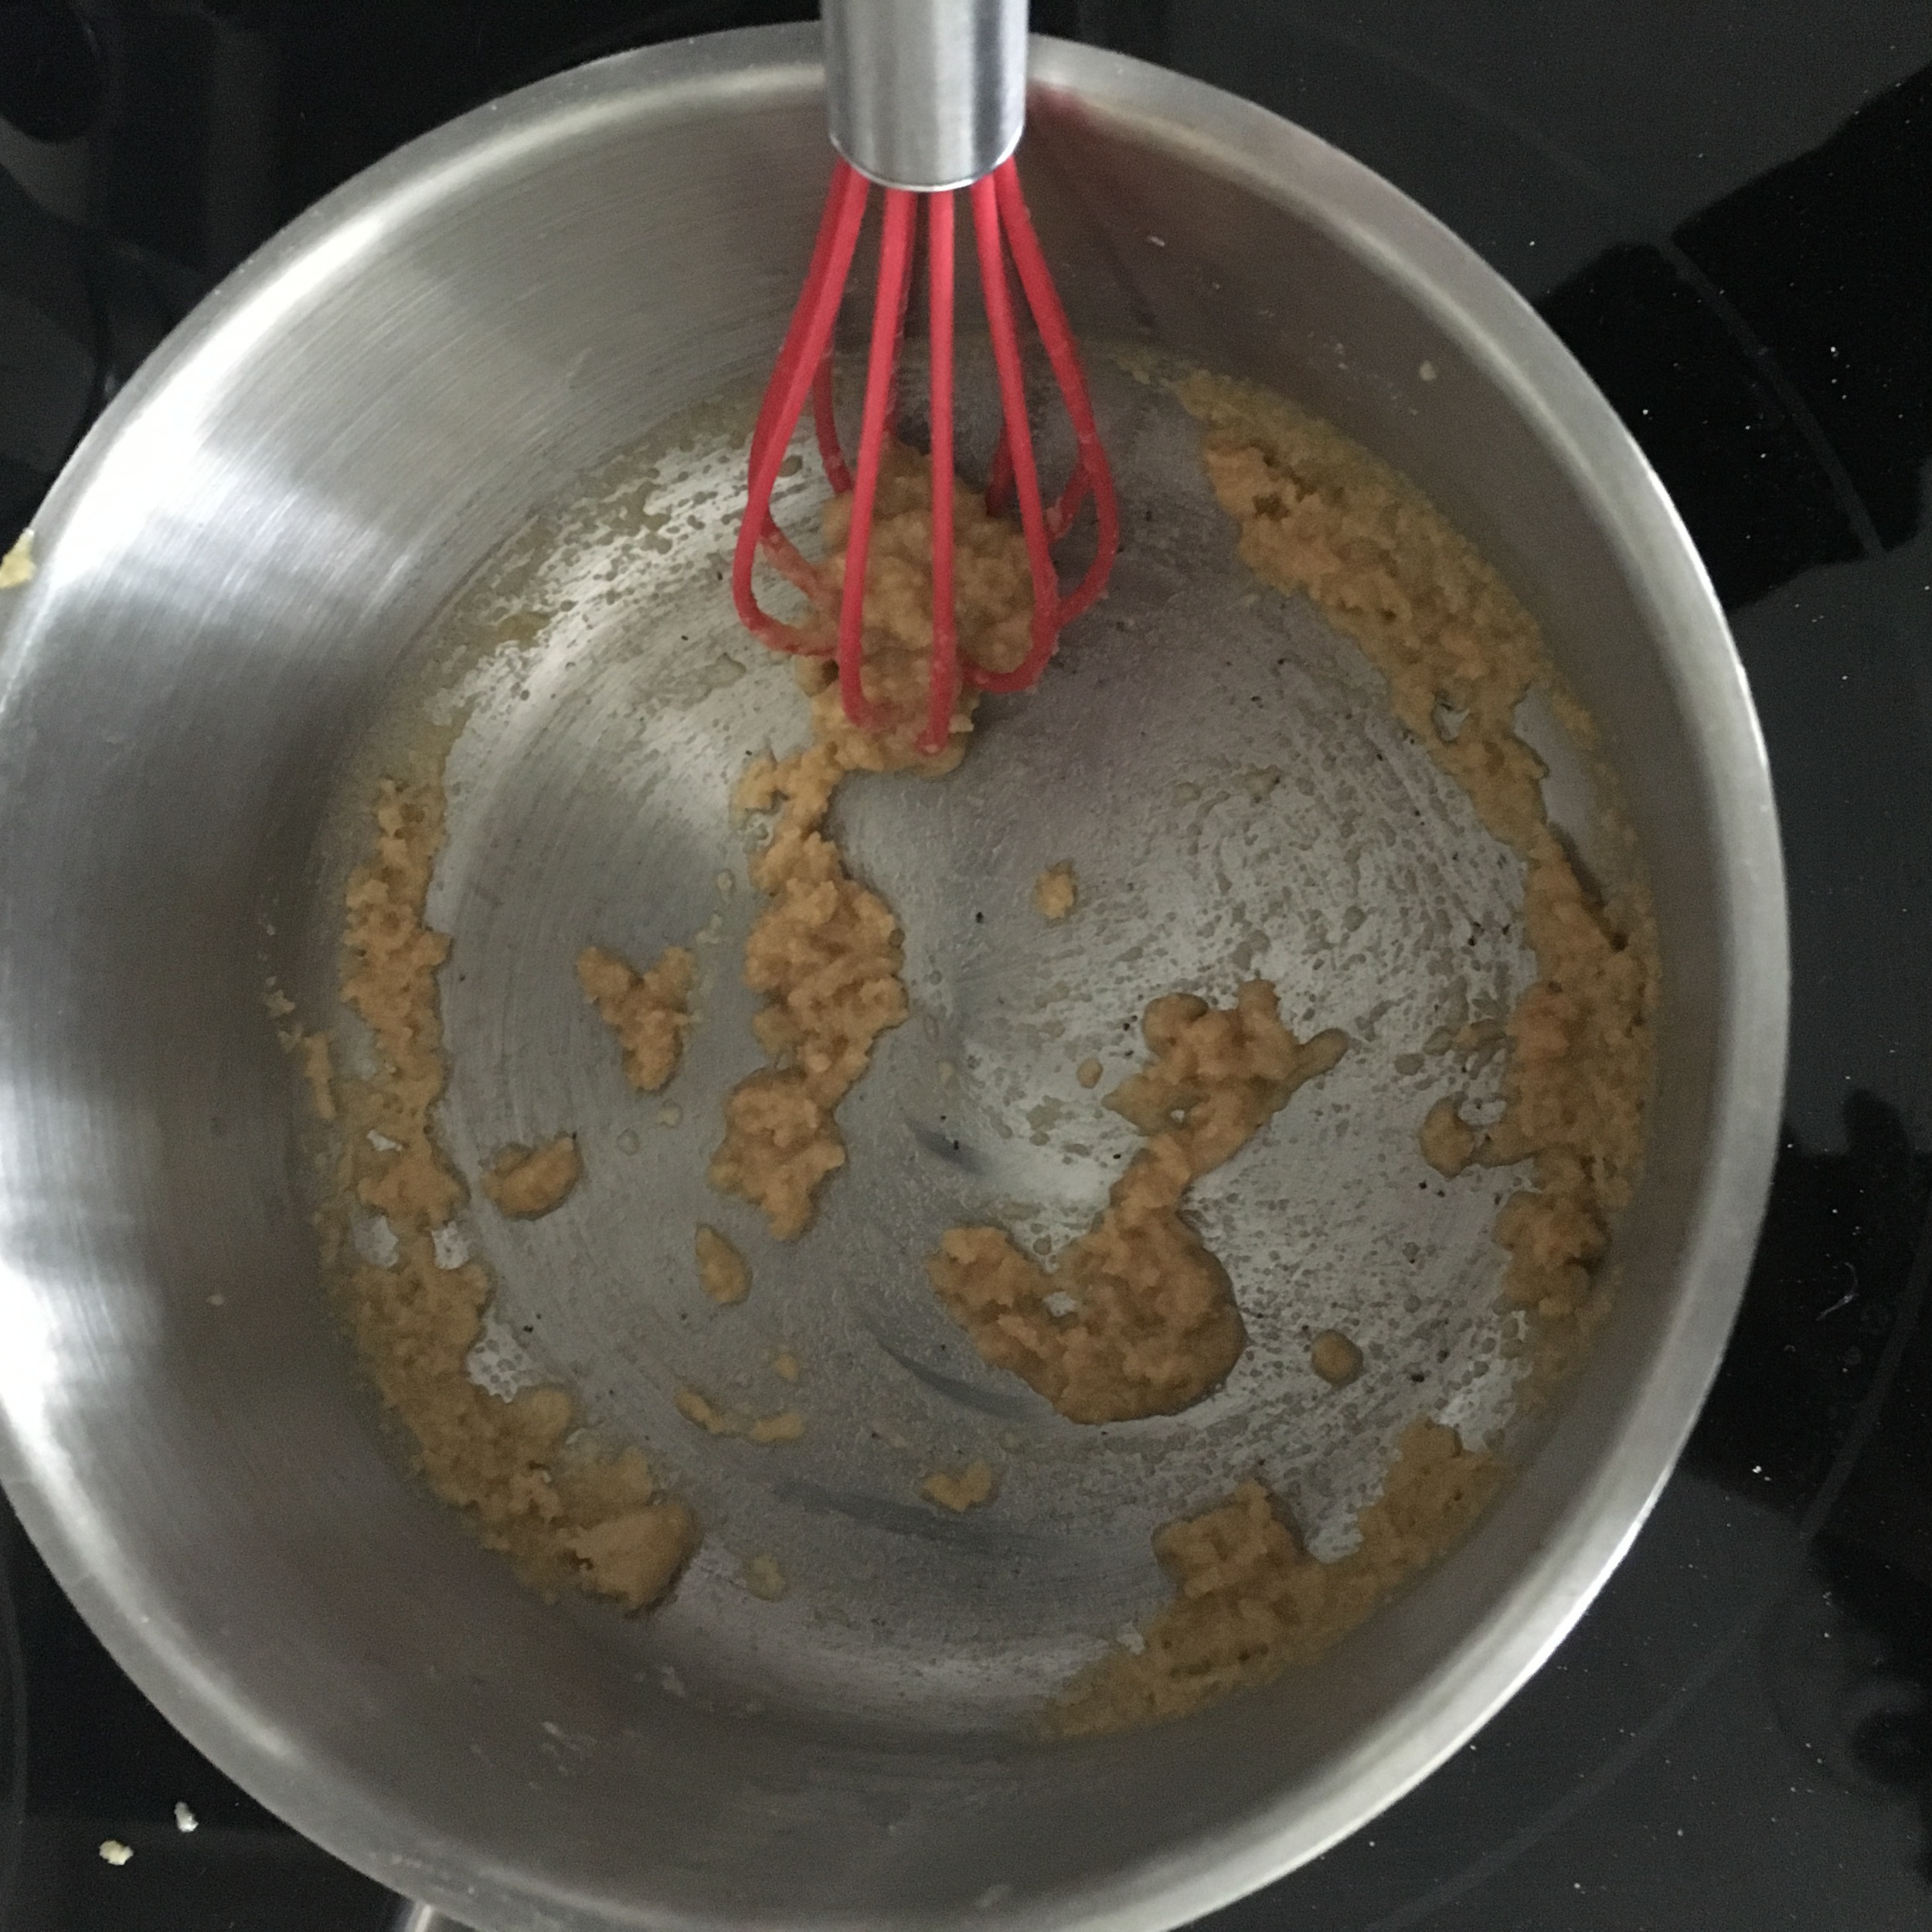
In a sauce pan add in your butter. Allow to melt on medium low heat then throw in your quinoa flour. Whisk together until fully incorporated. .

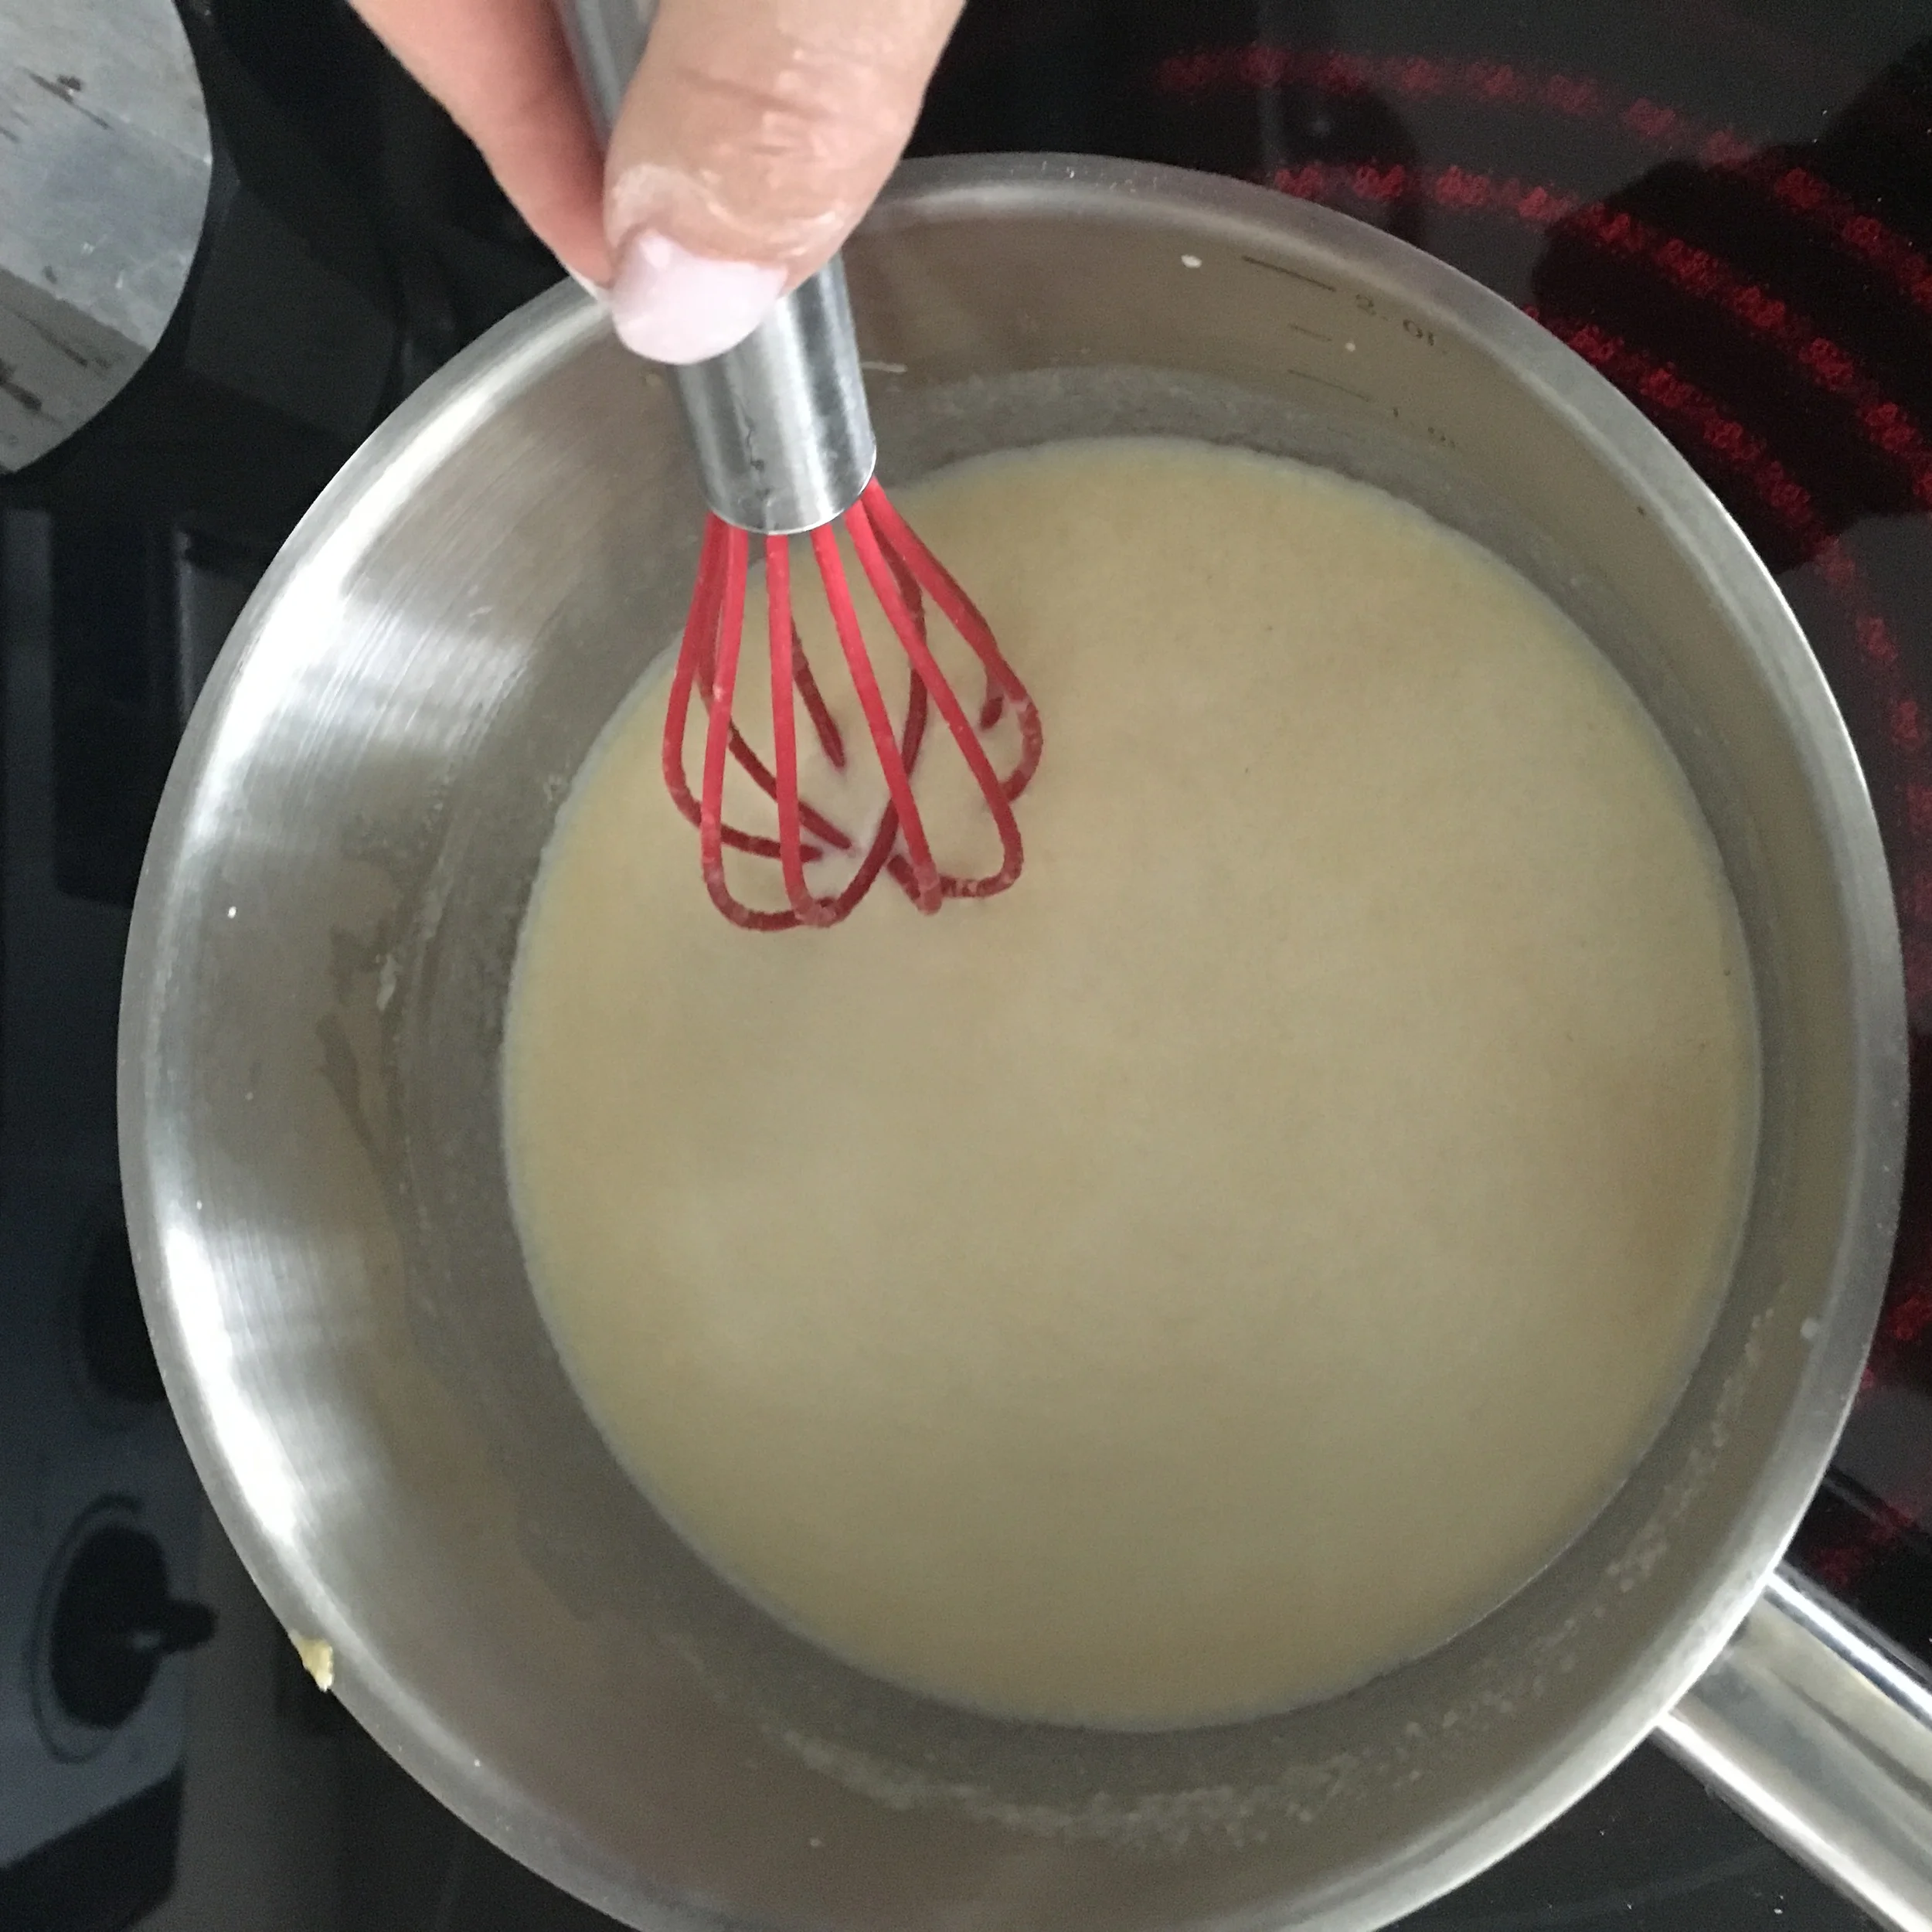
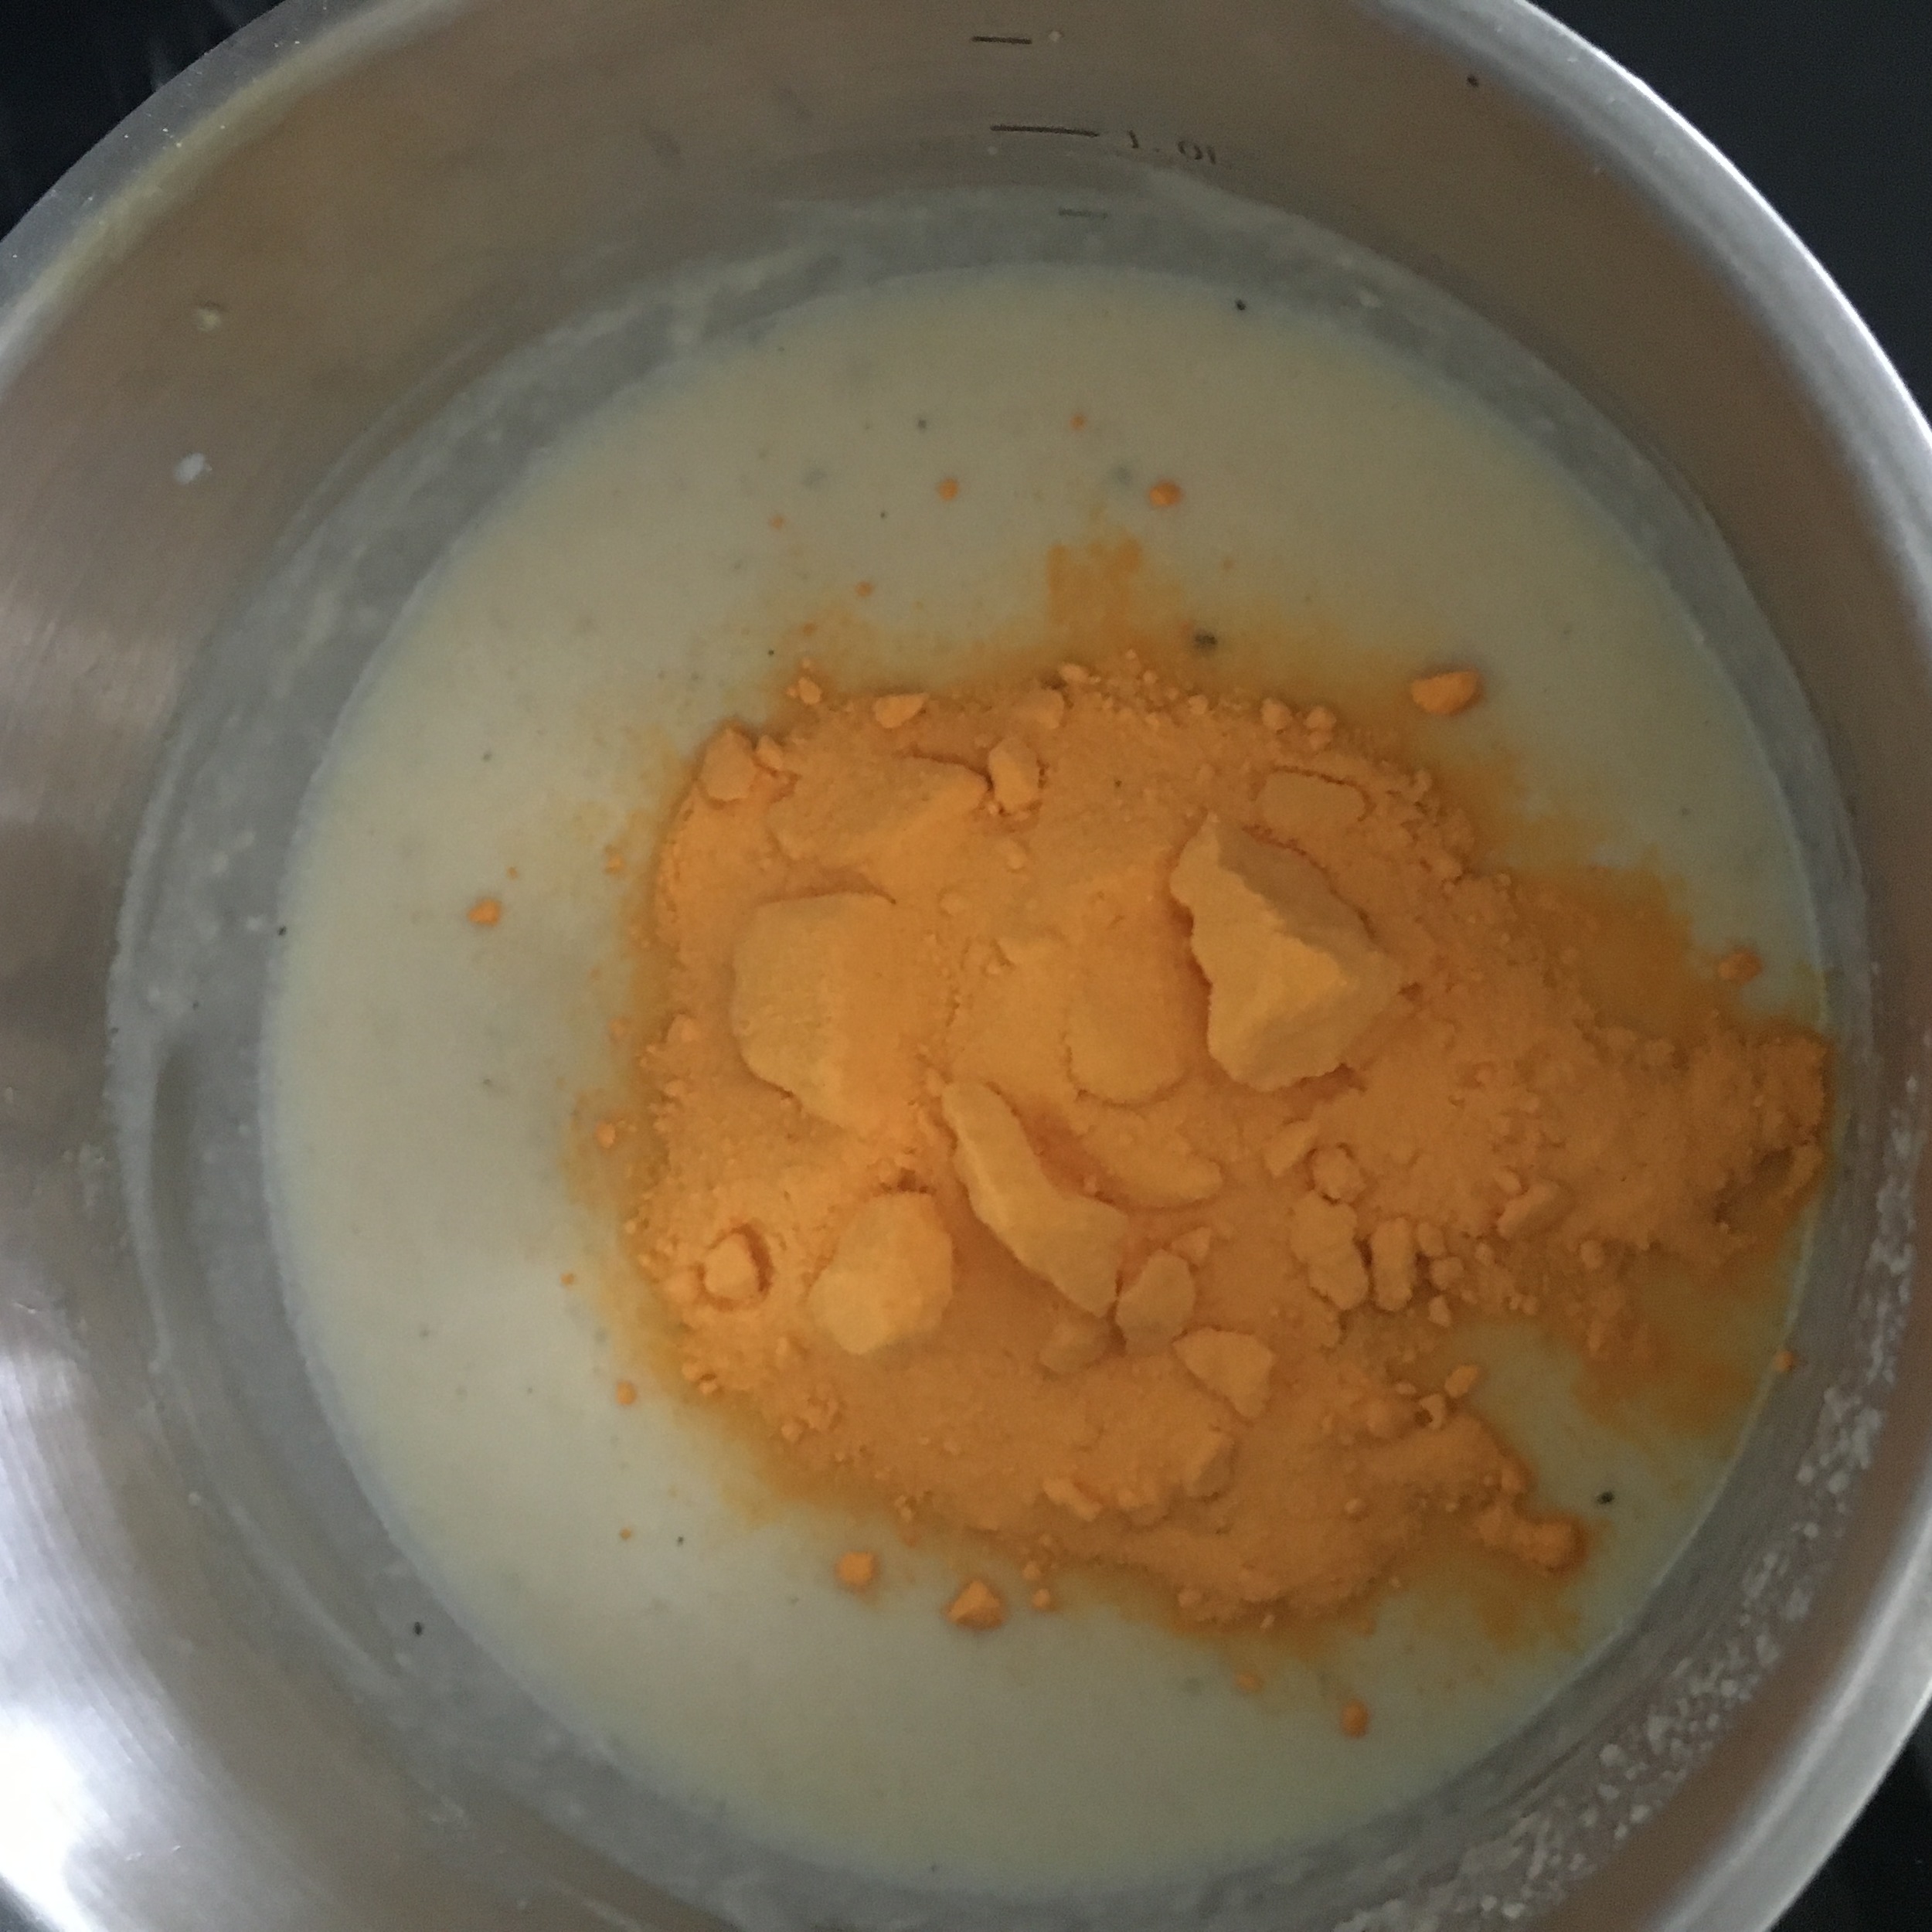
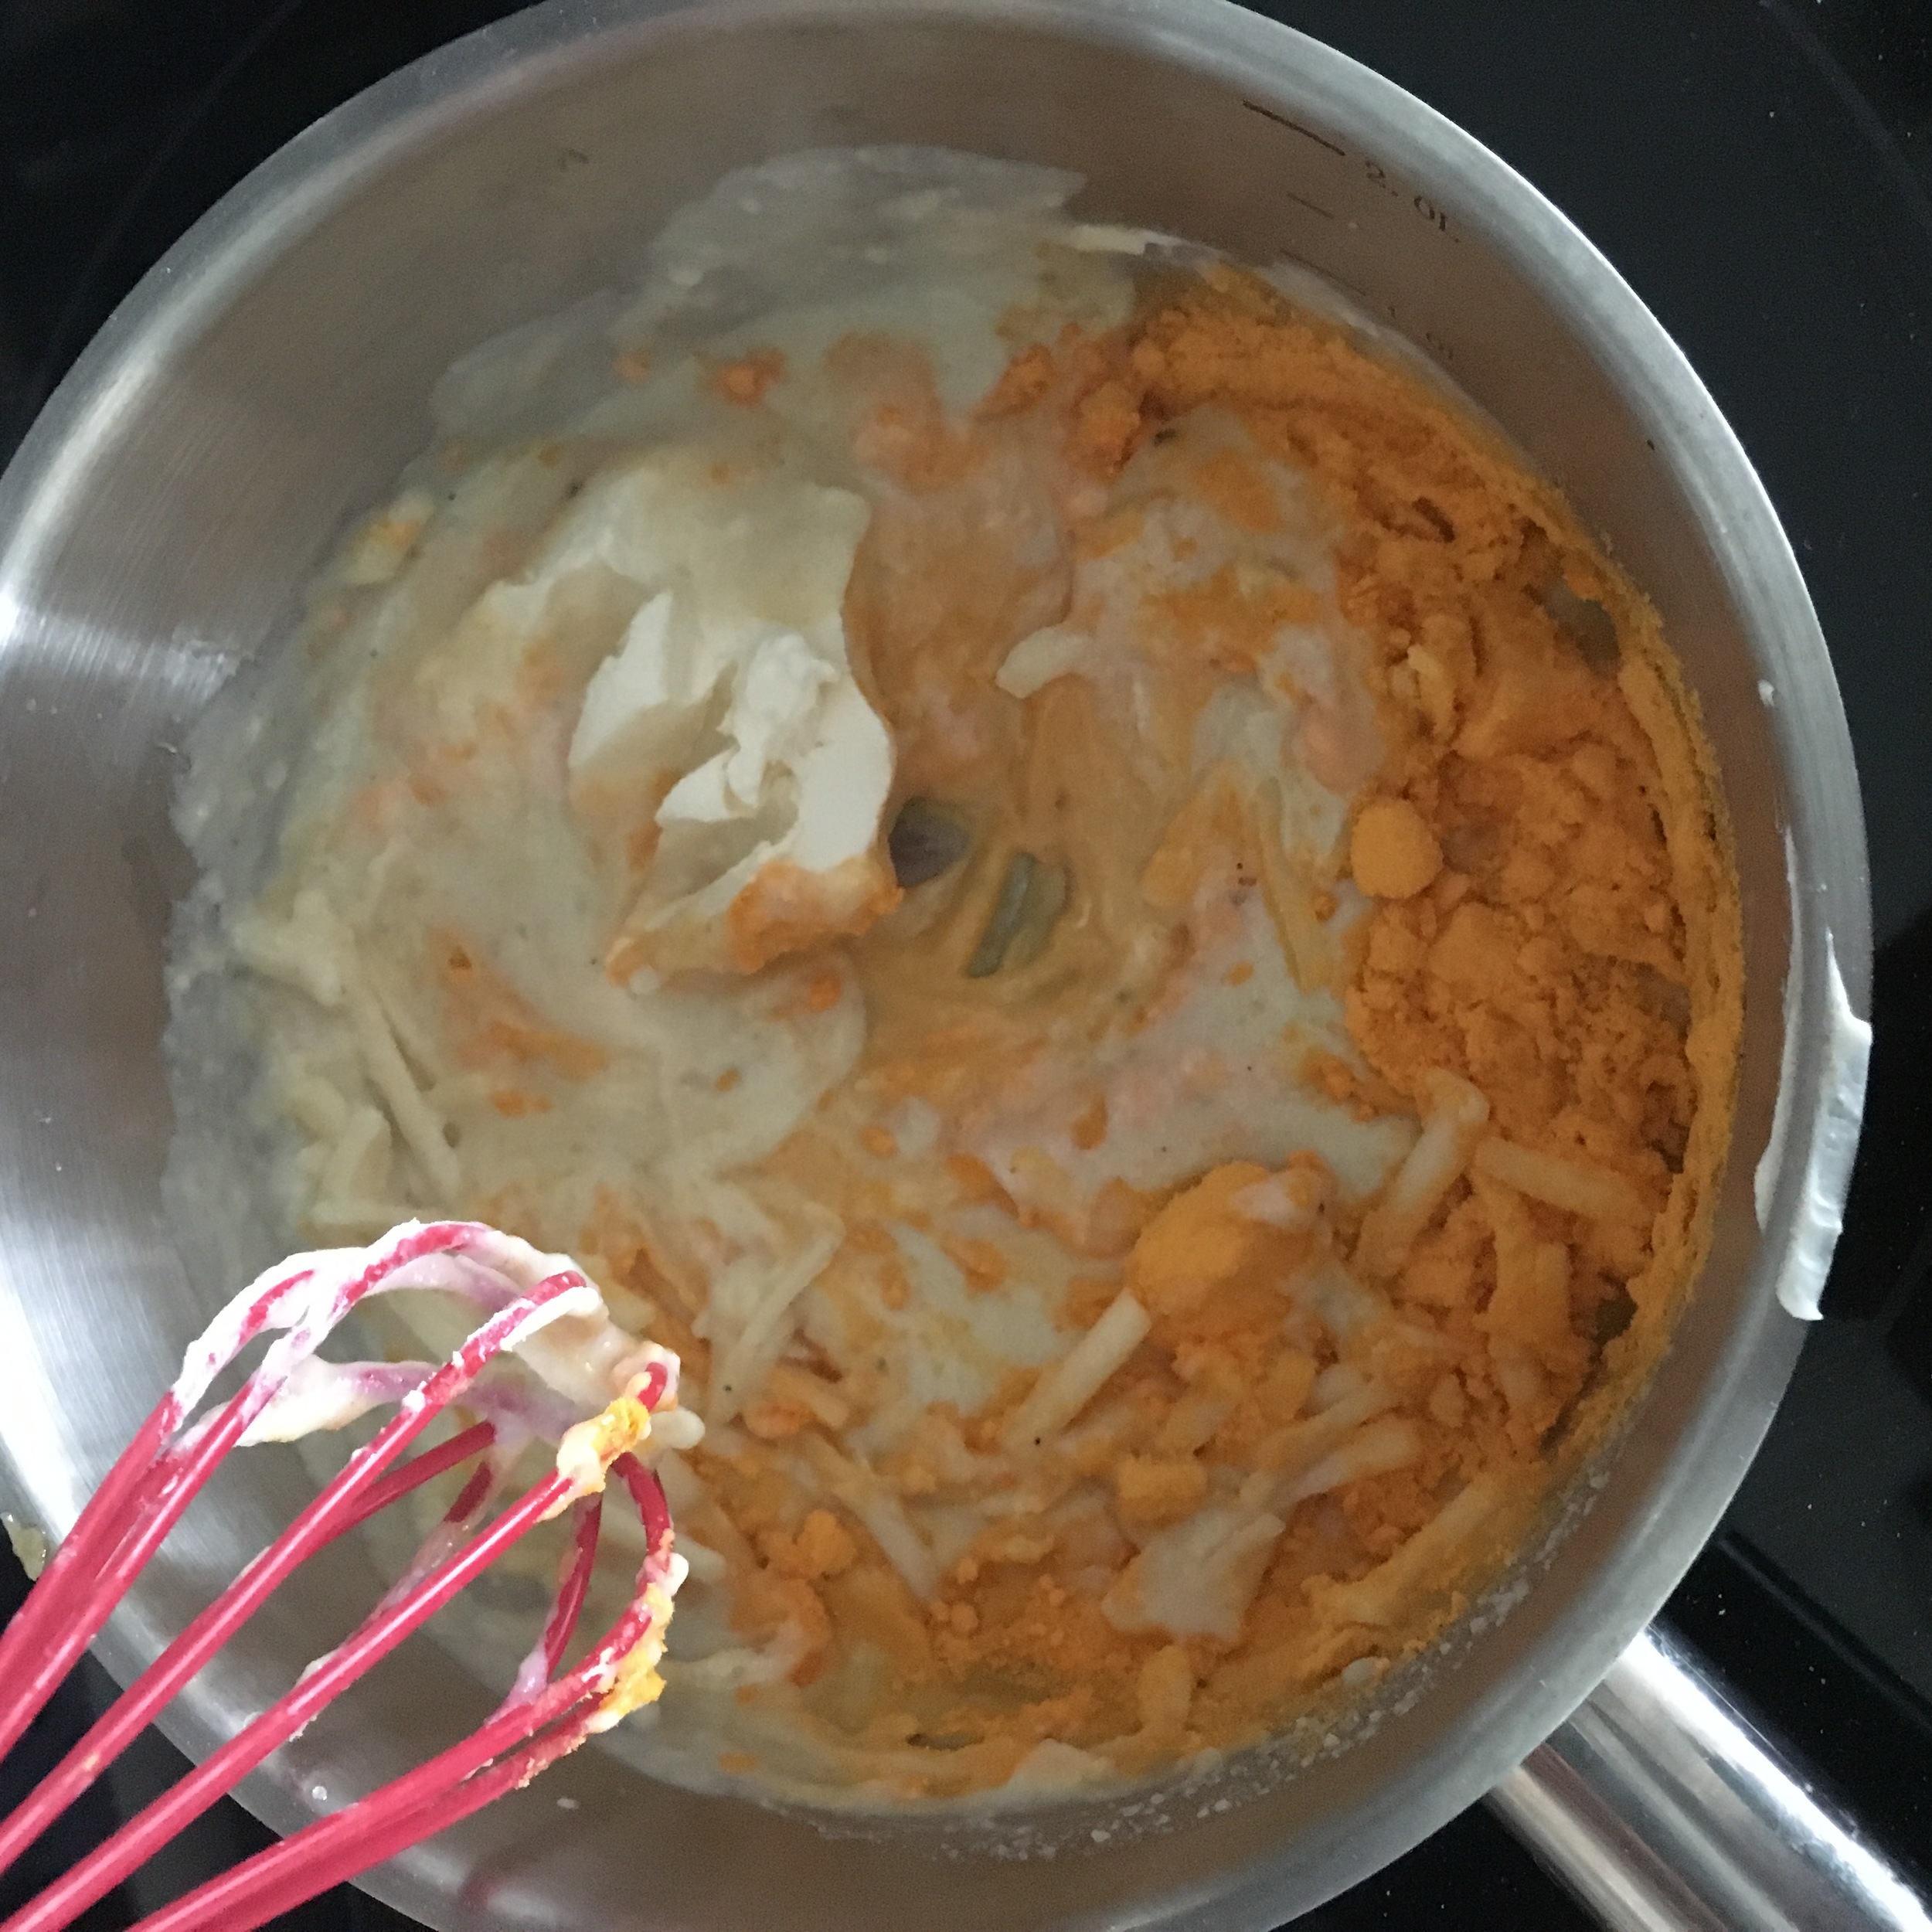
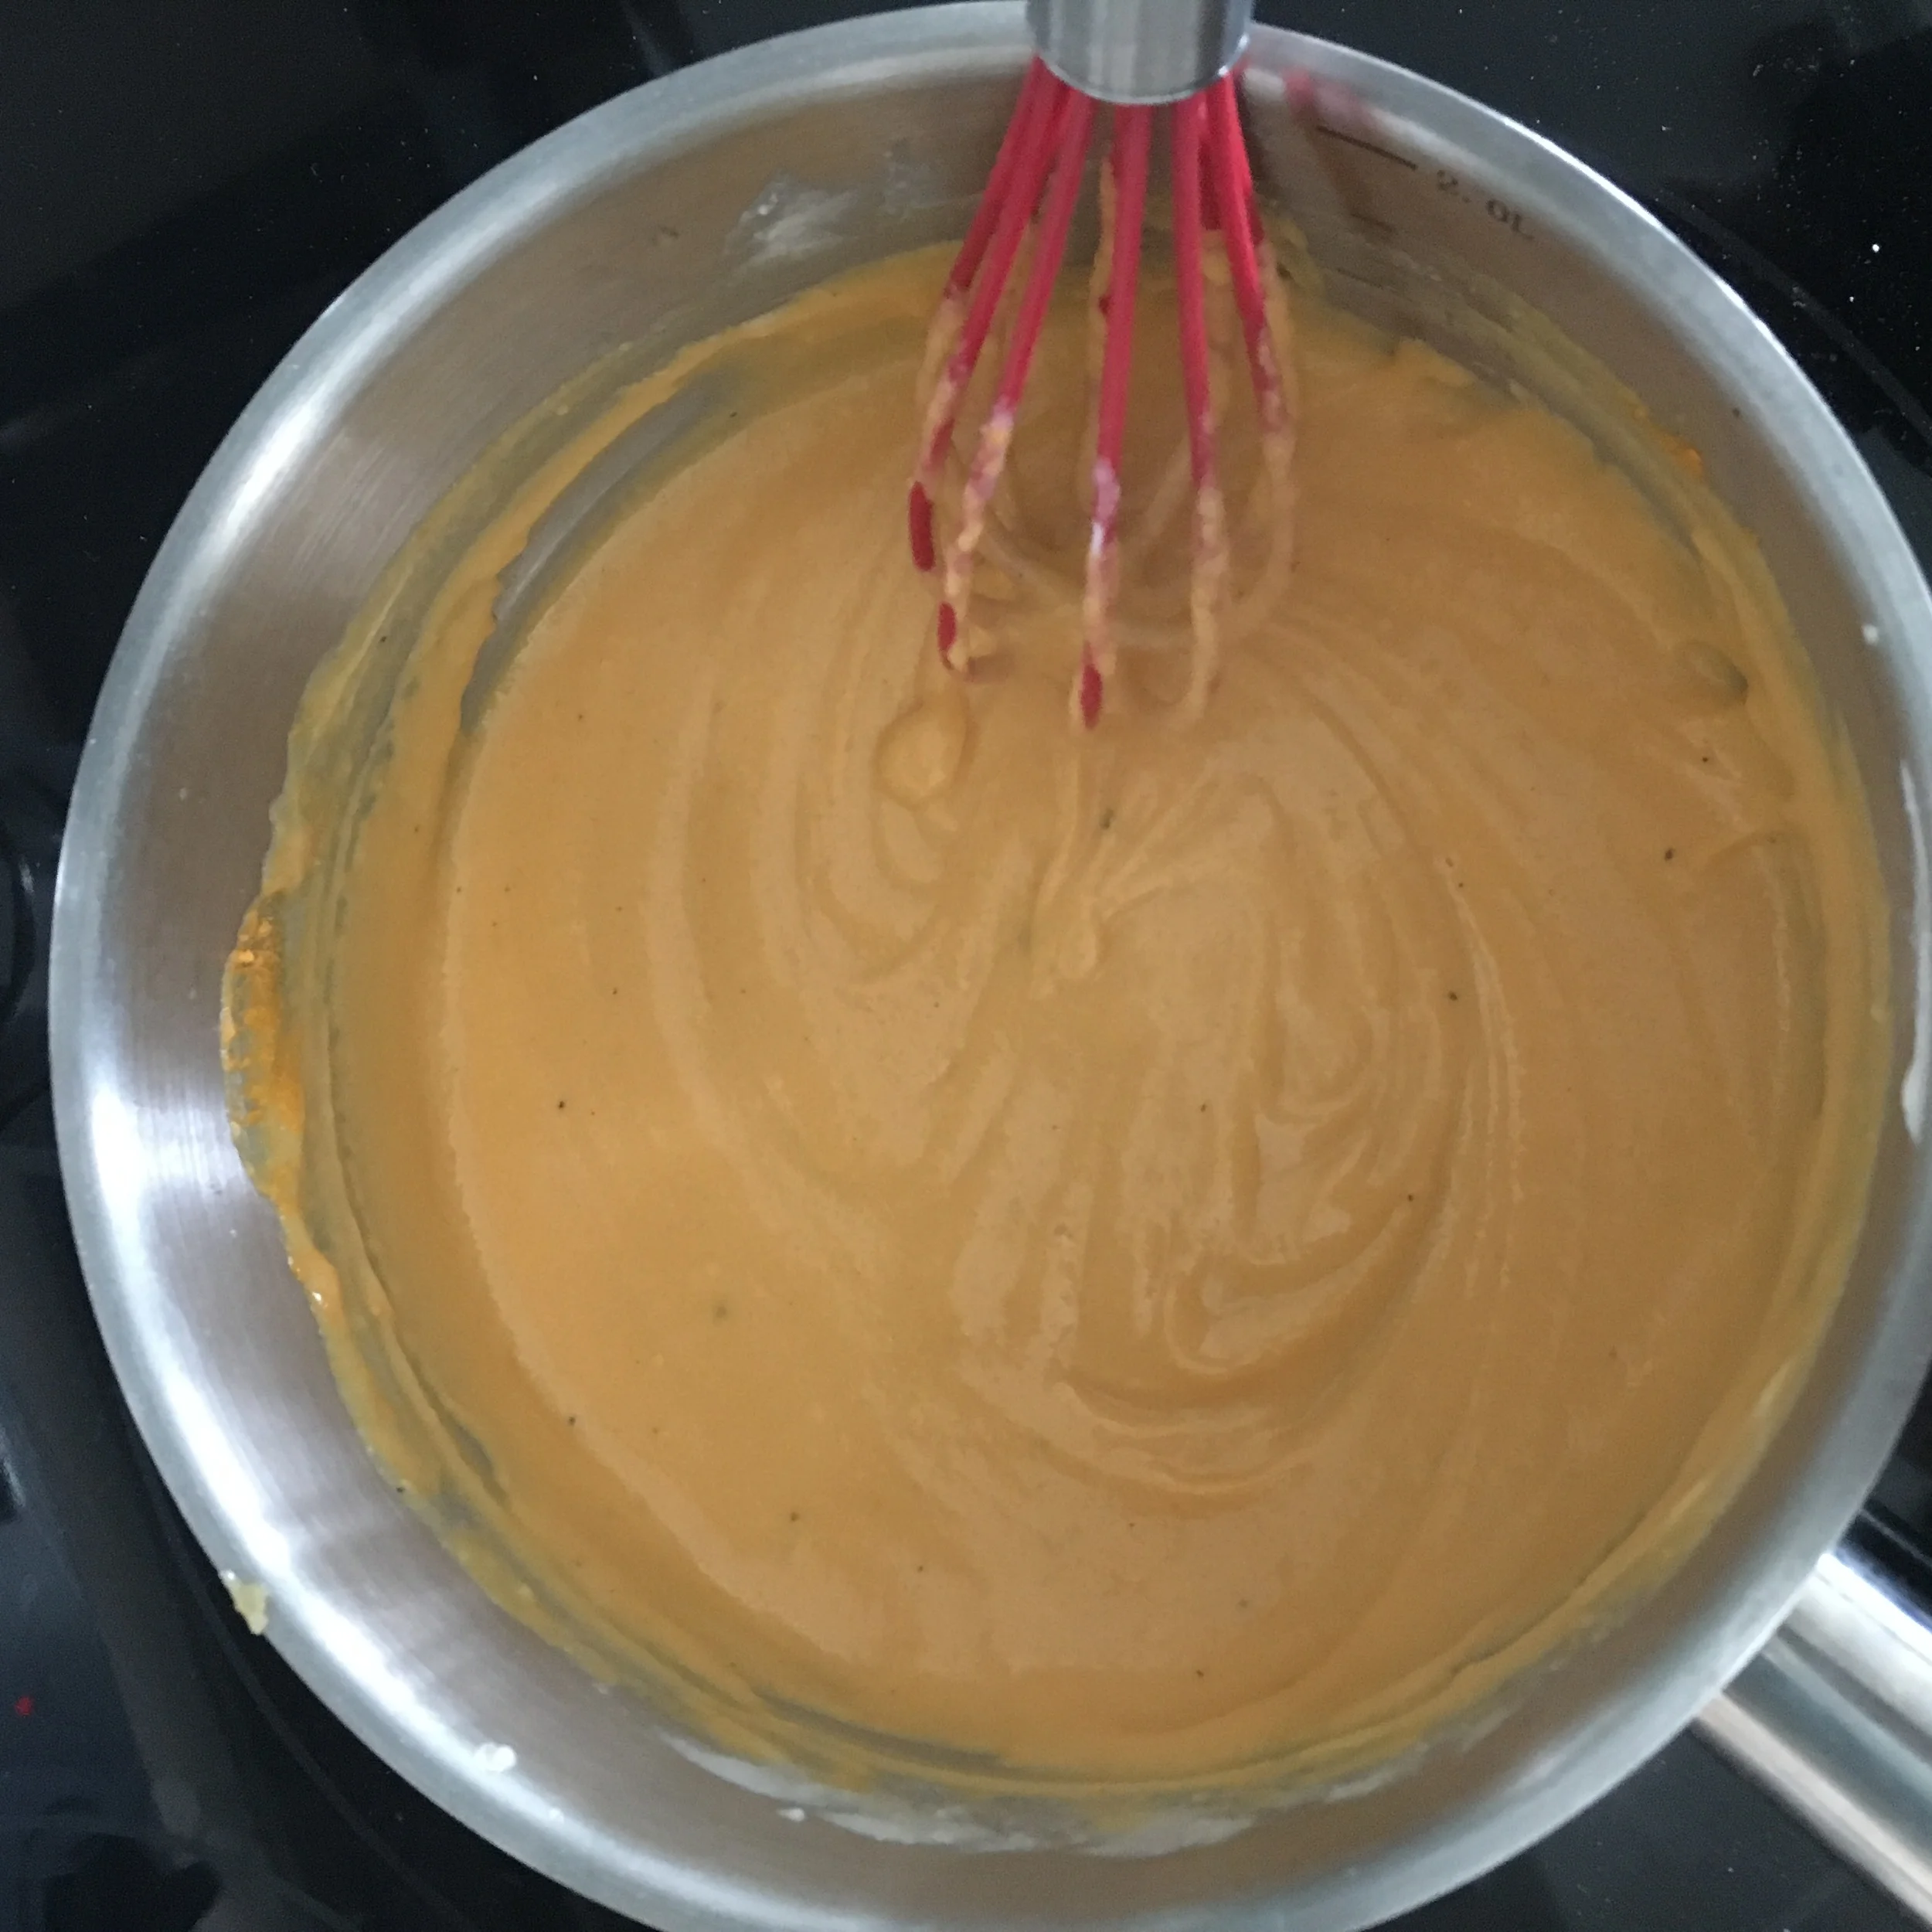
Next add in your milk slowly stirring with your whisk the whole time.  Allow milk to come to a simmer before removing from heat and adding in all your cheeses! Whisk together until smooth.

By now your pasta should be ready to be drained. Drain and allow access water to drip off before returning to pot. Add your egg to the pot with the pasta followed by the cheese sauce. Mix together so pasta is evenly covered. You can add pepper and salt now if you wish (remember that the cheese and butter does add salt to the dish already so you dont need much)

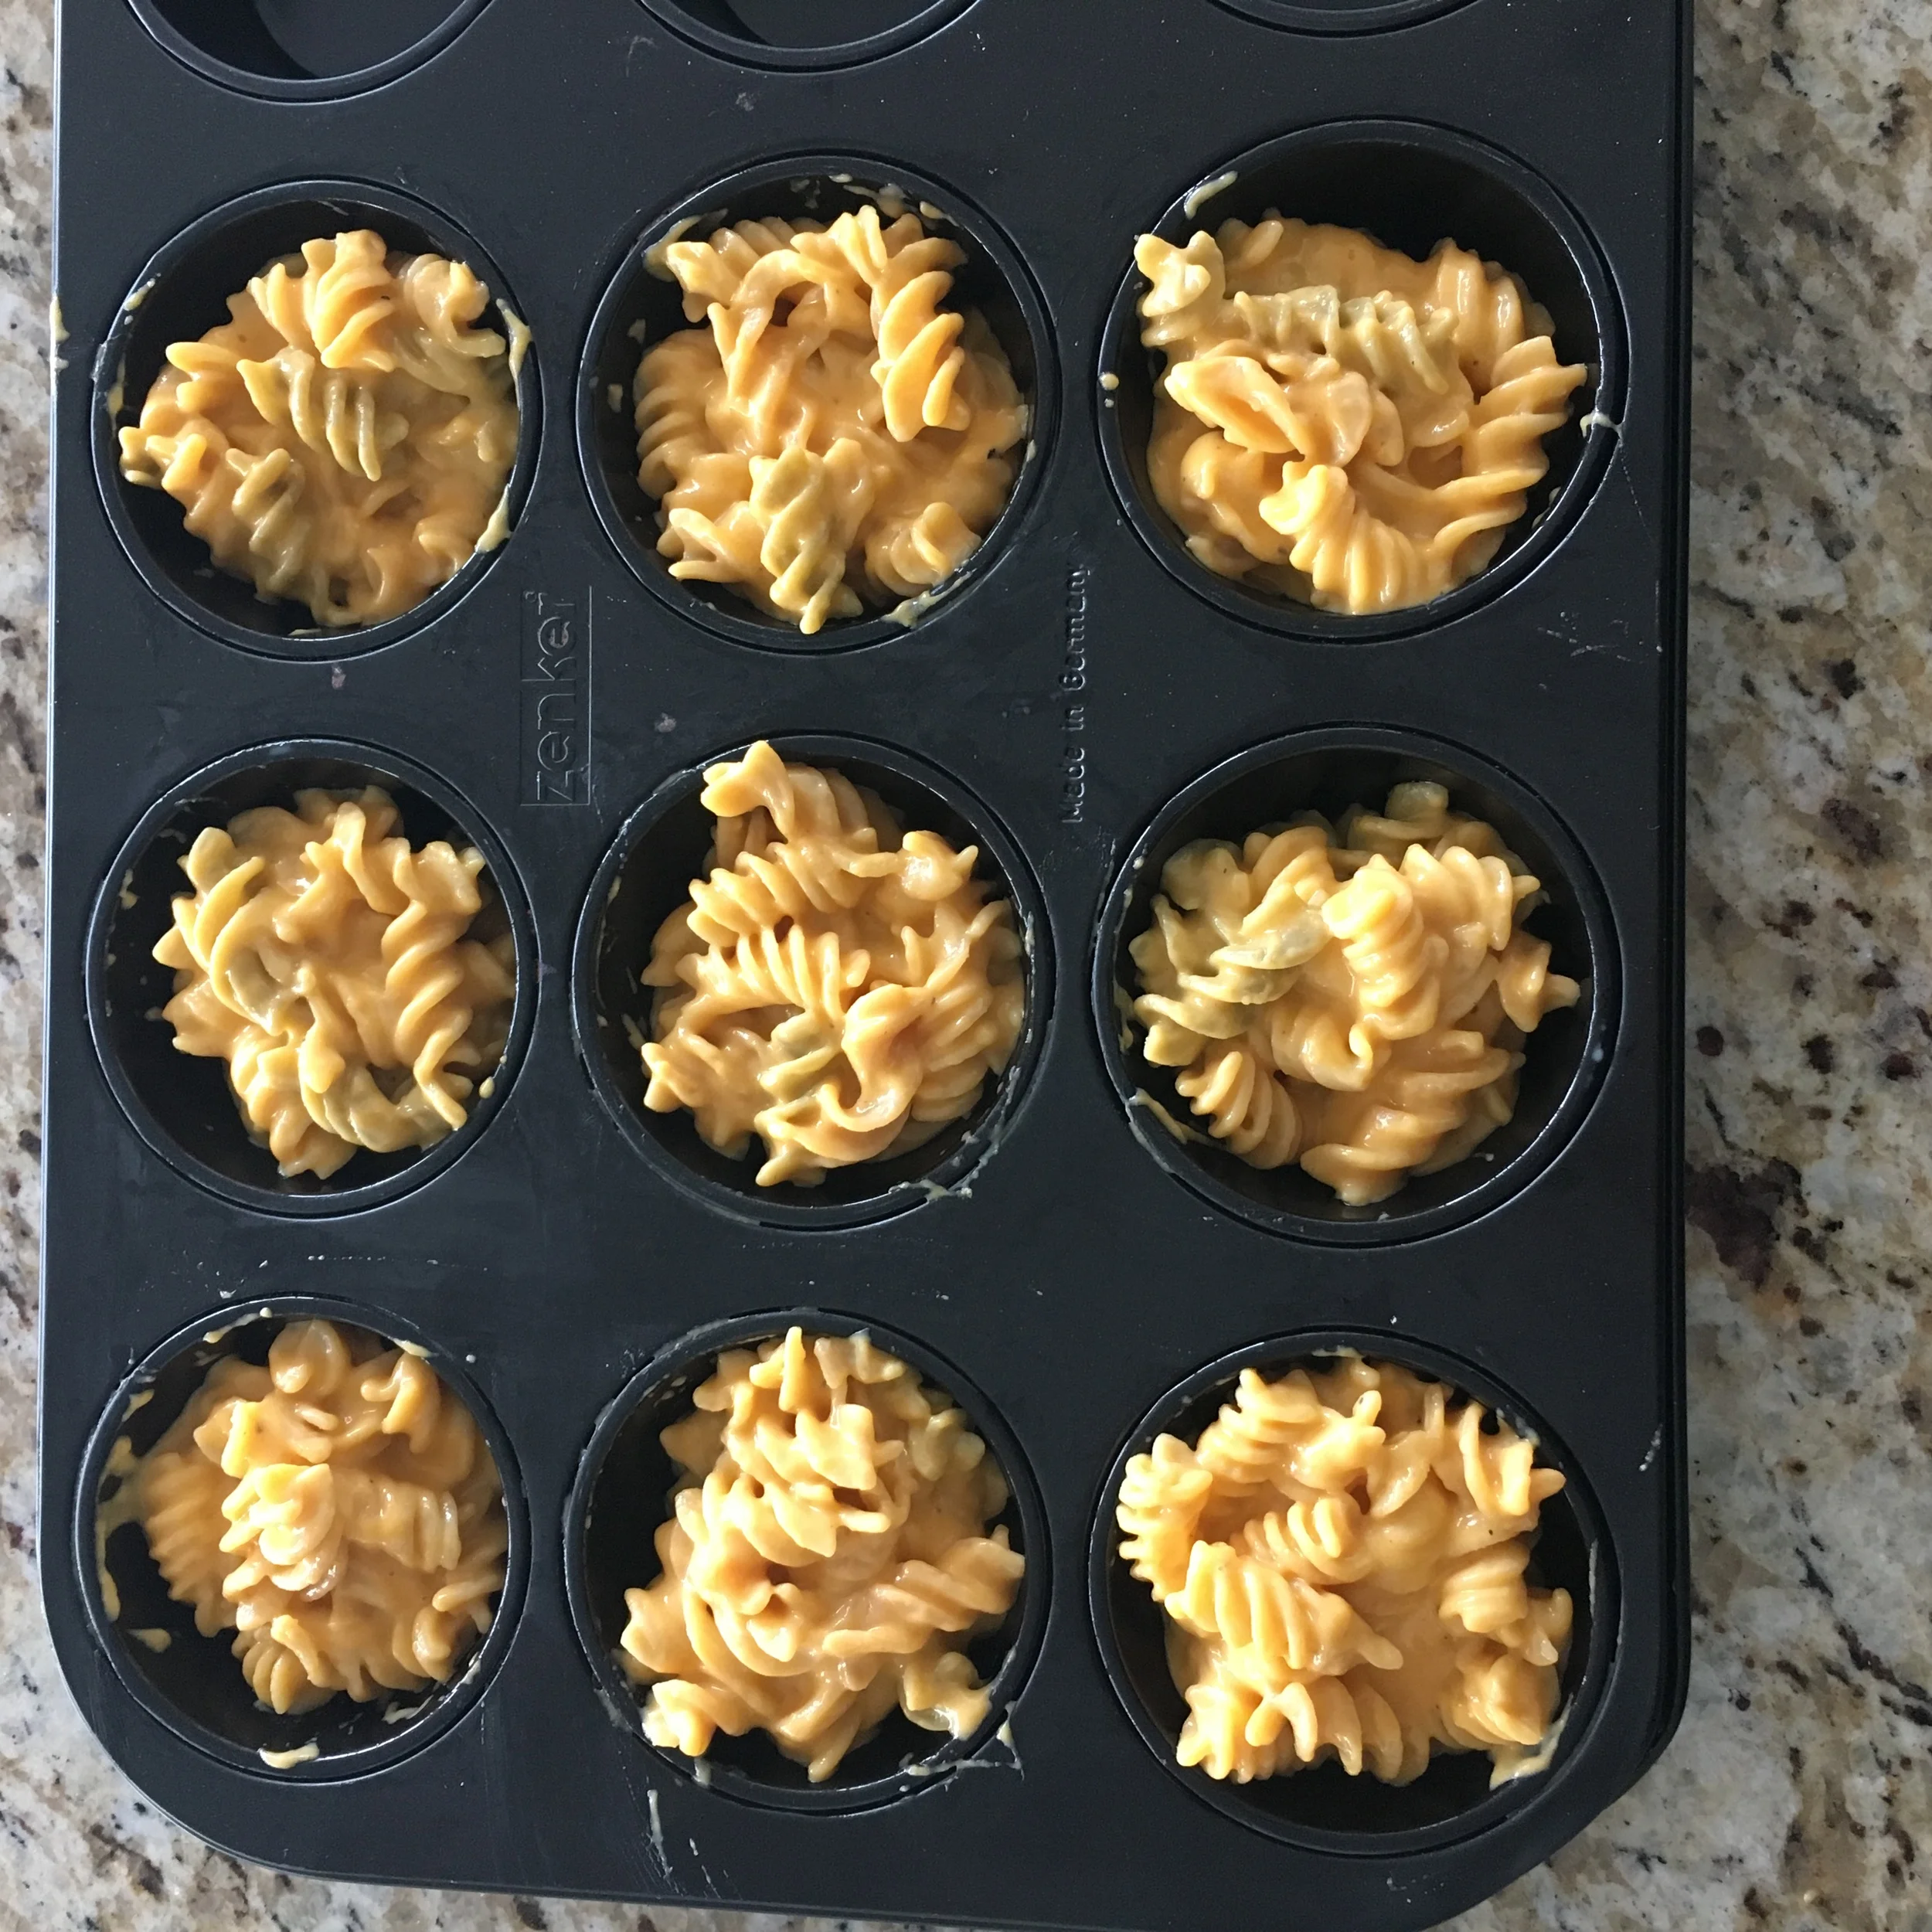
Scoop out pasta into your muffin tray (remember it has to be buttered or sprayed with non stick for easy removal later).

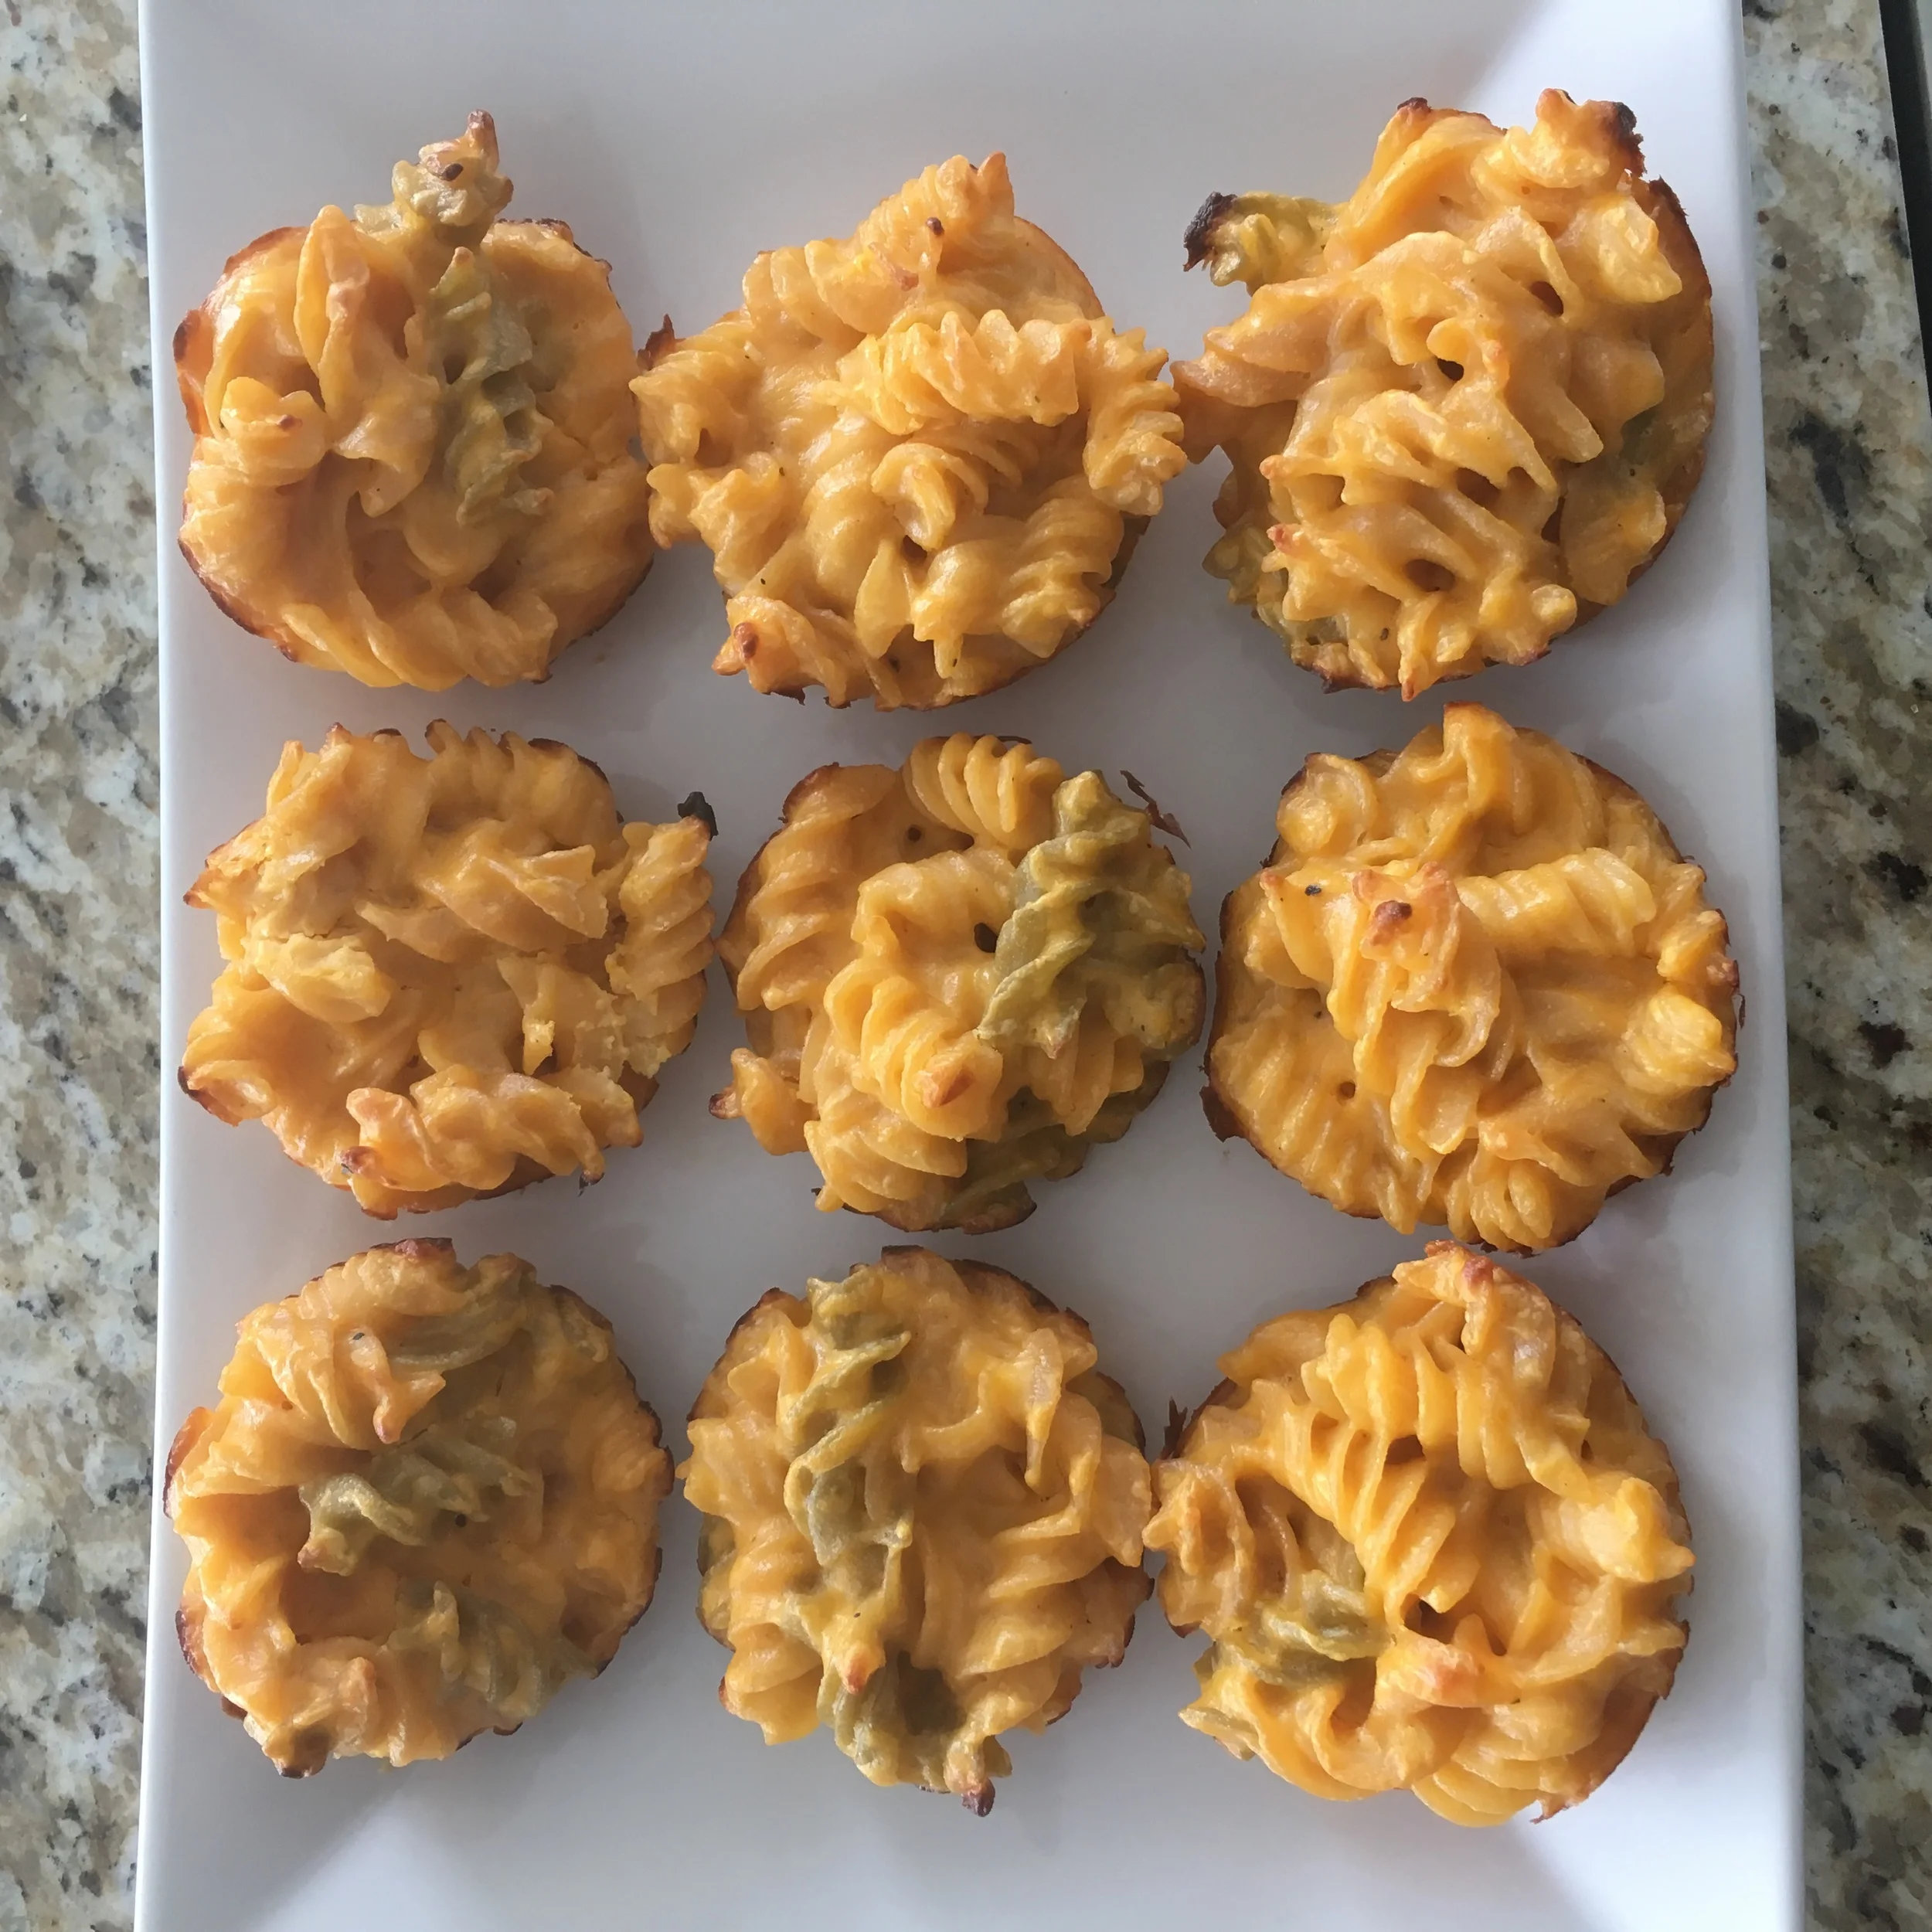
Place in oven and allow to bake for 16-17 minutes or until golden on the top!

Remove from oven and allow to cool for 5 minutes before removing from muffin tin.

They are now ready to serve! Enjoy!!!


I hope you enjoyed this recipe as much as I do. If you have any comments please leave them below and I'll be happy to answer them as soon as I can! Happy cooking!!!