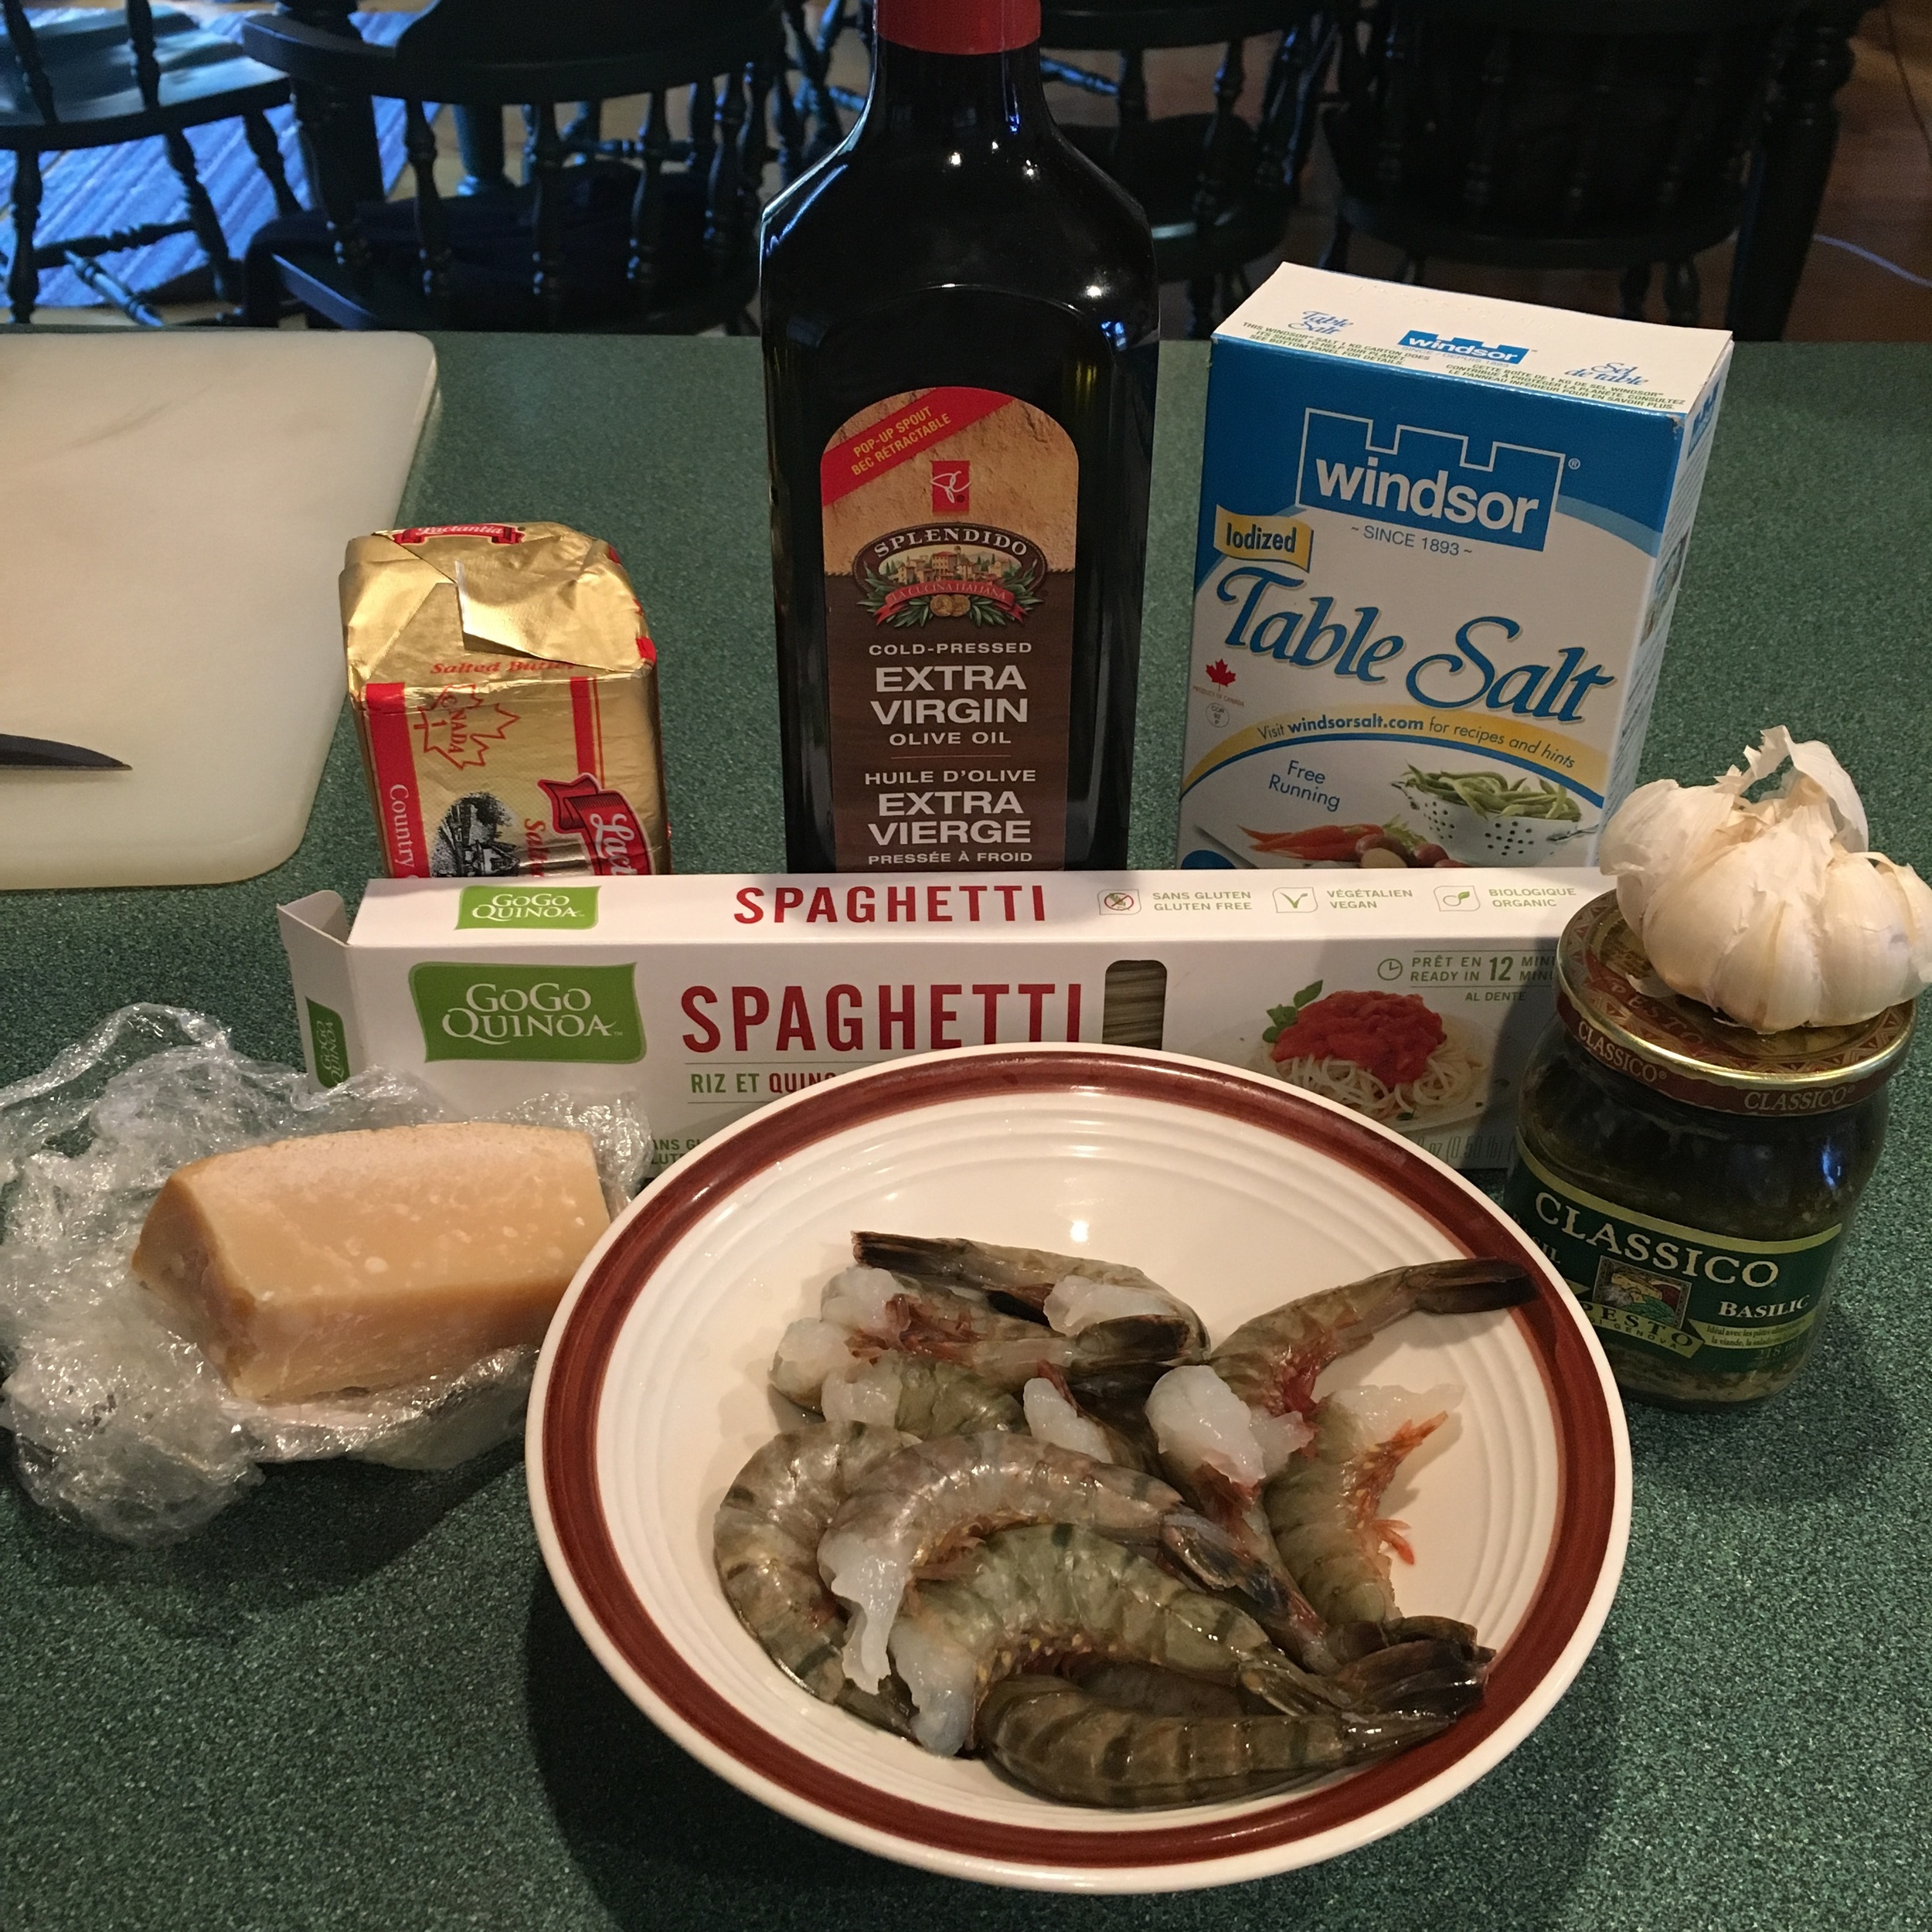
PESTO SHRIMP WITH GLUTEN FREE PASTA

I love me some pasta and this is one of my easiest recipes. If you are hungry or dealing with some 'hangry' company/kids this is the fastest and easiest meal to get on the table. The longest part of this recipe is waiting for the water to boil, after that it's done in 10 minutes. I'm not celiac but I like using gluten free pasta whenever I can. In this case I used qunioa pasta (my fav gluten free kind of noodle) because it is easier to digest plus its a complex carb (1 part protein to 2 part carbs) making your noodles that much healthier for you. I also find that taste and texture wise it's the closest to regular aldente wheat pasta from a box. Enjoy! 

Serves 2 Adults

INGREDIENTS:

2-3 TBSP of Olive Oil
2 TBSP of Butter
1 Clove of Garlic (minced)
1 Shallot (Finely chopped)
15-20 Shrimp (de-vained and shell removed)
Pre-made Pesto*
Quinoa Pasta
Salt to taste
Parmesan Cheese (garnish)

*make sure it's gluten free

DIRECTIONS:

Bring a pot of water to a boil add 1-2 TSP of salt and your quinoa pasta. You have to stir quinoa pasta for the first two minutes so that it doesn't stick together. Continue to cook for another 8-10 minutes for aldente.

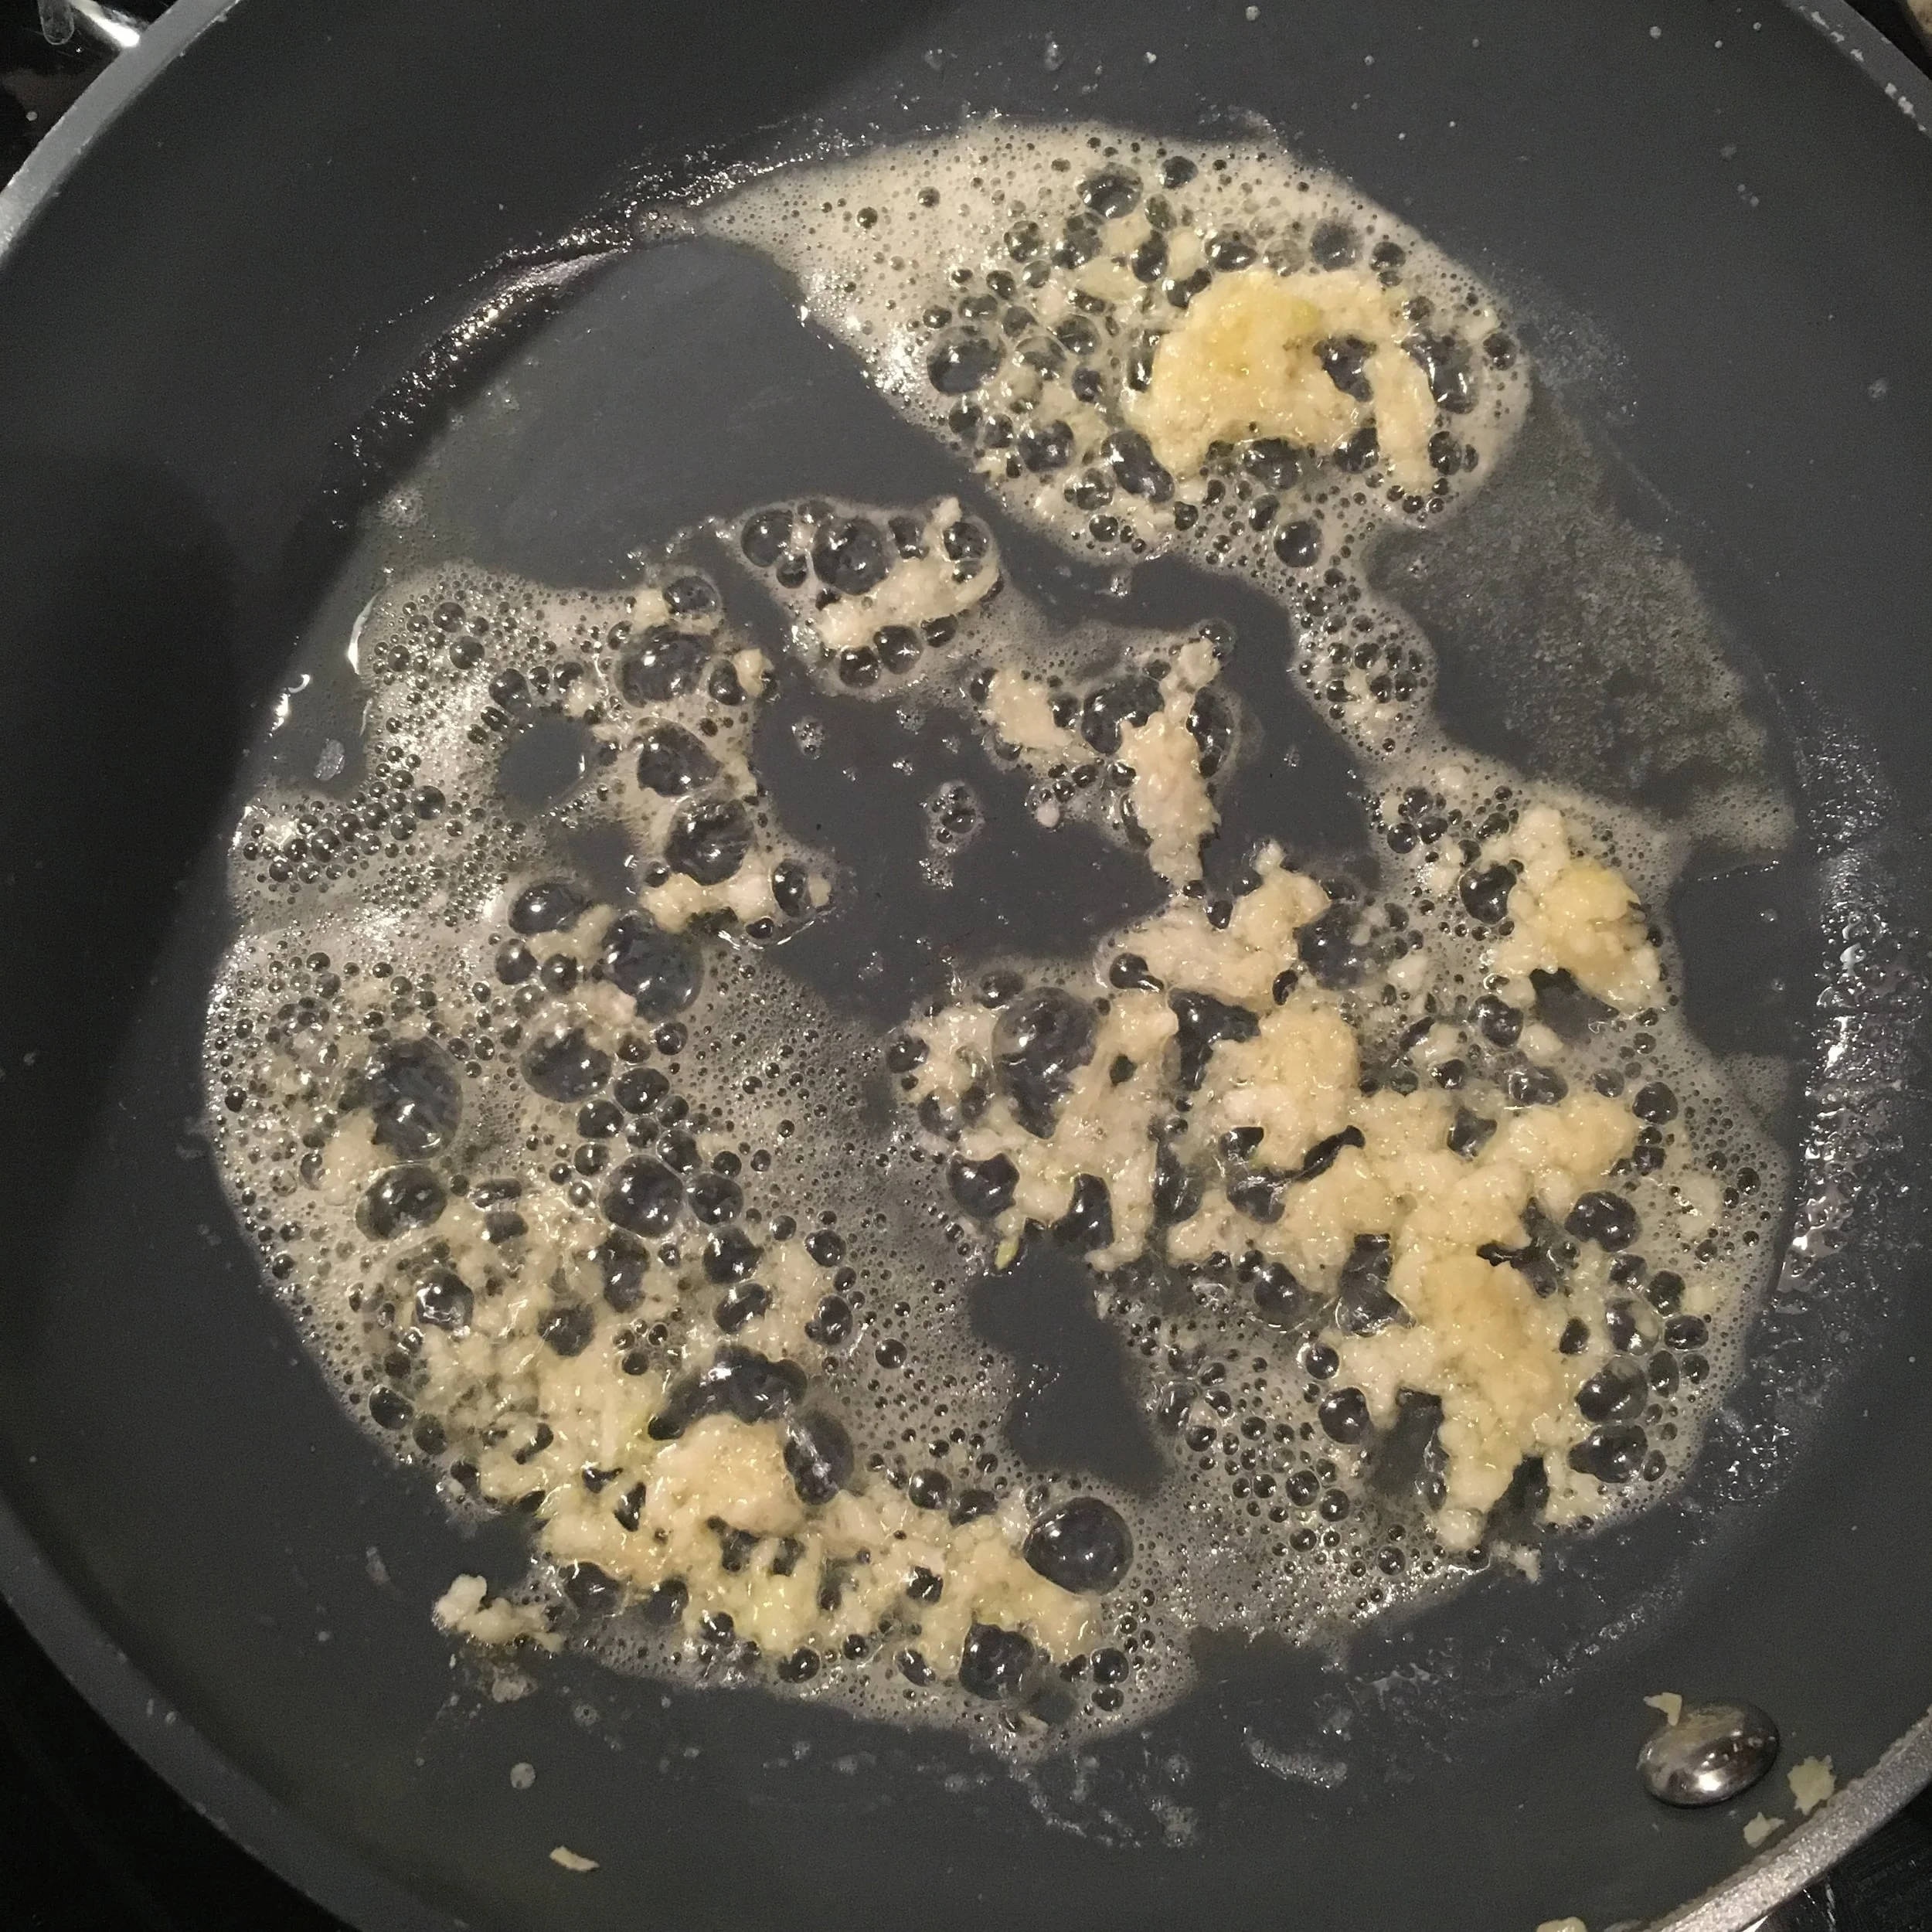
Add olive oil and butter to a skillet and allow to heat up on medium heat before adding in your garlic and shallots.

Once shallots become transparent add in your shrimp and pesto. Mix and allow the shrimp to cook until pink.

Once pasta is aldente remove 3-4 TBSP of water from the pot and set aside. Drain the remaining pasta water and add the pasta into the skillet with the shrimp and pesto. Mix well so that the pasta is well coated.

If you need a little more liquid to cook the pasta a little more add in the pasta water you set aside now. This will also help remove anything stuck to the bottom of the skillet.

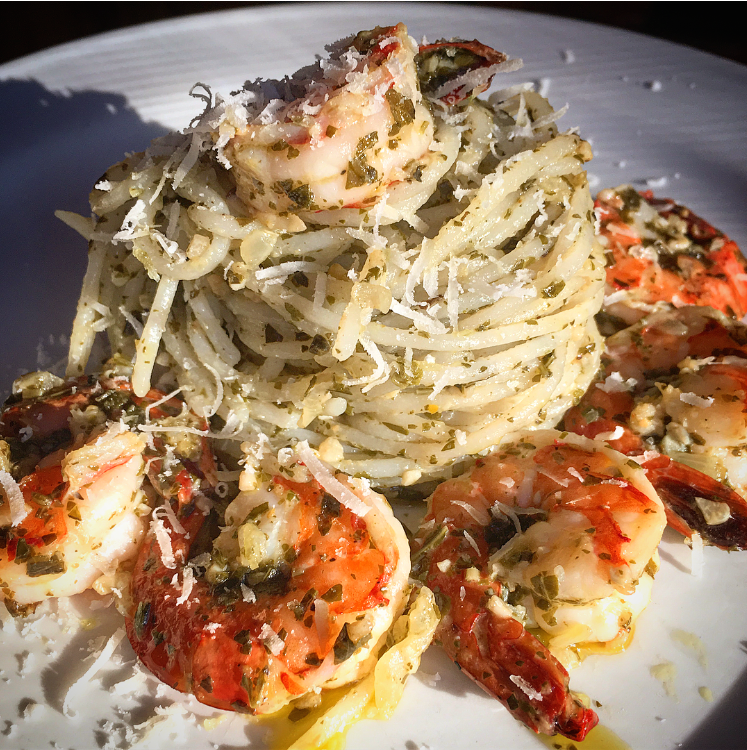
Twirl pasta and plate. Add shrimps from the skillet and garnish is pesto sauce and freshly grated Parmesan cheese.


I hope you enjoyed this recipe as much as I do. If you have any comments please leave them below and I'll be happy to answer them as soon as I can! Bon Appetite!!!

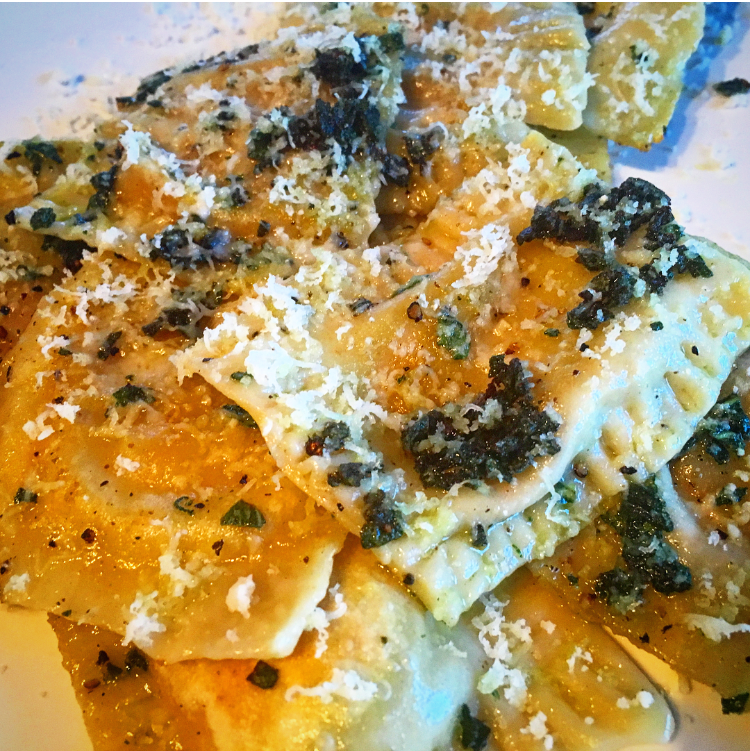
BUTTERNUT SQUASH RAVIOLI FROM SCRATCH!

I love ravioli! Actually I love anything that involves a filling wrapped in dough (ie perogies, dumplings, empendadas, calzone springrolls, etc). I recently made ravioli from scratch on valentines day weekend and it was such a fun experience. It is a bit lengthy so make sure you can devote a good 4 hours to it and make the filling the night before. I lucky snapchatted the whole experience so I was able to grab those videos and make a little film for you down below so dont forget to check that out!!! Enjoy!

INGREDIENTS
Filling - **Make the butternut squash filling the night before so that you can let it chill overnight.
1-2 Lbs Butternut Squash or 2 Packs of Pre-Peeled and Cut Butternut Squash
2 TBS of Olive Oil
Salt an Pepper (as desired)
1/8 Tsp of Ground Nutmeg
1/2 a Cup Parmesan or Ricotta Cheese or both! (1/2Cup of Ricotta, 1/4 Cup of Parmesan)

Dough-
3.5 Cups of All Purpose Flour
4 Eggs (3 For the dough 1 for the ravioli wash)
3 Tbsp Olive Oil
1/2 TSP of Salt
1/2 Cup of Water

Sauce -
8 Tbsp of Salted Butter
2 Tbsp of Shallots (minced)
1 Tbsp of Fresh Sage (Chopped)

OTHER MATERIALS

Pasta maker - I have a Lagostina Pasta Maker with Ravioli Attachment that works really well which I bought for around $67 CAD @ Canadian Tire! I didn't use the Ravioli attachment but you can if you like.

It essentially looks like this:

DIRECTIONS:

First we are going to make the filling. Preheat the oven at 350 degrees.

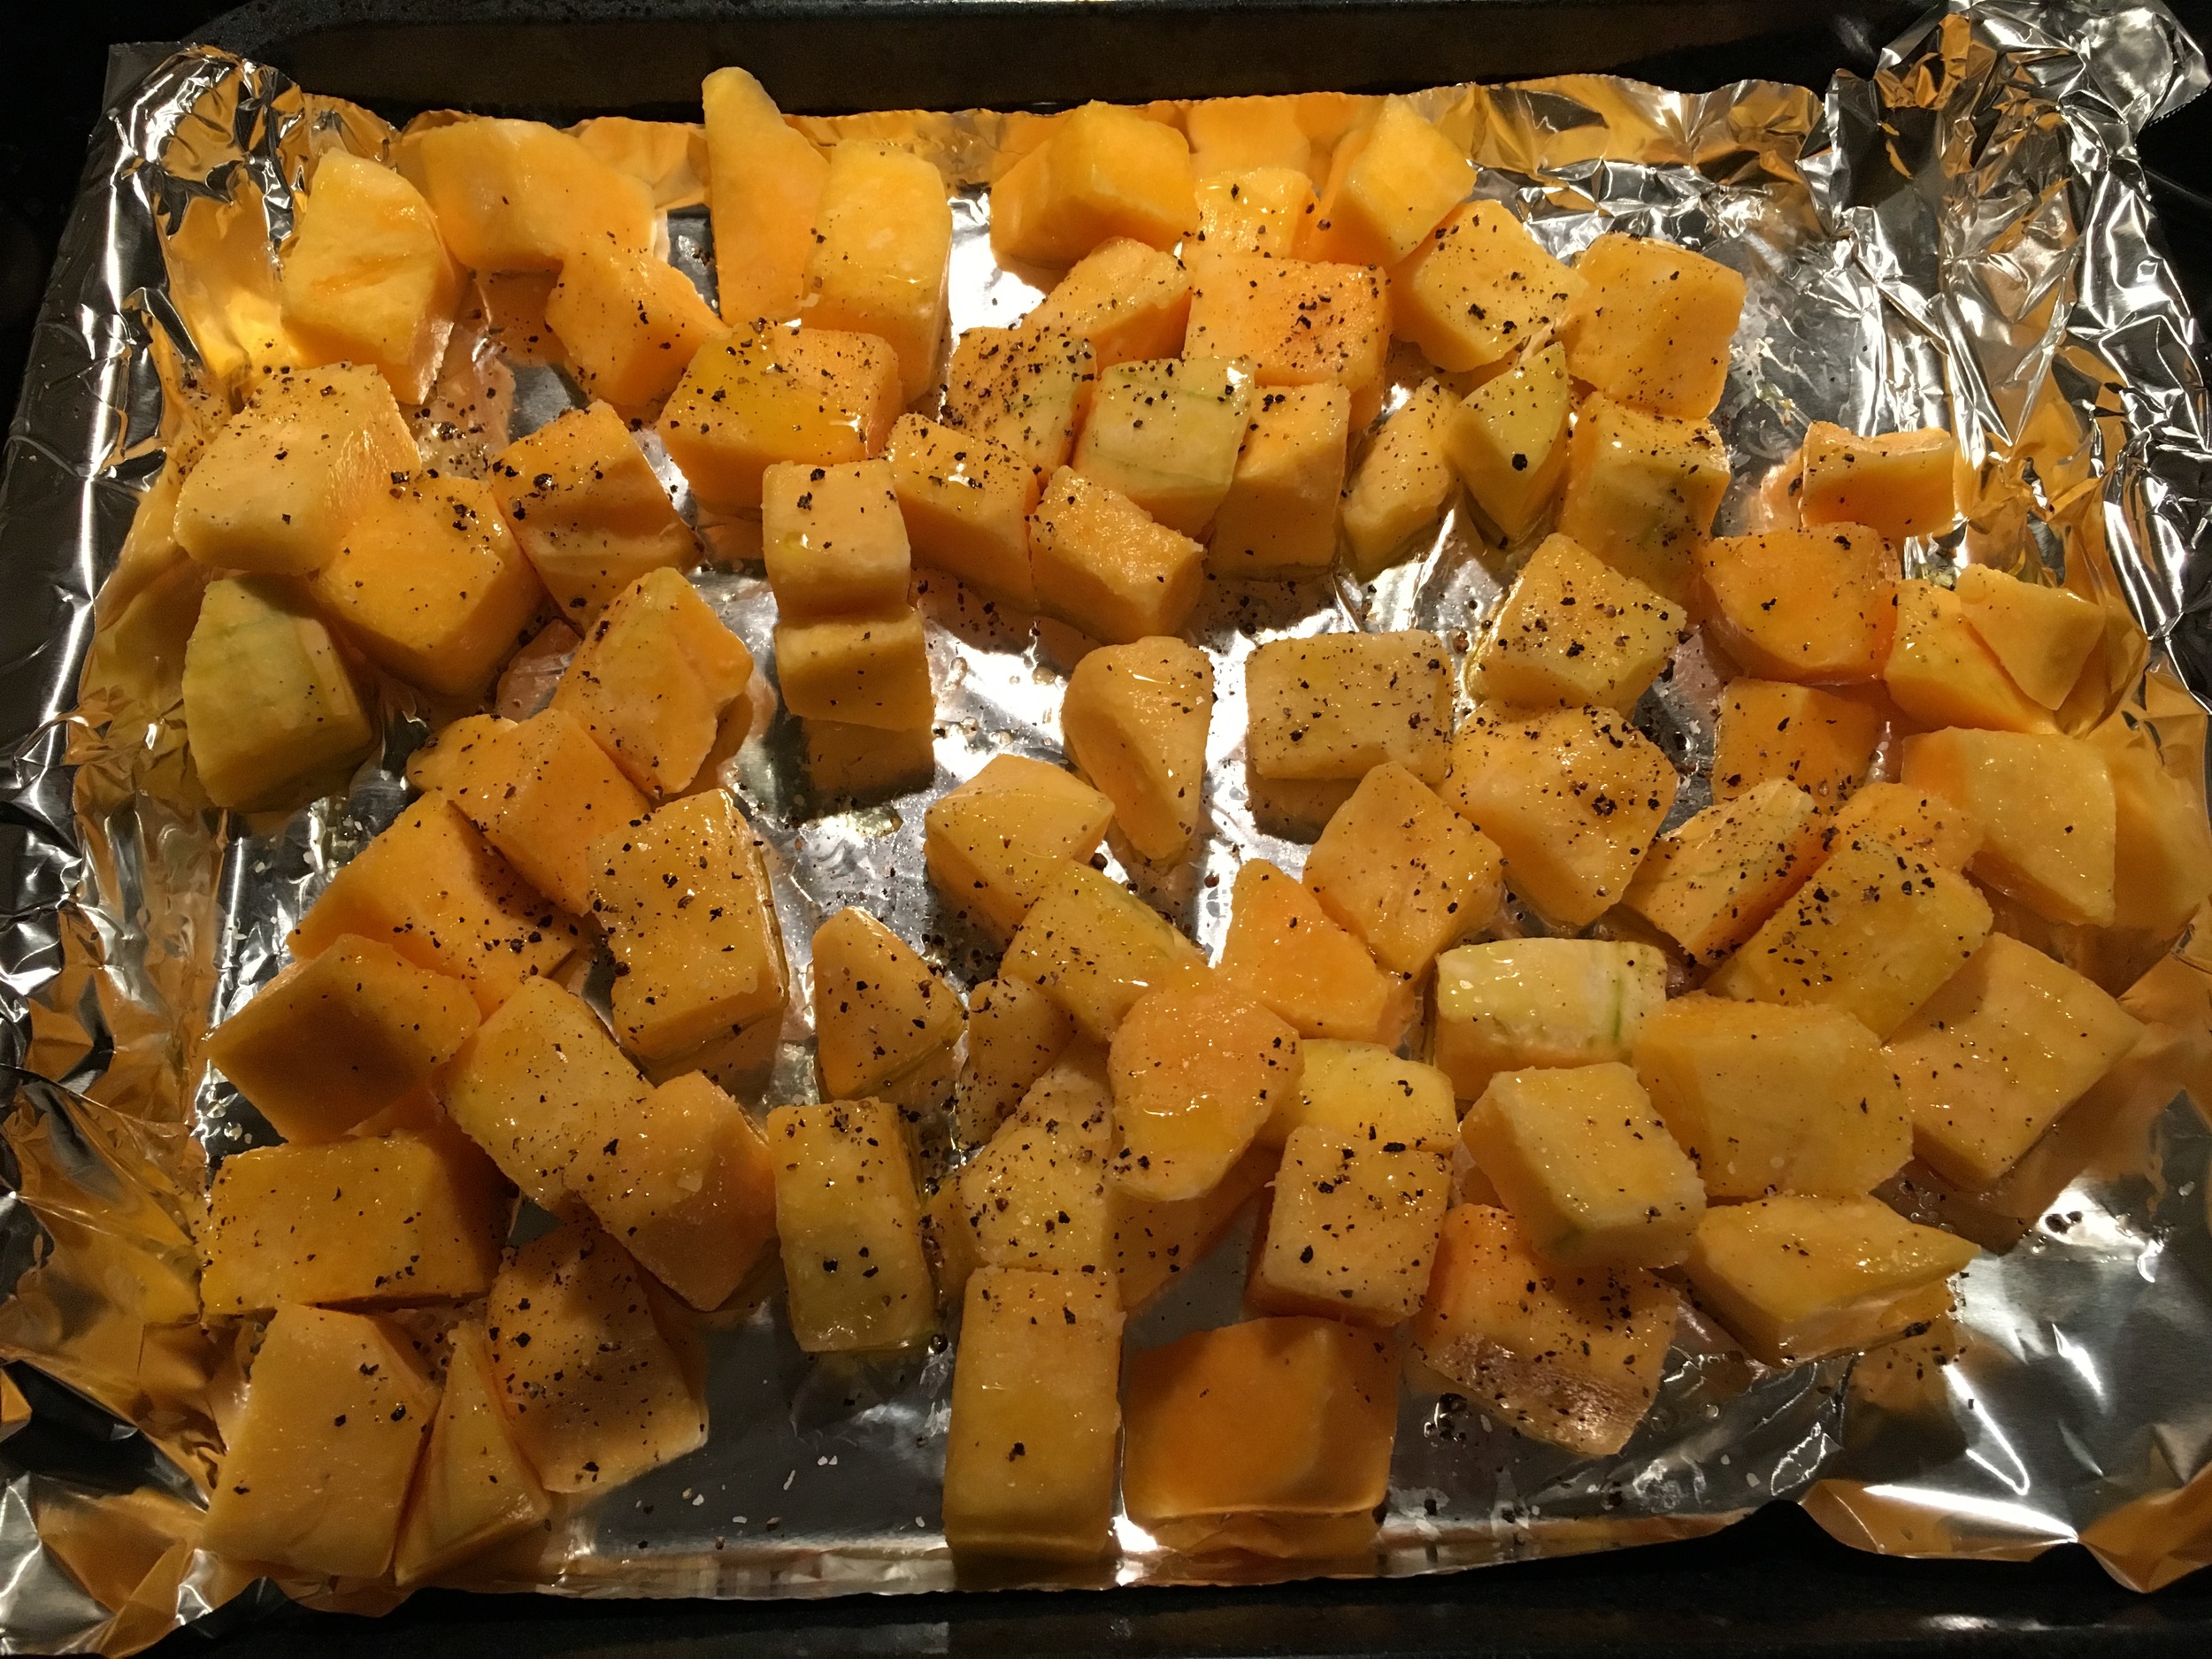
In a bowl combine your chopped and peeled butternut squash, olive oil, salt, pepper and nutmeg. Toss so that it is evenly covered before placing it on a baking tray covered in aluminum foil and popping it into the oven for 30 minute (or until tender).

Once the squash is tender remove it from the oven, transfer to a bowl and mash it with a potato masher. Once nicely mashed stir in your cheese and mix until it is fully incorporated. When ready cover with plastic wrap and place in the fridge overnight.

Next we are going to make the dough using the 'well method'. Place your flour on the counter and create a well or hole on the inside of the mound. Add your eggs, salt and oil to the inside of the hole and slowly start to stir the contents inside the hole with a fork. Slowly using the fork start to incorporate the flour wall lining the whole. DO THIS SLOWLY! Once the dough starts to form and thicken you can ditch the fork and use your hands to knead the dough. If you feel like the dough is dry keep kneading and add water for assistance.

When you are finished and have one big dough ball place in a large bowl, add a little olive oil to prevent the dough from drying out and cover with plastic wrap. Set aside for 30 minutes or so.

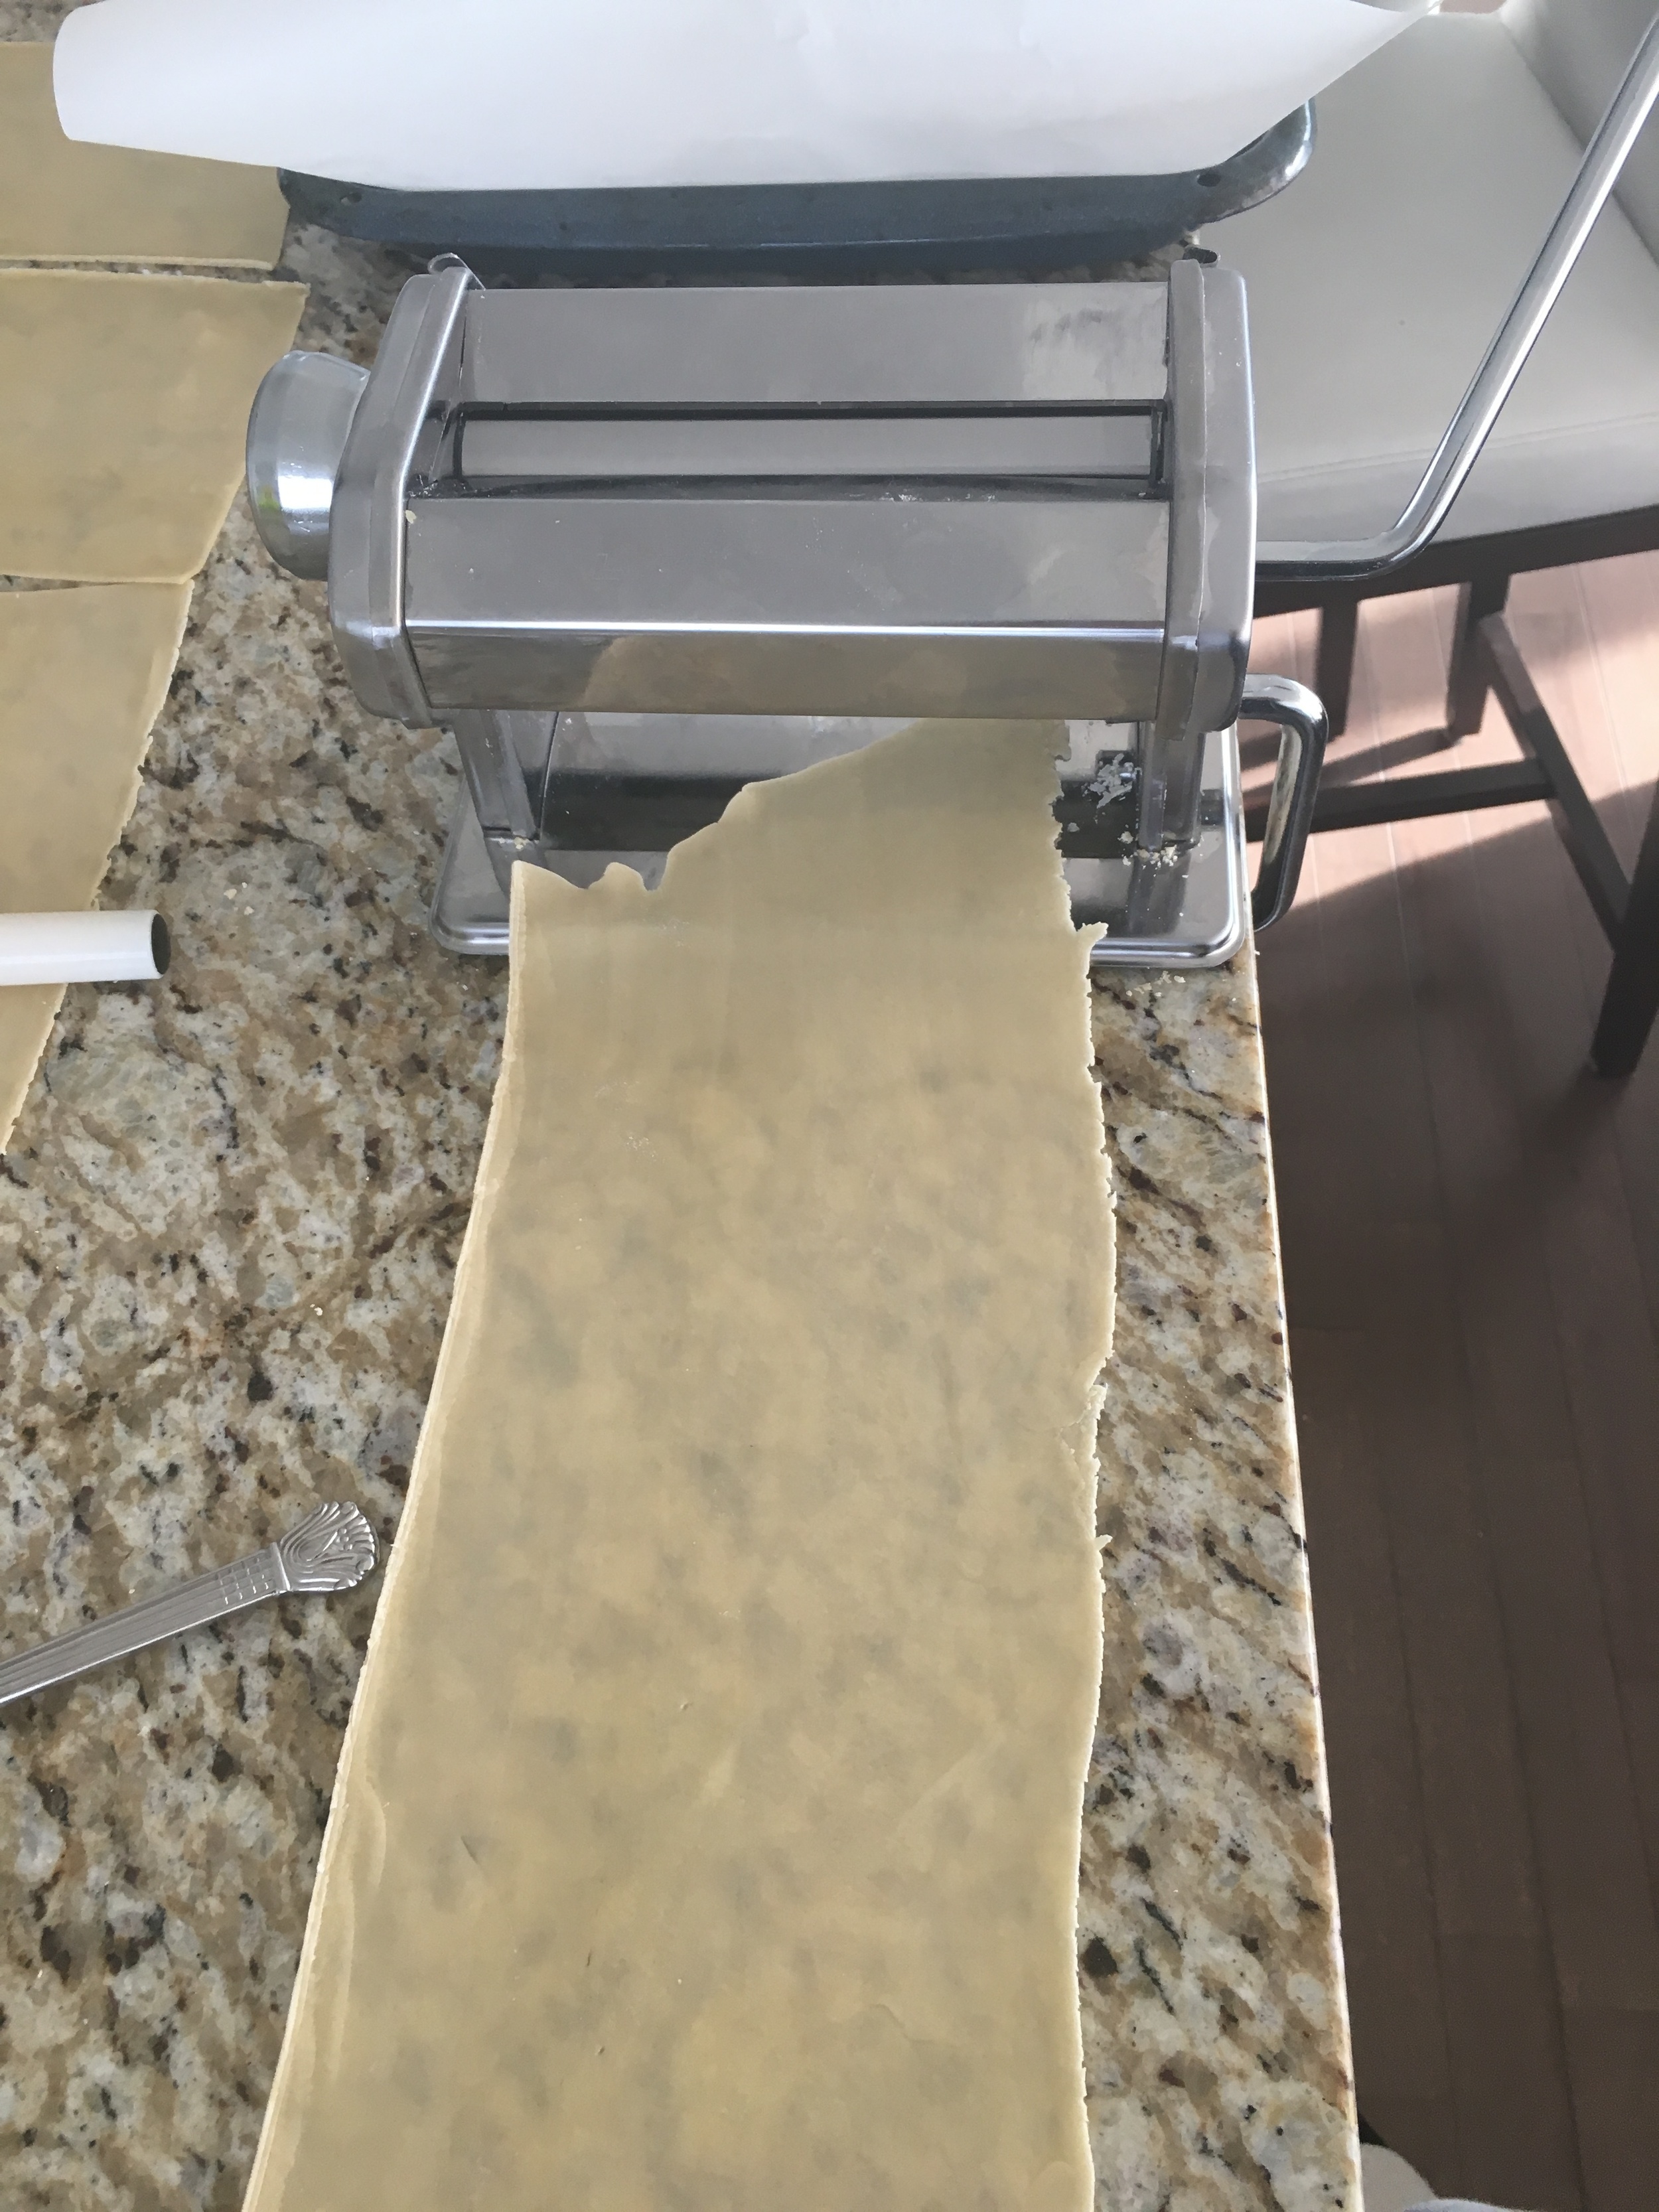
Prep your pasta maker! You are going to want to start on the widest (#1) setting and work your way to the thinnest (#9)

Break the dough into three parts and start to feed it through the pasta maker moving the knob each time from widest to thinnest setting. Make sure to help your dough through so it doesn't get caught or jammed.

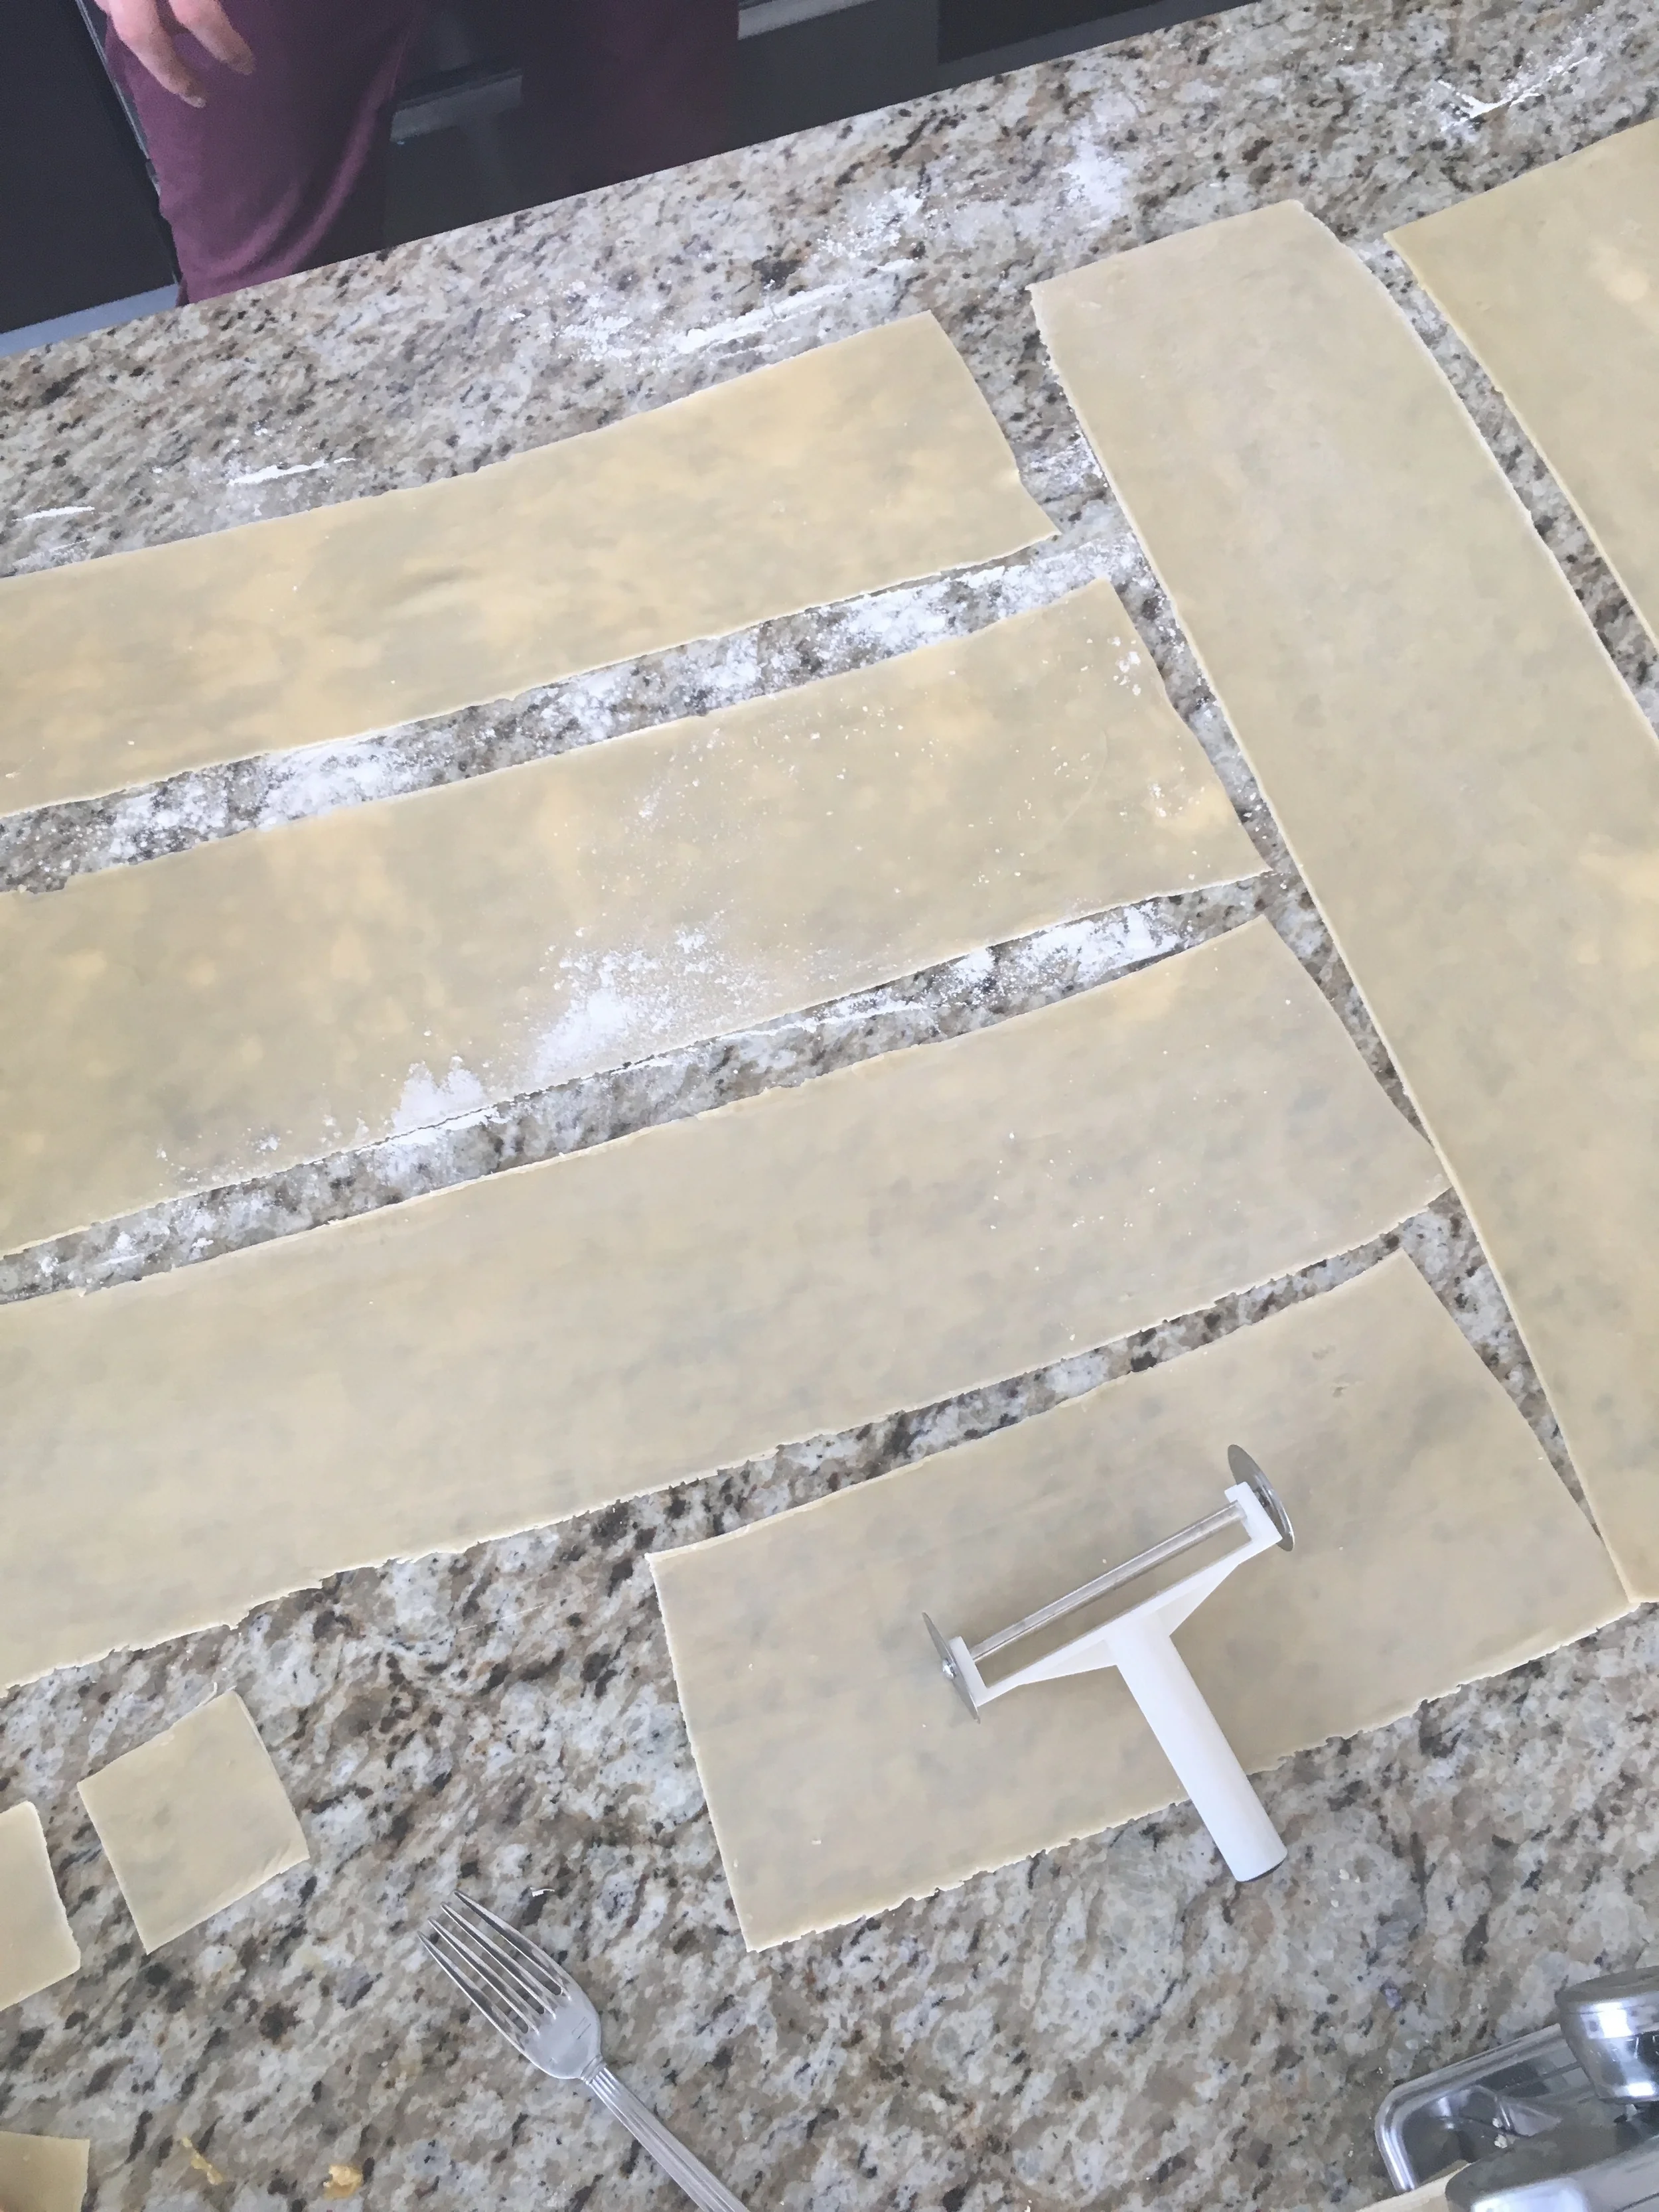
Place all strips of previously rolled out pasta on the counter which has been already lightly covered in flour.

Use the sheets with the larger width as the ravioli tops and the ones with the smaller widths as your ravioli bottoms.

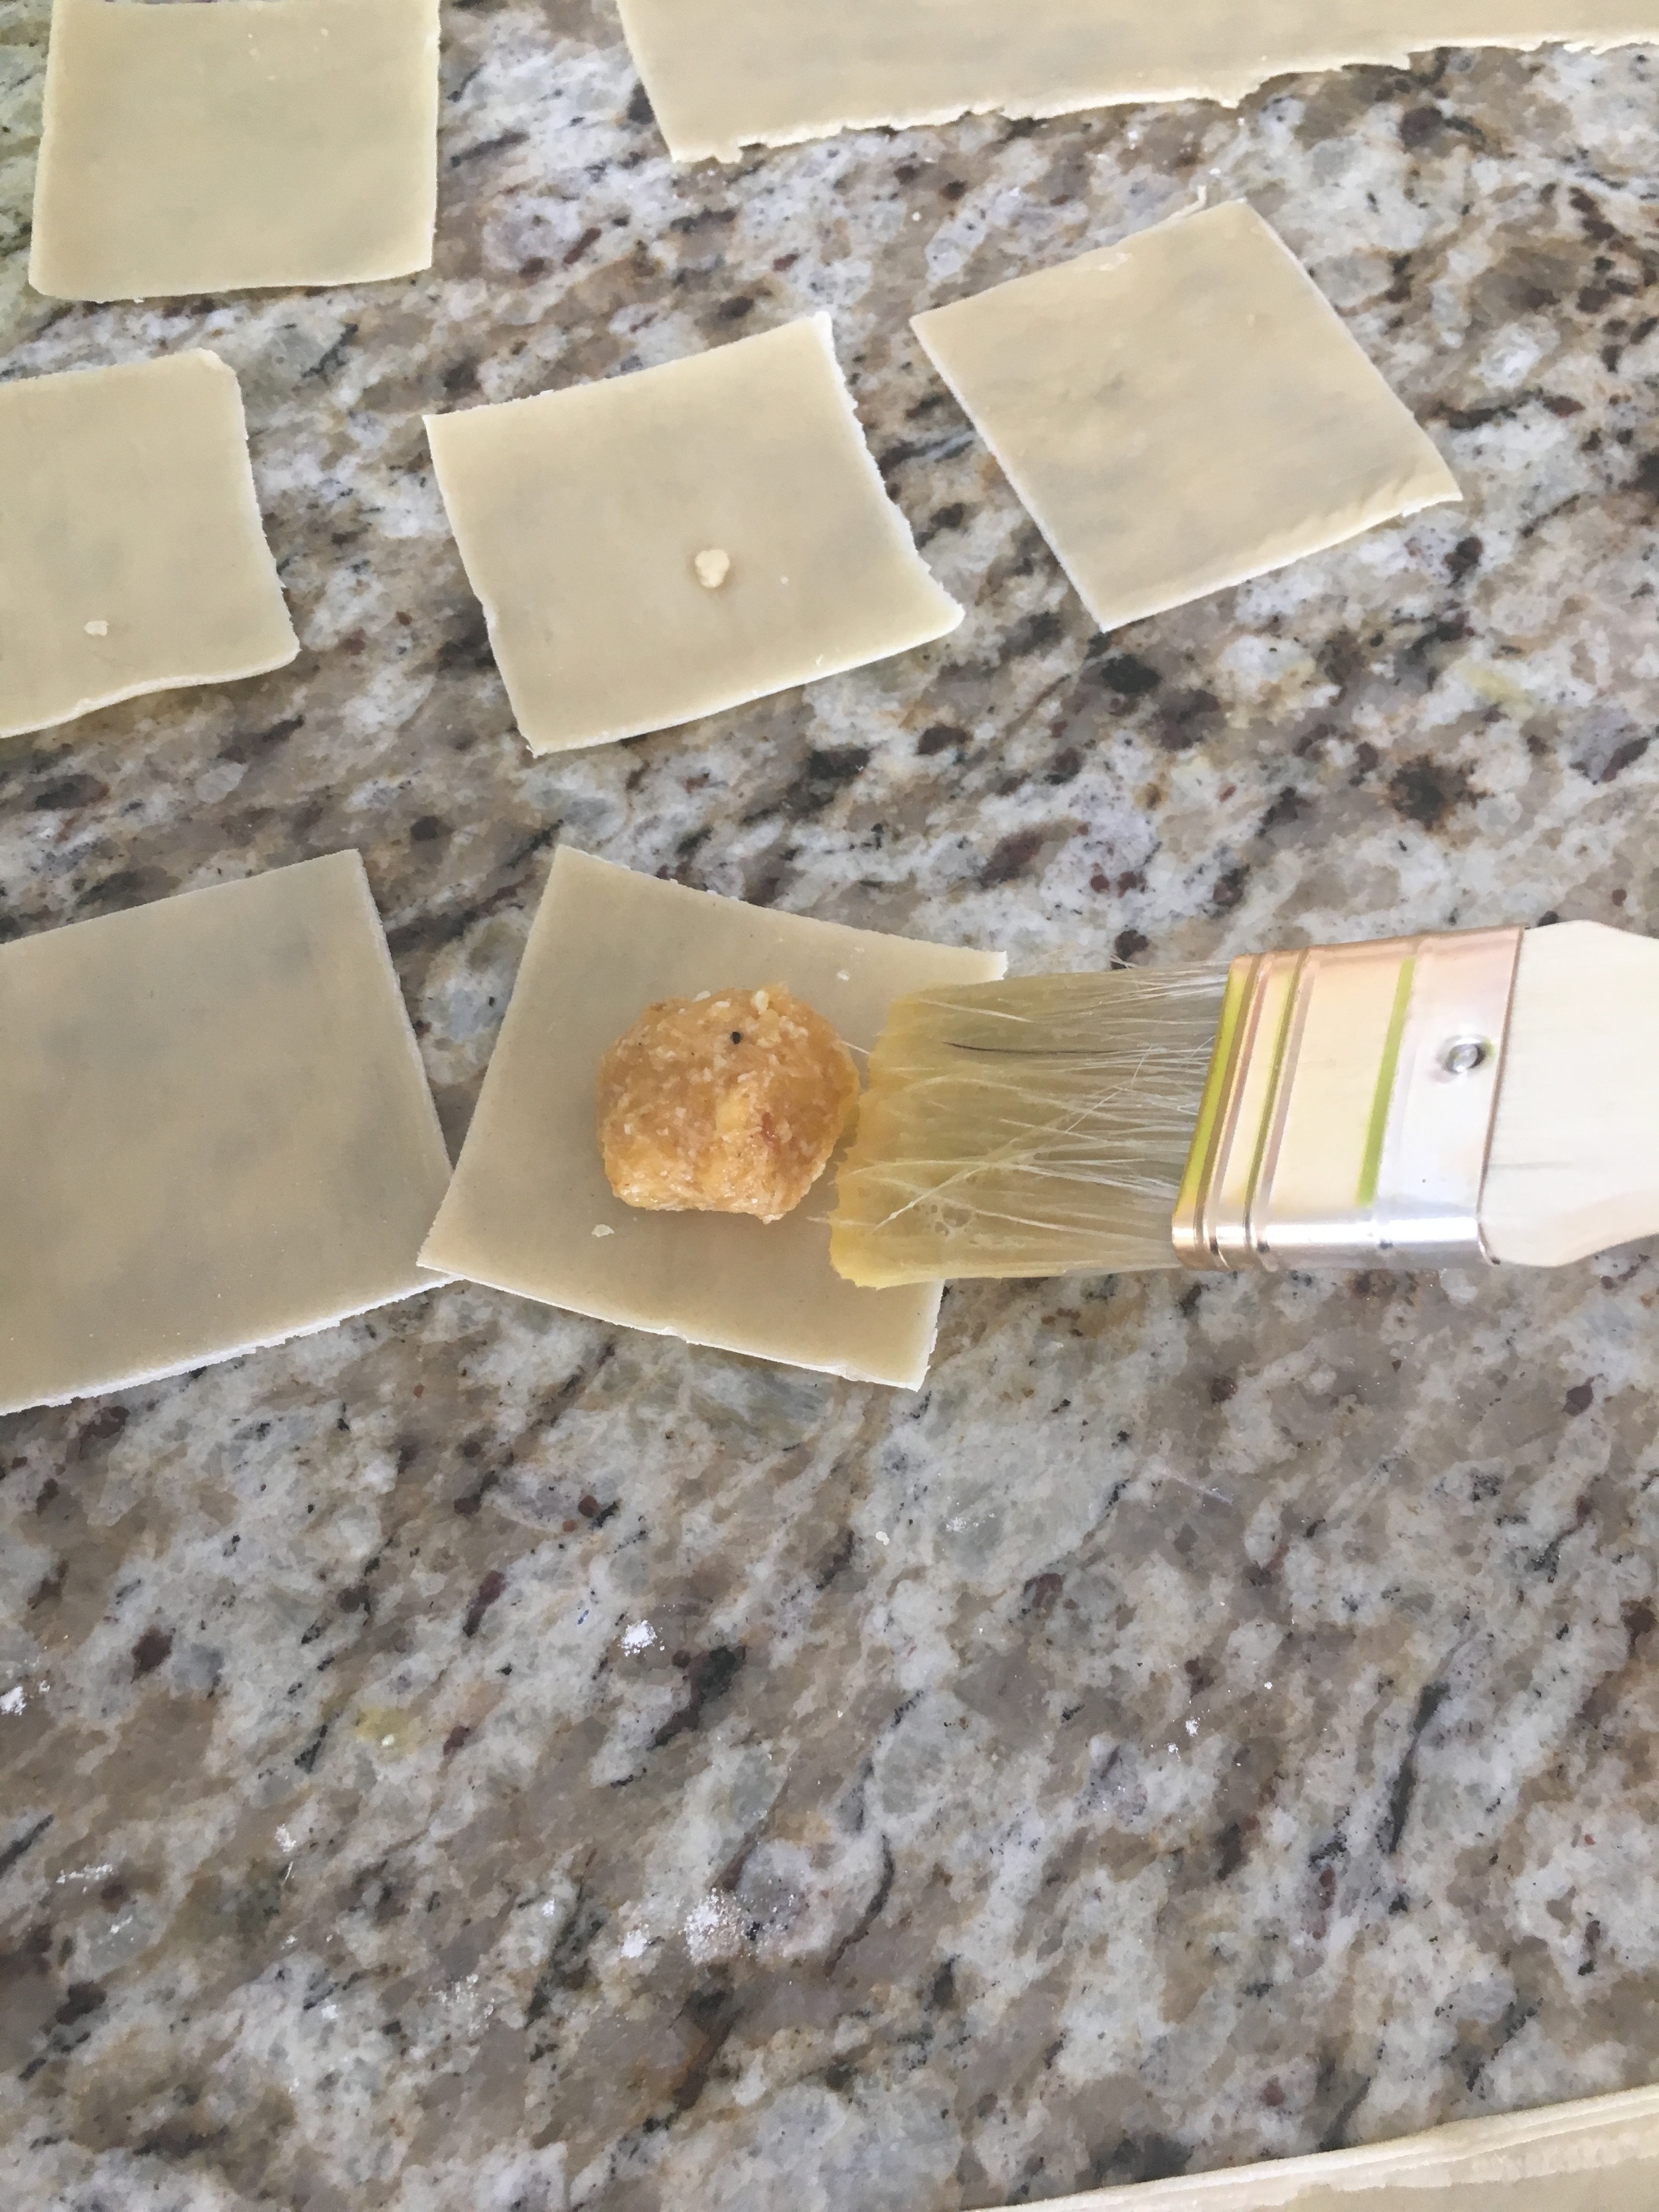
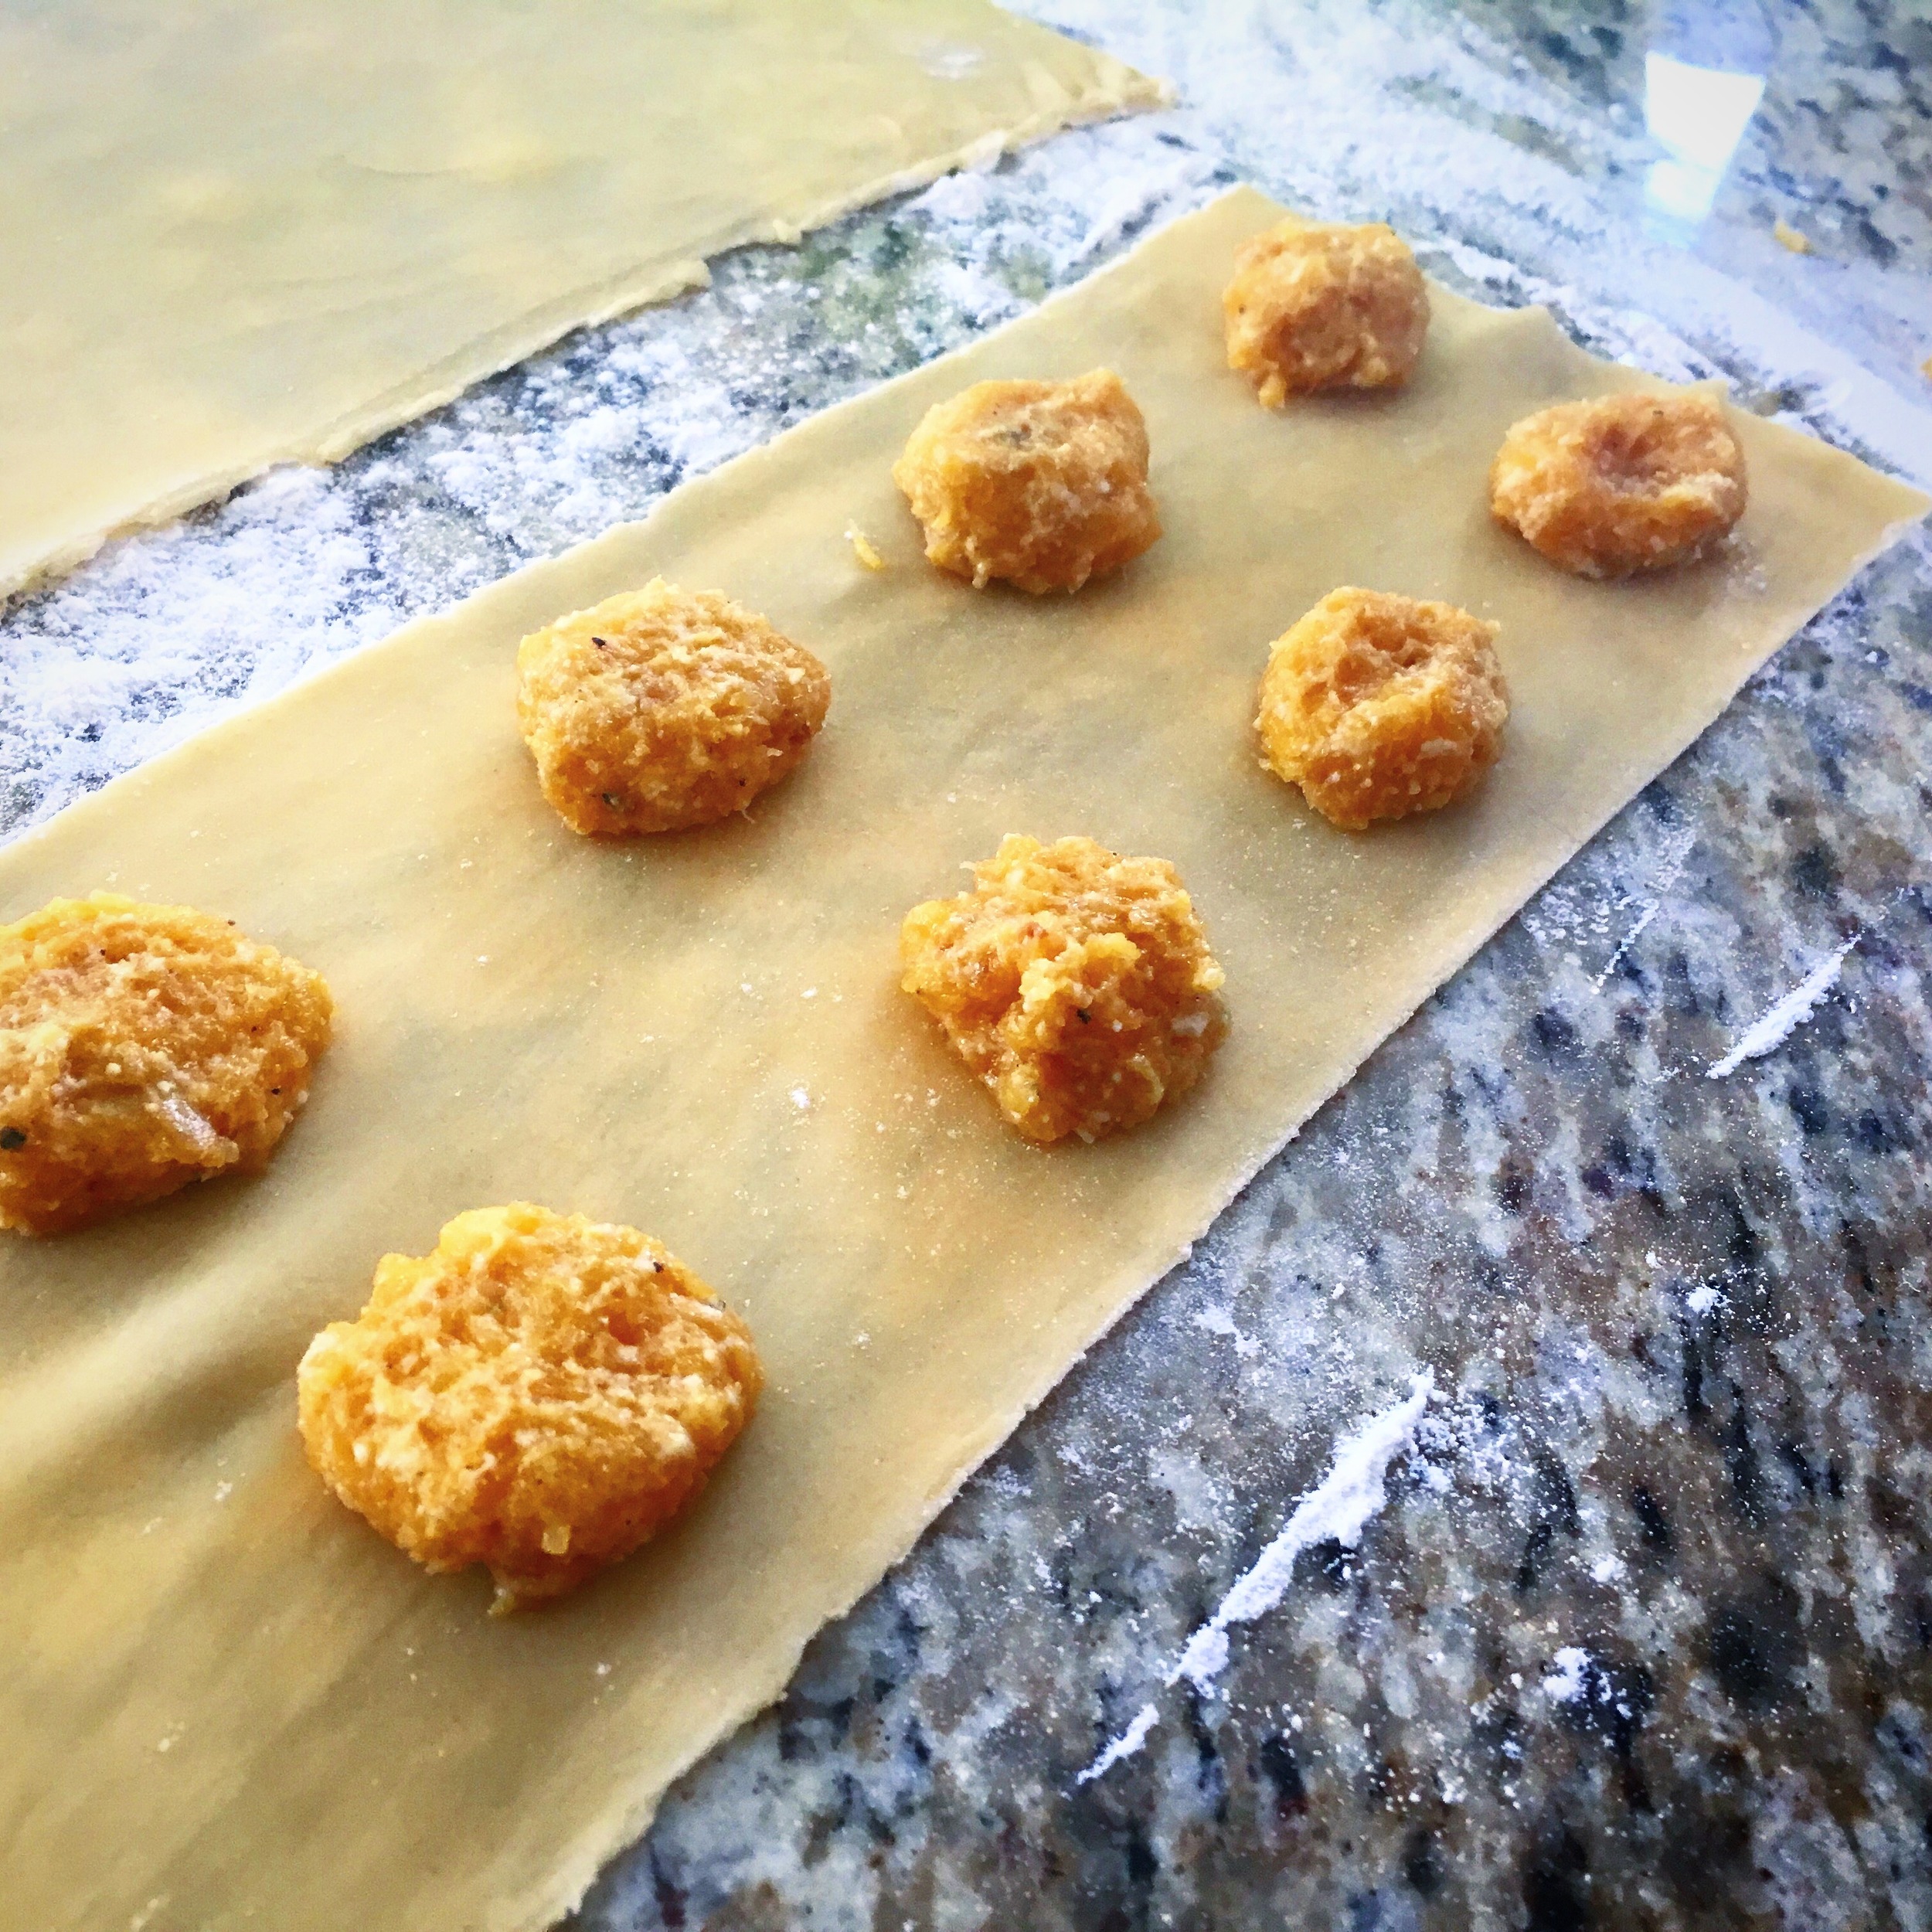
Start placing your butternut squash fillings 1 inch apart along the smaller width pasta. Use the egg wash to create a grid seal around each dab of filling. Place the wider pasta strip (top) on top.

Press the top down the center and each row so that it stretches out nicely over the filling mounds. Cut the dough in equal sections trying to create a 1/2 inch perimeter around the mounts.

Using a fork press on the outer corners to help the egg wash inside create a seal between top and bottom pasta layers and fully seal in the butternut squash filling inside.

Once sealed fully, place on a baking sheet lined with wax paper. Once you are finished making ravioli place the baking sheet covered in plastic wrap in the fridge to store until you are about 20-30 min from your meal time.

When you are ready boil a pot of water. Once the water is boiling add a tsp of salt and place the amount of ravioli you want to cook in the boiling water.  You can store the remaining amount by rolling it in wax paper and placing it in a ziplock bag and freezing it.

Next start to prep your sauce. In a sauce pan on medium heat add in your butter followed by your minced shallots. Once the shallots start to become clear add in your sage. Allow the sage to release its flavor into the butter. Stir so that it doesn't burn. Add some salt

After about 6-7 minutes the ravioli should be ready and float to the top. Test to see if the pasta layers are fully cooked. When it is cooked drain and add to your sauce pan with butter and sage. Allow the ravioli to become fully dressed by the sauce before plating.

Add Parmesan cheese on top and garnish before serving. ENJOY!


I hope you enjoyed this recipe as much as I do. If you have any comments please leave them below and I'll be happy to answer them as soon as I can! There is also a video down below if you need more guidance while cooking!!!  Bon Appetite!!!


GLUTEN FREE MAC AND CHEESE BITES

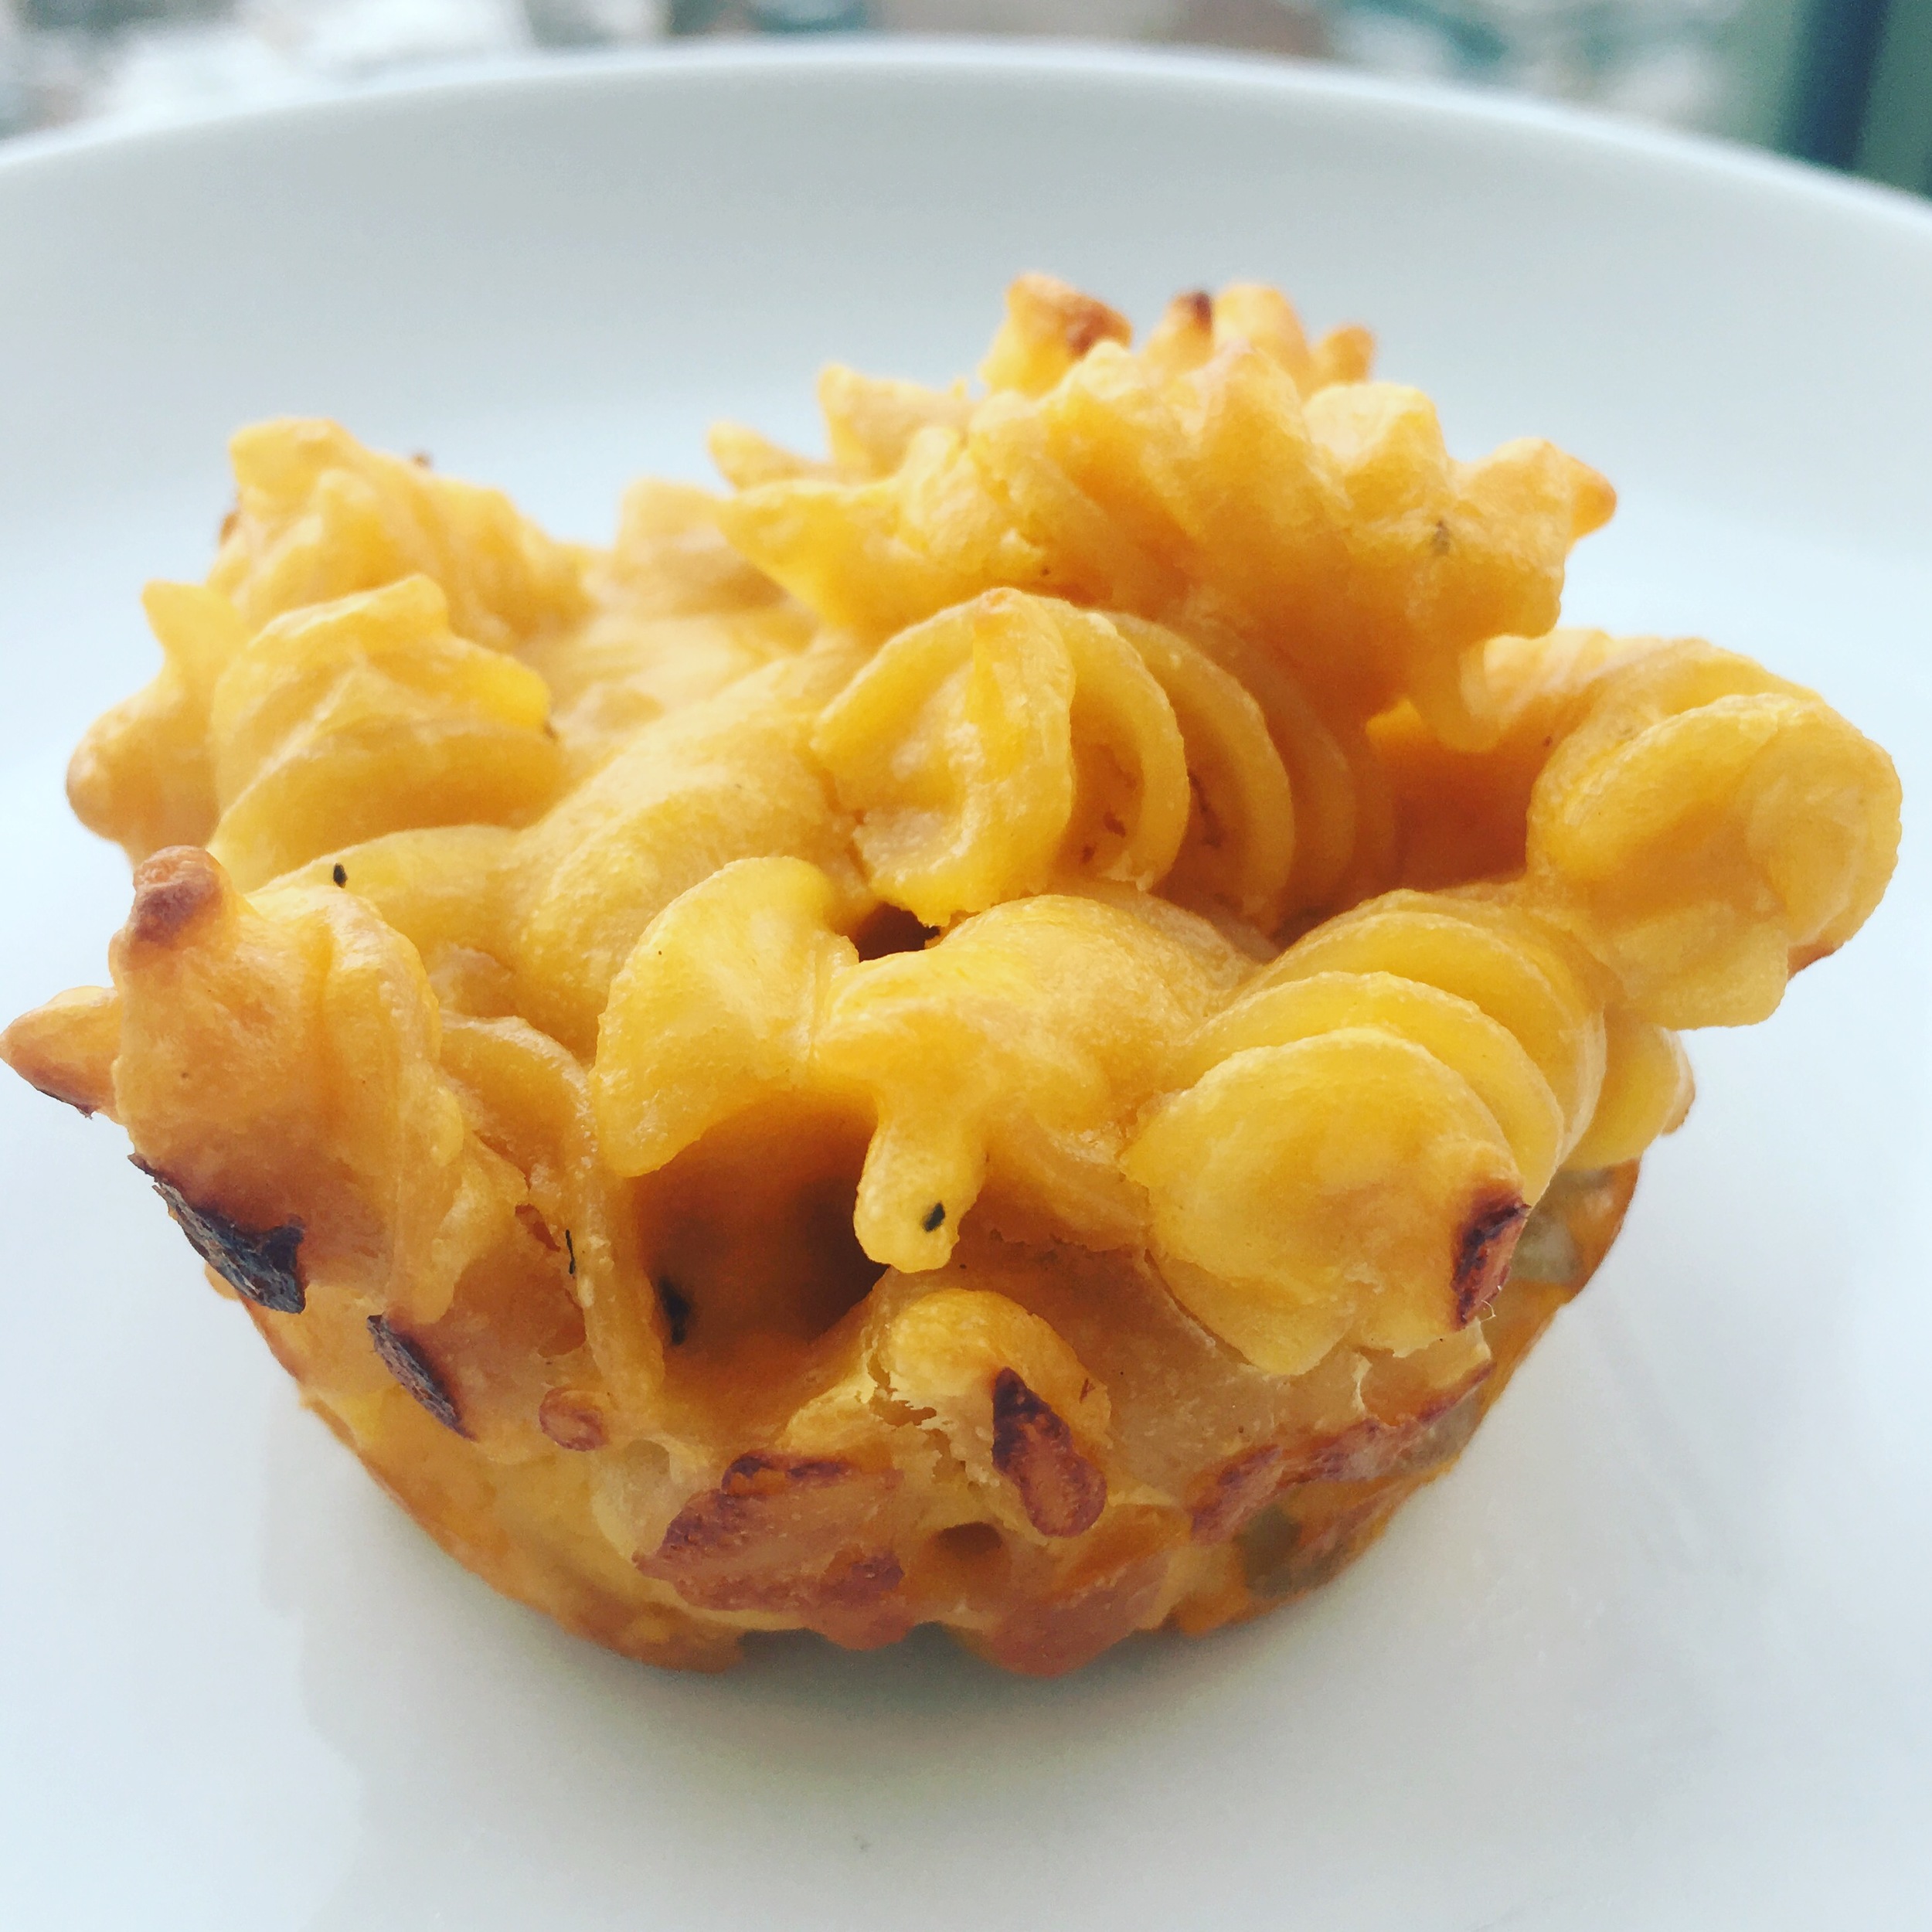
I love me some good old mac & cheese!!!! Nothing says comfort food to me like a bowl of mac & cheese does. For me it always brings back childhood memories. Nowadays I find myself not eating so much of it because I am more calorie and health conscious but I'll admit these gluten free mac& cheese bites are great for any party that you may be throwing. They aren't difficult to make at all and kids love them for birthday parties. I'm totally going to add these to my Super Bowl menu this year! Enjoy

INGREDIENTS:

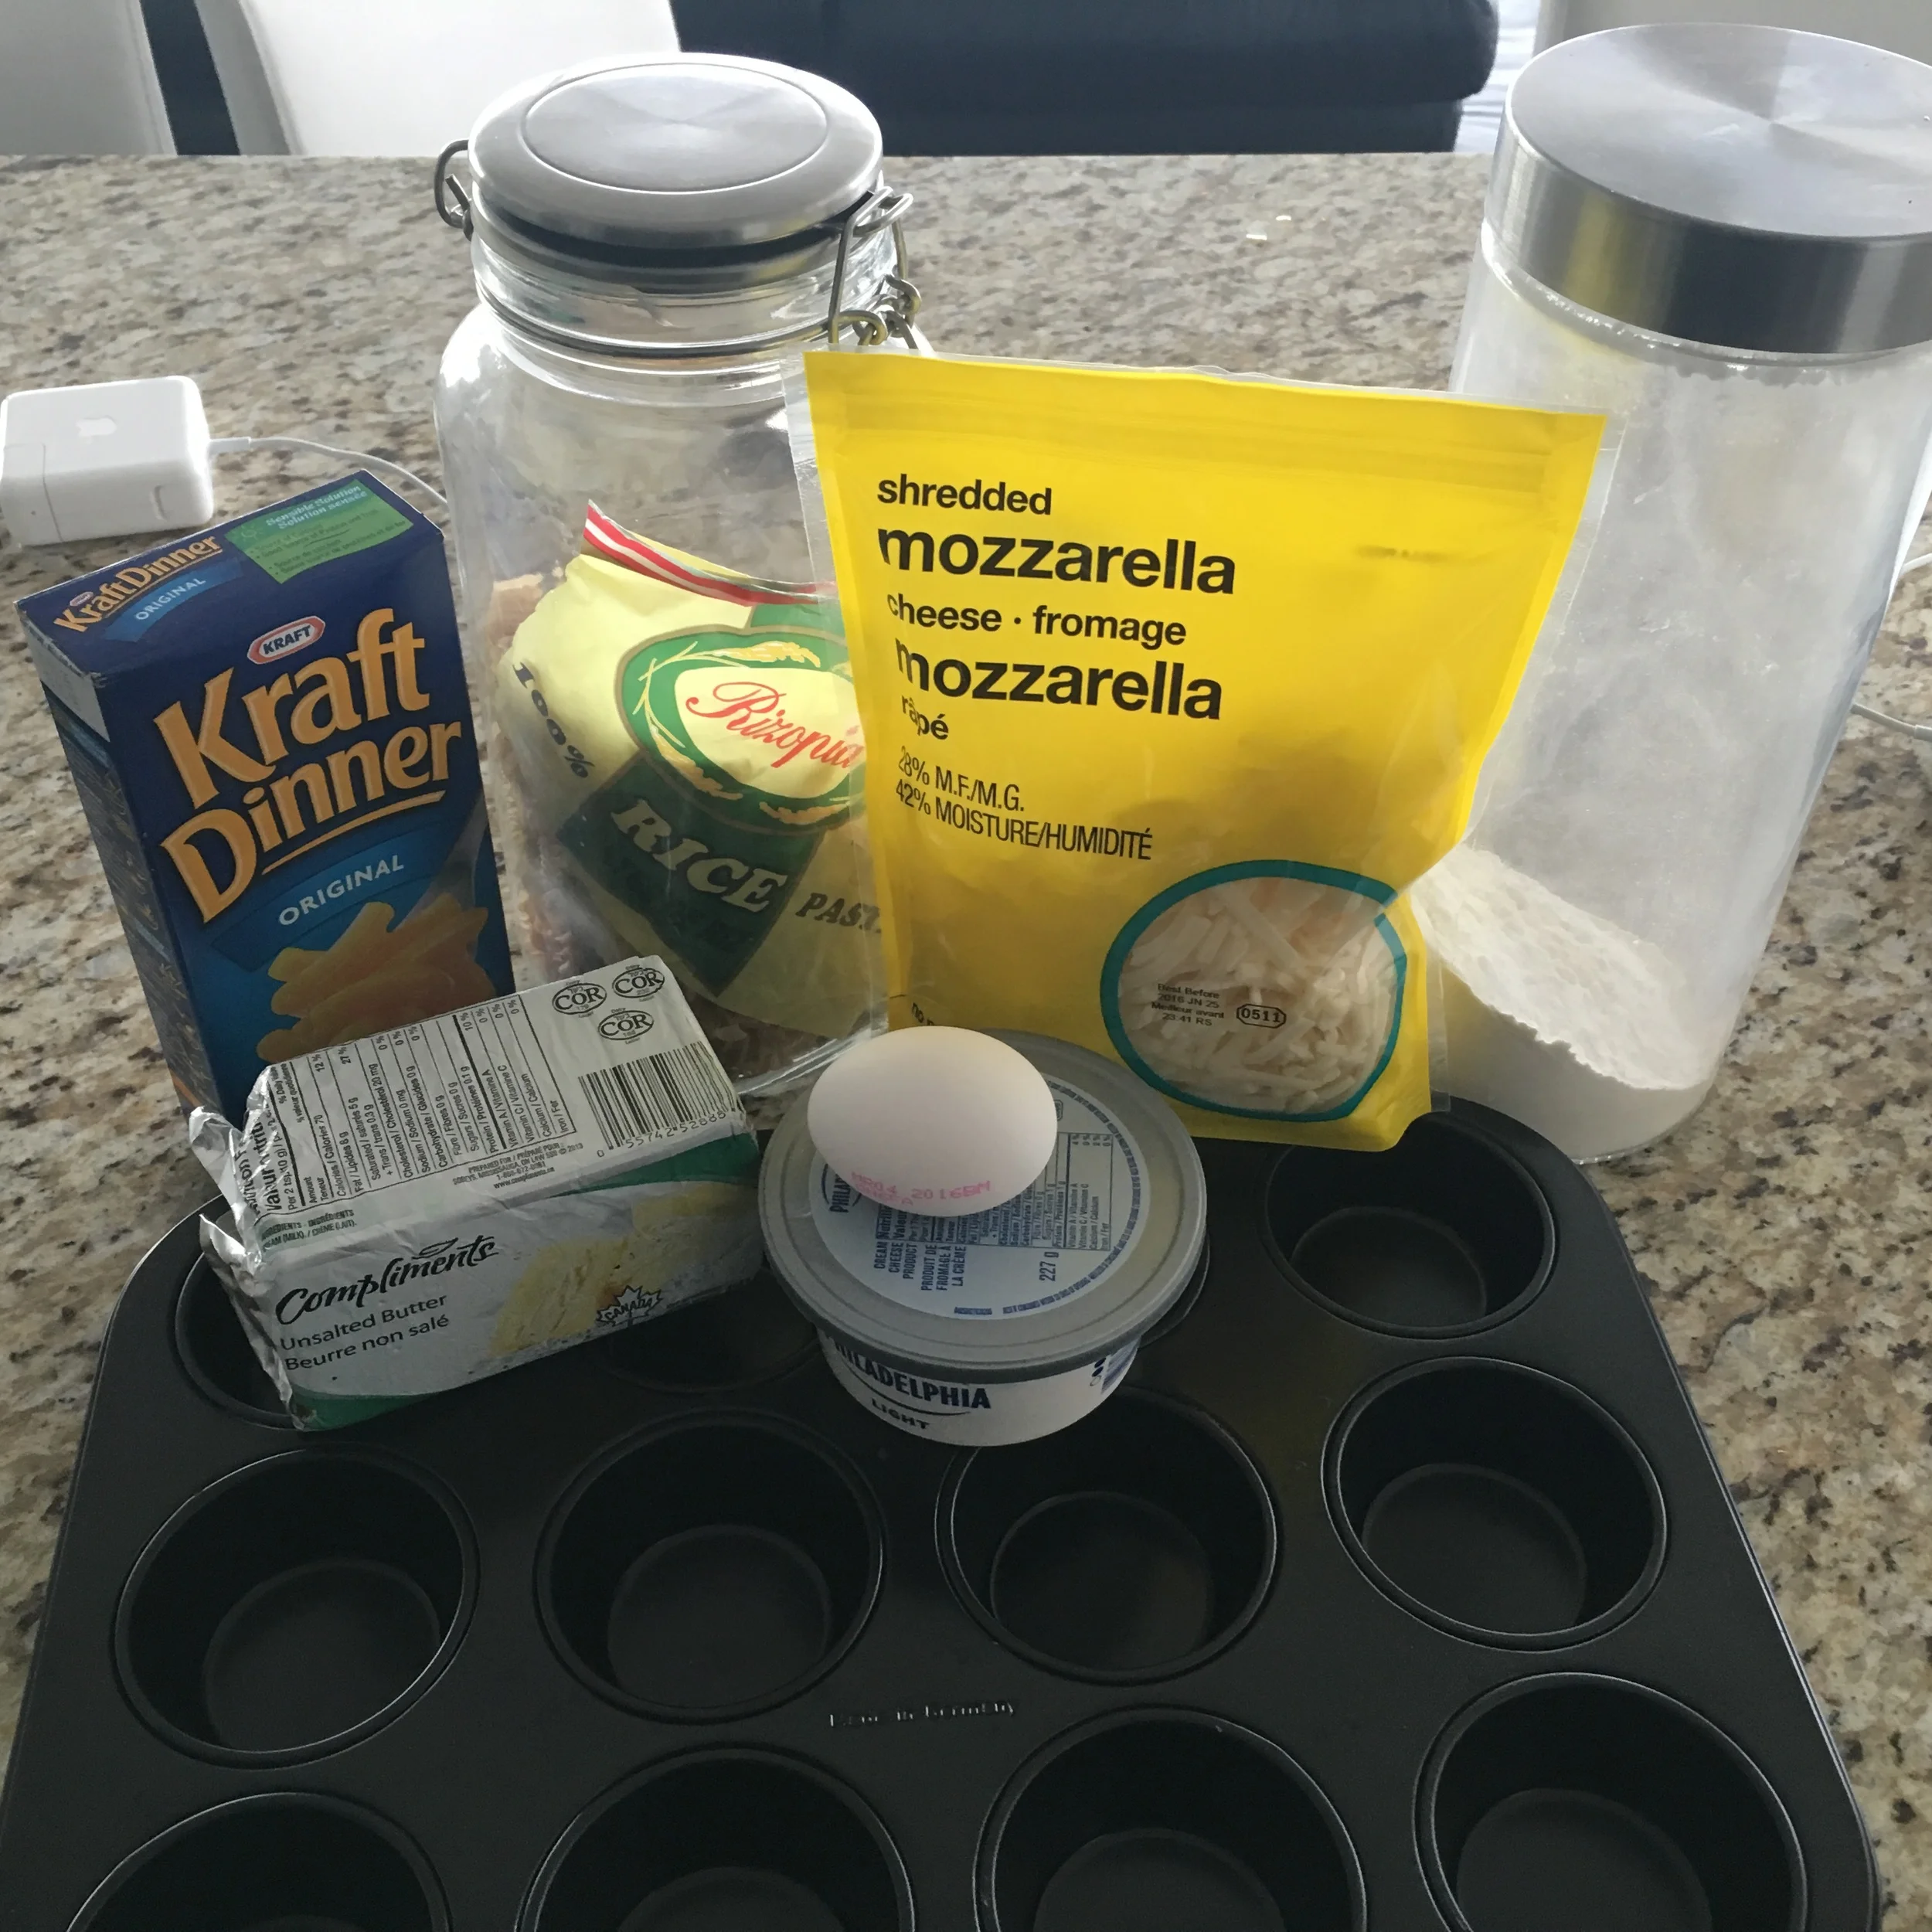
Rice Pasta (I substituted this for regular elbow pasta)
2 TBSP of Butter
2 TBSP of Quinoa Flour (I substituted this for flour)
1.5 Cups of Milk
2 OZ Cream Cheese
3/4 Cup of Sharp Cheddar Cheese
3/4 Cup of shredded Mozzarella (optional)
1 Packet of Kraft Dinner Powdered Cheese Sauce (optional)
Salt and Pepper (as desired)
1 Egg (whisked)

**You will also need a muffin tray that is sprayed with non stick cooking spray or buttered.


DIRECTIONS:

Preheat oven to 400 degrees

Boil water to make your pasta. Salt the water and throw in your pasta.

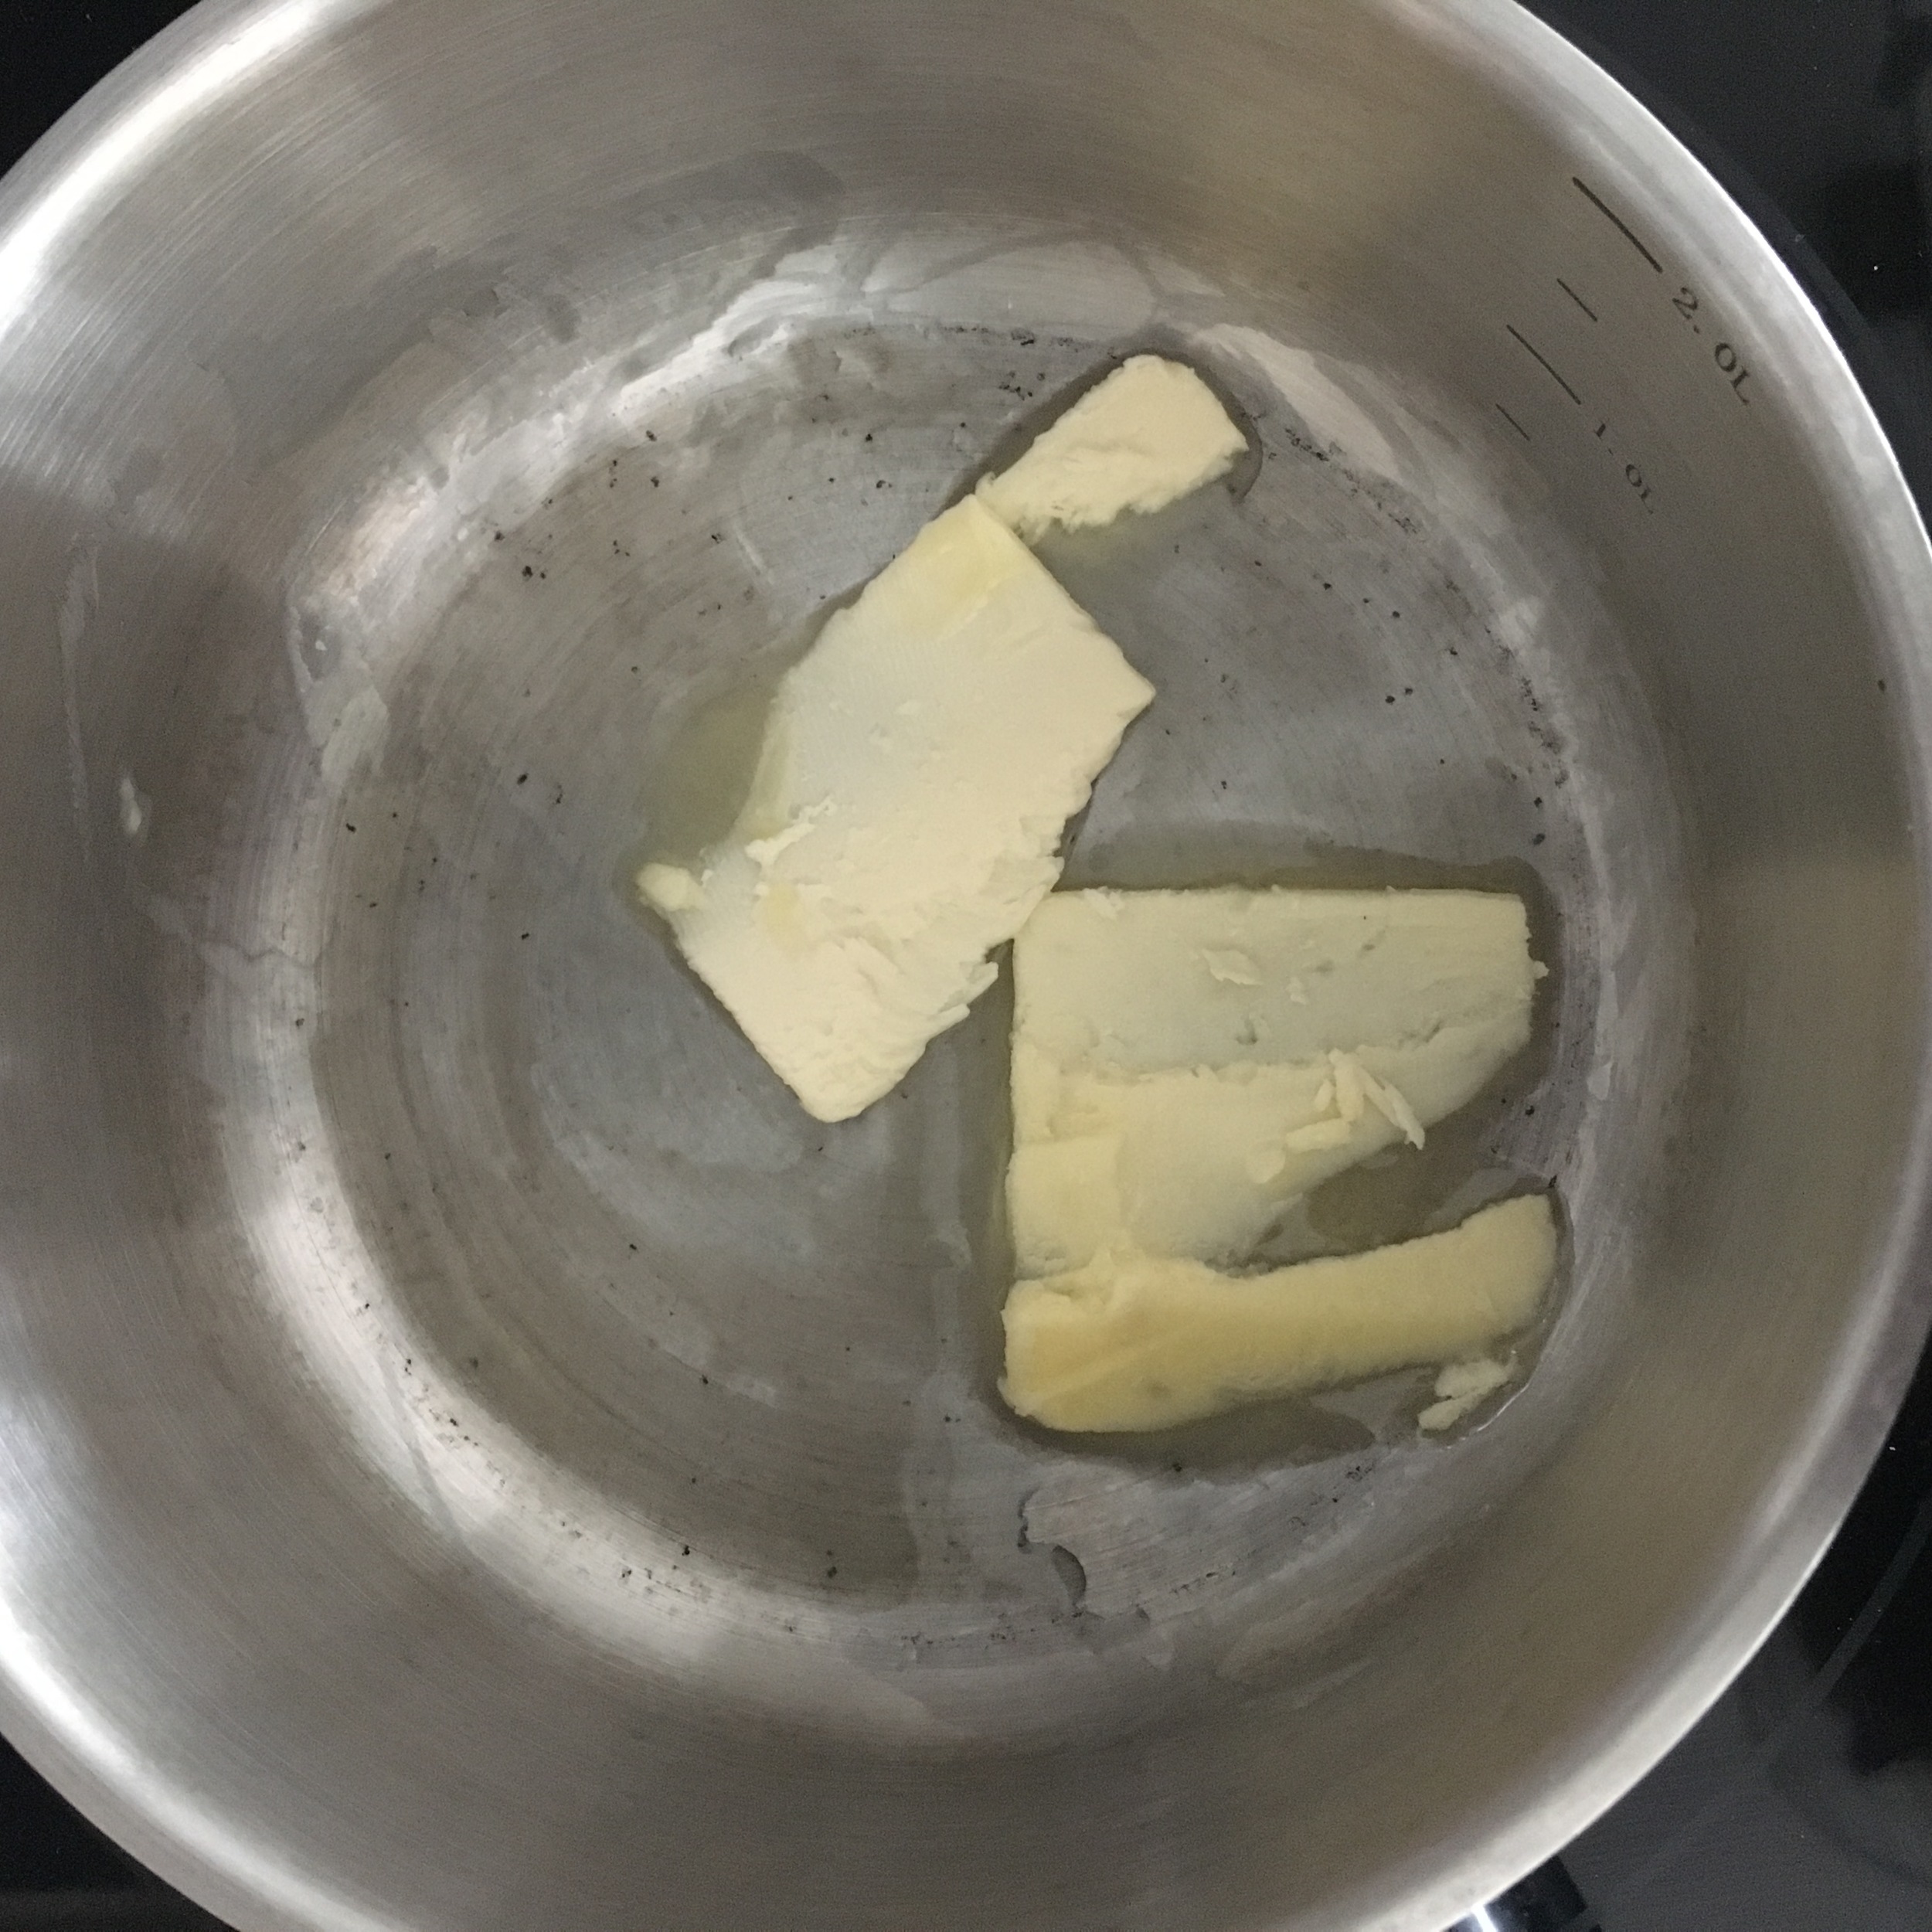
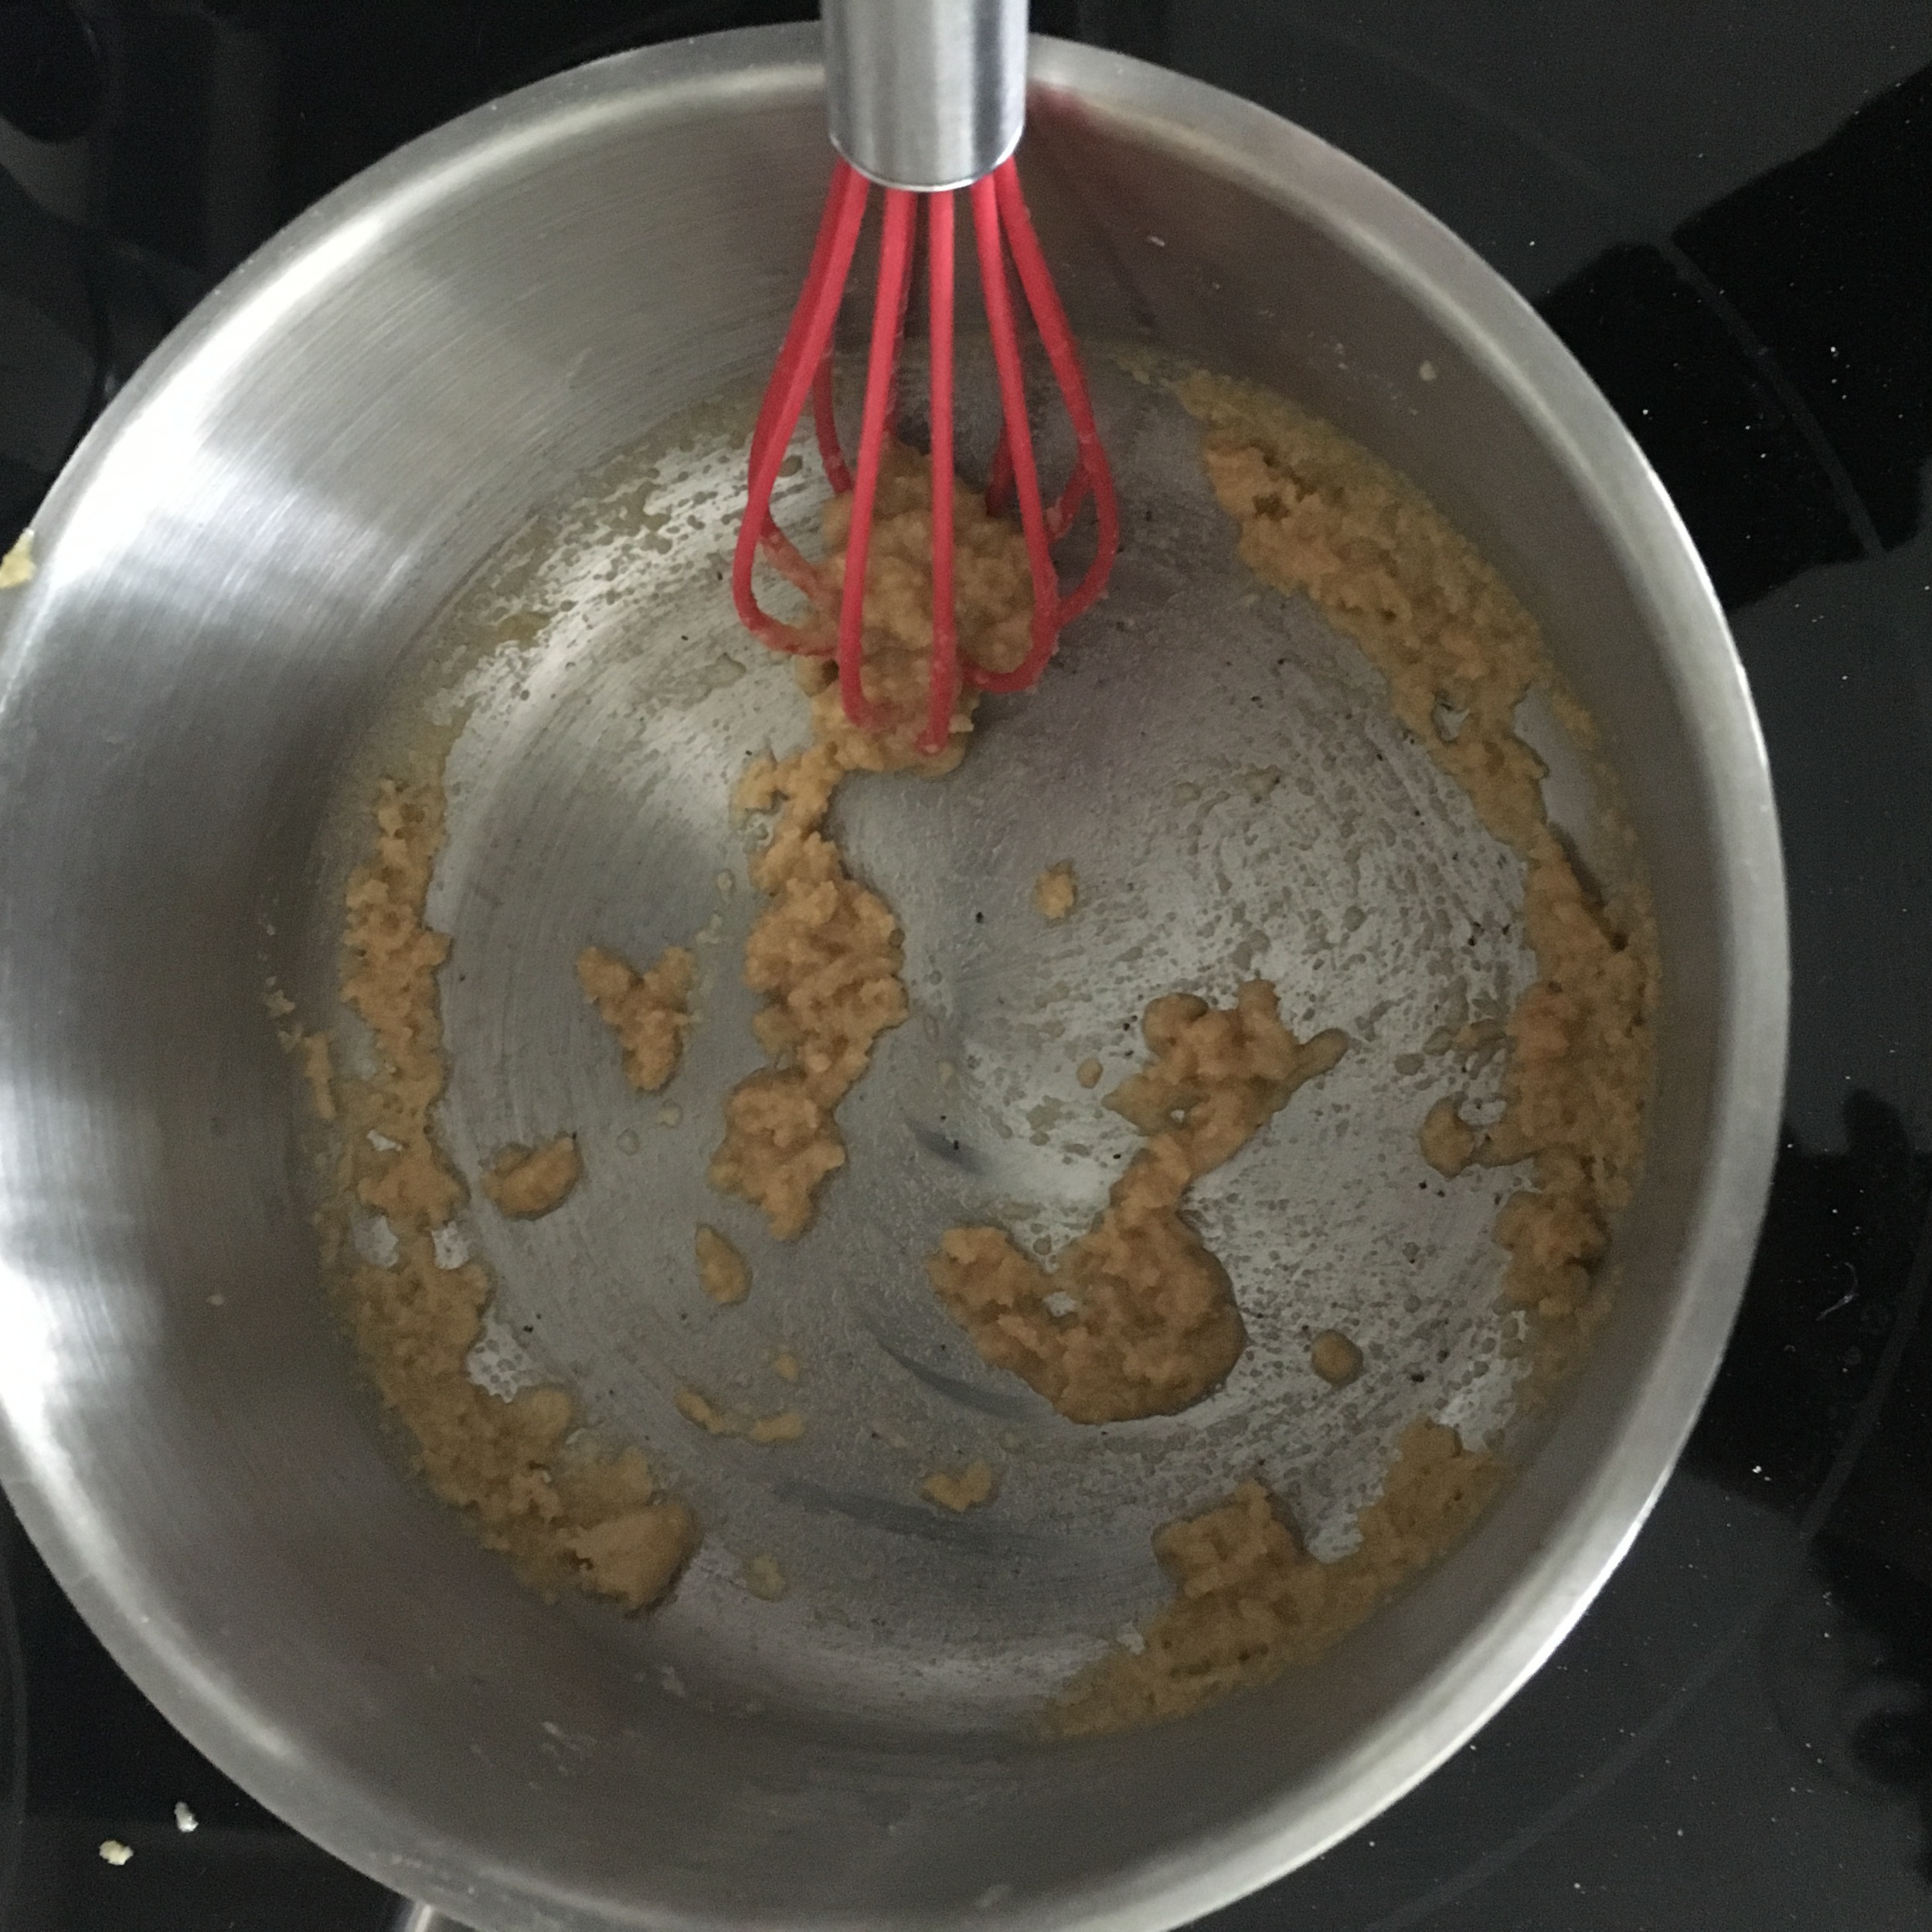
In a sauce pan add in your butter. Allow to melt on medium low heat then throw in your quinoa flour. Whisk together until fully incorporated. .

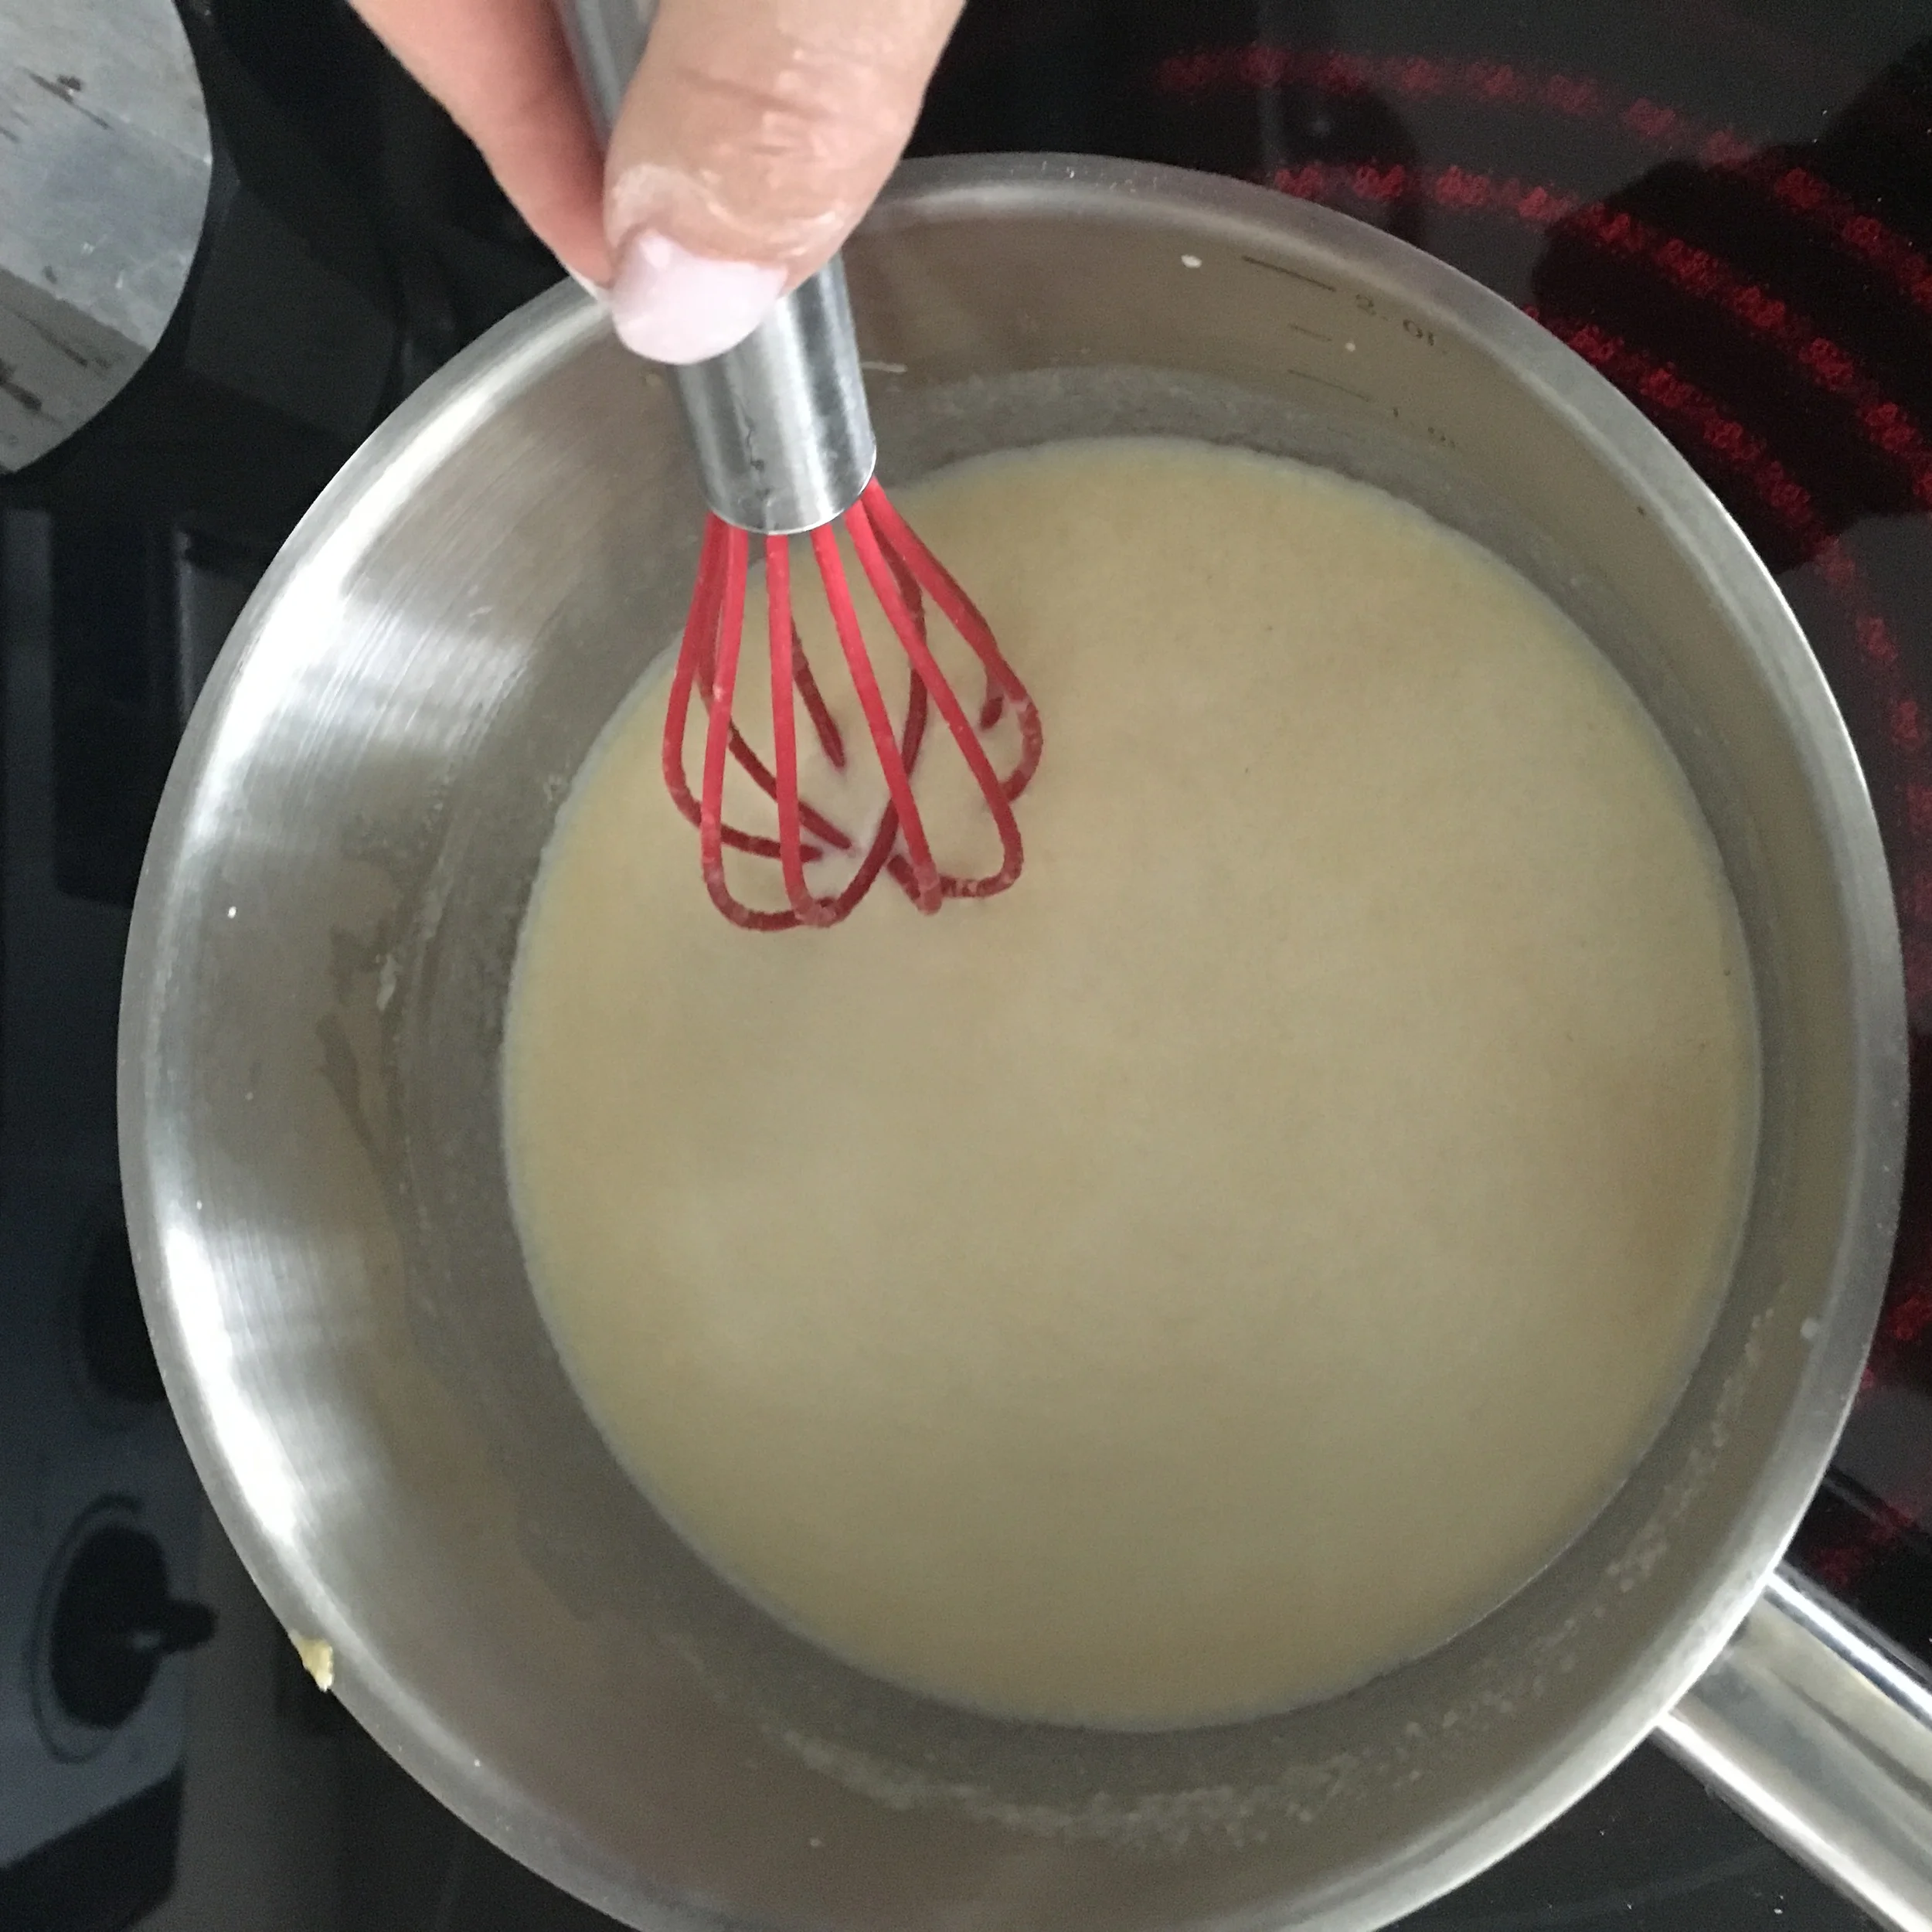
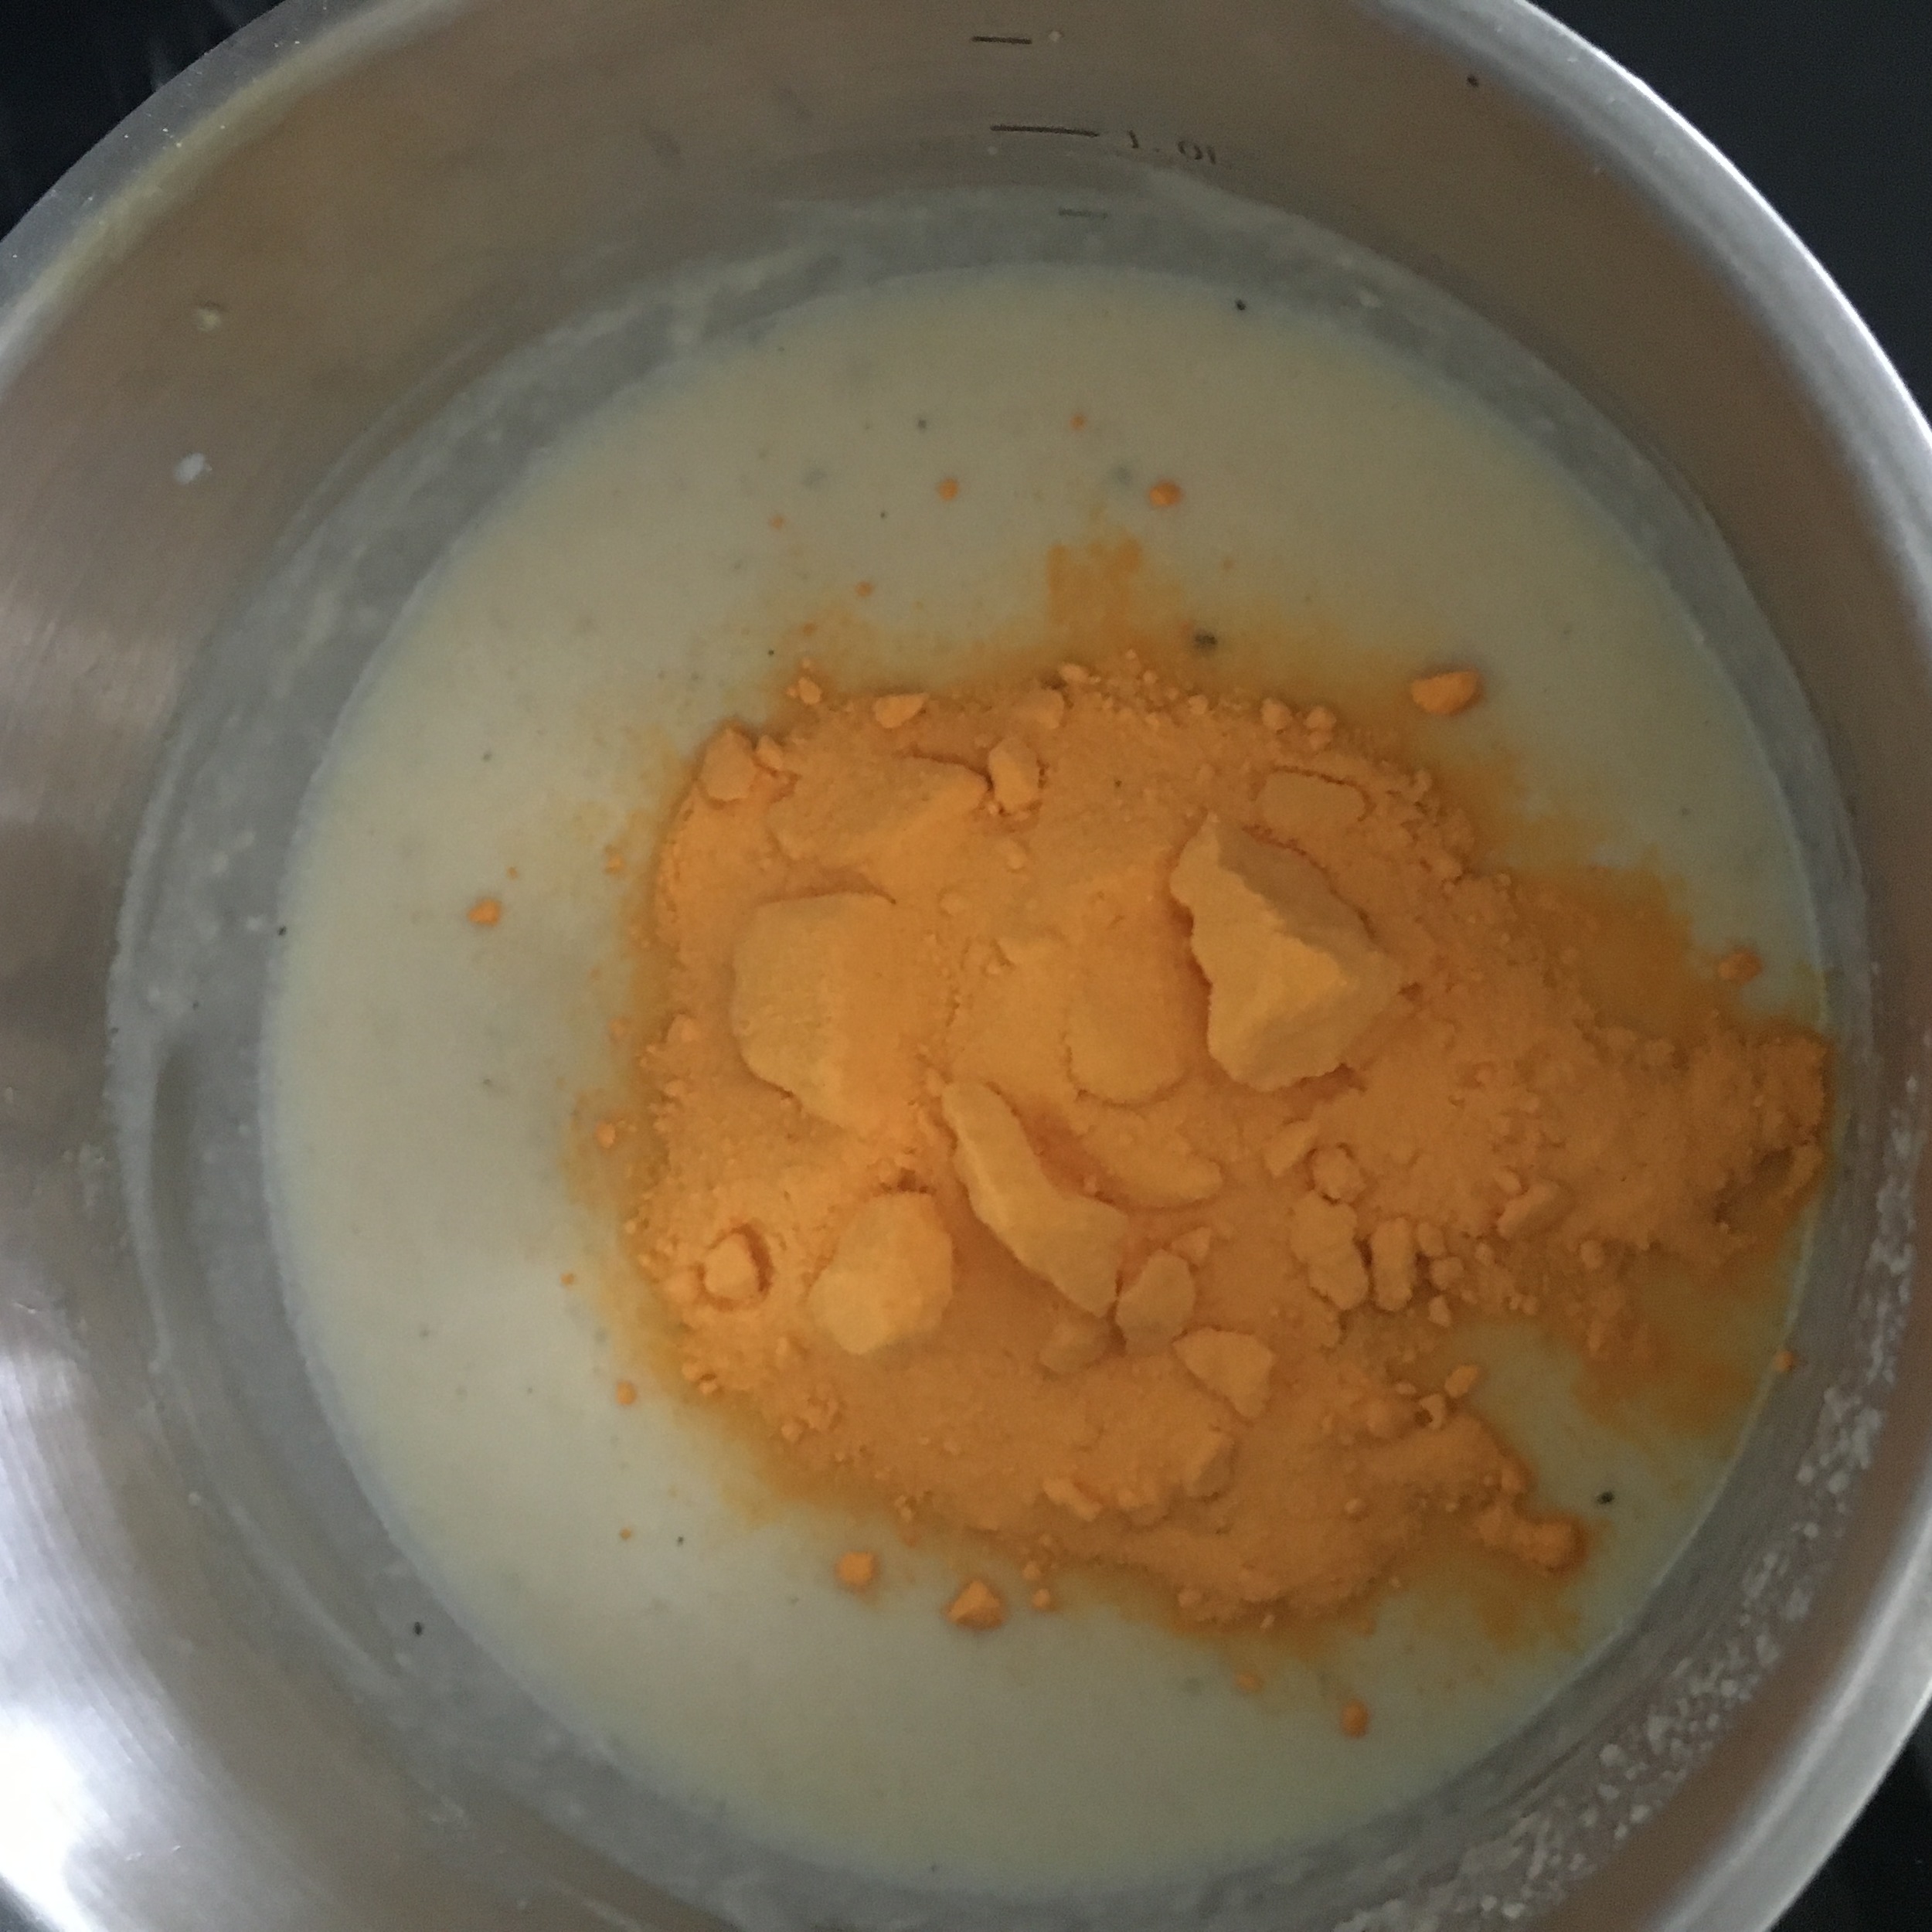
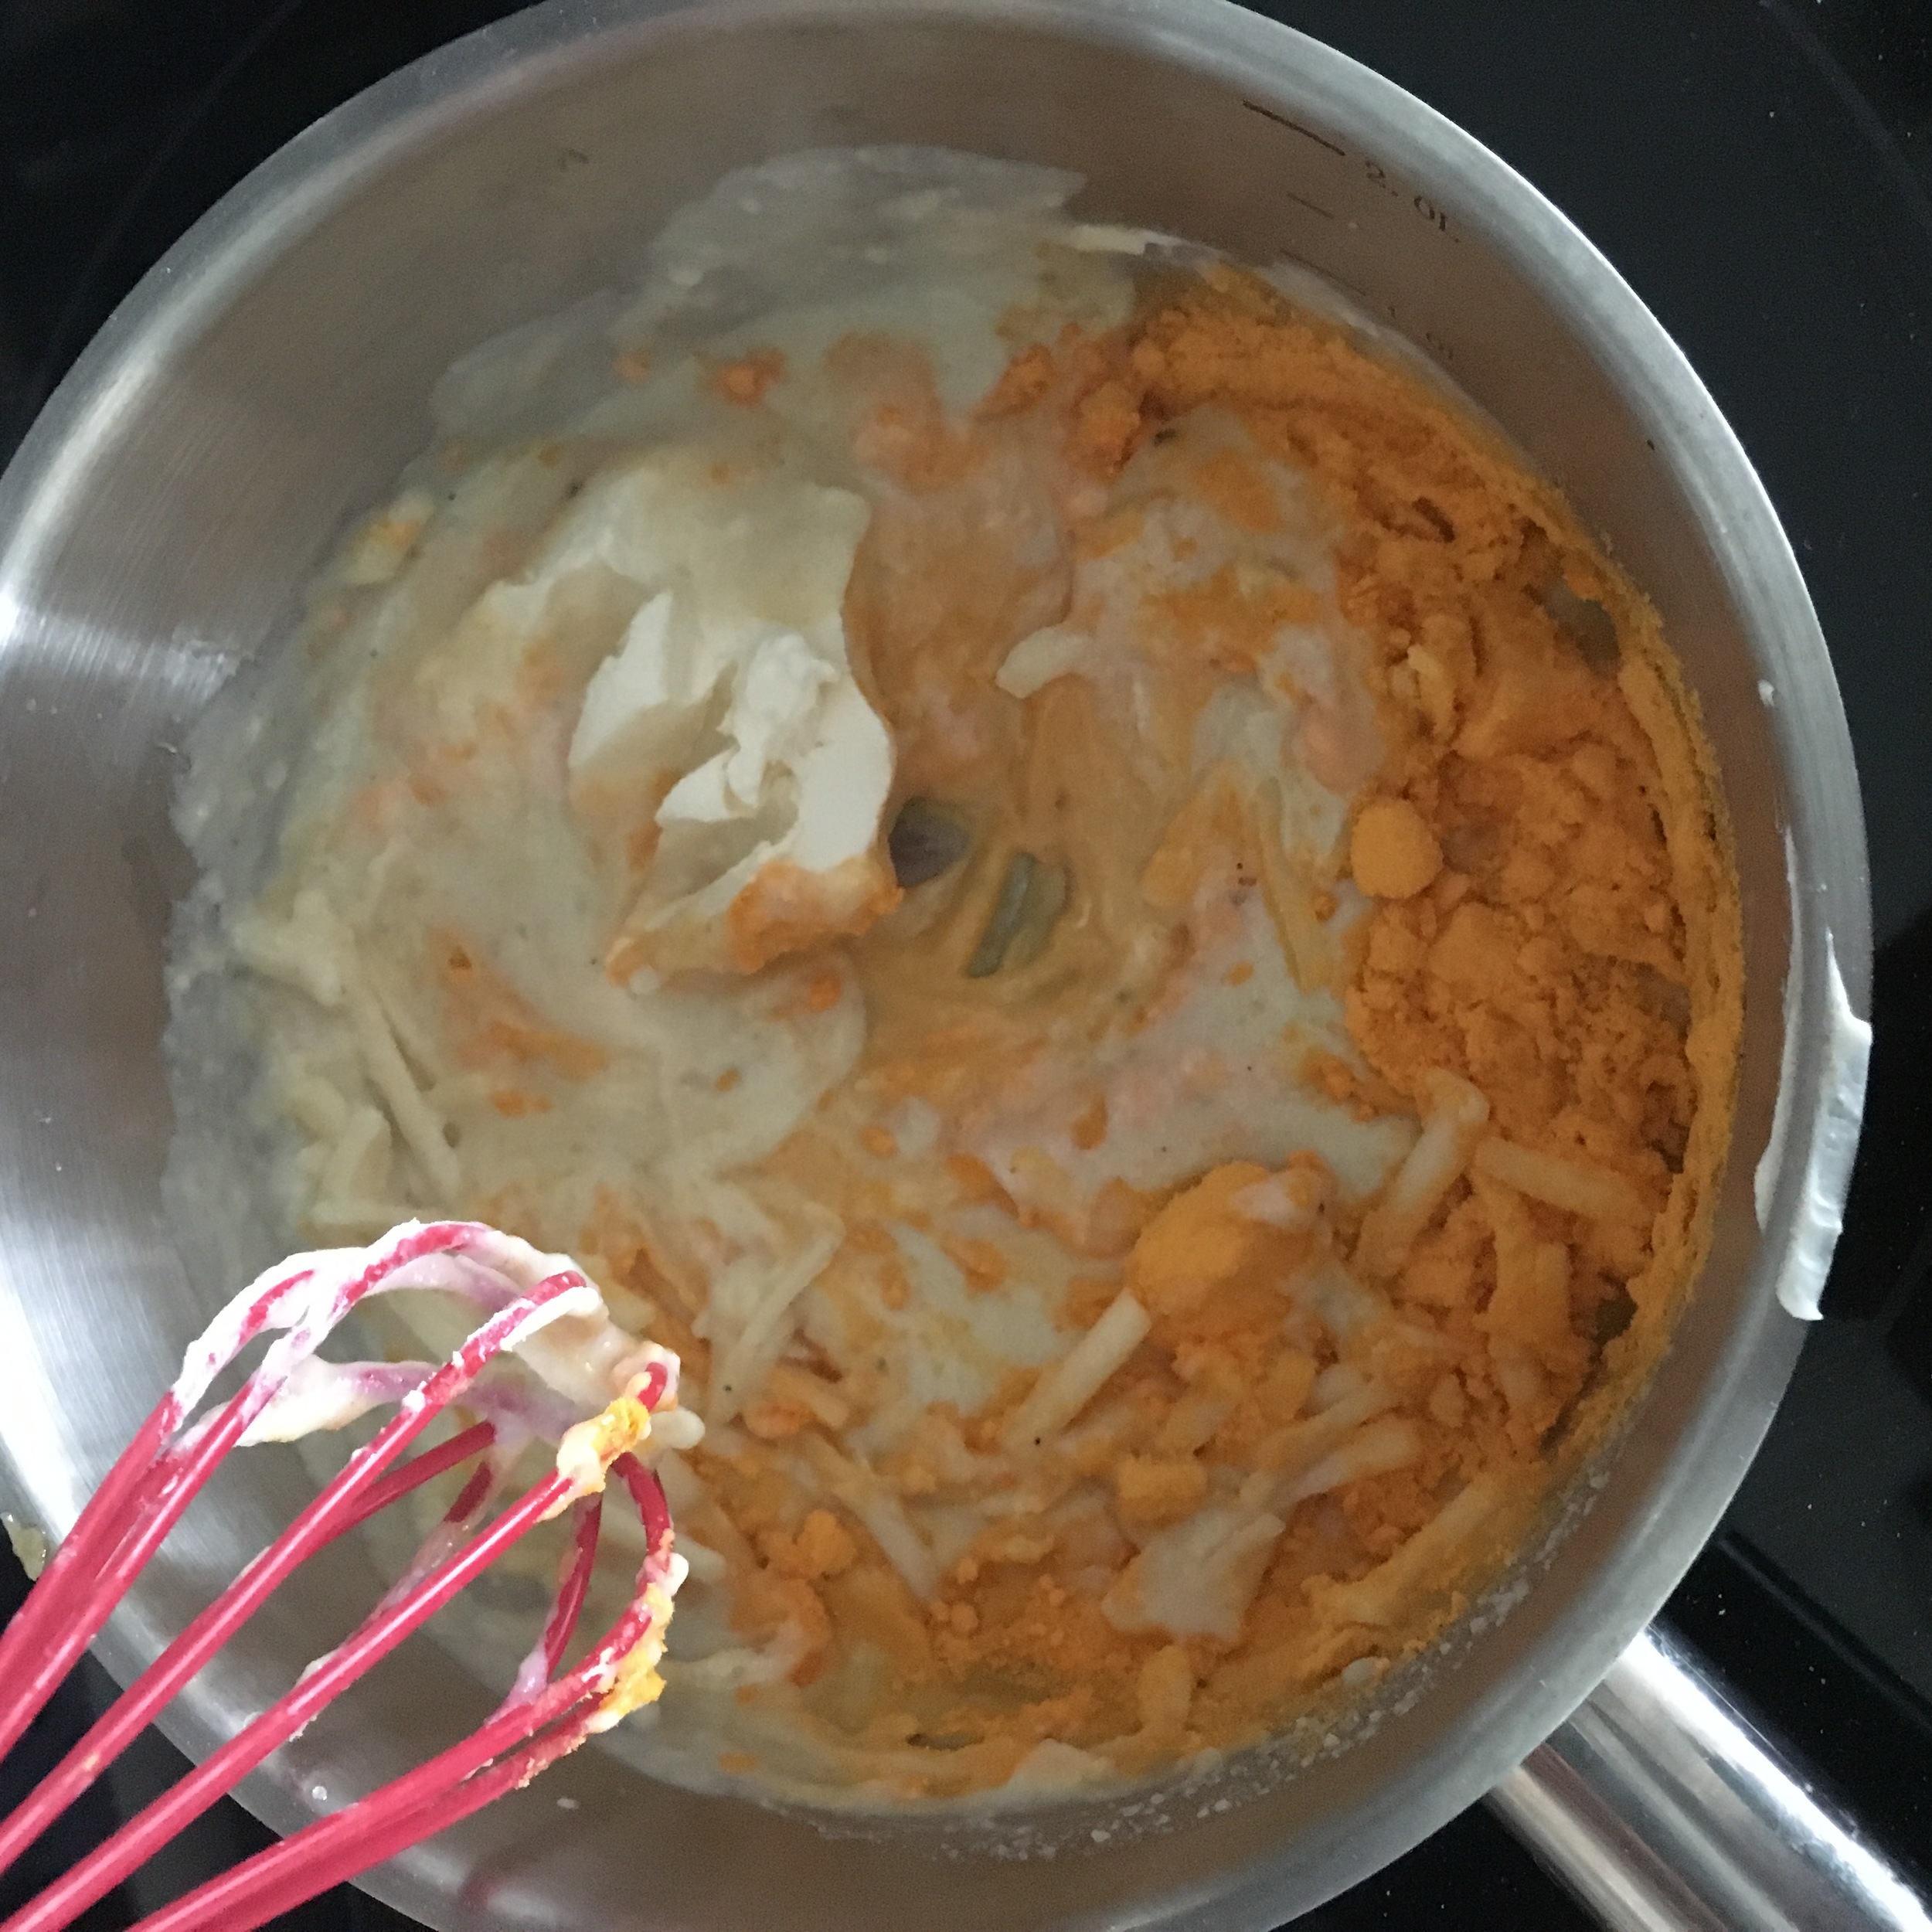
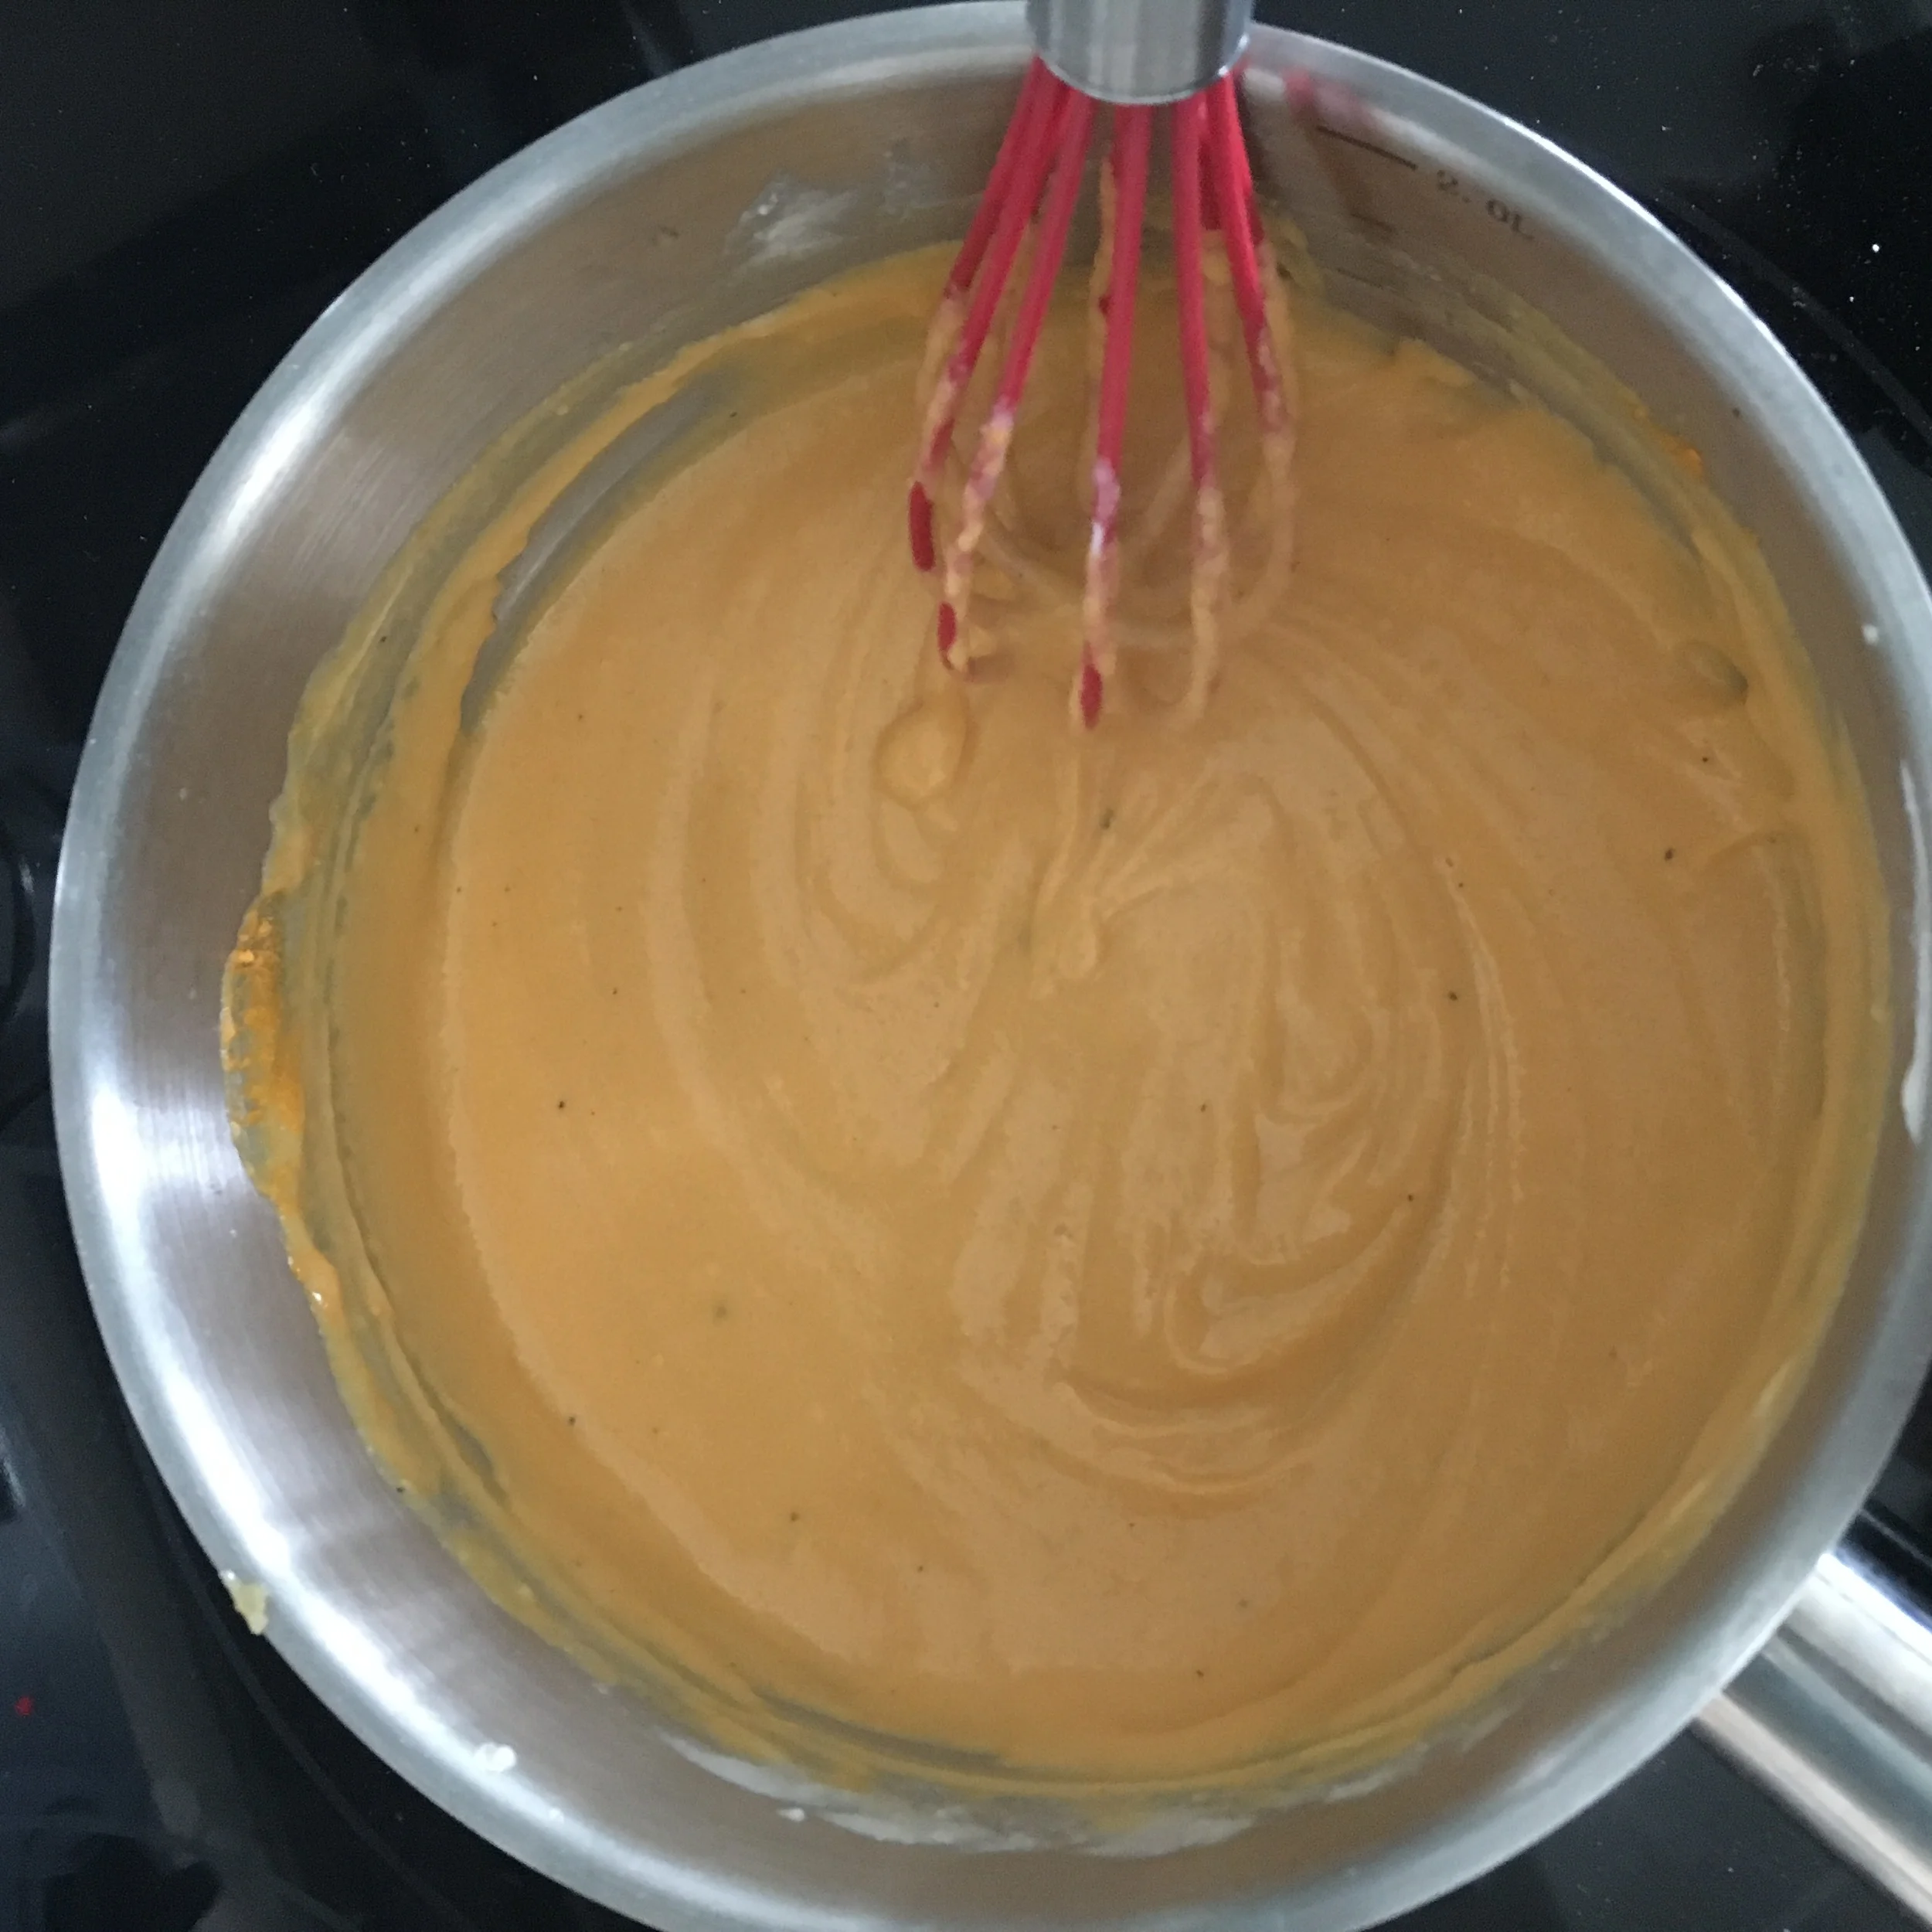
Next add in your milk slowly stirring with your whisk the whole time.  Allow milk to come to a simmer before removing from heat and adding in all your cheeses! Whisk together until smooth.

By now your pasta should be ready to be drained. Drain and allow access water to drip off before returning to pot. Add your egg to the pot with the pasta followed by the cheese sauce. Mix together so pasta is evenly covered. You can add pepper and salt now if you wish (remember that the cheese and butter does add salt to the dish already so you dont need much)

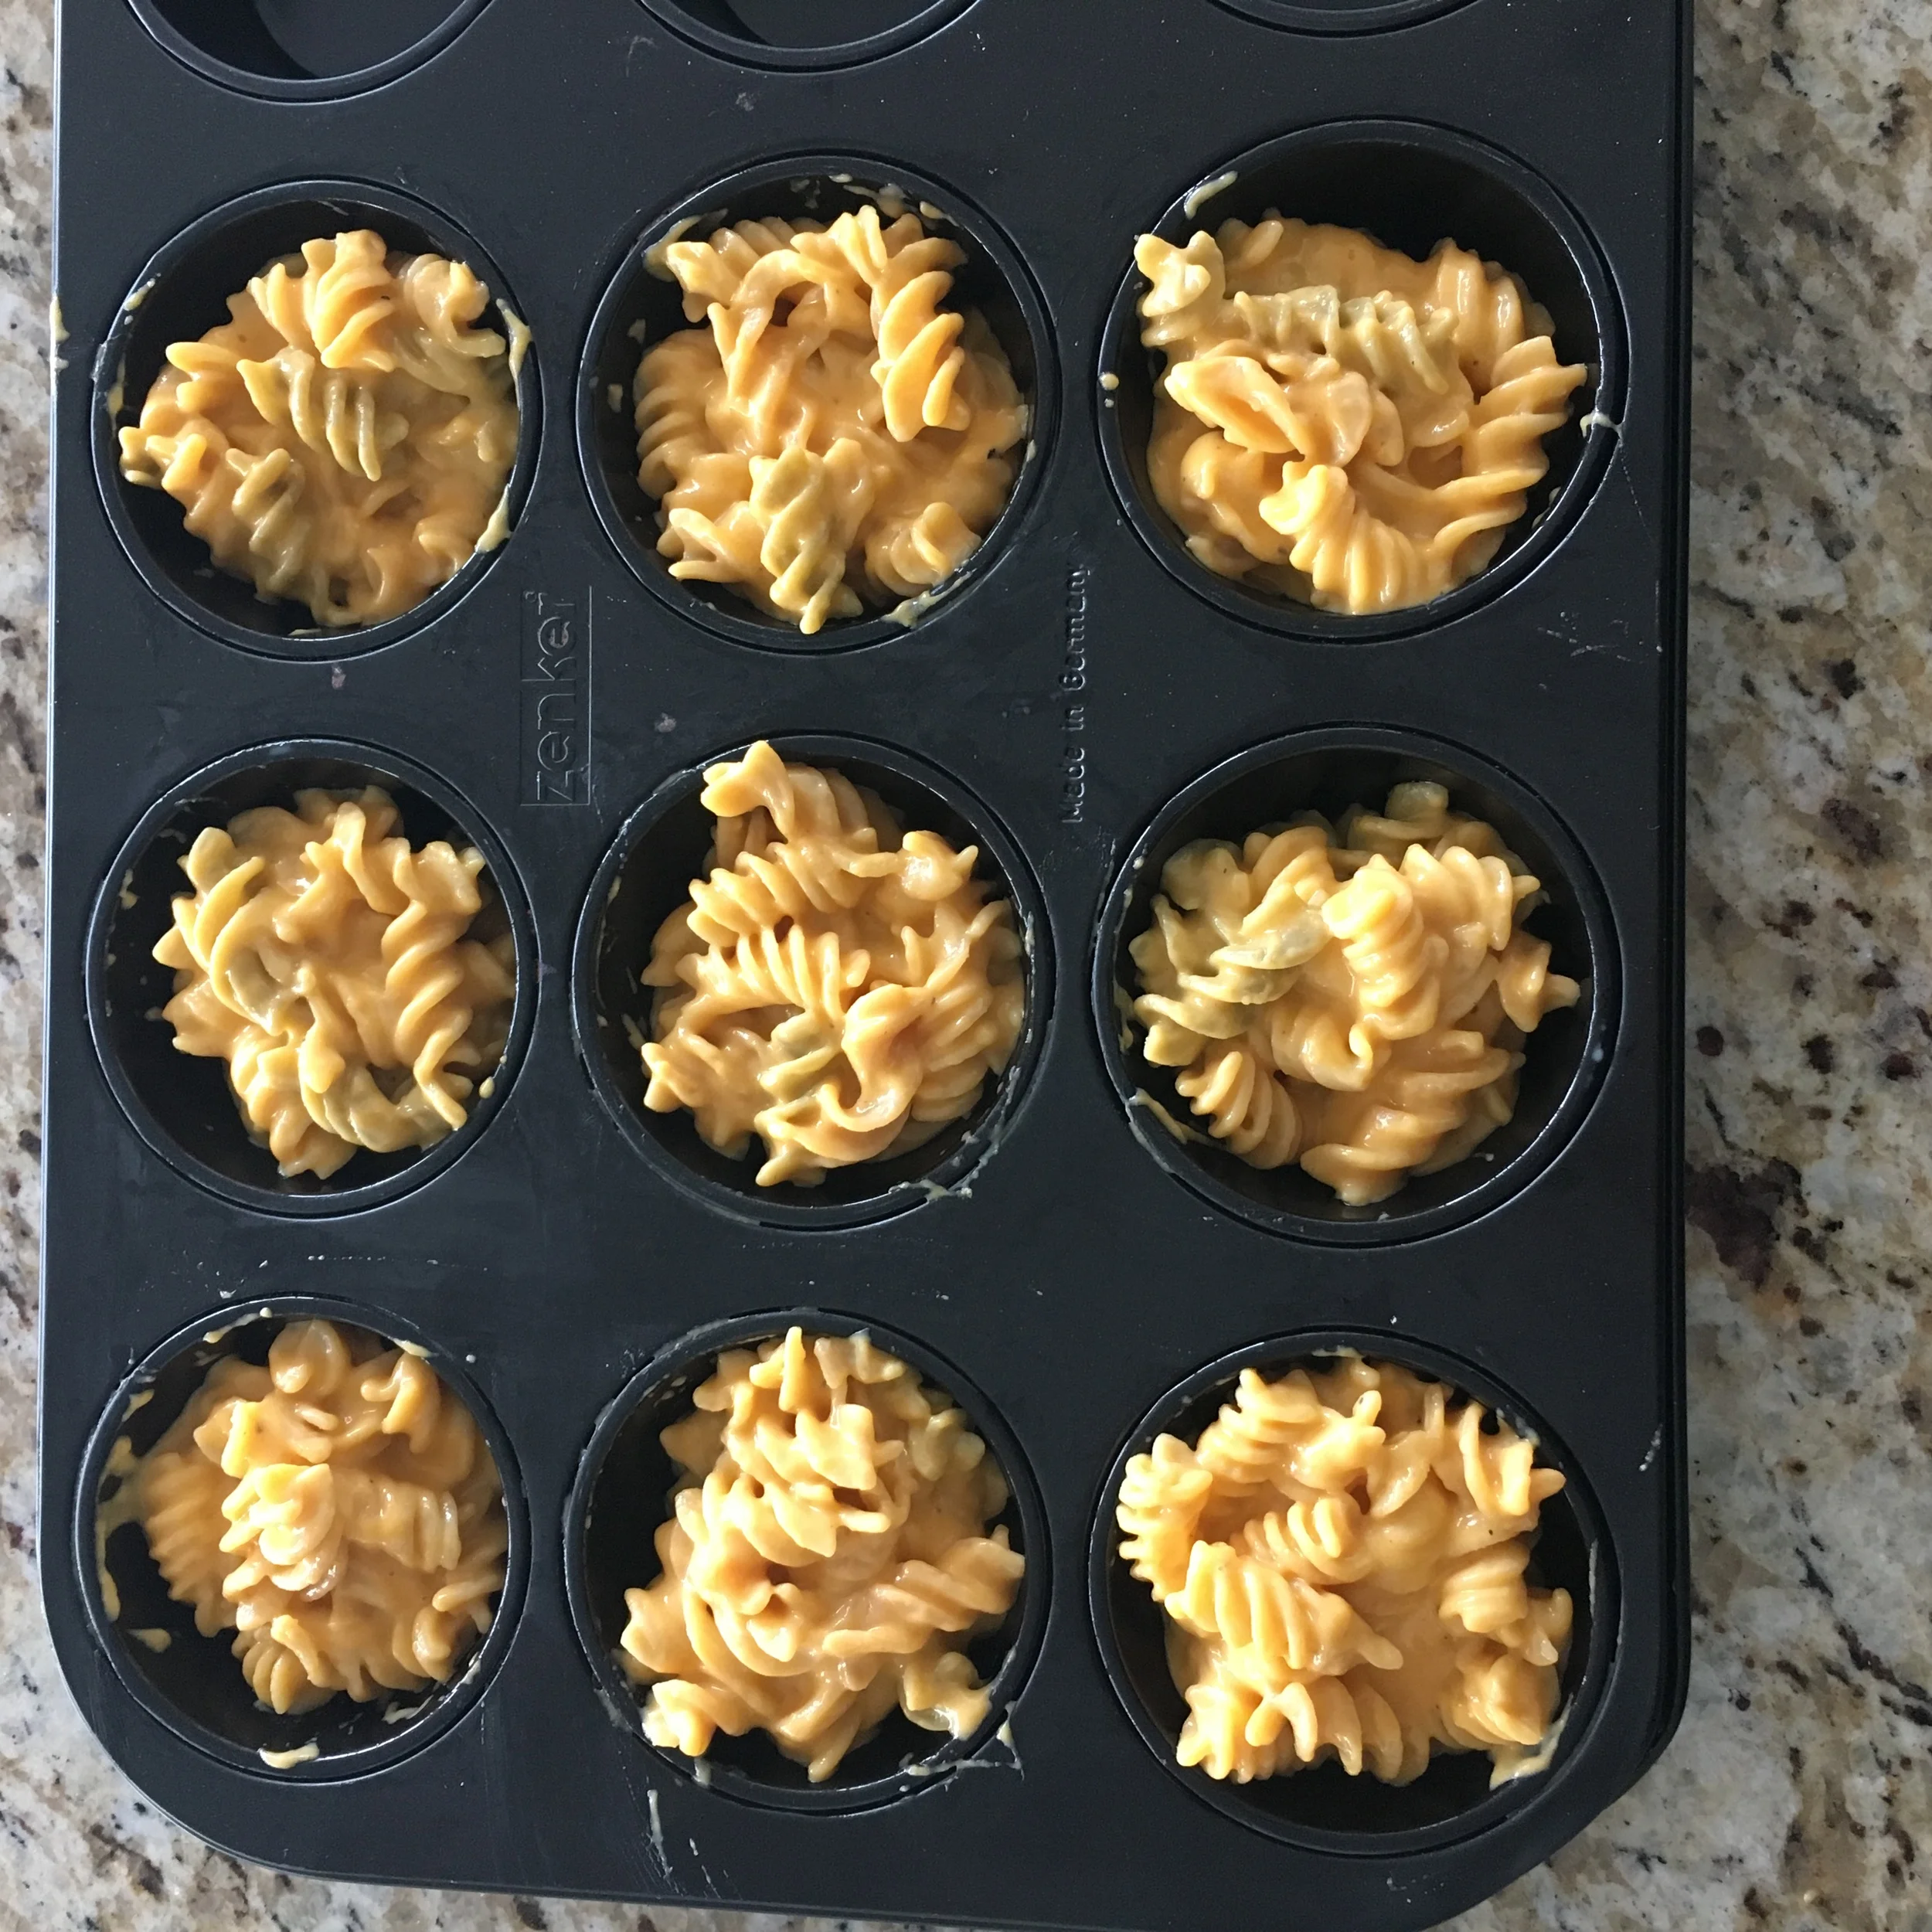
Scoop out pasta into your muffin tray (remember it has to be buttered or sprayed with non stick for easy removal later).

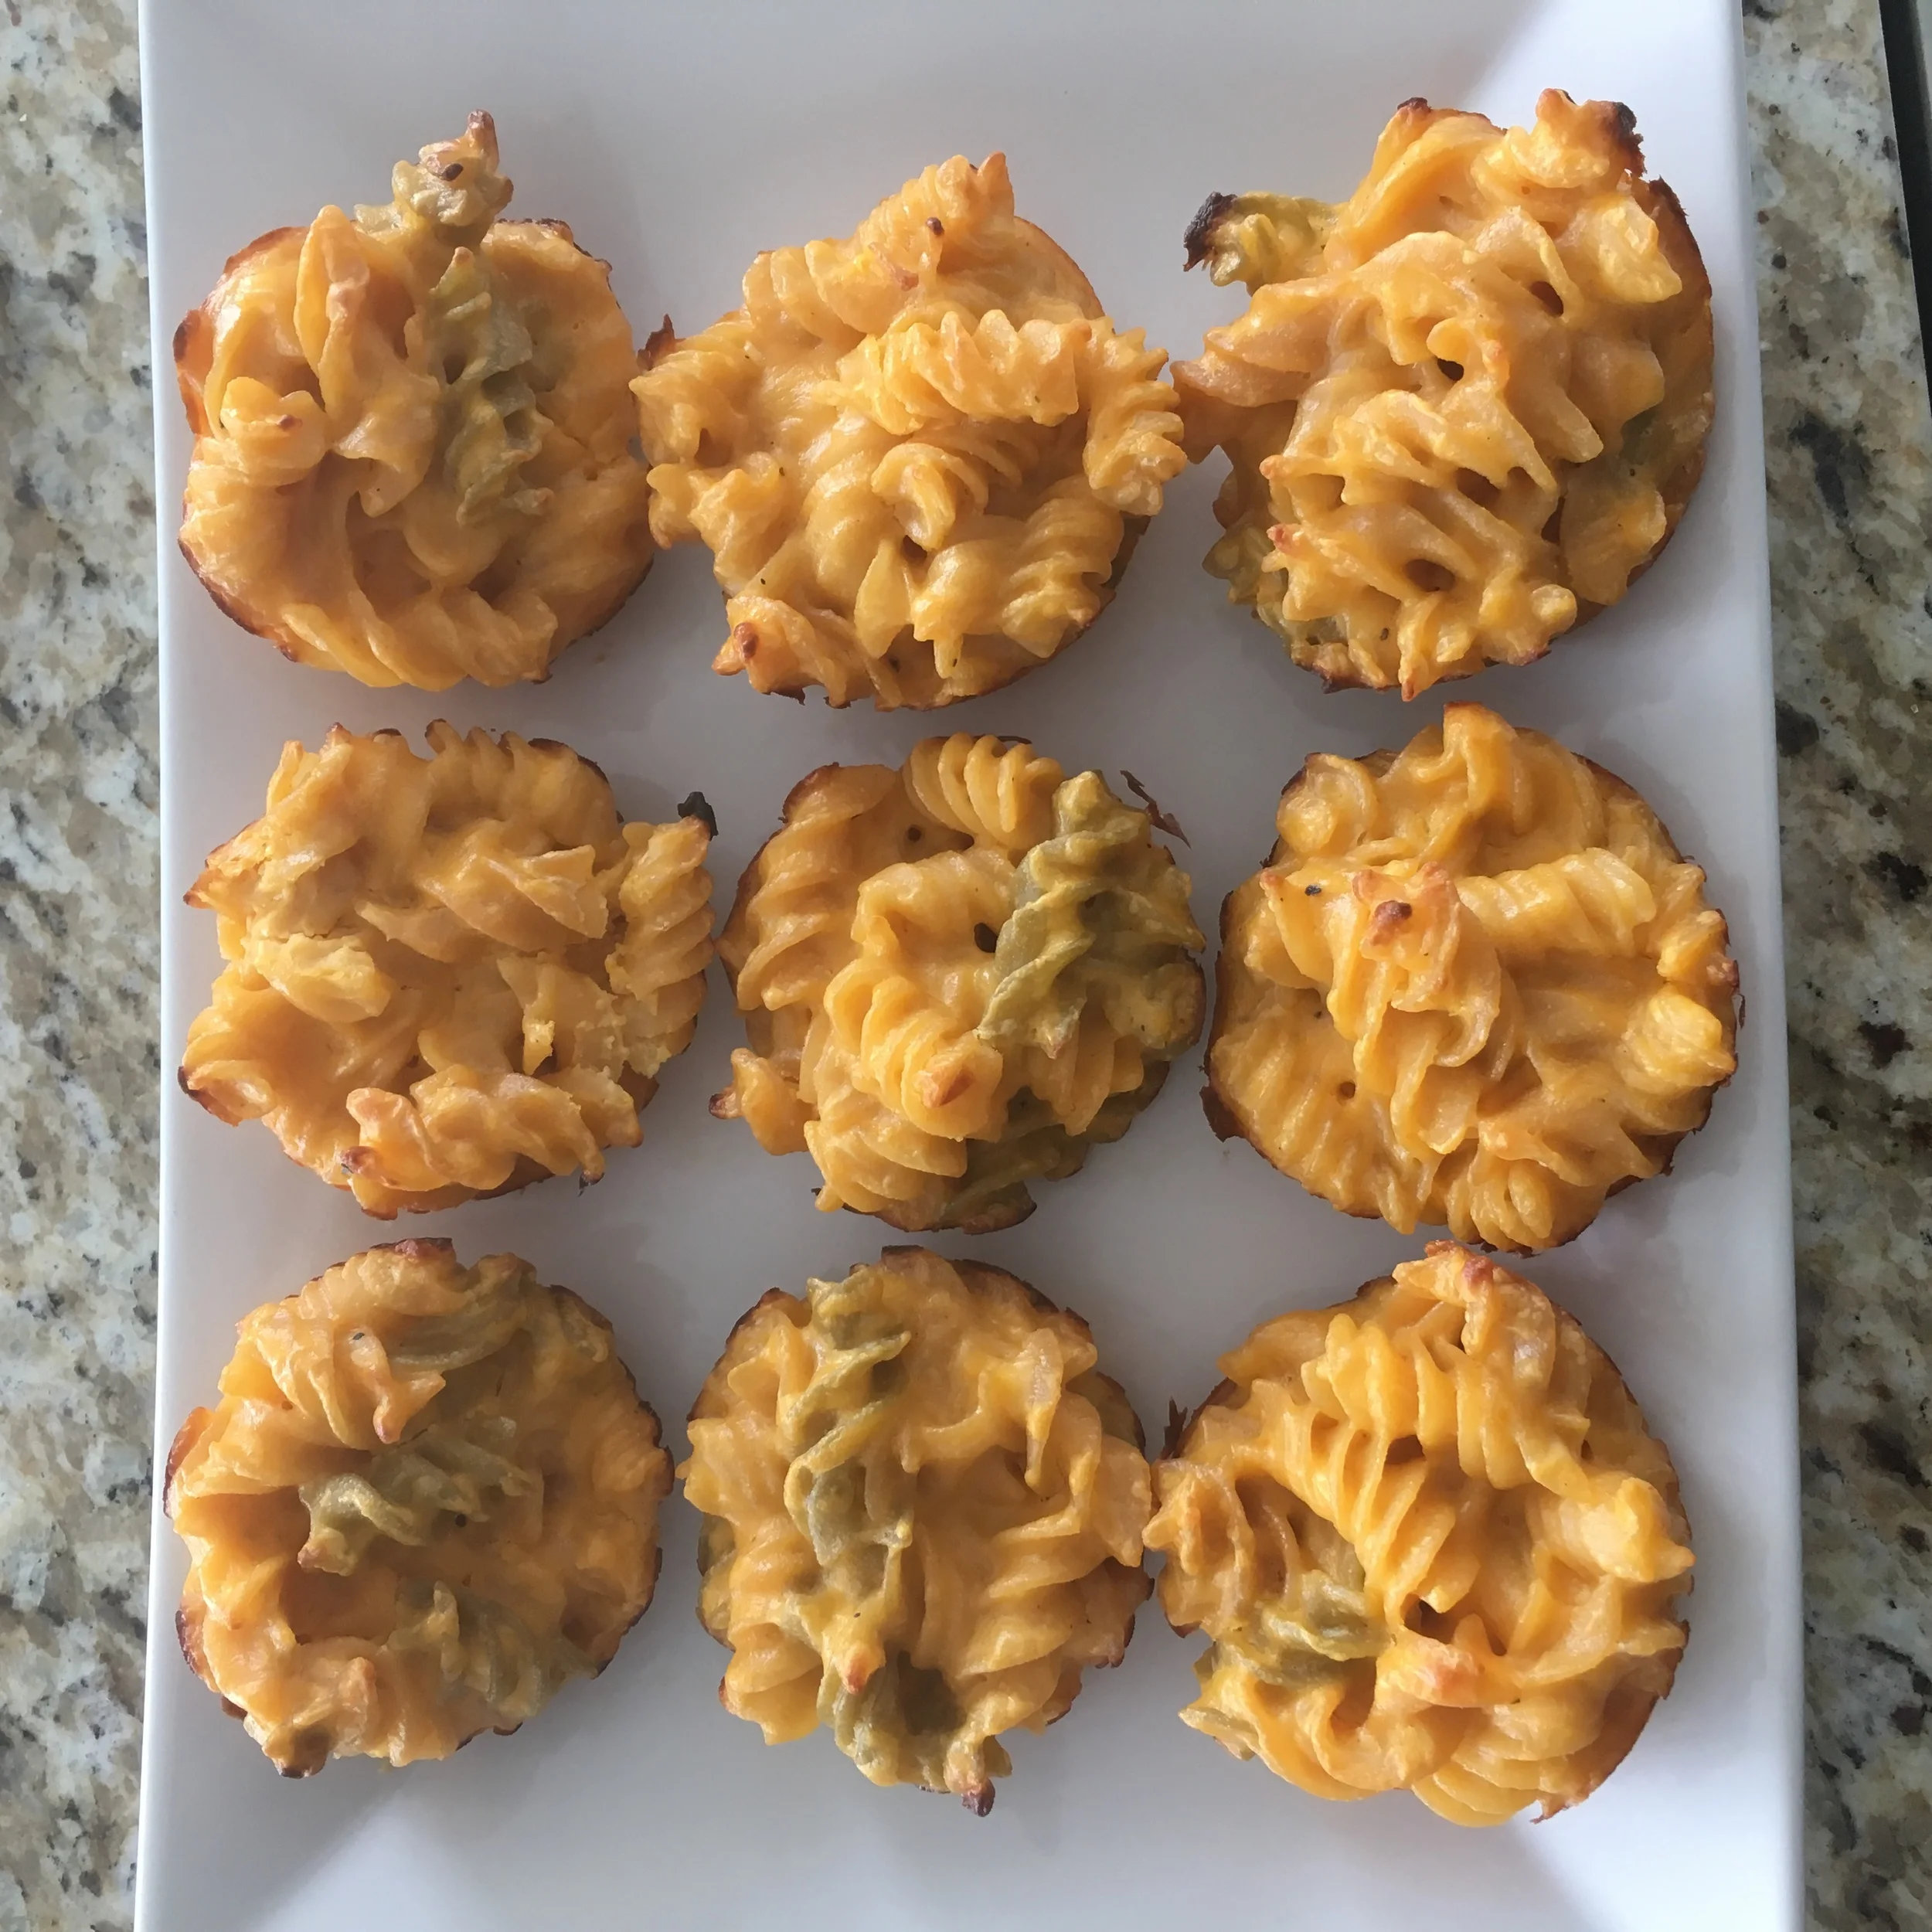
Place in oven and allow to bake for 16-17 minutes or until golden on the top!

Remove from oven and allow to cool for 5 minutes before removing from muffin tin.

They are now ready to serve! Enjoy!!!


I hope you enjoyed this recipe as much as I do. If you have any comments please leave them below and I'll be happy to answer them as soon as I can! Happy cooking!!!


SPICY LOBSTER QUINOA PASTA - GLUTEN FREE

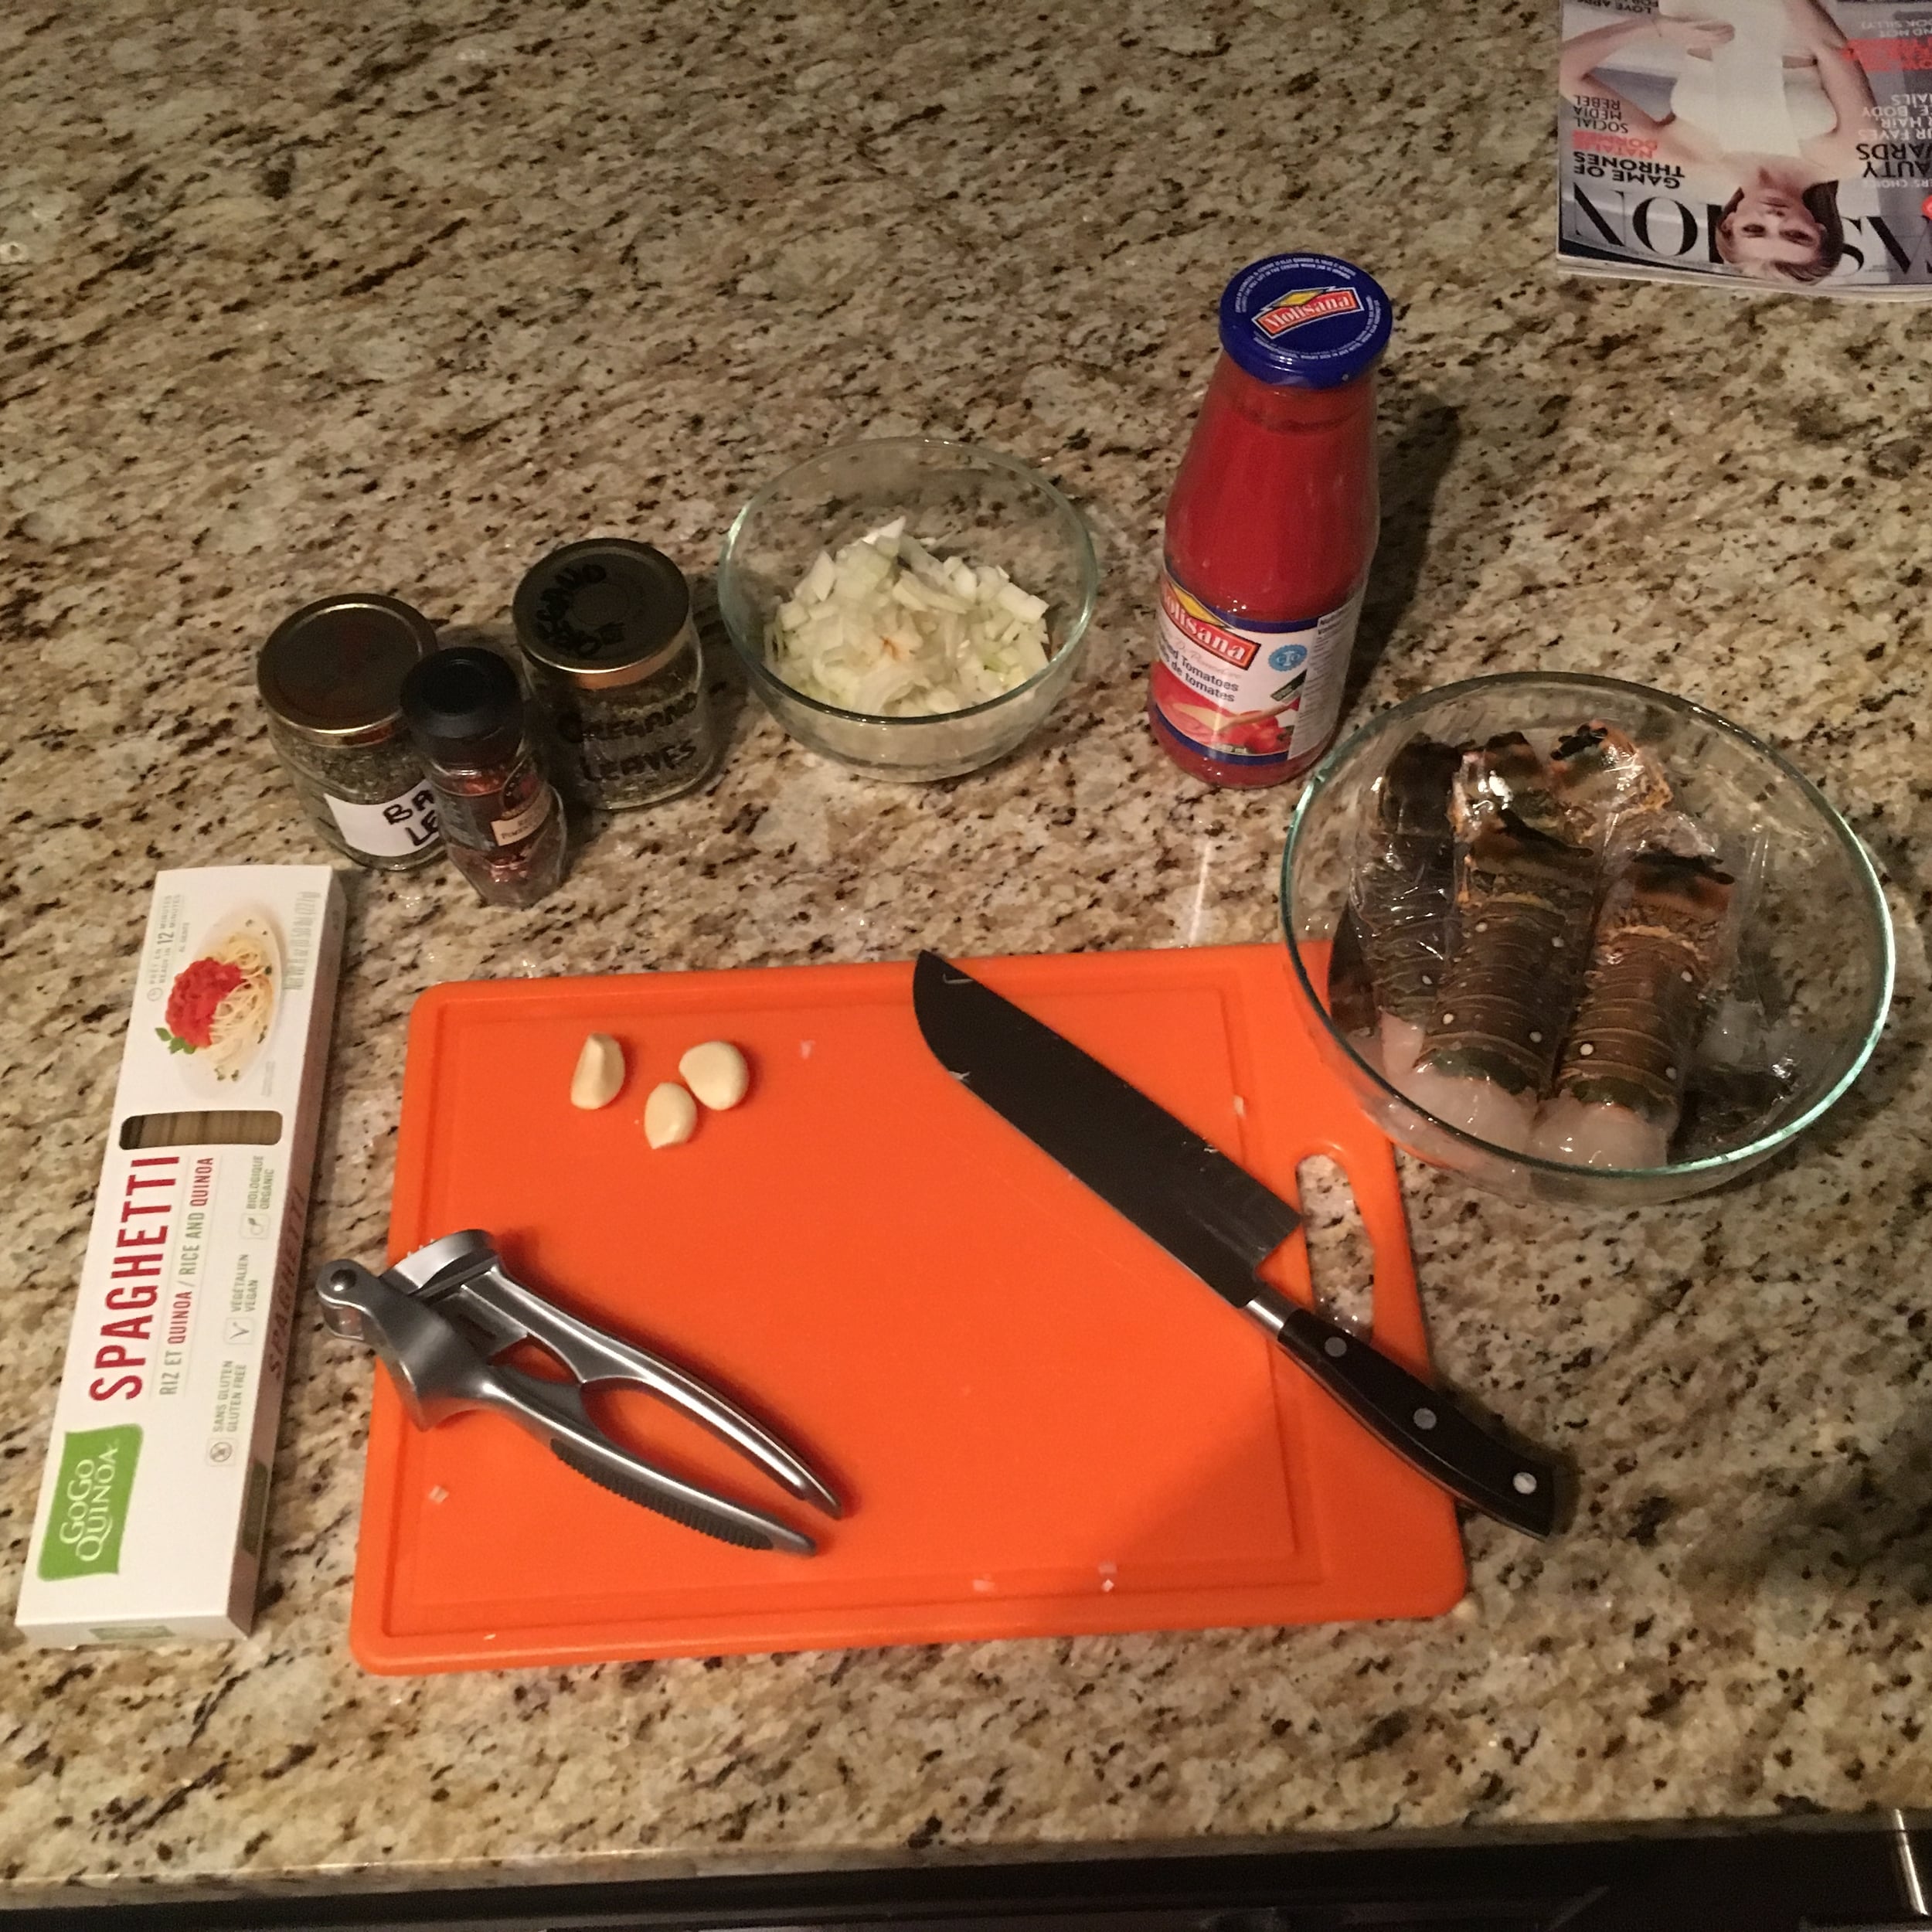
INGREDIENTS:

1 TBSP of Olive Oil
1 Medium Onion (chopped)
5 Cloves of Garlic (minced) - you will need to split 3/5 cloves for the sauce
1 TSP of Chili Flakes
1 TSP of Dried Basil
1 TSP of Dried Oregano
Salt and Pepper to taste
1 Bottle of Tomato Pomodoro (strained tomato sauce)
1 TSP of Butter
6 Lobster Tails (thawed 4 chopped up 2 left whole)
1 Pack of Quinoa Pasta

DIRECTIONS:

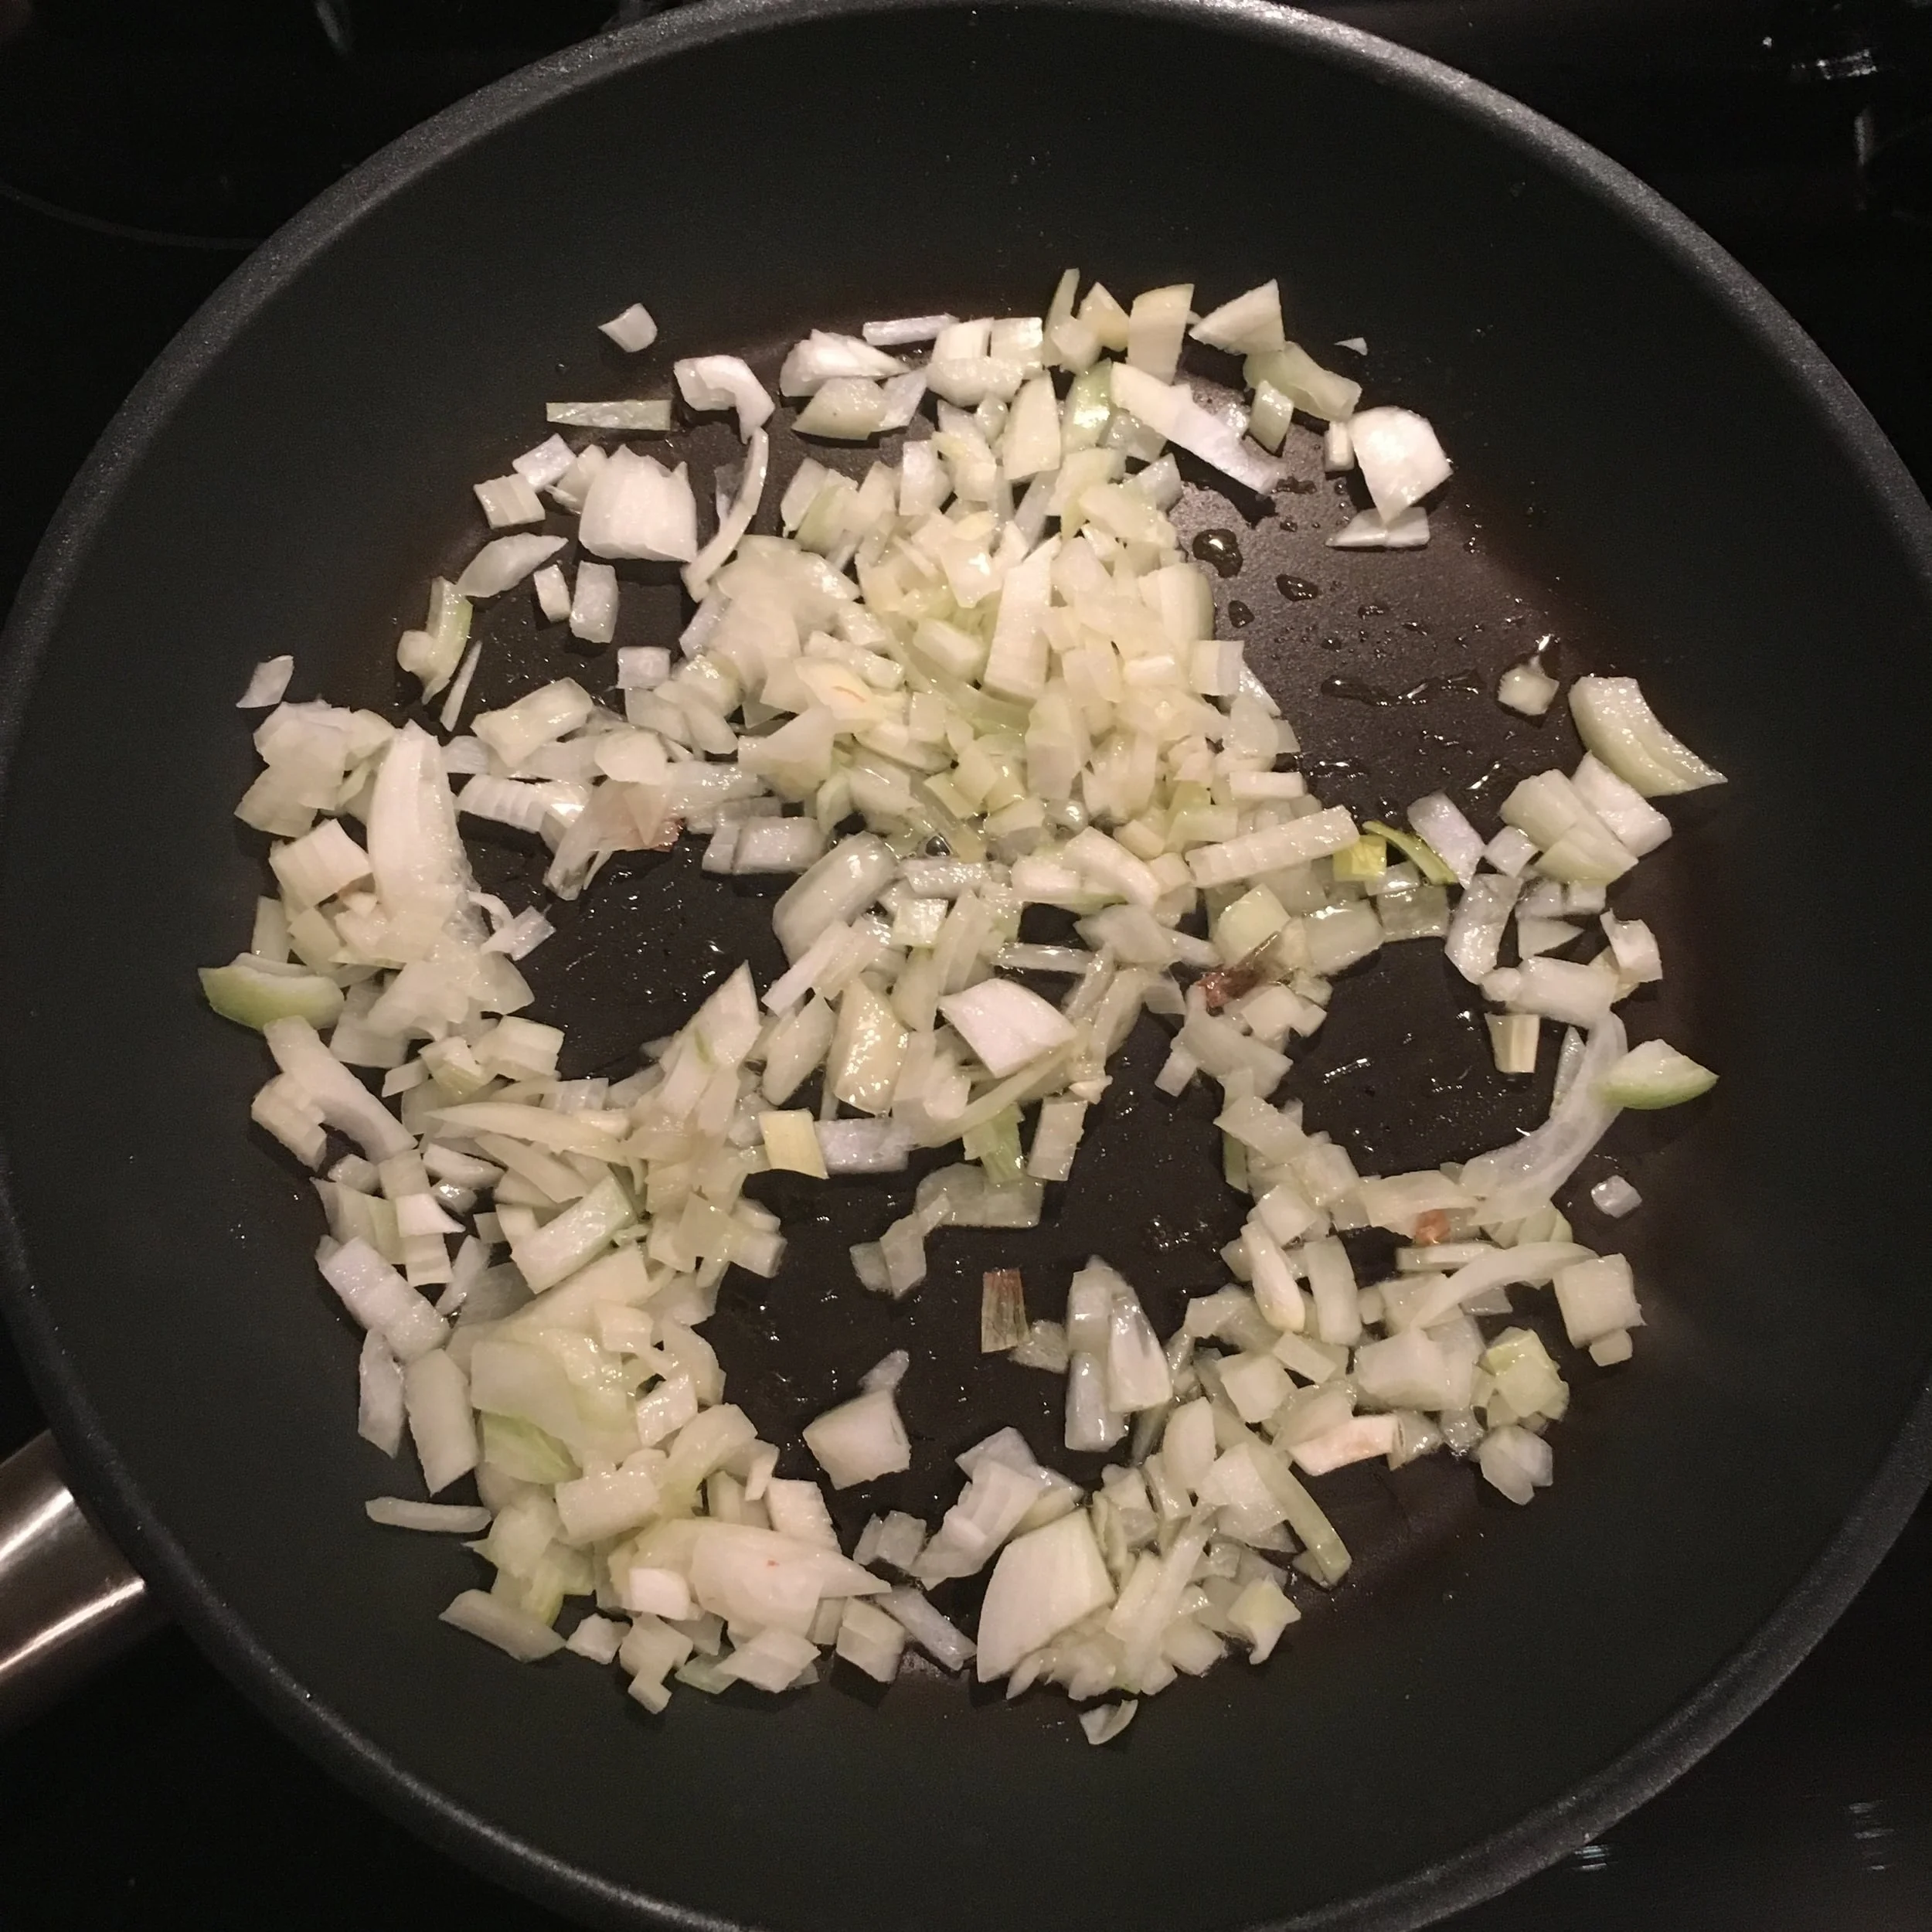
Add oil to a sauce pan and heat up on medium heat. Add in your onion and 3 cloves of garlic and let them sweat.

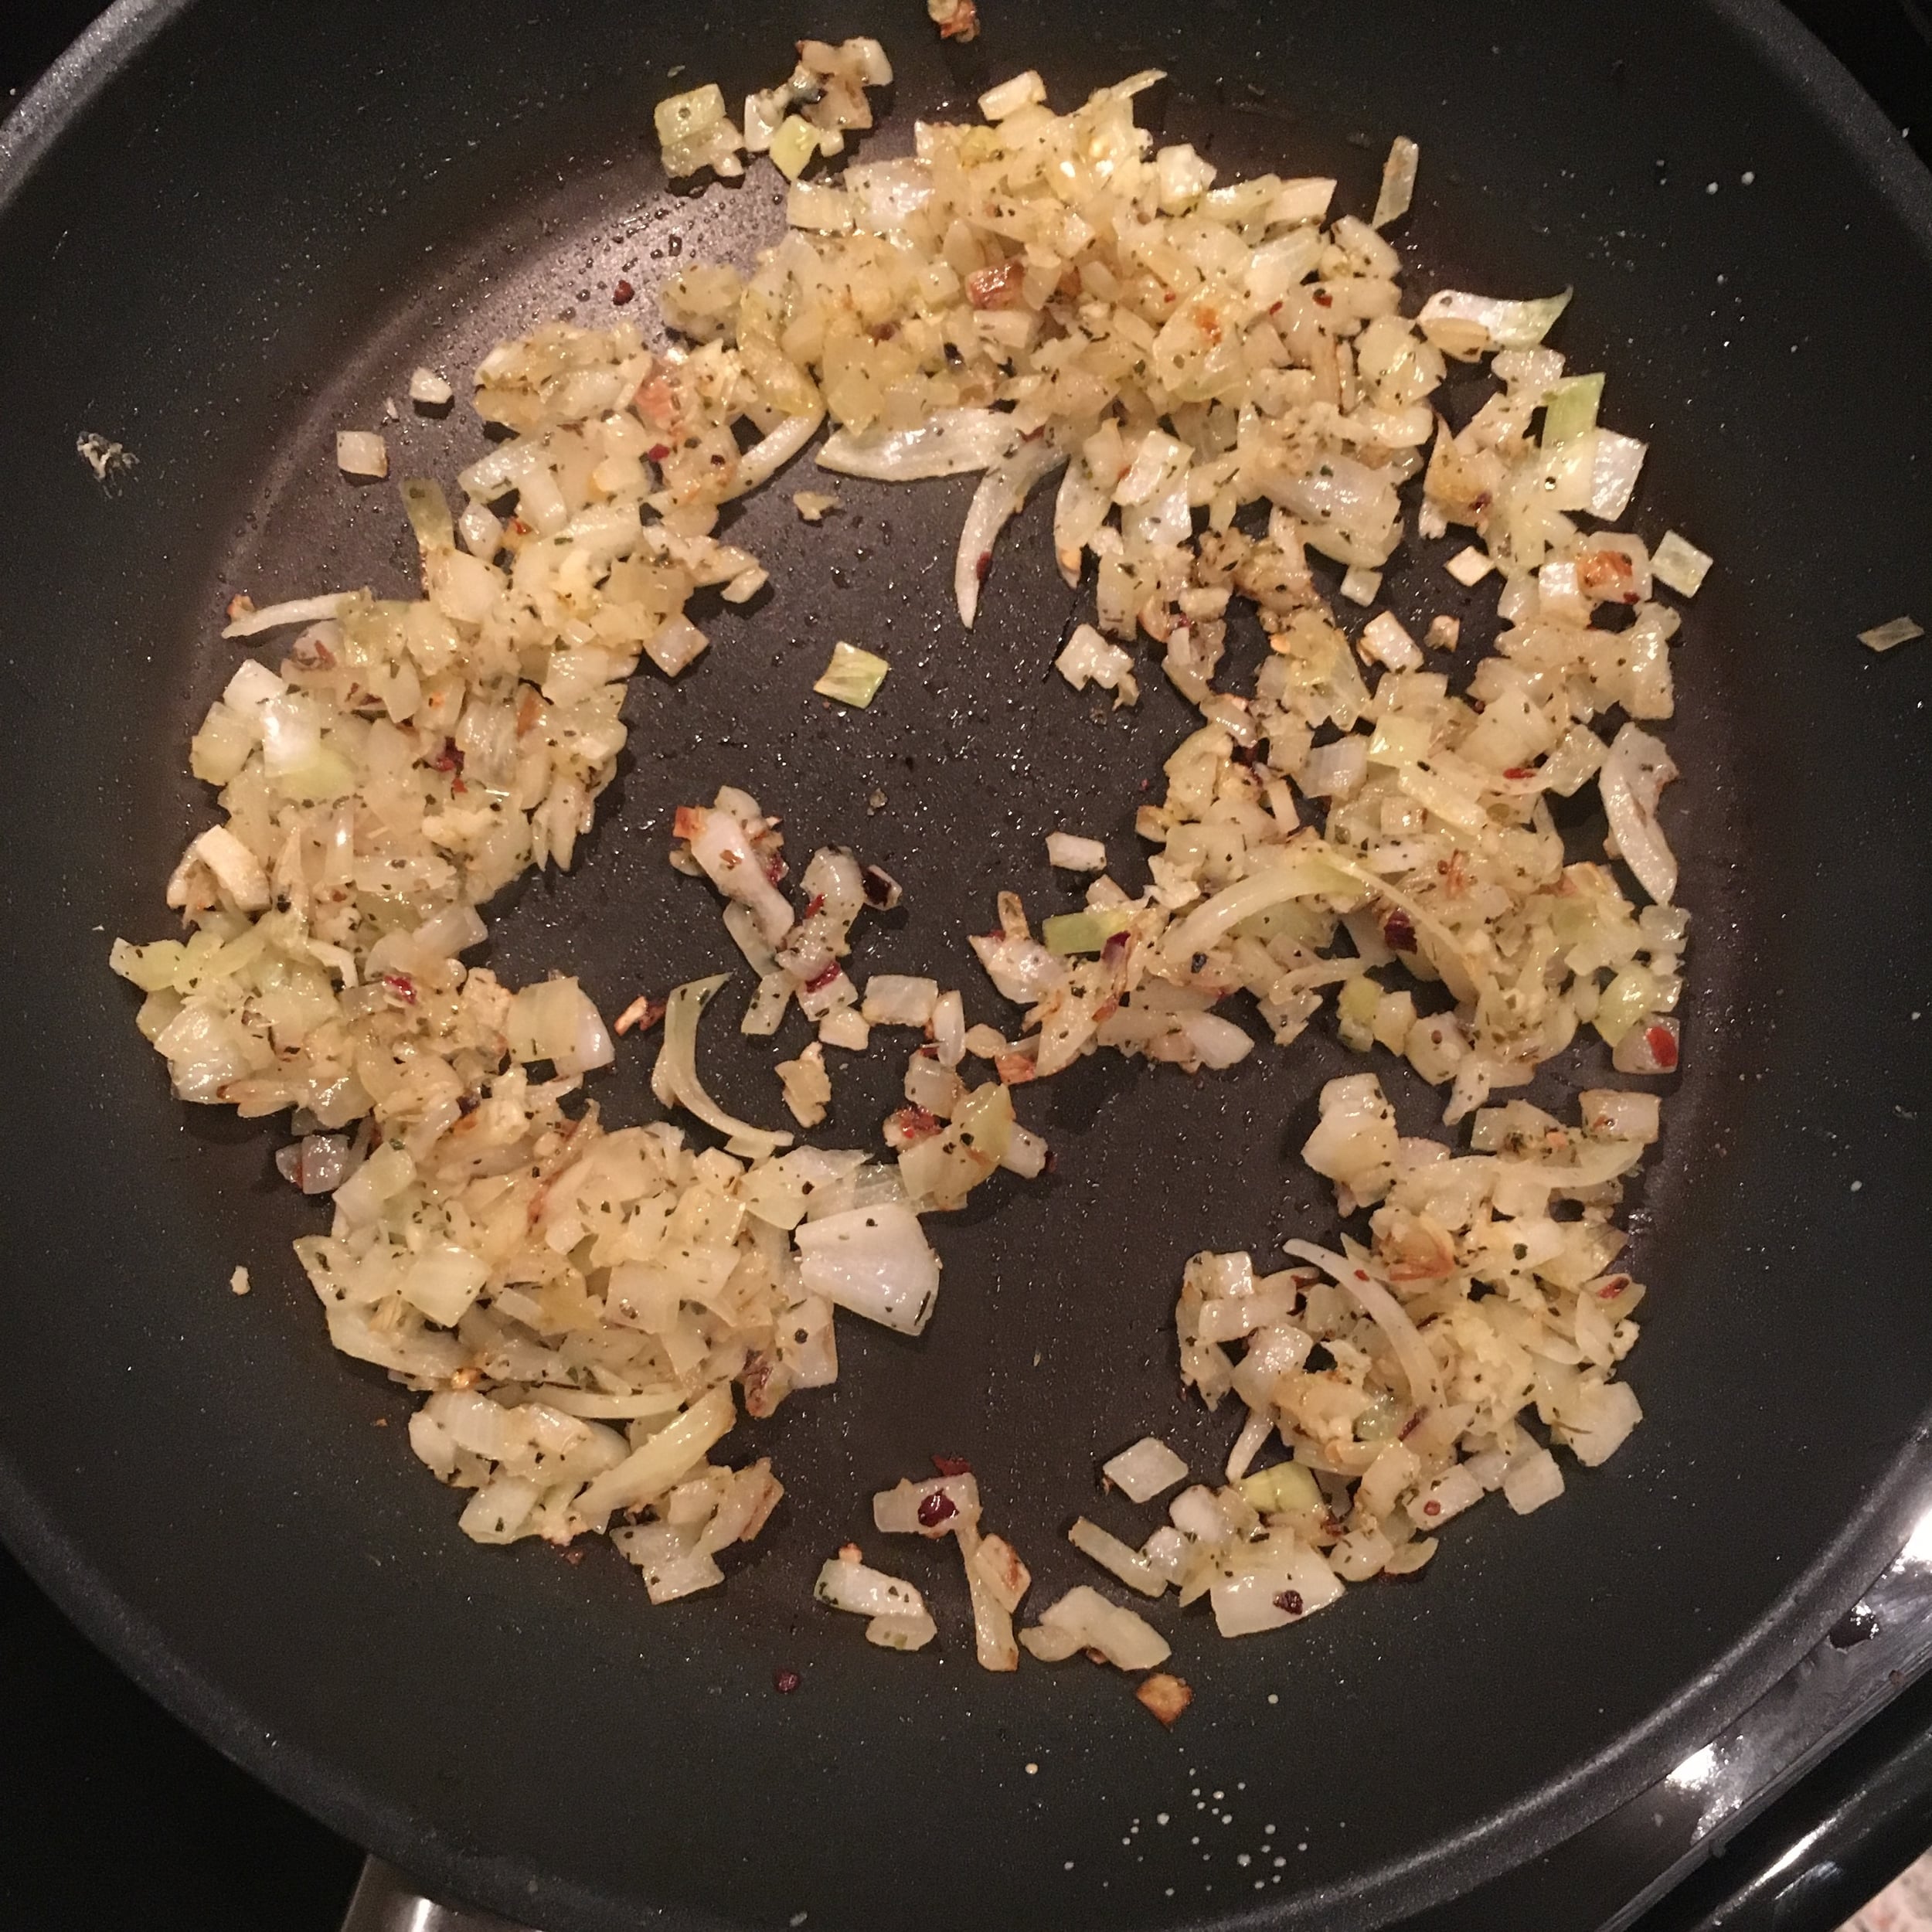
Add in chili flakes, basil, oregano and salt and pepper. Stir around and let evenly mix

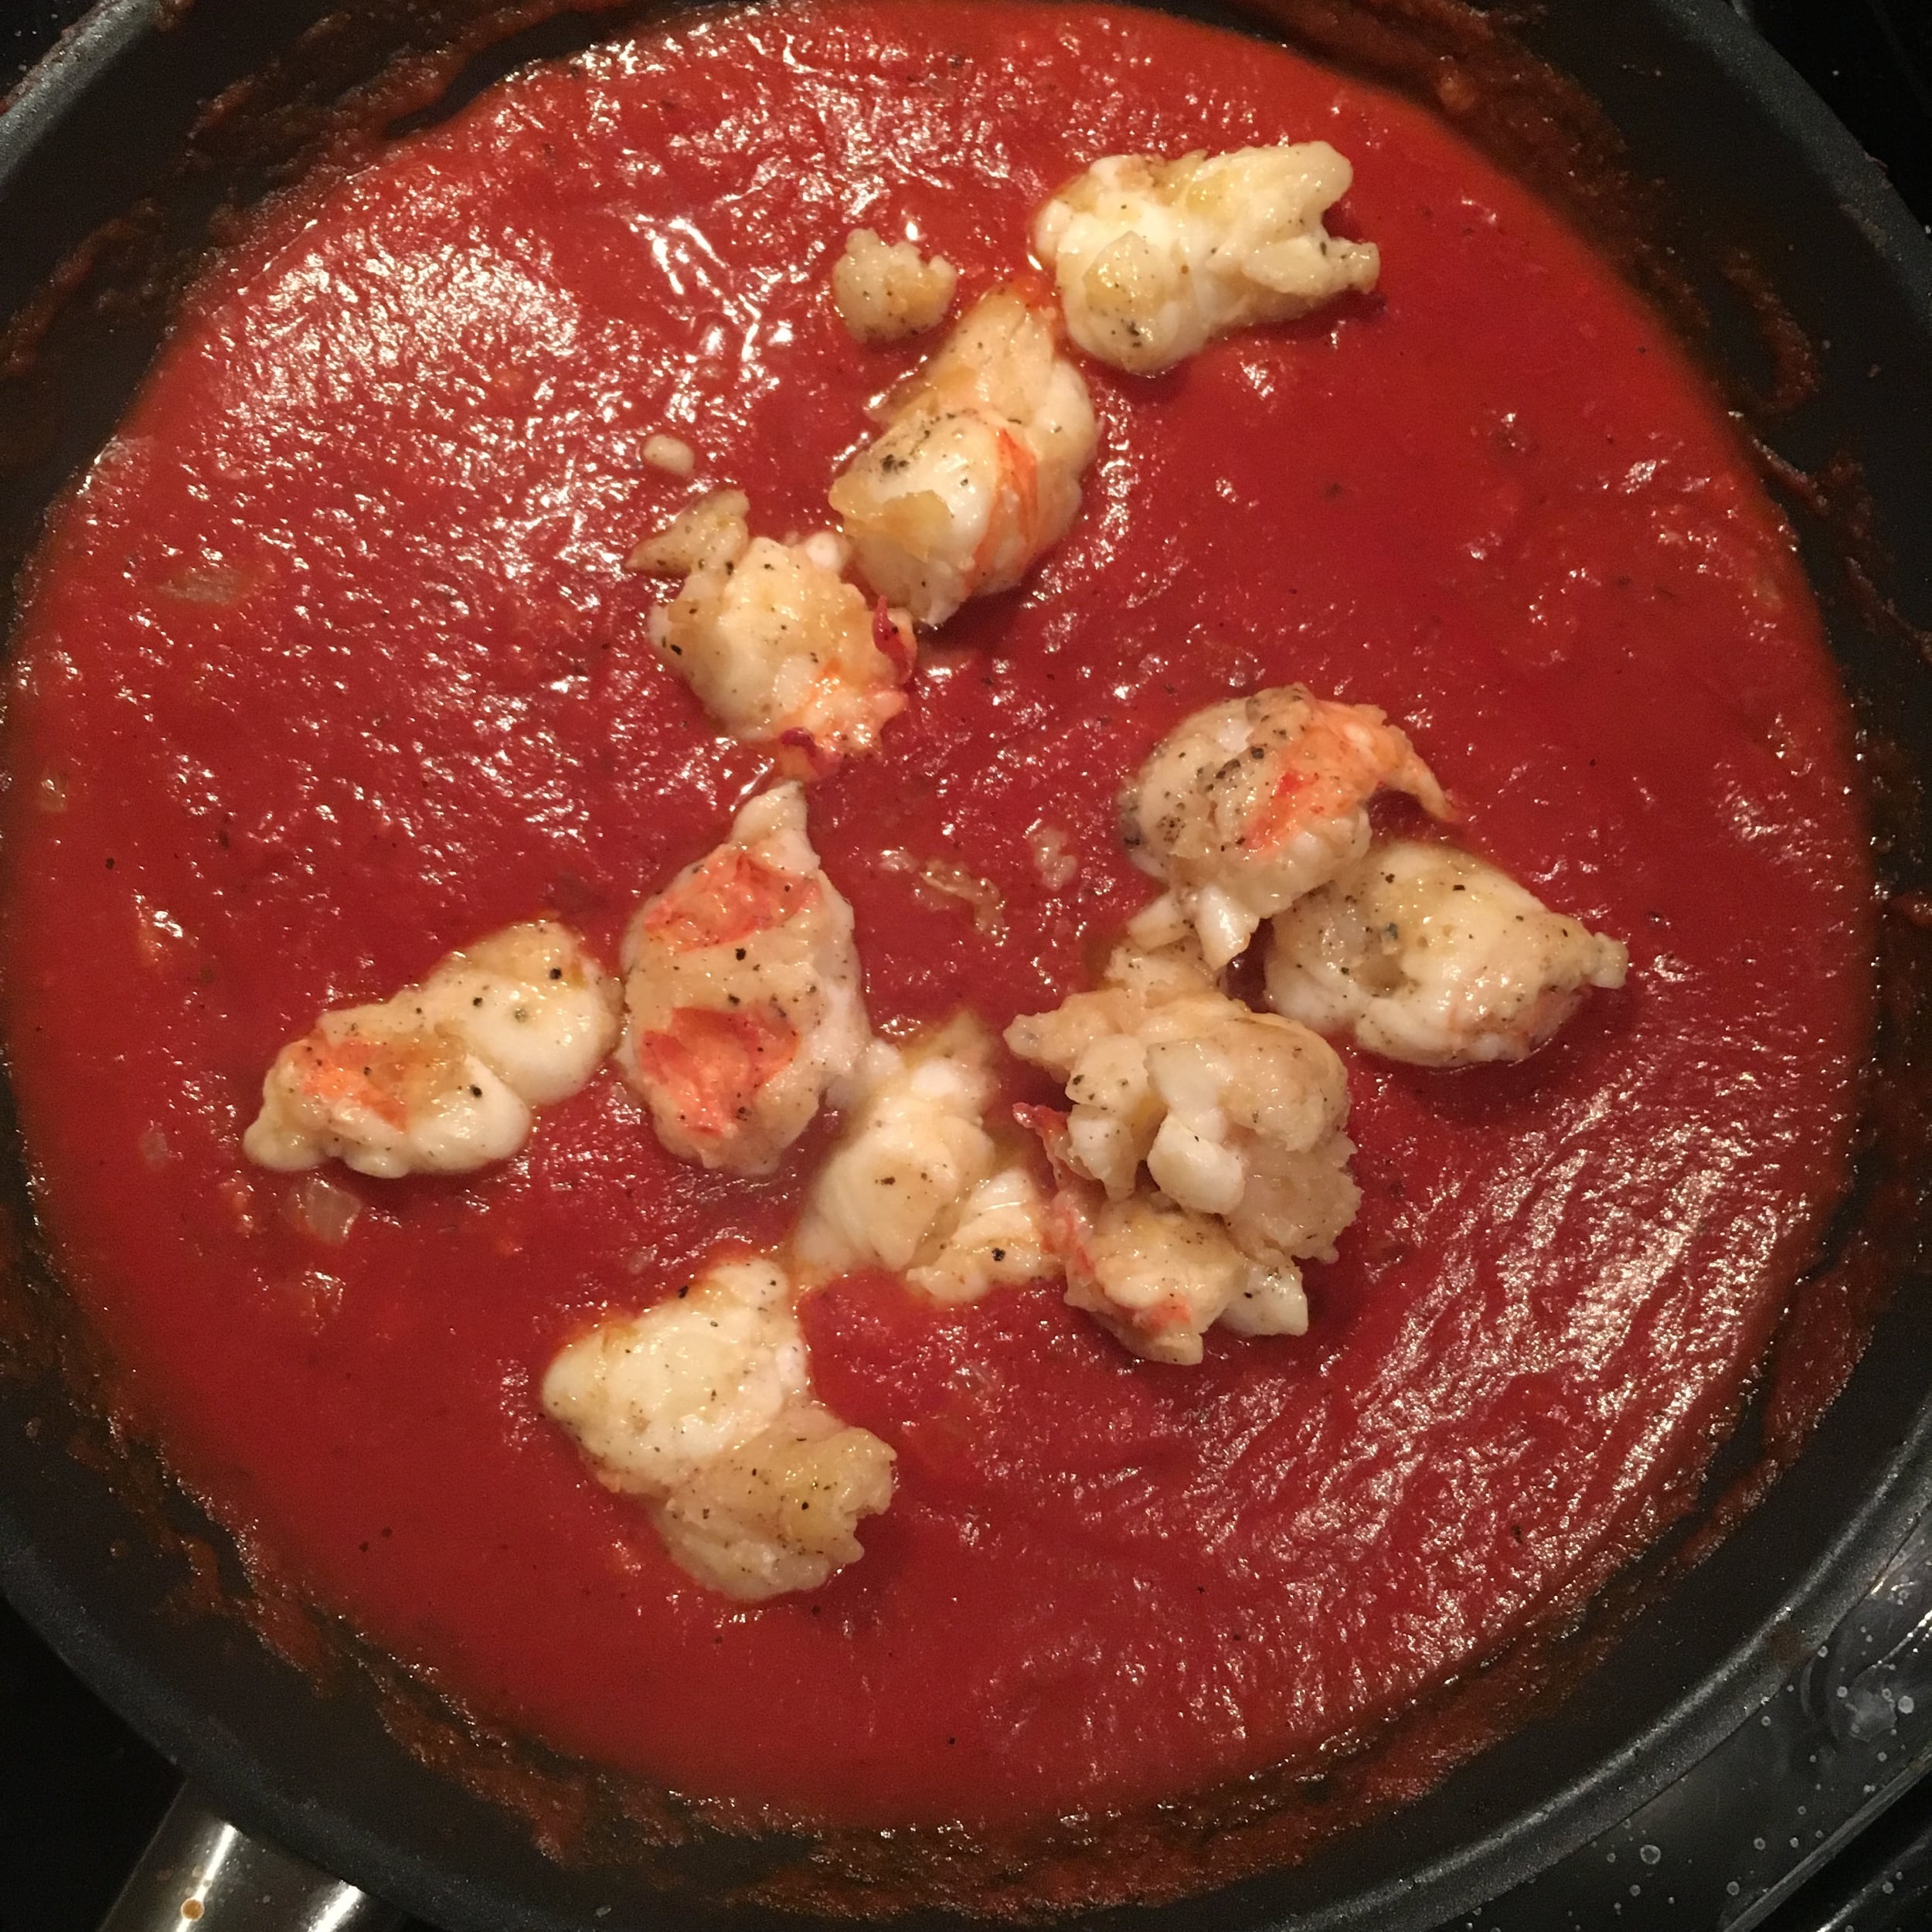
Once onions are garlic are nicely cooked add in your bottle of pomodoro tomato sauce, reduce heat to low and set aside to simmer.

Start to boil your water for the pasta.

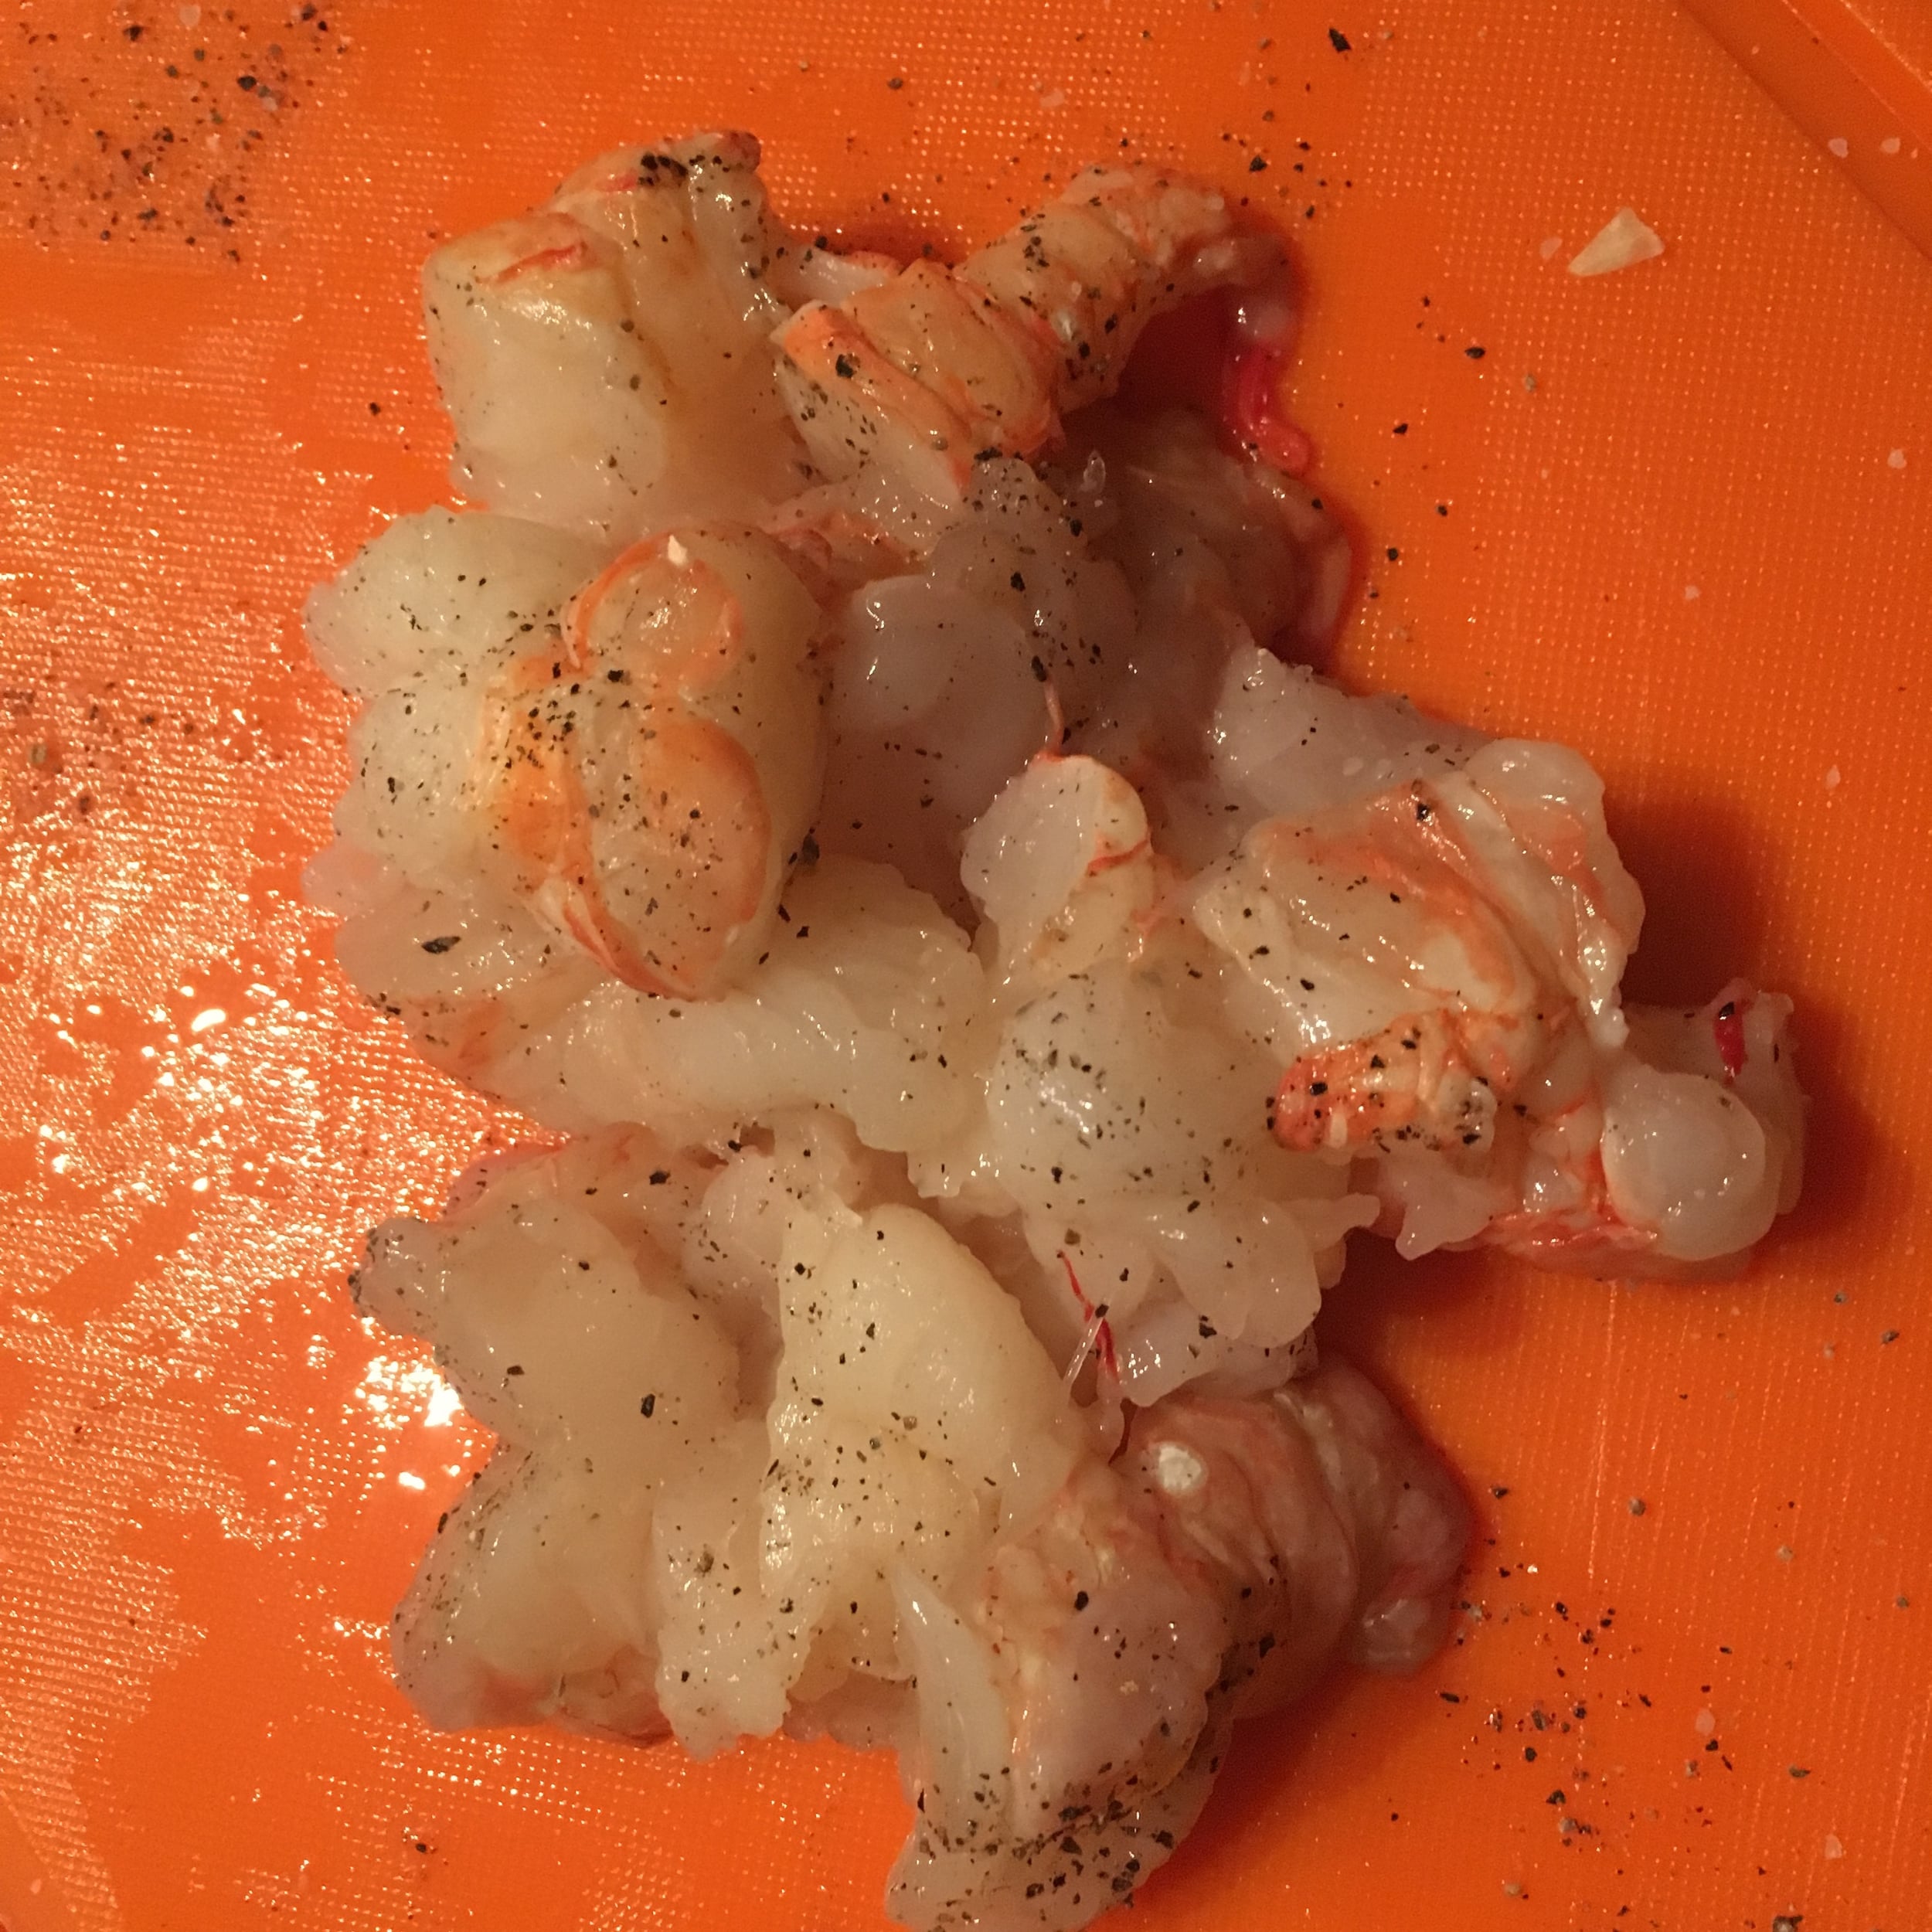
Salt and pepper your chopped lobster bits lightly

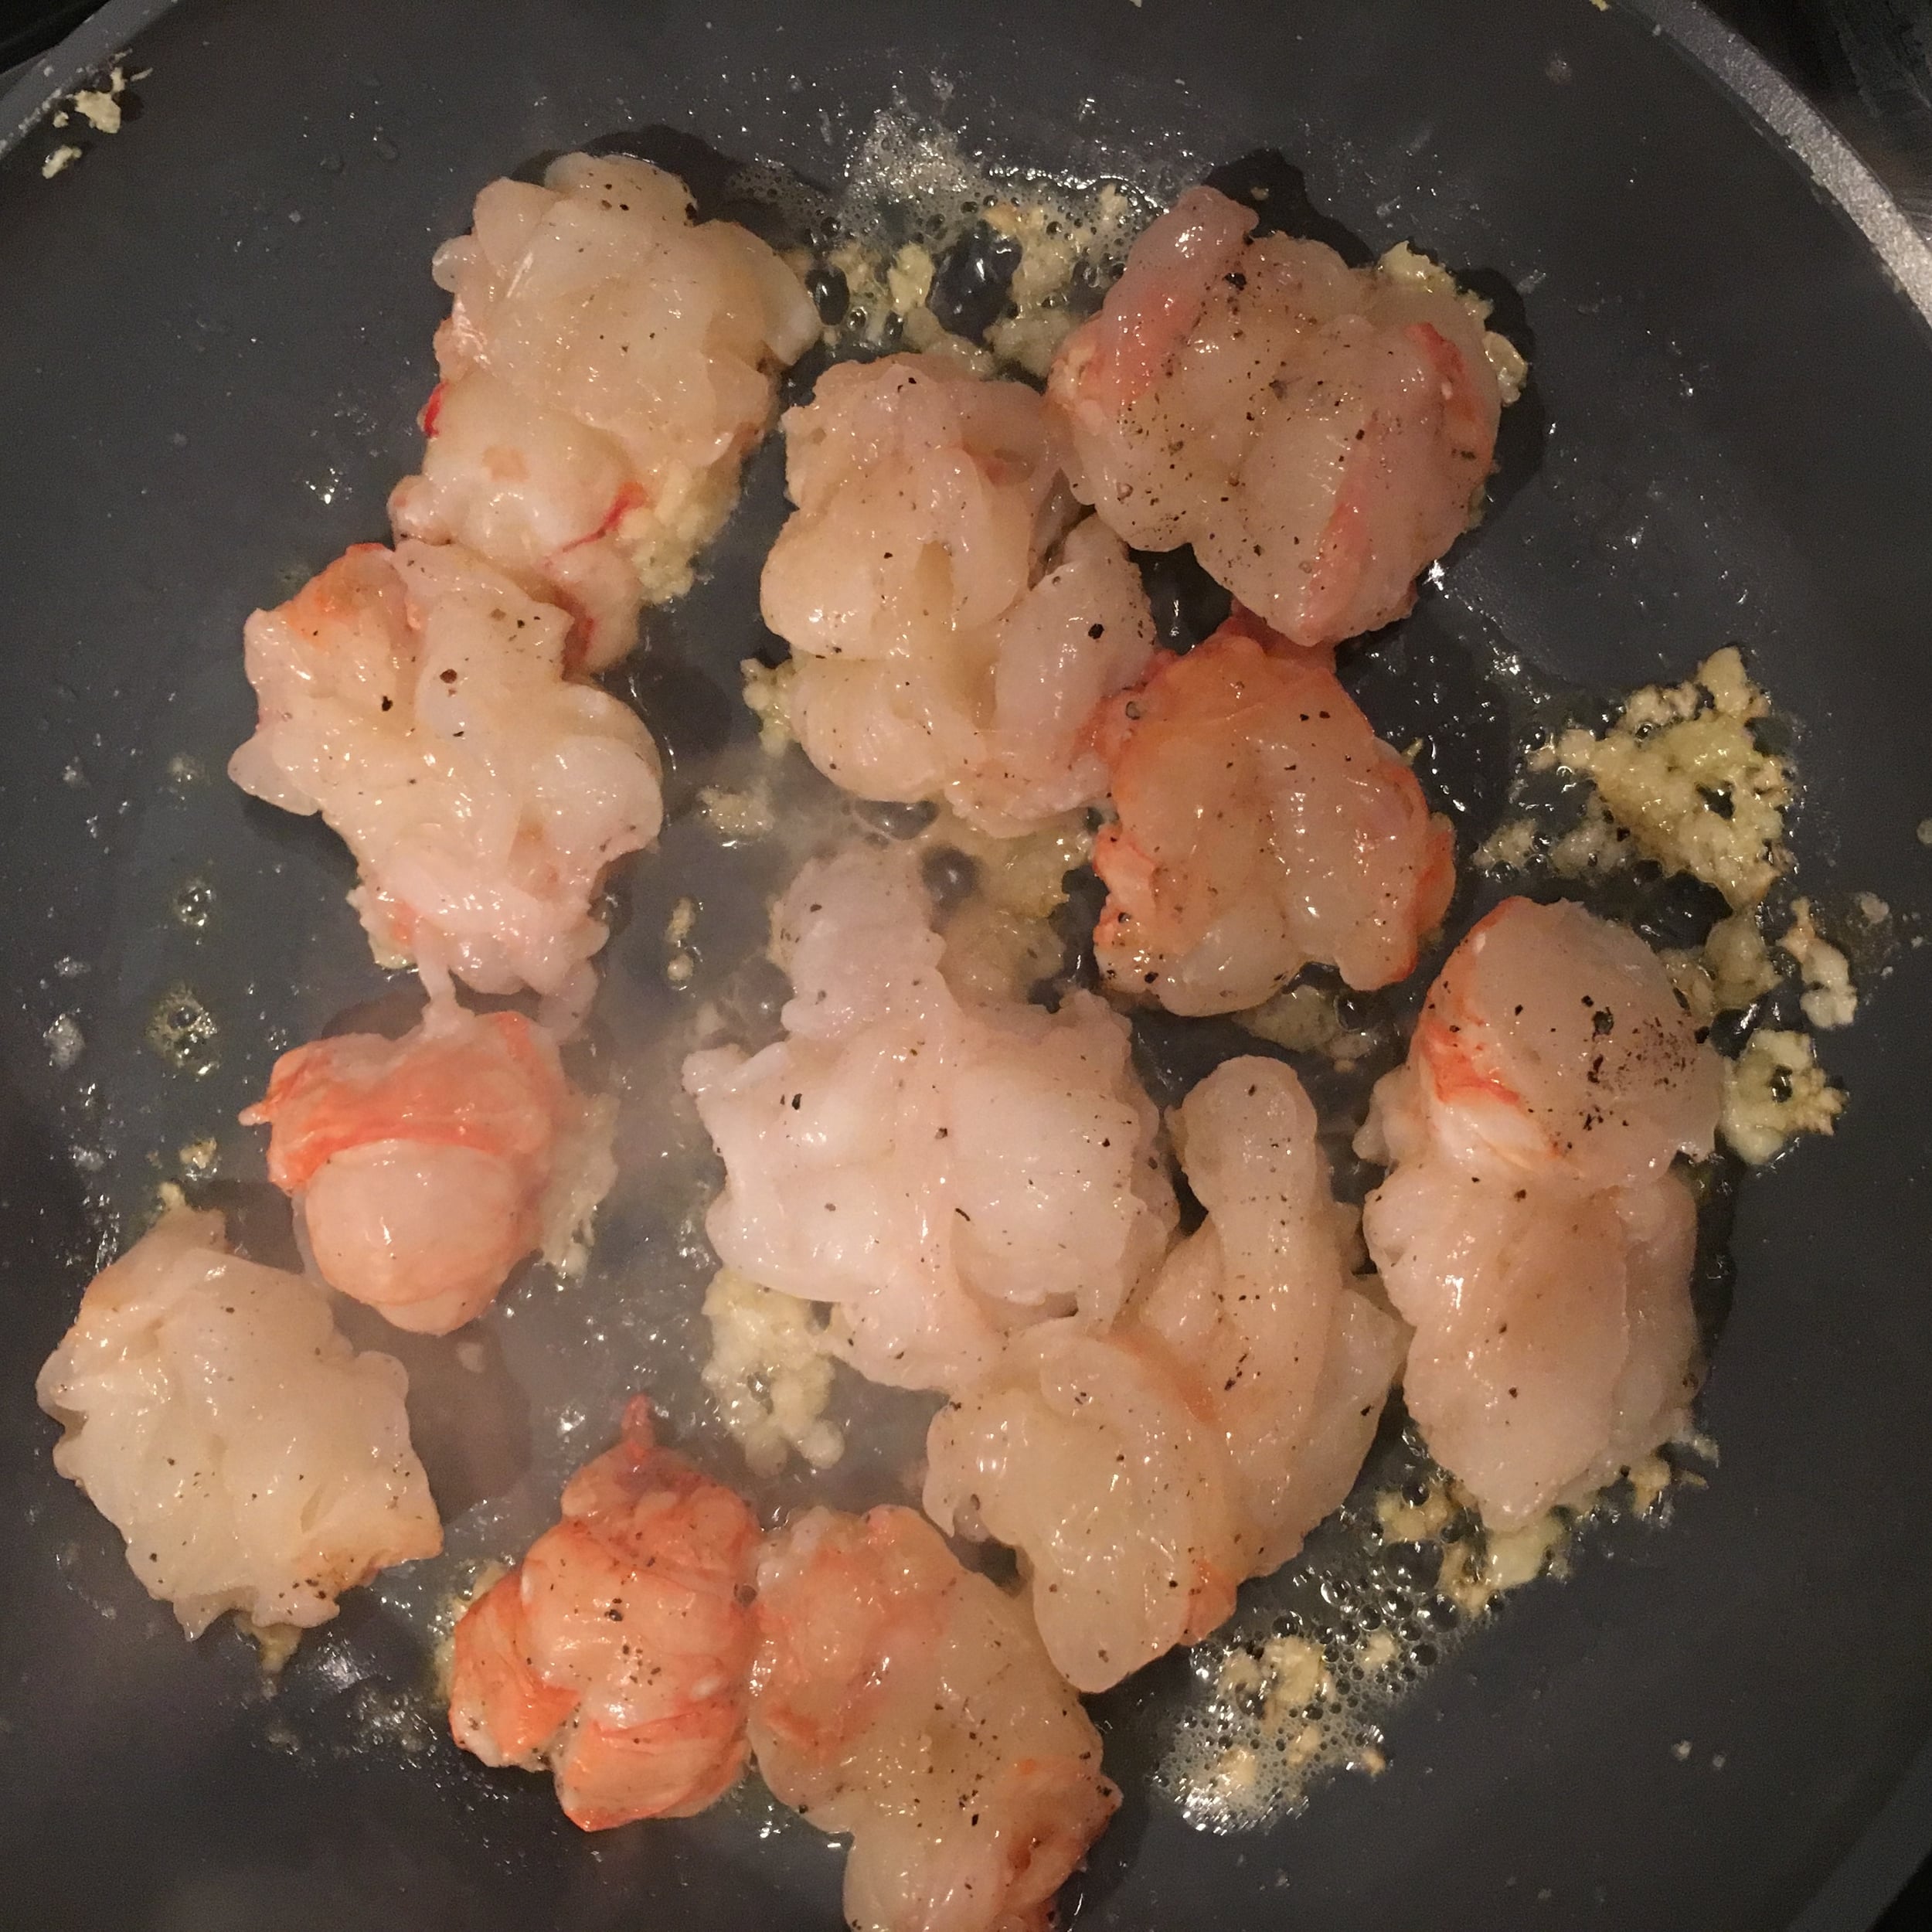
In another skillet add in your butter and let melt on medium -low heat. Add in the remaining garlic and allow to season the butter for a second until you add in the chopped lobster bits.

Once the lobster bits are cooked through (apx 4-5minutes) then add cook lobster bits to the tomato sauce. Stir lobster into the tomato sauce and leave to continue to simmer

When the water is boiling add 1 TSP of salt to the water before adding in your quinoa pasta. You need to stir quinoa pasta for the first two minutes so that it doesn't stick together then let it continue to cook for an addition 10 minutes before it is al dente.

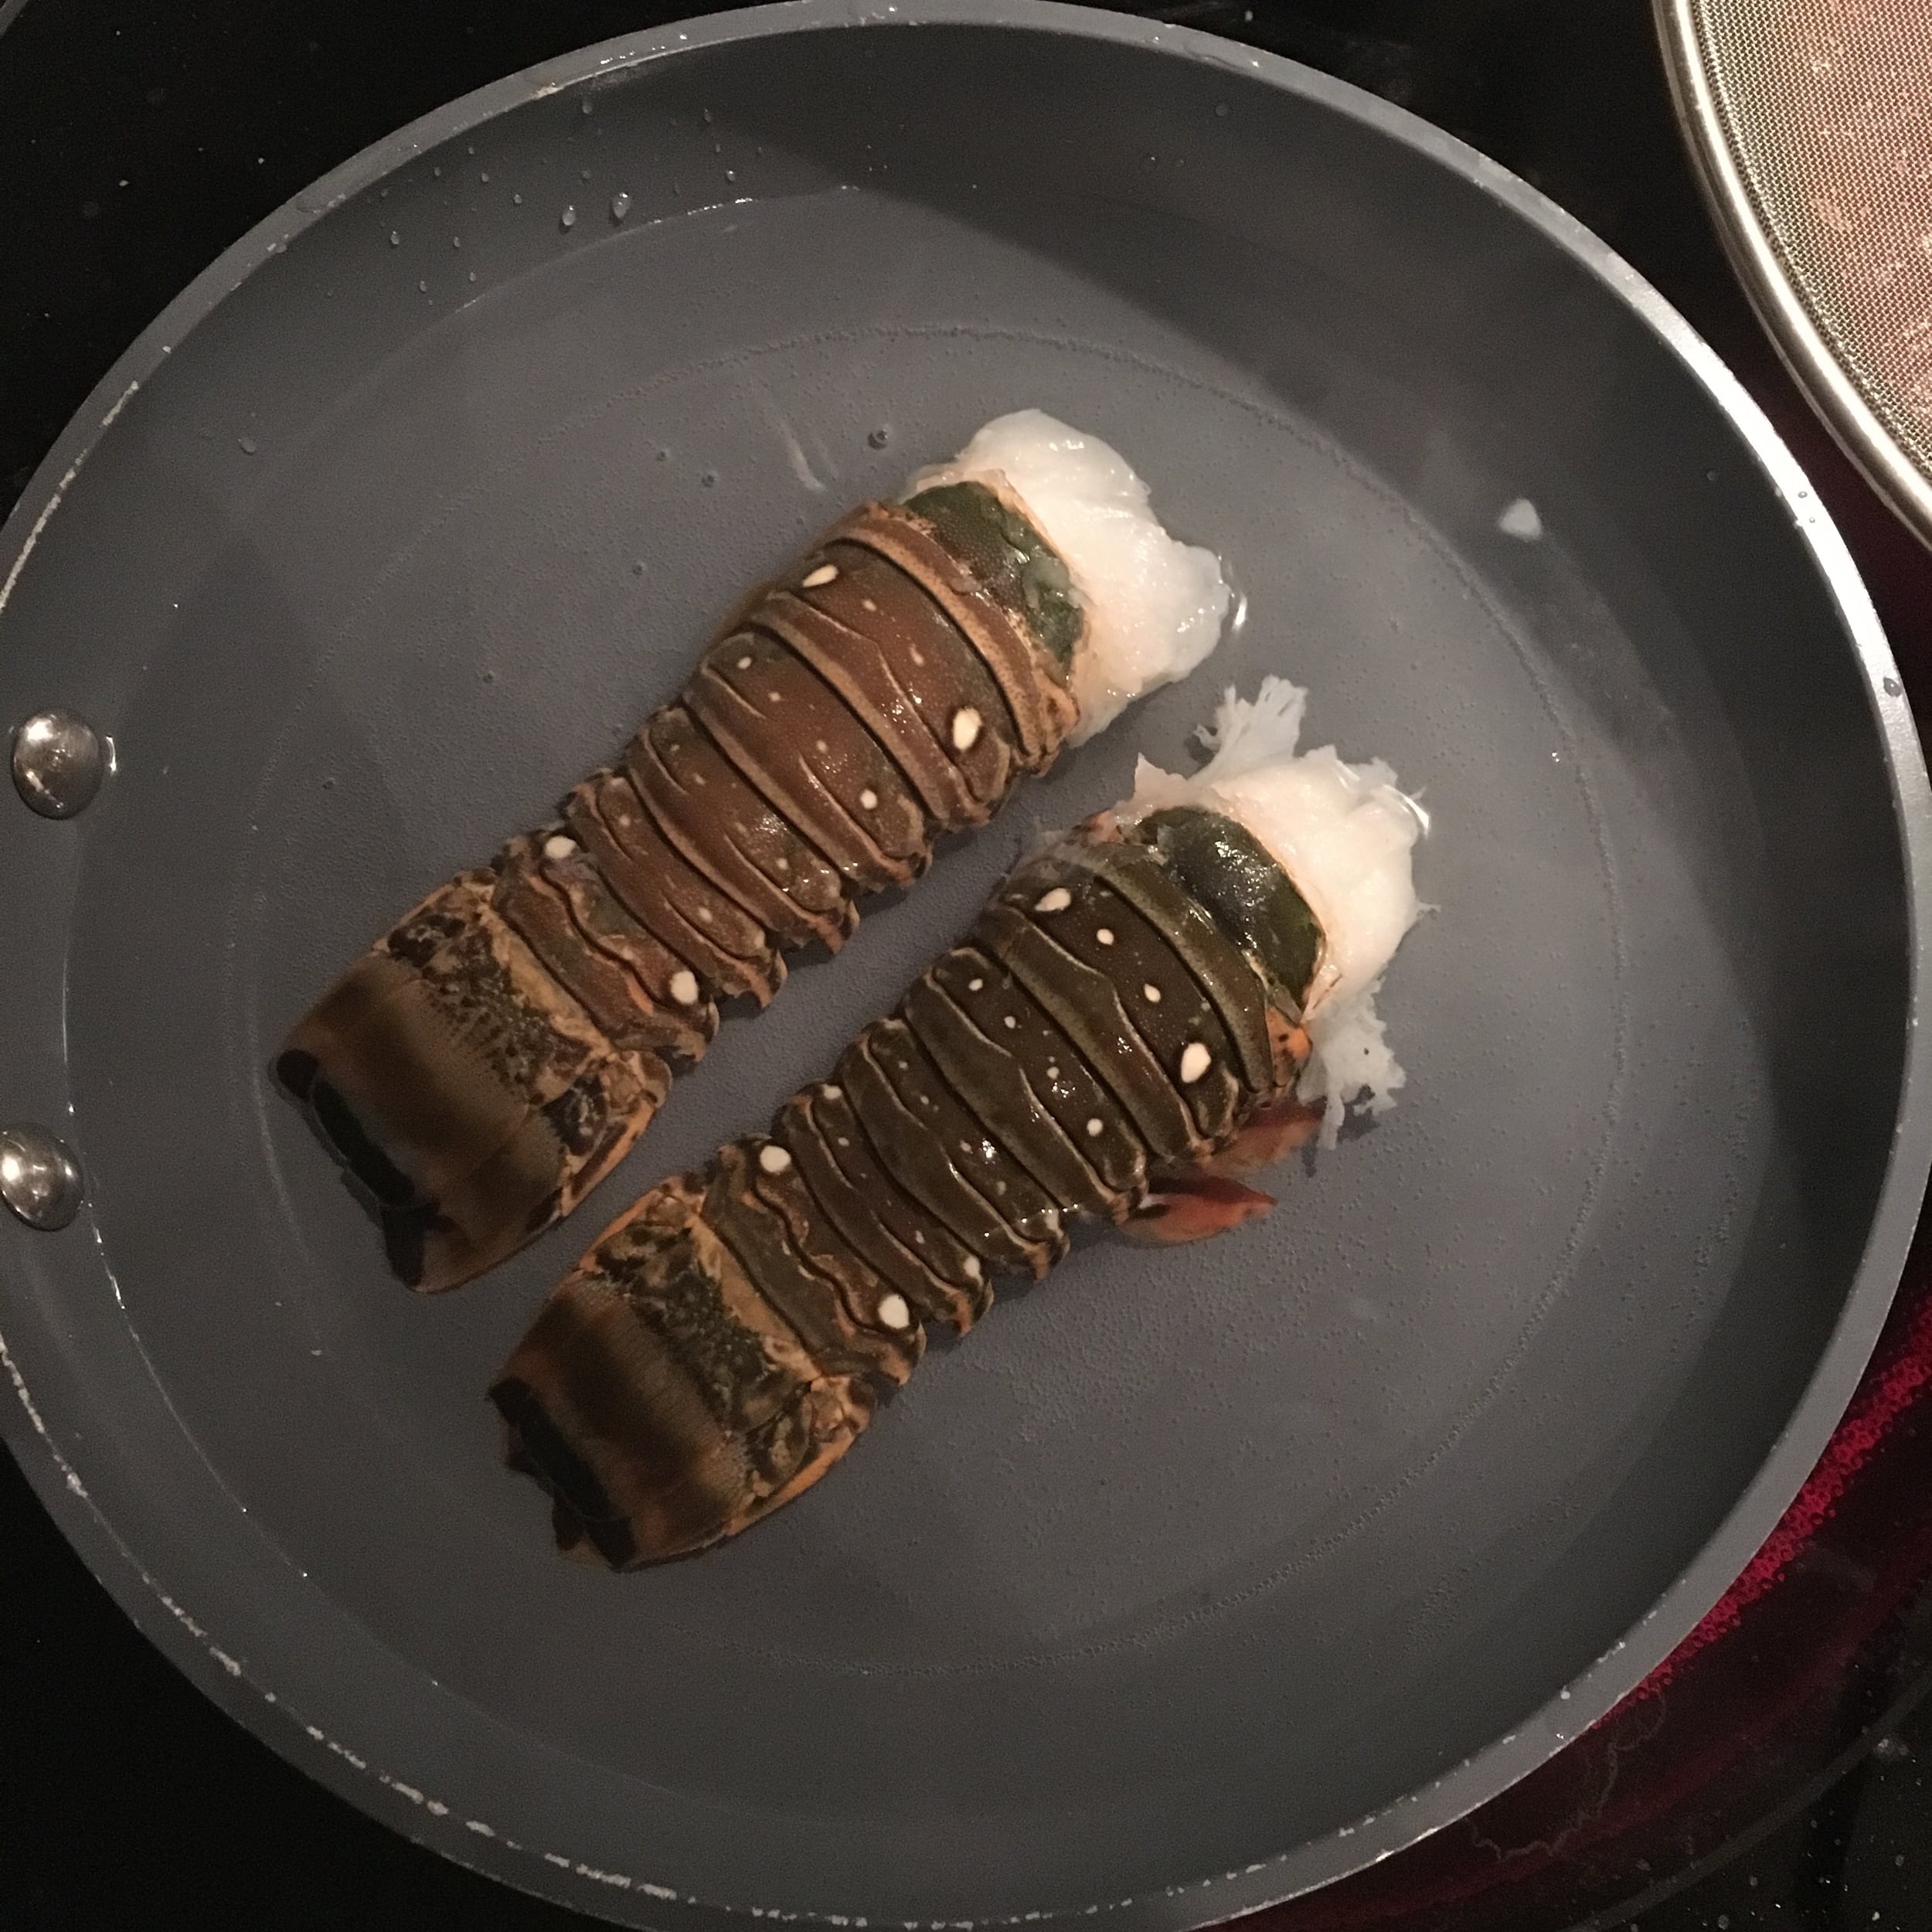
In another pan we are going to add in 1 cup of water and steam the remaining two lobster tails for 3-4 minutes. One ready remove lobster tails from water and set aside.

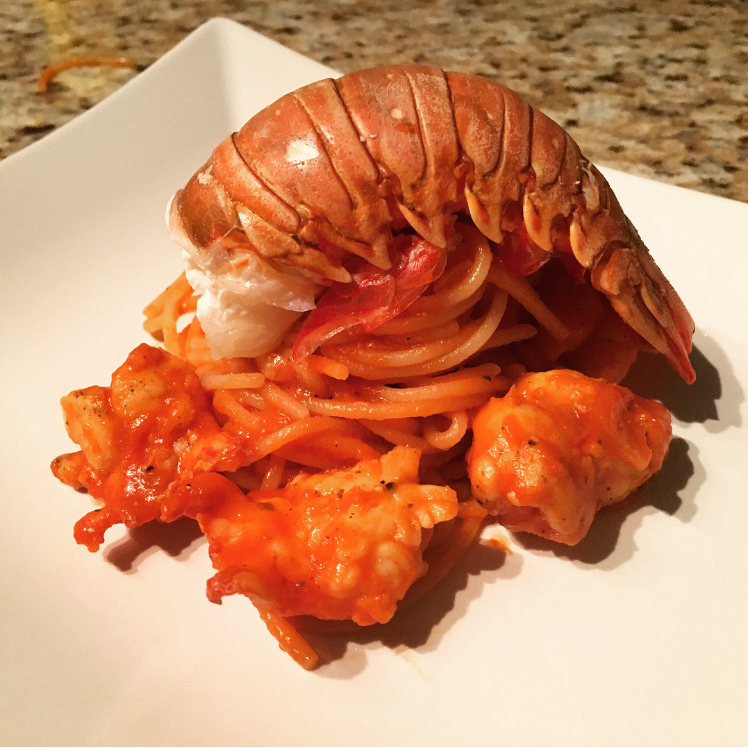
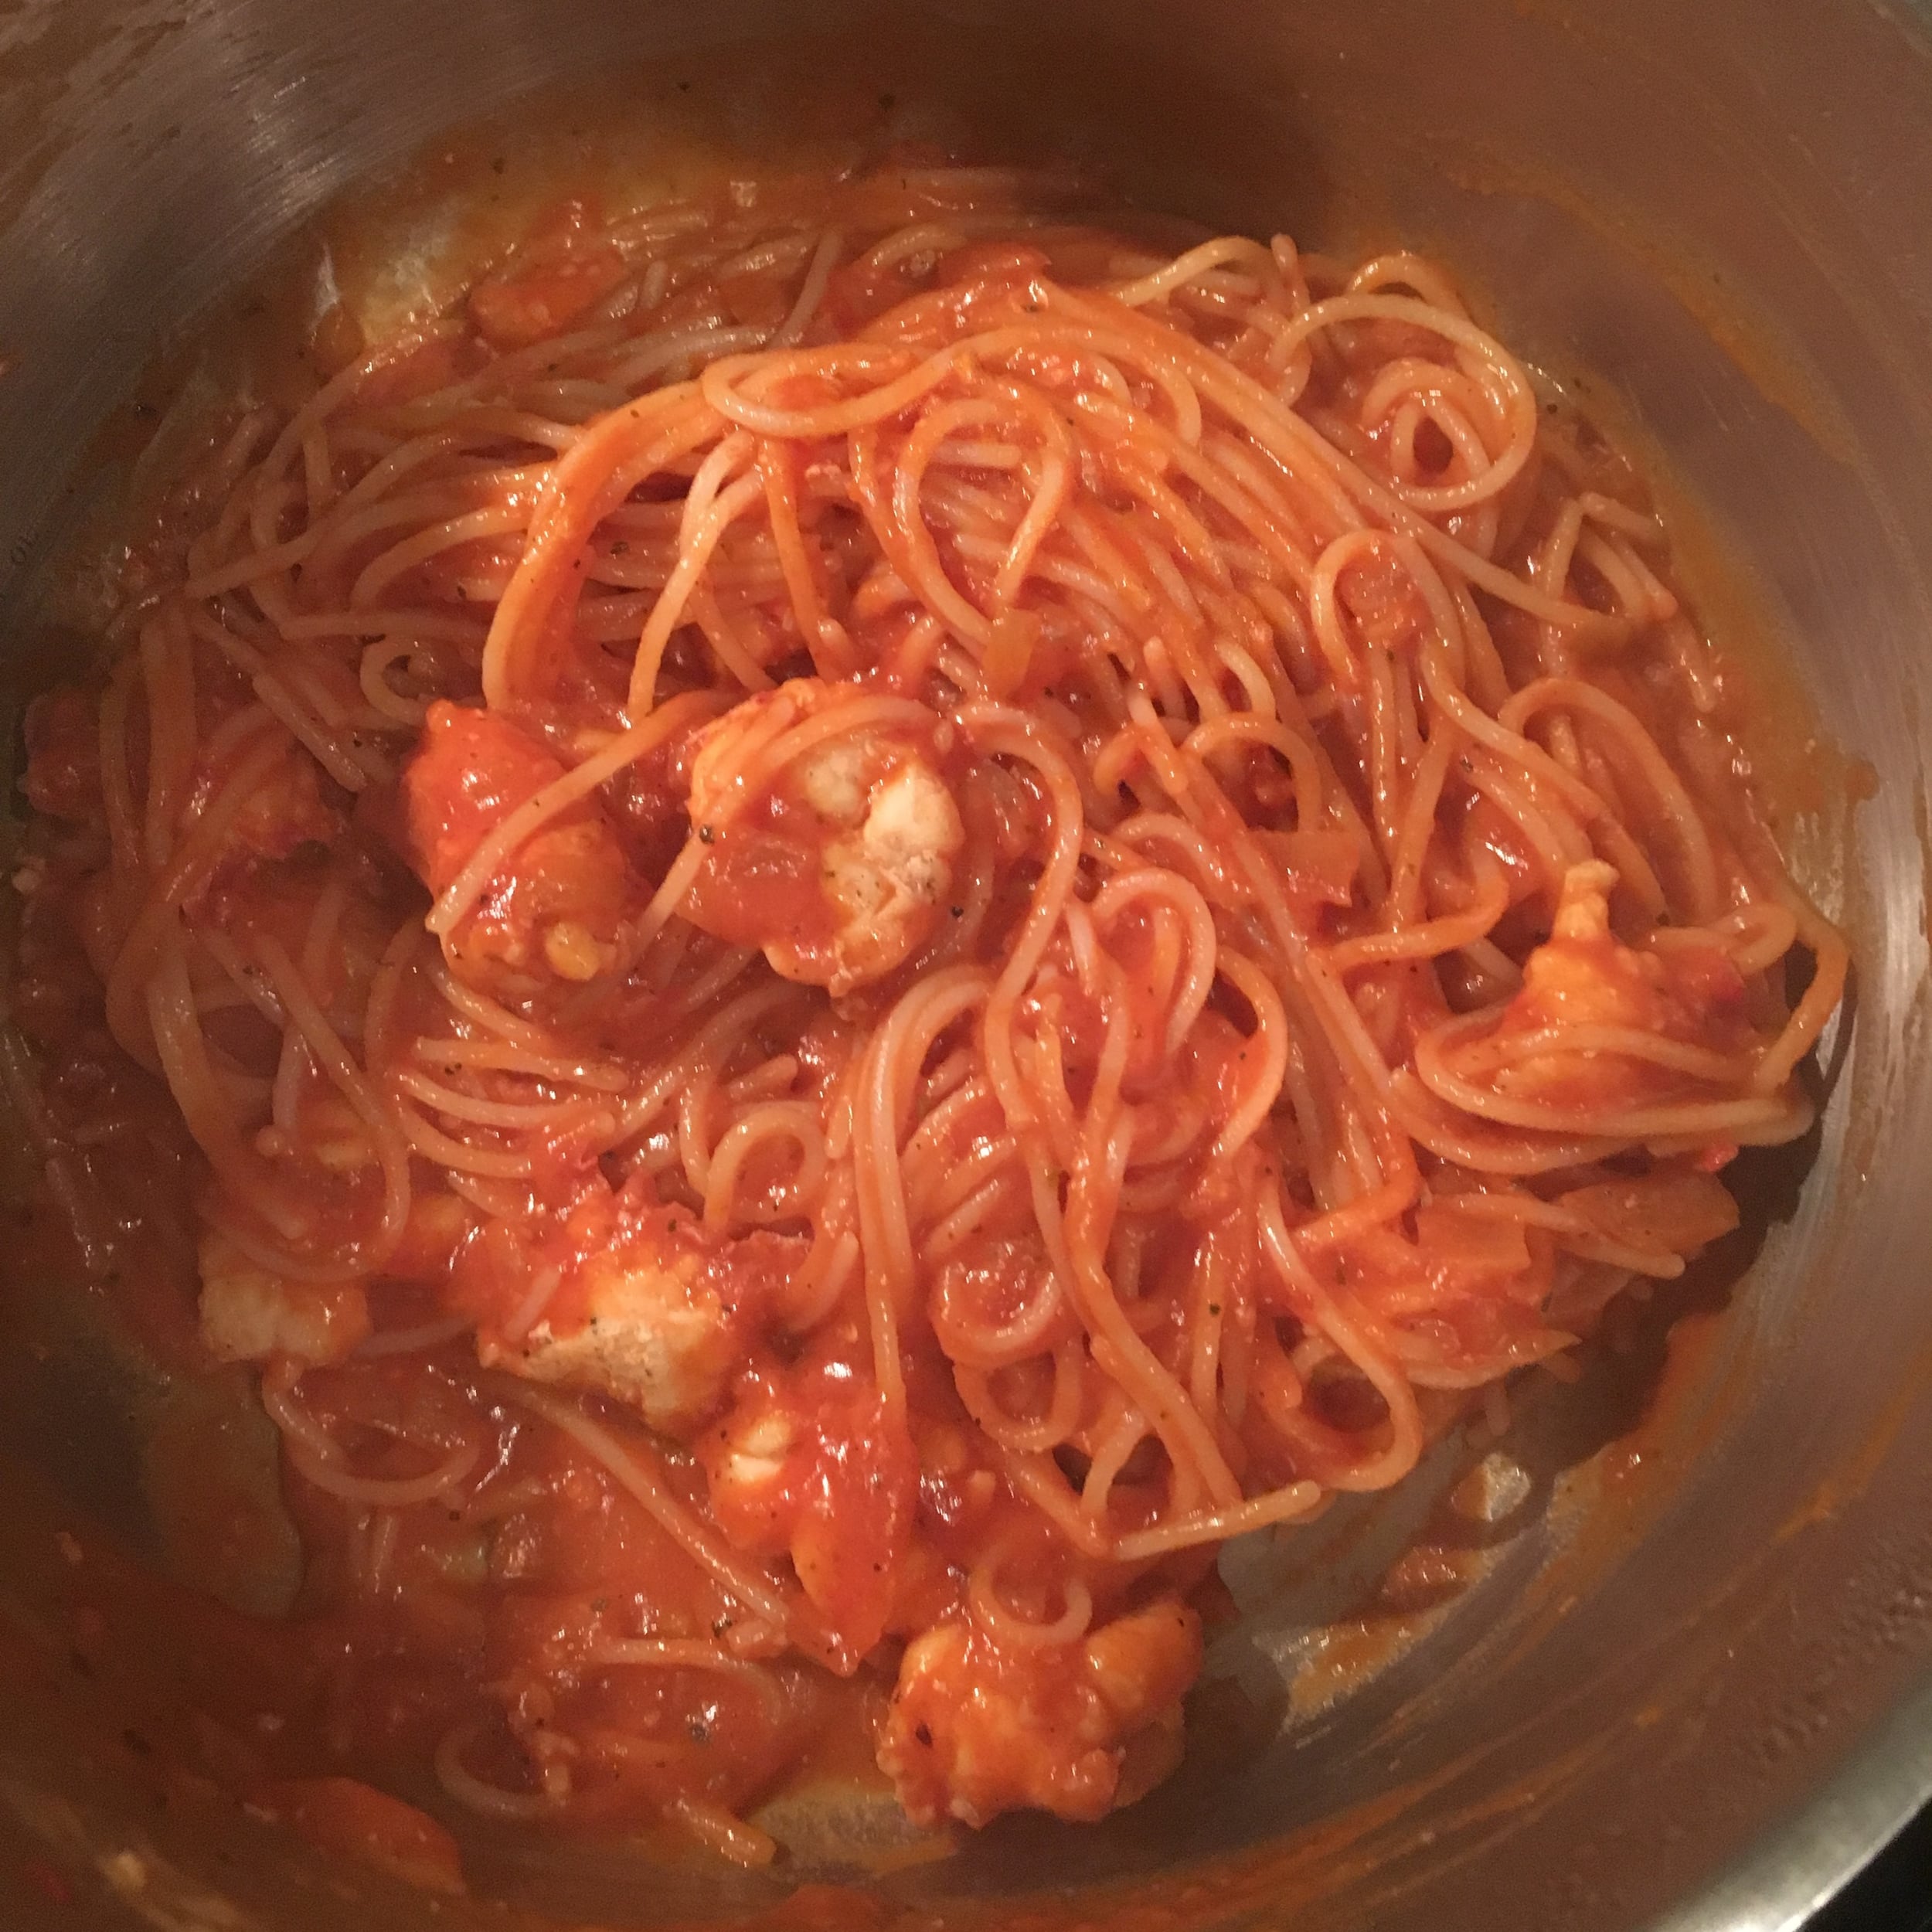
One ready dump pasta water and add pasta to sauce. Mix in and plate hot. Top with full steamed lobster tail and serve. ENJOY


I hope you enjoyed this recipe as much as I do. If you have any comments please leave them below and I'll be happy to answer them as soon as I can! Happy cooking!!!
 

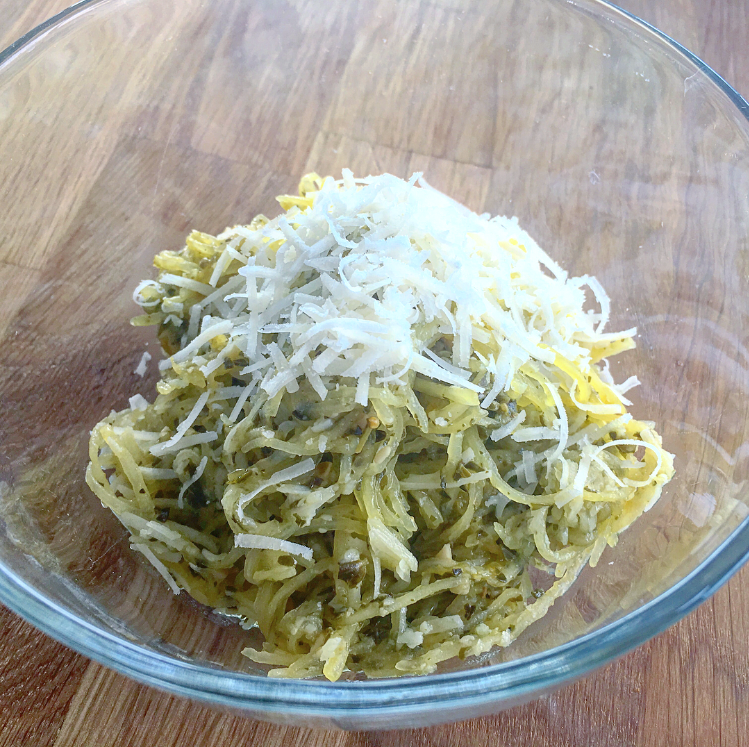
SPAGHETTI SQUASH PESTO


Spaghetti squash is actually super easy to make it just takes more time then wheat based pasta. If time is not a factor it is a great way to have a gluten free meal that taste great. This recipe is for a spaghetti squash pesto pasta but you can technically make the sauce whatever you want using the same principles. If you want to simplify the recipe even more you can buy a pre-made pesto sauce. If you are cooking for a group of more then two people this can be a very economical healthy meal to make as the ingredients wont cost you very much. 

INGREDIENTS

1 Spaghetti Squash around 3lbs
1 Small Jar of Pre-made Pesto
1 Block of Parmesan Cheese

If you want fresh pesto here are ingredients you will need

1/2 Cup of Olive Oil
3 Cups of Basil
2 Cloves of Garlic
1/4 Cup of Pine Nuts
3/4 Cup of Grated Parmesan Cheese
Salt and Pepper to taste


DIRECTIONS:

Preheat oven to 375 degrees.

Throw in the spaghetti squash whole for about 60 minutes.

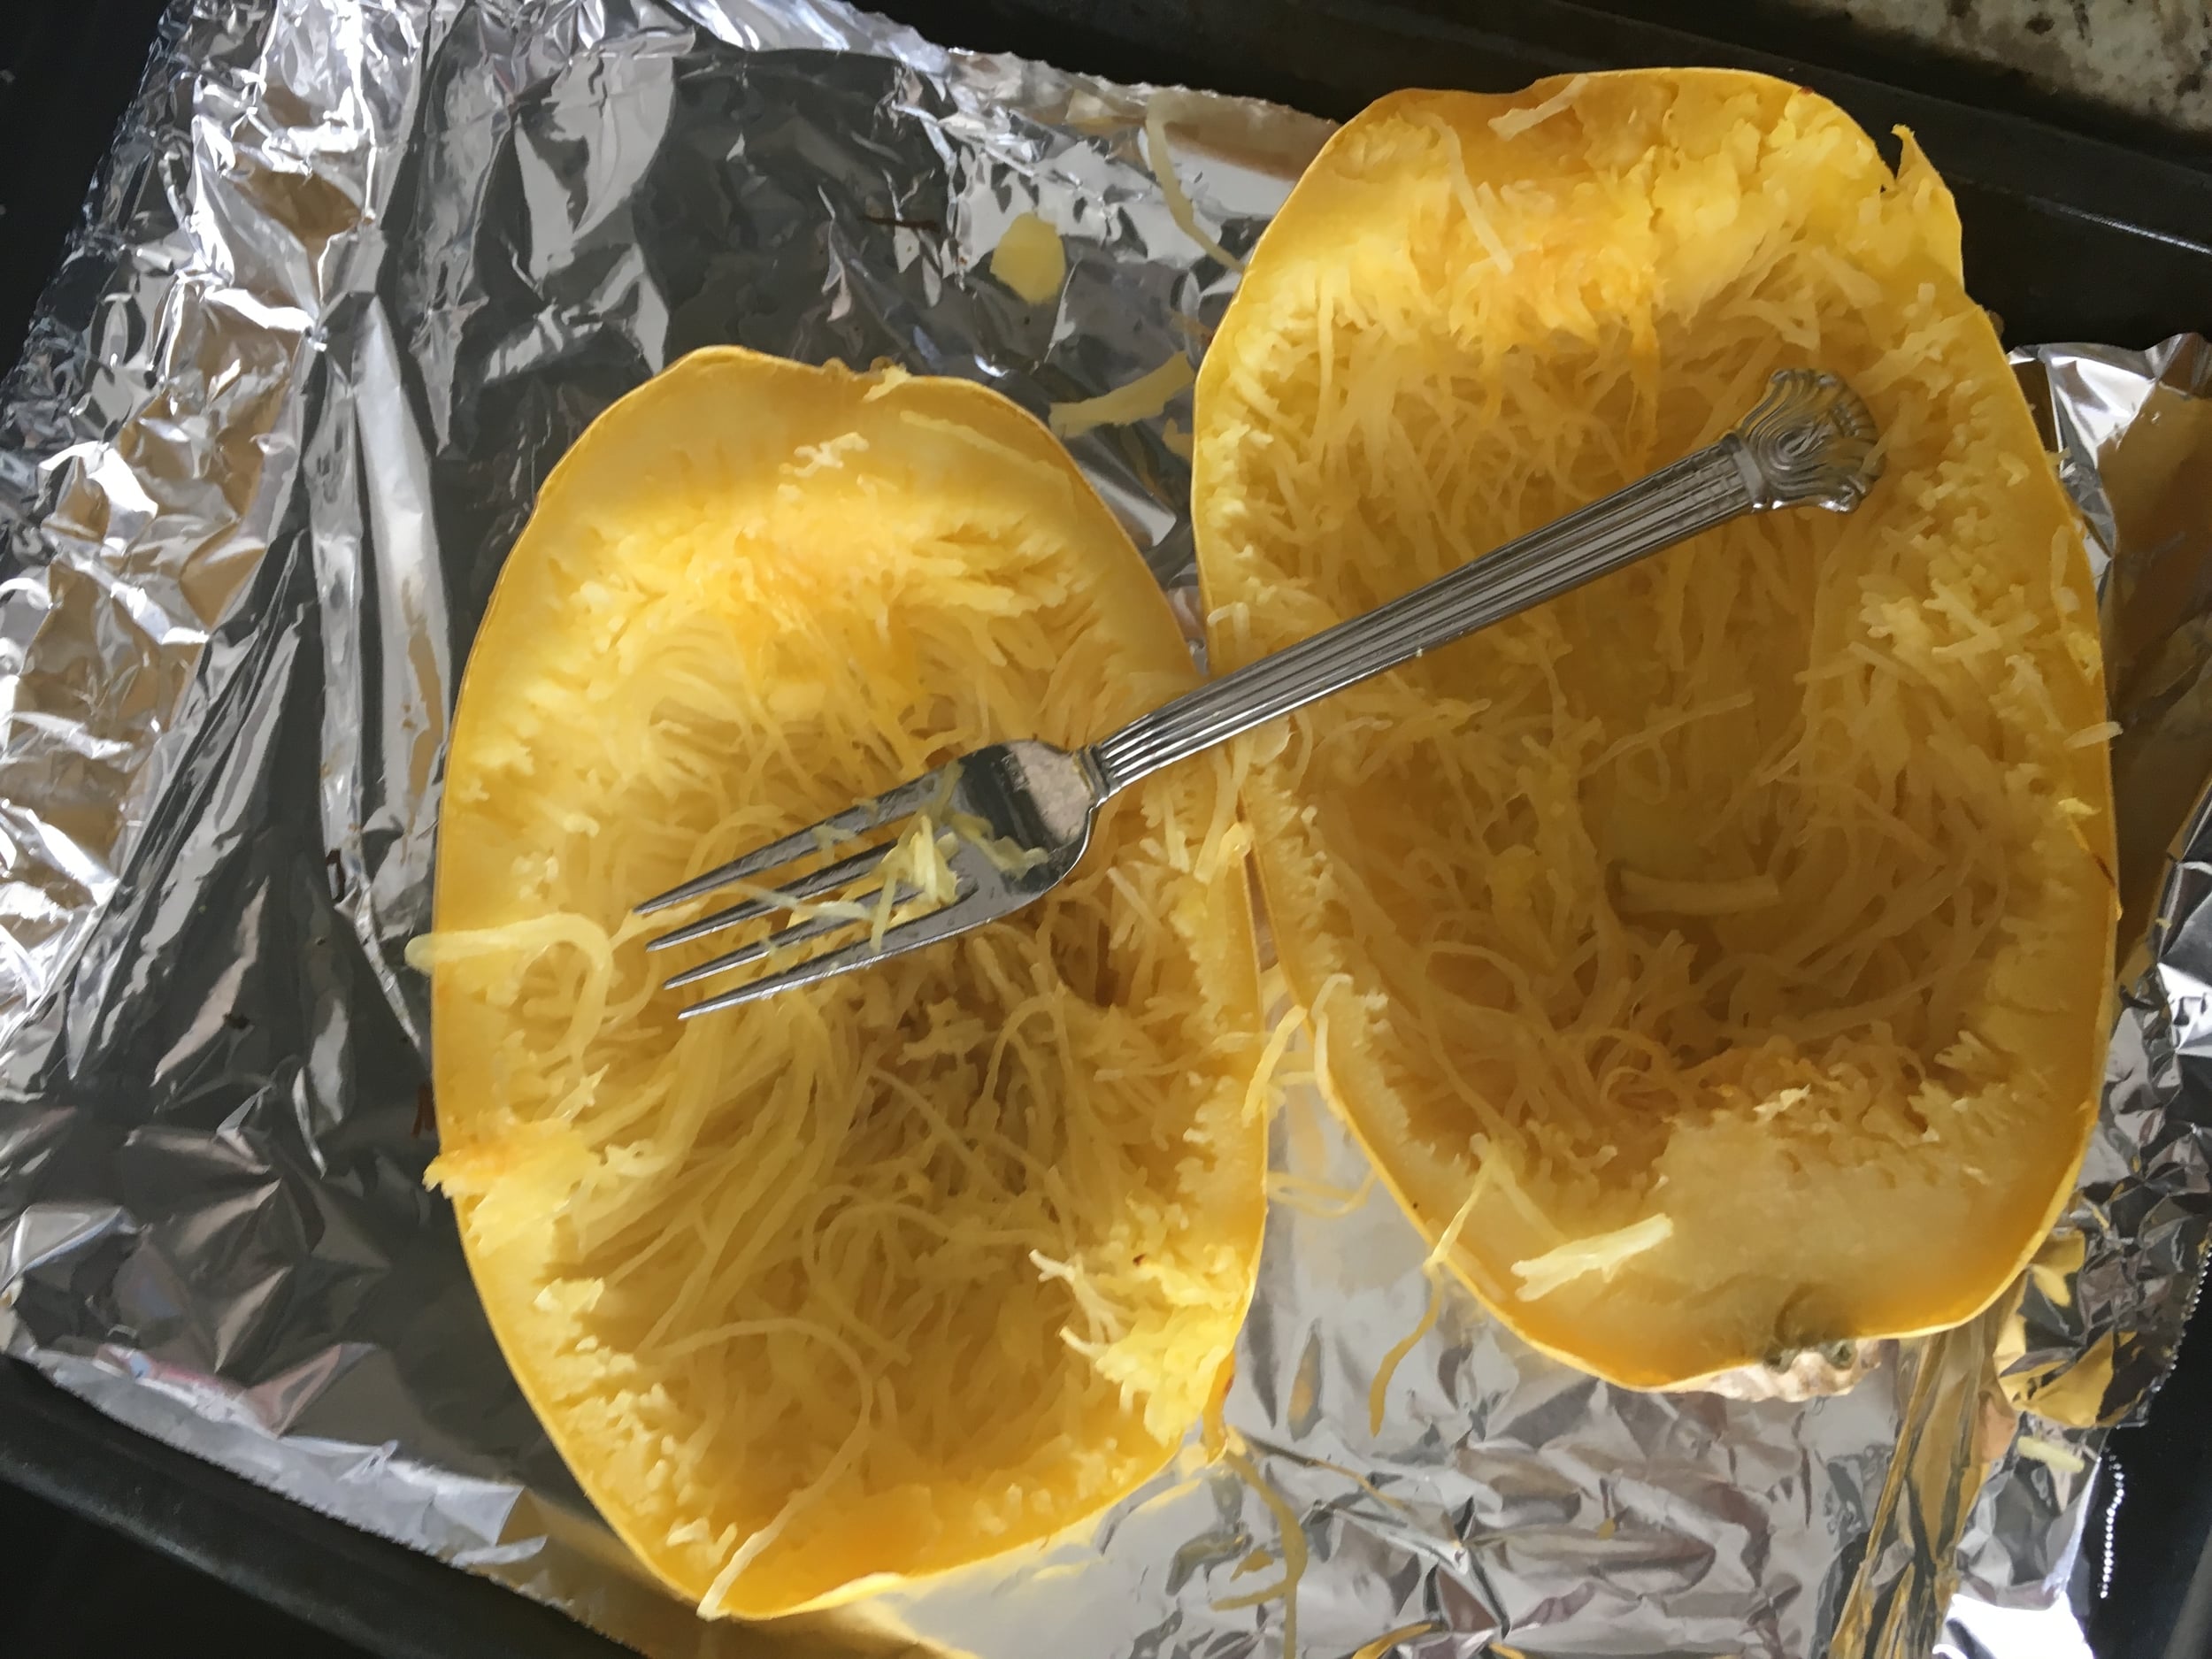
Remove the spaghetti squash from the oven and cut in half and take out the seeds.

If the spaghetti squash is not cooked/stringy enough place back in the oven for an additional 10 minutes.

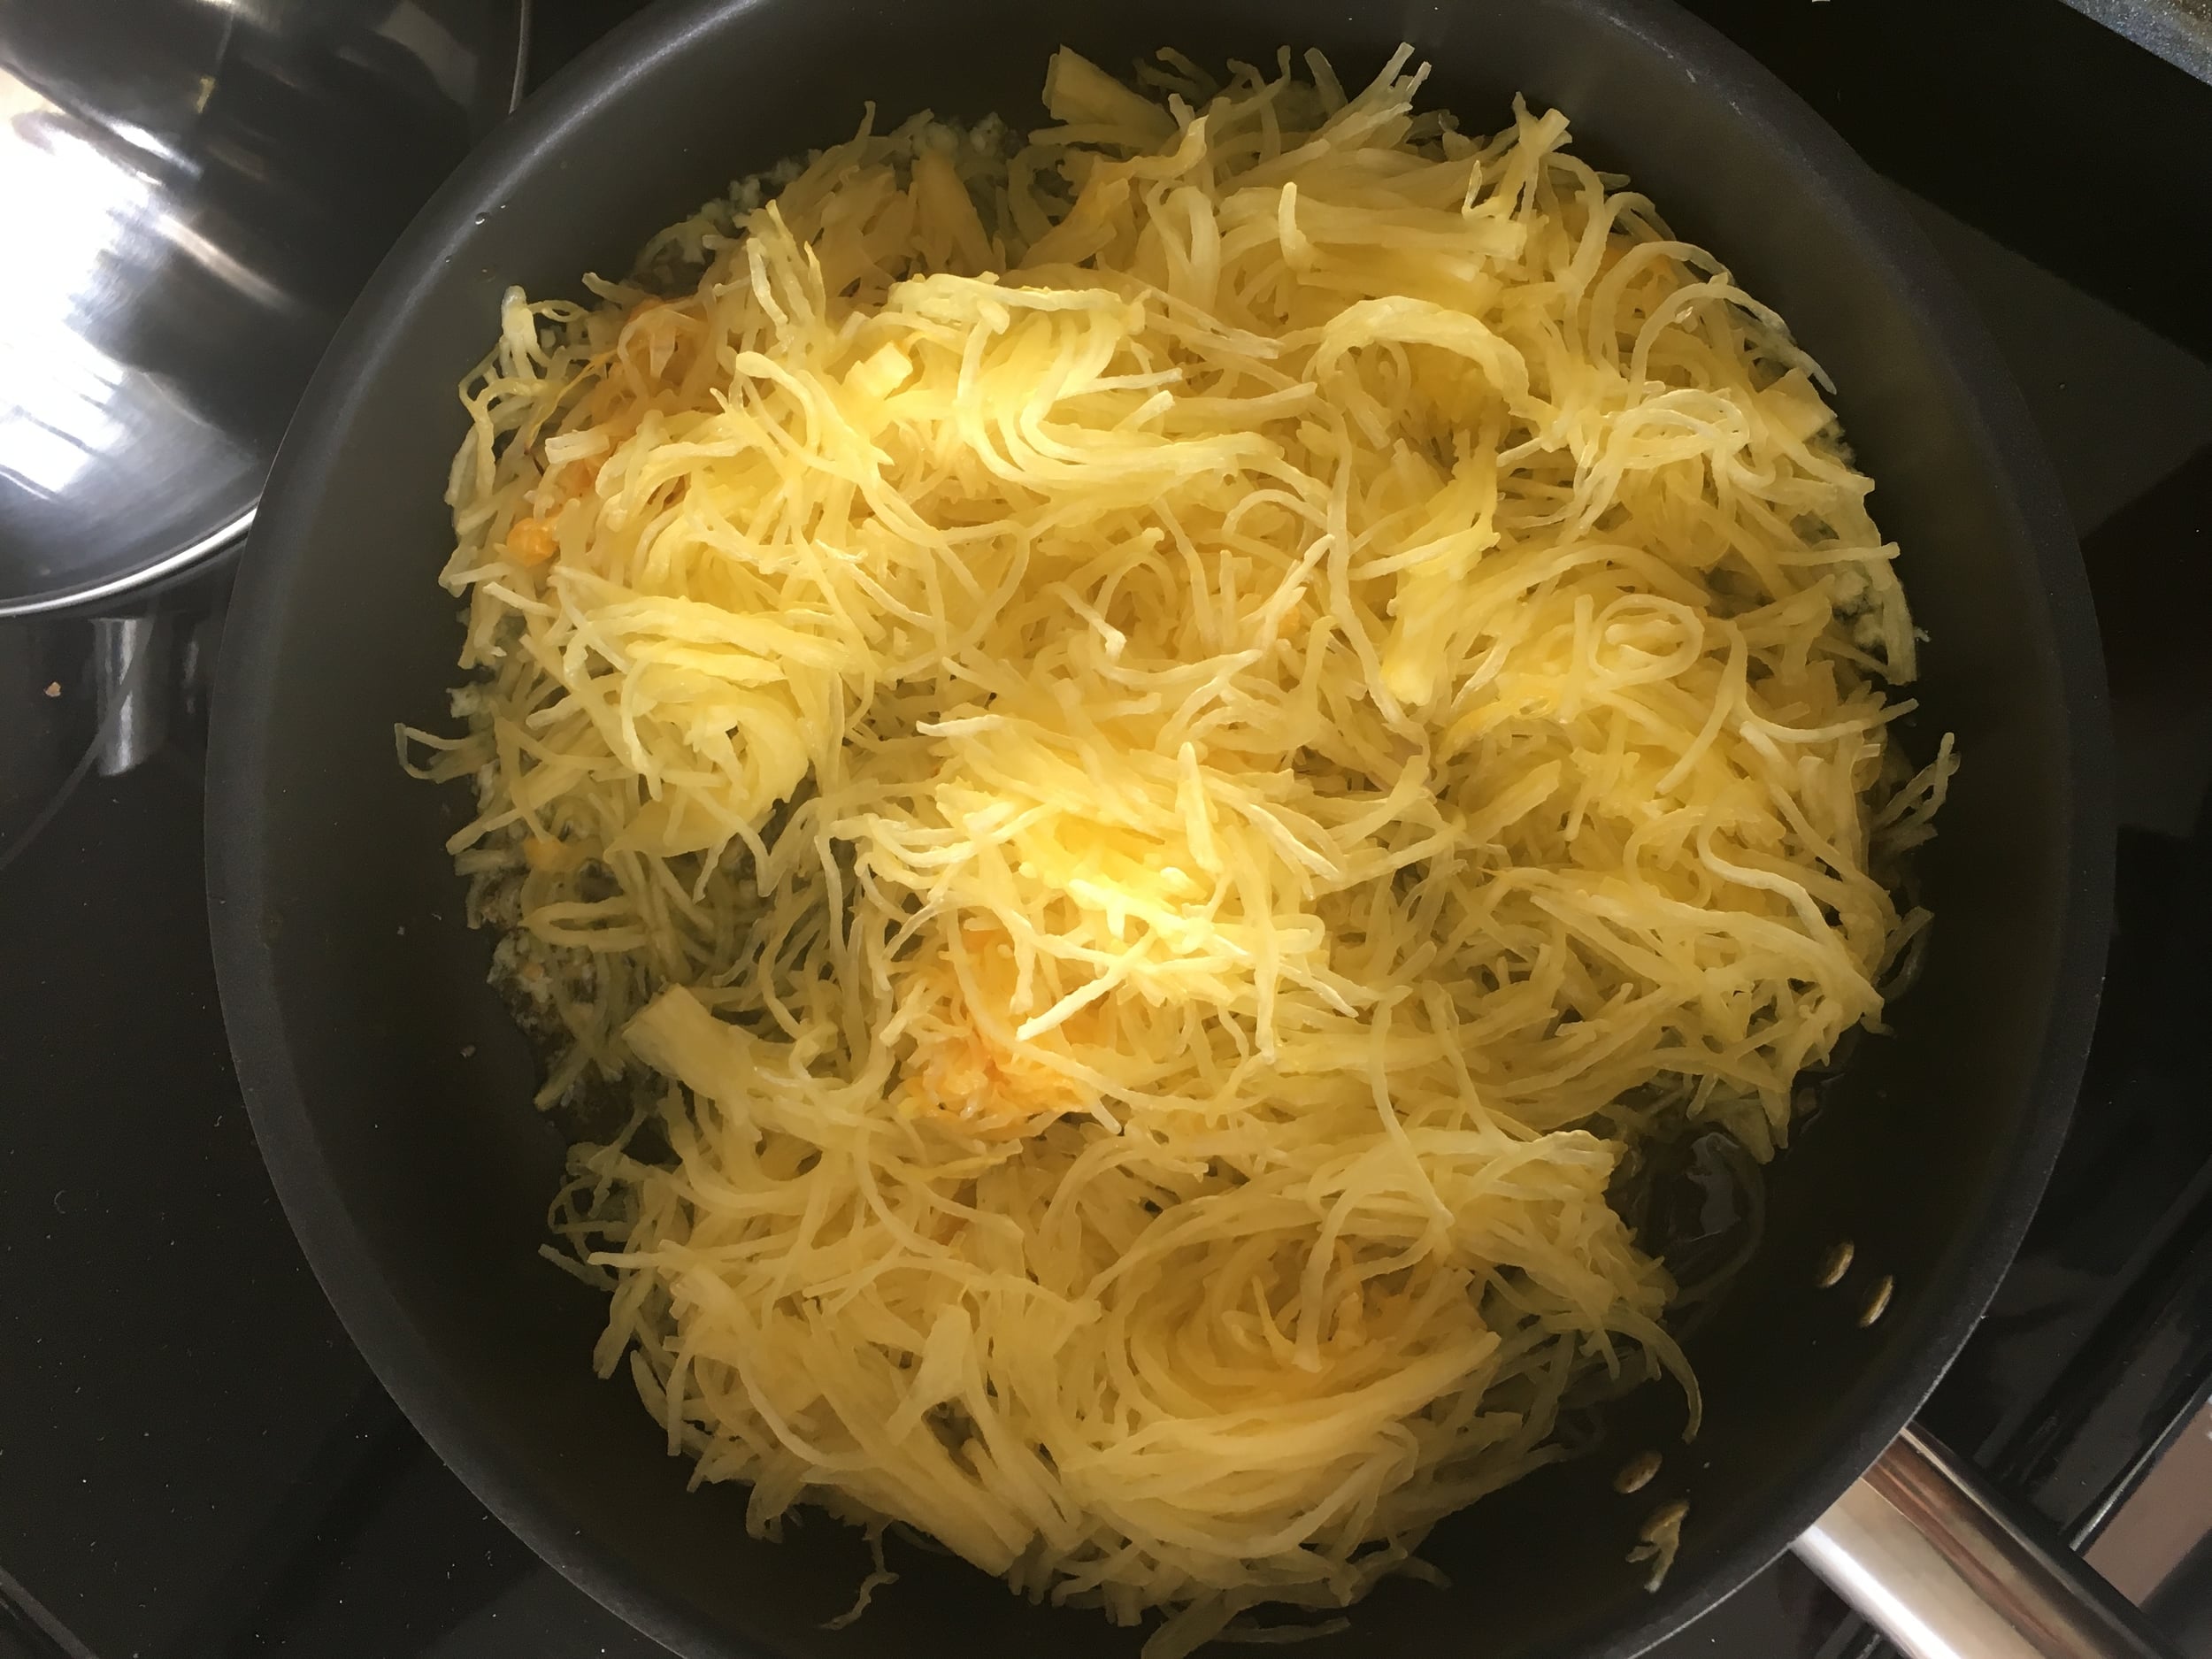
While the squash is in the oven you can either start to make your pesto or use a pre-made pesto. Warm up the pre-made pesto in a skillet or place the basil, garlic, and pine nuts in a food processor. Pulse until coarsely chopped before adding in the olive oil continuing until fully incorporated. Next move to a bowl and add in the Parmesan and salt and pepper - Mix them in.

Finally once the squash is ready remove from the oven and start to shred the inside of the squash with a fork and place it in the skillet or bowl with the pesto. Mix the two together to the pesto and squash is evenly distributed.  Serve.


I hope you enjoyed this recipe as much as I do. If you have any comments please leave them below and I'll be happy to answer them as soon as I can! Happy cooking!!!