COFFEE CHOCOLATE CHIP ICE CREAM

I am not sure what inspired me to want to make ice cream, but I am sure happy I did. When it came to deciding the flavor I must admit it's no secret that I'm a big fan of coffee especially in ice cream form; also chocolate chips just seemed like the next logical step. This recipe calls for a Kitchen Aid Mixer (I borrowed mine from my mom) and takes longer then your average dinner recipe because the key to making good ice cream is letting the temperatures both raise and lower slowly. Meaning it is important to allow things to heat up slowly and cool down slowly so in the final freezing process less crystals are created and thus a creamer ice cream. Enjoy!

VIDEO BELOW!!!!!

INGREDIENTS;
1.5 Cups of Heavy (Whipping) Cream
1.5 Cups of Whole Milk
1 Cup of Cane Sugar (any kind of sugar works)
4 Egg Yokes
3/4 Cup of Freeze Dried (Instant) Coffee
1 TSP of Vanilla Extract
1 Cup of Chocolate Chips - I used Milk Chocolate

DIRECTIONS:

Add whipping cream and whole milk to a pot and heat it up on medium heat. You want it to get hot but NOT to the point of boiling.

Next add in your sugar and stir so that it dissolves.

In a separate bowl add your egg yokes. We are going to temper the eggs (this means slowly raising the temperature of the egg mixture so that it doesn't cook and become chunky)

Mix the tempered egg yokes in with the cream mixture and continue to heat on the stove until the cream thickens. A good way to test if it has thicken is to first take a black spoon and using a finger slide it across the spoon to reveal a line - the more opaque the liquid is in comparison to the colour of the spoon the thicker the mixture is.

Once the cream has thickened (about 10 minutes) take some of the hot cream and add it to the instant coffee to dissolve it before adding it back into the cream mixture followed by the vanilla extract. Stir well until fully incorporated.

Next remove the cream mixture from the heat and strain into a glass seal-able container. Allow to cool uncovered until it reaches room temperature then cover and place in fridge over night to thicken further.

Place the cream mixture into your Kitchen-Aid ice cream bowl and let it stir and churn the cream for 20 min on the lowest speed before adding in your chocolate chips. Allow the cream to continue to churn for an additional five minutes (you want the consistency to almost be that of soft serve ice cream)

Once the cream has a nice texture place back into the glass container, seal and place in freezer overnight to harden. Take the ice cream out of the freezer 2 minutes before you want to serve it and enjoy.

I hope you enjoyed this recipe as much as I do. If you have any comments please leave them below and I'll be happy to answer them as soon as I can! Bon Appetite!!!

VEGAN AND WHEAT FREE CARROT CAKE

So to start I must admit I am not vegan nor have a gluten free diet but this past weekend I was browsing my bookshelf and remembered this vegan cook book I have and decided to pull it out (for anyone who is interested in knowing more about the cookbook I will post a link below). As I perused the pages I came across this carrot cake recipe I 'dog eared' (weird expression I know) and decided to try it out. The results were a very nice and moist cake that I am sure will make any vegan person jump for joy.

INGREDIENTS:

Can of vegan, oil based non stick cooking spray
3/4 Cup Garbanzo Bean Flour
1 1/4 Cup Rice Flour
2 TSP Xanthan Gum
2 TSP Baking Soda
1/4 TSP Salt
2 TSP Cinnamon
1/2 Cup Apple Sauce
1 Cup Canola Oil
1 Cup Water
1 1/4 Cup of Maple Syrup
1 TSP Vanilla Extract
2 Cups Grated Carrots

Frosting - choose whichever flavor you like (mine was cream cheese) pre-made or I can list ingredients below.

Coconut Cream Cheese Frosting
8 OZ firm Silken Tofu
12 OZ Soy cream cheese
1 Cup of Powdered Sugar
1 TSP of coconut extract
1/2 Cup of Unsweetened Coconut
2 TSP of Xanthem Gum (for thickening)

DIRECTIONS: - SHORT VIDEO BELOW

*Like with most cakes you start by mixing all the dry ingredients together in one bow.. mixing all the wet ingredients in another bowl and then combining them together...vegan baking is the same

Preheat the oven to 325 degrees

Grab a 9 inch bread baking pan and coat it in non-stick cooking spray.

In a large bowl mix your garbanzo bean flour, rice flour, xantham gum, baking soda, sat and cinnamon together.

In a separate medium bowl mix your applesauce, canola oil, water, vanilla extract and maple syrup.

Next mix your wet ingredients into the bowl with the dry ingredients and stir until it is well incorporated. Then add in your grated carrots and mix well.

Pour cake mix into the coated baking pan and bake in the over for 75-80 minutes

Once finished remove from the oven and allow to cool before adding icing on top.

To make the frosting simply place all ingredients except the unsweetened coconut in a food processor and blend until smooth. Stir in the coconut after by hand. If possible you can make this the night before and refrigerate so it has more time to set and thicken.


For those who are interested in the cookbook I got this recipe from 'Sinfully Vegan' by Lois Dieterly.


I hope you enjoyed this recipe as much as I do. If you have any comments please leave them below and I'll be happy to answer them as soon as I can! Bon Appetite!!!
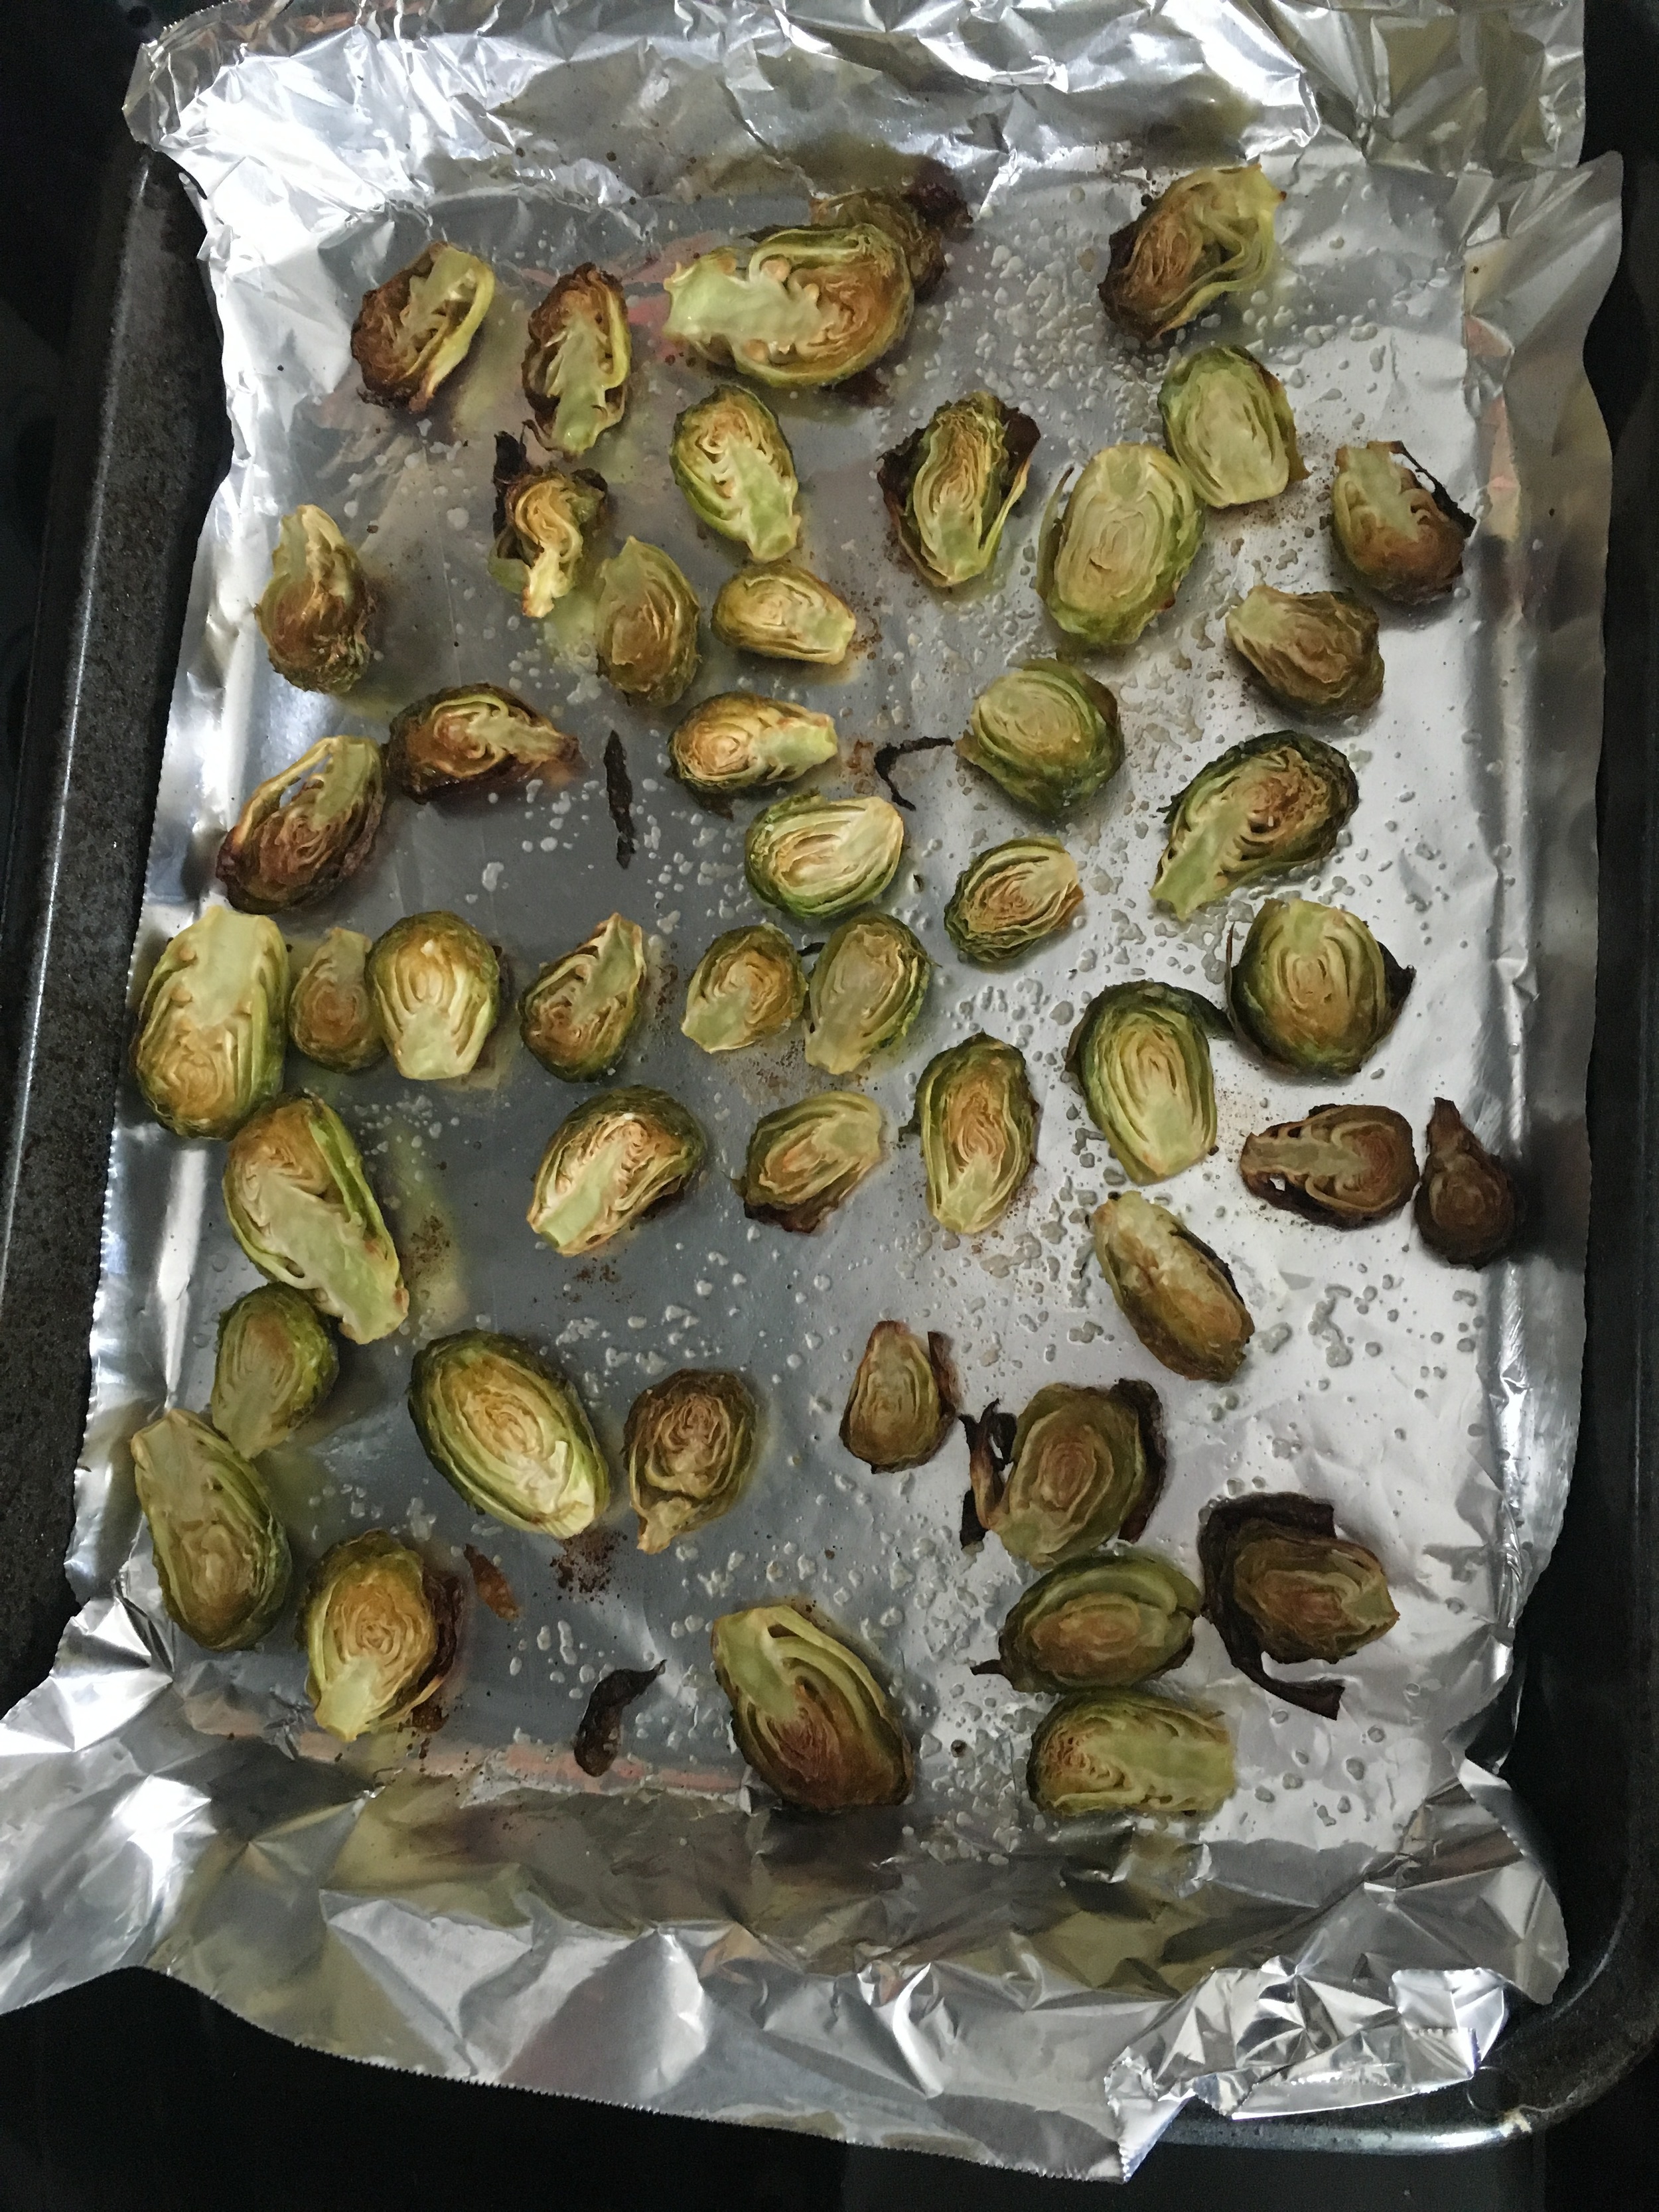
BRUSSELS SPROUT CHIPS - VEGAN, VEGETARIAN

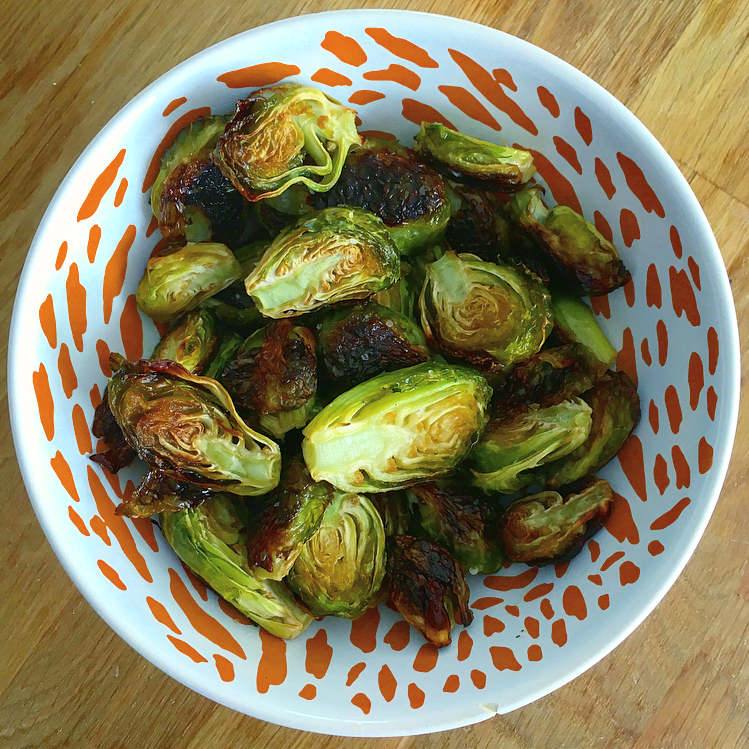
Looking for a great low calorie snack? I got you covered! Brussels sprouts are a great vegetable to turn into "chips" Not only are they delicious and crunchy when baked but they are full of vitamin K and vitamin C! This super easy recipe is great for kids and will have them eating their veggies like its popcorn!

INGREDIENTS:

1 LBS of Brussels Sprouts
2 TBSP of Olive Oil
2-3 TSP of Salt

DIRECTIONS:

Preheat oven to 350 degrees.

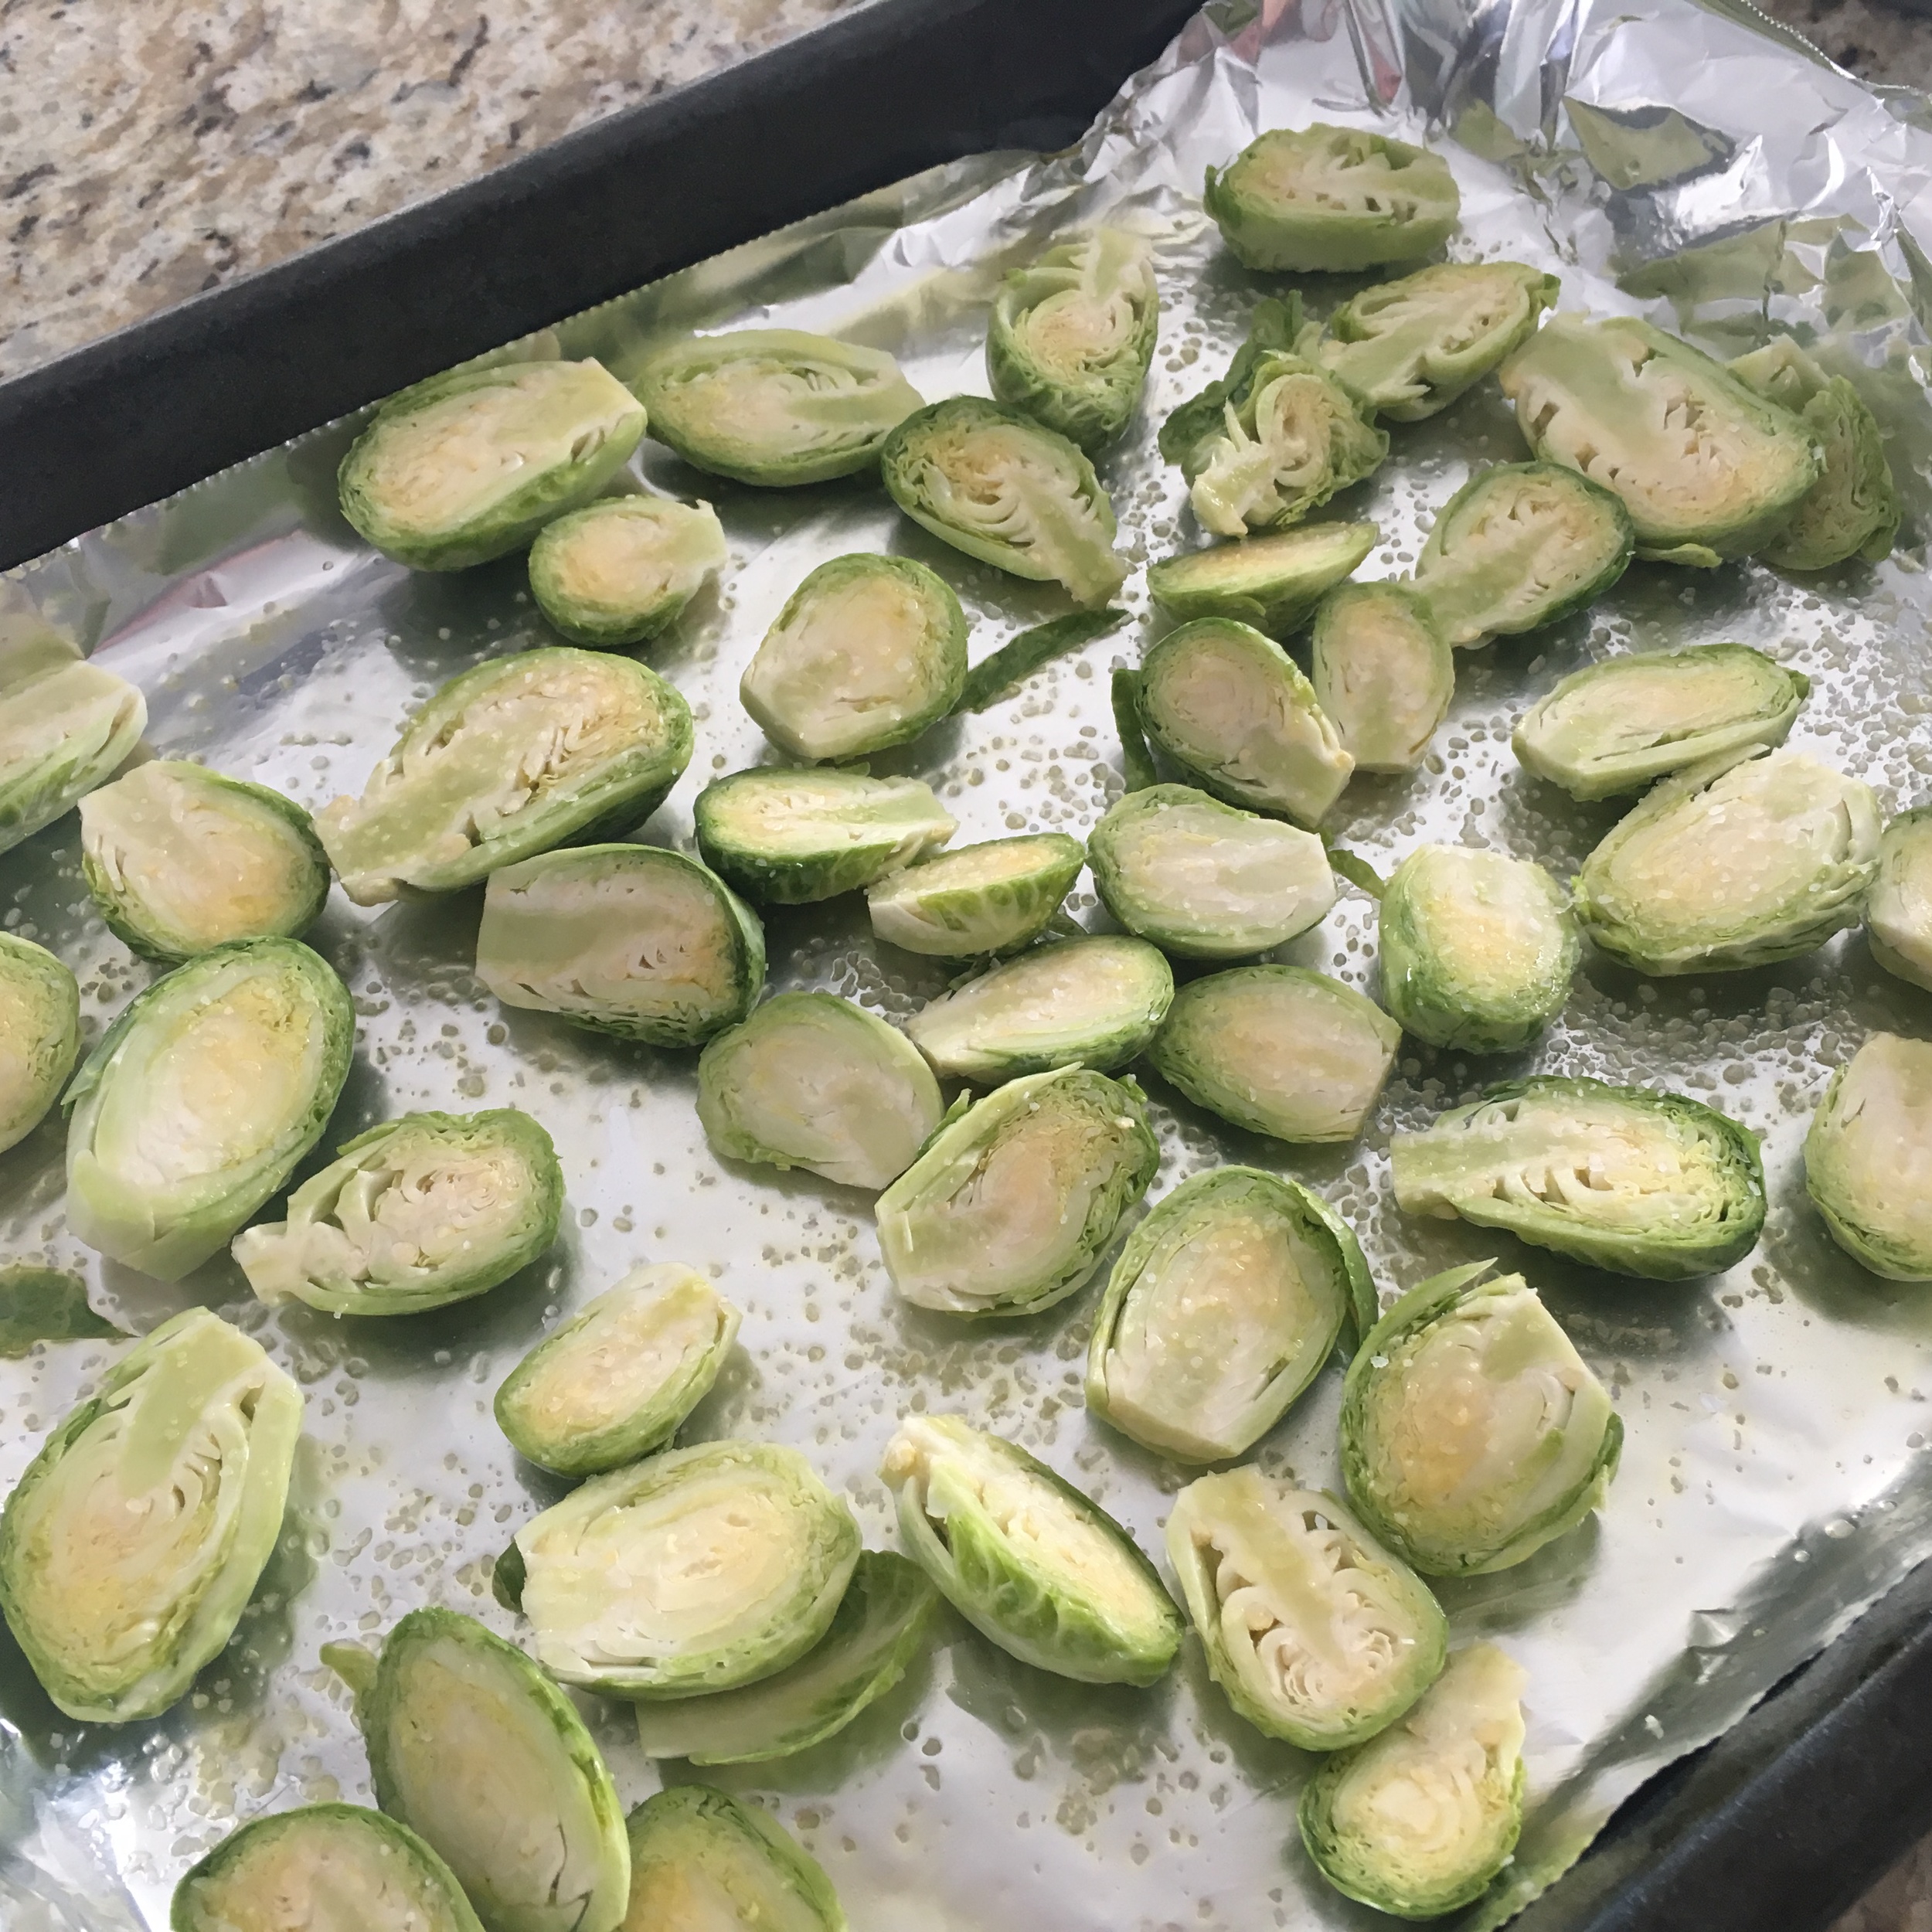
Wash and clean your brussels sprouts removing the stem and the outer layers. Cut cleaned brussels sprouts in half and place in a bowl.

Add your olive oil and salt to the bowl and mix well so everything is evenly coated.

Place brussels sprouts facing up on a baking pan lines with aluminum foil and bake for 25-35 minutes depending on how crispy you want them. Happy eating!


I hope you enjoyed this recipe as much as I do. If you have any comments please leave them below and I'll be happy to answer them as soon as I can!  Bon Appetite!!!
 

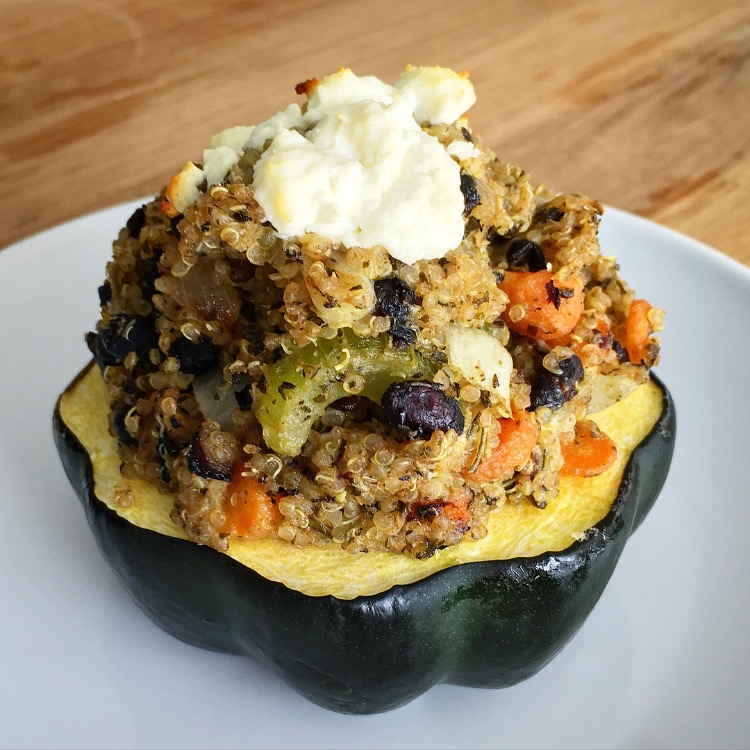
STUFFED ACORN SQUASH - VEGETARIAN AND VEGAN OPTIONS

I have tried many different squash recipes, but this has to be one of my favorites. My girlfriend Lili made it for me the other day when I went to her house for dinner and it was not only healthy, but really tasty so of course I had to share the recipe with you guys. You can add any veggies that you like and can even switch up the pesto for tomato sauce if you want. Be creative but most of all have fun!

INGREDIENTS:

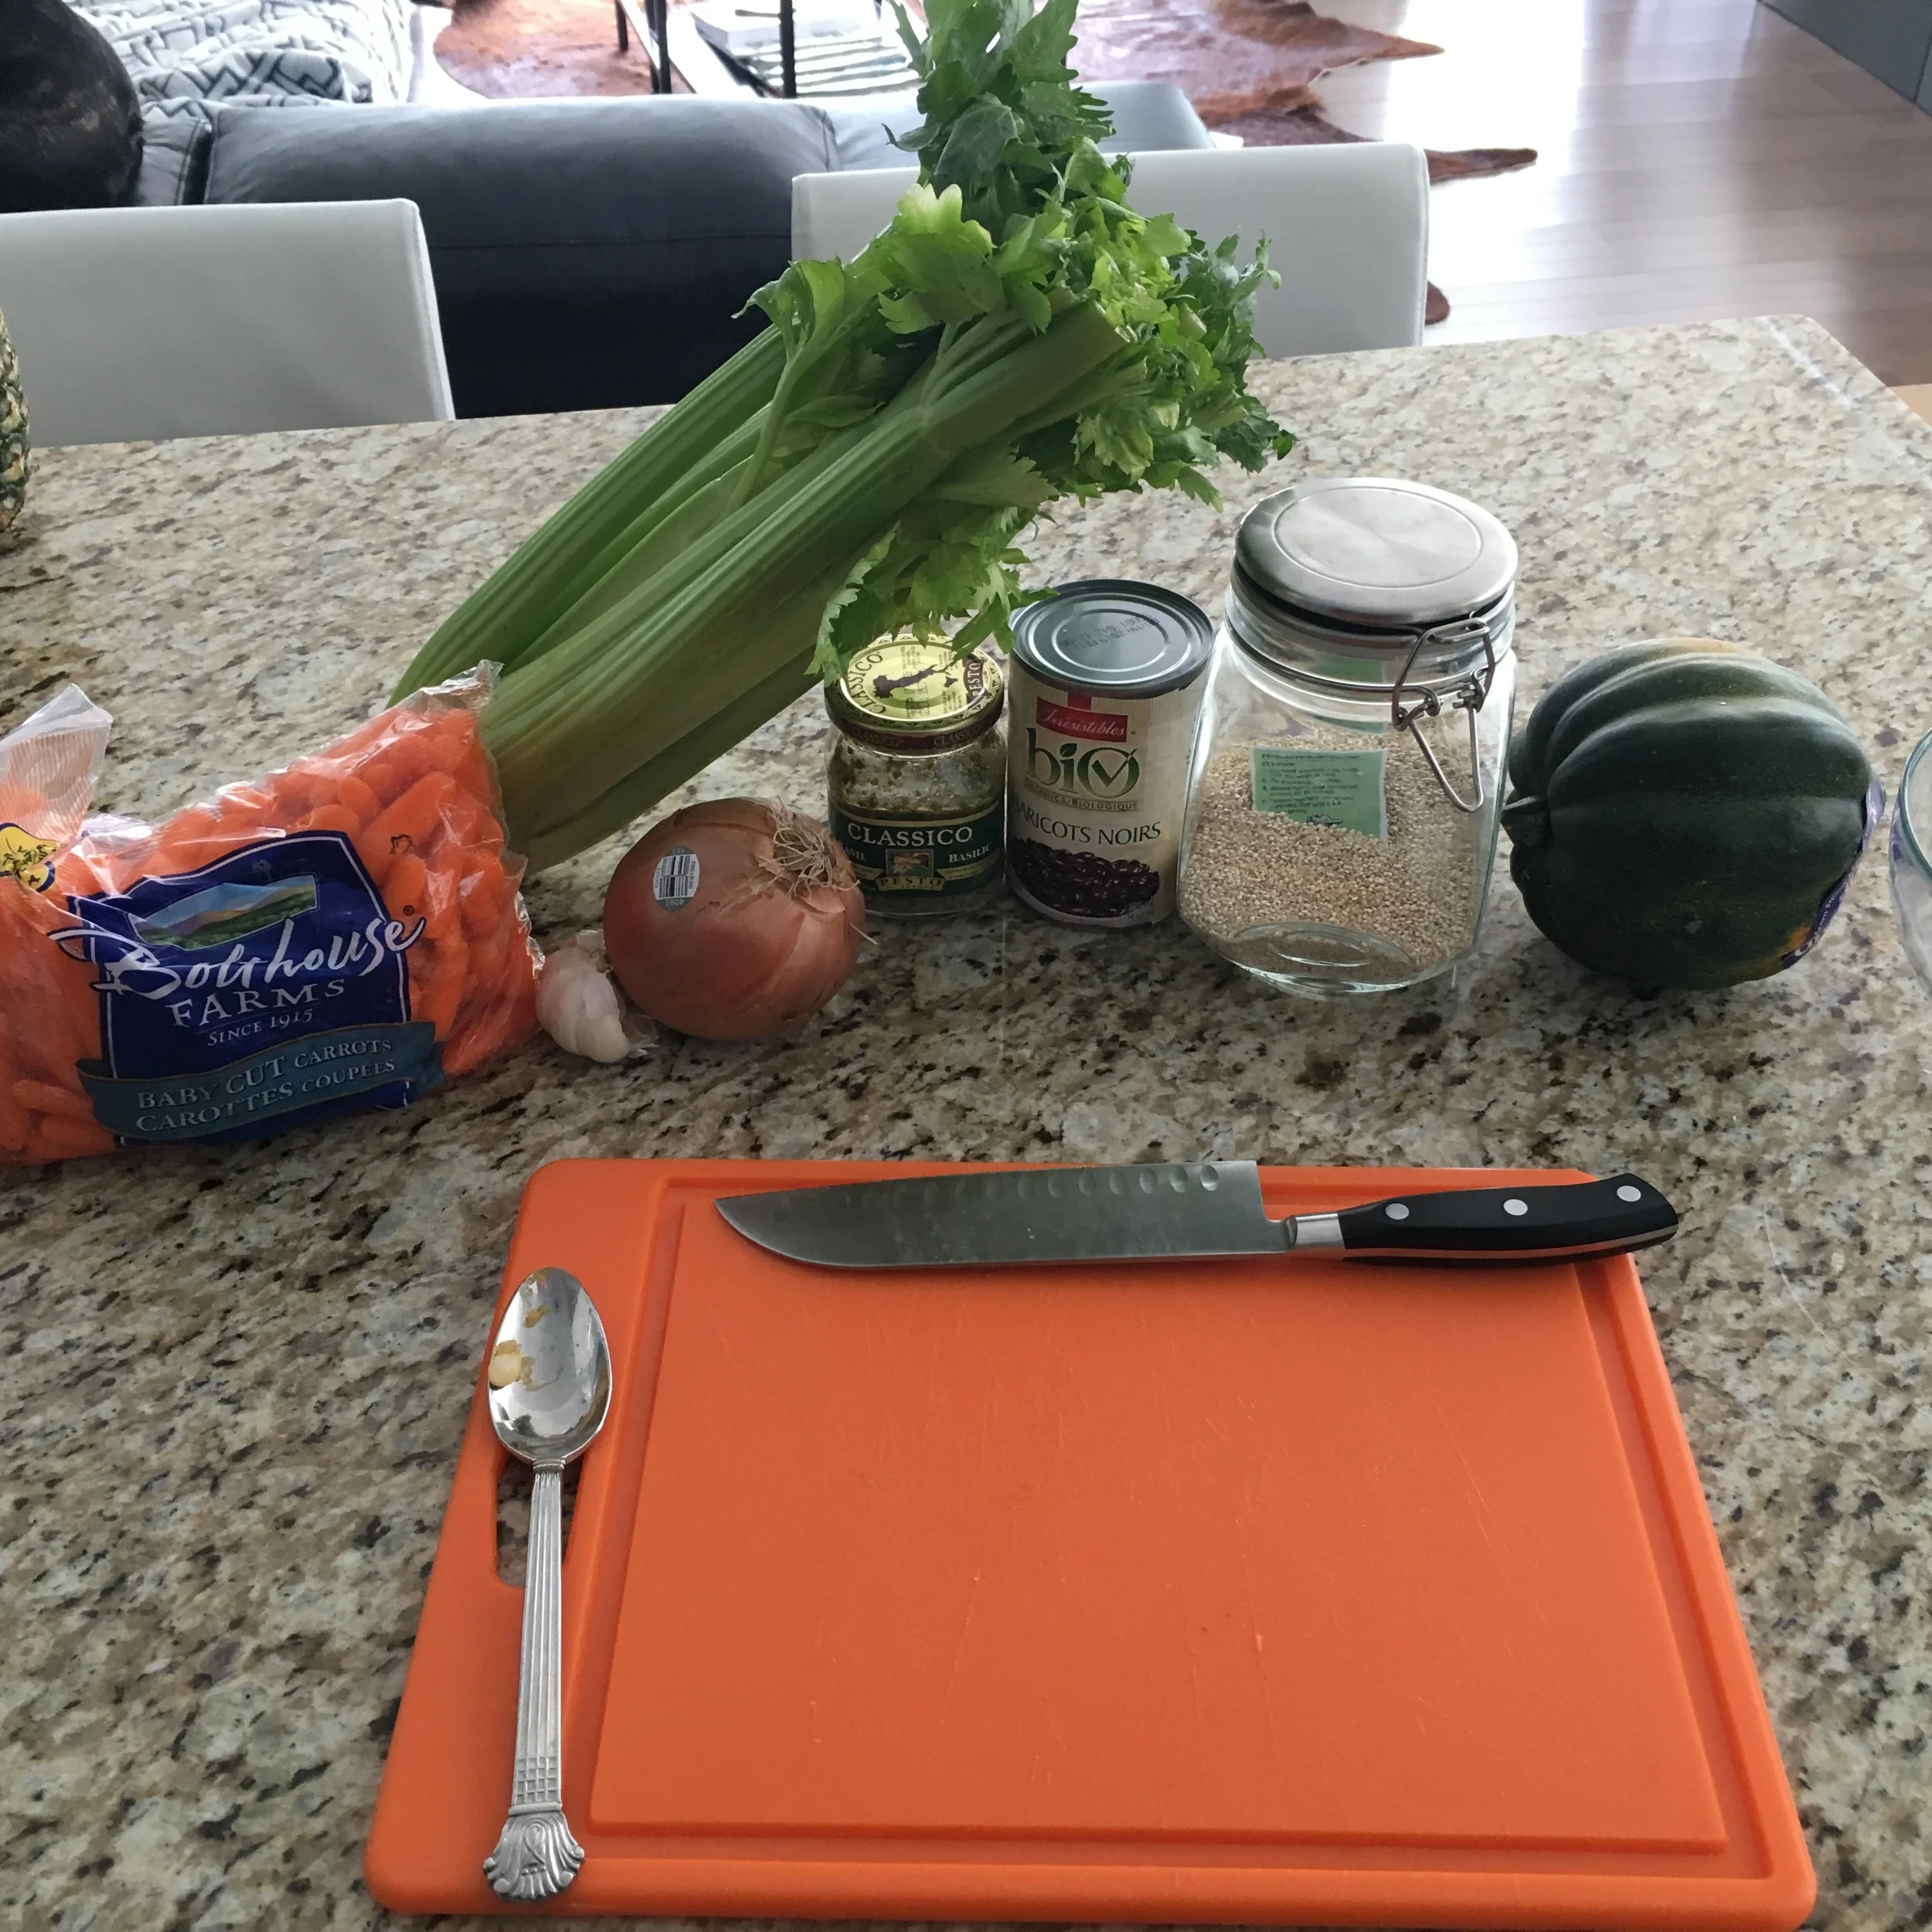
1 - 2 Acorn Squash
3/4 Cup of Uncooked Quinoa
1-2 TBSP of Olive Oil
1/2 Medium Spanish Onion (chopped)
2 Celery Stock (chopped)
2 Clove of Garlic (minced)
1/2 Cup of Carrots (chopped)
1/2 Cup of Black Beans (drained and rinsed)
Pesto Sauce
2-3 TBSP of Goat Cheese, Feta Cheese, Halloumi (whichever you prefer/optional)
Salt and Pepper to taste

DIRECTIONS:

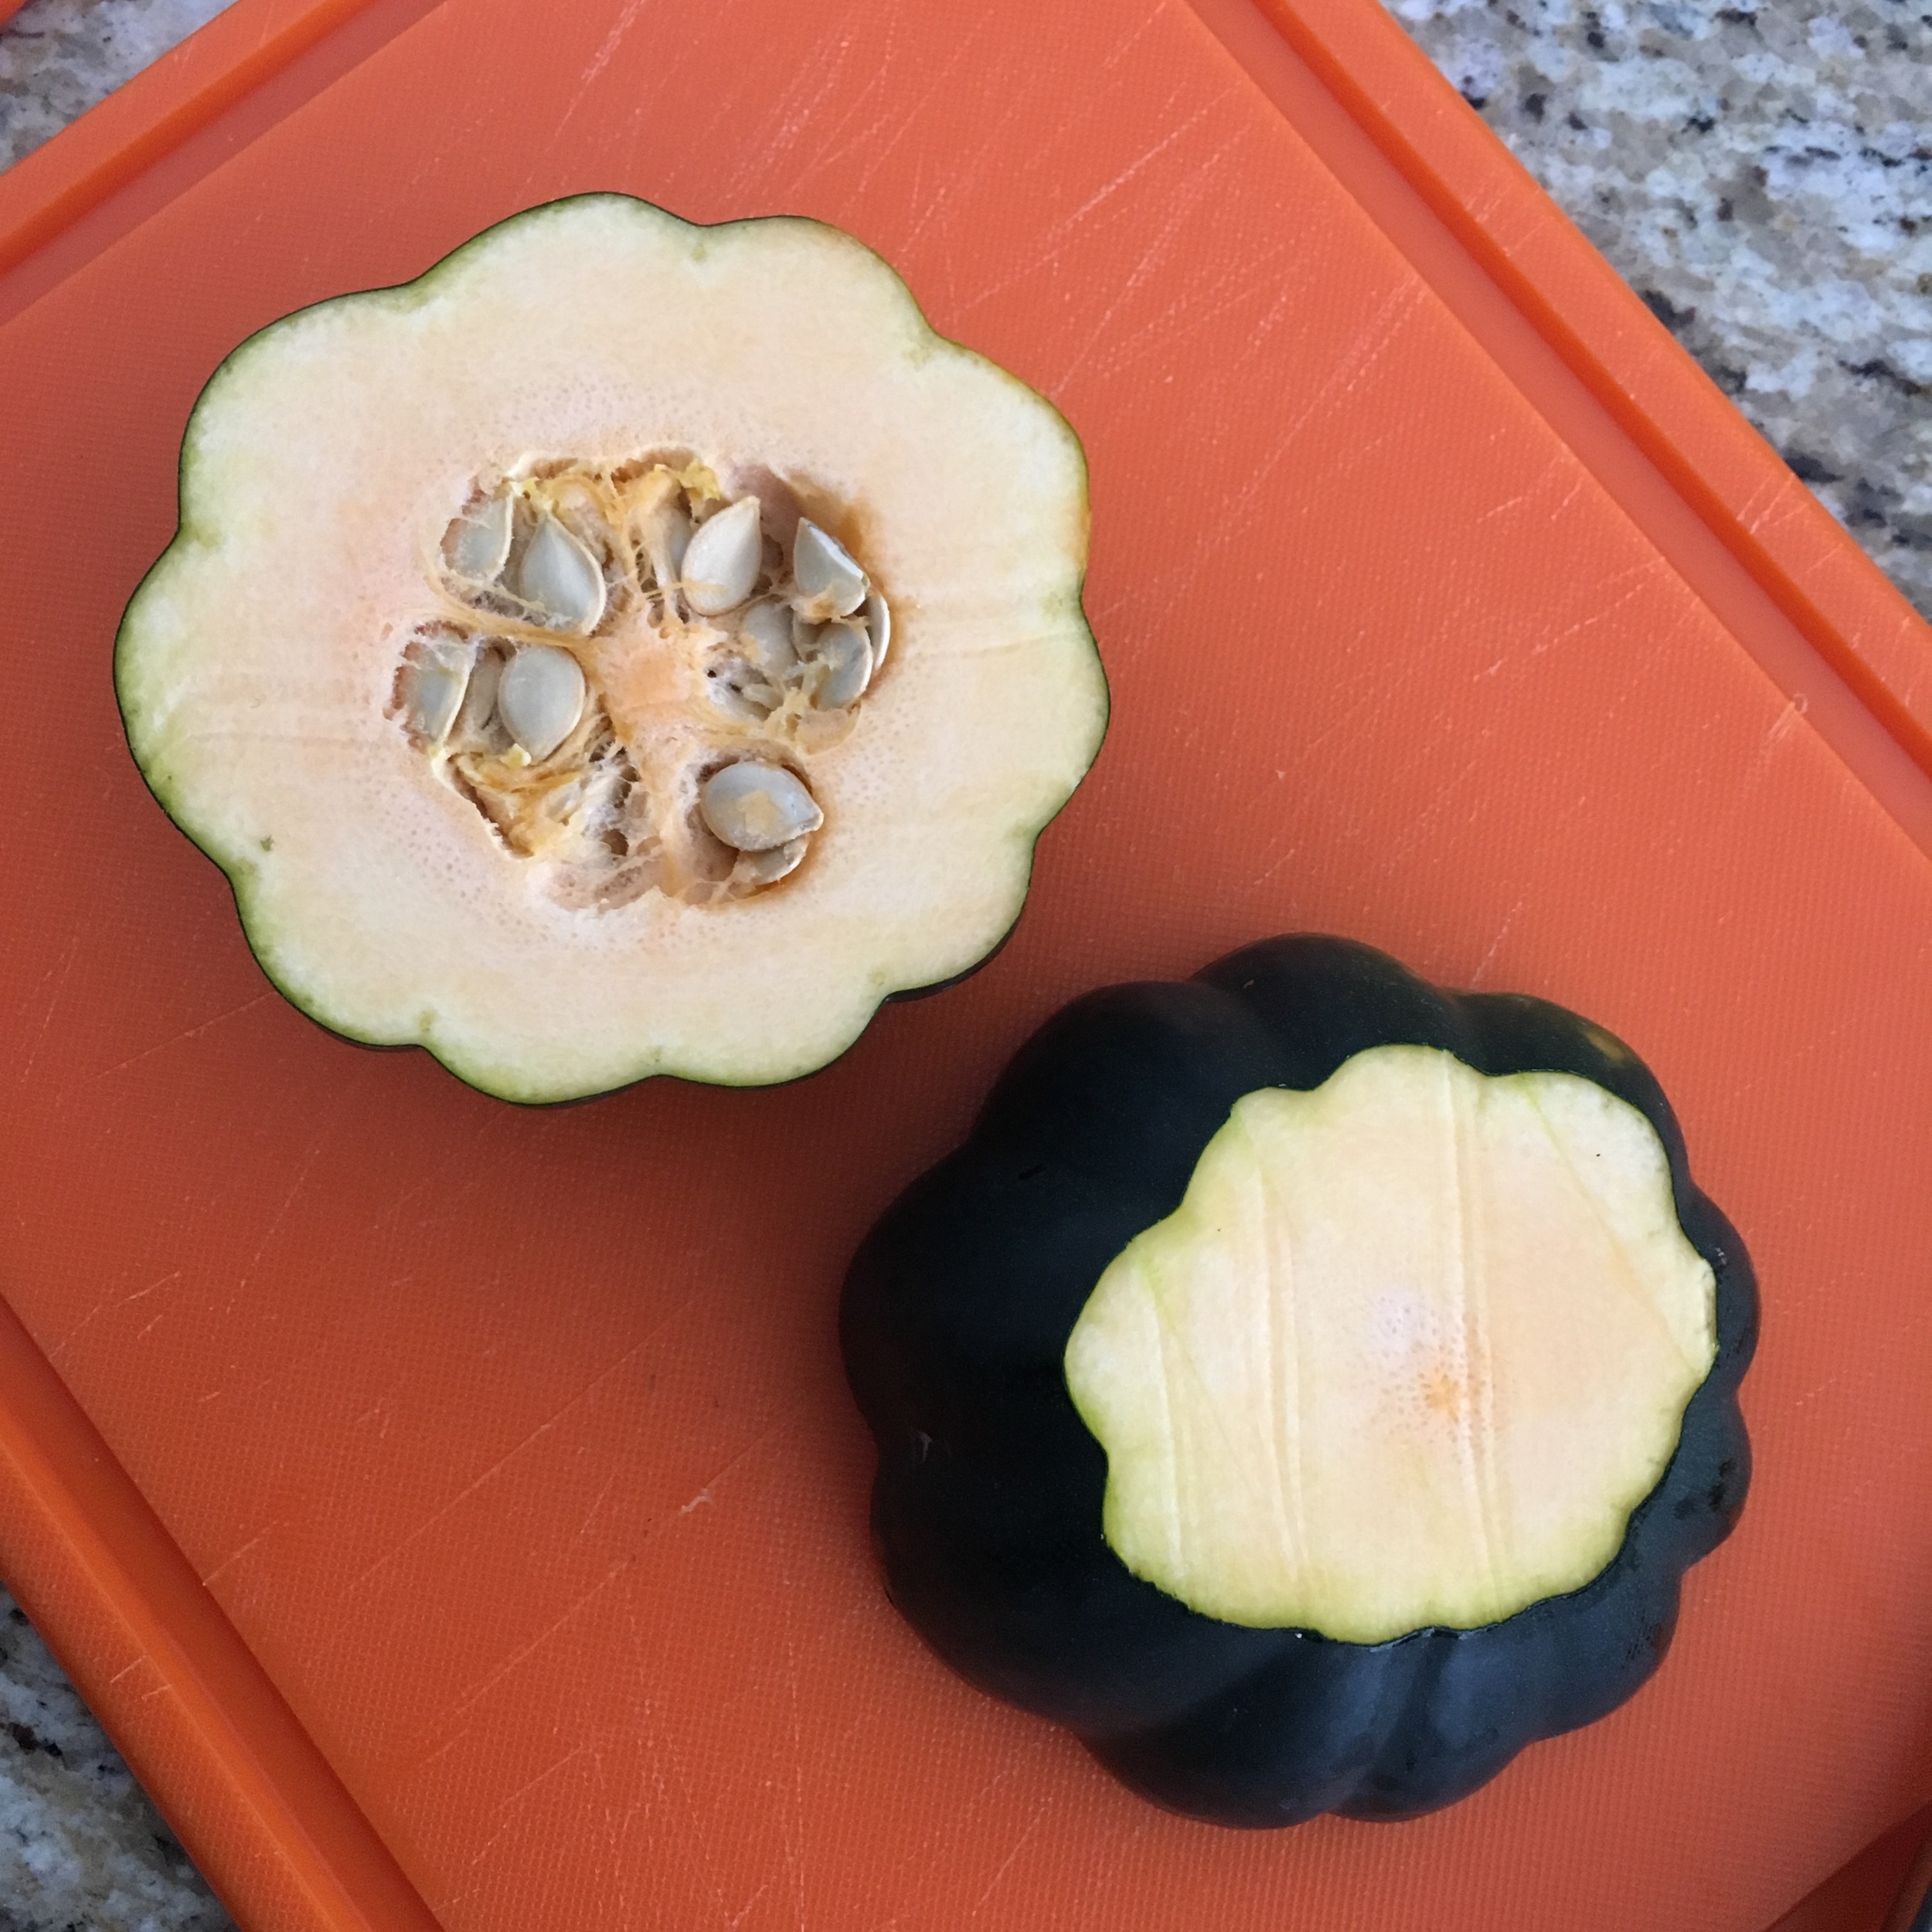
Preheat oven to 350 degrees. While oven is warming up go ahead and cut a small portion of the top and bottom of your acorn squash off to help it sit up straight. Next cut the squash in half, width-wise, and remove the seeds from the inside.

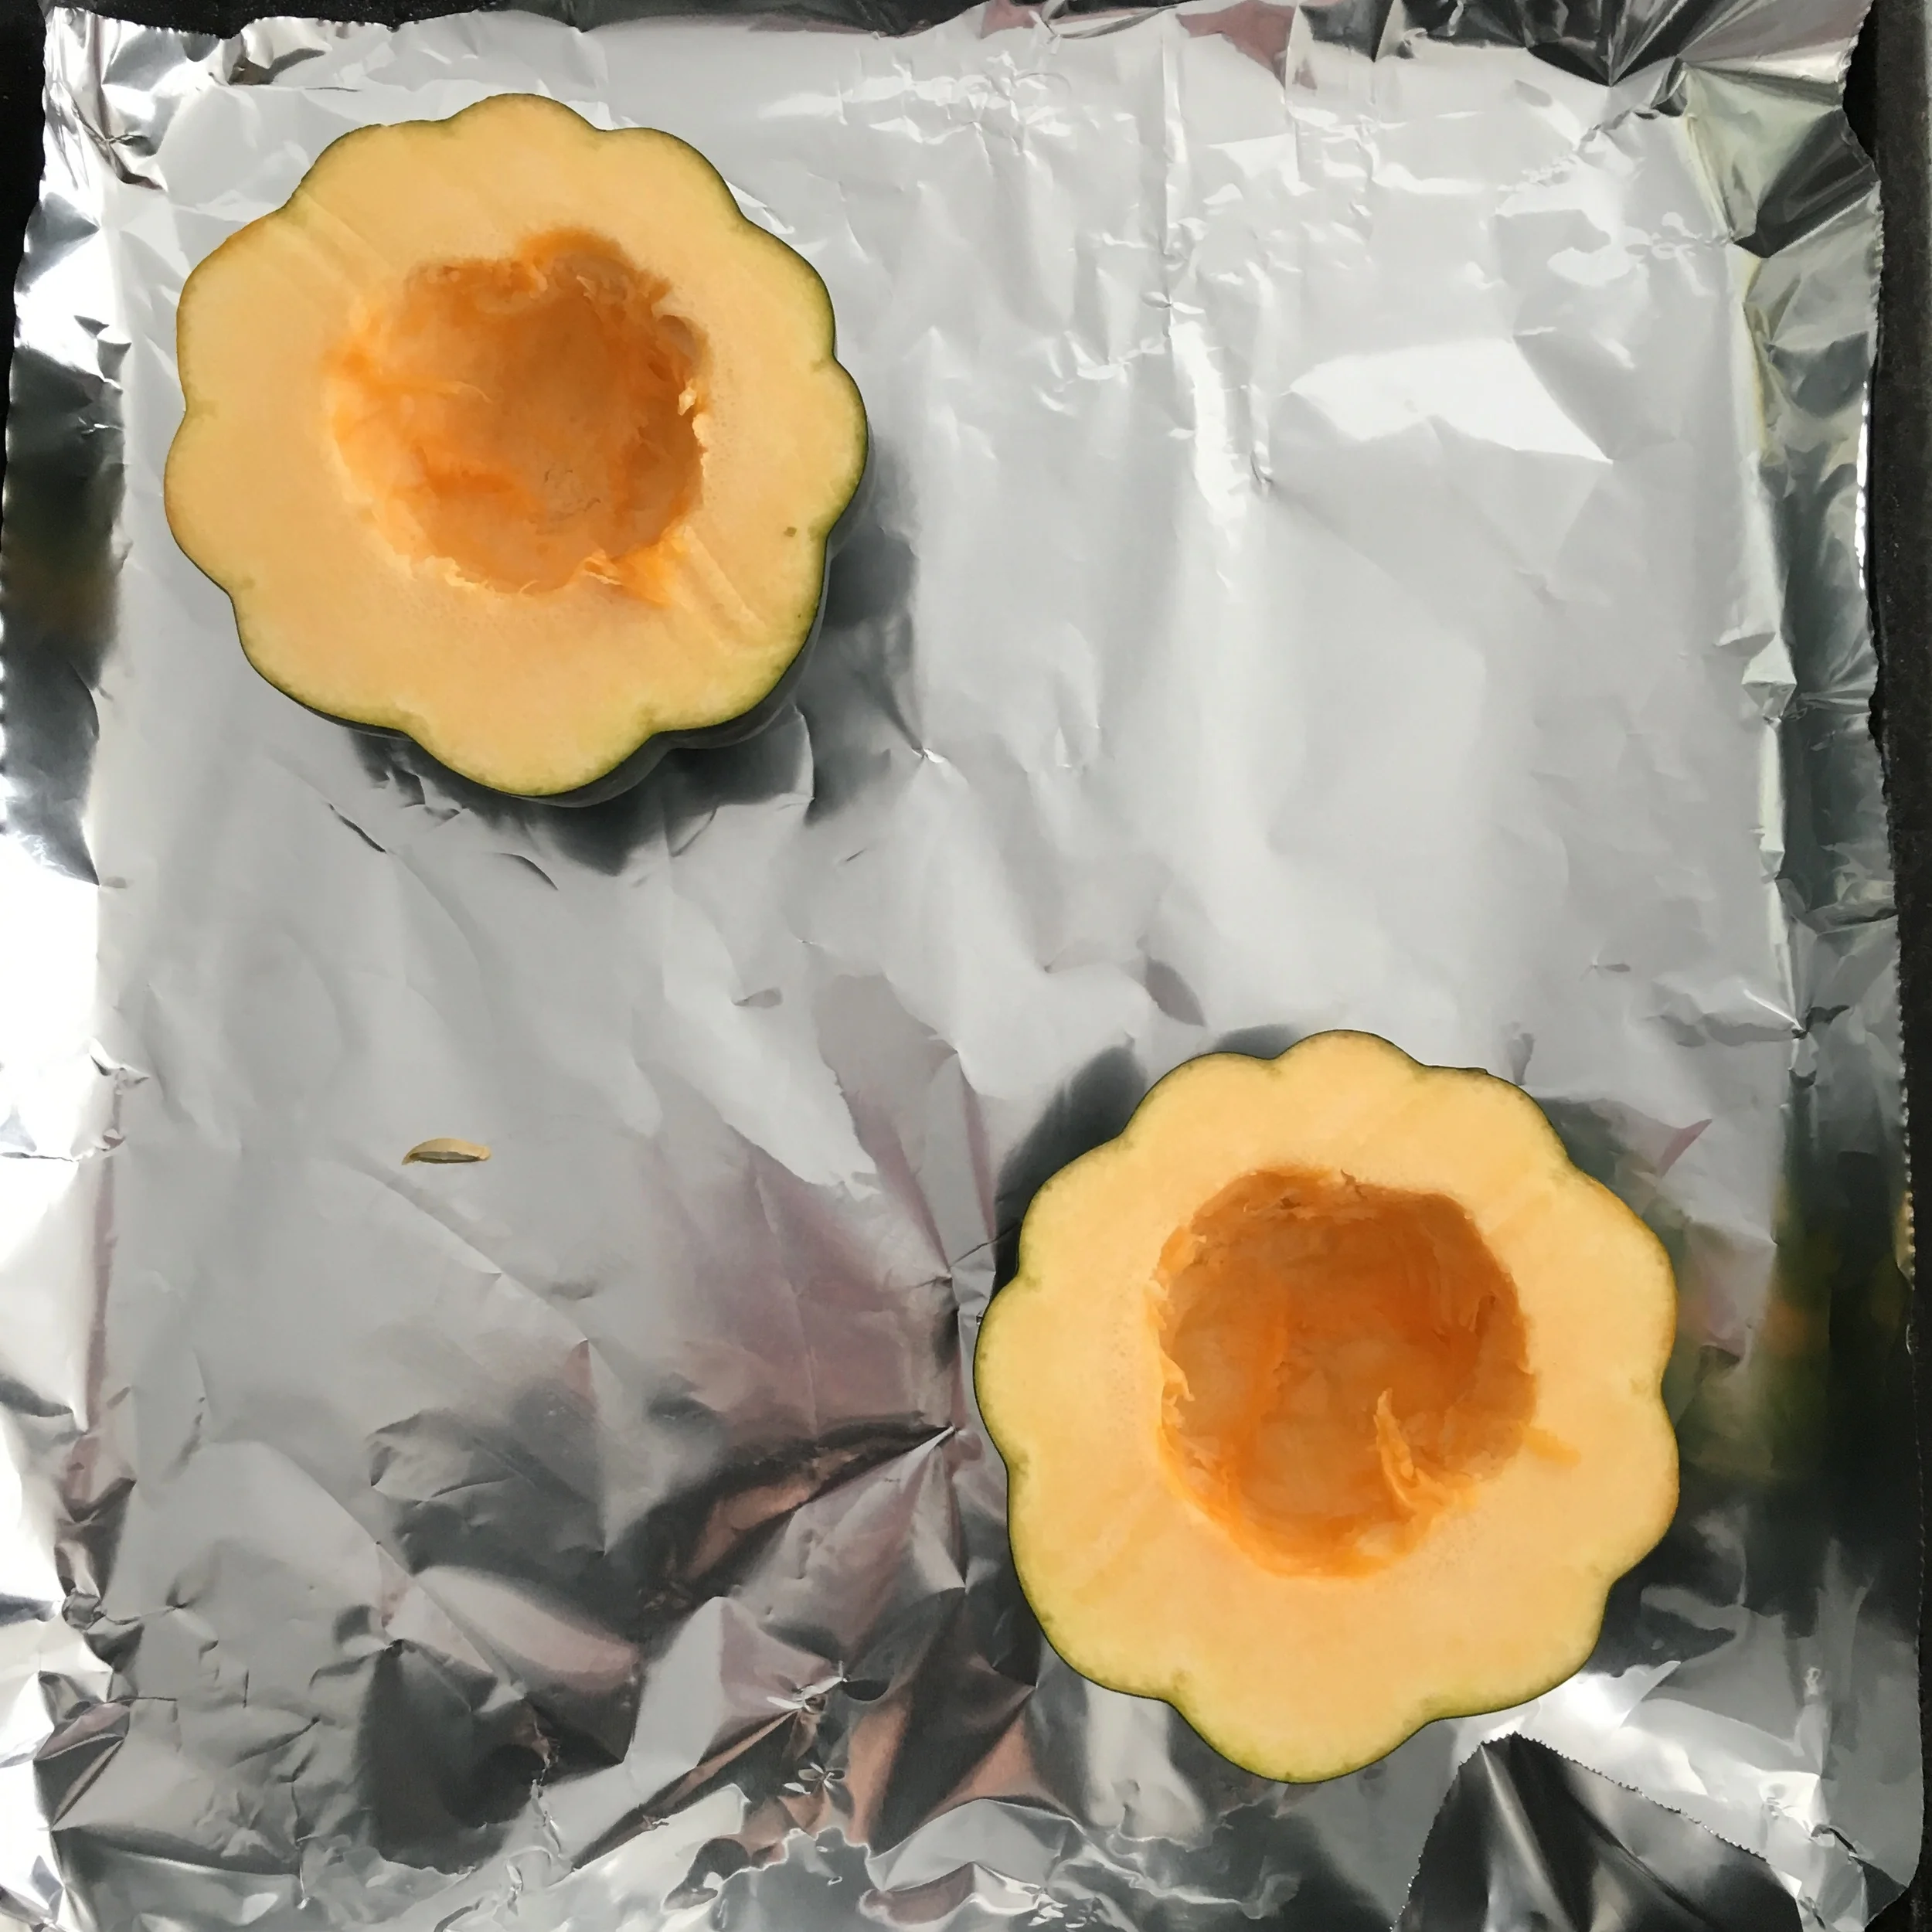
Place the squash on a baking tray that is lined with aluminum foil and bake for 30 minutes.

In the meantime make your quinoa.

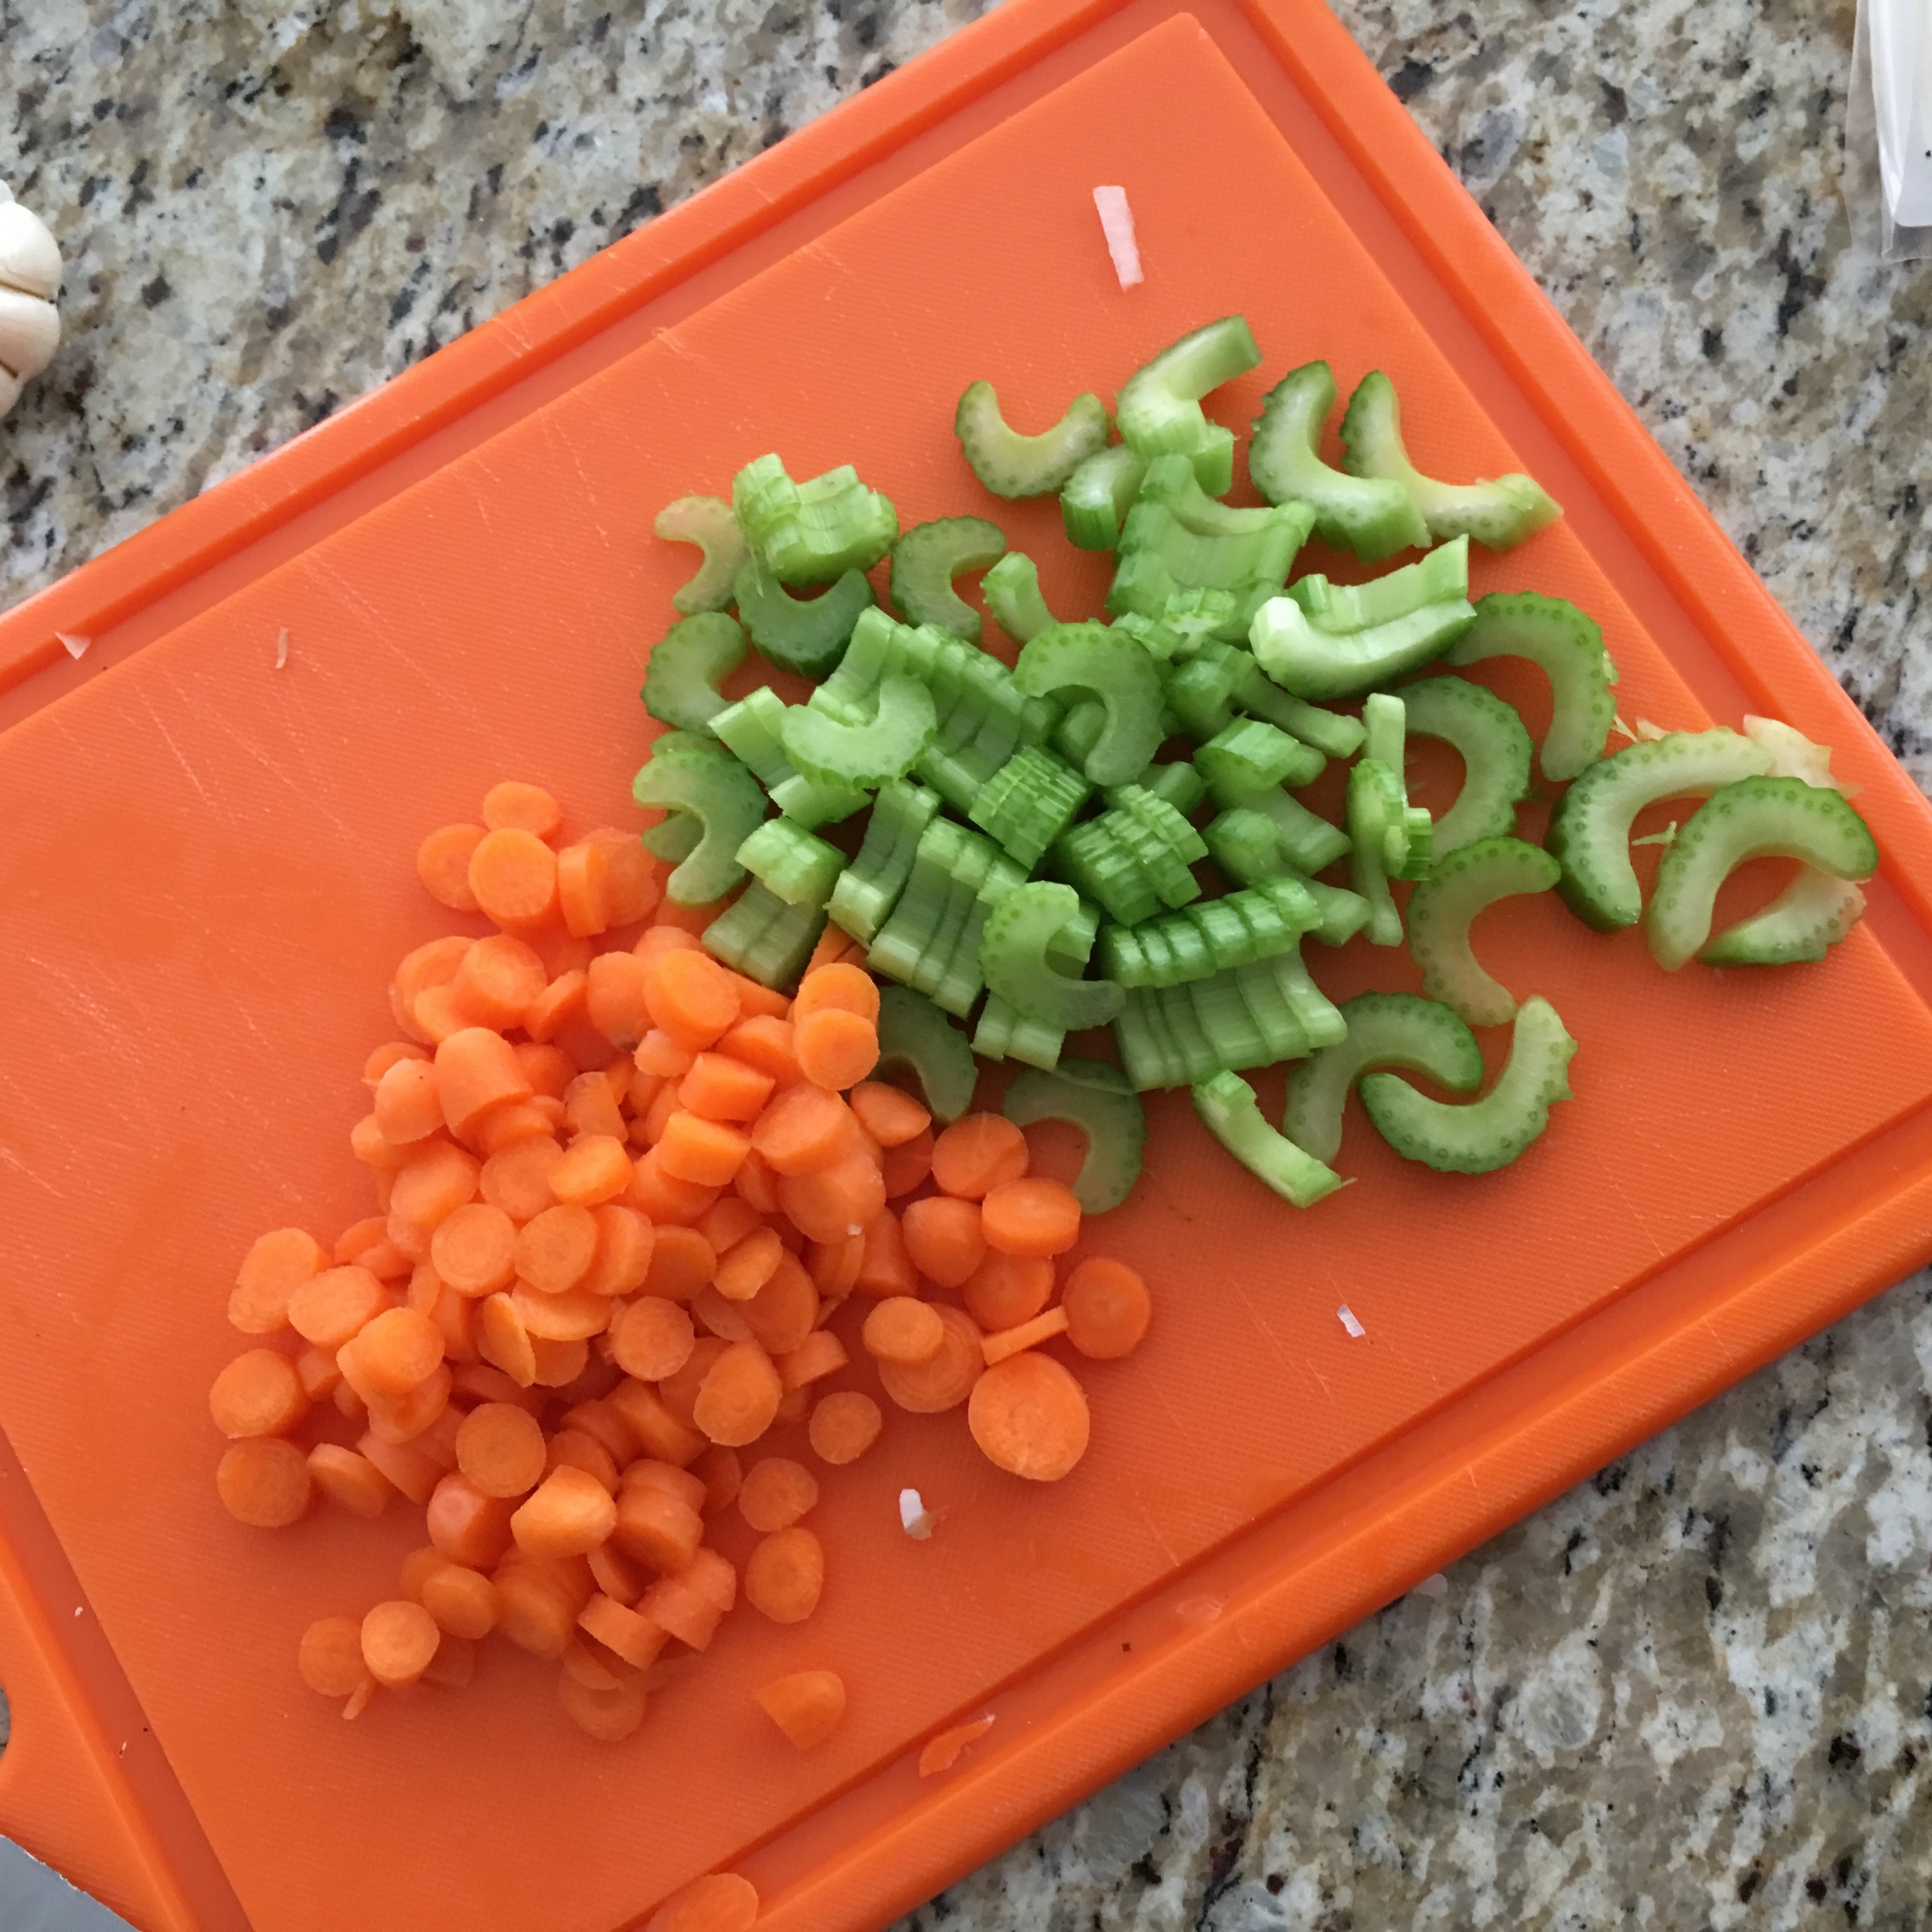
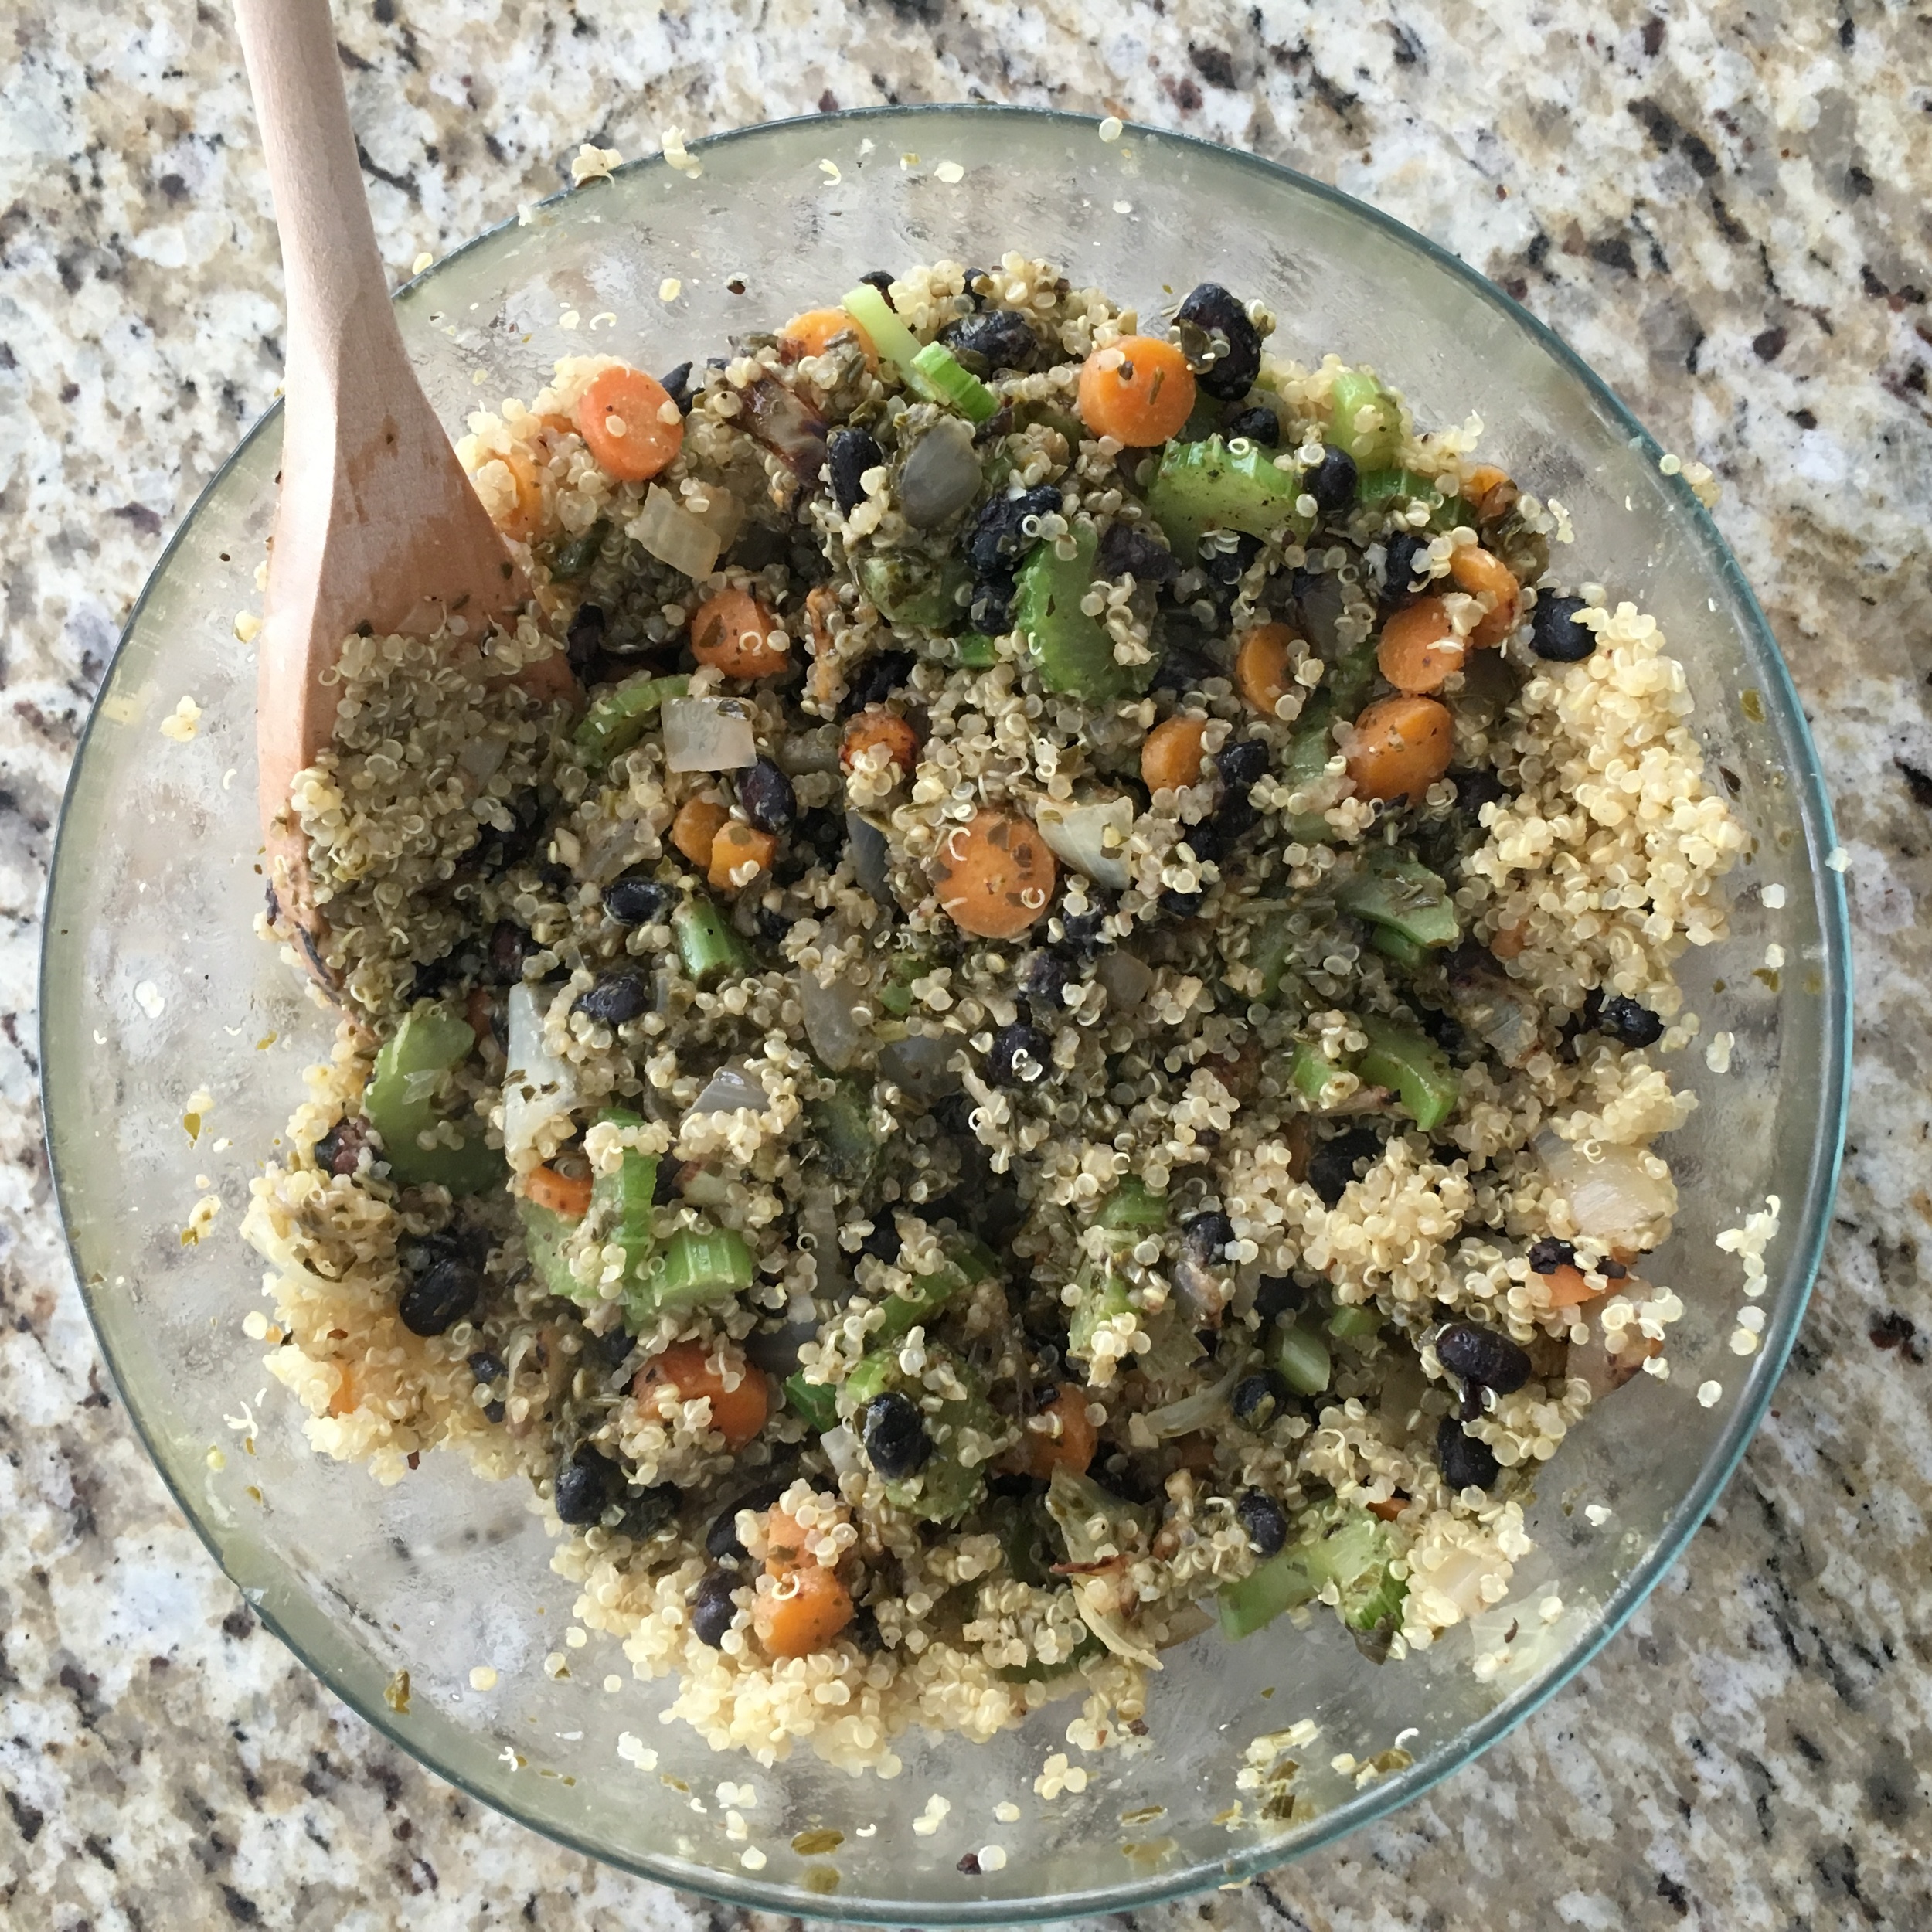
While you are waiting for your quinoa to cook you can add the olive oil to a pan and throw in your chopped onions, celery, carrots, garlic and black beans. Sauté until the onions become translucent. I also like to salt and pepper my veggies as they are cooking

Once the quinoa is ready transfer to a bowl, add in your pesto and sauteed vegetables. Mix together. At this point you can add in your cheese if you want. Save a little for garnish!!

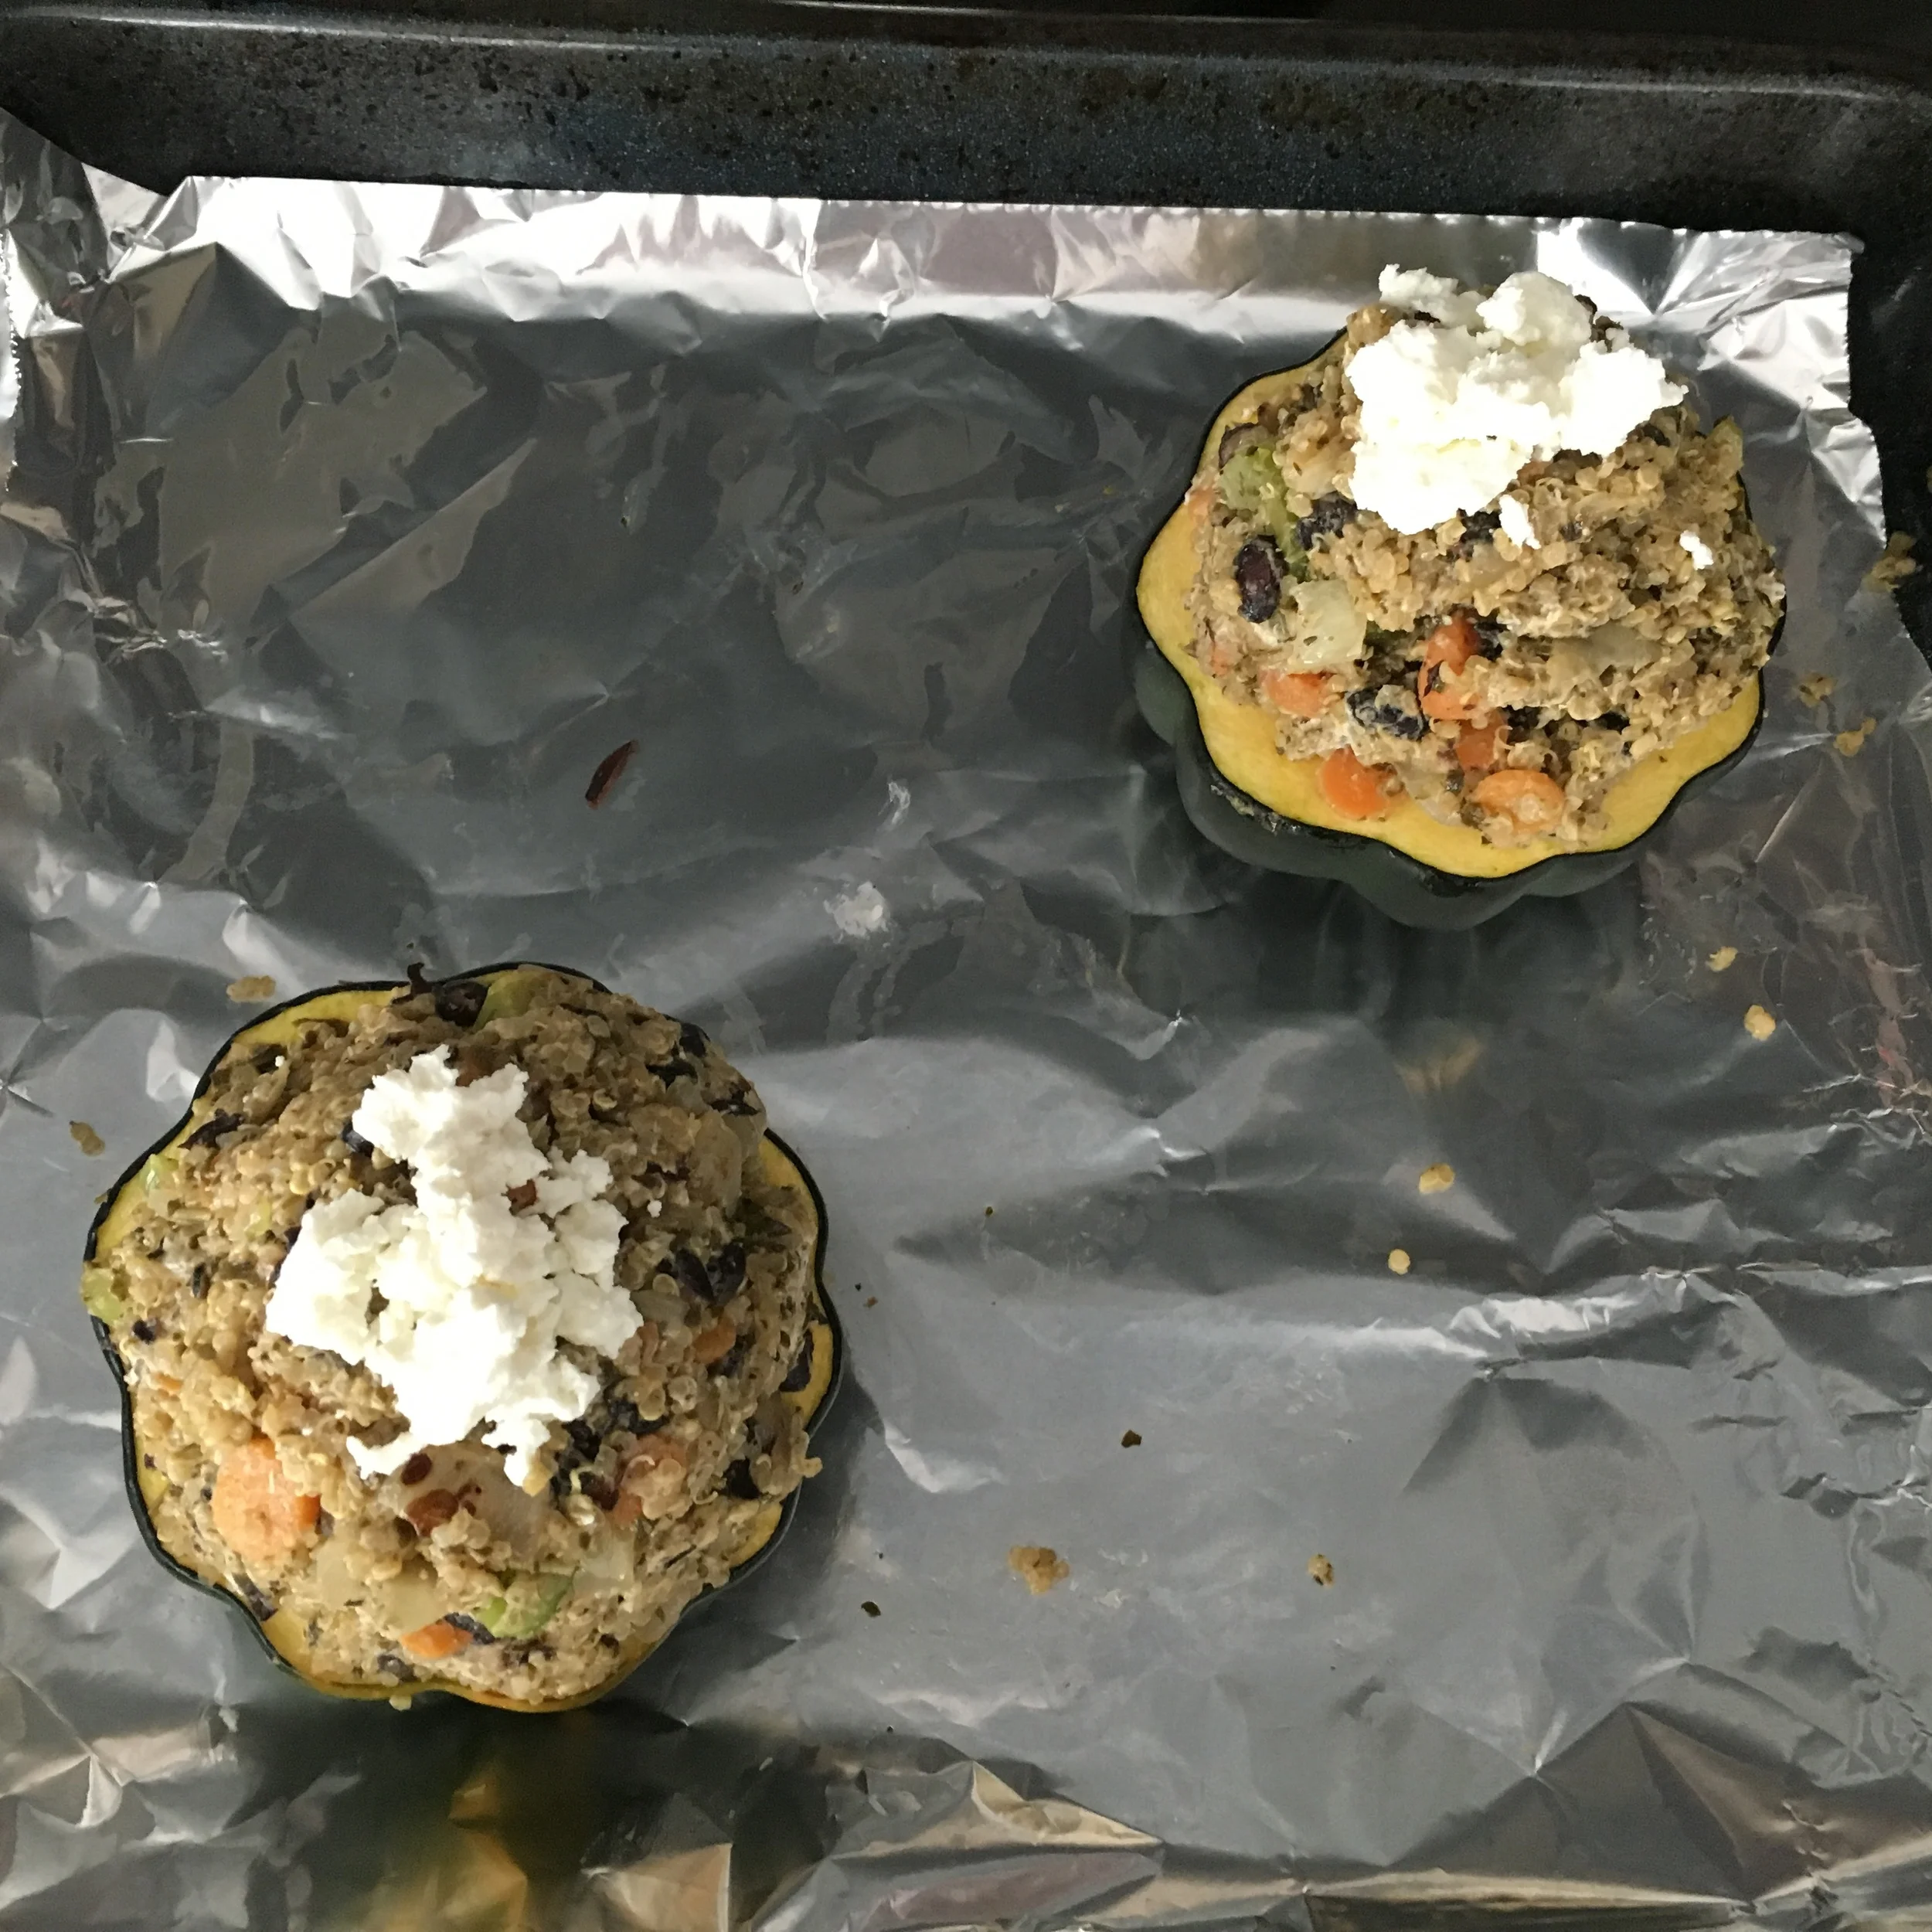
Once the squash has been in the oven for 30 minutes remove and stuff with the quinoa mixture. Garnish with cheese and pop back in the oven for an additional 30 minutes.

Once ready remove from oven and serve warm. Enjoy!


I hope you enjoyed this recipe as much as I do. If you have any comments please leave them below and I'll be happy to answer them as soon as I can!  Bon Appetite!!!
MEXICAN SCREWDRIVERS

Recently while on vacation in Todos Santos, Mexico my friends and I came up with this drink which we dubbed 'The Mexican Screwdriver'. Since we had all this fresh citrus fruit available to use we had to take advantage! This is what we came up with and it is delicious! I think I drank about five of them one day beside the pool because they were so refreshing and totally hit the spot. Enjoy!

INGREDIENTS:

2 Oz of Vodka ( I like Tito's Vodka because its Gluten Free)
4 Oz of Freshly Squeezed Orange Juice
1/2 Oz of Cointreau
1 Oz of Freshly Squeezed Pomegranate Juice

DIRECTIONS:

Mix all Ingredients in a cocktail mixer. Give it a shake and add to a glass filled half way with ice. Serve!


I hope you enjoyed this recipe as much as I do. If you have any comments please leave them below and I'll be happy to answer them as soon as I can! Happy cooking!!!