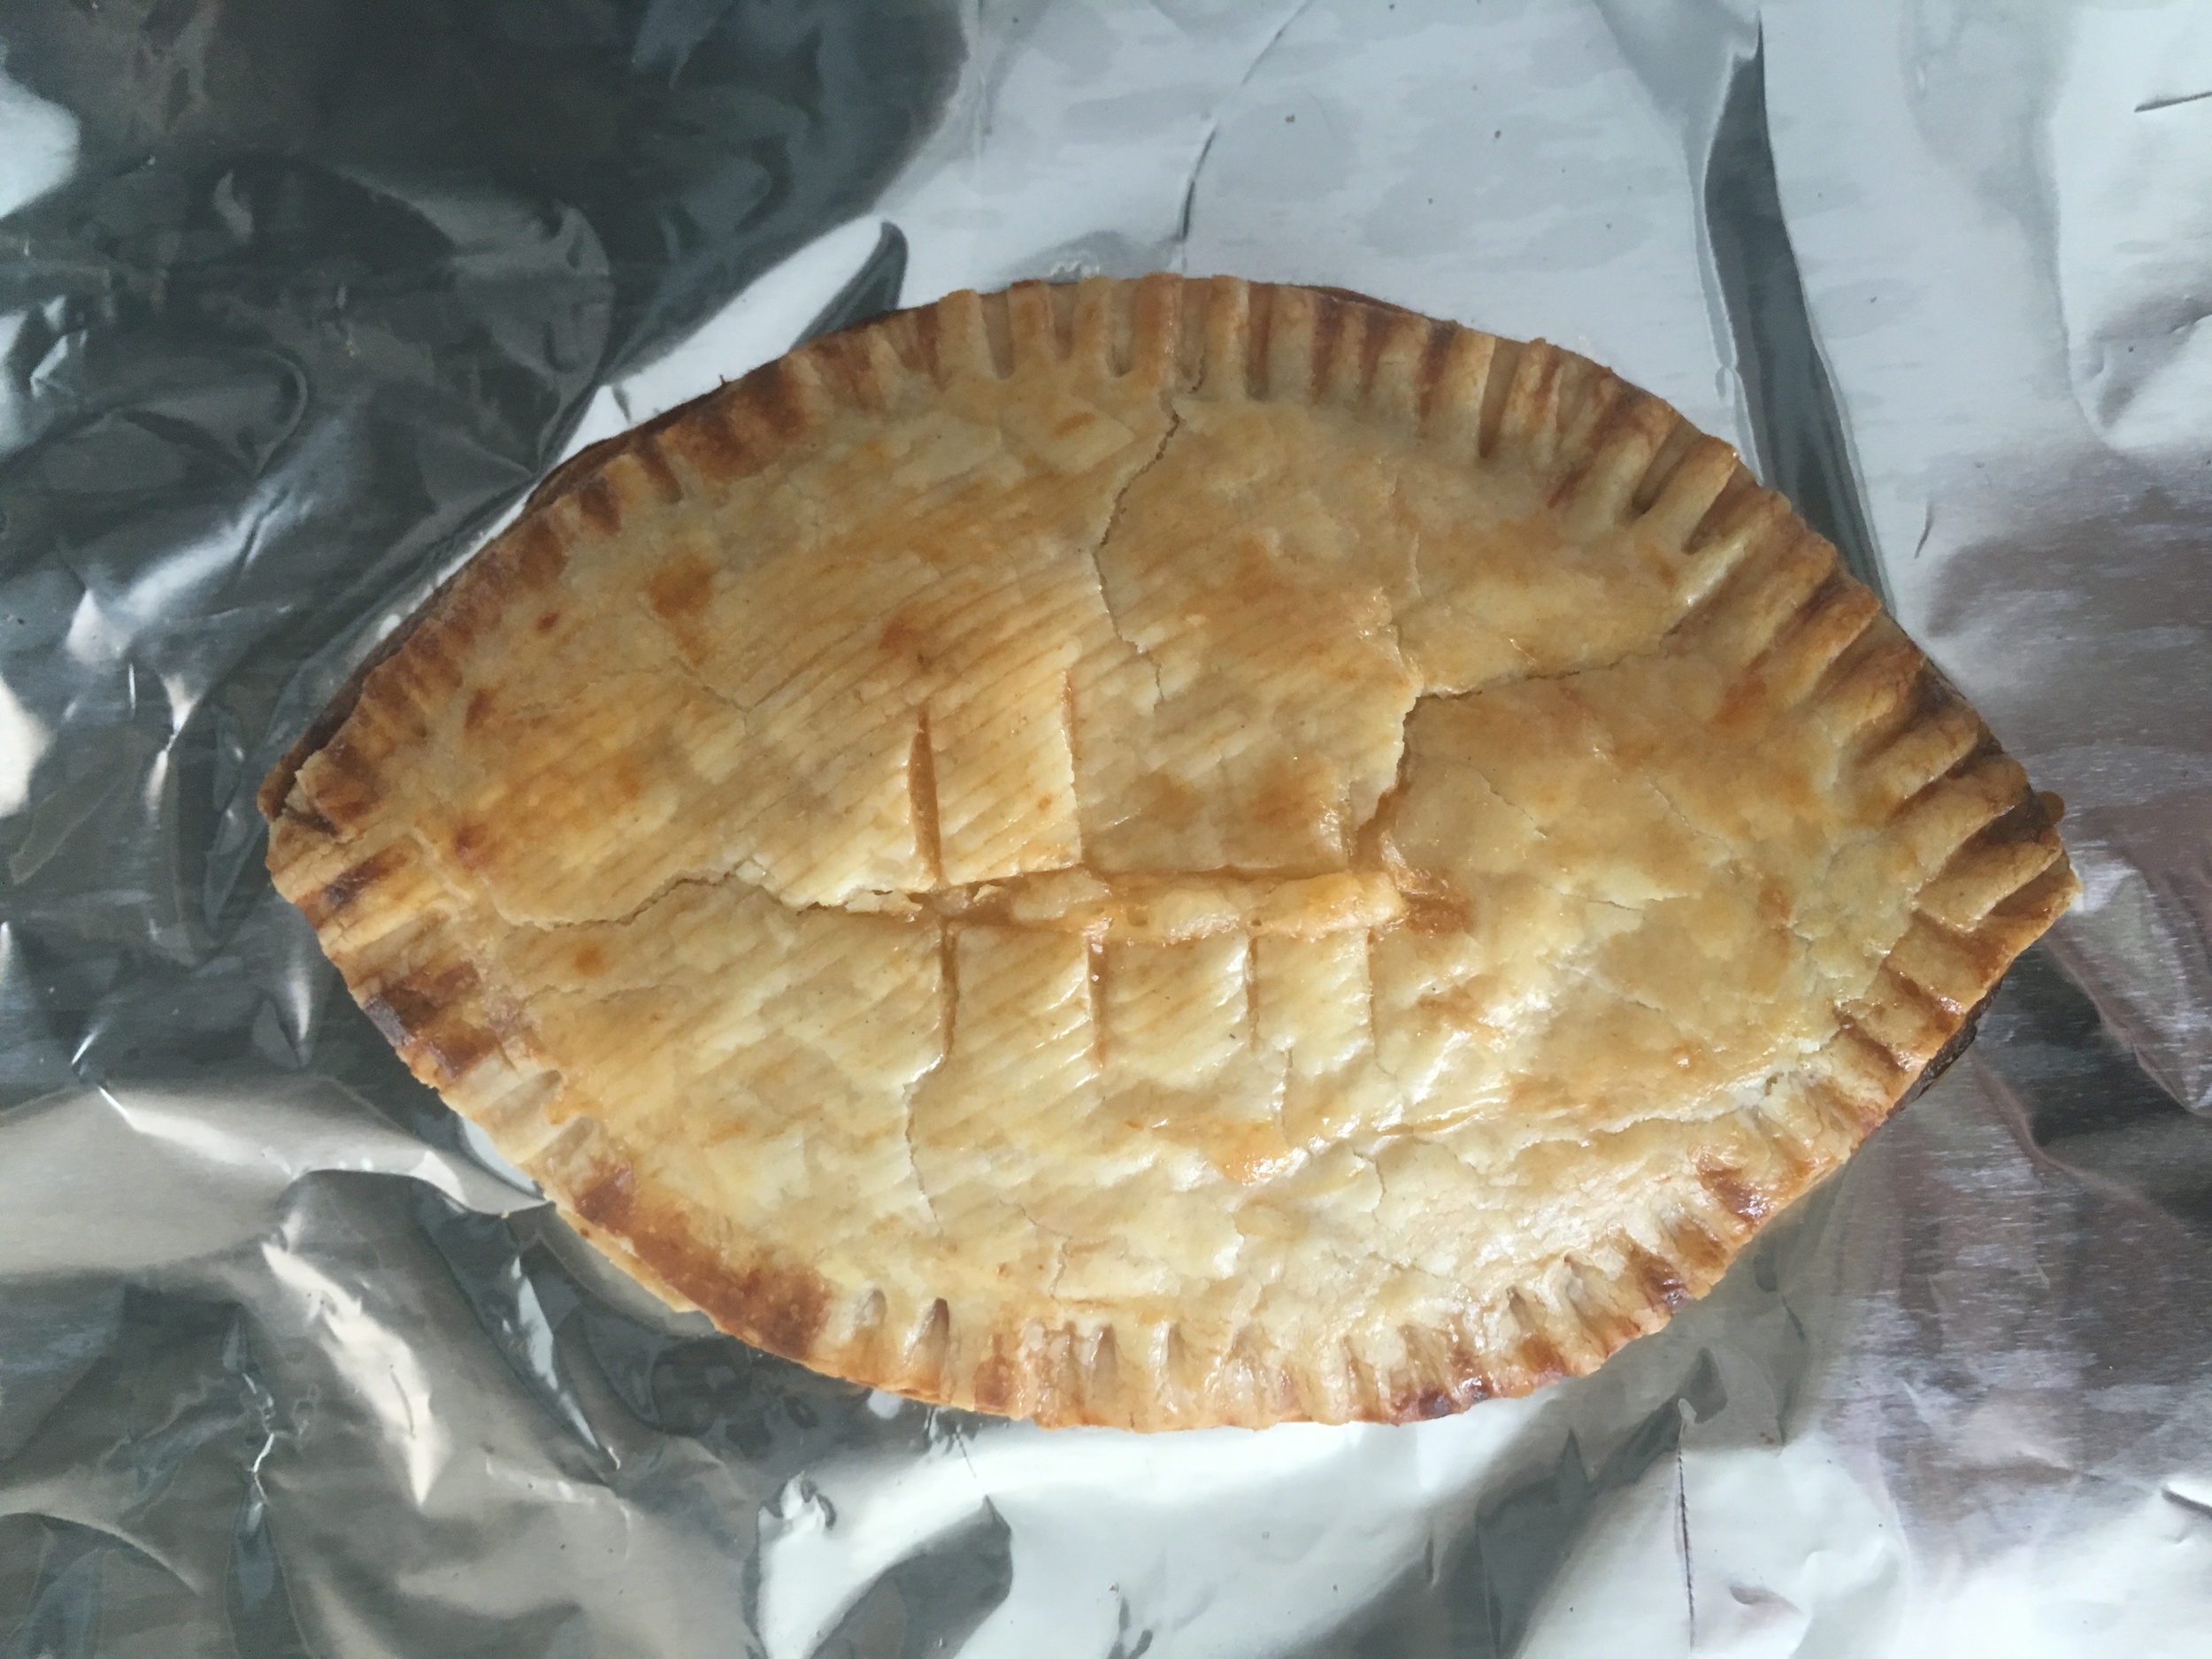
Now that's a real pizza pie. Note that I only did this with pie crust because that's what I had in the fridge. They tasted great but personally as a pizza connoisseur I would have preferred to use pizza dough! I just like that texture better but that's just me. They still taste great it just depends on what you like. You do you! Anyways for Superbowl 50 I would totally add these to my menu. They are easy and filling and dont take to much time or effort to make. Your guest will definitely enjoy these little pizza pies and how they look like little footballs!!!
Yields: 3 Pie's
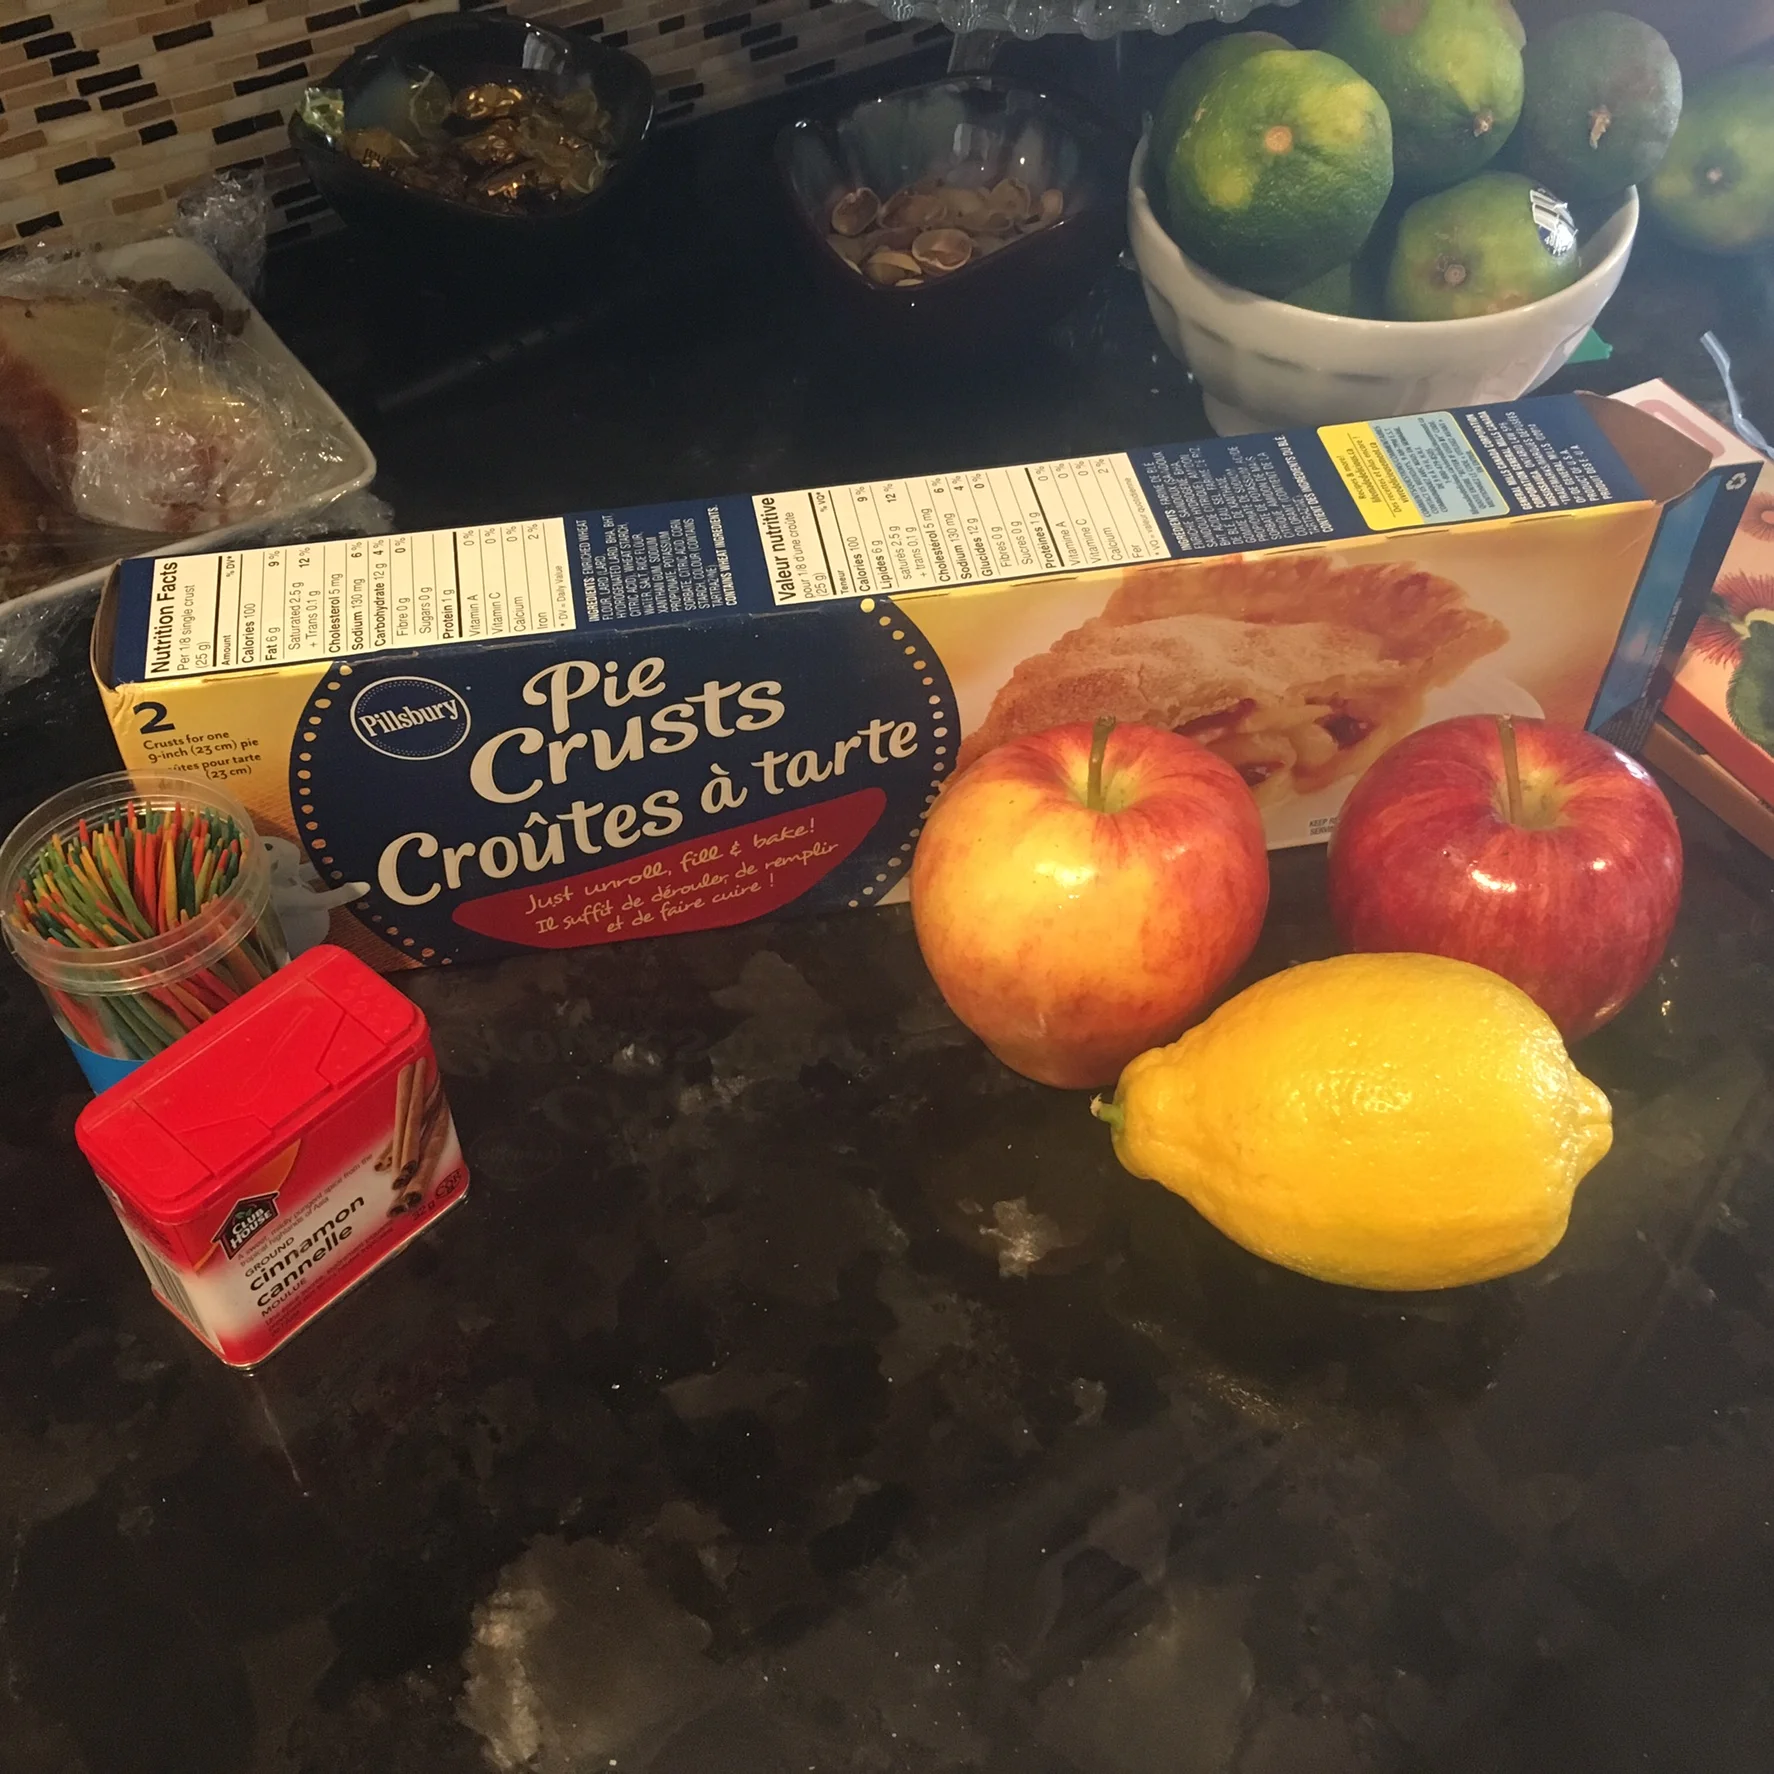
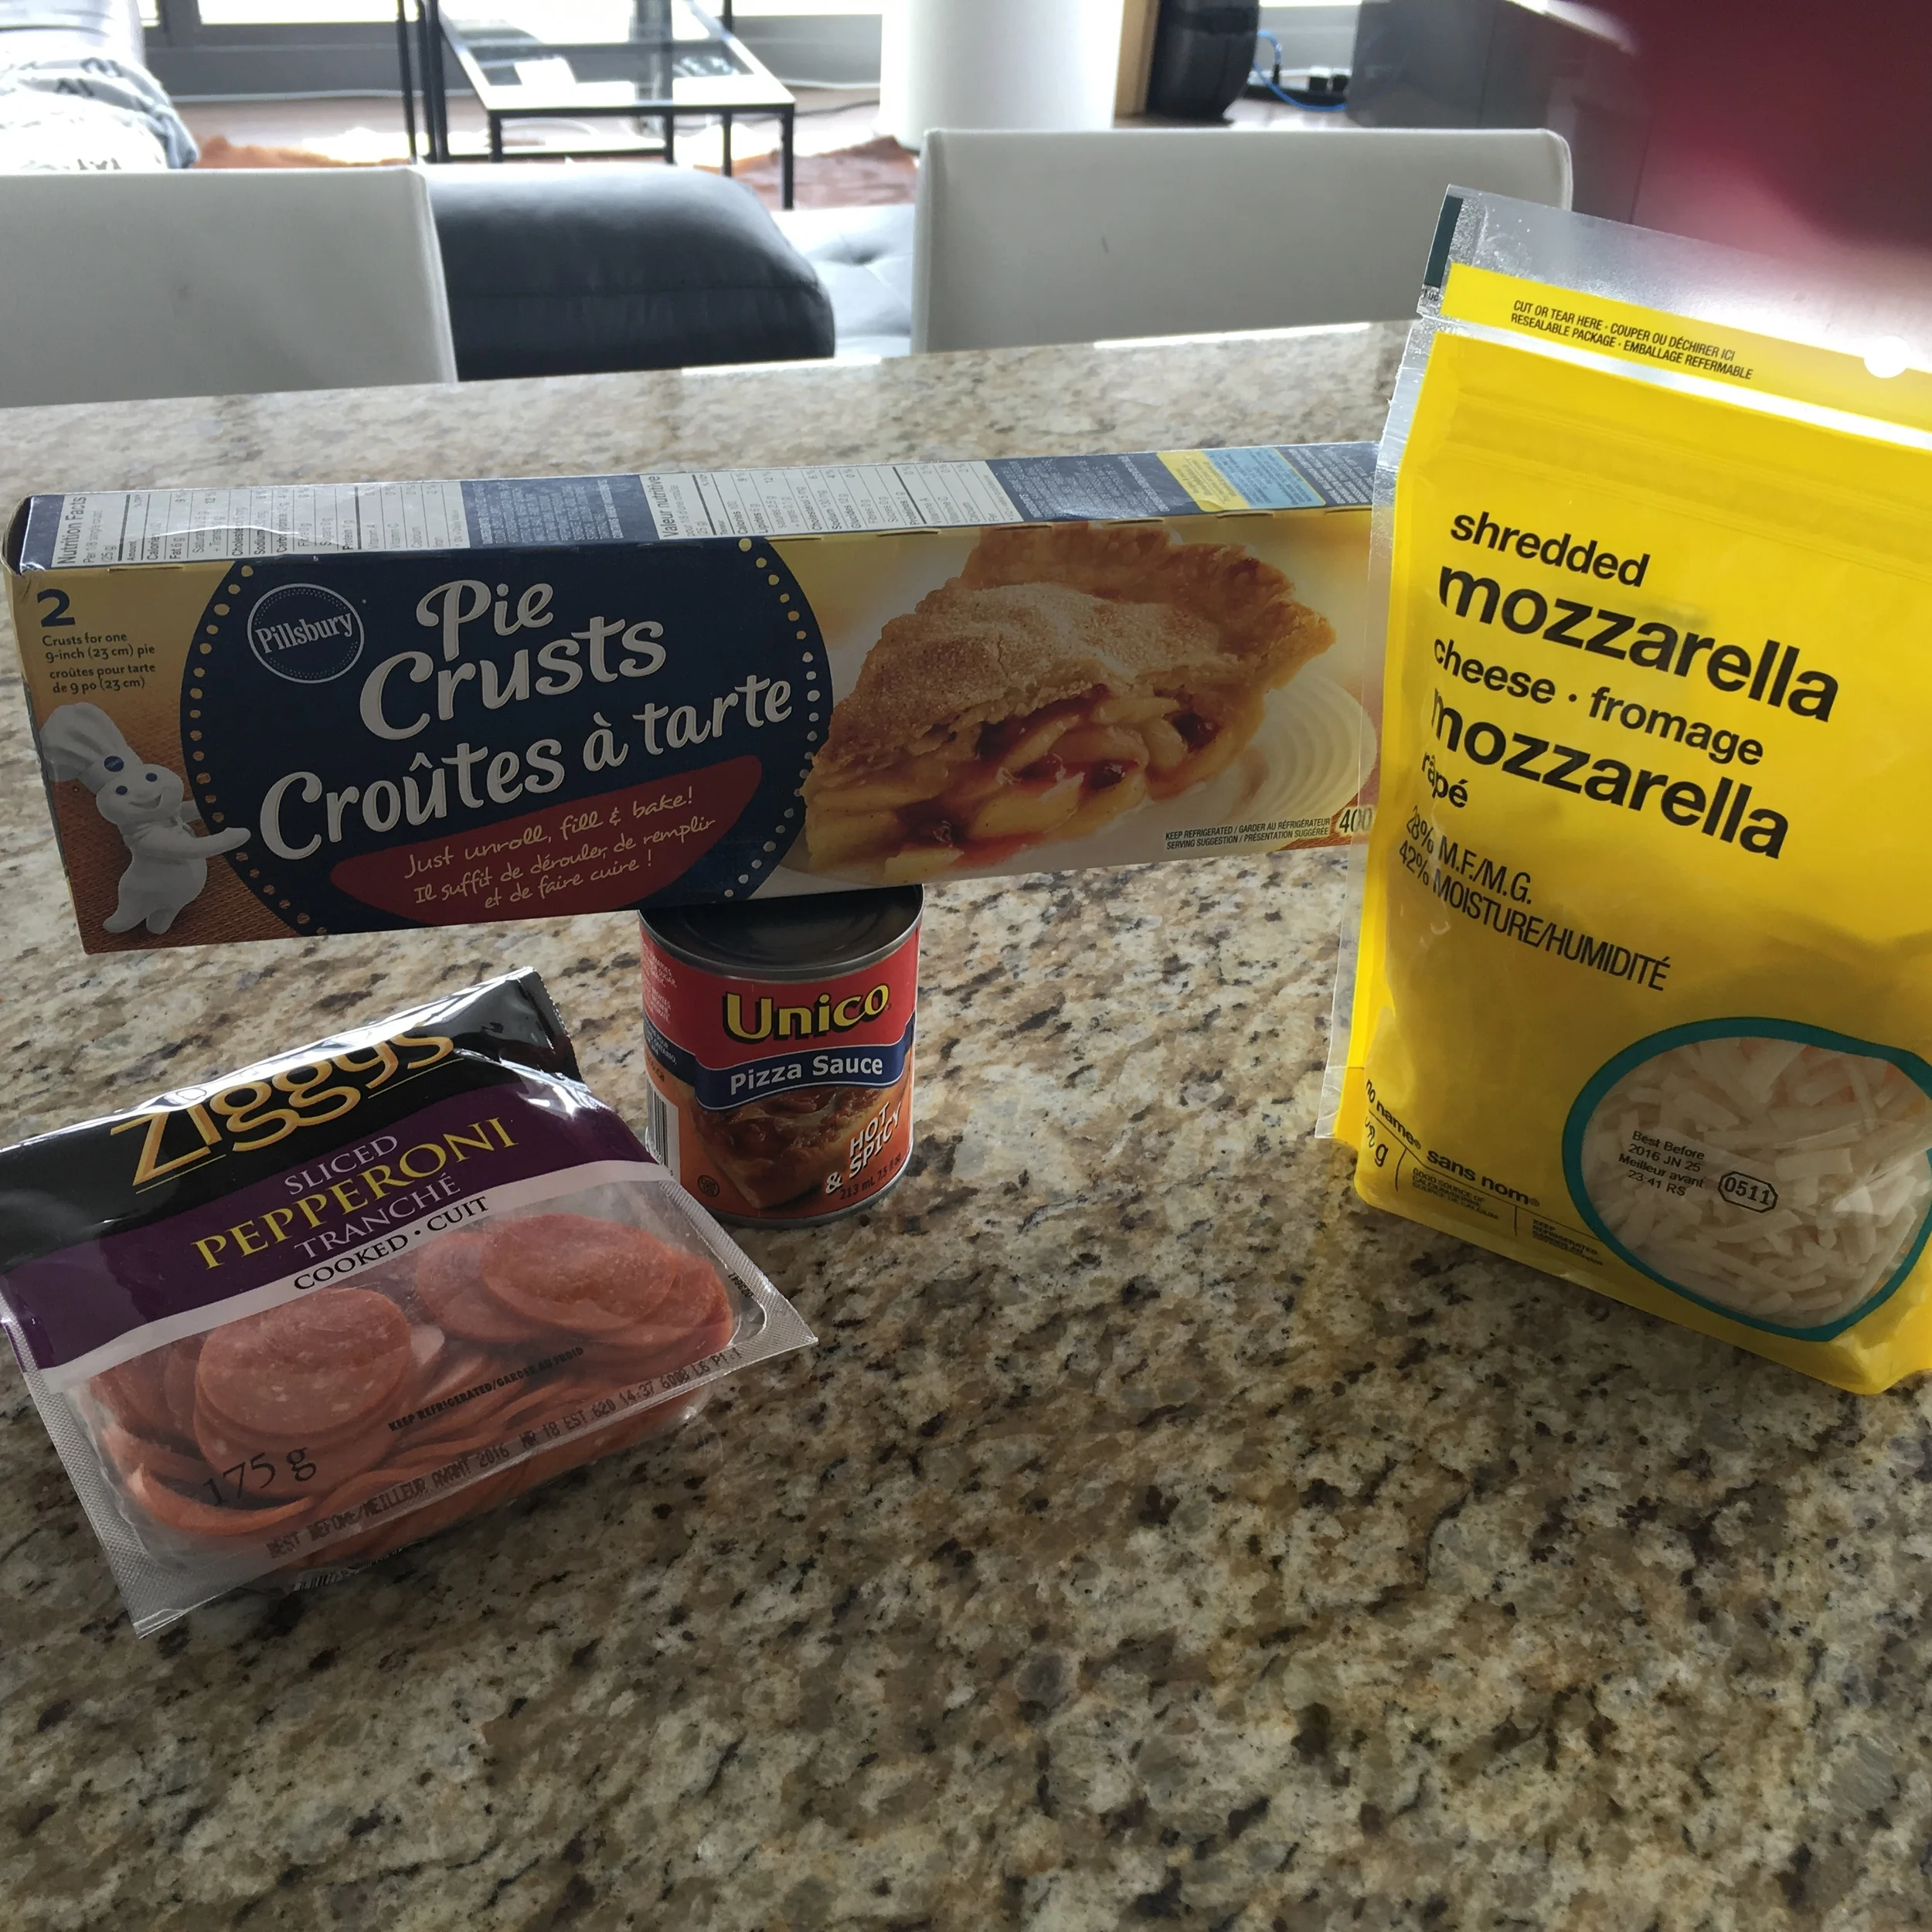
INGREDIENTS:
200 Grams of Pillsbury Pie Crust (you can also use pizza dough)
Tomato Sauce
Pepperoni Slices
Mozzarella Cheese
Garlic Powder *forgot to add this to ingredients photo
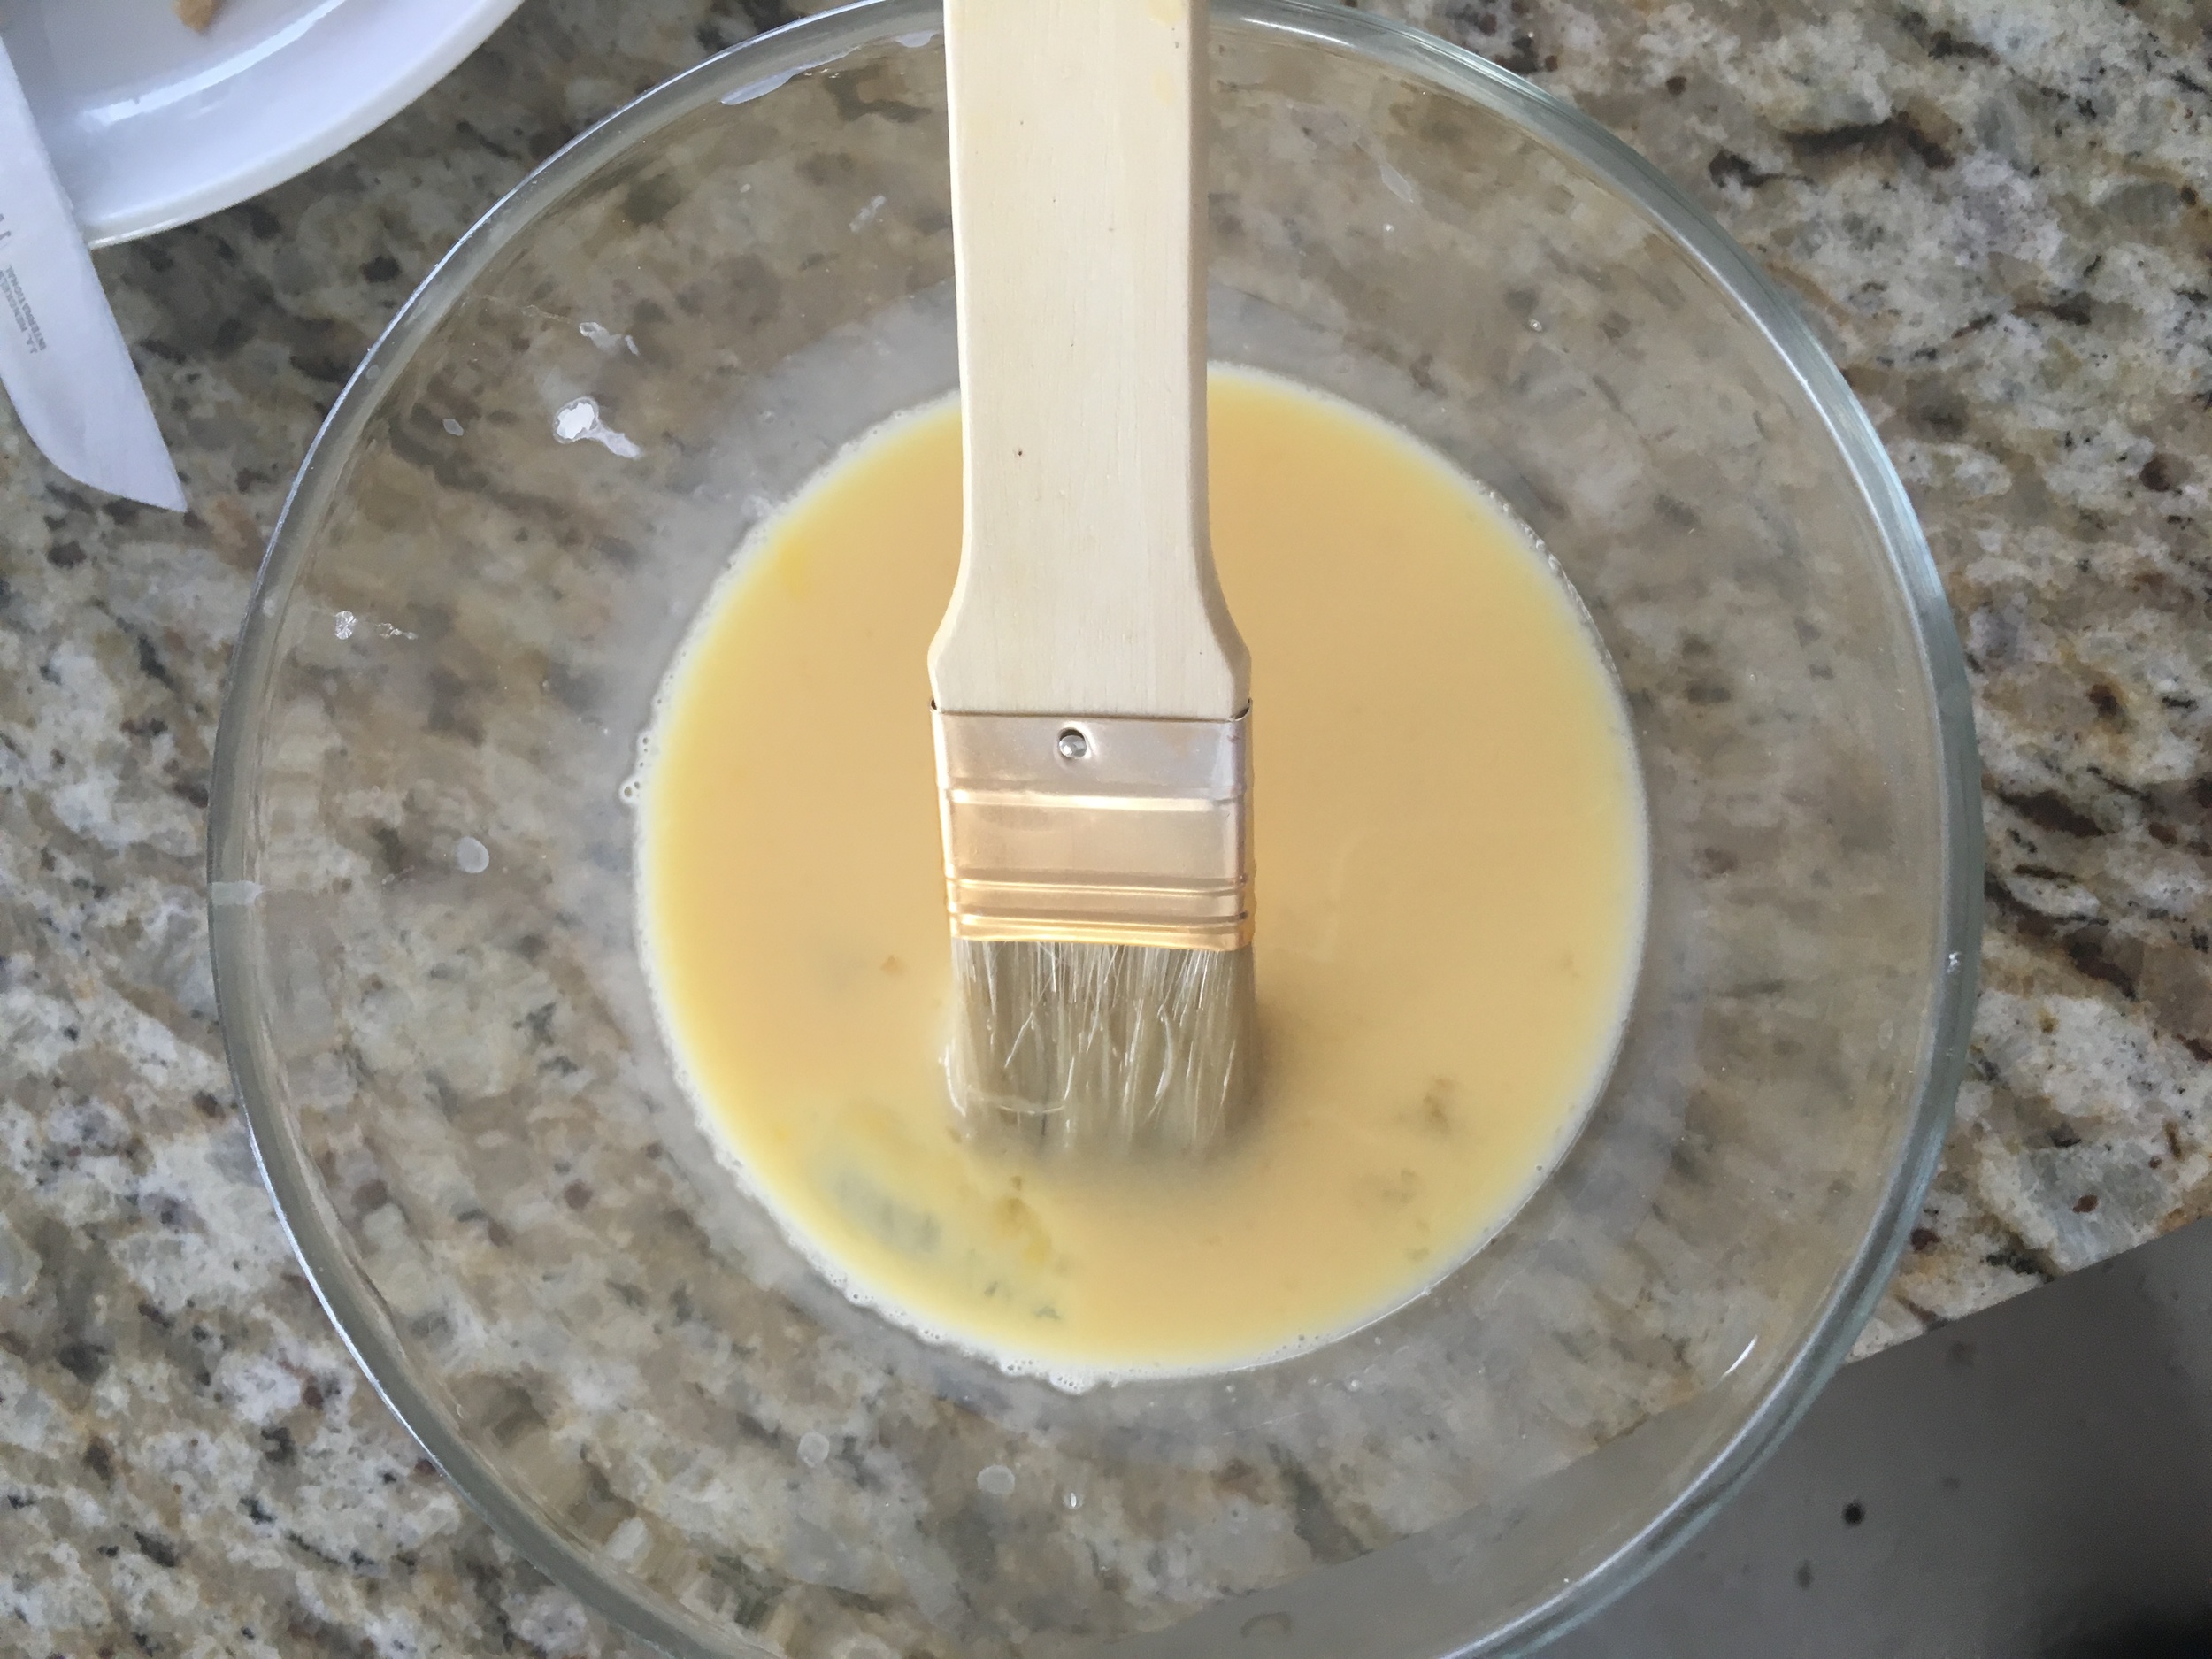
Ingredients for Egg Wash (Optional)
1 Egg (beaten)
1 TBSP of Milk
1 TSP of Salt
DIRECTIONS:
Preheat over to 375 degrees.
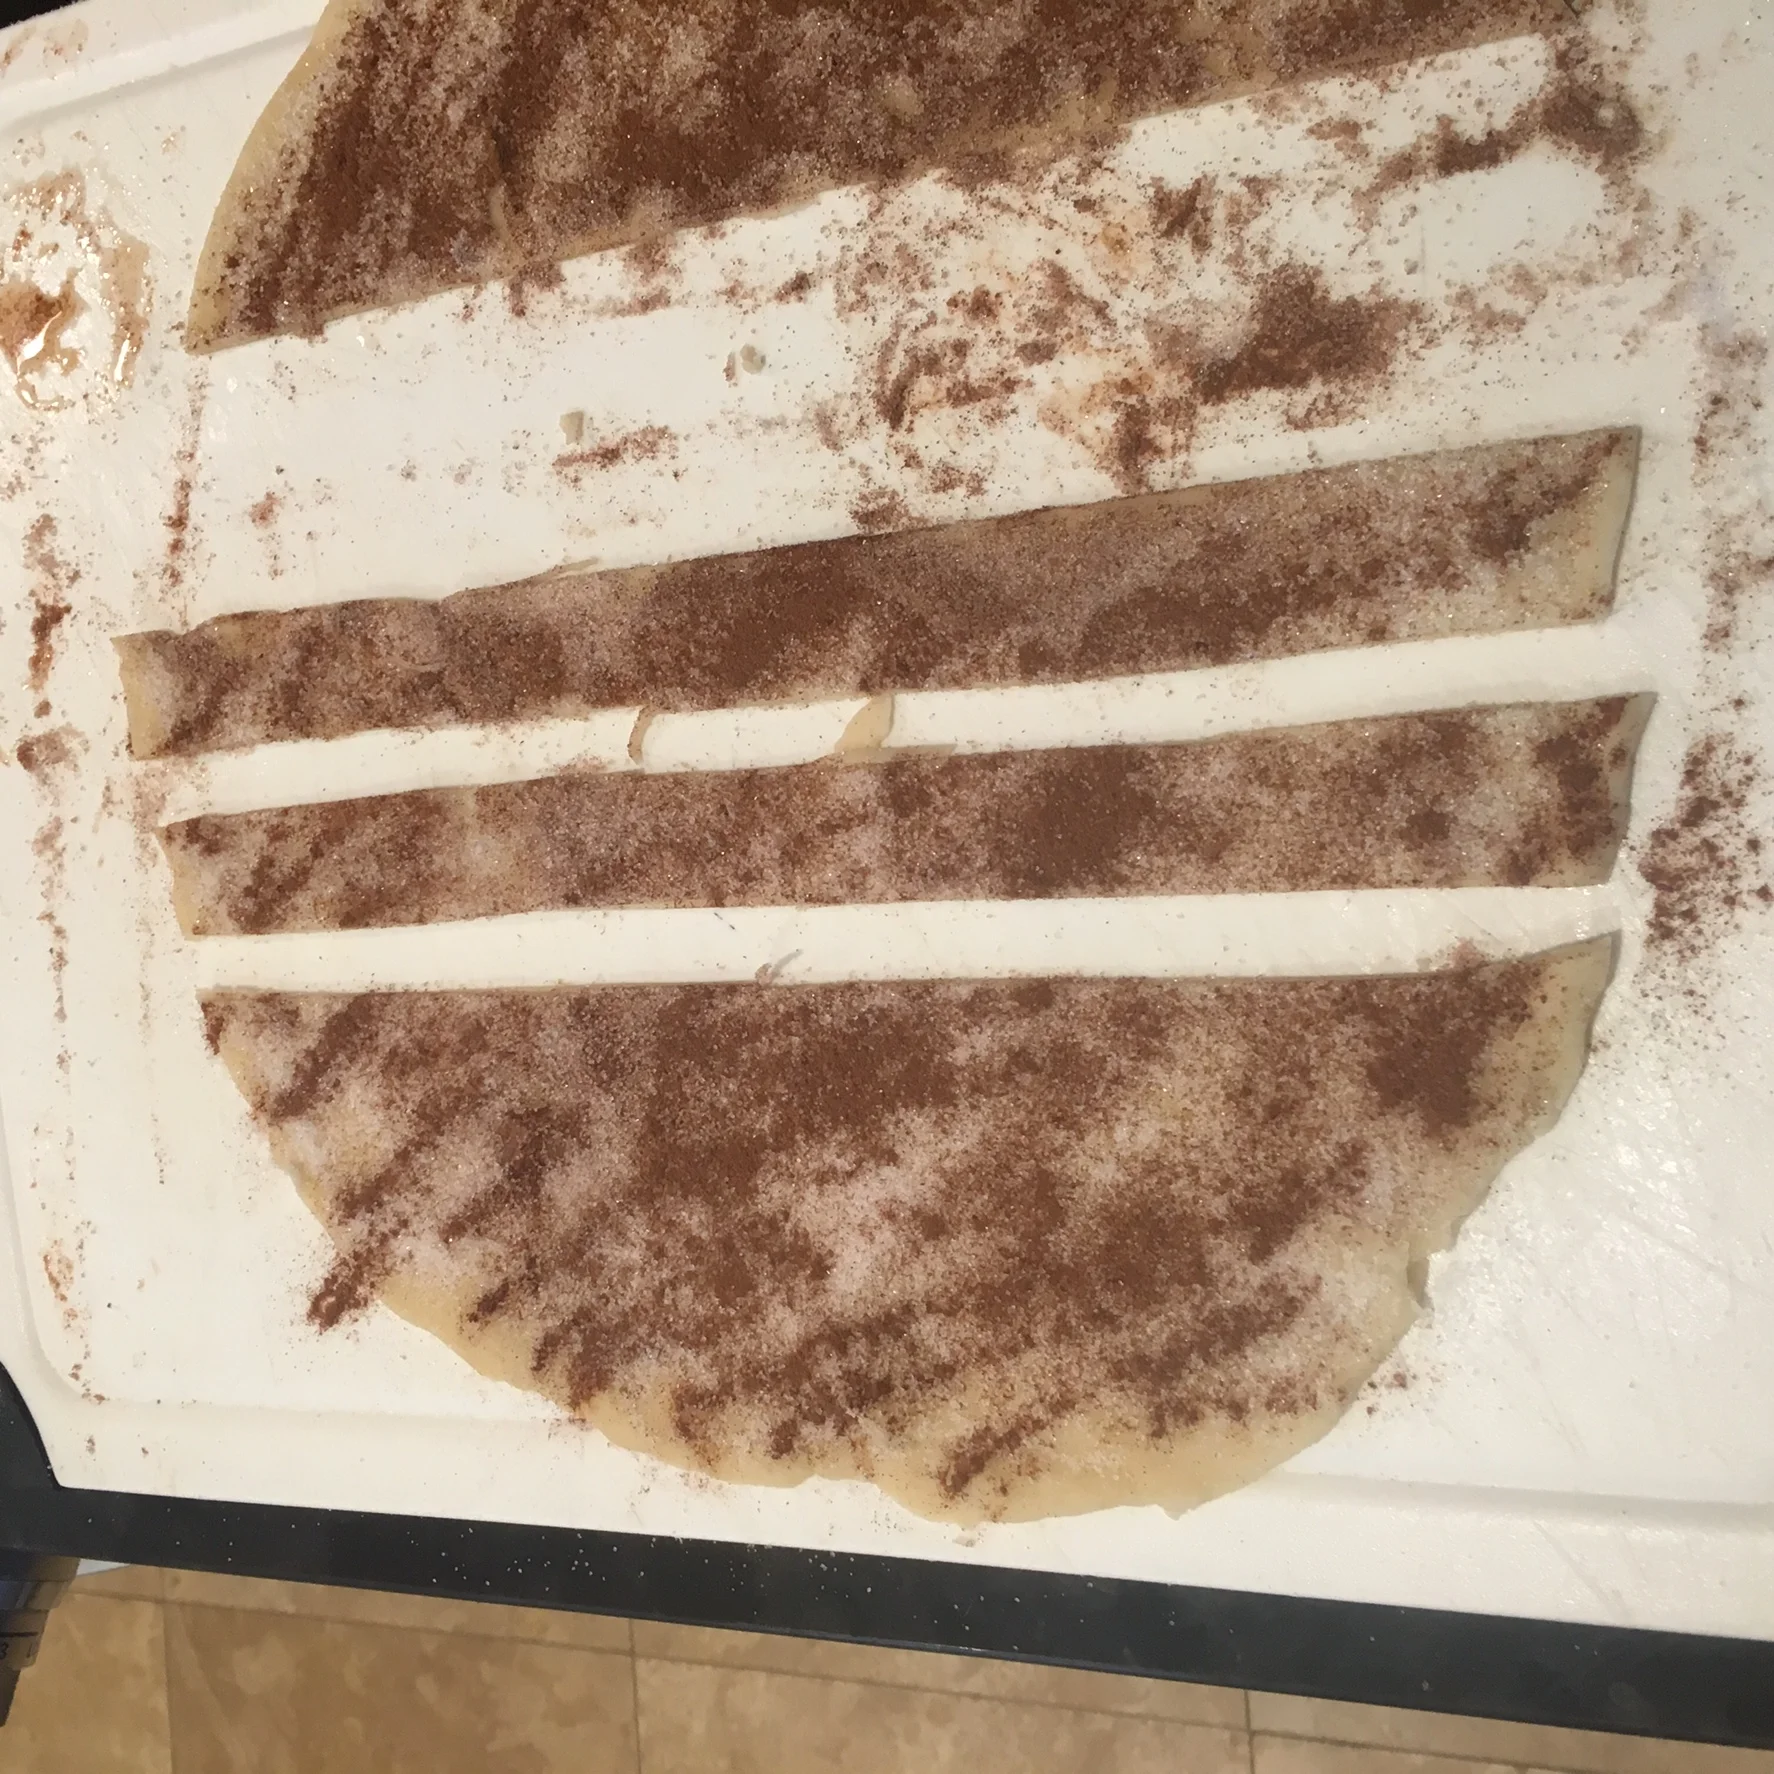
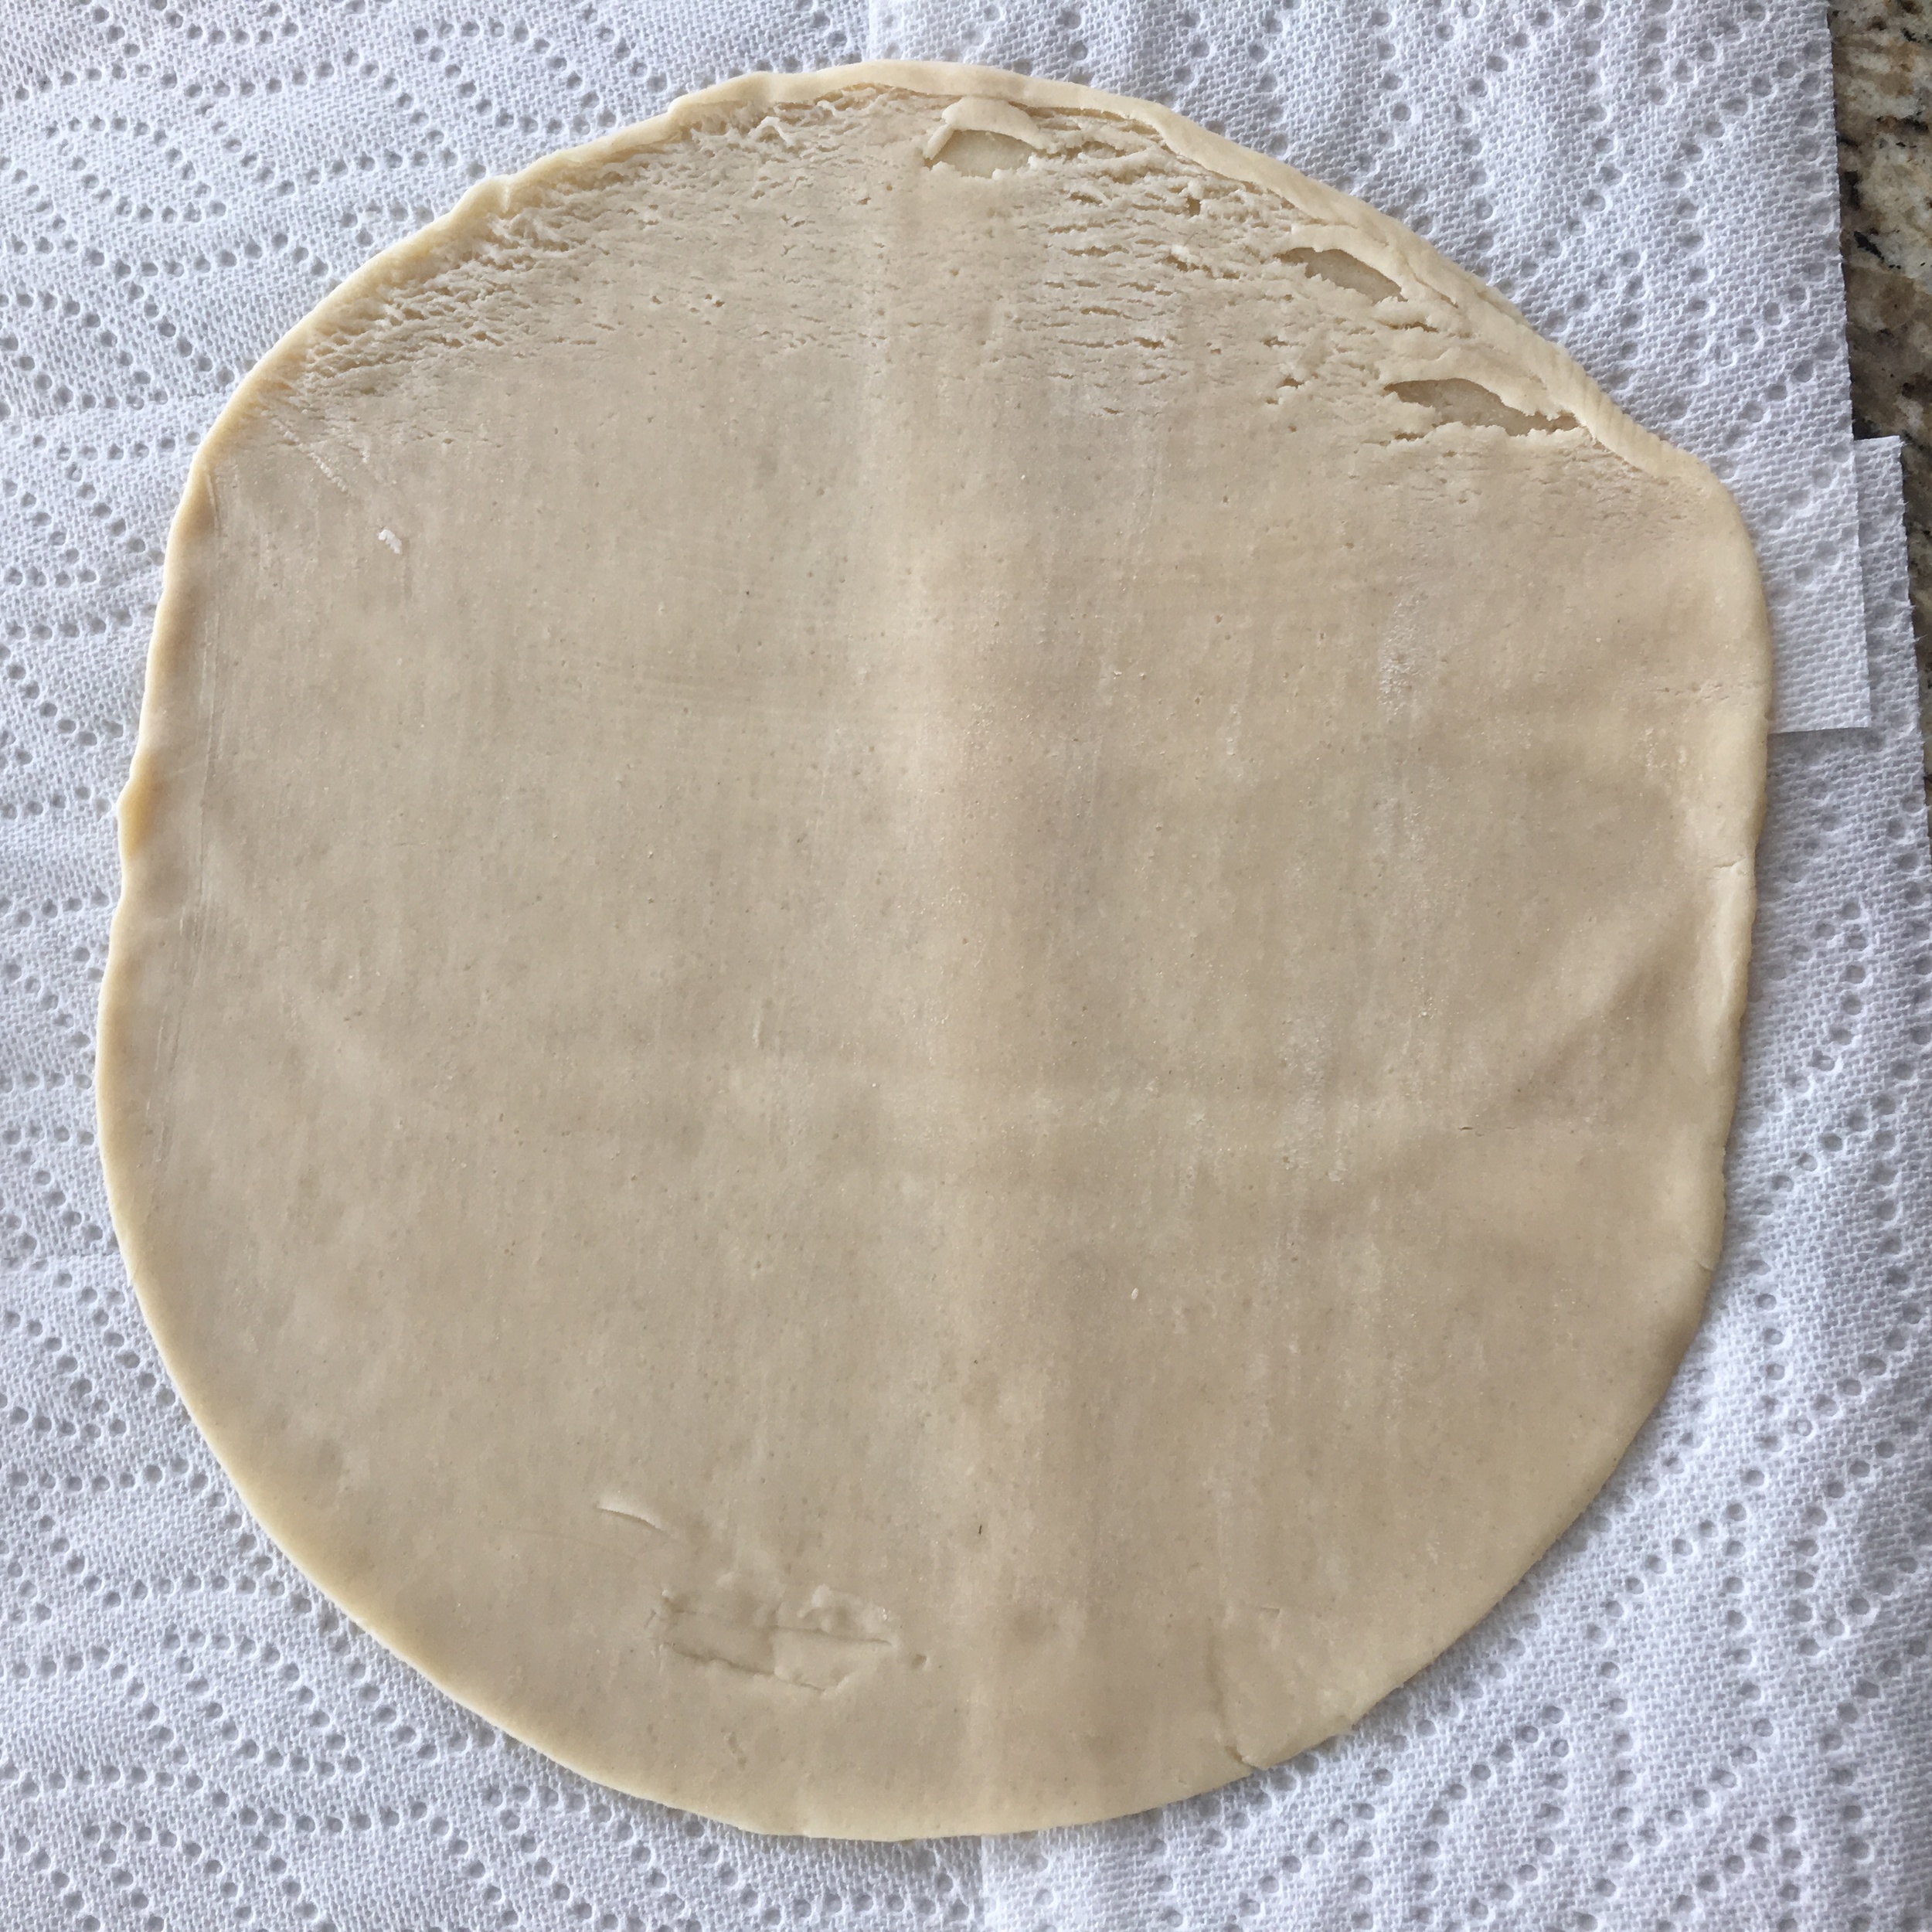
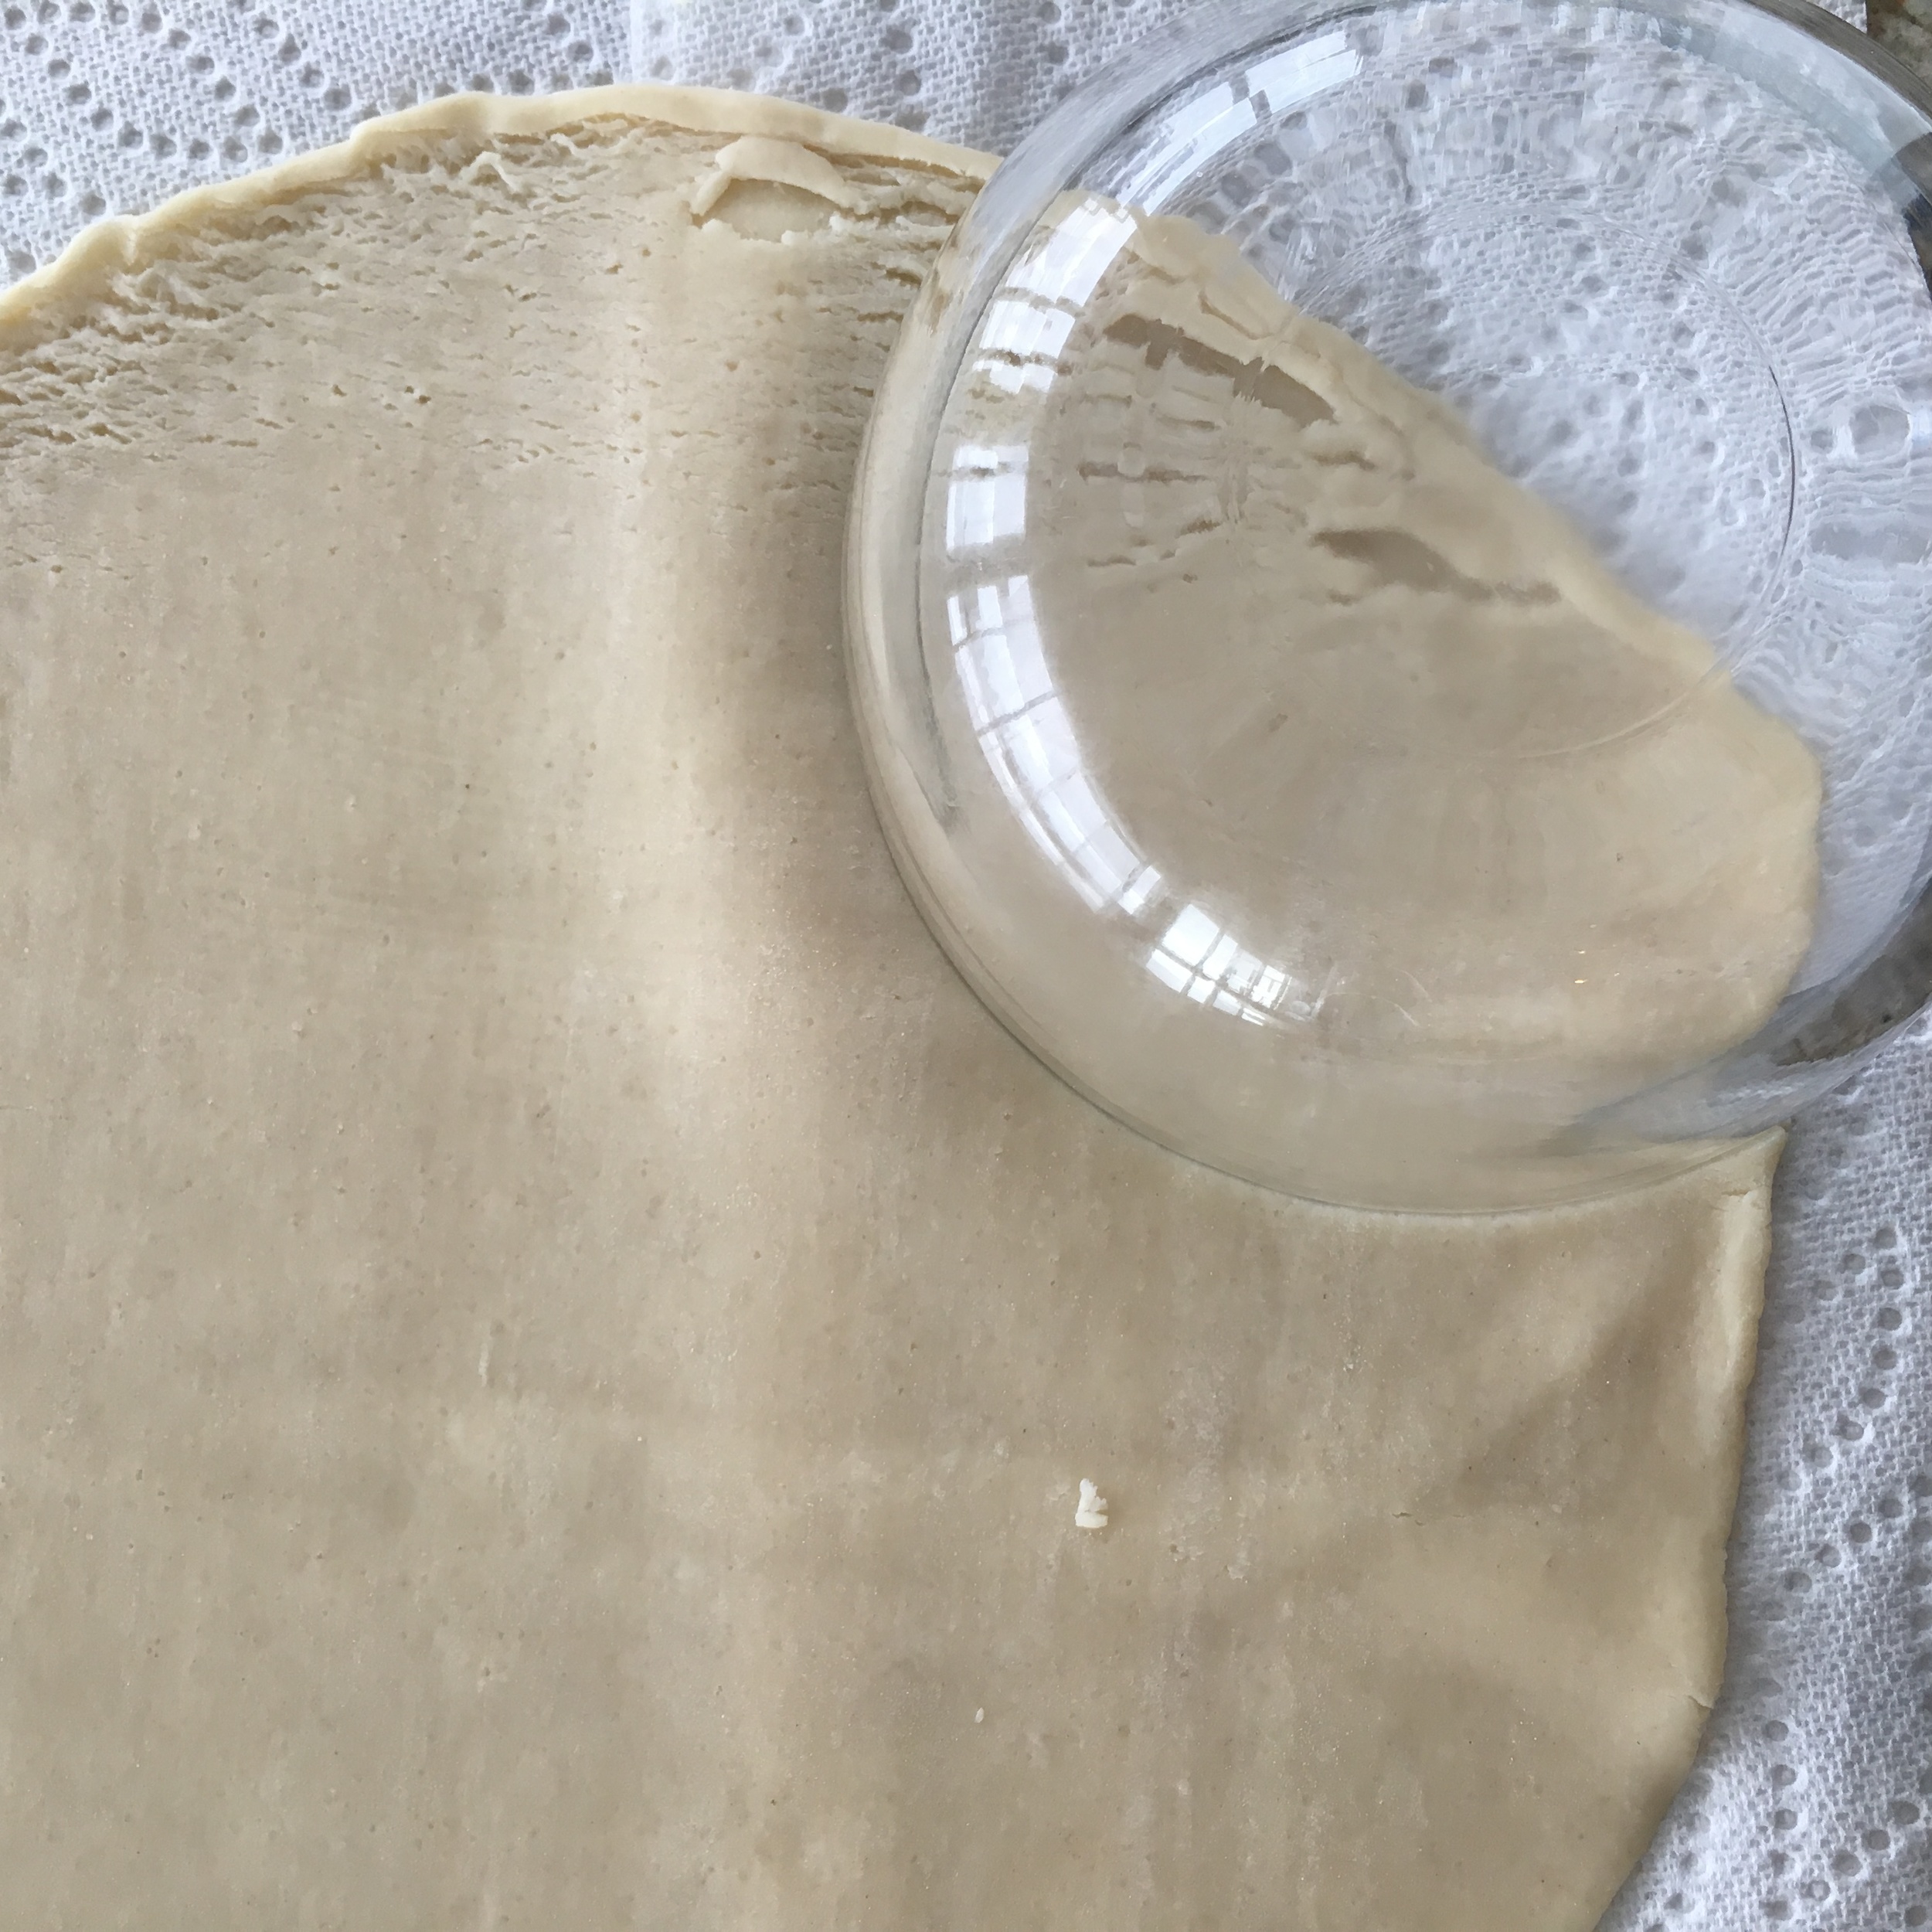
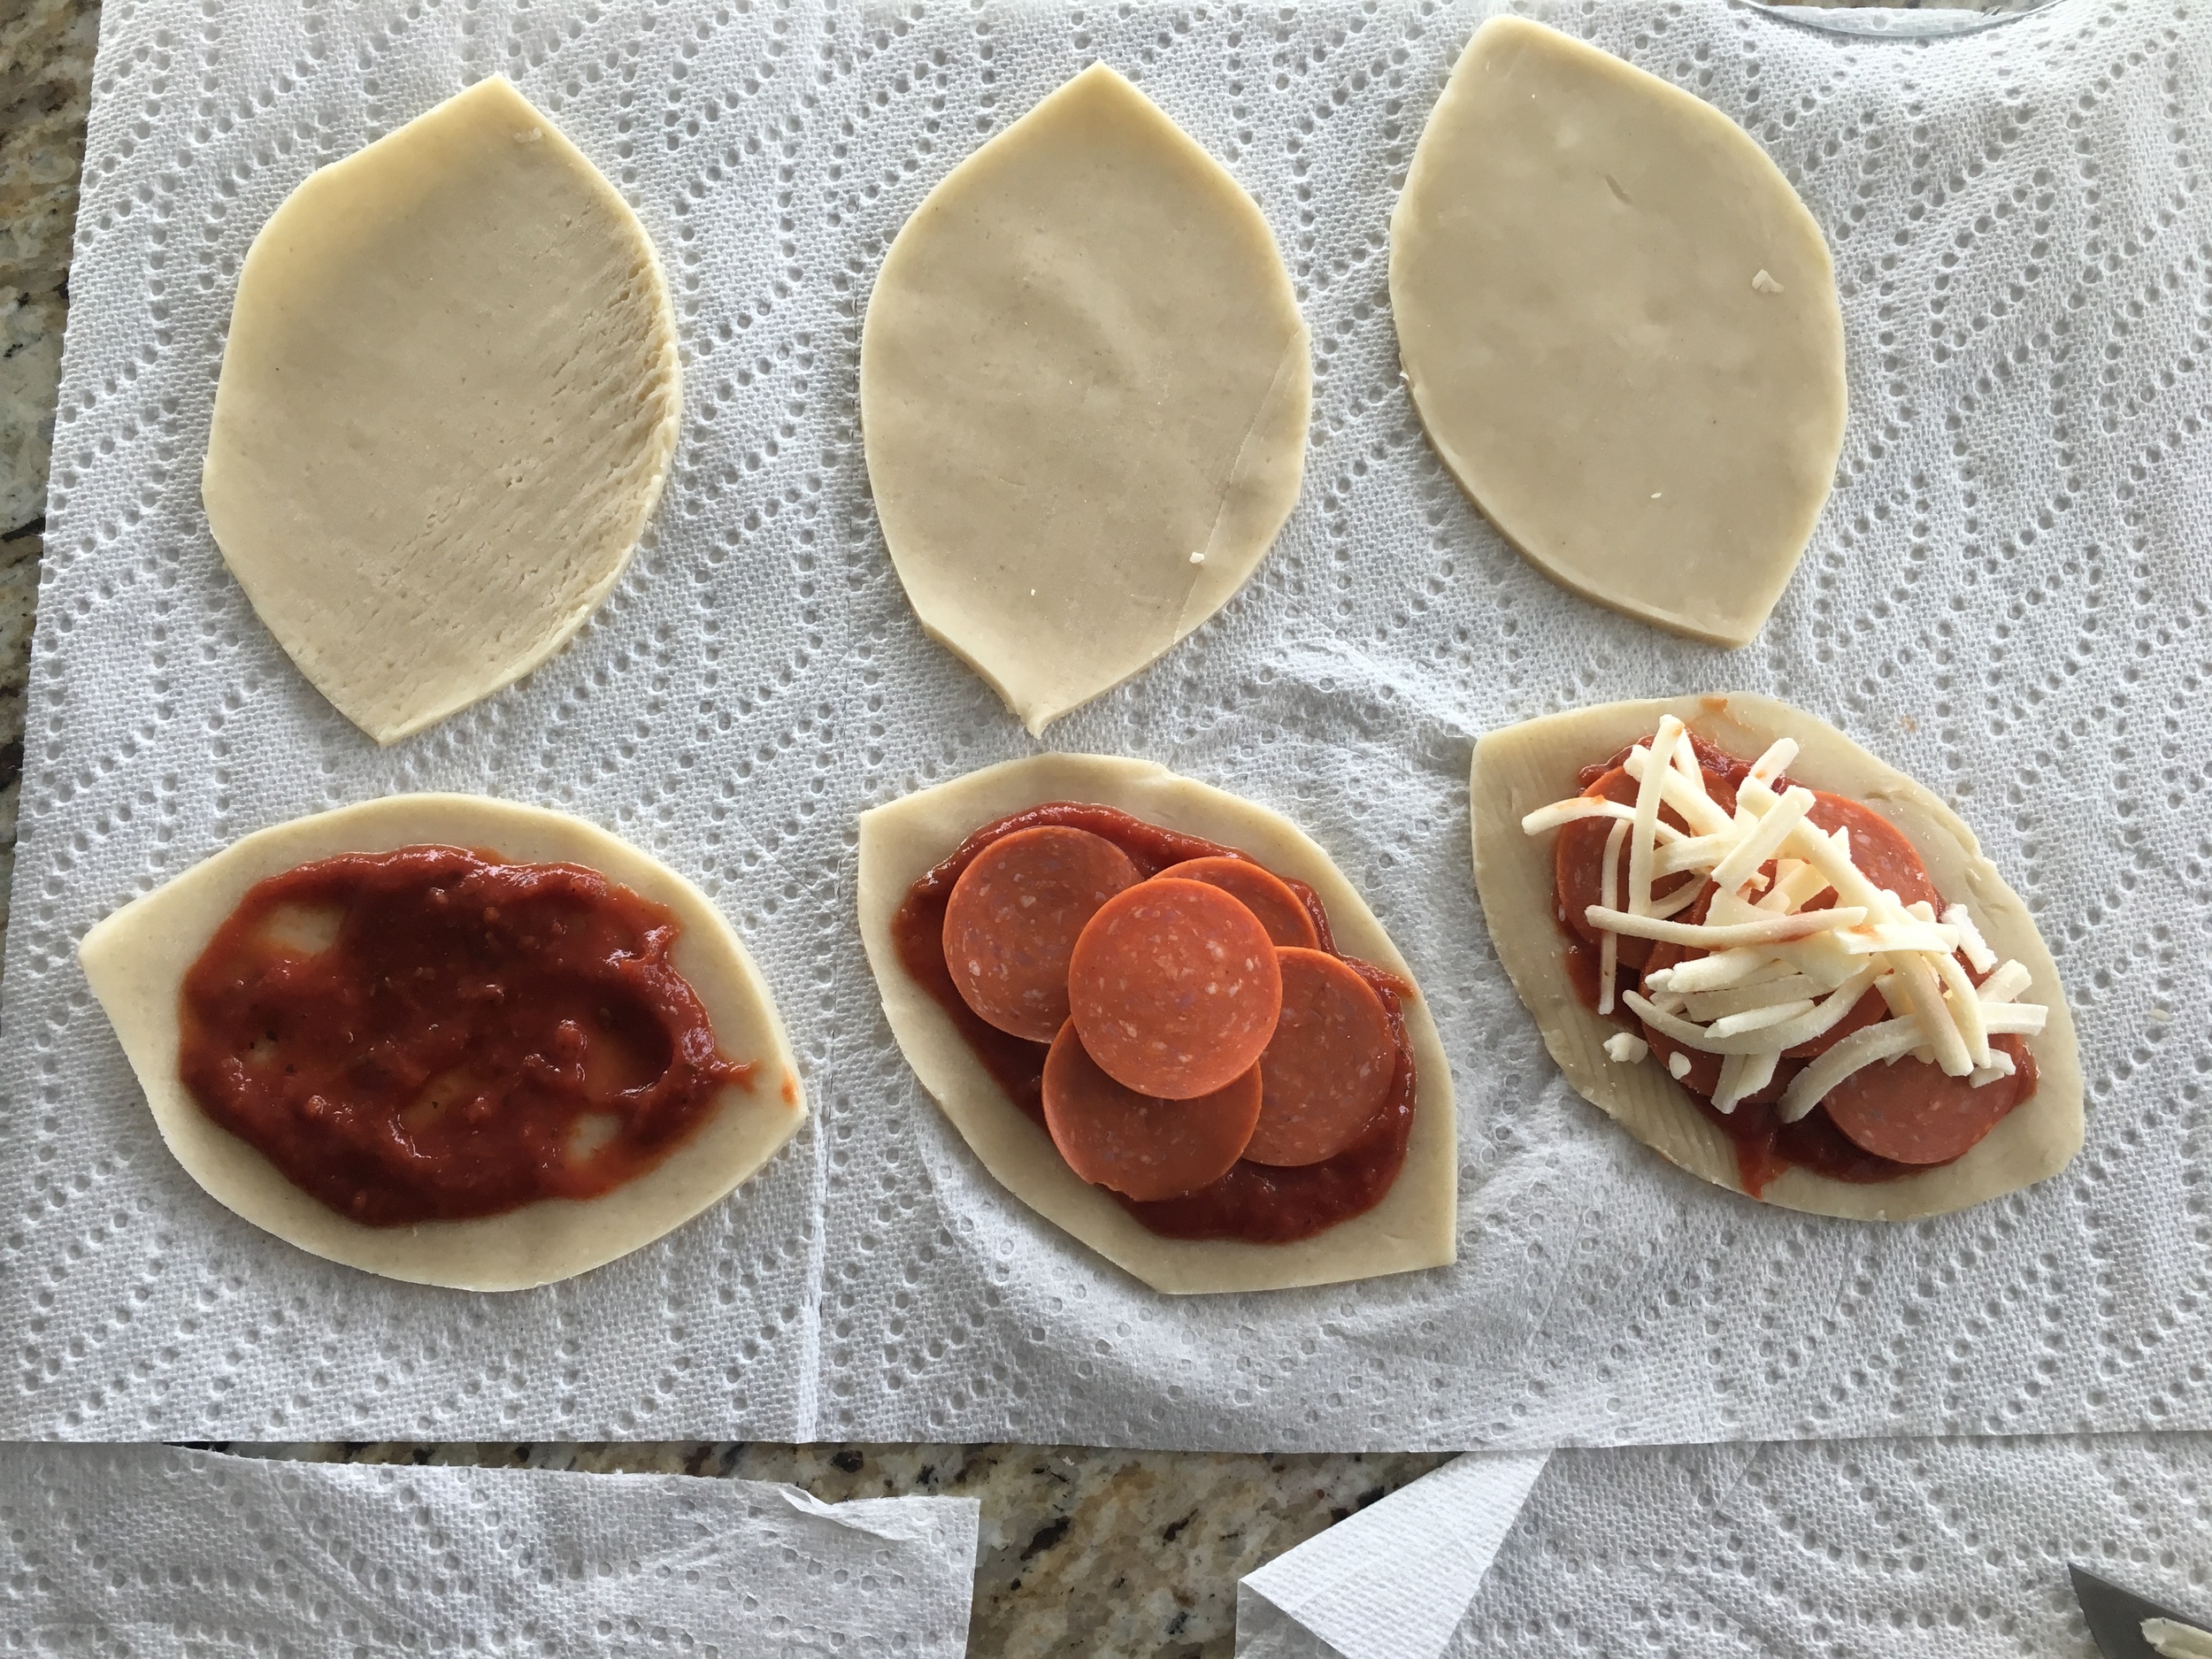
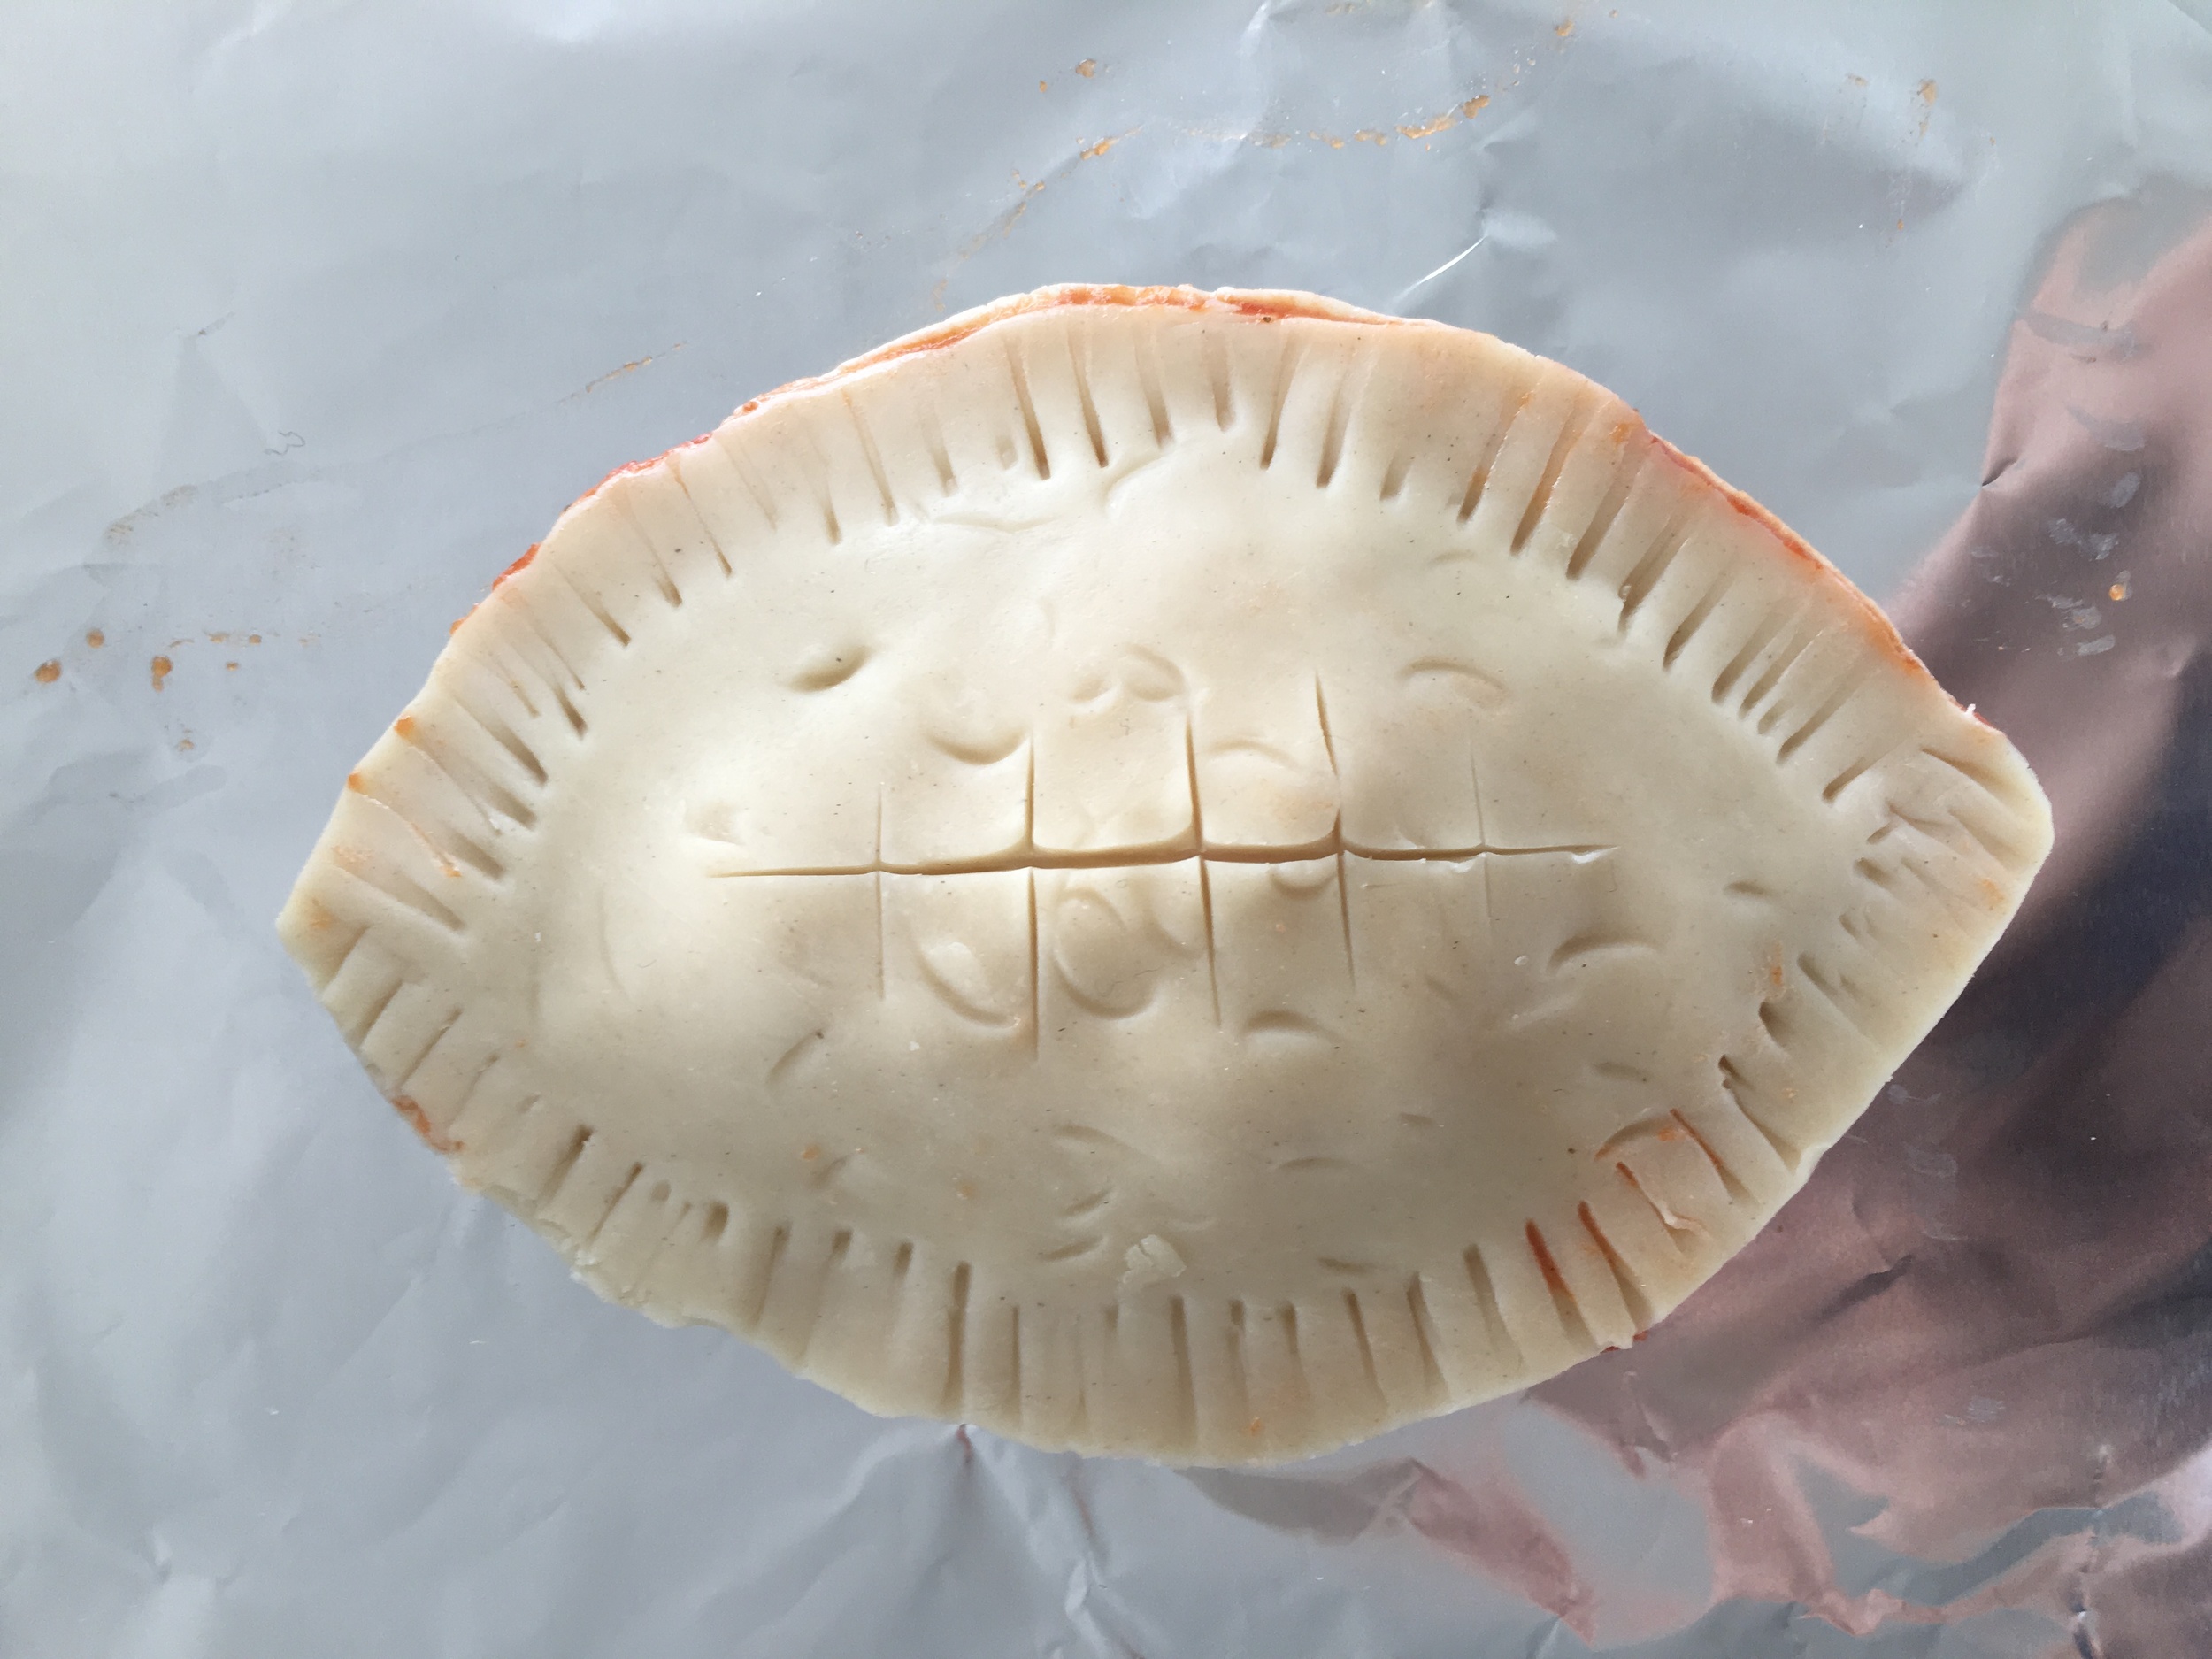
Roll out your pie crust and using a bowl imprint your football shape or use it as a guide. Cut out your football shapes - you can get about 6 of them out of 200 grams of dough. (If you need to roll up the dough in a ball and roll it out again to get another piece, do so.
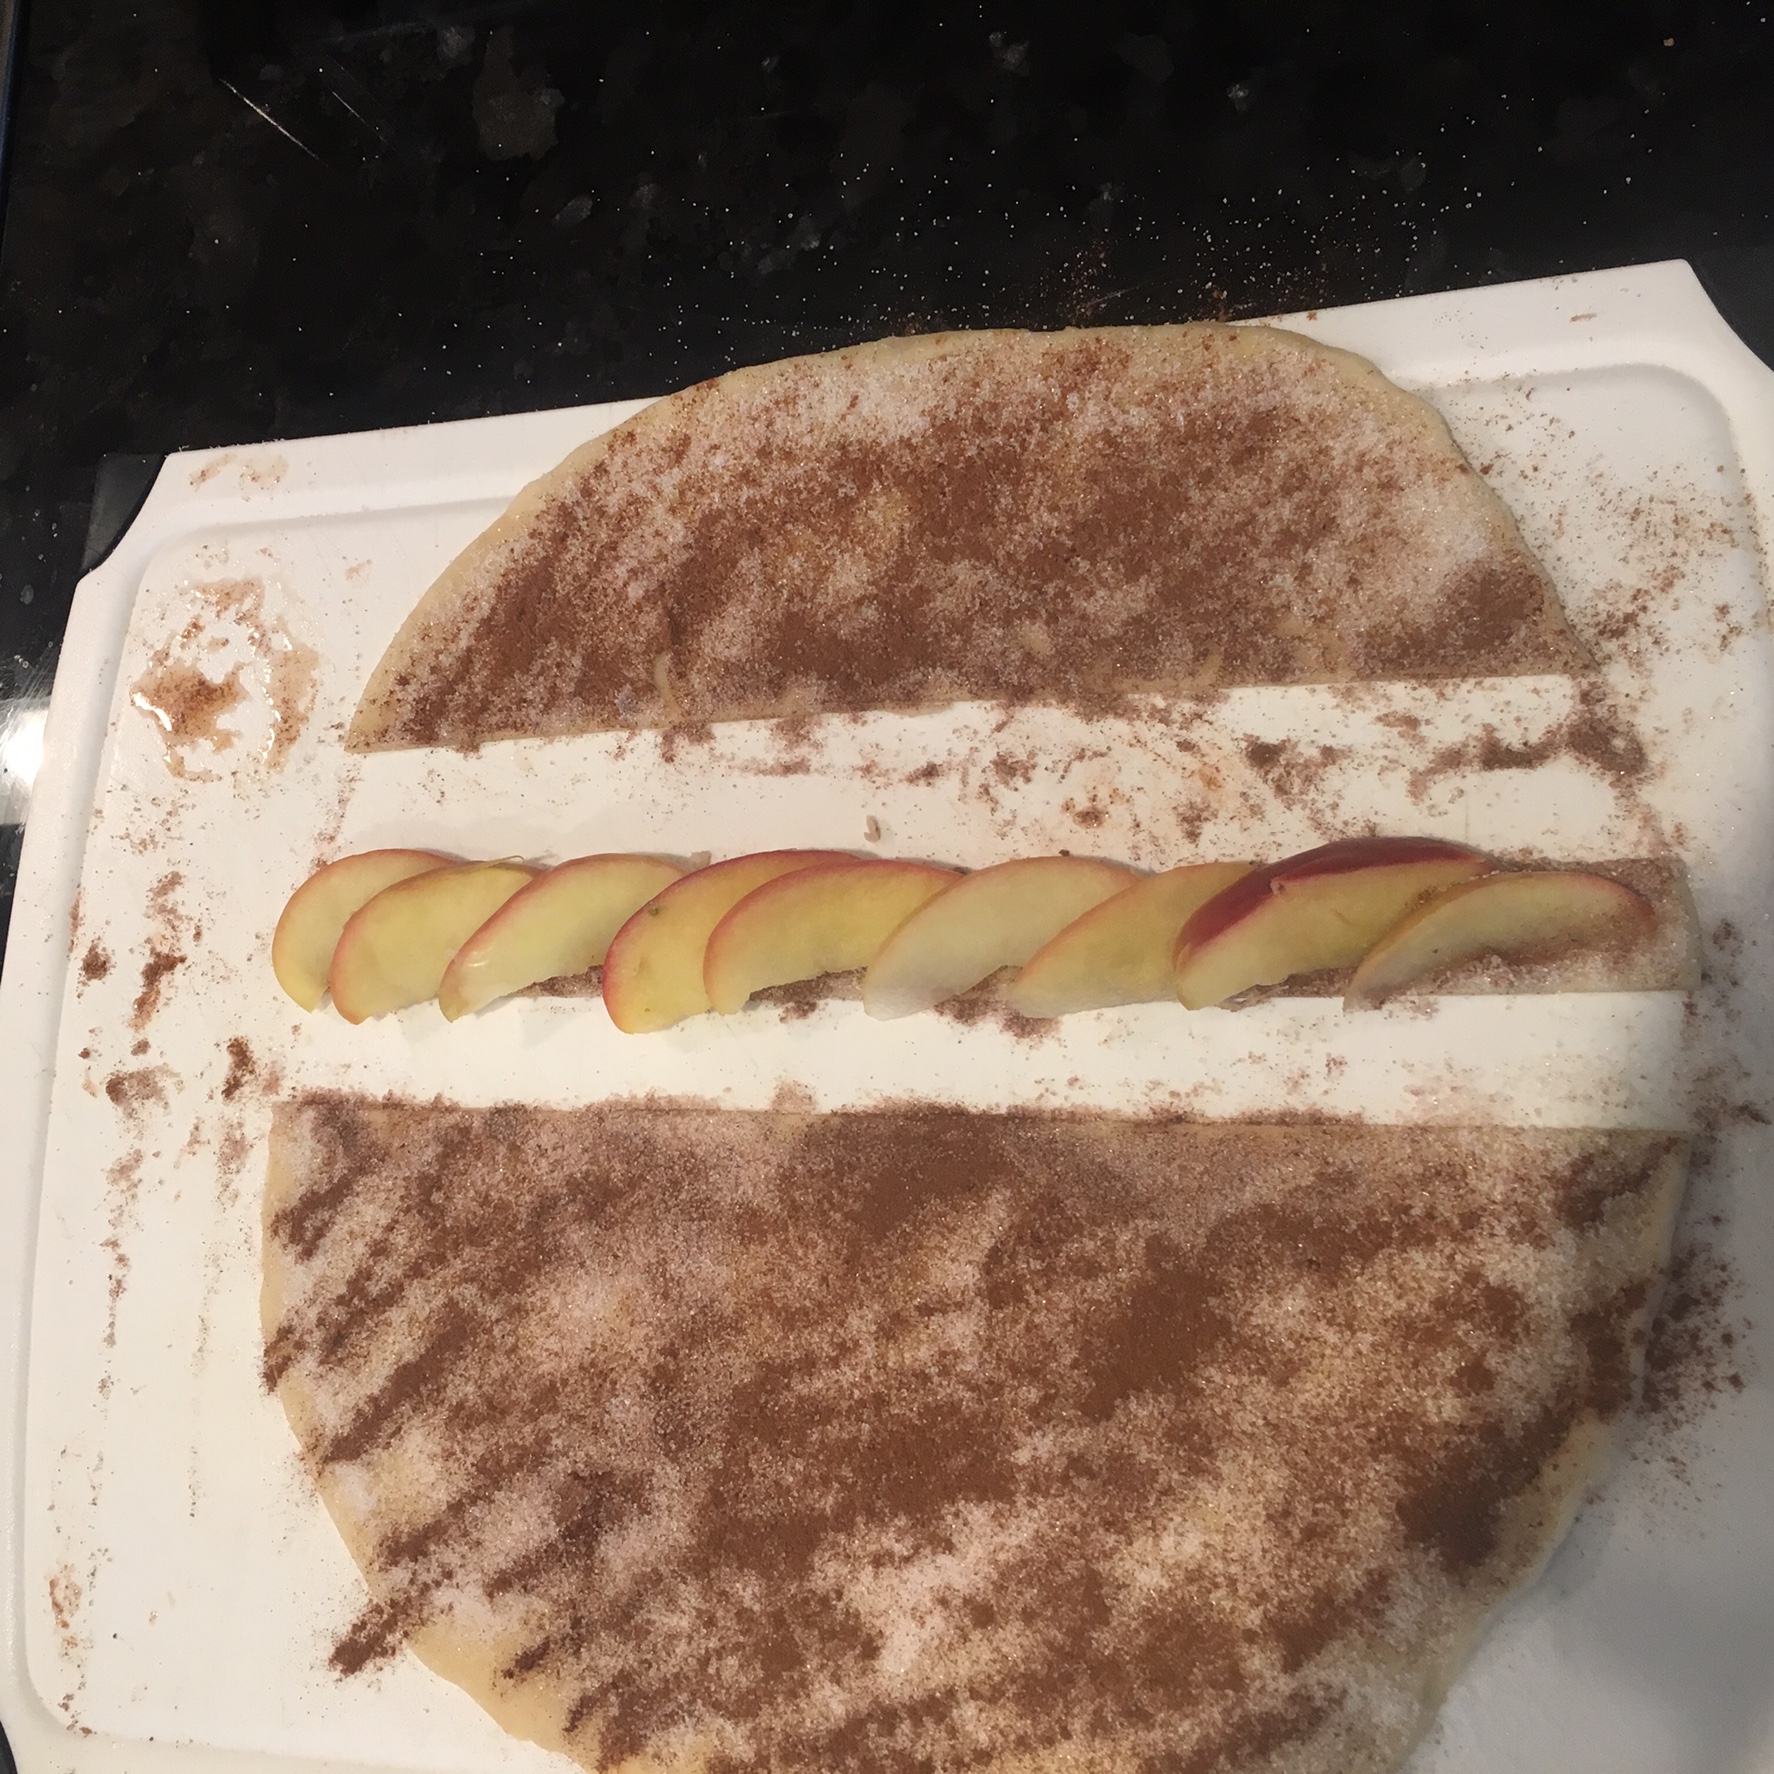
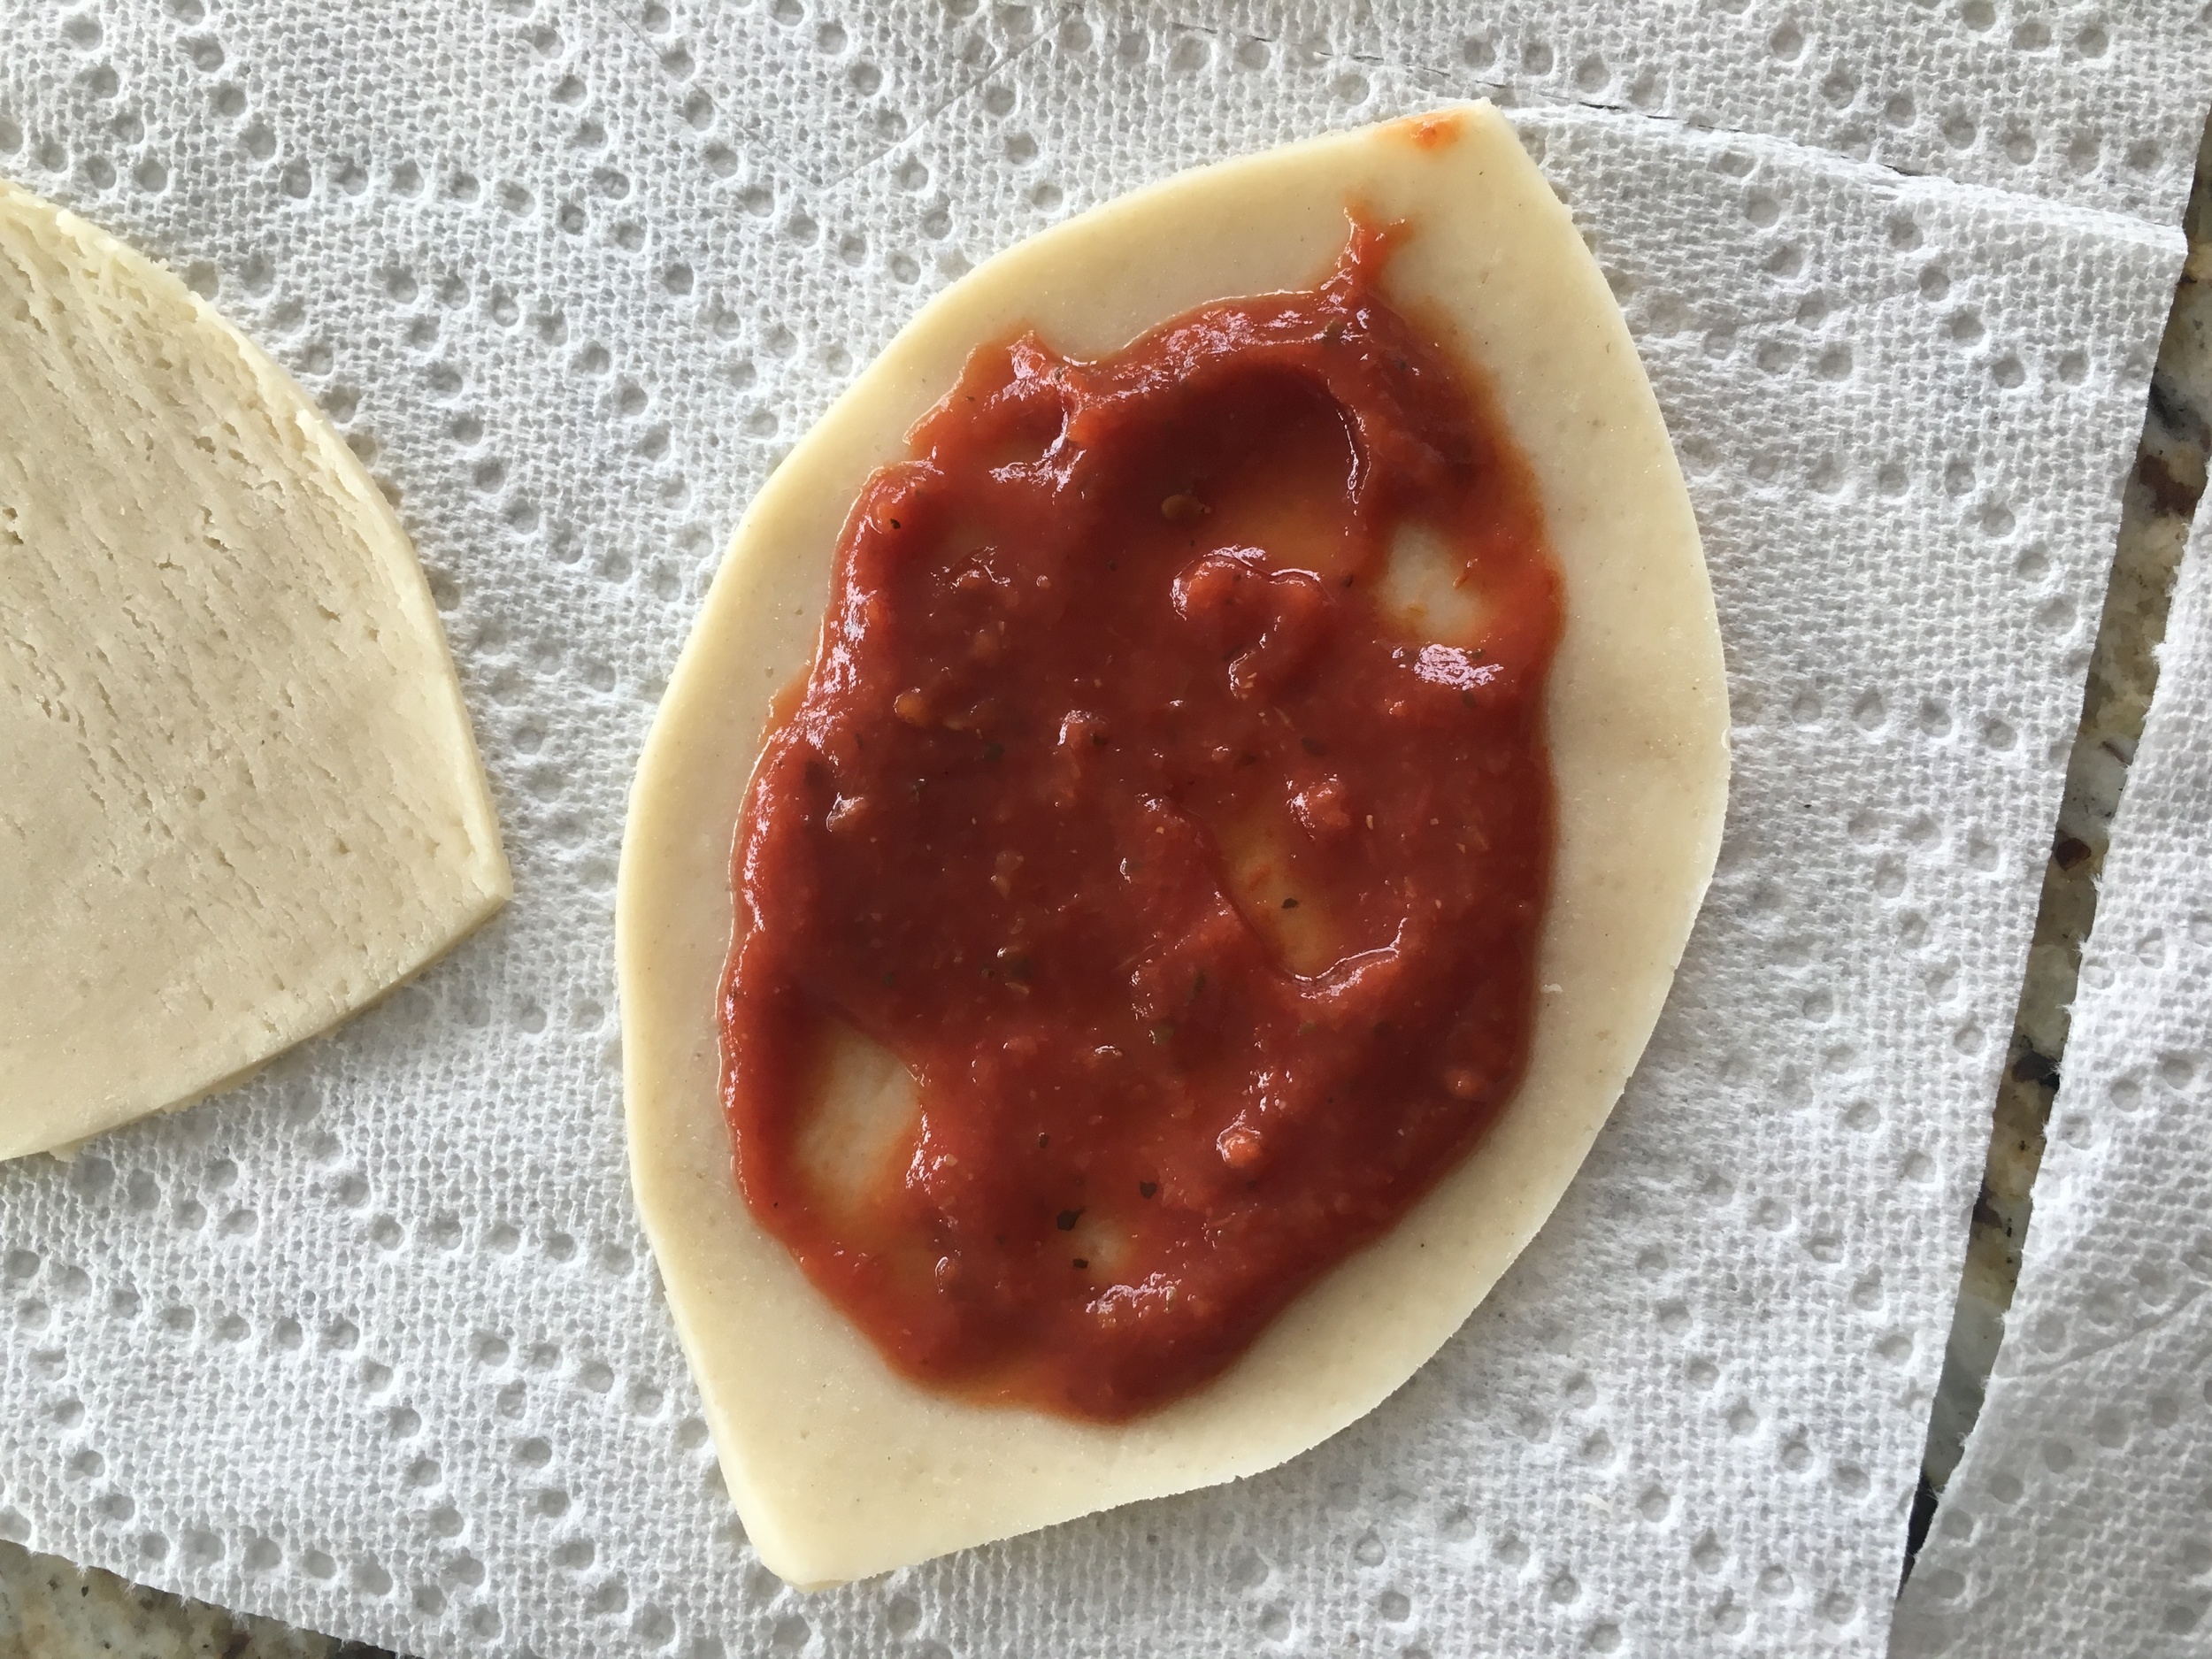
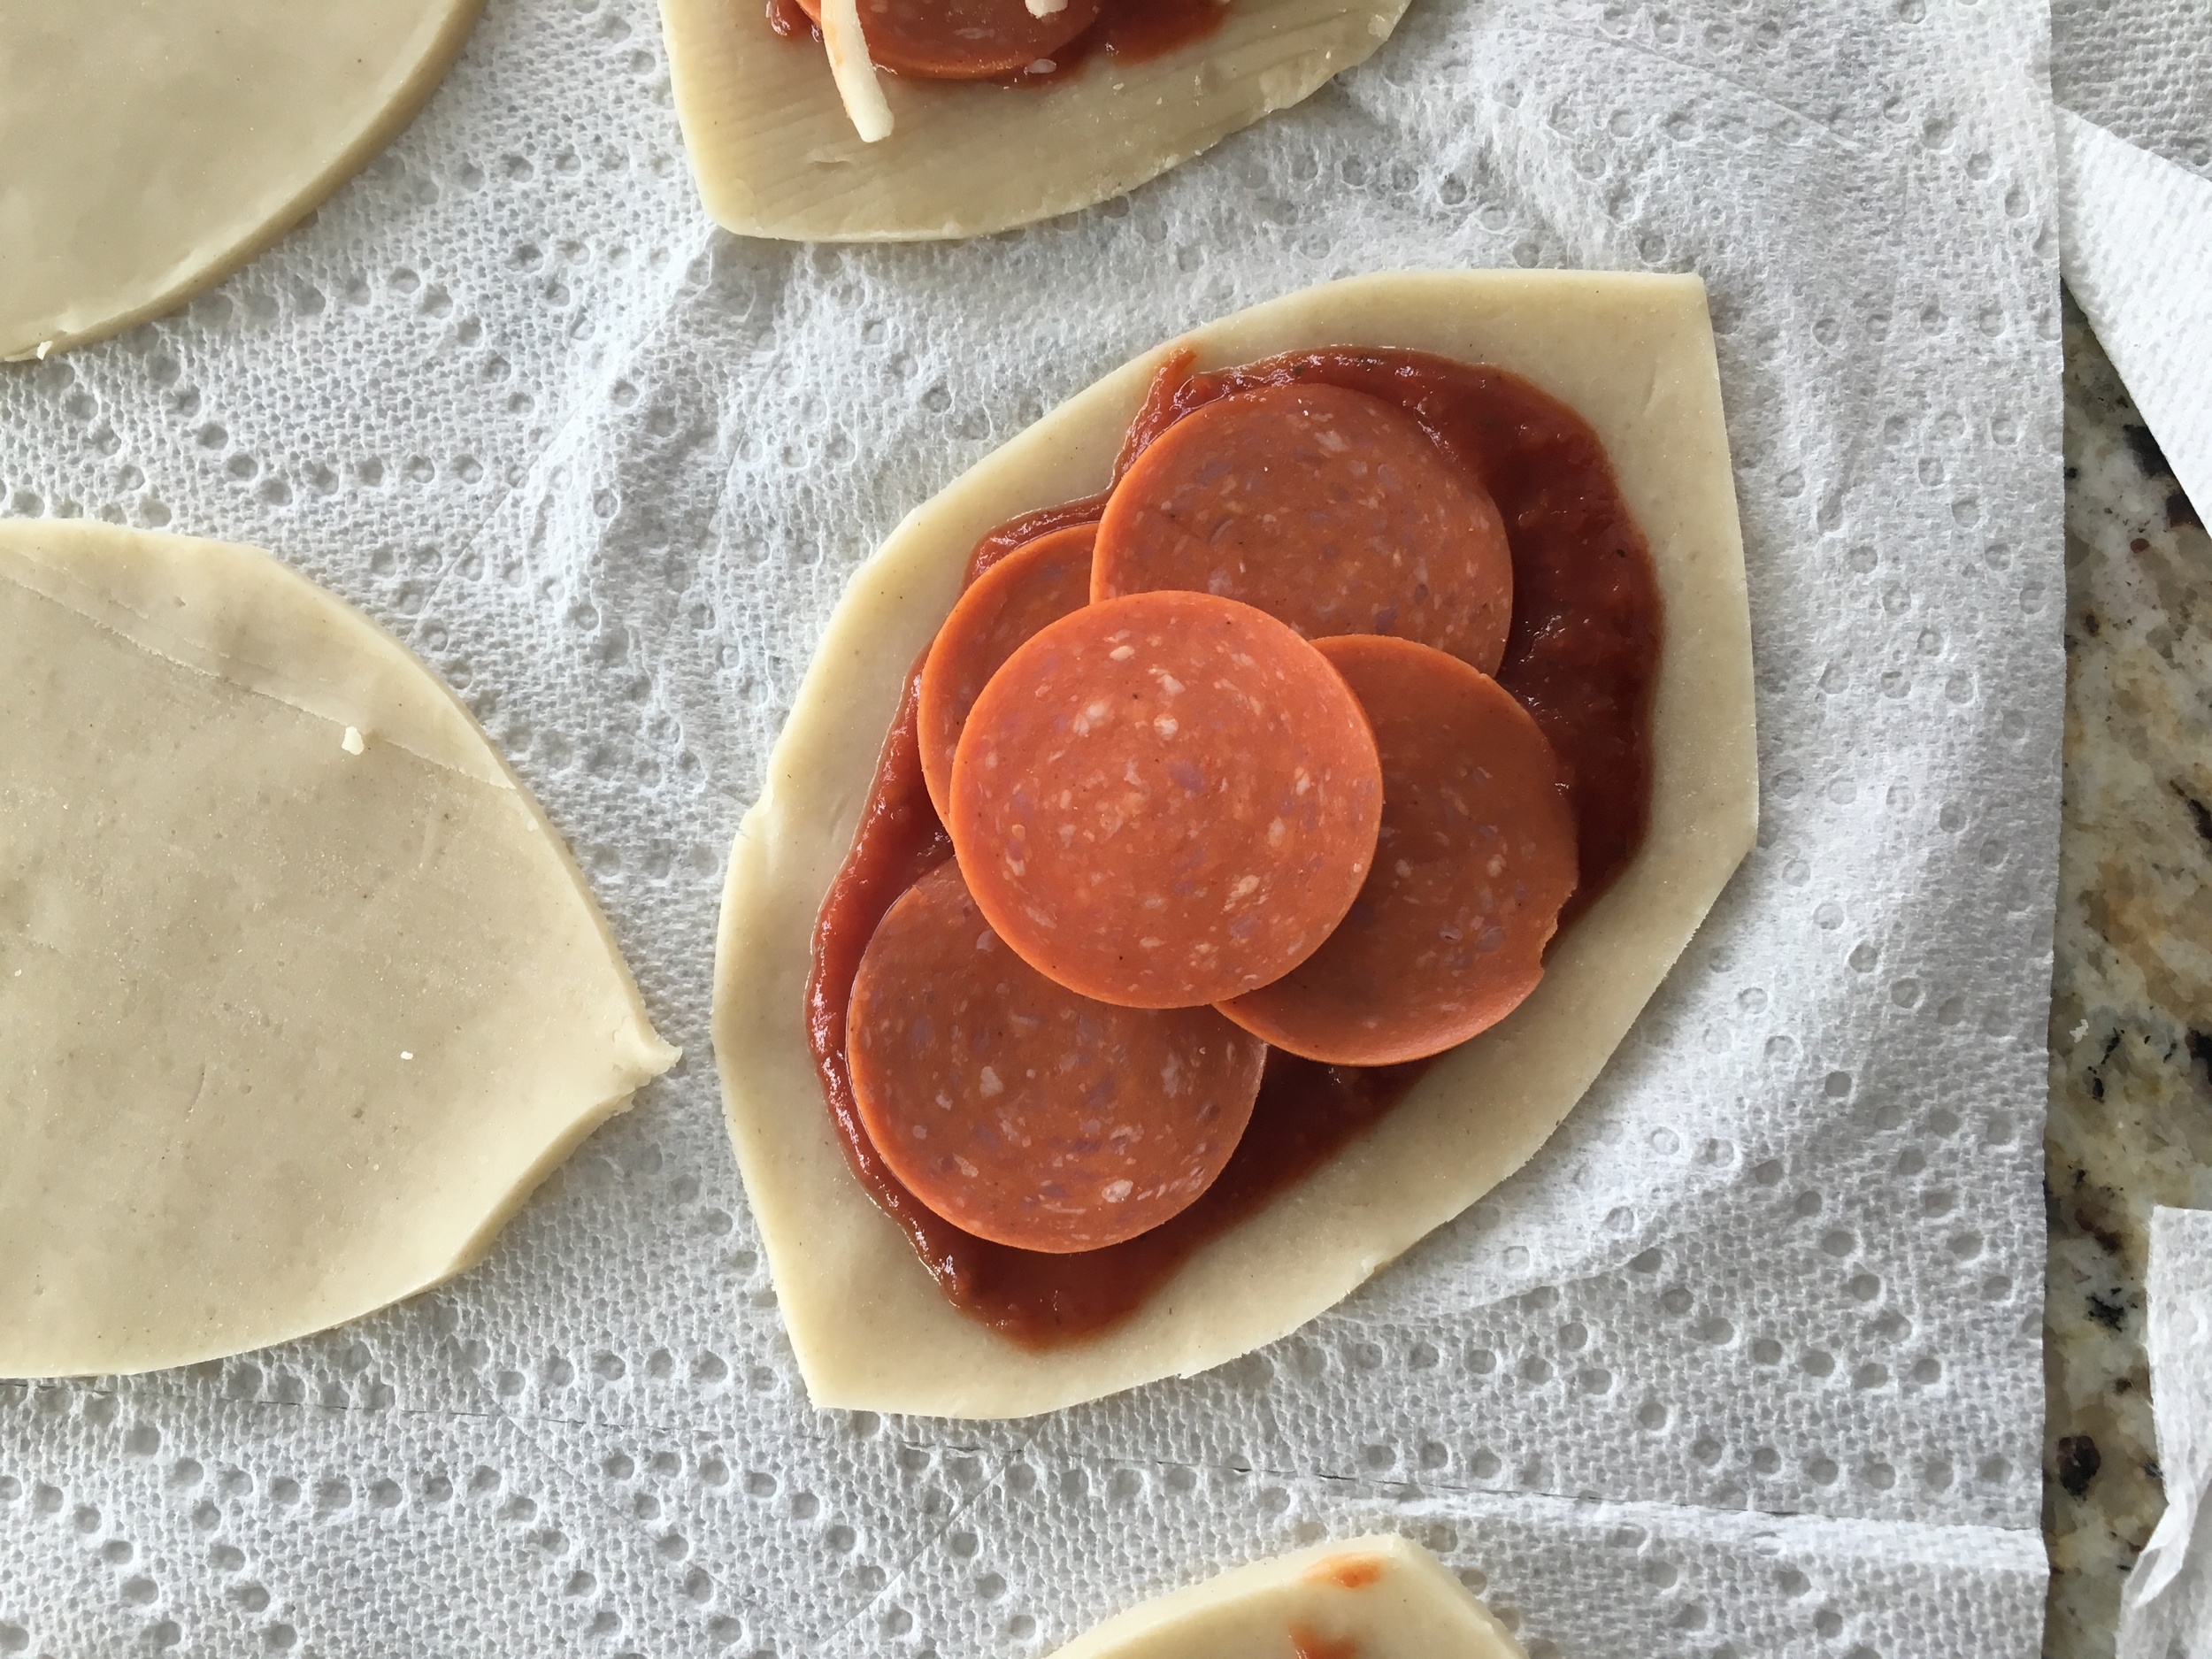
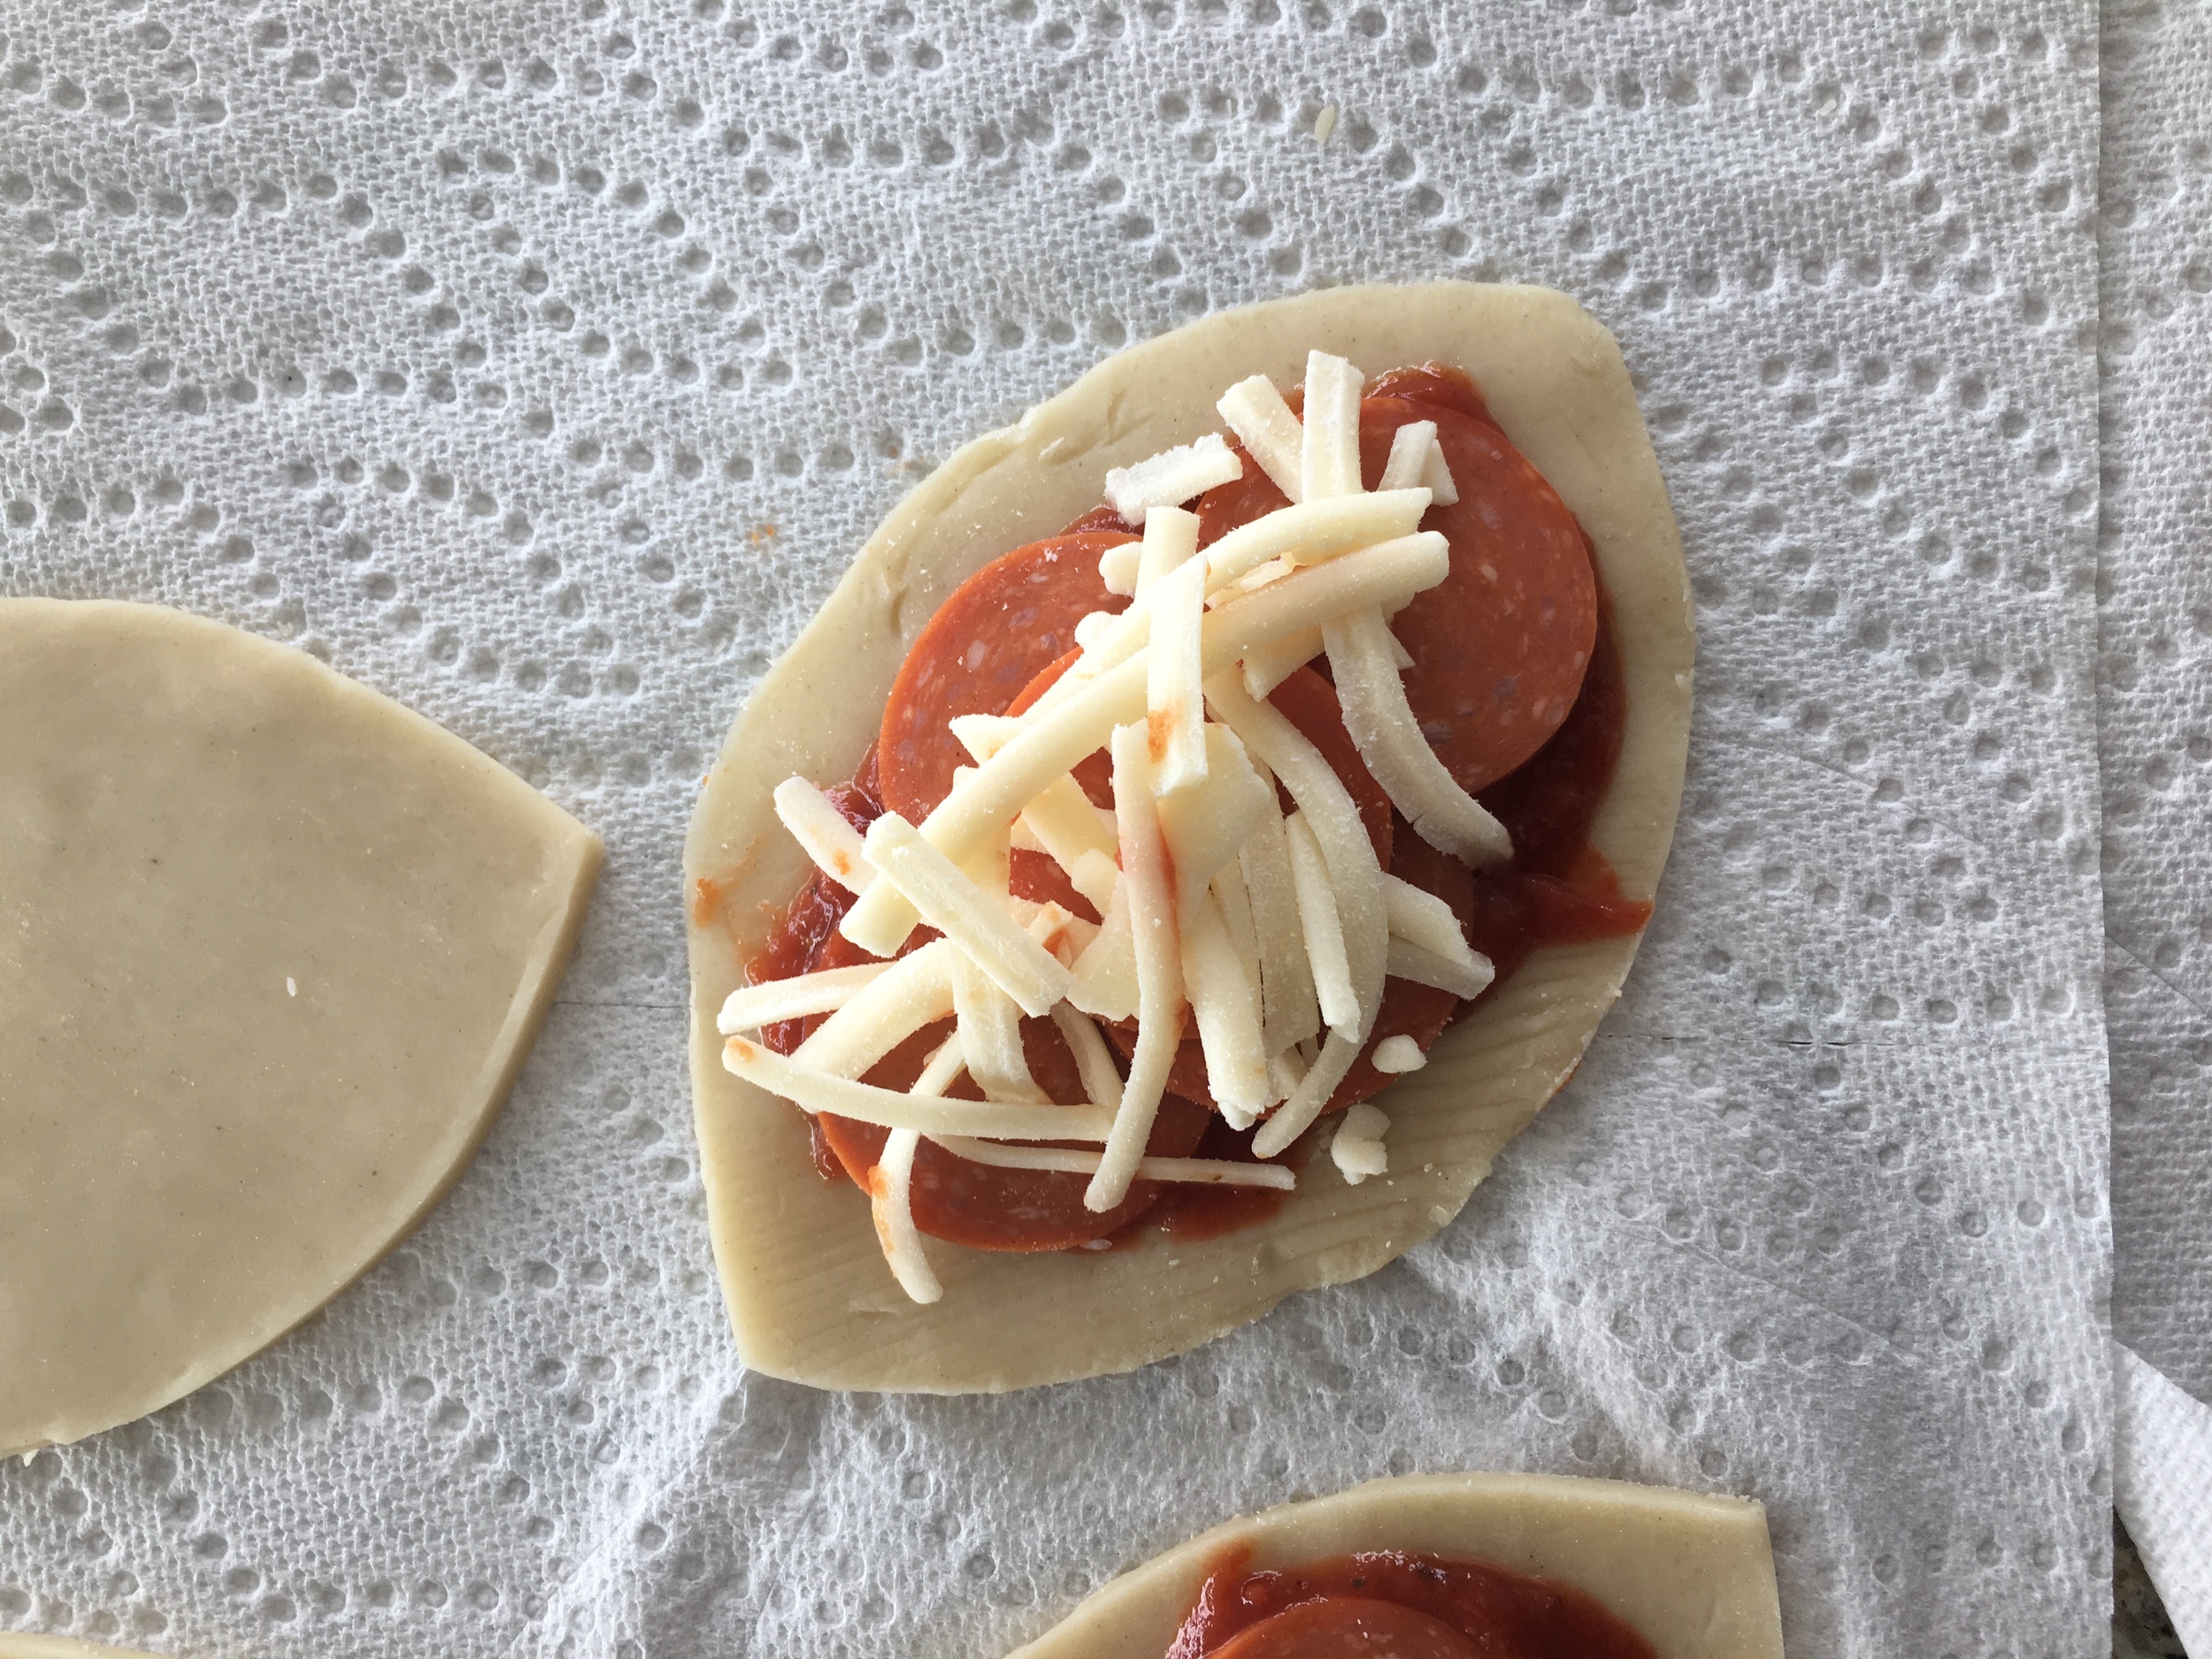
Next add your toppings starting with tomato sauce. I did pepperoni and mozzarella cheese. I also sprinkled the pizza with garlic powder at the end for extra flavor. Using a clean brush use the egg wash along the edge of the football. Place another layer of dough on top and with a fork press down the sides to seal the football.
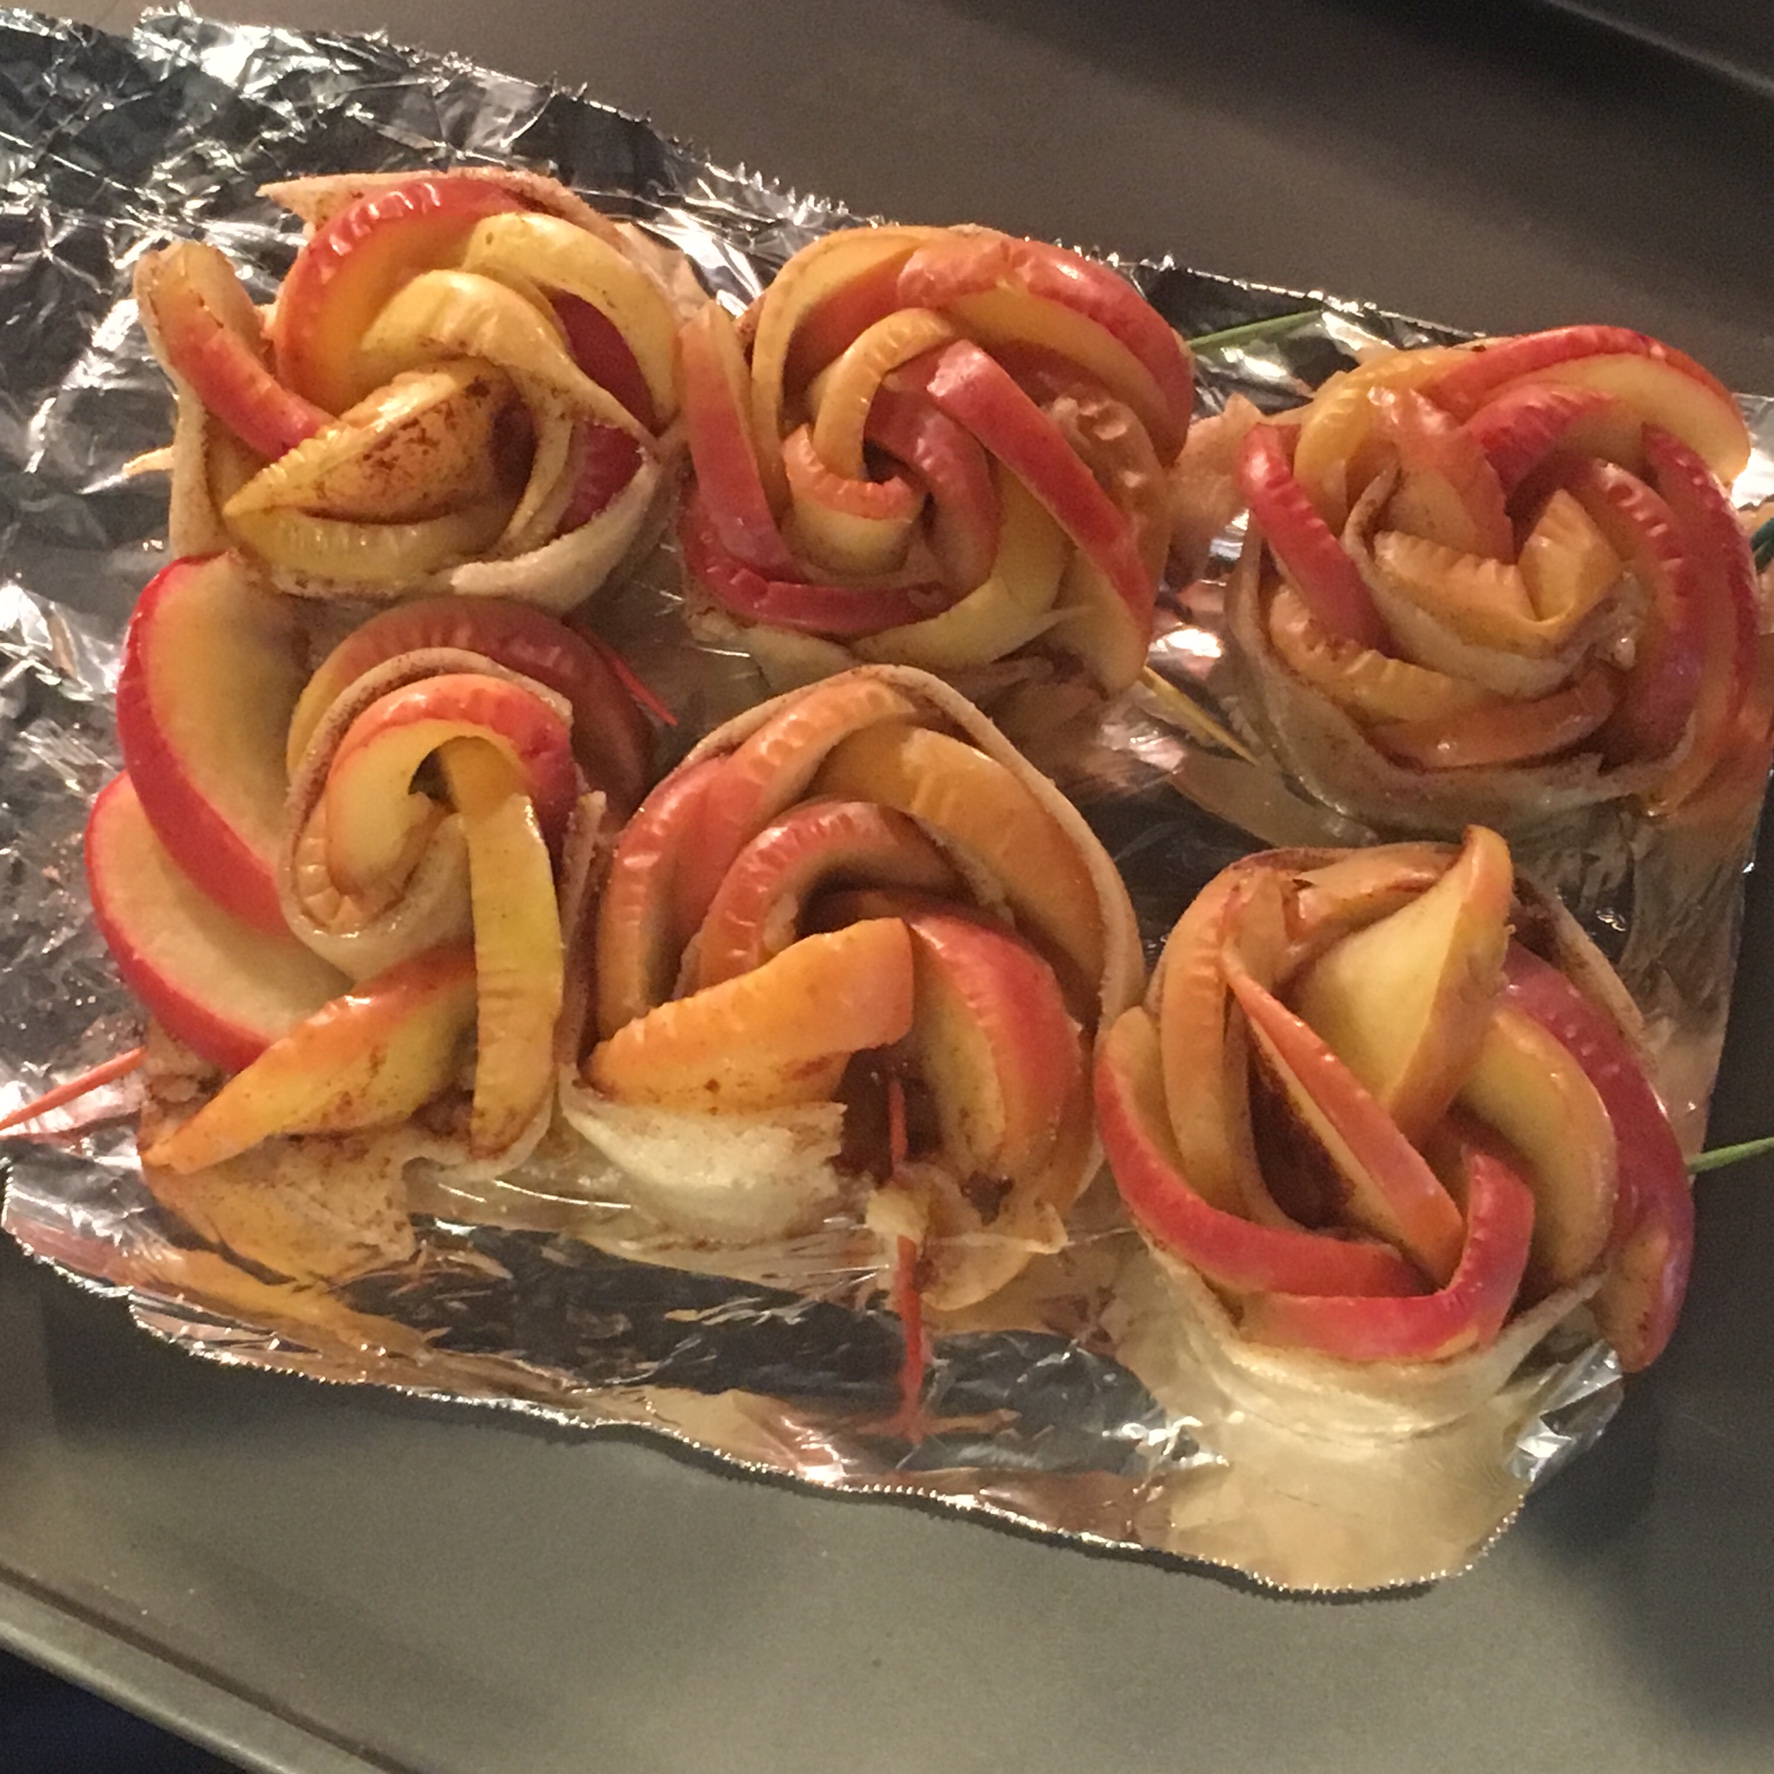
Egg wash the top of the football before cutting your football laces into the top of the football.
Bake in the oven for 20 minutes before removing and allowing to cool slightly.
Serve with a side of tomato sauce for dipping.
I hope you enjoyed this recipe as much as I do. If you have any comments please leave them below and I'll be happy to answer them as soon as I can! Happy cooking!!!