SPICY COCONUT CHICKEN THIGHS

One of the first recipes we made up at the cottage this year was this delicious spicy coconut chicken thigh recipe! Everyone was craving something Asian and this chicken dish ended up being not just KETO but super easy to make! Further, the flavors of this dish were amazing, totally satisfying everyone’s cravings. I ended up serving the dish on a bed of riced cauliflower and alongside my Asparagus Stir Fry with A Touch Of Citrus dish, and the pairing got a thumbs up from everyone at the table so we will definitely be making this meal again. If you are looking for a SUPER easy recipe to try that will spice up your next meal, I highly recommend this one!

Enjoy!

INGREDIENTS:

- Serves 4 people

1/3 CUP of Freshly Grated Ginger
3 Cloves of Garlic - Minced
3/4 CUP of Coconut Milk
1/4 CUP of Curry Paste - Hot Chili Paste can be used as a substitute
1/4 CUP of Fresh Lime Juice
2 TBSP of Brown Sugar or use a Keto Substitute Like Sukrin Gold Brown Sugar Alternative
1 3/4 TSP of Kosher Salt
2 TBSP of Vegetable Oil
2 LBS of Skinless, Boneless Chicken Thighs

-Optional Base and Toppings-

Riced Cauliflower
Cilantro - for Garnish
Green Onions - chopped finely for Garnish

DIRECTIONS:

In a bowl add in the freshly grated ginger, garlic, coconut milk, curry paste, lime juice, sugar, salt, and vegetable oil, and whisk until well incorporated. Add chicken in and make sure it is well coated in sauce.
Let marinate for a minimum of 15 minutes. If you are preparing the chicken ahead of time, store it in the fridge.

When ready to cook, remove chicken from marinade and drain excess drip back into the bowl. Transfer chicken to a baking sheet covered in parchment paper and broil on high for 7-8 minutes before flipping the chicken and allowing it to broil on high for another 7-8 minutes on the other side or until it appears crispy.

Pour the excess marinade drippings you drained off the chicken into a small saucepan and bring to a boil. Once it starts to boil, reduce heat and allow it to similar on medium-low heat, stirring occasionally until its thickens - about 2-3 minutes.

Once the chicken is cooked, remove from oven, add sauce on top and serve!

Enjoy!


If you like this recipe or have any comments/questions, feel free to leave them in the comment section below!


PIN THIS POST

SPICY COCONUT CHICKEN THIGHS.jpg

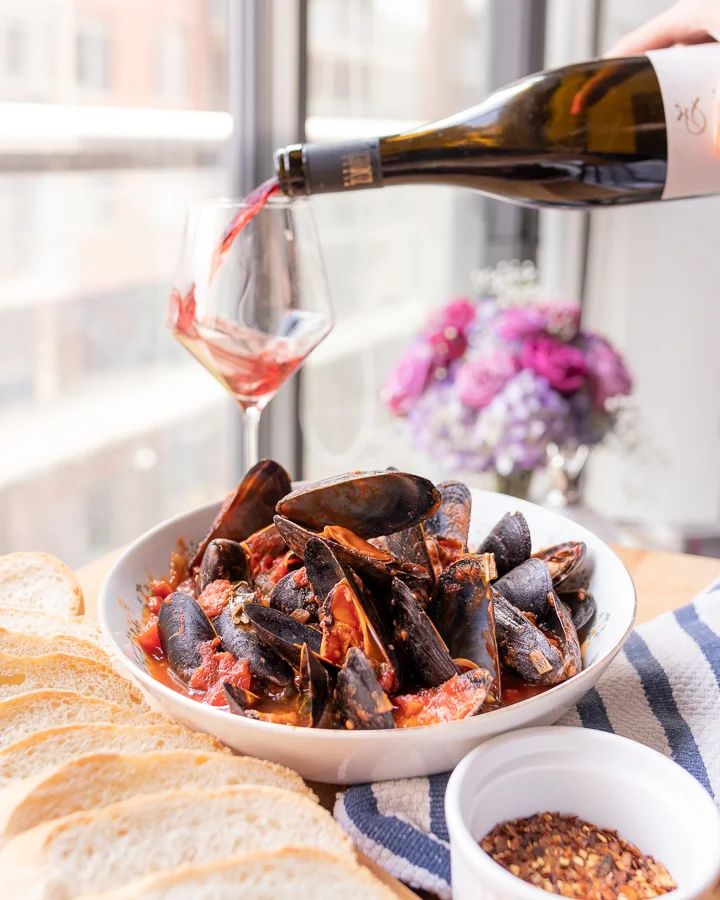
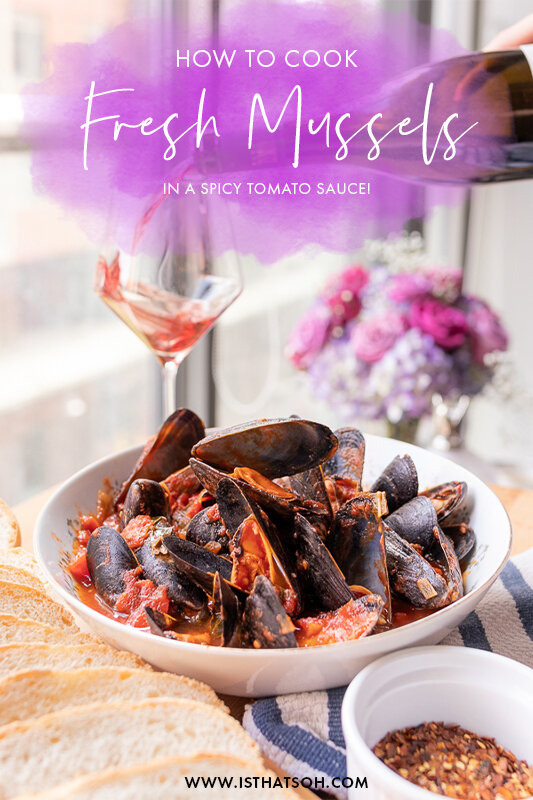
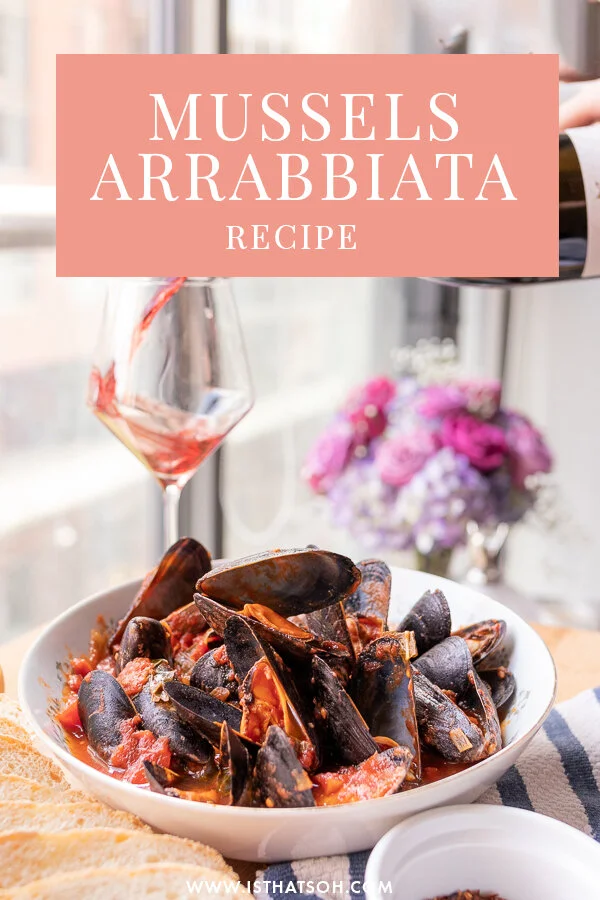
MUSSELS ARRABBIATA (SPICY TOMATO SAUCE)

One thing my brother-in-law and I have in common is our love for all-you-can eat mussels. When it comes to who can put down more bowls of mussels, I’ve got some stiff competition. Almost every time I go to visit him we always go to this restaurant that runs a ‘bottomless mussels’ special on Tuesdays and when they see us walk in they know, IT’S GOING DOWN!

The last time I visited though, I suggested trying our hand at making mussels at home. At the time I had also been craving something with a spicy arrabbiata sauce and I thought the flavors would pair really nicely with mussels (very similar to mussels marinara). So why not hit two birds with one stone!? Dinner that night came together beautifully, and I loved how well my new mussel recipe turned out. Needless to say, there were ZERO leftovers and being a self-proclaimed ‘mussel connoisseur’ I’m definitely giving myself a pat-on-the-back for this one!

To all my seafood lovers out there, this one is for you!

Buon Appetito!

INGREDIENTS:

 Serves 2 People

-Seafood-
4 lbs of fresh mussels – rinse, scrub and debeard. (I usually buy extra because I know that some are going to be bad)

How to buy, store, and prep fresh mussels:

When buying fresh mussels, make sure to smell them - they SHOULD NOT have a strong odor! You also want the shells to be shut. Since mussels are alive if you bang the shells or apply pressure and close them yourself, if they are indeed alive, they should shut or remain shut. If they open once again right away it means that they are weak/not fresh, so don’t buy those. Make sure to store your mussels in the fridge, they need air to breathe so don’t use a sealed container, instead place a damp cloth over them like a napkin or paper towel to provide further moisture. Before you are ready to use them make sure to rinse the shells, remove the beards or hairy bits, and scrub away any debris off the shells.

-Arrabbiata Sauce-
3 tbsp of olive oil
1 small sweet onion - chopped finely
2 cloves of garlic - minced
1-2 dashes of hot chili flakes (as desired)
2 800g (28oz) cans of peeled tomatoes (Roma / San Marzano)
2 tbsp of fresh basil, chopped roughly
Salt and Pepper to Taste

-Toppings-
Fresh Italian Basil

-Extras-
Baguette


LOVE SEAFOOD? CHECK OUT THESE OTHER SEAFOOD RECIPES!


HOW TO MAKE MUSSELS ARRABIATA:


In a deep skillet or Dutch oven, add olive oil and let it heat up on low to medium heat.

Once hot add onion to skillet and let sweat for 3-5 minutes. Add garlic and continue to simmer, stirring occasionally.

Once onion and garlic are translucent add in your chili flakes and continue to cook, 1-2 minutes.

Next, add in your roughly chopped fresh basil and both cans of tomatoes. Chop up any large tomato bits.

Add salt and pepper and mix thoroughly before covering and simmer at a low temperature for 30 minutes, stirring periodically. After 15 minutes add more salt and pepper to desired taste, if needed, then cover and let the sauce continue to simmer.

Place mussels in the skillet or Dutch oven and mix until fully coated in the simmering sauce. Cover and allow mussels to open/cook for 3-5 more minutes

Once all the mussels appear to be open and cooked, place in a bowl, garnish with fresh basil and serve!

Enjoy!


FOLLOW ME ON INSTAGRAM @ISTHATSOH!


If you like this fresh mussels recipe or have any comments/questions about how to cook mussels, feel free to leave them in the comment section below!


PIN THIS POST

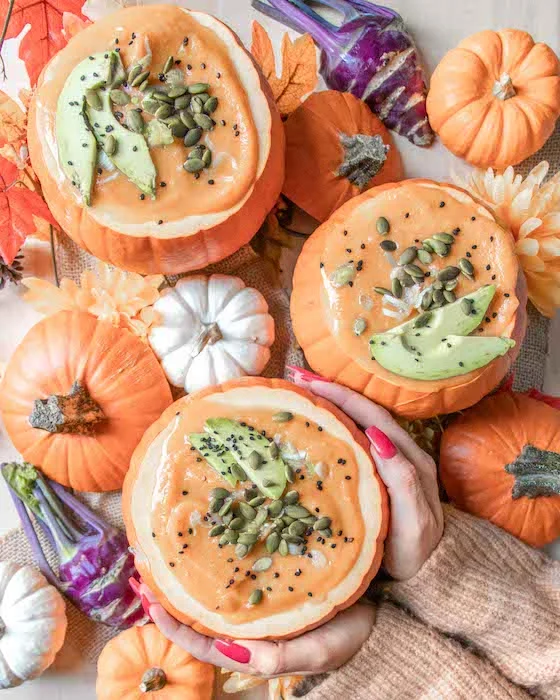
VEGAN PUMPKIN SOUP WITH @INSPIREDBYNICK!

Oh Hello There!

Welcome back to my blog!

I know it’s been a hot minute since I have posted anything on the ‘Food and Drink’ section of Soheila Online, but let me assure you that this was completely intentional. As I grow my brand I am also evolving and changing the direction of certain aspects of my blog. And although I love food (I mean, this girl loves to eat!) I wasn’t sure if recipe posts were where I wanted to concentrate my time and efforts. That doesn’t mean I won’t be sharing pretty food pictures with you anymore! It just means, instead of focusing my efforts on sharing my recipes, I want to share my food experiences with you in a different way - like through collaborations with my favourite food influencers!

So in the spirit of new beginnings I am back on the blog today to share a little festive autumn collaboration with my dear friend @Inspiredbynick! If you are guys are not familiar with Nick Joly he is a vegan food blogger based in Toronto that aims to promote healthier lifestyle habits and delicious vegan recipes. If you aren’t following him on Instagram already I definitely recommend you do!

@InspiredByNick and I at Downey’s Farm

@InspiredByNick and I at Downey’s Farm

Nick and I first met a couple months ago through our mutual friend Krystle (@dineandfash) and really hit it off. Since our first introduction over lunch at Cubano Restaurant I have been following Nick’s progress and really admire his positive attitude, health lifestyle habits, all round hustle, and drool-worthy vegan food pics! That is why a couple week ago I asked Nick if he wanted to collaborate with me on a little project I was planning for fall.

Usually not the biggest fan of letting go of summer, this year I wanted to embrace autumn by celebrating its cuteness in all its glory. For me this meant a little content creation road trip up to the pumpkin patch would need to happen, and I knew Nick would be the best partner in crime to collaborate with. So off we went to Downey’s farm in Caledon (a short 45 min drive from downtown Toronto).

Our plan for the collaboration was to go early, take a couple lifestyle photos, grab some picture perfect pumpkins, head back to Nick’s house to make a vegan recipe he had in mind, and style some Pinterest worthy photos. We were so prepared for our little road trip and for our food styling and pumpkin patch photos session that everything went off without a hitch. Nick had purchased mini pumpkins and ingredients ahead of time and I showed up with a red wagon (the perfect pumpkin patch photo prop) and a bag full of dollar store decorations for food styling. Together we took some super cute photos and created perfect autumn themed content. 

Nick of course being the master cook in this collaboration has shared the recipe to the Vegan Pumpkin Soup we (but really he - I just played with the dogs) made -> http://bit.ly/2CC1ATS on his blog while I get to share the cute pictures of us from the pumpkin patch with you here. Although I won’t be posting as many recipes anymore I really feel like there are so many talented foodies out there like Nick who’s Instagram could benefit a lot of people and instill more positive habits in everyone’s life - vegan or not. That is why I wanted to collaborate with Nick on my first post back and share his amazing platform with you as a way to find inspiration and positive reinforcement for your everyday life. Food after all is ment to be shared and Nick just does it so well!


I hope you enjoyed this recipe as much as I do. If you have any comments please leave them below and I'll be happy to answer them as soon as I can! Happy cooking!!!


PIN THIS POST

SUNRYPE SLIM BOOZY POPSICLE RECIPES #SPONSORED

It may only be spring, but my heart is already yearning for summer. I love longer days, warmer nights, and being able to gather with friends. Summer entertaining is one of my favourite things to do on weekends, and I always look for any excuse to host a get together. It’s also a great way to just relax and take 10 for yourself and to actually enjoy the moment, instead of being wrapped up in the hustle and bustle of everyday life.

One thing I typically do in the summer is keep some fun popsicles in my freezer. Not only because they make a great after work treat and are a great party ‘wow’ factor, but because they help me take 10 for myself and cool down on those hot and sweaty summer nights when there isn’t a breeze for miles. I can still picture myself last summer, happy as a clam licking my popsicle as it dripped down my hand like I was twelve - so perfectly refreshing. Who is to say popsicles have to be just for kids anyways? As a matter of fact, MY popsicles are just for Adults.

To add a little extra fun to my popsicles, I booze them up in a multitude of ways. There are obviously so many variations you can make, but I always like to make sure that the ingredients I use taste great and aren’t filled with sugar and artificial elements. That is why I love to use SunRype Slim beverages as the perfect popsicle base, as they don’t have any artificial colouring, flavours or contain any aspartame, plus they only contain 10 calories per serving (250ml), how great is that!.

Using SunRype Slim makes it easy for me to adjust the amount of sweetness I want so my popsicles fit my palette (and calorie intake) and still maintain natural flavours and ingredients. The best part - they are so easy to make to your liking and easy to find. You can try this recipe out using a variety of different flavors including SunRype Slim Blueberry Burst, Cranberry Twist, Lemon Drop Lemonade, Long Island Iced Tea and Tropical Mango– all found in the non-refrigerated juice aisle of your grocery store.

Not into popsicles? SunRype Slim 10 low calorie beverages are also perfect without alcohol as a refreshing glass over ice on a warm summer day!

Tips before we get started
*   Soaking your popsicle sticks before making your popsicles will help with any buoyancy issues and prevent them from popping out of the molds completely.
*   Soaking your fruit in alcohol before hand adds for an extra punch!
*   SunRype Slim contains only 10 calories per serving (250ml). To keep calories per popsicle even lower, you can always leave out the simple syrup and replace with more SunRype Slim!

What are you waiting for? Take 10whether you have just 10 seconds or 10 minutes - for yourself and relax with a delicious SunRype Slim popsicle now!


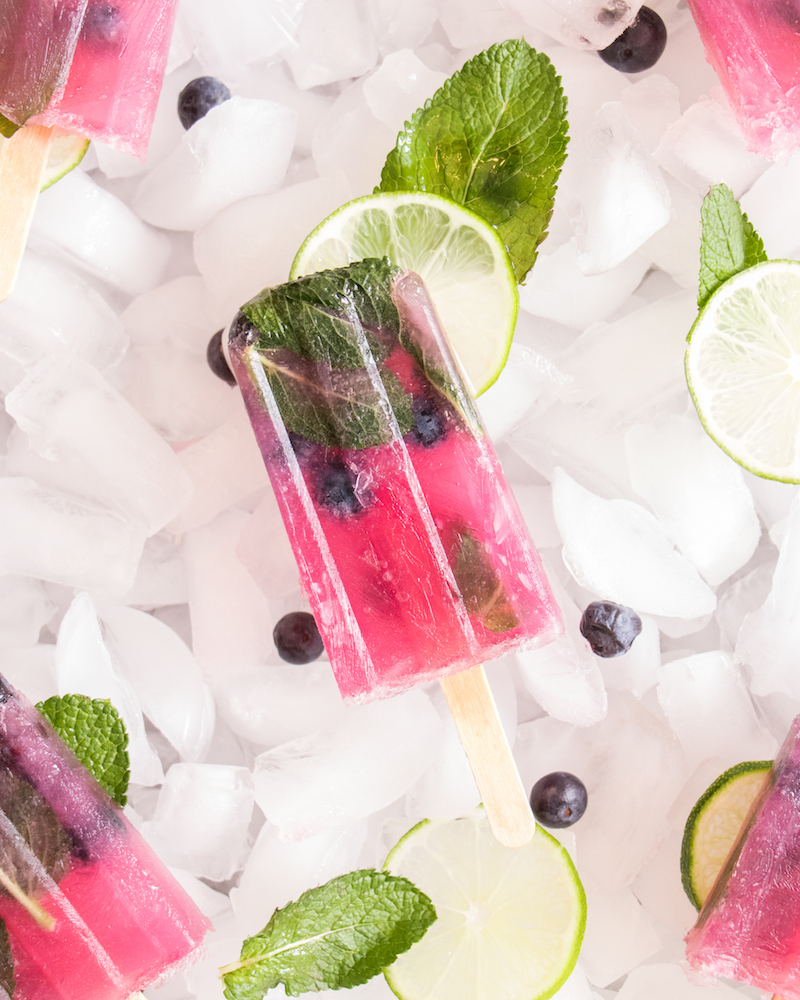
Blueberry Mojito Pops!
INGREDIENTS:

1/2 Cup of Sugar
1/2 Cup of Water
Mint
1 Bottle of SunRype Slim Blueberry Burst
3/4 Cup of Freshly Squeezed Lime Juice
1/2 oz Shot of Rum Per Popsicle
Blueberries

DIRECTIONS:

-    Make a simple syrup using equal parts sugar and water. Bring water to a boil and add in your sugar. You can also add in some mint to give your simple syrup extra flavour! Once sugar has completely dissolved, strain the mint from your simple syrup and let cool to room temperature. 

-    Fill 1/4 of each popsicle mold with SunRype Slim Blueberry Burst, then fill 1/4 of each popsicle mold with equal amounts of Lime Juice and Simple Syrup. Next add 1/2 Oz of Rum and some blueberries (maybe like 10 per mold). You can also add in some fresh mint leaves to each if you want. If there is still room in your molds, top it off with more SunRype Slim Blueberry Burst.

-    Add in your popsicle sticks and place popsicle molds in the freezer overnight for best results!

Spiked Peace Raspberry Ice Tea!

INGREDIENTS:

2 Peaches - sliced thin
1 Pint of Raspberries
1/2 Cup of Tequila
1/2 Cup of Vodka
1/2 Cup of White Rum
1/2 Cup of Sugar
1/2 Cup of Water
1 Bottle of SunRype Slim Long Island Ice Tea

DIRECTIONS:

-    Mix tequila, vodka, and white rum together in a bowl and add in your thin slices of peaches. Allow peaches and raspberries to soak up the alcohol overnight in the fridge.

-    Make a simple syrup using equal parts sugar and water. Bring water to a boil and add in your sugar. Once sugar has completely dissolved, let cool to room temperature. 

-    Place a couple of your alcohol soaked peaches and raspberries in each of the molds. Fill 1/2 of each mold with SunRype Slim Long Island Ice Tea. Fill the remainder with equal parts simple syrup and left over alcohol mix.

-    Add in your popsicle sticks and place popsicle molds in the freezer overnight for best results!


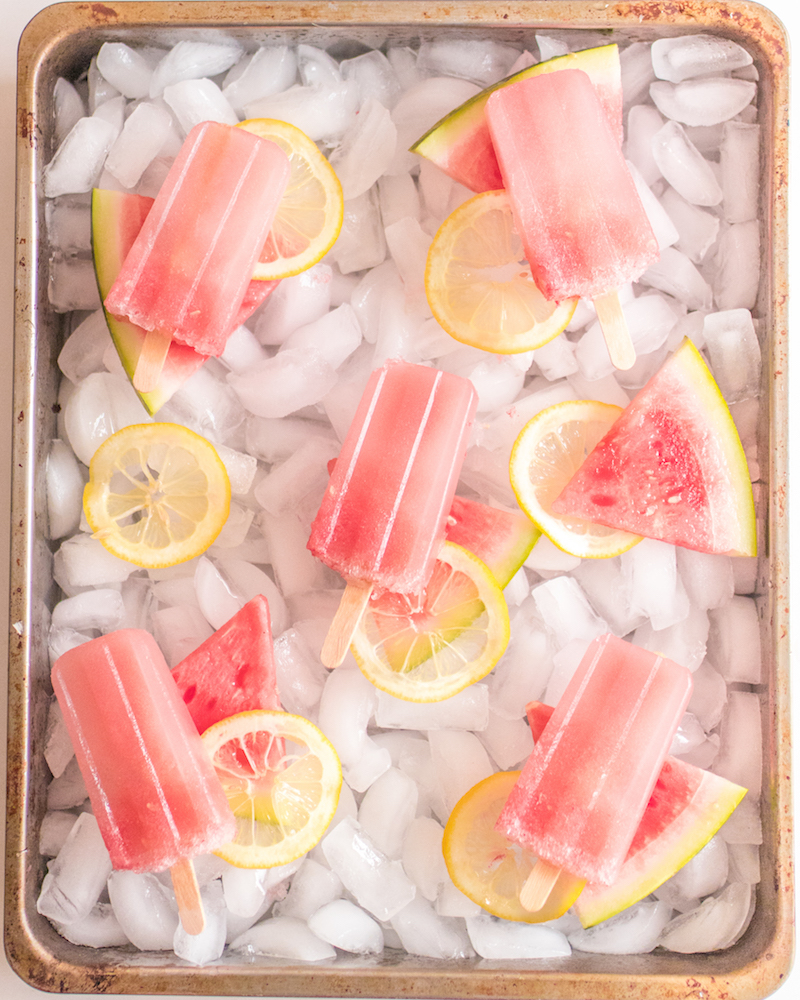
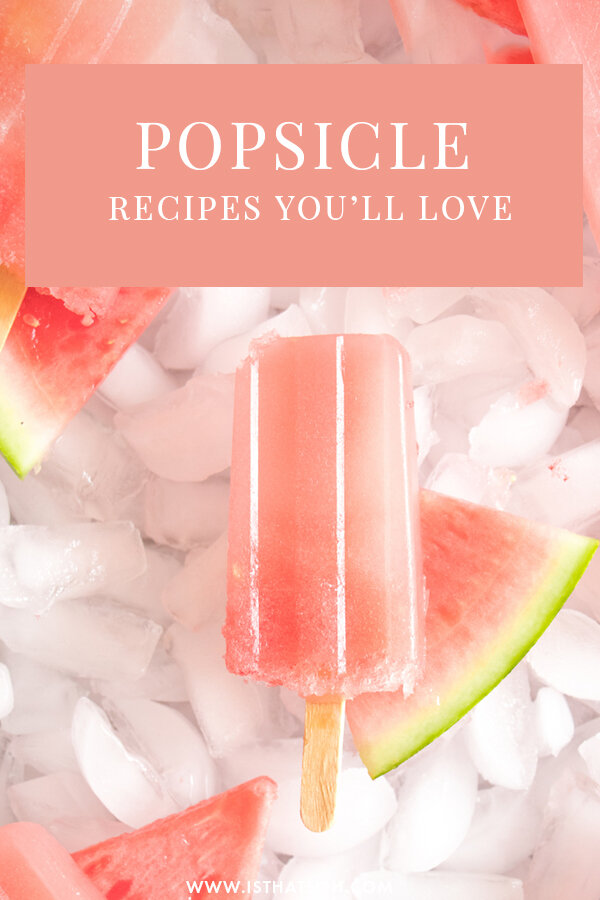
Watermelon Lemonade Prosecco Pops

INGREDIENTS:

1/2 a Seedless Watermelon (Cubed)
1 Bottle of SunRype Slim Lemon Drop Lemonade
1 Bottle of Prosecco
1 Lemon - to make thin lemon slices with

DIRECTIONS

-    Placed cubed watermelon in blender and liquefy.

-    Add 2-4 thin slices of lemon to each mold.

-    Fill 1/3 of each mold with watermelon juice, 1/3 with SunRype Lemon Drop Lemonade and 1/3 with Prosecco (pour Prosecco slowly as to not have the bubbles overflow).

-    Add in your popsicle sticks and place popsicle molds in the freezer overnight for best results!

Discover More With SunRype Slim10!

Disclaimer: This post has been generously sponsored by Sun-Rype, the opinions and language are my own and in no way do they reflect Sun-Rype


 PIN THIS POST

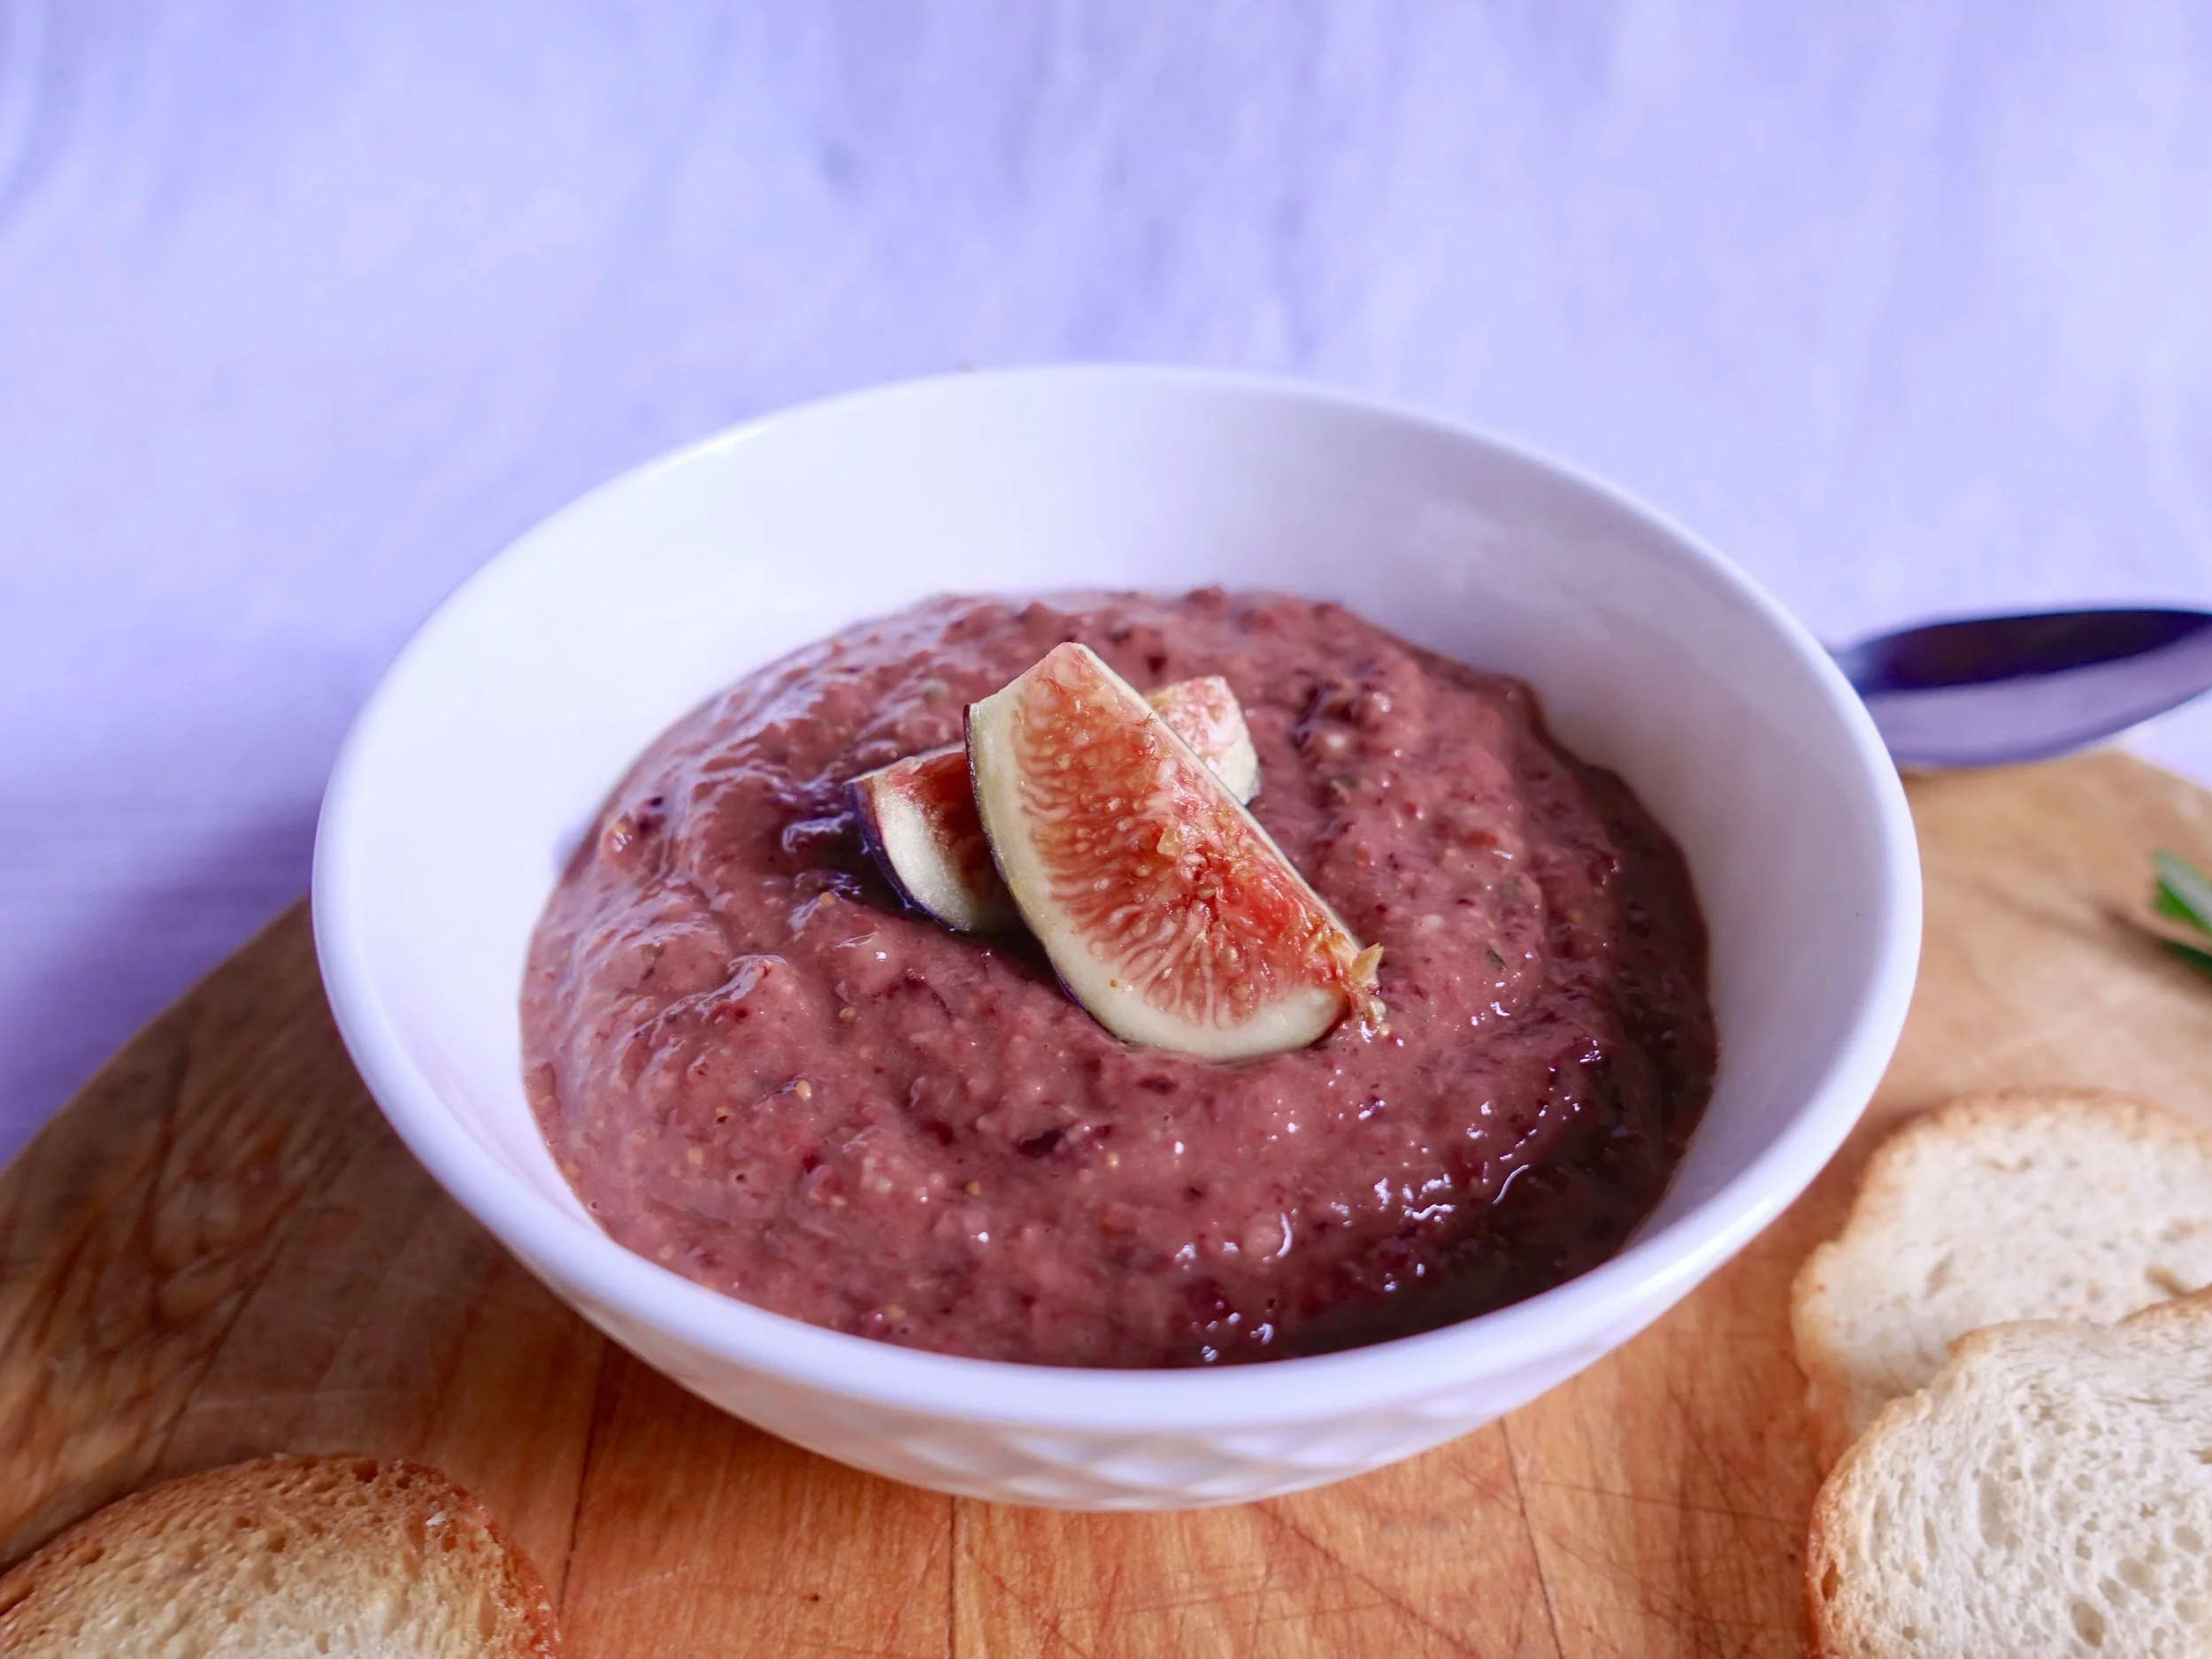
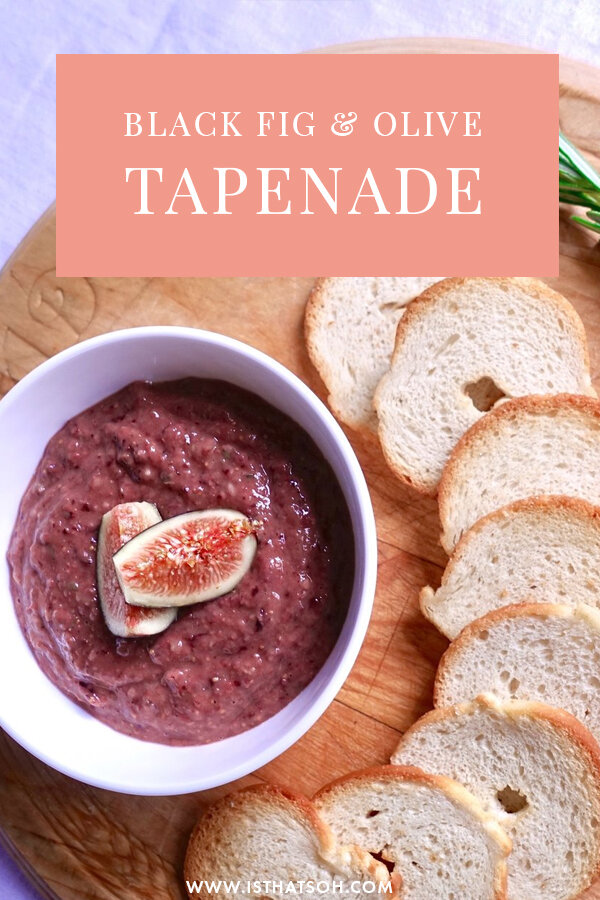
BLACK FIG & OLIVE TAPENADE

Is it just me or does the combination of sweet back fig and savoury black olives sound like the perfect pairing! I love this recipe for that exact taste profile and spread across a crisp or accompanied with Parmesan cheese it is a perfect appetizer. If you're looking for something to serve at your next dinner party that's both quick to whip up and as easy as throwing everything into a food process - this tapenade is perfect! Enjoy!

INGREDIENTS:

Yields 1.5 Cups of Tapenade

1 Cup of Black Fig - Rinsed and Cut Up
1/2 Cup of Pitted Black Olives
1 Clove of Garlic Clove - peeled and chopped
2 Tsp of Capers - drained and rinsed
1 Tsp of Fresh Rosemary
Squeeze of lemon
1/4 Cup of Olive Oil
Salt and Pepper to taste

DIRECTIONS:

Place figs, pitted olives, garlic, capers, and rosemary in the food processor and blend until pureed.

Add a good squeeze of lemon juice and continue to mix.

While the motor is running add the olive oil. Season with salt and pepper as per your taste (I usually add a little salt no pepper but to each their own).

Black Fig and Olive Tapenade

I hope you enjoyed this recipe as much as I do. If you have any comments please leave them below and I'll be happy to answer them as soon as I can! Bon Appetite!!!


PIN THIS POST