I have tried many different squash recipes, but this has to be one of my favorites. My girlfriend Lili made it for me the other day when I went to her house for dinner and it was not only healthy, but really tasty so of course I had to share the recipe with you guys. You can add any veggies that you like and can even switch up the pesto for tomato sauce if you want. Be creative but most of all have fun!
INGREDIENTS:
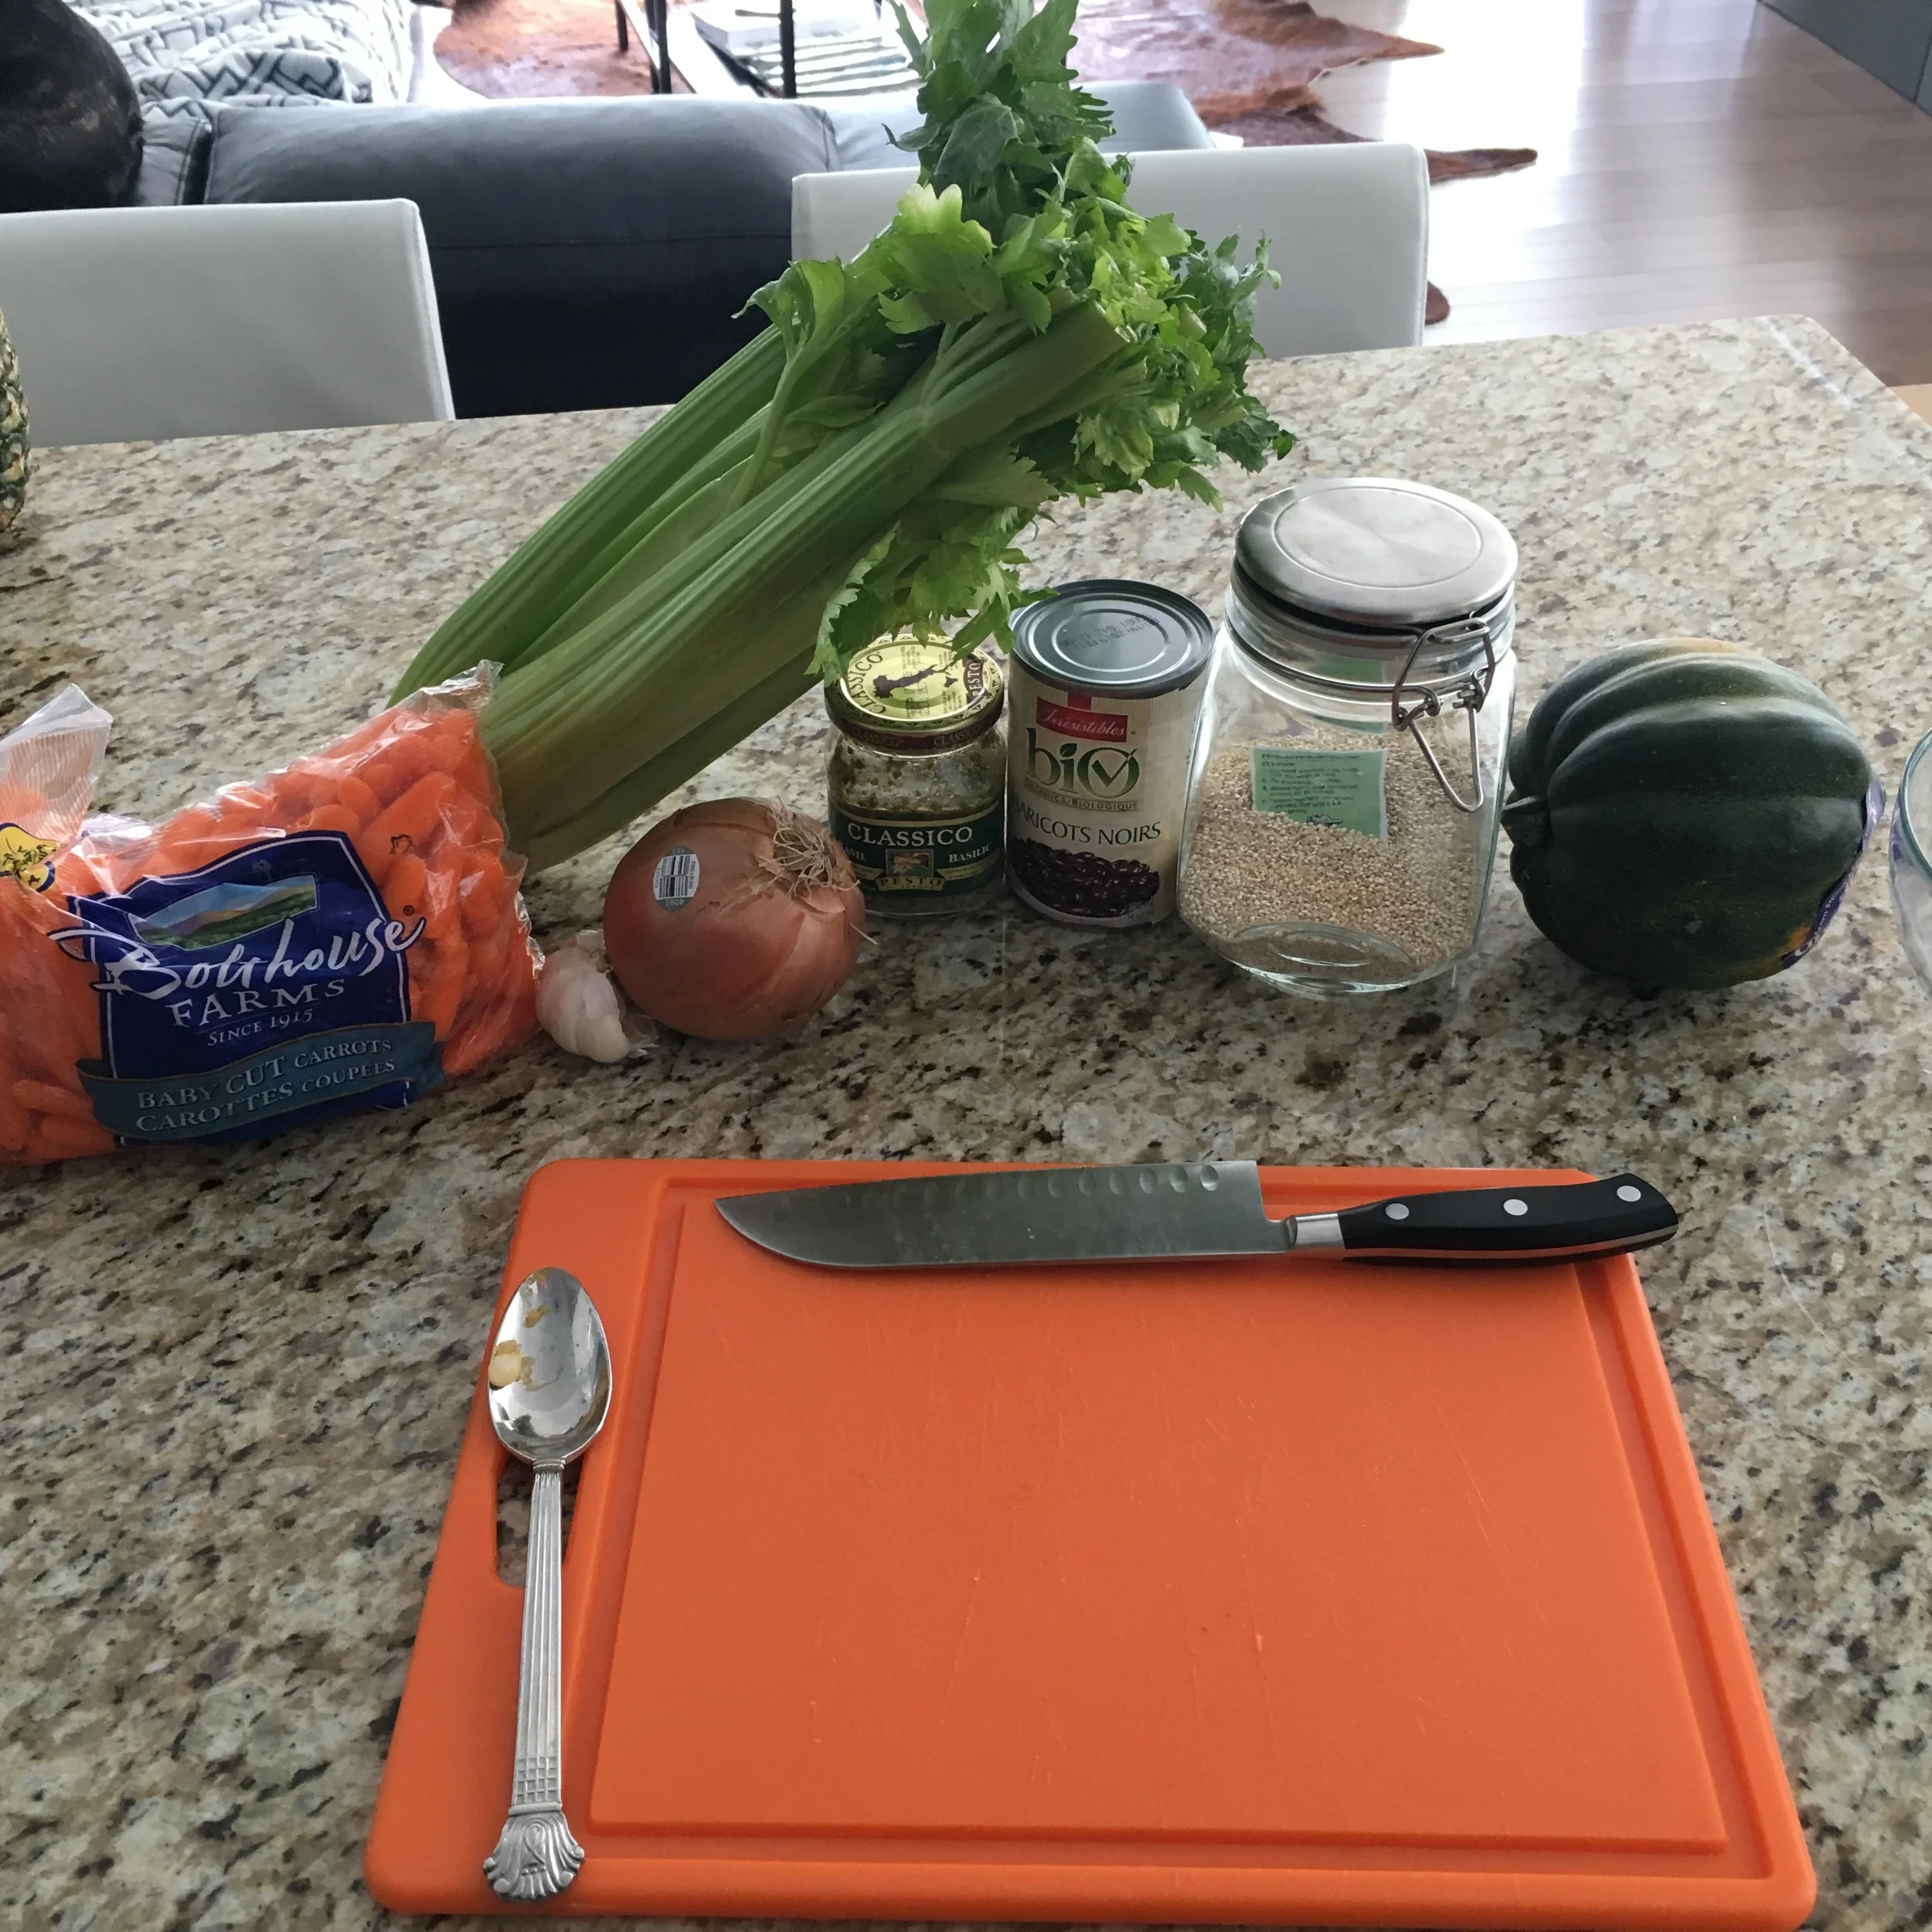
1 - 2 Acorn Squash
3/4 Cup of Uncooked Quinoa
1-2 TBSP of Olive Oil
1/2 Medium Spanish Onion (chopped)
2 Celery Stock (chopped)
2 Clove of Garlic (minced)
1/2 Cup of Carrots (chopped)
1/2 Cup of Black Beans (drained and rinsed)
Pesto Sauce
2-3 TBSP of Goat Cheese, Feta Cheese, Halloumi (whichever you prefer/optional)
Salt and Pepper to taste
DIRECTIONS:
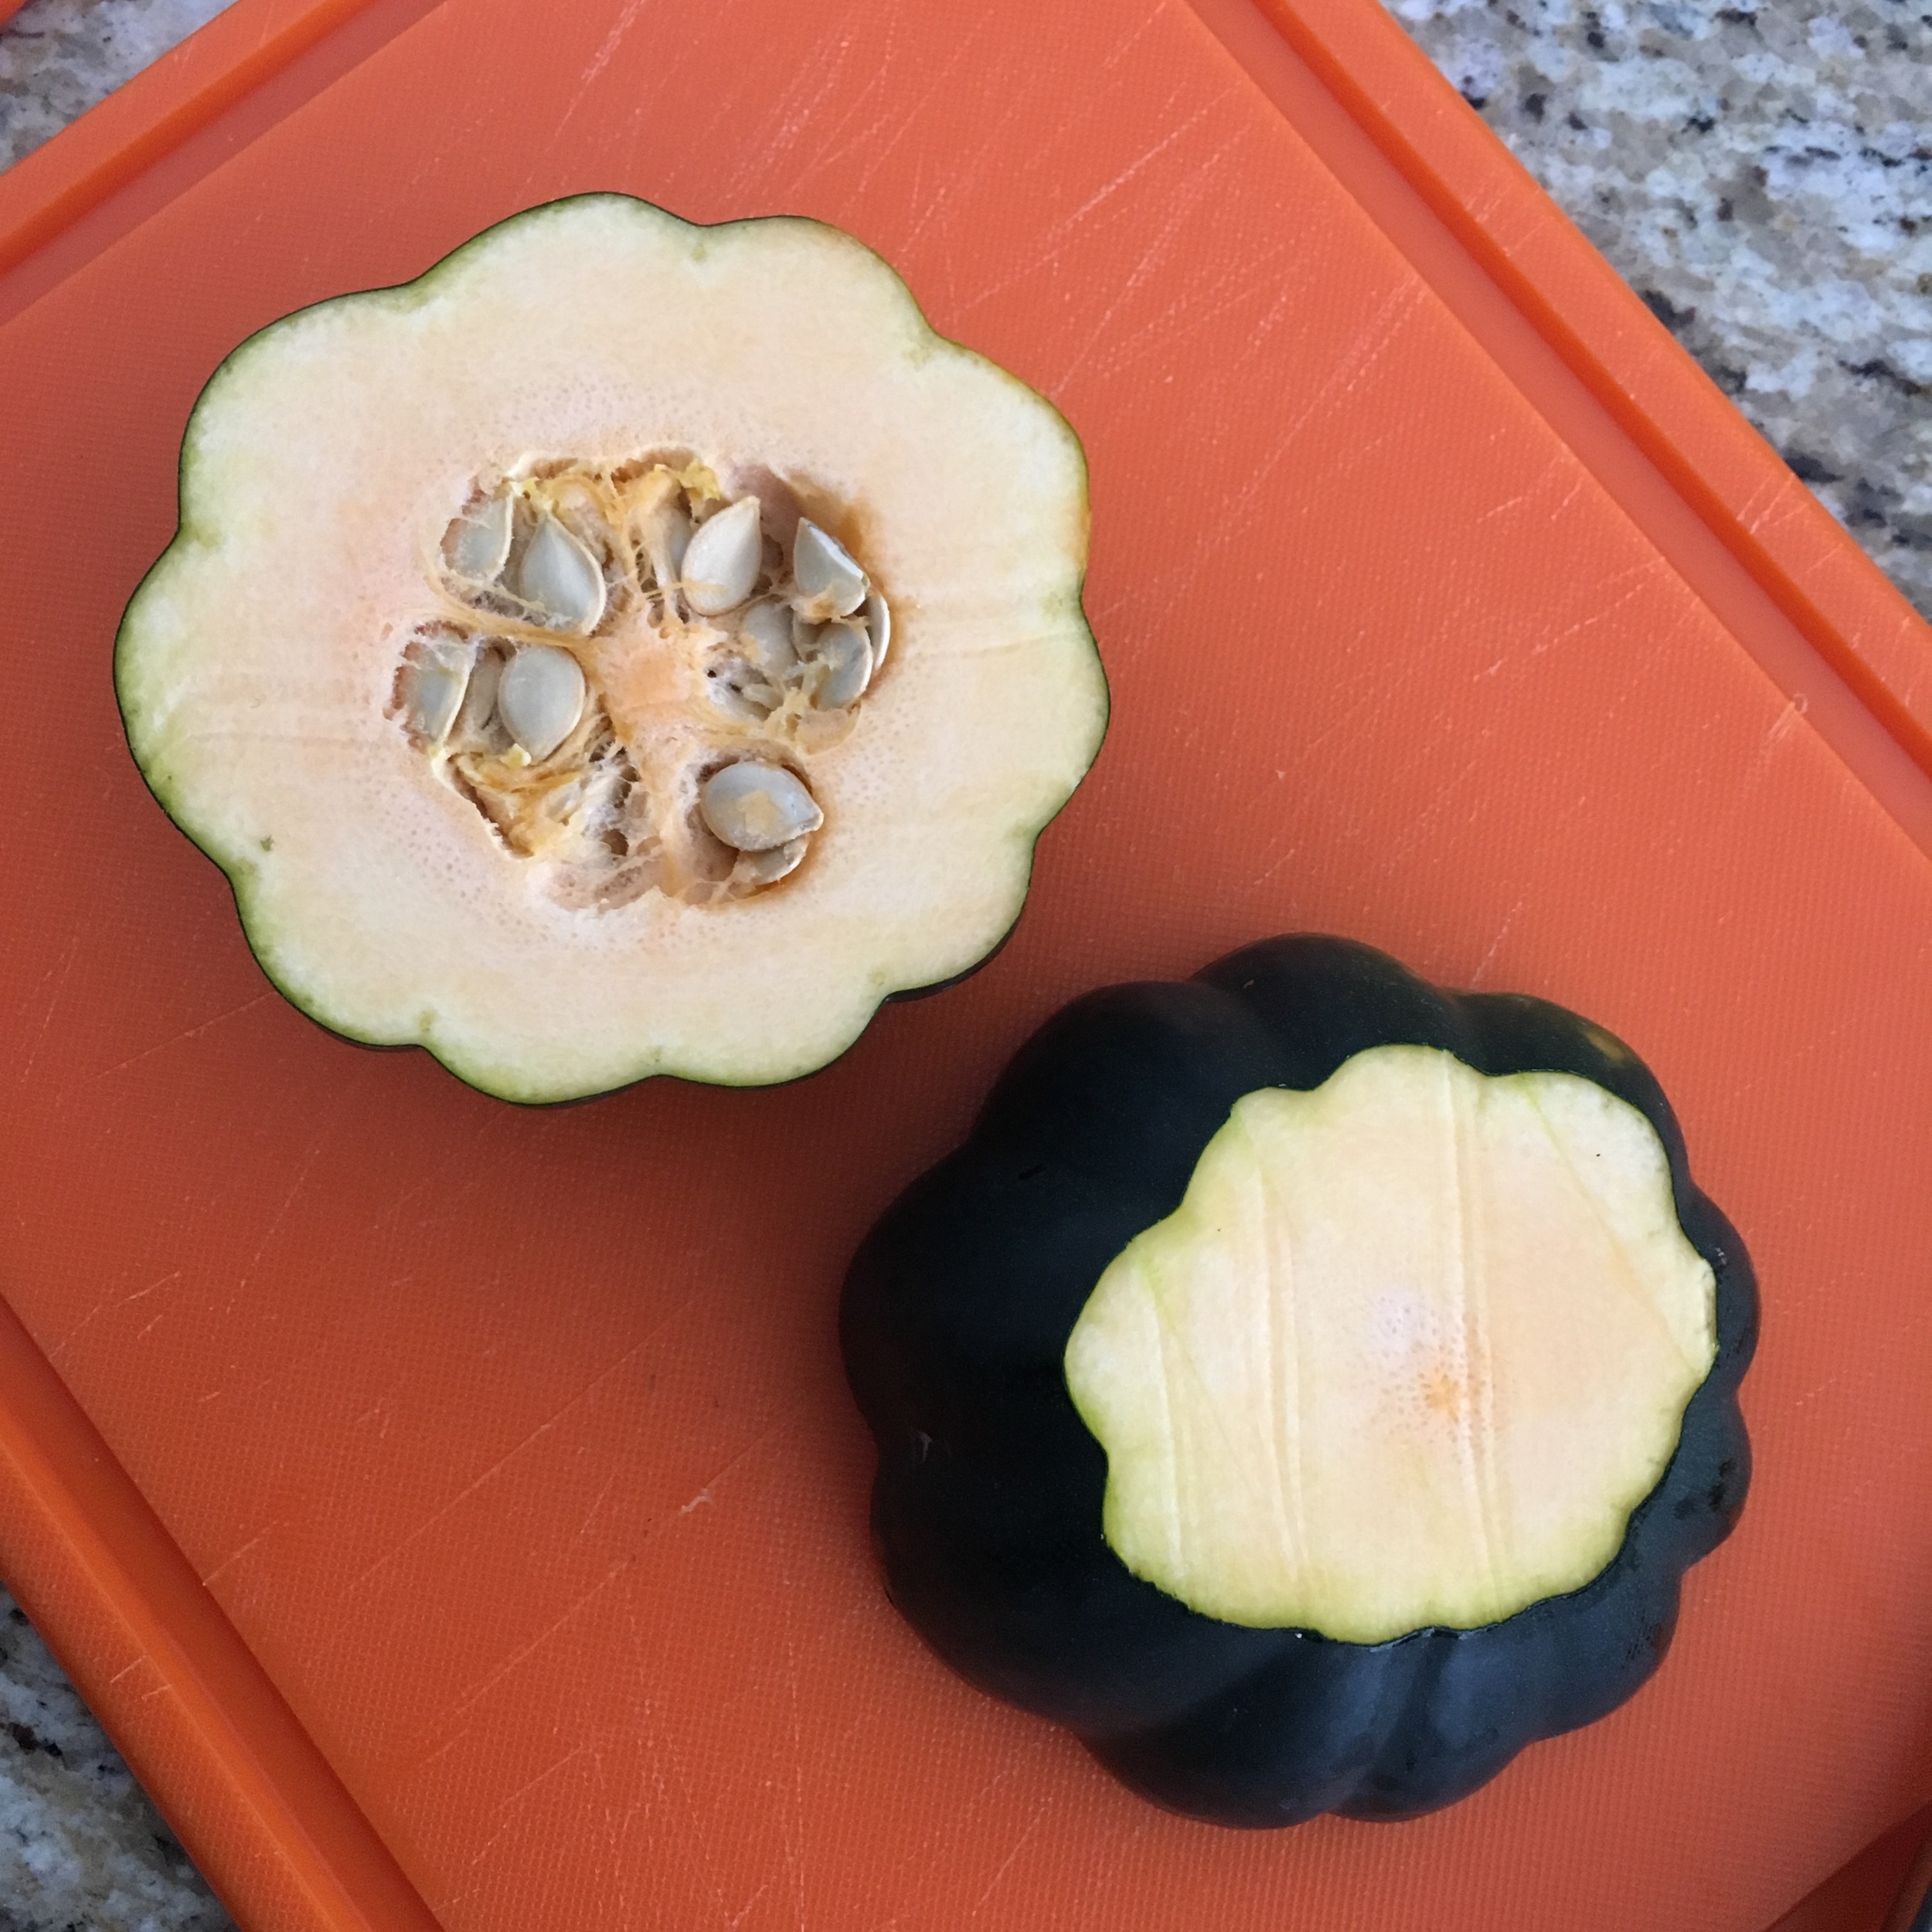
Preheat oven to 350 degrees. While oven is warming up go ahead and cut a small portion of the top and bottom of your acorn squash off to help it sit up straight. Next cut the squash in half, width-wise, and remove the seeds from the inside.
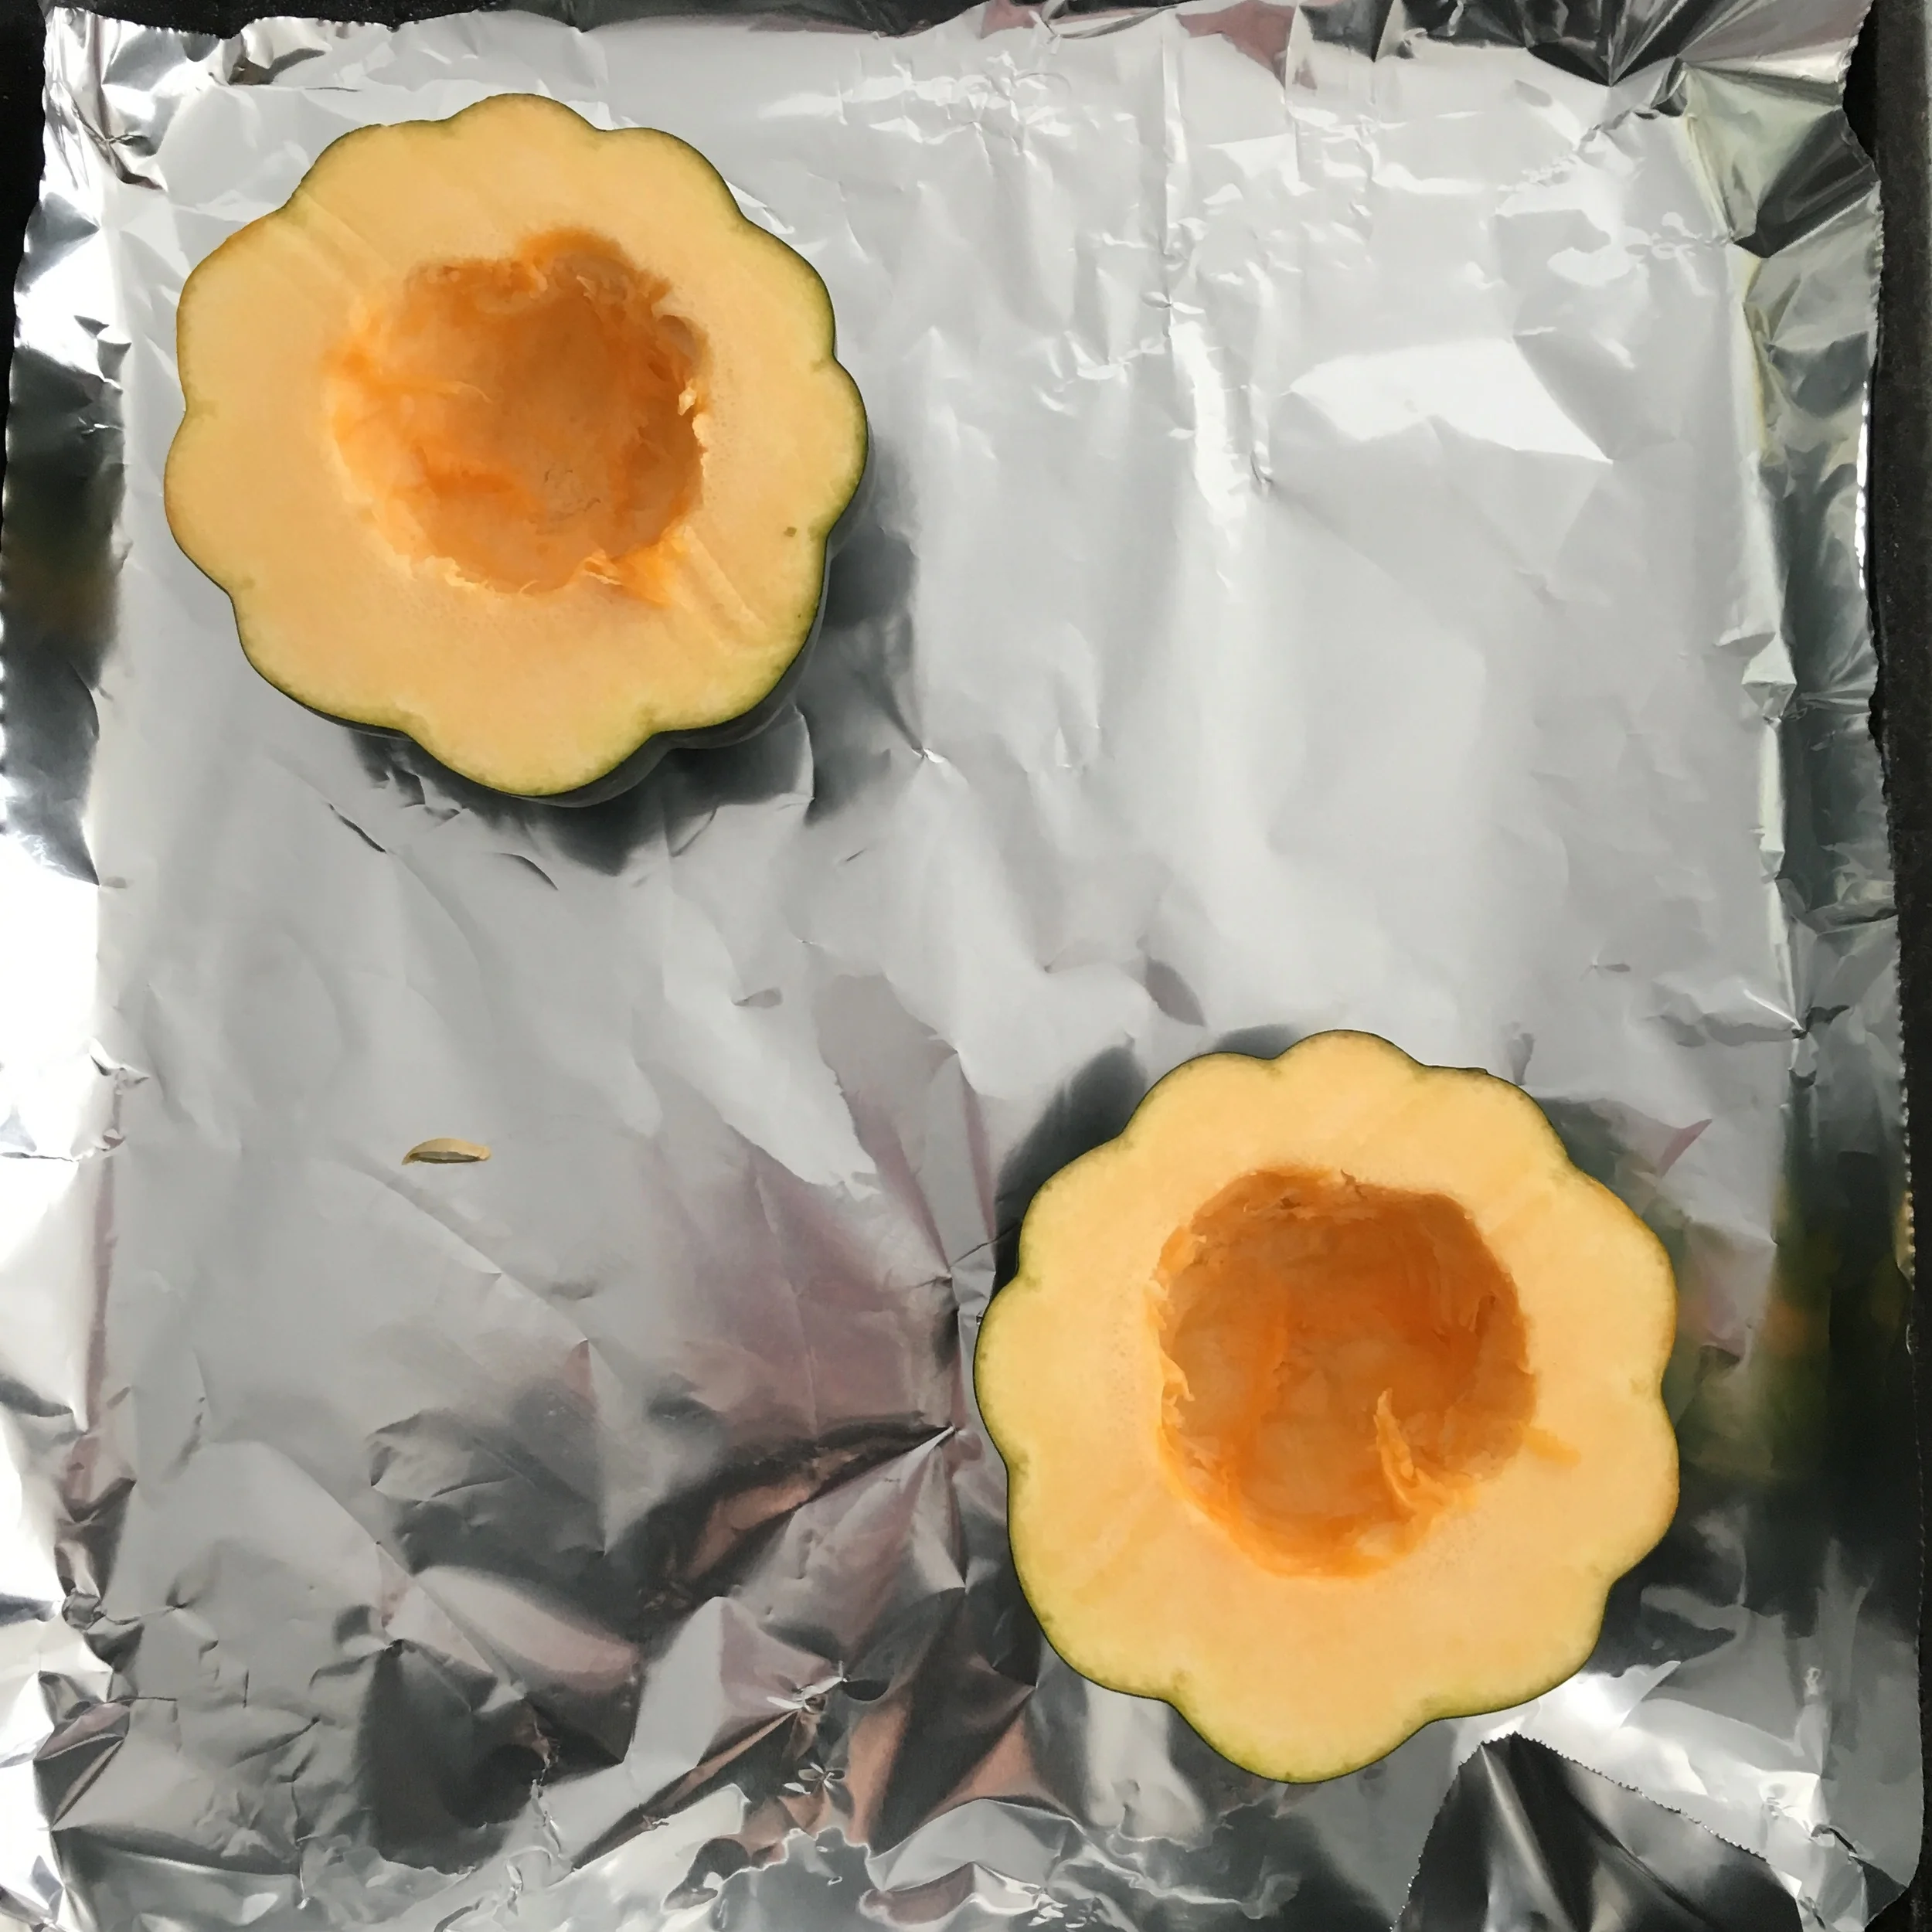
Place the squash on a baking tray that is lined with aluminum foil and bake for 30 minutes.
In the meantime make your quinoa.
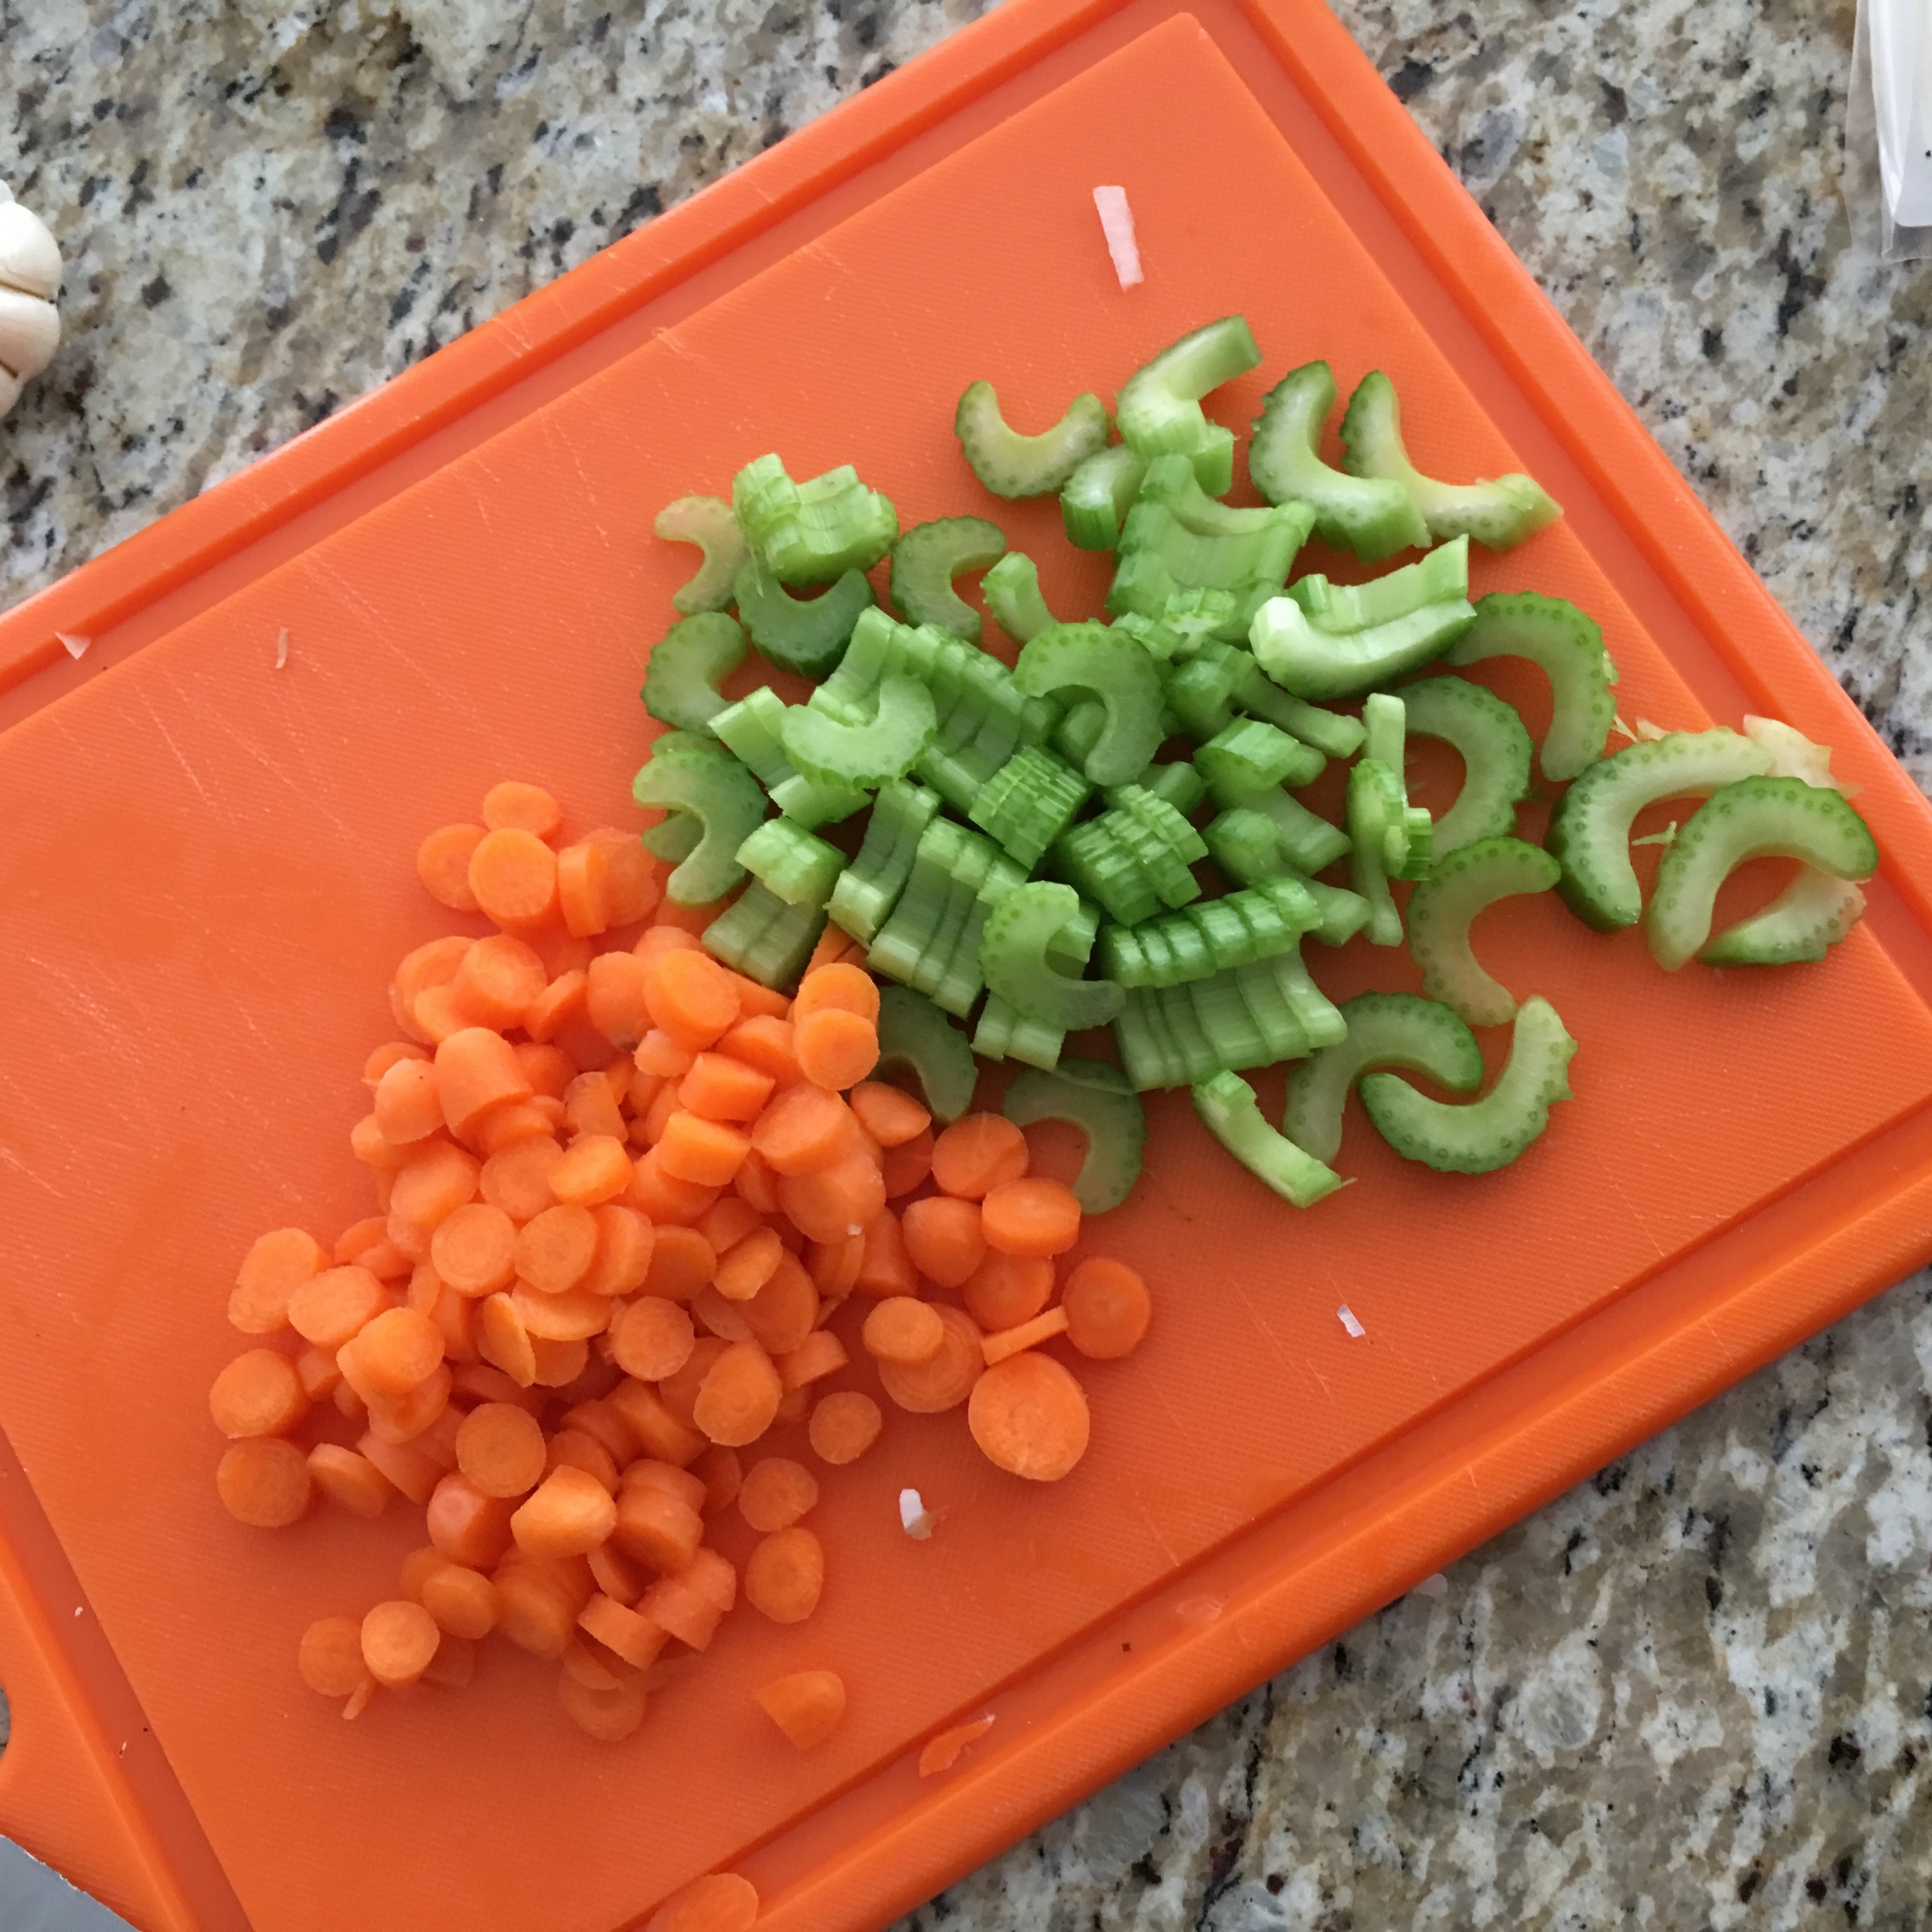
While you are waiting for your quinoa to cook you can add the olive oil to a pan and throw in your chopped onions, celery, carrots, garlic and black beans. Sauté until the onions become translucent. I also like to salt and pepper my veggies as they are cooking
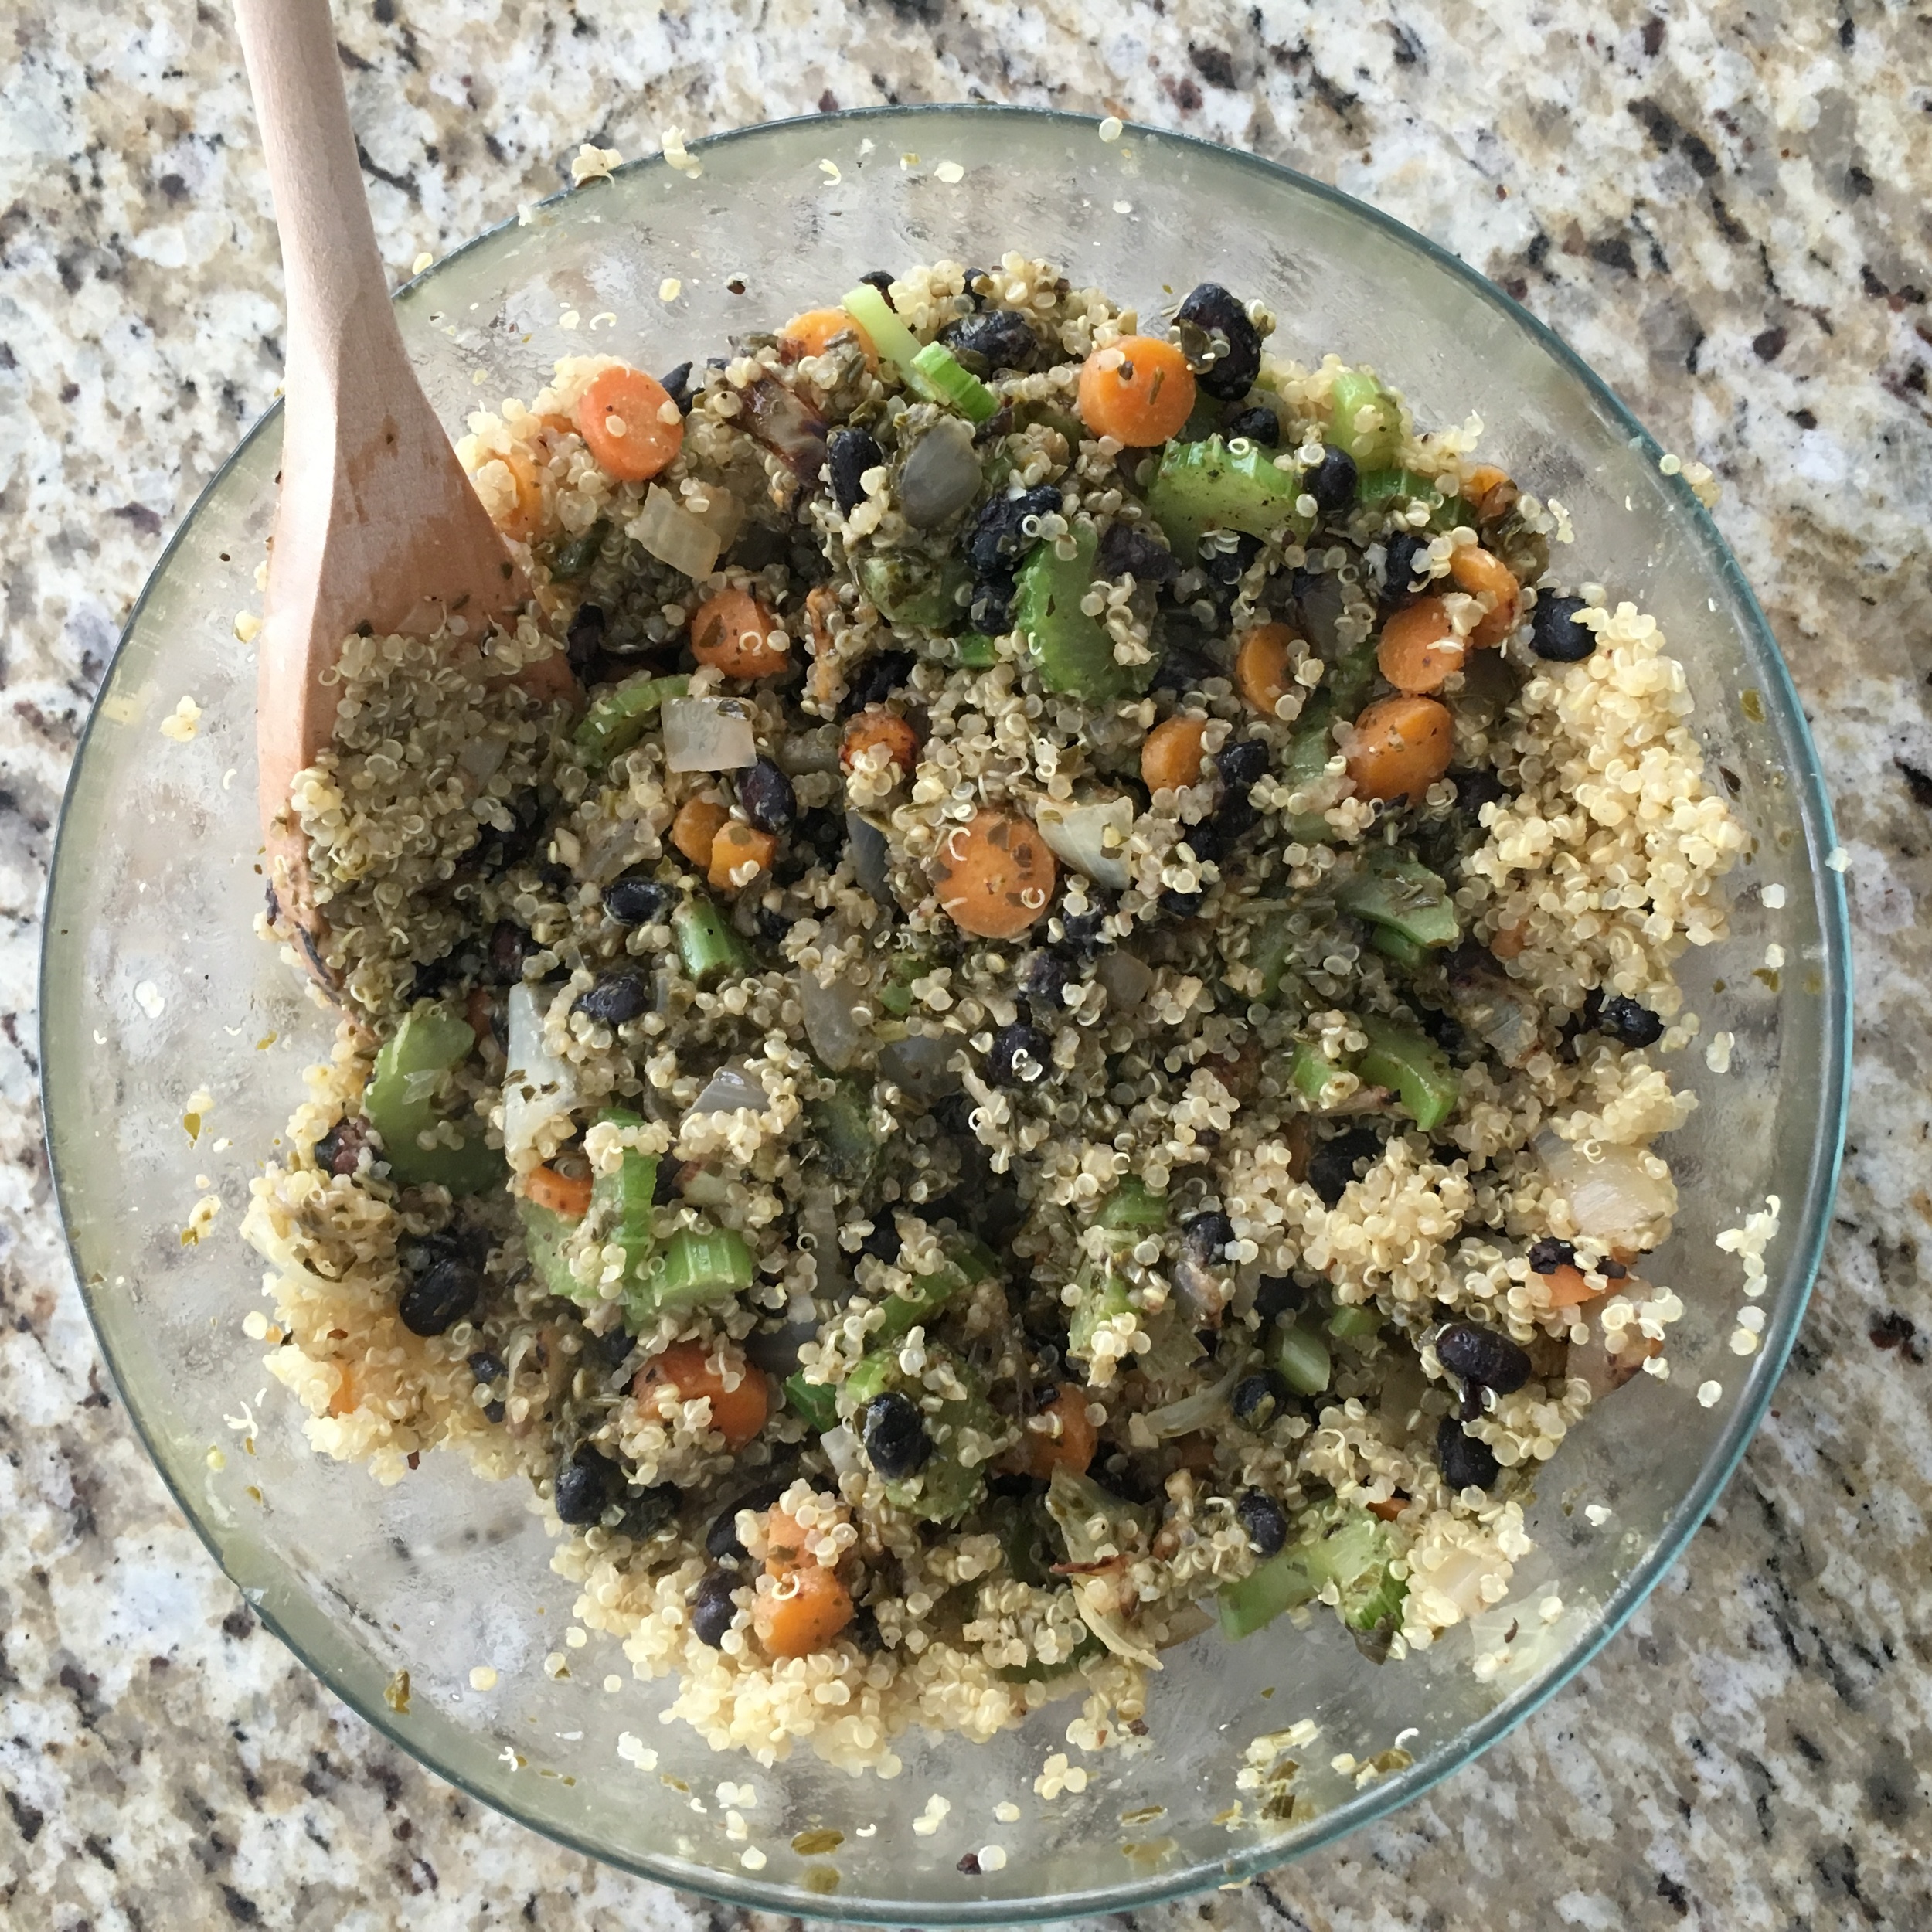
Once the quinoa is ready transfer to a bowl, add in your pesto and sauteed vegetables. Mix together. At this point you can add in your cheese if you want. Save a little for garnish!!
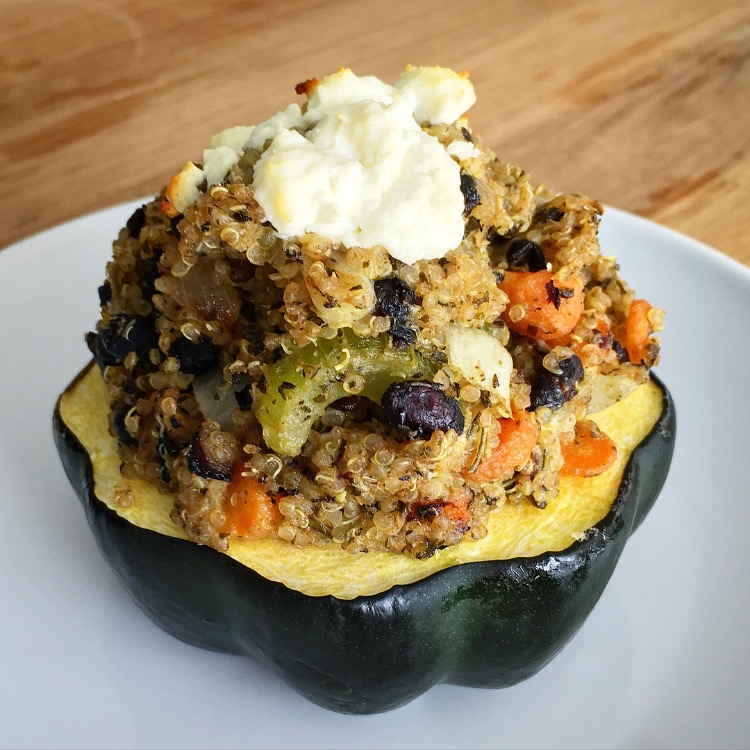
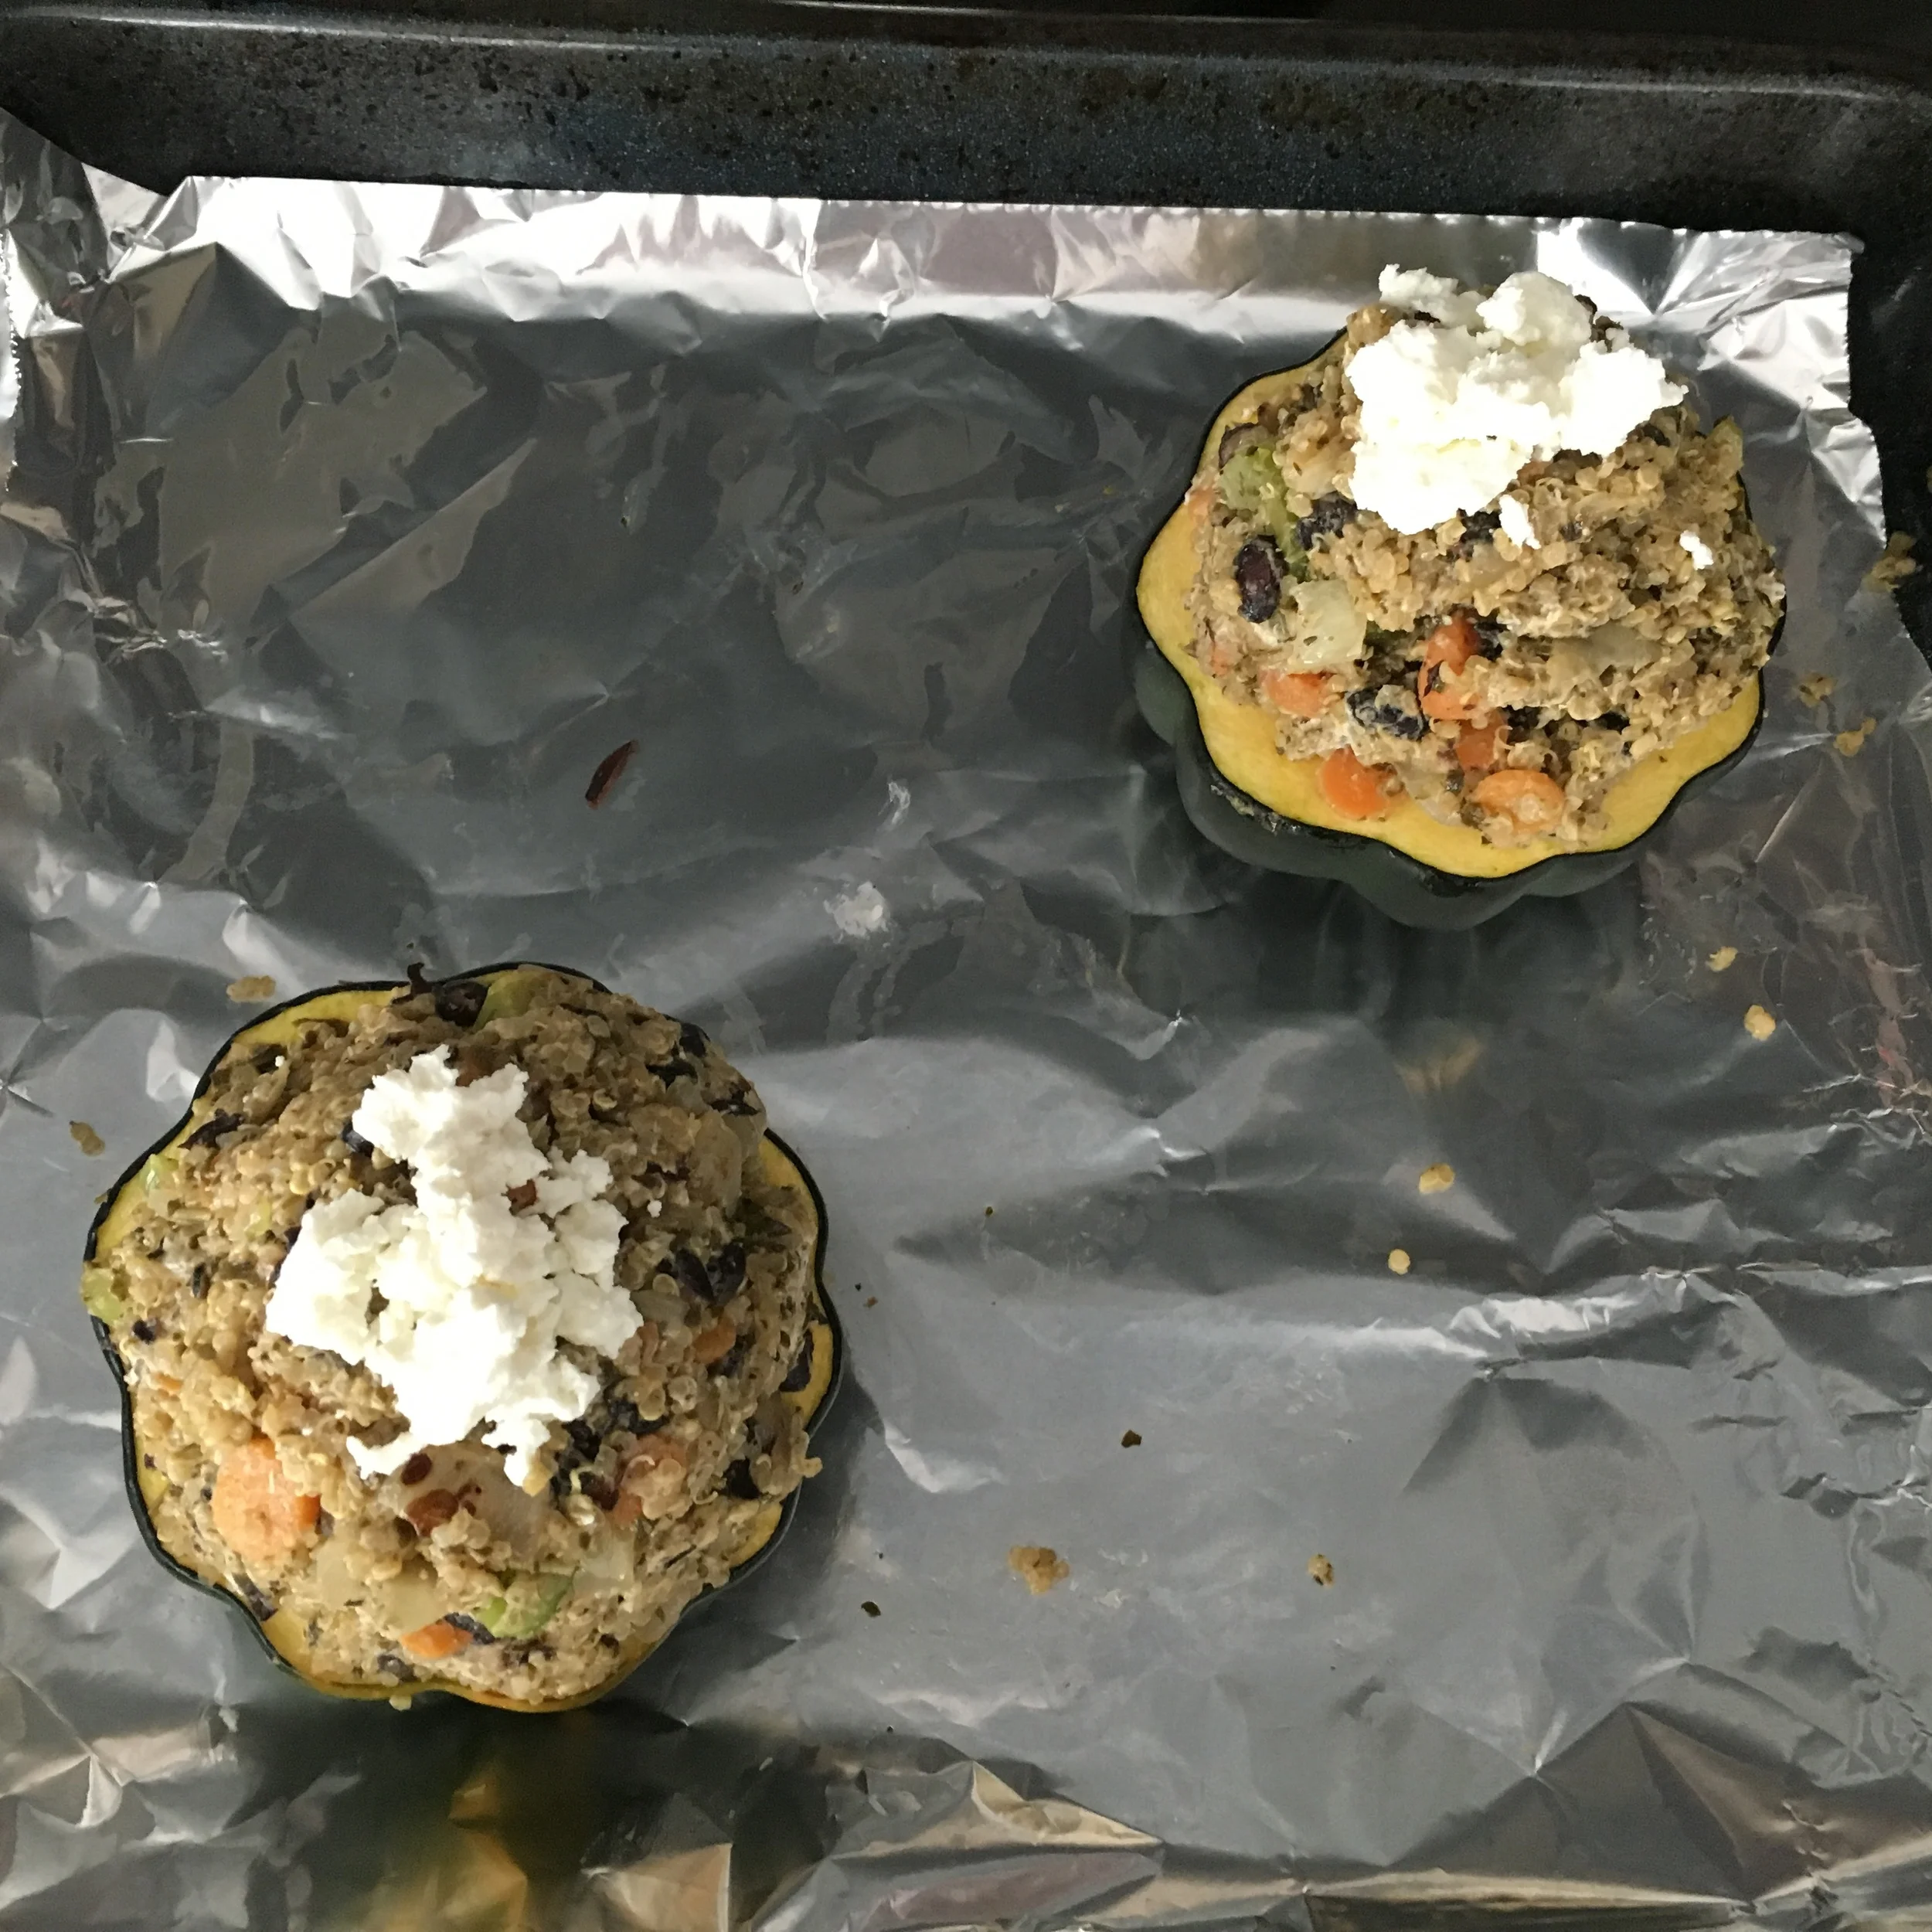
Once the squash has been in the oven for 30 minutes remove and stuff with the quinoa mixture. Garnish with cheese and pop back in the oven for an additional 30 minutes.
Once ready remove from oven and serve warm. Enjoy!
I hope you enjoyed this recipe as much as I do. If you have any comments please leave them below and I'll be happy to answer them as soon as I can! Bon Appetite!!!