TORONTO VICTORIAN HOME RENOVATIONS
Prior to starting renovations on my Toronto Victorian home, I knew that we were going to need to do some structural work.
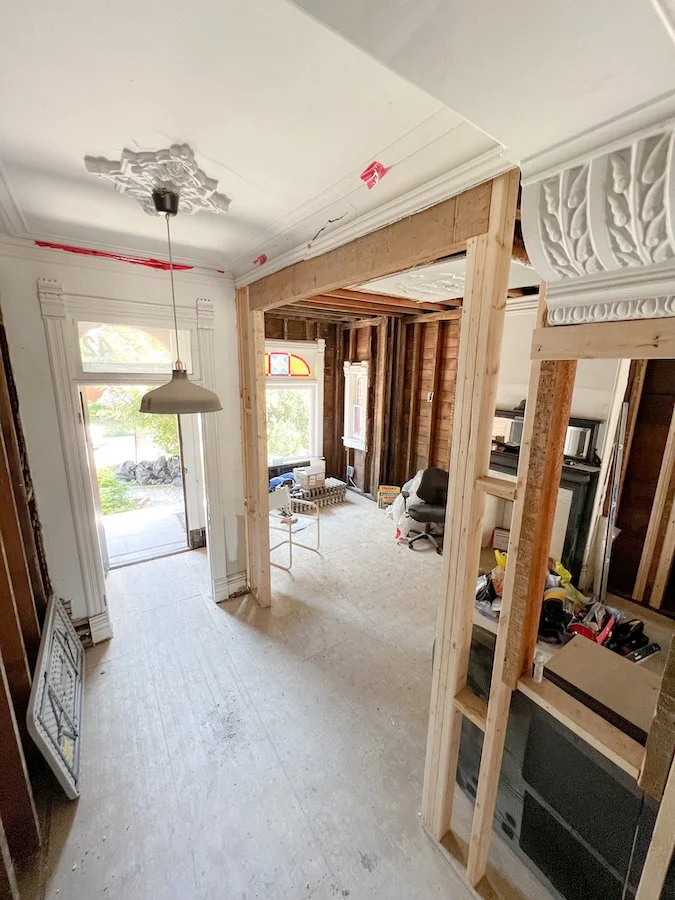
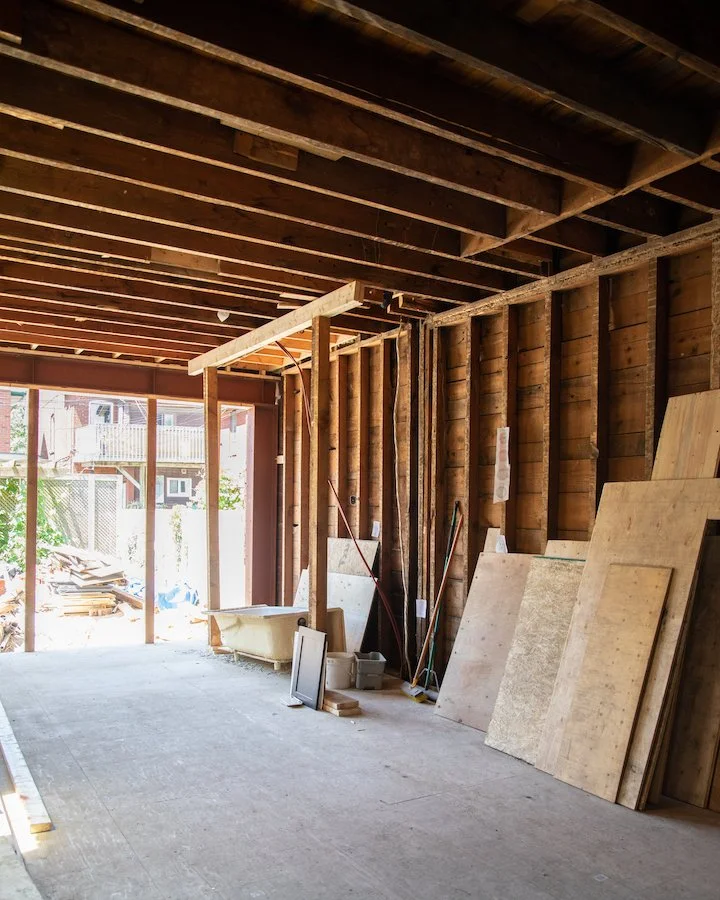
When we bought the house it was split into two units and there was a big bedroom located in the middle of the main floor. In order to change the layout, we were going to need to remove a load bearing wall which meant finding a structural engineer and structural contractor in Toronto.
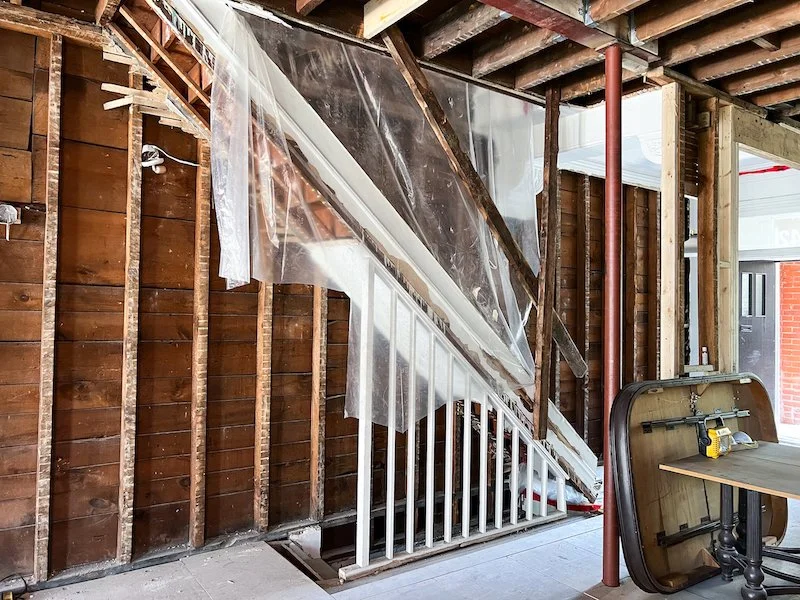
Additionally, the staircase was original and very narrow. Its condition was worse for wear and you could clearly see it was starting to tilt to one side. Eventually, it was going to need to be replaced and if we ever wanted to get a king mattress up the stairs, increasing the size was a must.
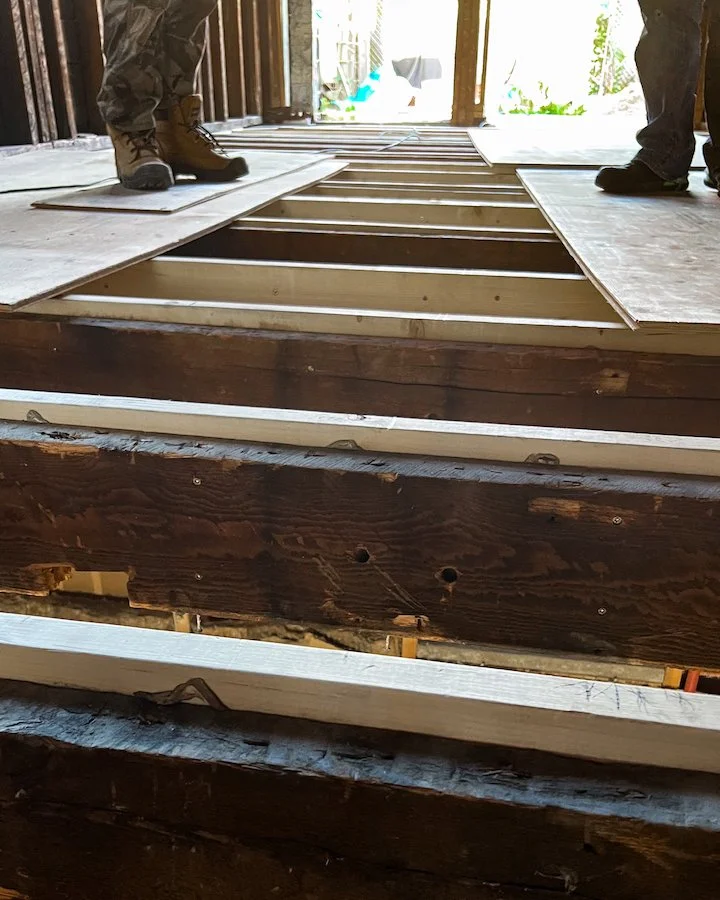
Lastly, Adam and I also noticed that there was some serious sagging in the floors. We suspected a load bearing wall was removed in the basement and if I ever hoped to install herringbone floors, this would need to be fixed as well.
Structural work is no joke though. In Toronto, you are legally required to get a permit and getting over this hurdle meant finding a seasoned structural engineer who has had plenty of experience dealing with issues like ours as well as a structural contractor that was capable of removing walls and installing both LVLs and steel beams.
FOLLOW ME ON INSTAGRAM @ISTHATSOH
TORONTO HOME RENOVATIONS - MODERNIZING A VICTORIAN HOME
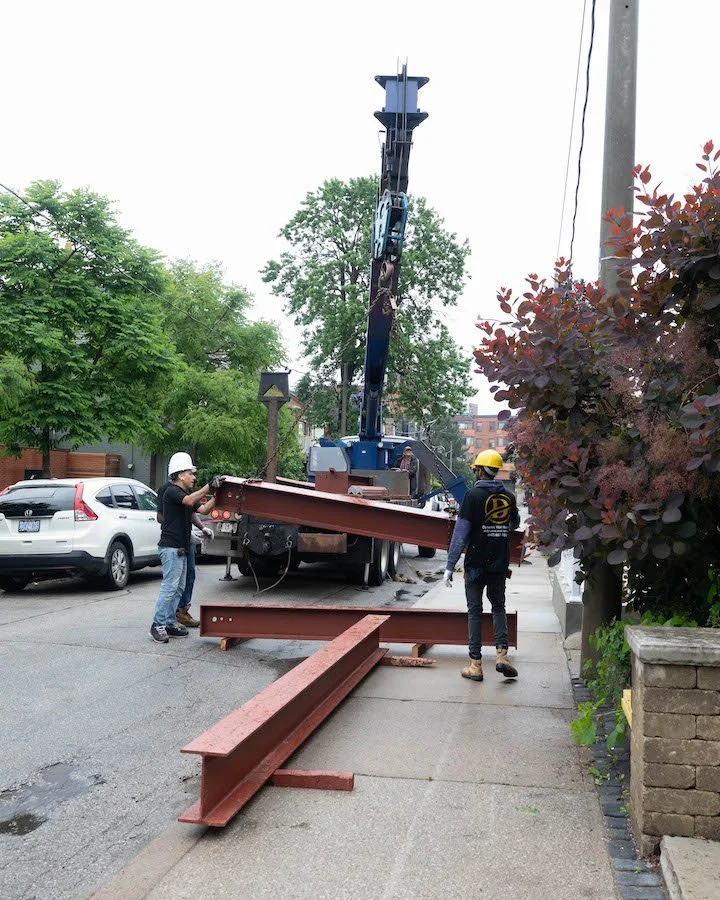
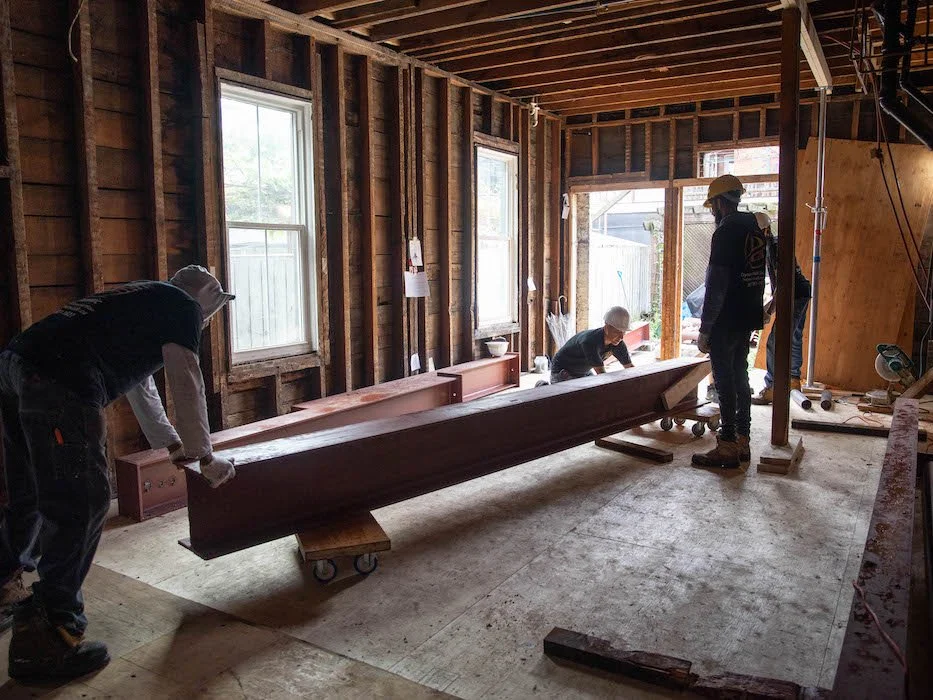
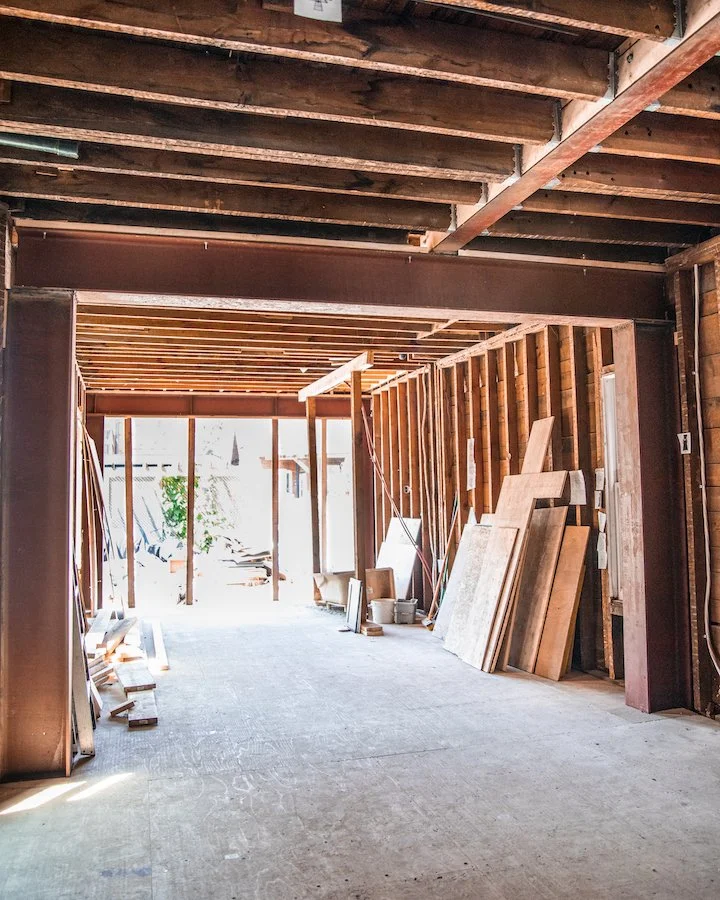
In episode two of my new home renovation series we launch right into structural work! In total we spent over a month focusing on improving the structural elements of the house including installing structural beams, sistering joists, levelling floors, adding several new footings and steel posts in the basement and installing two massive steel moment frames that pretty much make our house indestructible!
If this is your first time tuning into my new home renovation series, make sure to check out my previous episode ‘Sledgehammer Therapy’ and keep up with upcoming episodes by subscribing to my YouTube channel!
TORONTO CONTRACTORS
Our search for a good structural engineer and structural contractor in Toronto wasn’t easy. Adam and I reached out to a handful while putting together our budget for this reno and definitely ran into a few characters along the way. Finding someone ‘word of mouth’ proved challenging, especially since a lot of people we knew hadn’t taken on a renovation of this magnitude before. Since Adam and I weren’t interested in bringing on a general contractor we instead researched potential companies, looked at their reviews/references, spoke with the owners, made sure they were licensed and insured, and scheduled site visits. Even after all that, making a decision was hard and given the gravity of the ask and the money it would require, it was imperative we make the right one.
K.H. Davis Engineering Consultants LTD has a great reputation in Toronto. During our search for construction trades, Ken Davis’s name popped up a few times. A couple of them had worked with his plans before and mentioned how thorough they were. One also mentioned how responsive he was when a question arose because it saved him from delaying his project. After meeting Ken Davis himself during a site visit, we knew he was the guy we wanted to work with. He was incredibly knowledgeable, had worked on Toronto century homes before and was familiar with how they were generally constructed. He also assured us that he could address all our issues and was happy to apply for the permit and deal with the city on our behalf. When we finally pulled the trigger and started to work with him he scheduled a meeting with us to walk us through every aspect of the plans. It was clear during this meeting that he was not only taking into account what we wanted to do in this phase of our Toronto home renovations, but also our next phase which we really appreciated. Even after receiving our permit, when we hit a snag and needed to pivot, he shared a few possible solutions with us so we could figure out a financially feasible new strategy. When you are dealing with old homes, Adam and I knew that things don’t always go as planned but we both definitely appreciated having Ken by our side to guide us.
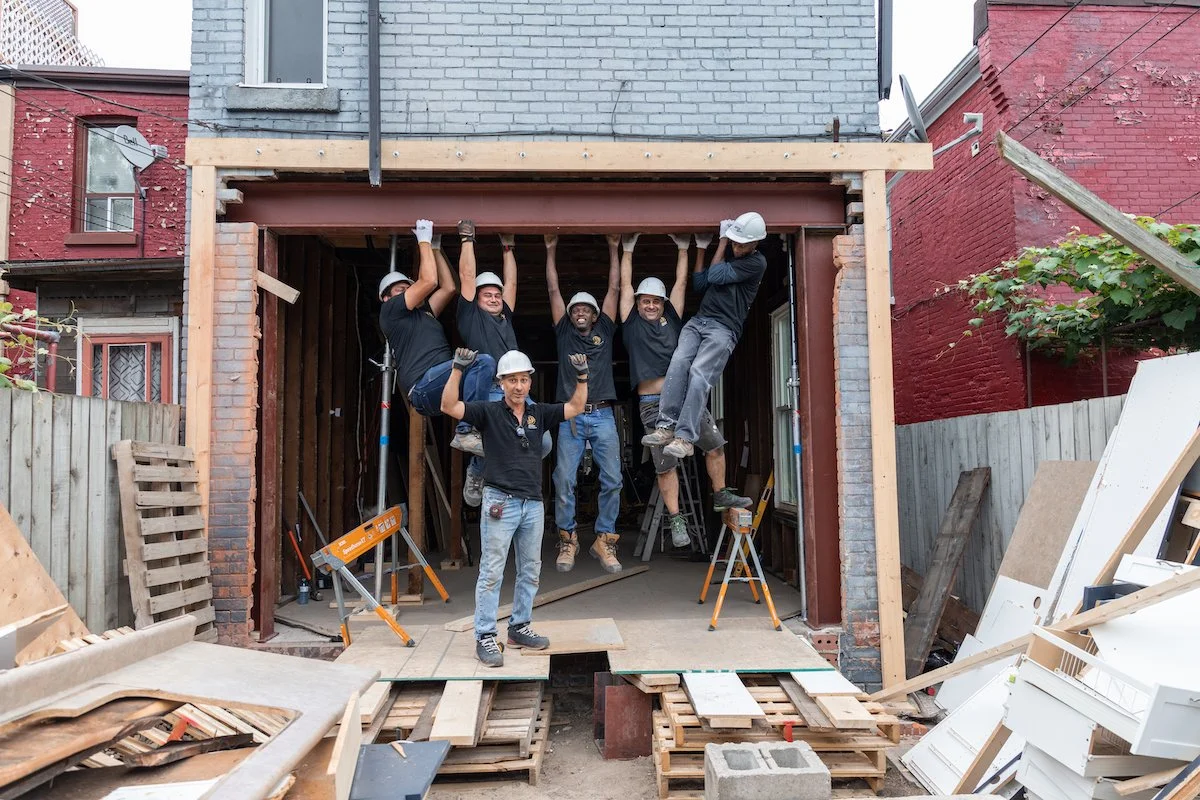
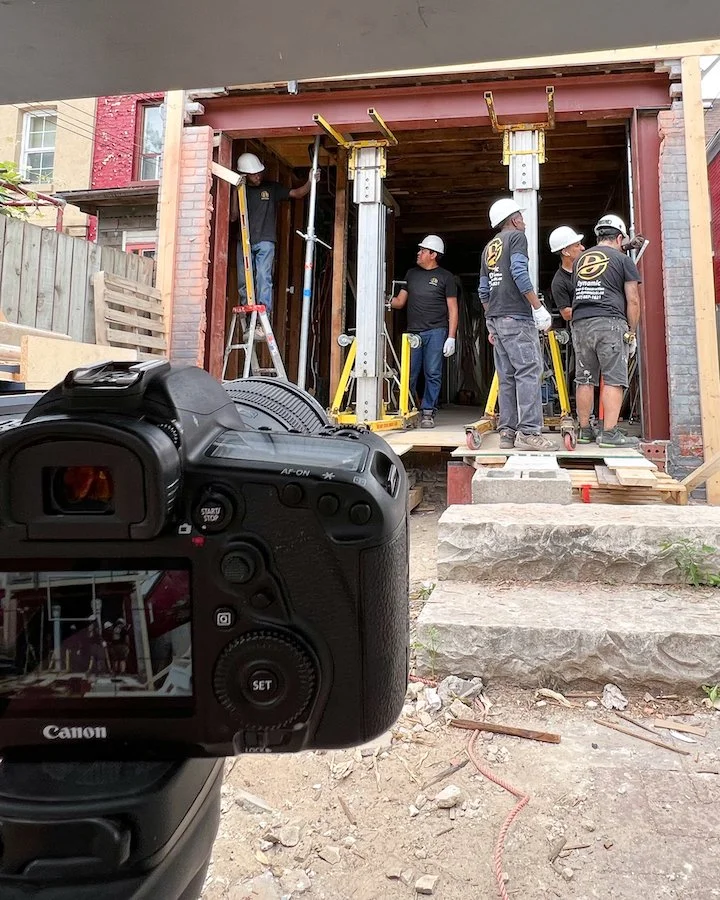
Raouf and his team at Dynamic Design and Construction - our Toronto structural contractor
Finding the right structural contractor proved even more challenging. Many of them had experience with removing a load barring wall and installing LVL’s but installing a steal beam was a whole different ball game. We needed a Toronto contractor with steel beam experience and know how.
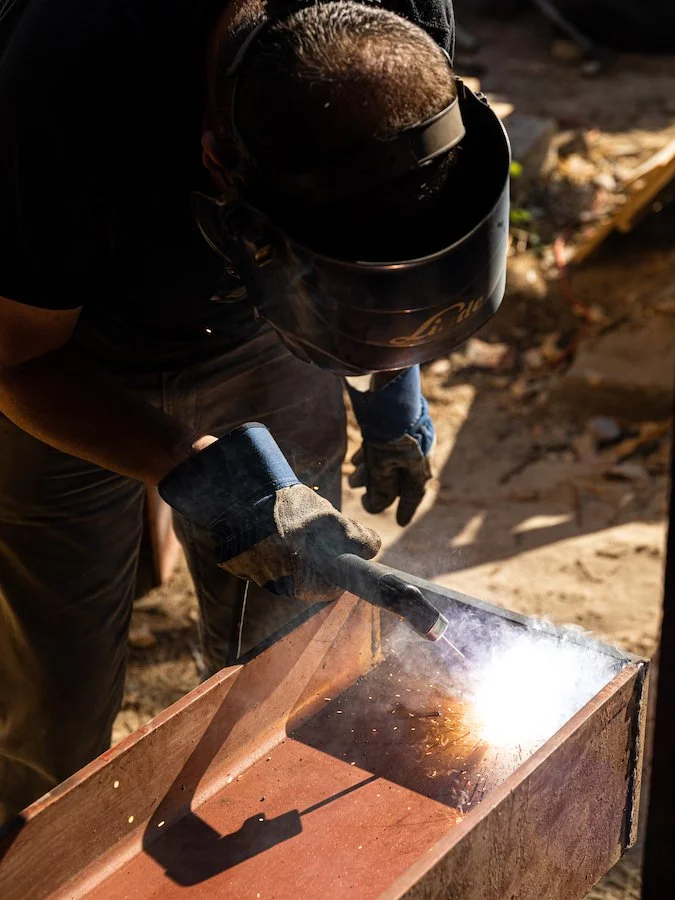
With over 15 years in the industry Raouf has been leading his team at Dynamic Design and Construction through numerous Toronto home renovations of varying magnitudes. He has restored century homes in Rosedale, built houses from the ground up, and has plenty of experiences removing load bearing walls and installing structural steel beams like the H beams we had in our plans. Once we started to work with Dynamic, any anxiety I had going into this next step of our Toronto Victorian home renovations subsided. Raouf was great at communicating his needs, questions and concerns so that we could prepare and avoid possible upcoming challenges. His dedication to getting the job done and getting it done right was duly noted and appreciated, along with the commitment of his hard working team. I watched both moment frames get installed and moving heavy H beams into place is no easy task. Like a conductor and his orchestra, Raouf and his team worked together harmoniously, positioning and installing 7 steel beams and a steel post in one day. It was incredible!
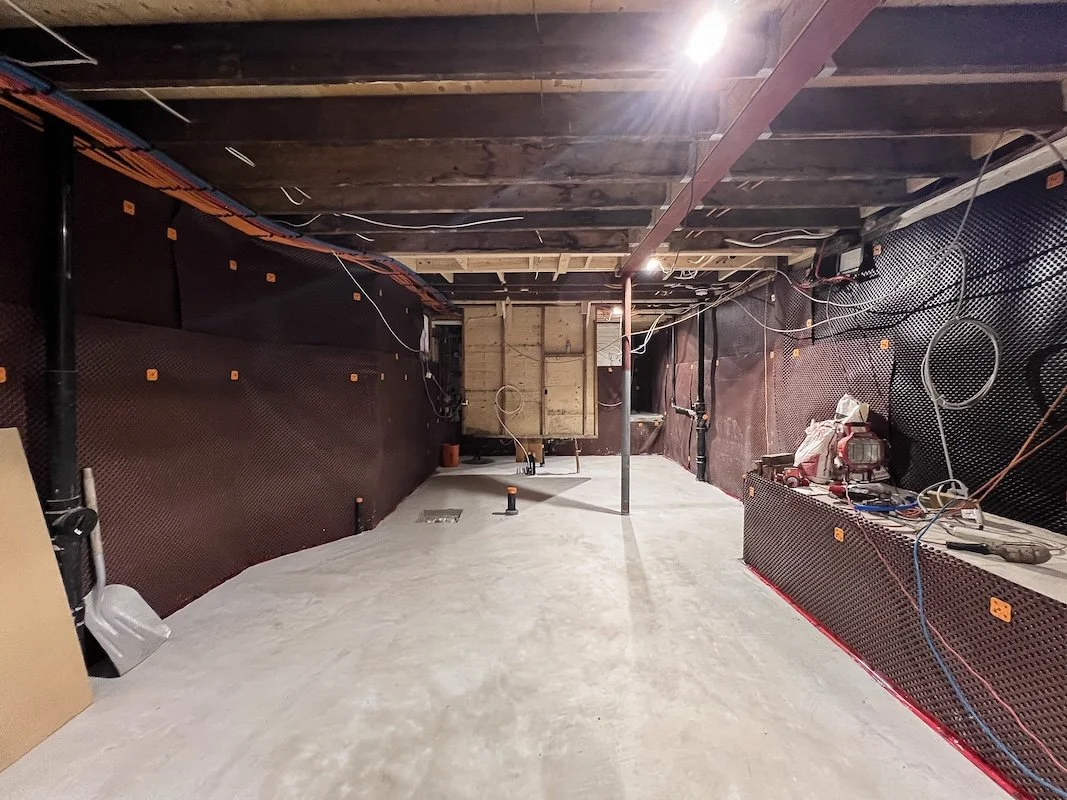
He also levelled my floors, sistered joists, installed several footings in the basement, widened our staircase opening, poured concrete in our crawl space, created concrete footings for one of our moment frames and installed two steal frames on the foundation walls for the other. Adam and I knew it was going to be a challenging assignment and Dynamic Design and Construction rose to the occasion with total competency and professionalism.
P.s. If you are starting a Toronto home renovation and need some contractor recommendations Adam and I have put together a stellar list of contractors and tradesman for this project! I’ll be sharing more about our renovation process in upcoming episodes and the companies we are using but if you can’t wait, feel free to leave a comment below or shoot me an email via my contact form for a recommendation!
CHECK OUT THESE OTHER HOME & LIFESTYLE BLOG POSTS
So there you have it! Stage two of our Toronto home renovations is complete and we can now move onto the next step, framing, plumbing and electrical work.
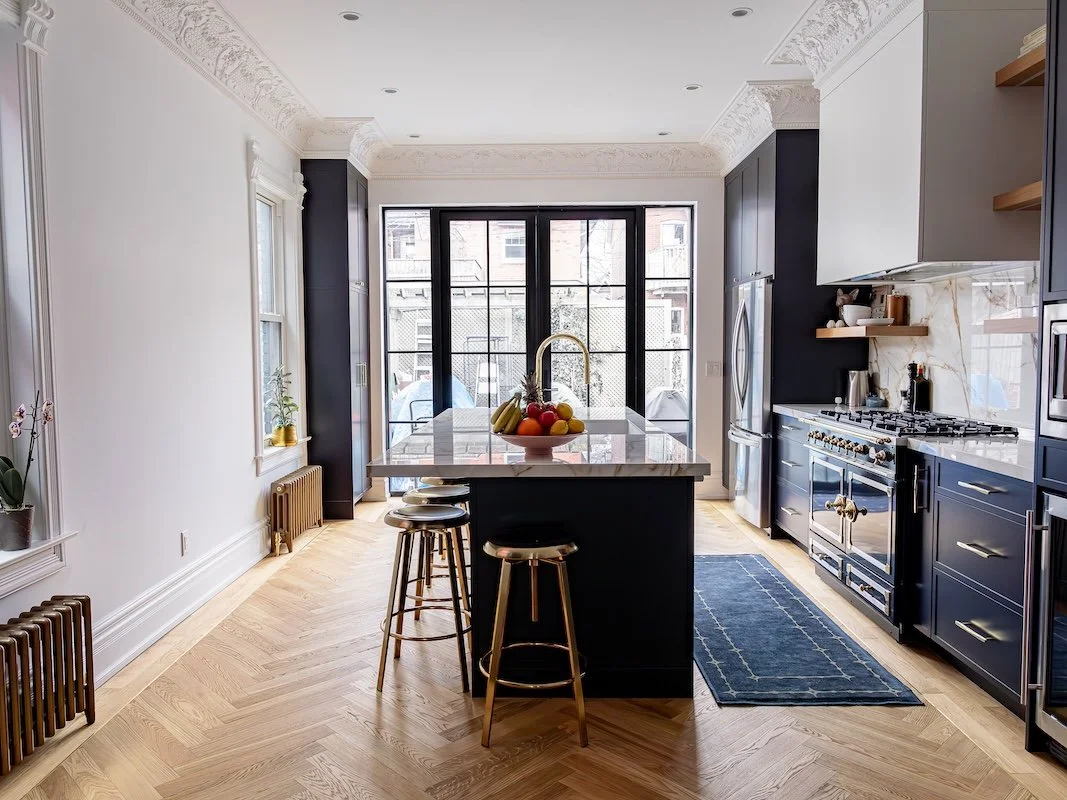
While the structural work was going on we also finally receive our kitchen appliances (including our new La Cornue range) and finalized our new kitchen designs with Domani Design Group. Everything we are going to be doing in our Toronto home renovation moving forward will be preparing us for the install of our new kitchen, a large Crittall style back door and a whole new main floor layout! Plus I have some BIG NEWS which I will be revealing in my next episode, so don’t miss out and subscribe!
Additionally, behind the scenes I also started my search for tiles to replace the ones we had in our basement bathroom as well as demoed the area around our staircase, cleaned up the mechanical room and removed a large old decommissioned cast iron stack from the side of the house. If you want to see more behind the scenes you can always follow me on Instagram where I share more up to date stories of my interior design and renovation progress!
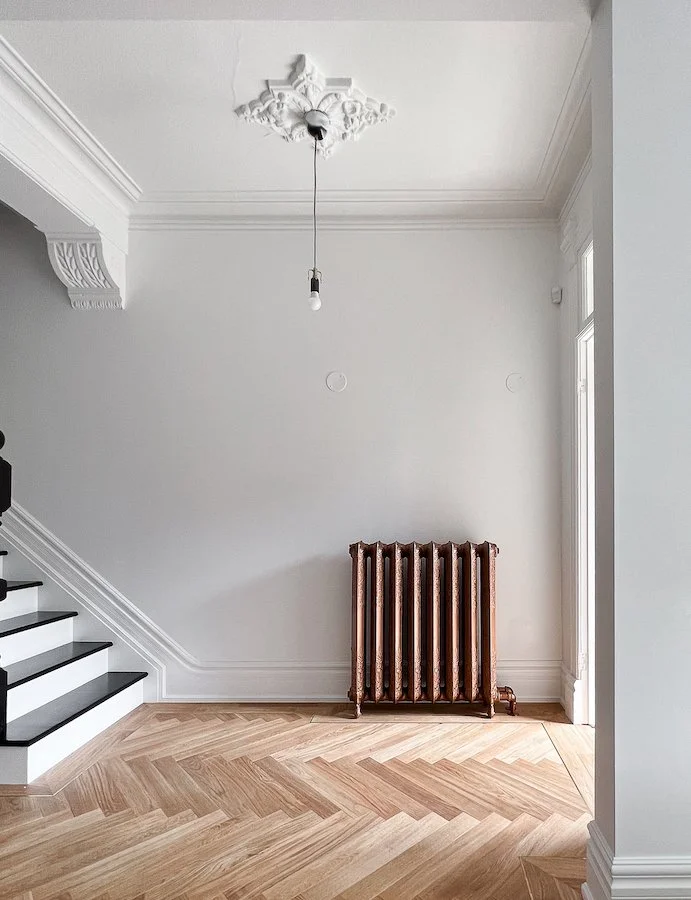
PICTURES FROM AFTER THE STRUCTURAL WORK HAS BEEN COMPLETE IN MY TORONTO HOME RENOVATIONS!
Thank you so much for joining me today and for checking out my new Toronto home renovation series on Youtube. I am super excited to be modernizing a Victorian home while still keeping the charm of an old Victorian house. If you have any questions about my Victorian house renovations, what it’s like to live in Little Portugal, Toronto or recommendations for Toronto contractors, hit me up in the comments below!

