HOME SWEET HOME - A PRE RENO HOUSE TOUR!

Welcome To My New Victorian House!

This past August was a whirlwind of a month to say the least! My fiance and I got back from our trip to Powell River only to celebrate my birthday and take possession of our new house all in the same day! It took us a good three days to get all of our stuff into the new place (with a lot of unexpected surprises along the way), but we are finally here!

I honestly could not be more thrilled to share my new house journey with you, but if you are new and are just tuning in now, this new chapter has been almost a year in the making. I vividly remember last September when Adam (my boyfriend at the time) and I deciding to sell my condo and start looking for a house together. I had just spent the entire summer at his family cottage and loved having the extra living space to enjoy. The idea of returning to condo life in a city still under COVID restrictions felt very daunting and I knew one day soon I wanted to find a house in the city instead. Little did I know, selling my condo was going to be even more challenging than I anticipated!

If you’re in a similar life stage as me, you may have already started paying attention to the real estate market. Perhaps you are thinking it’s a great way to invest you money and want a place to call your own - which it is - but since the beginning of the pandemic, the real estate market has been going crazy in big cities like Toronto. Condo’s have seen huge fluctuations in demand and value. Further, home prices have skyrocketed thanks to low interest rates and a lack of supply. Needless to say, what I thought would be a quick transaction turned into a few months of my condo being on the market before I accepted an offer I was happy with.


FOLLOW ME ON INSTAGRAM @ISTHATSOH


The next phase of actually buying a house did not get any easier. Between skyrocketing prices, shady antics from agents, and lack of supply, it took us 4-5 months of searching, over 50 viewings, and 11 offers before we won a bid. If you’re looking to start your own house hunting journey soon, you should read my recent blog post about tips for first time home buyers on how to psychologically prepare. It was a really tough process for me - harder then I ever imagined - but I’m happy to say now it was worth the sweat, mental frustration, and tears because in the end I landed a beautiful home that is beyond anything I imagined I would end up with and I can’t wait to share it with you!

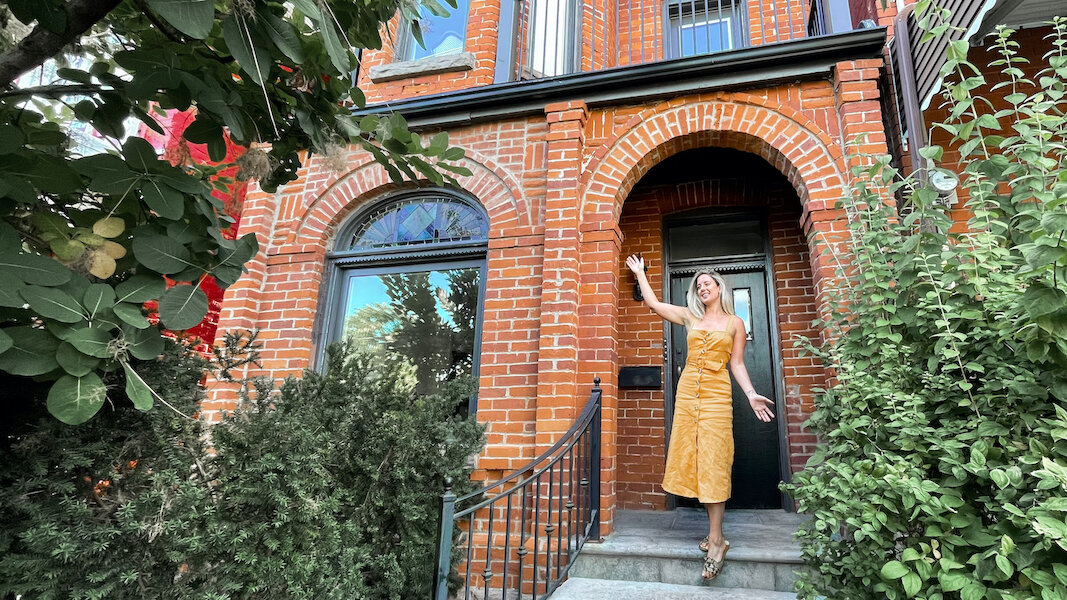
Since starting our house hunting journey a lot has also happened in my personal life including getting engaged to my boyfriend at the end of May. A few weeks later, we visited this beautiful Victorian style house in one of the most coveted neighborhoods in downtown Toronto and I instantly fell in love. The house is over 125 years old, and had so much original character, putting in an offer was a no brainier.

One of the first things that caught my eye was the beautifully arched brick entrance way! You could tell that the front of the house had been landscaped recently with a cobble stone pathway and large stone slab stairs, not to mention it was hard to miss the glorious smoke bush tree out front that provides a bit of privacy to anyone sitting in the front living room. It felt like it could be a scene from a movie - one where a young couple runs up to the front archway trying to duck out of the rain right before one of them gets the courage to lean in and steal their first kiss. Can you see it? Haha!

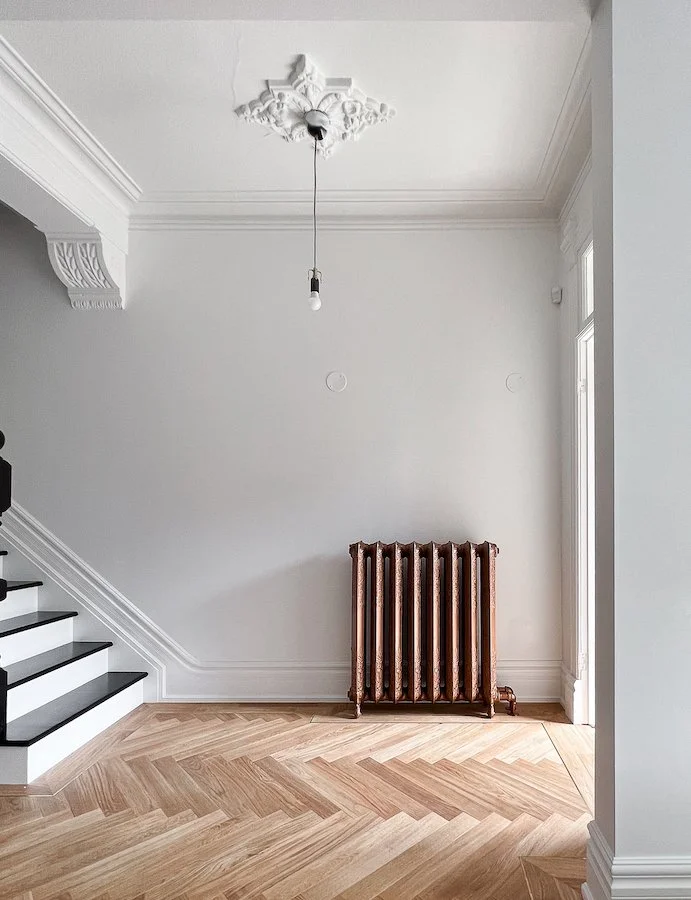
Perhaps it’s the romantic in me but the love affair with this house didn’t stop at the front door. The house also featured so much original molding and stain glass that I instantly became smitten.

Prior to even starting our house hunt in Toronto I had always loved old homes. Downtown Toronto is full of old homes and Victorian style houses are definitely my favorite, but unfortunately as we learned, a lot of them are not being very well taken care of, and the ones that are have lost a lot of their original charms due to updates/renovation. 90% of what we saw during our house hunting journey were that Victorian house style and I think at one point I started to drive my boyfriend nuts because I wouldn’t budge on what I wanted. But there is no denying the beauty of a Victorian home! Especially ones still full of original character! It’s rare, trust me I’ve looked! Lesson being, I am so glad I stuck to my guns!


ENJOYING THIS POST? CHECK OUT SOME OF MY OTHER LIFESTYLE POSTS!


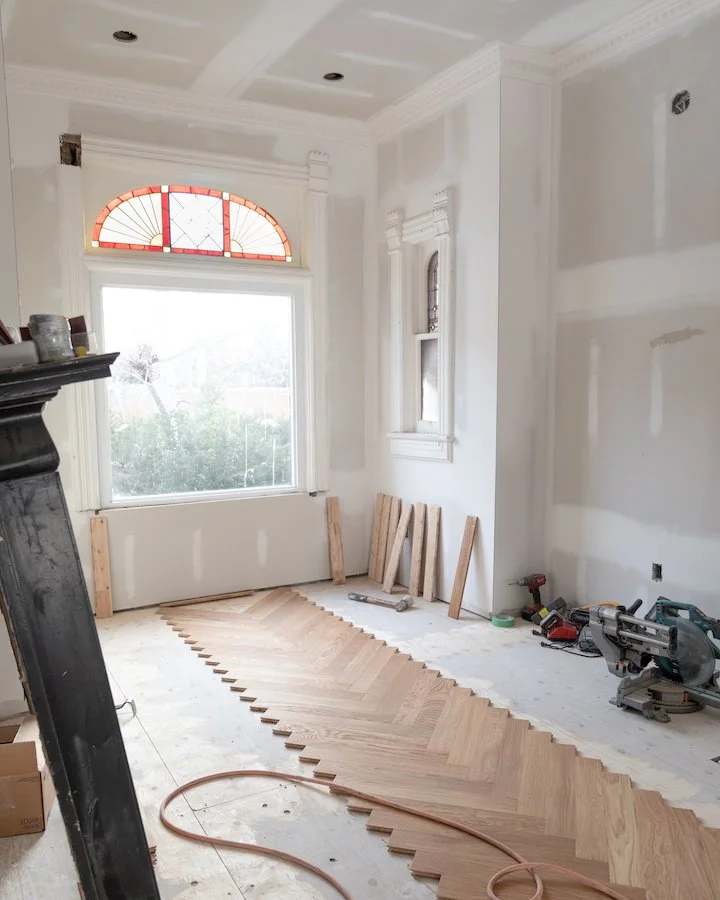
As I walked through the house, my romantic entanglement only grew. The front living room definitely became (and still is) my favorite room in the entire house as it feature so much original Victorian house interior character and a beautiful stain glass motif! In the morning, warm light shines through the window and casts large rainbows of light on the walls inside! There is something very bright and airy about the space that always gives me really good vibes anytime I spend time in here. Since moving in, it has definitely become the room I enjoy working from the most - as a matter of fact, I am writing this very blog post from it now!

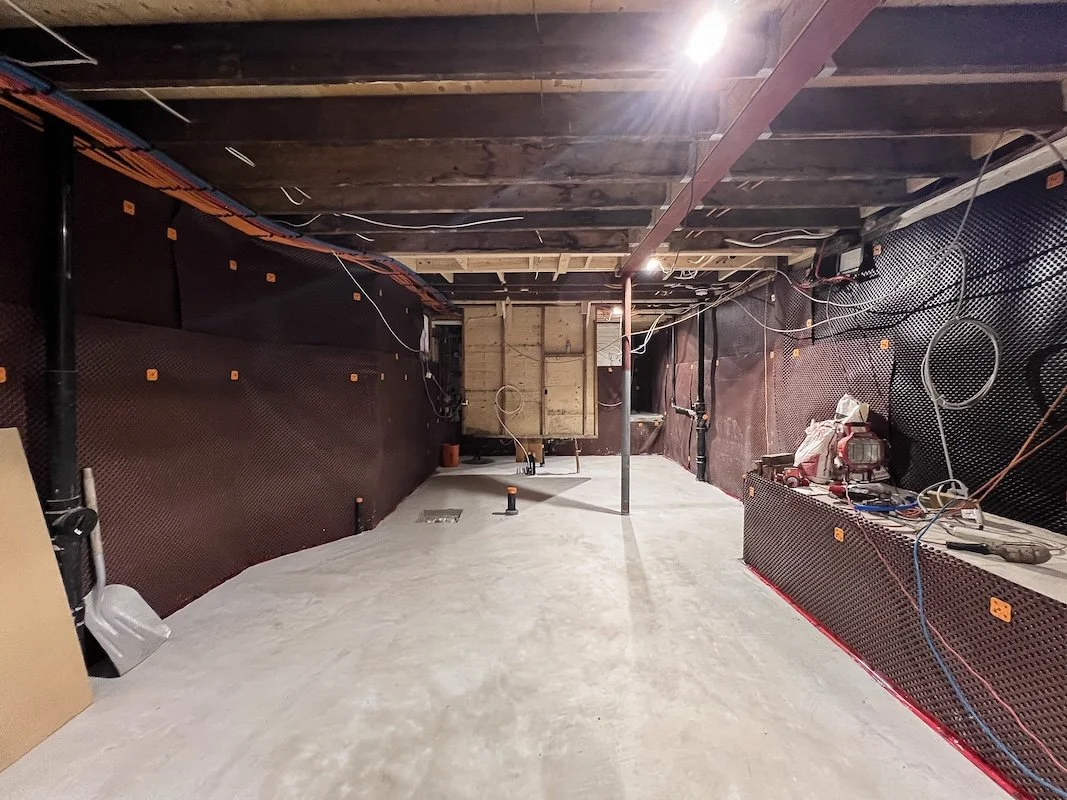
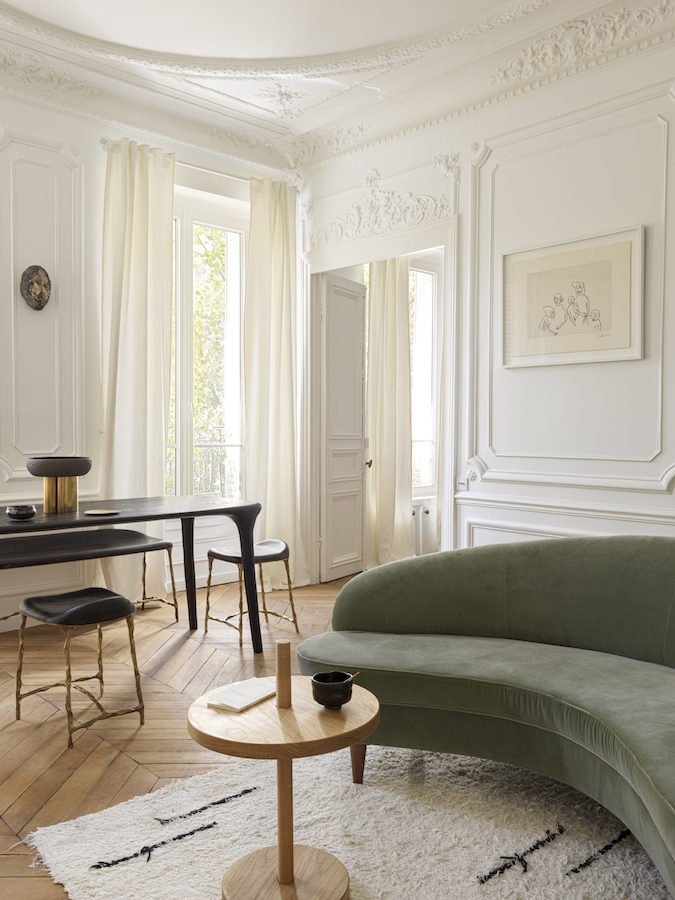
Even though we fell in love with the house after only one visit, we do have plans to do some renovations to it. Since the house is actually broken up into two units (check out the video below for the full tour) we originally planned on renting half of it out to Adam’s brother. As fate would have it (and unexpected issues with the house and our ‘new’ appliances) we decided to push up the renovations and start them this fall. Don’t worry, we are keeping as much of the original Victorian charm as we can!

Turning our house back into a single family home is going to be a lot of work but I’m really looking forward to starting renovations in a few months and putting in my dream kitchen. Before we start the renovations though, I wanted to do a quick home tour with you so you can see the canvas I am working with. In this video I will be walking you through my downtown Toronto Victorian house as well as giving you a little sneak peek on what we are planning on changing.


I hope you fell in love with the house as much as I did when I first saw it. If you have any questions or comments about this video, feel free to leave them down below!

I'm also going to be creating a lot of new content around my new home (renovations, home DIY's, and sharing about my interior decorating journey) so if you are interested in following along, feel free to subscribe to my YouTube channel or follow me on Instagram @IsThatSoh!

MORE FUN VIDEOS FROM OUR ‘FIRST TIME HOME BUYER’ JOURNEY IN TORONTO!


PIN THIS BLOG POST!

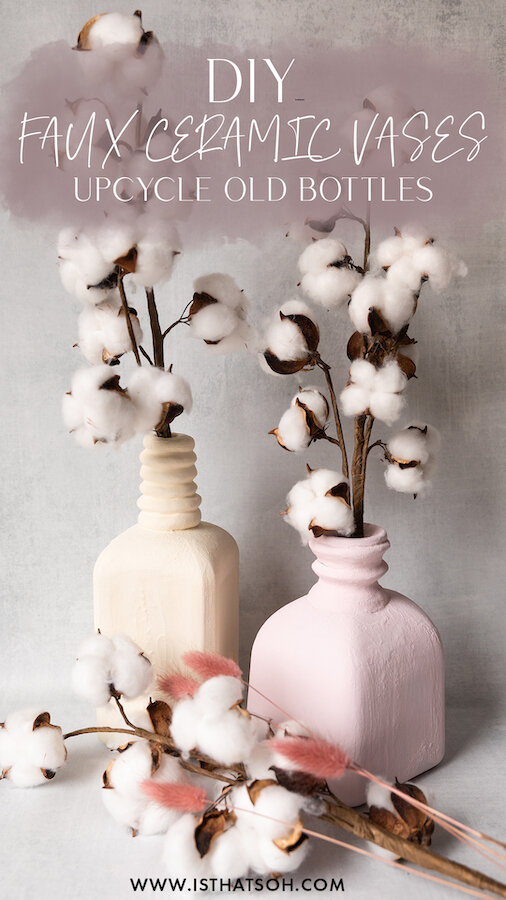
UPCYCLED DIY FAUX CERAMIC VASES


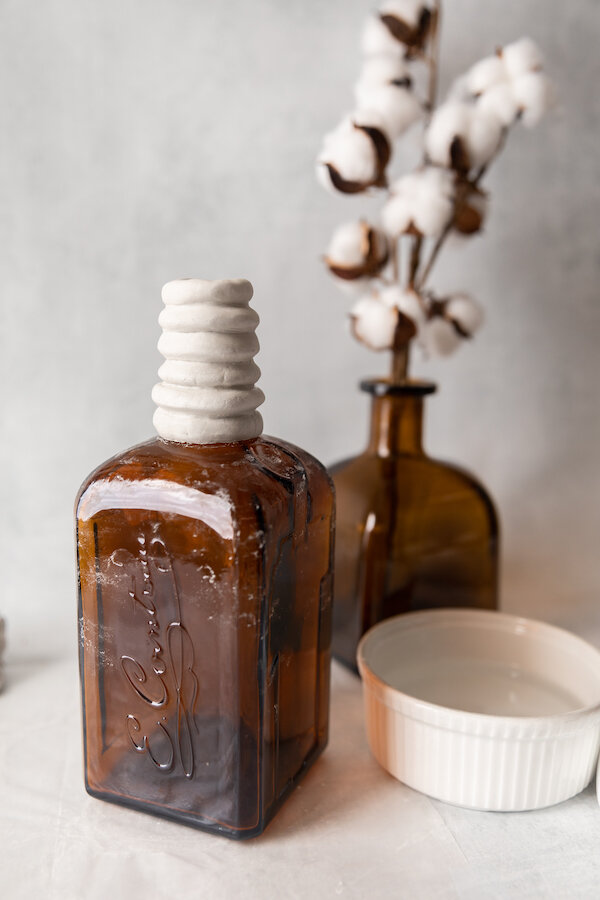
Oops I did it again! I’m back with another awesome DIY tutorial that has been trending on Tik Tok - DIY painted vases using upcycled old wine and alcohol bottles! I love the look of these DIY ceramic vases and the way they dress up a space. Doing this DIY honestly made me so excited to decorate my new place (whenever we find it) and when topped off with some dried flowers, a tapered candle or fresh flowers, they bring a whole new level of cuteness to home decor. Creating the DIY ceramic coating is so easy and only requires one ingredient other than your paint to achieve. Not to mention it adheres so well to glass so you really only need two coats to get the full effect. If you want to create a beautiful but cheap vase centerpiece for your home I highly recommend giving this little DIY of mine a go!

* Please Note - Some links in this post may be affiliate links *

MATERIALS:

Makes 1 Vase

A Up-Cycled Bottle - I used a Don Julio and Cointreau bottle
Air Dry Clay
Wax Paper
Acrylic Paint - mix to colour of choice
Baking Powder
Paint Brushes
A Mixing Utensil - I used the end of a plastic fork

Extras:
Goo Gone
A Takeout Container - to be used as base that you can easily rotate


CHECK OUT THESE OTHER FUN DIY’S


INSTRUCTIONS:

Remove labels from bottle and any additional stickers. If you have trouble I recommend using Goo Gone. Allow to air dry until completely dry.

Next, we will create the clay rings for the neck of the bottle. Roll out clay until you reach a uniform width and cut desired amount of pieces into equal lengths making sure that they are long enough to go around the neck of the bottle.

Grab one piece of clay at a time and wrap it around the neck of the bottle sealing the ends together with a little water. Continue this process the whole way up the neck. Once finished, set aside to dry for minimum 1 hour.

Once the clay has dried, place it on a pedestal (I used a takeout container). This will make it easier to rotate when painting so you dont have to touch the bottle.

On a palette (I used a paper plate), mix your acrylic paint to desired colour using a mixing utensil (I used a fork). Make sure you have enough for the entire bottle (better to have more than not enough as it will be difficult to get the same colour). Add in baking powder, 1/2 a teaspoon at a time until you reach your desired consistency. I used 2 tablespoons of paint to 1 Teaspoon of baking powder. Mix until baking powder is well incorporated.

Using a brush, paint the bottles with your paint mixture. Paint as many coats as necessary until necessary until the bottle is fully coated. Set aside to dry for 24 hours before use.

Happy Crafting!


FOLLOW ME ON INSTAGRAM @ISTHATSOH


I hope you enjoyed this DIY as much as I do. If you have any comments please leave them below and I'll be happy to answer them as soon as I can! Happy crafting!!!


PIN THIS POST

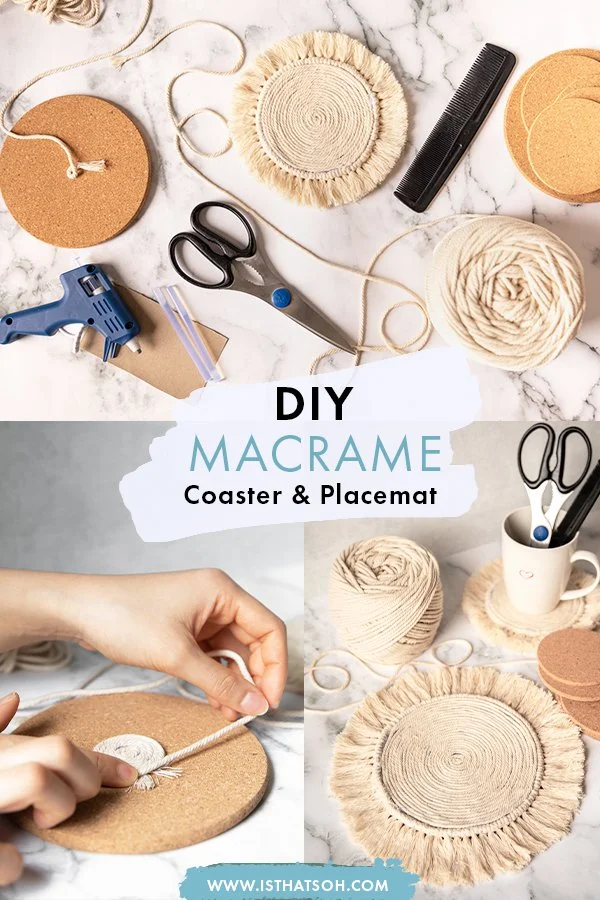
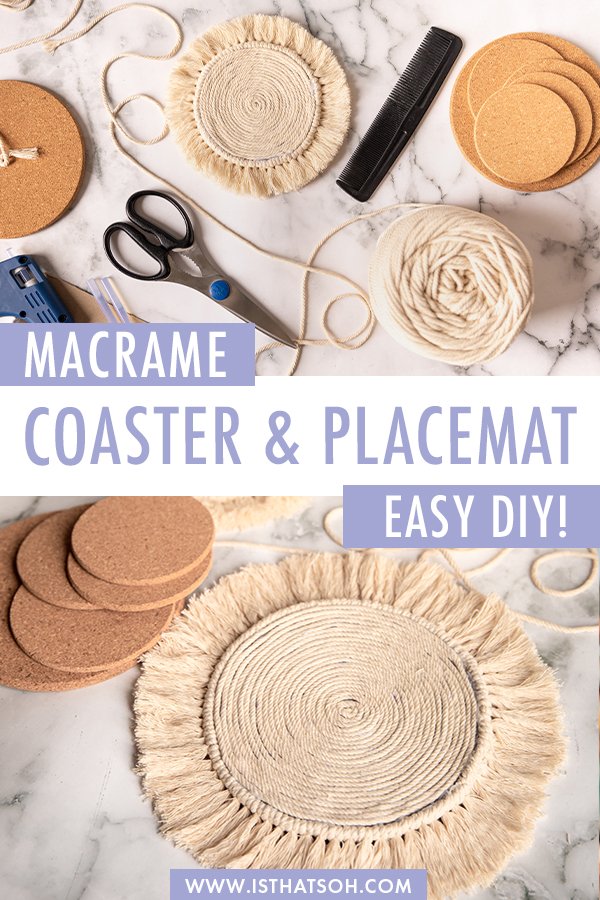
DIY MACRAME COASTERS & PLACEMATS HACK


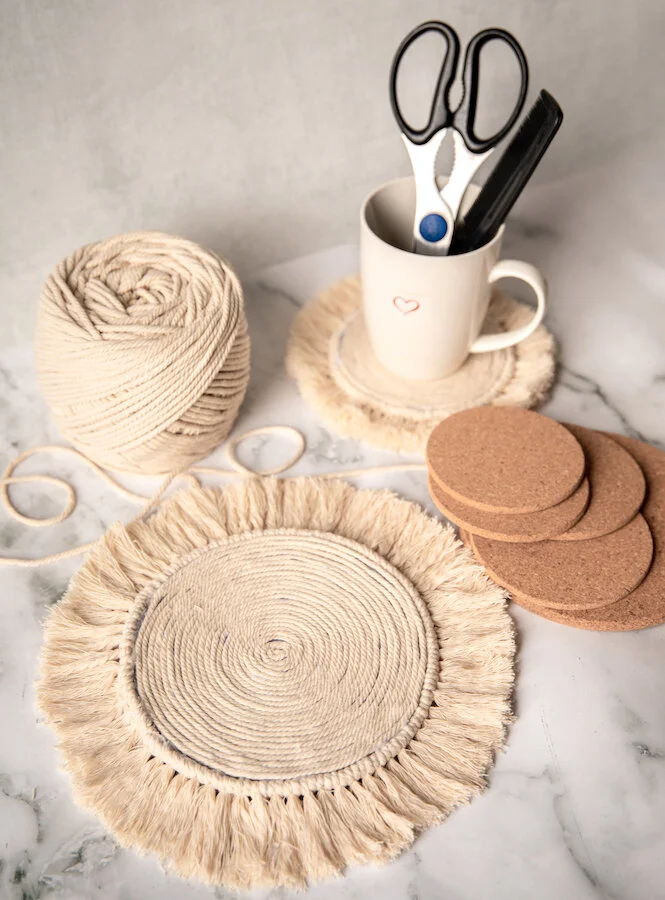
Macrame home decor has been super trendy for some time now and I love the bohemian, natural element they bring to a space. As I look for a new home, I find myself fantasizing about how I plan to decorate it and welcoming people over once we are able to entertain again. I love the idea of incorporating nudes and natural elements into my kitchen and dining room and recently learned about this DIY Macrame hack that can be used for pretty much anything from a coffee coaster to a fruit bowl placemat to chargers on your dinner table. You don’t even need to make it round as the same steps apply to any shape you choose. If you’re really into the trend as well and are looking for a new macrame project to try, you are going to love this easy macrame DIY and my step-by-step macrame how-to tutorial below!

* Please Note - Some links in this post may be affiliate links *

MATERIALS:

Makes 1 Coaster

Heat Resistant Base
Macrame Thread
Really Sharp Scissors - if you have fabrics scissors I would use those!
Hot Glue Gun and Glue
Comb


CHECK OUT THESE OTHER FUN DIY’S


INSTRUCTIONS:

Fine the center of the heat resistant base and glue a small loop onto it using the end of the string.

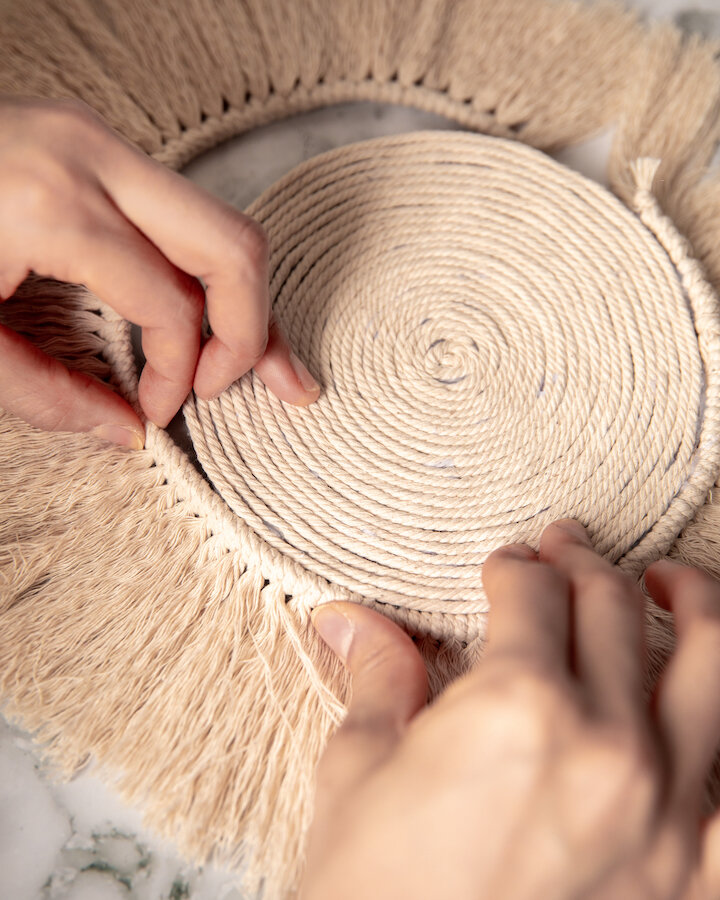
Working quickly, glue down the string in a spiral direction, until the base is completely covered. Cut cord leaving a few inches at the end.

Next, take the cord and measure the circumference of the finished base, adding an extra inch or two for safe measure before cutting.

Next, you will need to cut out 5 inch pieces of cord in order to make the tassel knots. The number you will need will vary depending on the length of the cord you just measured for the circumference.

Tie each piece of 5 inch string to the circumference cord using a cow hitch knot. Repeat until the entire length of cord is covered in knots. Make sure to tie the knots tightly and as close together as possible.

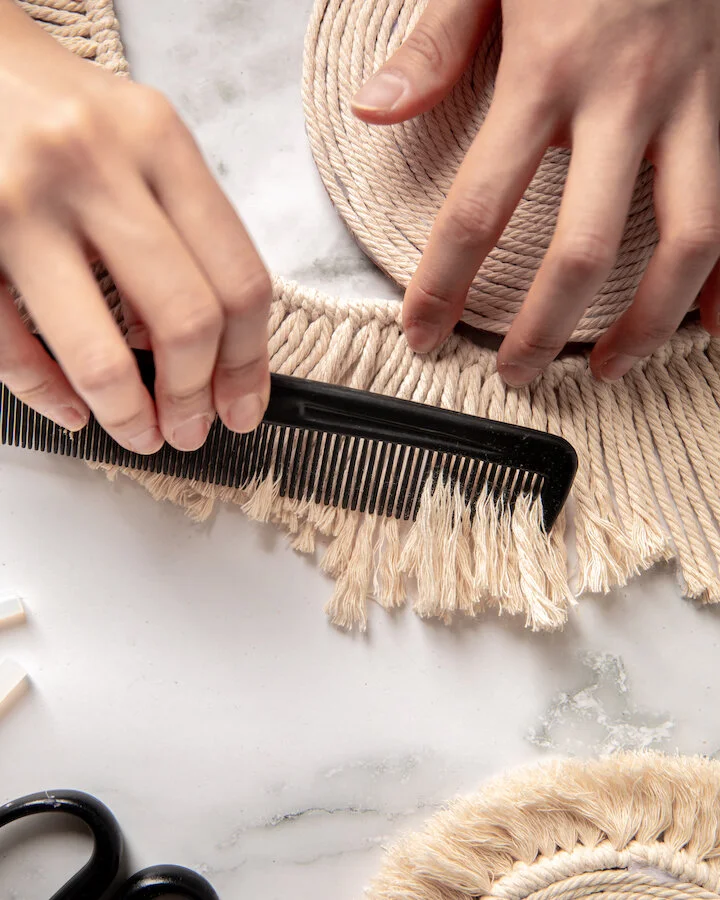
Next, unravel the fibers of each tassel and or using a comb, brush the tassels so they come undone and fray nicely.

When done, glue the tassel cord to the circumference of the base so that it is flush to the base.

In order to add further stabilization, flip base over an glue in the gaps between the tassel cord and the base.

Using sharp scissors, cut the tassels so they are even in length to your desired length.

Trim off excess glue and loose fibers.


FOLLOW ME ON INSTAGRAM @ISTHATSOH


I hope you enjoyed this DIY macrame placemat and coster tutorial as much as I do. If you have any comments please leave them below and I'll be happy to answer them as soon as I can! Happy crafting!!!


PIN THIS DIY MACRAME POST

GEOMETRIC PHOTO WALL

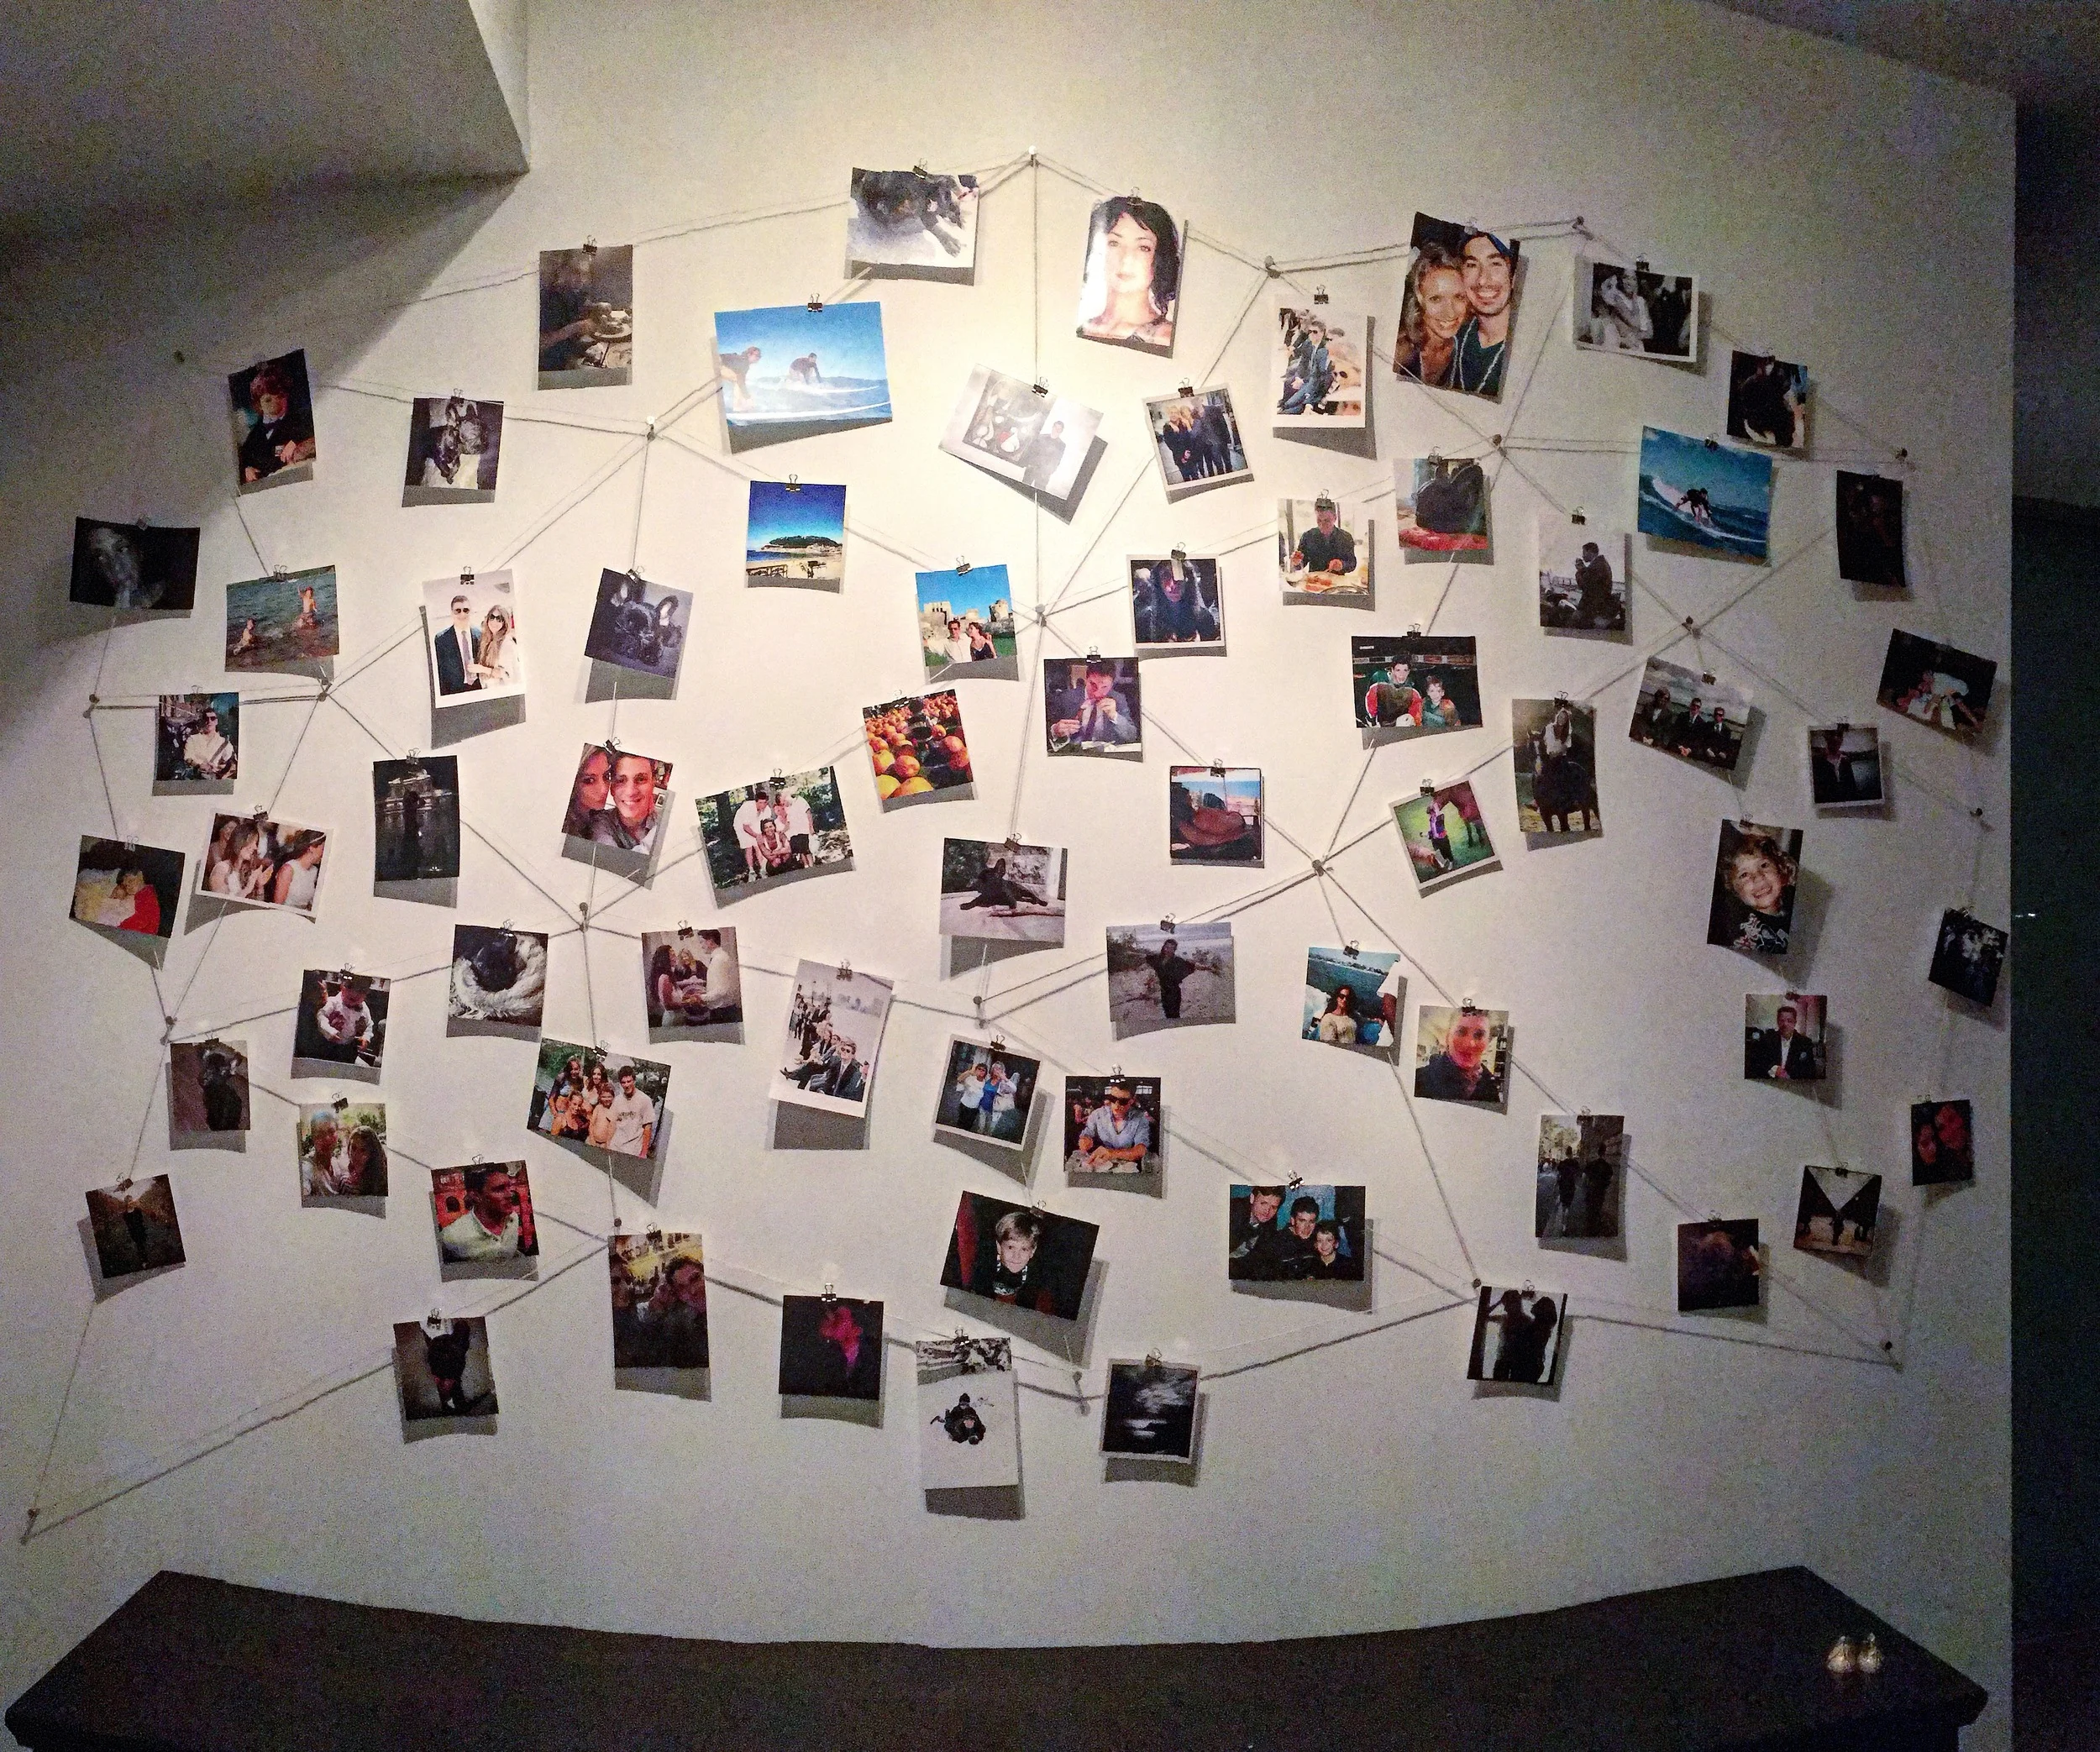
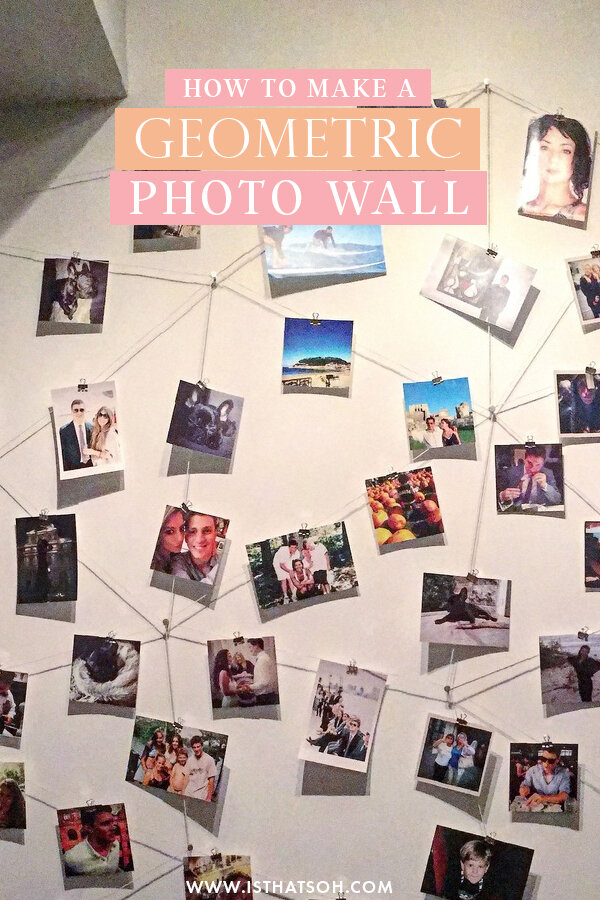
So having just moved into a new apartment, I am desperate to make it feel like home. I know from my friends who are interior decor experts that "feature walls" are trending and can really bring life to any room. This geometric photo wall is like hitting two birds with one stone. I get my feature wall and also personalize my new home sweet home. It took me about an hour to actually make the wall but there is a bit of preparing that needs to be done like printing out your photos. If you are a student or are just looking for an inexpensive way to jazz up a room this is it!

MATERIALS:

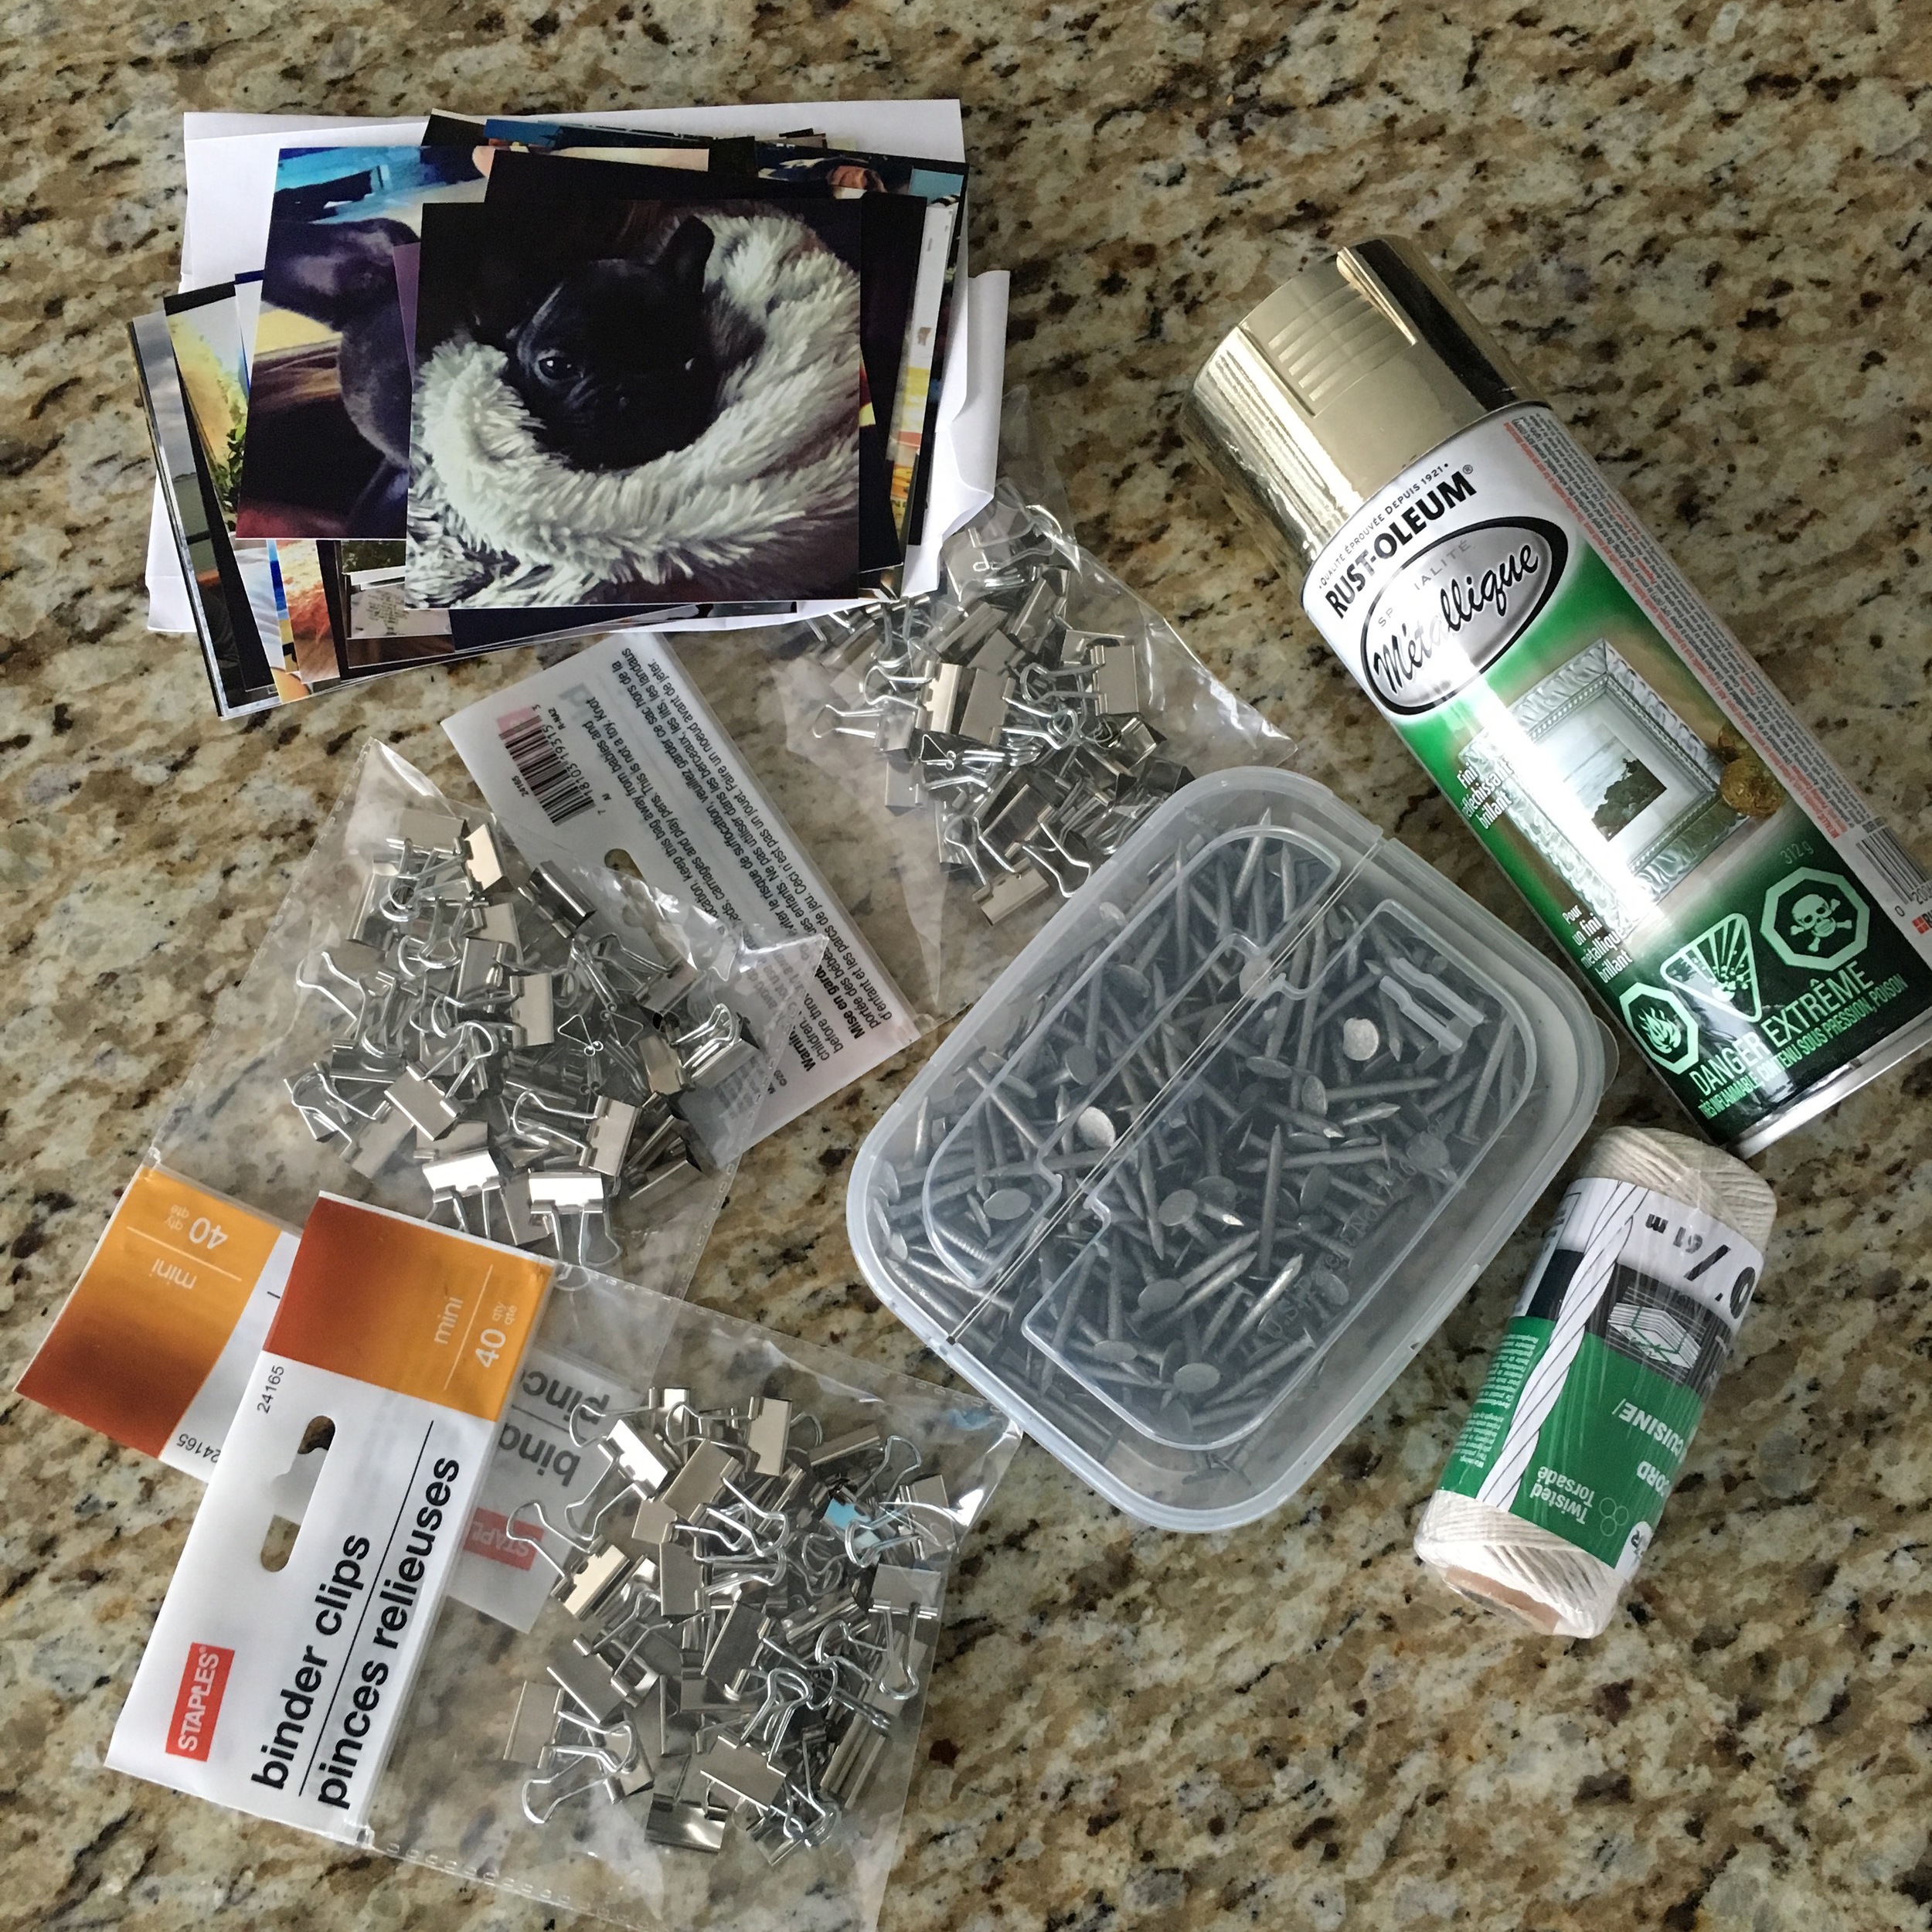
Nails - I used Roofing nails because the heads are wide and the string wont slip off.
Spray Paint- So you can spray paint the nails if you want them to be a different colour
Binder Clips
String
Printed Photos
Shoe Box or any box

TOOLS:

Hammer
Drop Sheet - if you are spray painting
 

PREP:

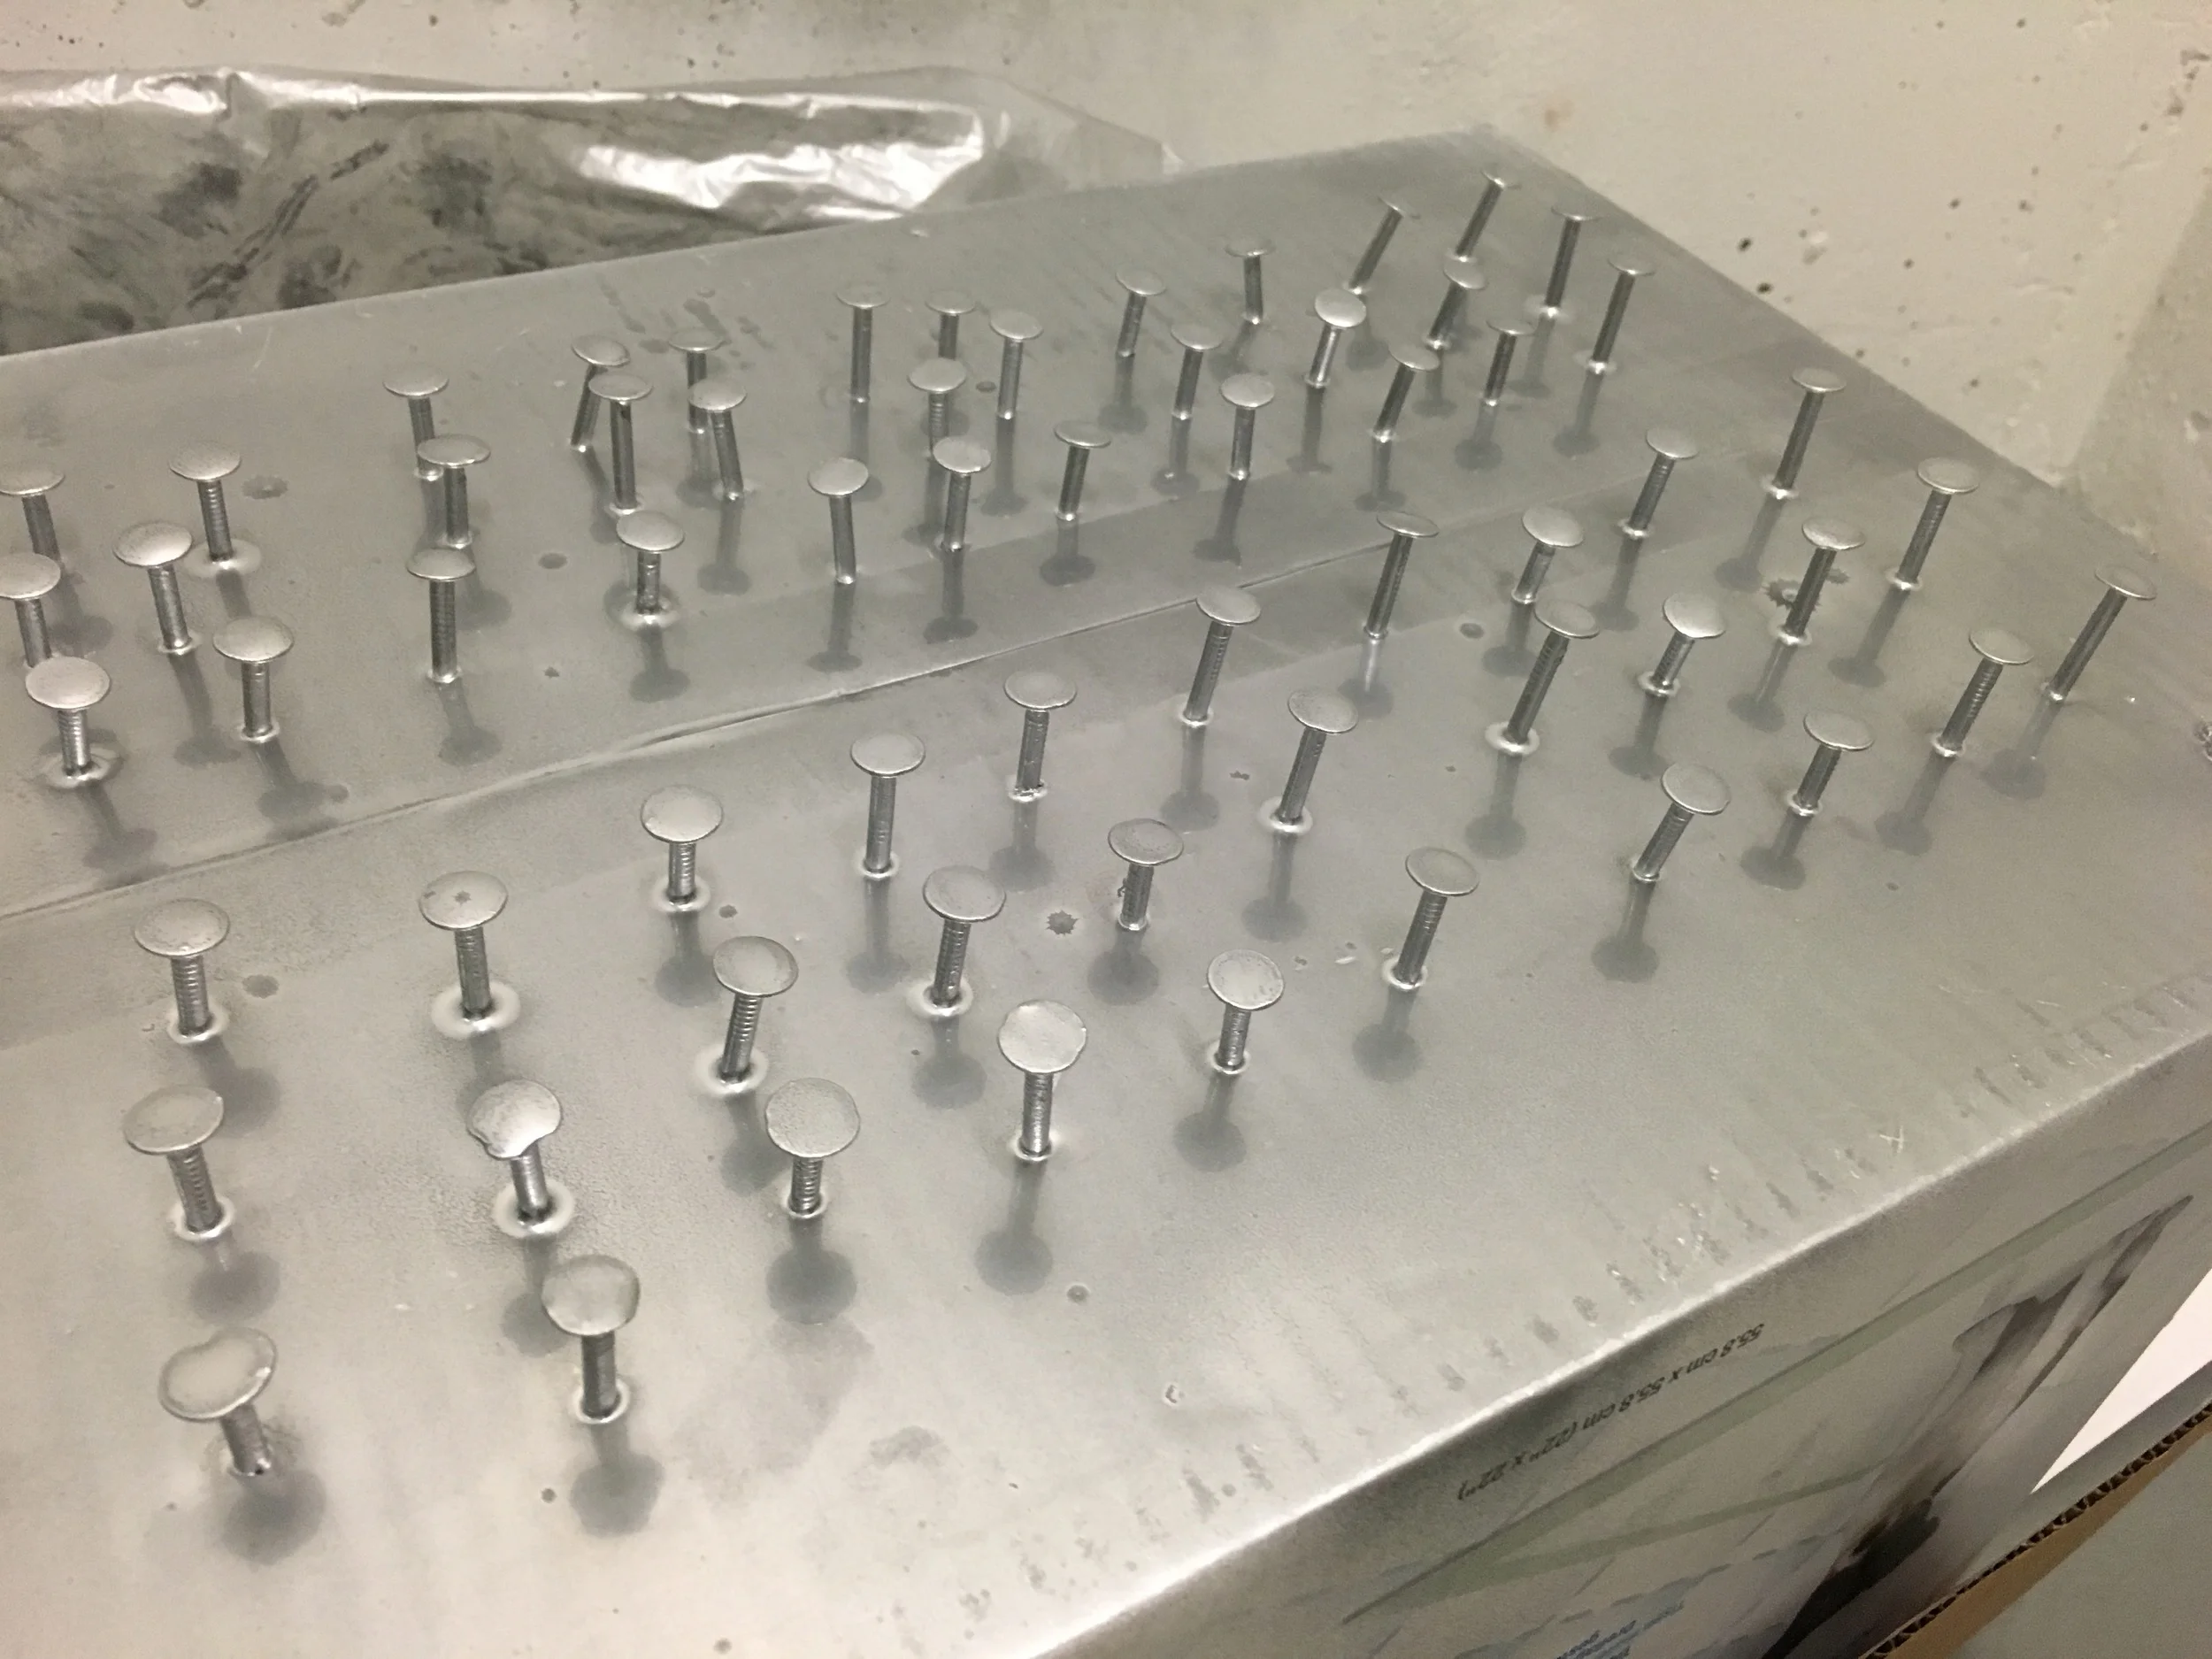
Take the nails and place them into the box so they are half standing out. Place the drop sheet below the box and spray the box and nails with the spray paint. Leave them to dry for a couple hours.

Print of your photos.

DIRECTIONS:

Use the dry spray painted nails and start nailing them into the wall, placing them so they make the outer geometric shape you want.

Take the string and tie it around one nail and then wrap it once around the next nail and move on continuing to wrap around the nails until the whole wall is outlined the way you want.

Next start adding nails on the inside forming triangular shapes.

Take the string and close off all the triangles by wrapping it around the inner nails you just added until you are satisfied with the geometric shapes. When you are done crating your triangular shapes just tie off the string with a knot.

Next take the binder clips and photos and start placing them along the strings so they hang secured to the string.


What do you think? Would you try this approach??? If you have any questions or comments just leave them below and Ill get back to you.


PIN THE POST

CHRISTMAS WREATH

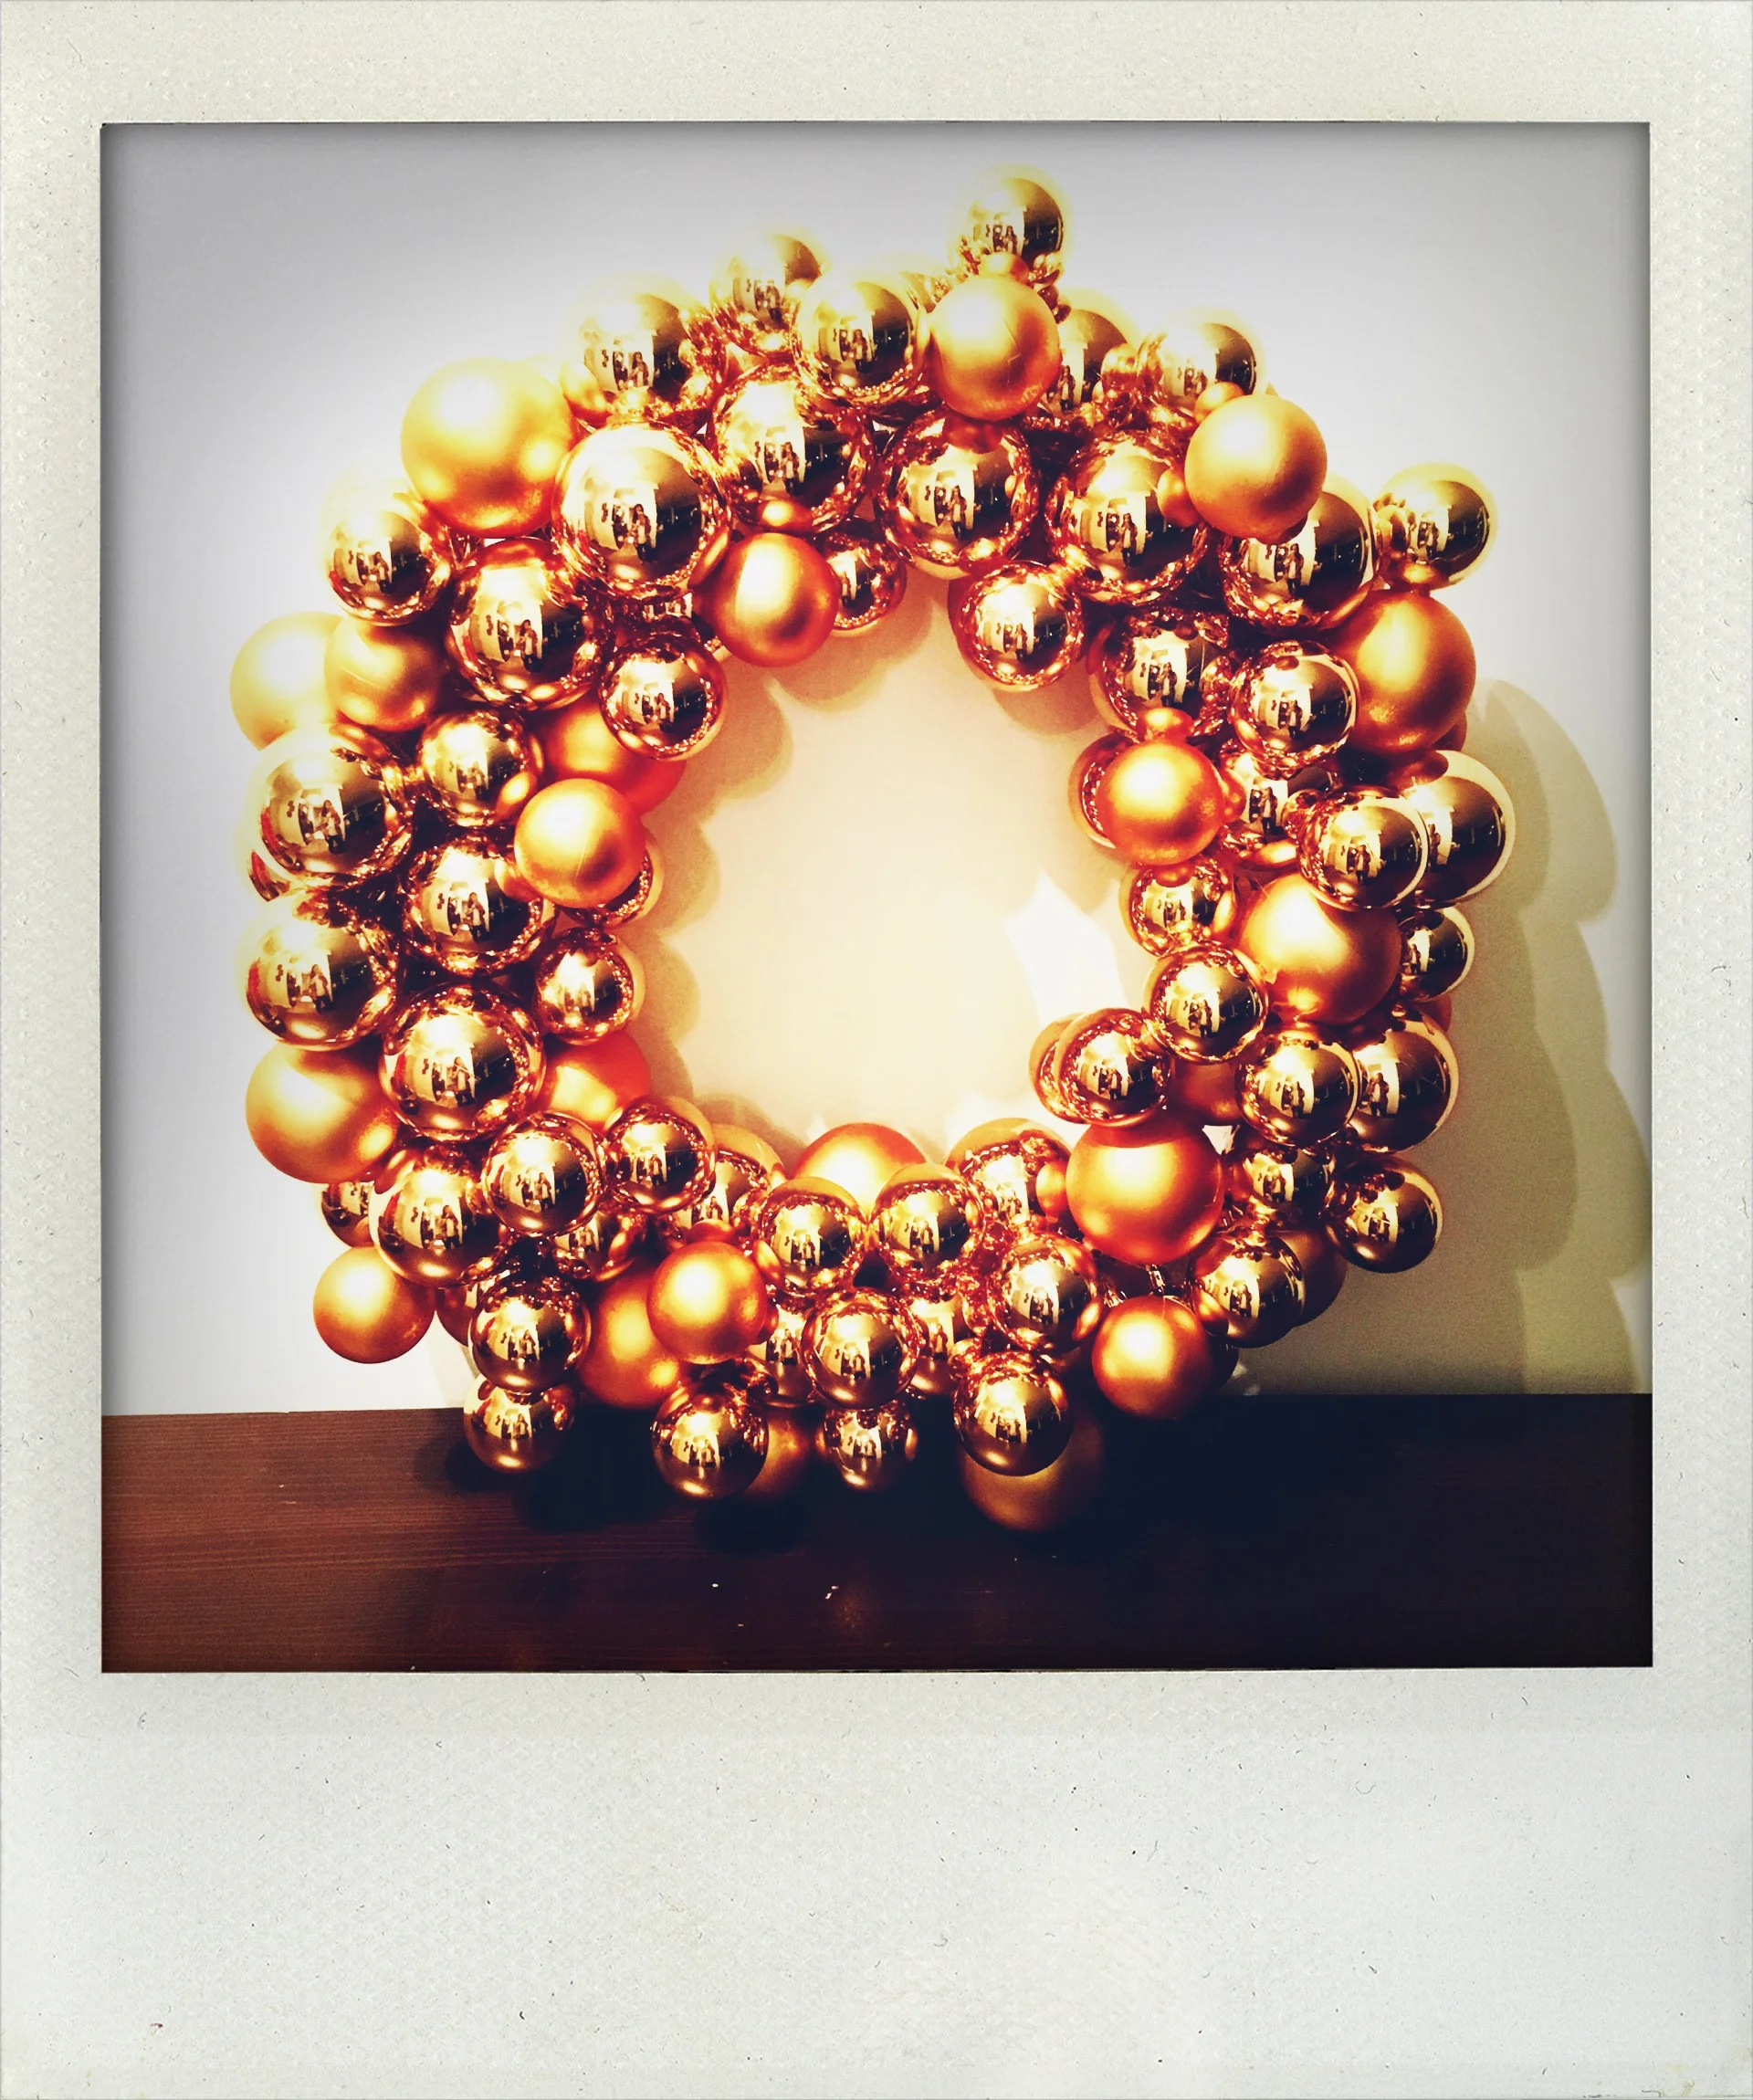
I was feeling kind of festive this year and wanted to make something for my new apartment. I've seen people make wreaths before but I knew I wanted mine to be different, exciting, and bright. On my recent trip to Spain, I was reacquainted with an artist's work at the Guggenheim in Bilbao by the name of Jeff Koons. If you have ever been to the Wynn/Encore in Vegas you have probably seen his work. He makes these giant sculptures that look like they are light as a feather but are actually made of steel and weigh a ton. His subject matter consists of balloon animals, tulips, and even cartoon characters. Inspired by these shiny objects I decided to make this wreath. If you want to know how to make it yourself keep reading!

MATERIALS:

Christmas Ornaments - I got 3 boxes of these plastic balls from IKEA each were $14.99 CAD.
Grape Vine
Wire - To wrap the grape fine together and give it more stability
Glue Gun
Glue Sticks

DIRECTIONS:

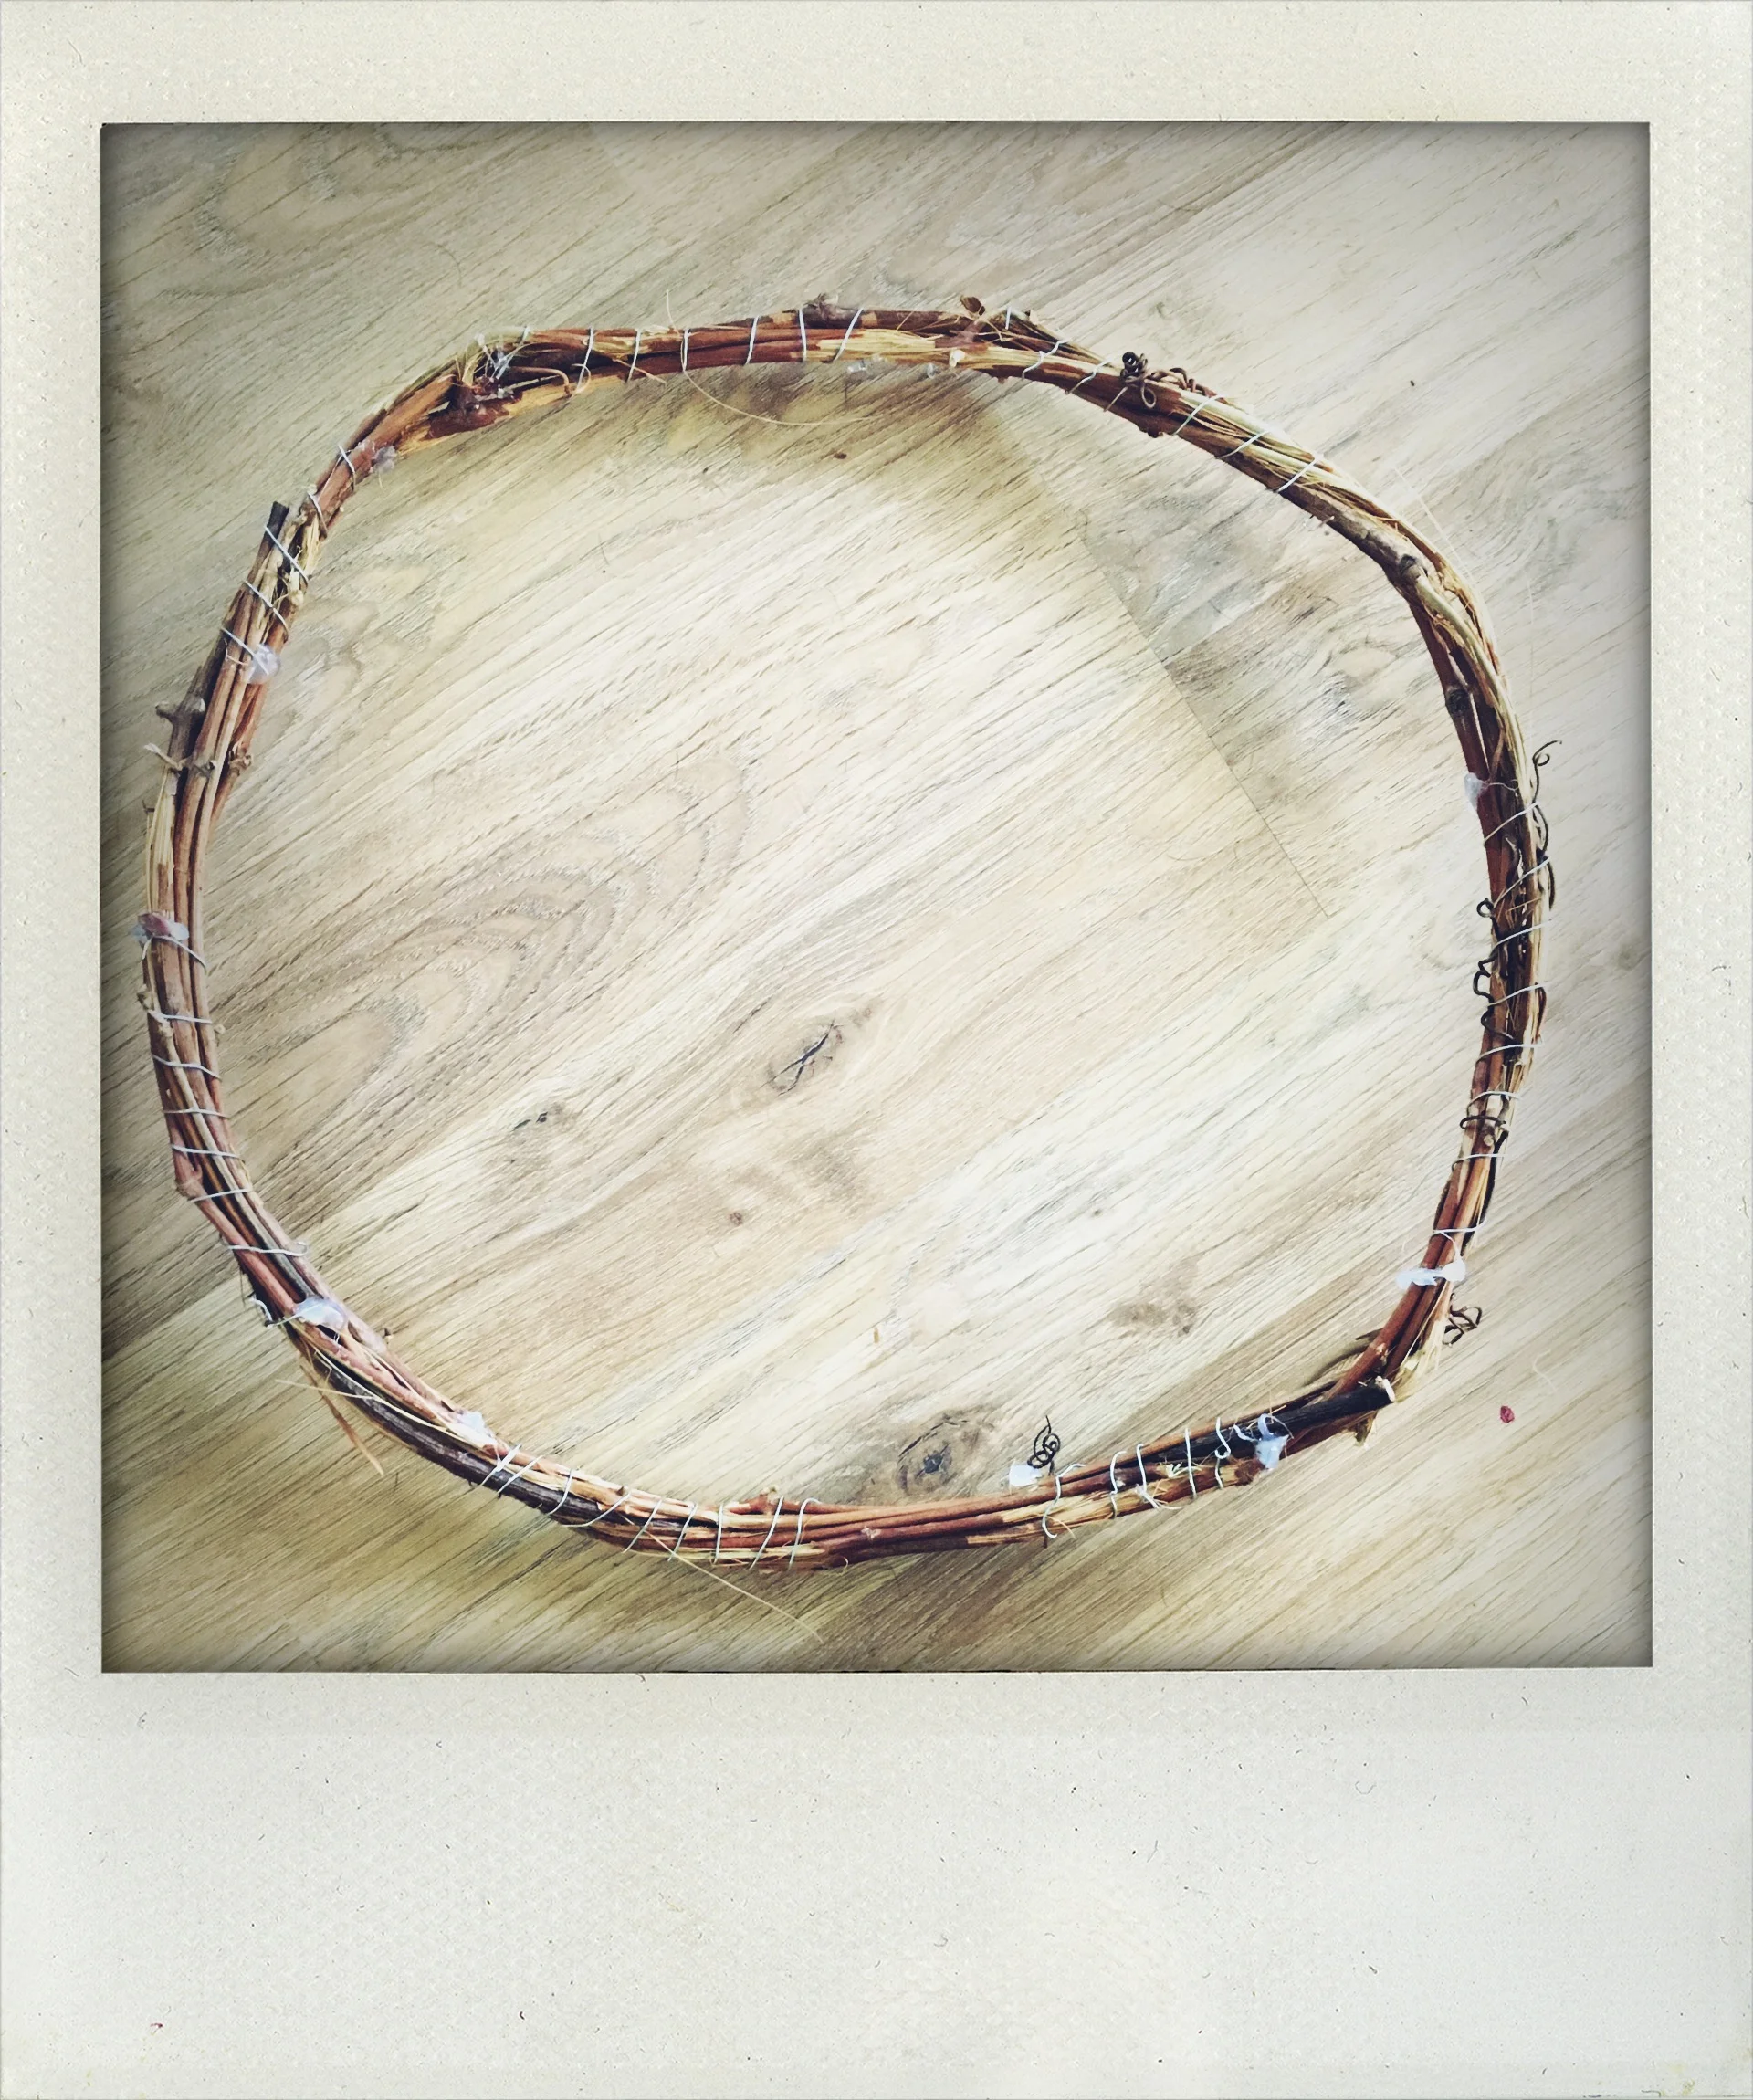
Take your grapevine and wrap it around to approximately the size of the wreath you want.

Next, take some wire and wrap it around the grapevine so that it secures it together and makes a sturdy base.

Glue gun the edges of the wire down so that they do not poke out!

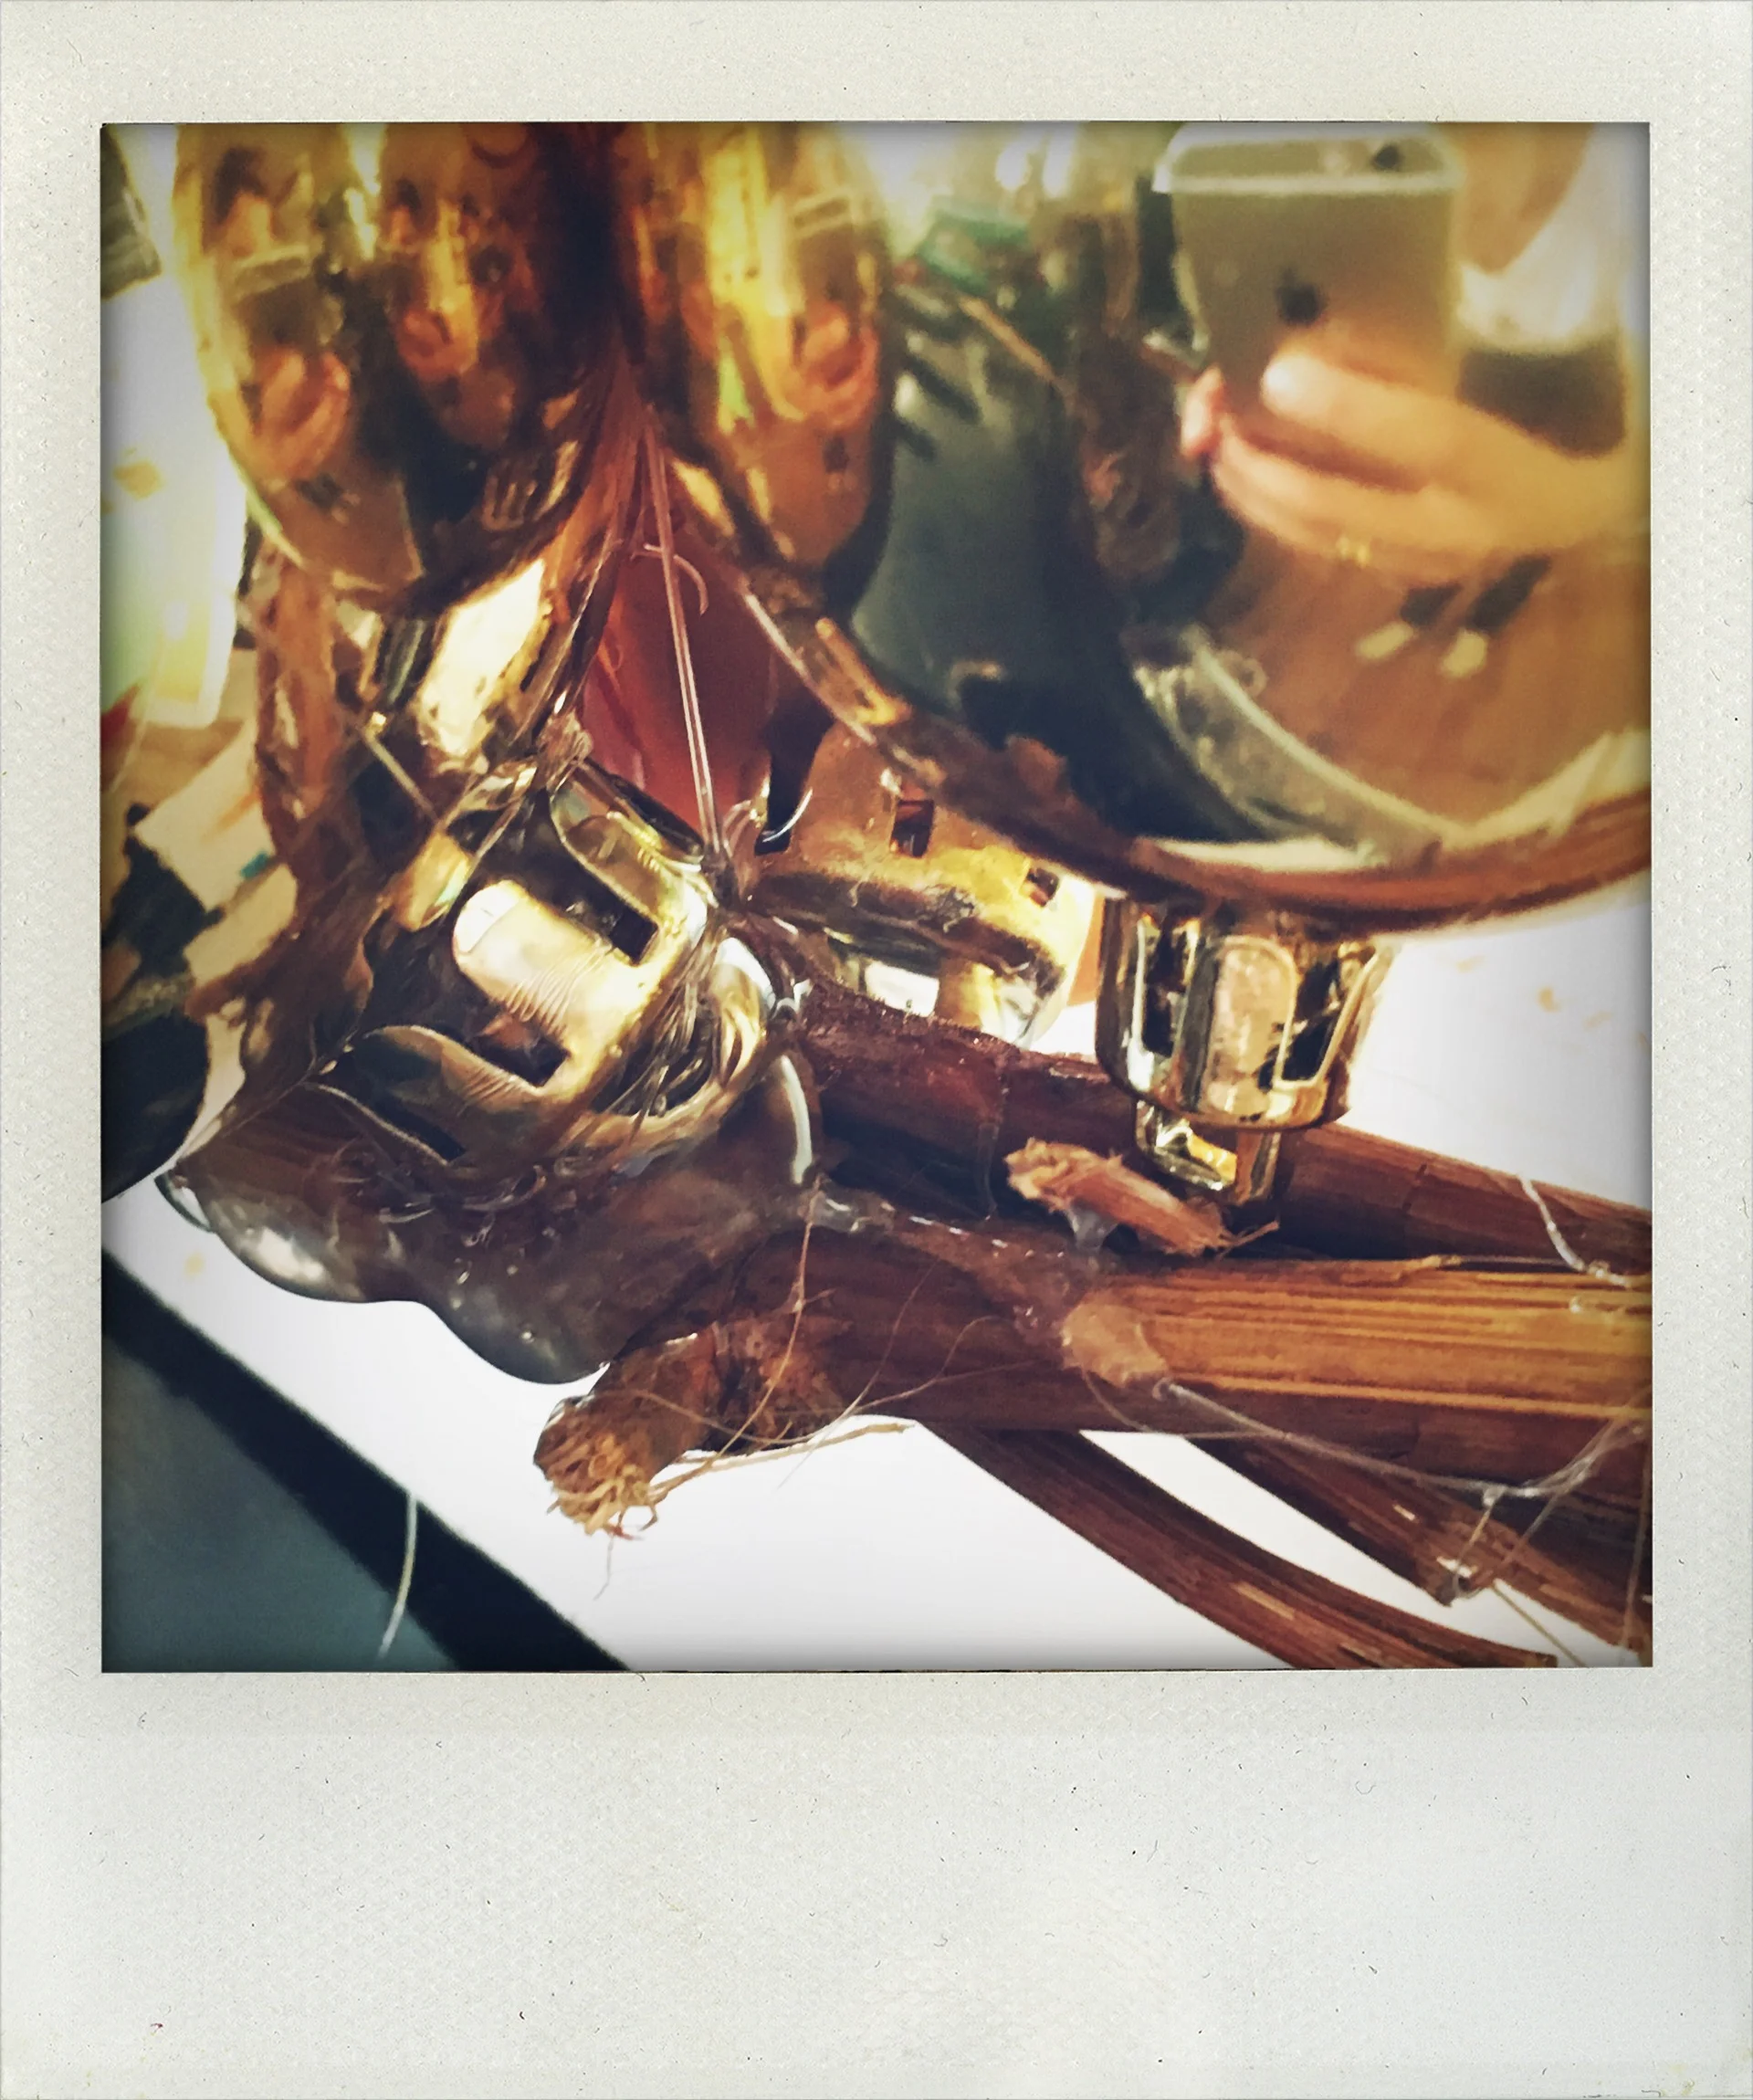
Next start taking your ornaments and gluing them to the grapevine. Keep gluing and make your way around the wreath. Once you are all the way around the wreath start to build up to give it more dimension.

Keep adding until you are satisfied with your results.

If you want to hang the wreath you can always use a nail and hook it into the grapevine base at the back or you can use a ribbon and tie it up.


If you have any questions or want to know more feel free to leave your comments and questions below in the message box! Did you like this activity? Do you want to see more of them? I’m always happy to hear from my visitors!!!


PIN THIS POST