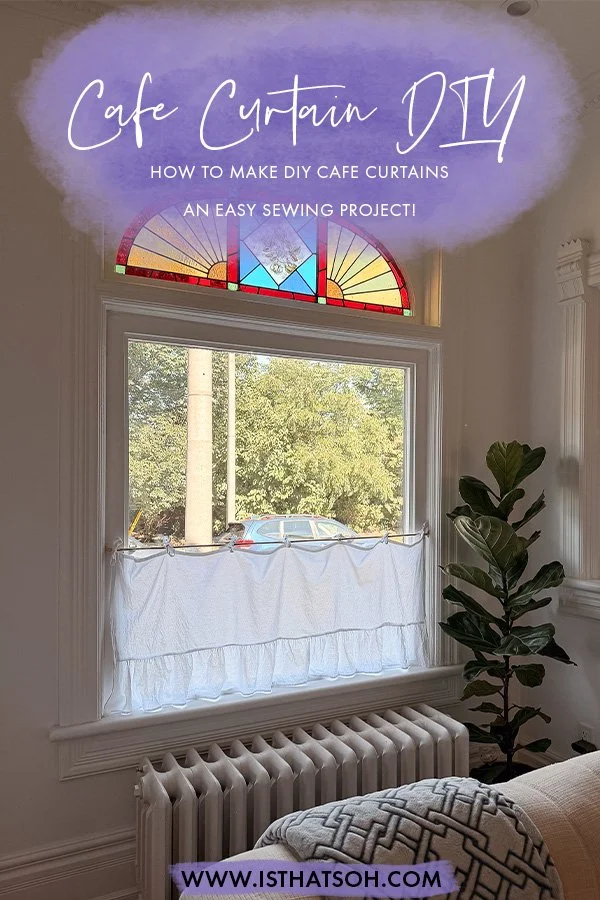
Finally getting the privacy I desired thanks to this recently completed cafe curtain DIY!
* Please Note - Some links in this blog post are affiliate links *
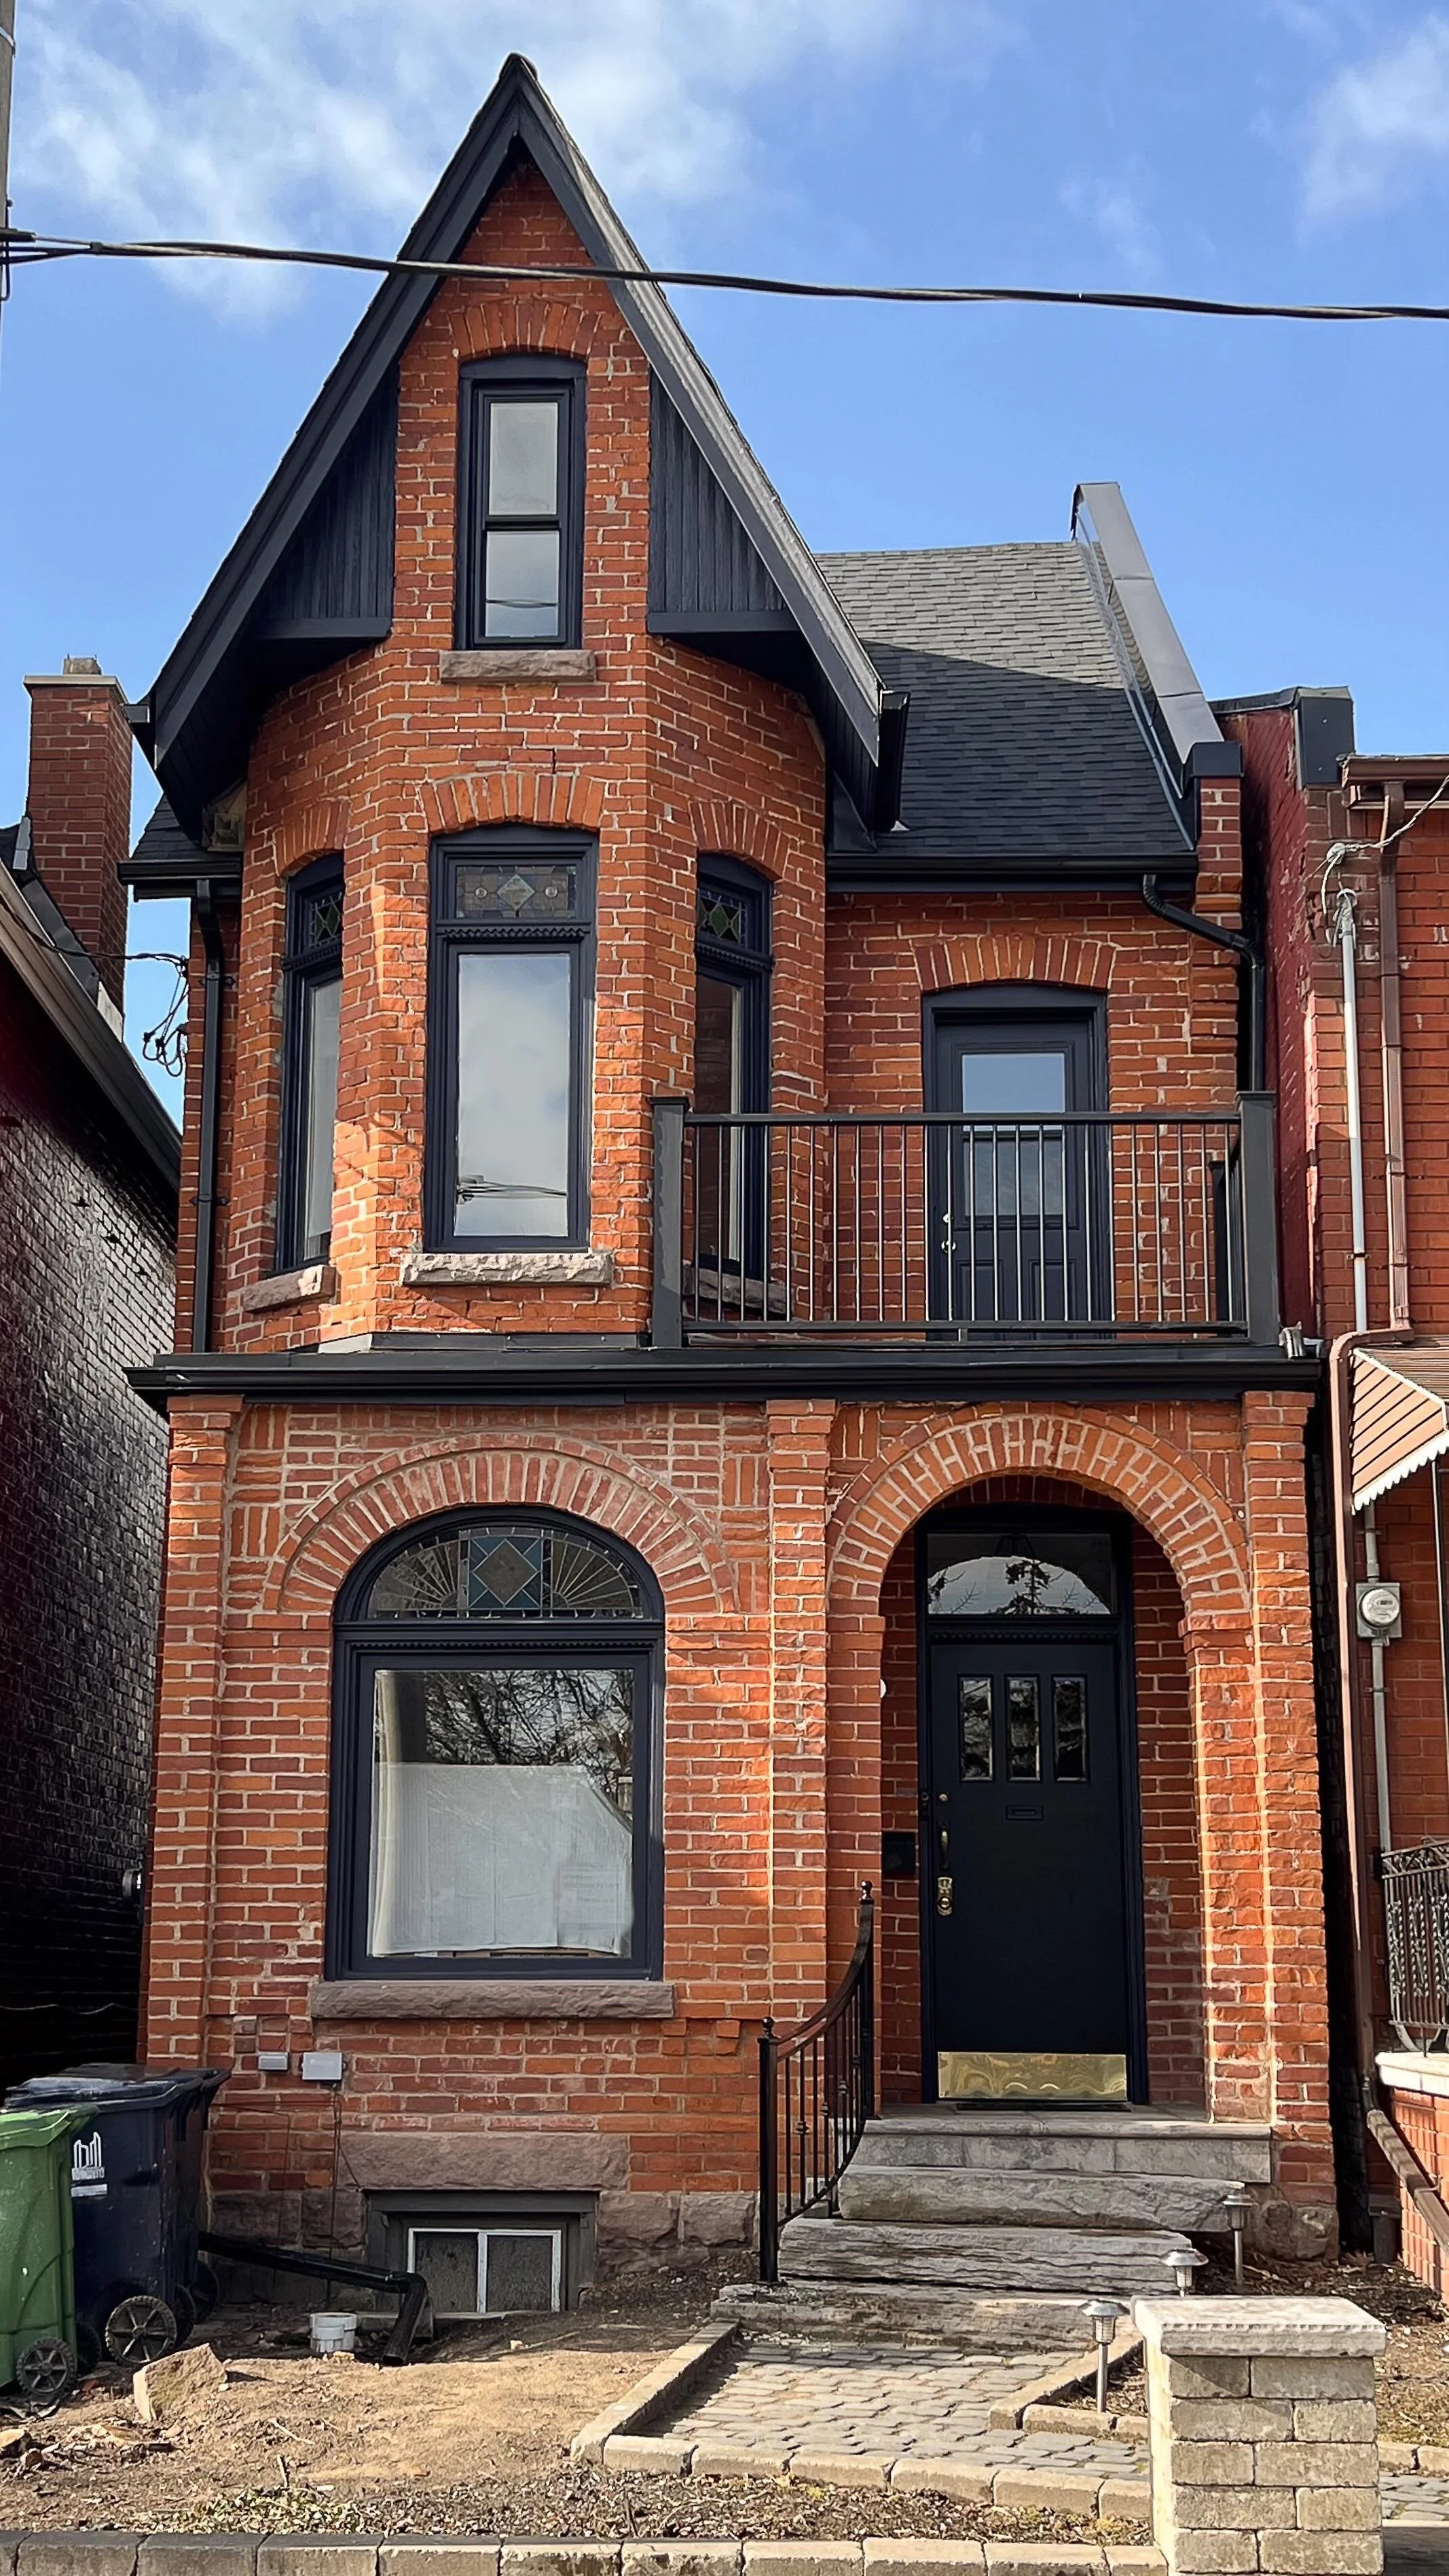
One thing I have always loved about this house is all the natural light. At the front of our house, we have this beautiful large window featuring an original stained glass piece that instantly catches your eye when you walk in. The window fills the room with the most gorgeous light but unfortunately doesn’t do much in the way of providing privacy from passersby while sitting inside, or hiding our unsightly garbage cans we have tucked in the front corner along our side walkway. I thought about hanging some drapes or playing around with window treatments previously while doing my master bedroom makeover, but ultimately decided it would be a shame to hide the beautiful trim and details. Instead, I decided to use an old tablecloth I had lying around and turn it into a cutesy little cafe curtain—a surprisingly super simple sewing project that paid off big time! Not only did I achieve my desired outcome of providing more privacy and hiding my unsightly garbage bins, but it still lets all the natural light into the room while adding to the traditional beauty of the room instead of hiding it.
Step-by-Step DIY Bistro Curtain Tutorial
Materials & Tools Needed
Fabric or Tablecloth - I can’t remember where I got mine but you can find similar ruffled hem tablecloths on Amazon
Brass cafe curtain rod & mounting cafe curtain hardware - I got mine from Rejuvenation
Measuring tape & fabric scissors
Craft/pattern paper, pencil, paper scissors & ruler
Sewing machine, pins & thread
Iron & ironing board
Small screwdriver or point tuner (for turning ties)
Step by Step Easy Sewing Instructions
Step 1: Draft Your Pattern & Measure Your Window
To ensure your cafe curtains have a relaxed, elegant gather rather than sitting completely taut, you'll want to add extra width to your measurements.
1. Measure Width: Measure your window width and add 6 inches for natural fullness, plus 1 inch for side seam allowances.
2. Measure Height: Determine how high you want your bistro curtain to sit, adding 1 inch of seam allowance to the top edge if using a tablecloth with a finished bottom edge like I did otherwise you’ll want to add another 1 inch of seam allowance at the bottom too.
3. Mark Notch Locations: Mark evenly spaced notches along the top edge of your pattern paper where you want your fabric ties to attach.
4. Draft Tie Patterns: Draft a pattern for your fabric bows/ties. Make the length of your ties at least 16 inches long to ensure you have enough length to tie neat, tidy bows around your cafe curtain pole. The longer you make them the larger the bows can be. I made the width of my ties 1.5 inches with seam allowance.
Pro Tip: When drafting the ties, aim for a 1/4-inch seam allowance rather than 1/2-inch. This gives you a finished 1/2-inch wide tie that is significantly easier to turn right-side out!


Step 2: Cut Out Your Fabric Pieces
1. Main Panel: Lay your pattern on the tablecloth, aligning the bottom edge of your pattern directly with the existing scalloped or flounced tablecloth hem. Cut out the main white cafe curtain panel.
2. Fabric Ties: Fold your remaining fabric over several times and pin the tie pattern on top. Cut out all ties at once (I needed 7 ties but how many you need will depend on your window width)
FOLLOW ME ON INSTAGRAM @ISTHATSOH




Step 3: Prep and Sew the Fabric Ties
This part of the process makes this DIY one of the easiest sewing projects for elevating your window decor:
1. Stitch the Ties: Fold each tie strip right-sides together and sew down the long side and one short end using a 1/4-inch seam allowance.
2. Turn Right-Side Out: Clip the corner seam allowance, then use a small screwdriver or point turner to push the fabric right-side out.
3. Press & Topstitch: Press each tie flat with an iron. Fold the remaining raw edge inward using a hand needle to tuck it neatly, then topstitch the end closed.


Step 4: Attach Ties to the Curtain Panel
1. Pin each tie along the top edge of your curtain panel at your marked notch locations.
2. Crucial Step: Set the outermost ties back 1 inch from the left and right edges. This ensures they won't get caught in your side hems when you finish the edges later!
3. Baste or stitch the ties into place an inch away from the raw top edge as illustrated in the above photo. The top edge will get rolled in later for a nice finish.
ENJOYING THIS CONTENT? CHECK OUT SOME OF MY OTHER EPISODES AND BLOG POSTS!



Step 5: Hem the Edges
1. Side Hems: Double-roll the side edges 1/2-inch to conceal the raw fabric edges and topstitch down both sides.
2. Top Hem: Double-roll the top edge 1/2-inch and topstitch across. As you sew along the top, make sure to fold the attached fabric ties out of the way so you don't accidentally catch them in your seam.


Step 6: Install Hardware & Hang
1. Mount your brass cafe curtain rod wherever you want your privacy line to sit.
2. Tie your cafe curtain onto the cafe curtain rod using the attached fabric ties, tying them into sweet, uniform bows.
3. Adjust the gathers so the fabric falls softly across the window evenly.
Whether you call them bistro curtains, cafeteria curtains, or classic cafe curtains, this quick upcycling project gives you maximum privacy while letting all that gorgeous morning light filter into your home!
Thank you so much for joining me today and for checking out my new YouTube series Soh At Home! If you have any questions or comments about how to make DIY cafe curtains, please feel free to leave them below!
Until next time,
- Soheila
MORE BTS PHOTOS FROM THIS EPISODE


PIN THIS POST