CHRISTMAS DESSERTS: EGGNOG GLAZED BAKED DOUGHNUTS RECIPE

Eggnog Glazed Baked Donuts - A Delicious Holiday Treat!

The sweet smell of cinnamon and nutmeg filled my kitchen as fluffy pillows of dough began to bake and rise in the oven. I have always enjoyed baking but there is something about the holiday season and Christmas desserts that makes me love it! Perhaps it’s the great memories attached to these quintessential holiday scents or the fact that I get to share it with others. Either way, I’m finding holiday baking even more intoxicating this year, pushing my excitement level to an all time high!

With restrictions beginning to ease, it seems as though I am not the only one feeling excited about the upcoming holiday festivities. I have already begun to see my agenda populate with upcoming events and parties, and it looks as though my friends are also eager to make up for lost time. In preparation, my friend Kate and I have begun to comb through some of our favourite recipes for scrumptious Christmas desserts that we plan to offer up as additions to dessert tables, edible hostess gifts, and baked goods for charity bake sales this holiday season.

Gifted a box of these delicious eggnog glazed baked donuts last year from Kate herself, I have waited a whole year to share this Christmas dessert recipe for baked donuts with you. I was never a huge fan of spiked eggnog but incorporating virgin eggnog into desserts has been a huge game changer for me. I love it now! Funny enough, because I was prepping the release of this recipe so early in the season, eggnog was not available in stores yet so I had to make my own. Turns out it’s very simple (let me know if you need a recipe below) and I have tons left over to use in future recipe and experiment with! Point being, even if you are not a big fan of eggnog, don’t knock this glaze until you try it! It’s like a creamy custard melted into one delicious topping that will make you second guess why you ever took a stance against eggnog! Haha! Trust me it’s good!

I love baked doughnuts and find them way easier to make symmetrical in shape and size than fried as well as more satisfying and filling. If you don’t have a donut baking tray, I have linked one below along with a few other items you may find helpful when assembling this recipe. Honestly though, this finger licking eggnog glazed baked donuts recipe is so easy and will definitly impress anyone you share it with this holiday season.

Happy Baking!

* Please Note - Some links in this post may be affiliate links *

INGREDIENTS FOR BAKED DOUGHNUTS:

MAKES 6 BAKED DOUGHNUTS

- BAKED DOUGHNUTS -

1 Cup of Flour
1 TSP of Baking Powder
1/4 TSP of ground Nutmeg
1/4 TSP of Salt
1/3 Cup of Sugar
1 Egg
1/2 Cup + 1 TBSP of Eggnog
2 TBSP of Unsalted Butter (melted)
1 TSP of Vanilla Extract

- EGGNOG GLAZE -
1 Cup of Powder Sugar
3 TBSP of Eggnog
1/2 TSP of Vanilla
Pinch of ground Nutmeg

- FROSTED ROSEMARY SPRIG GARNISH -

Rosemary Sprigs
1/2 Cup of Sugar
1/2 Cup of Water

- Additional Items -
Pipping Bag - you can use a zip lock bag if you don’t have one
Doughnut Baking Tray - greased with unsalted butter!
Cooling Rack


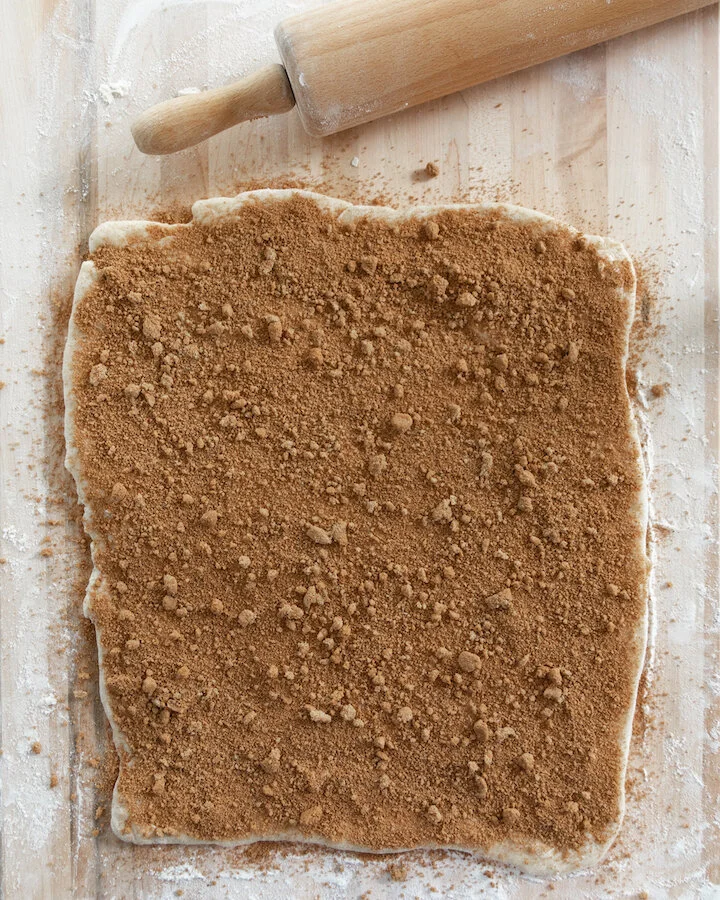
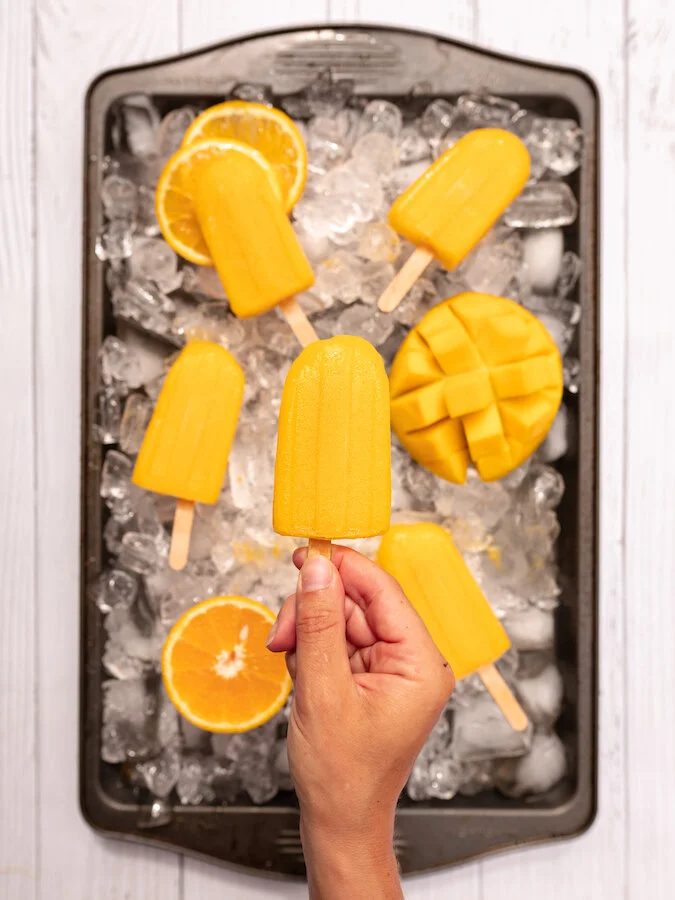
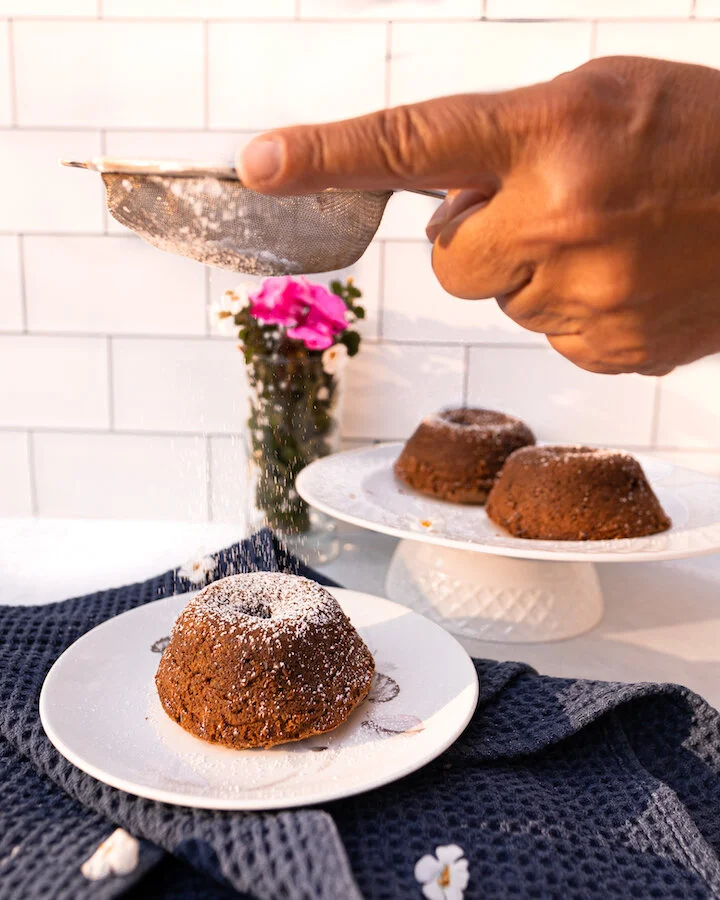
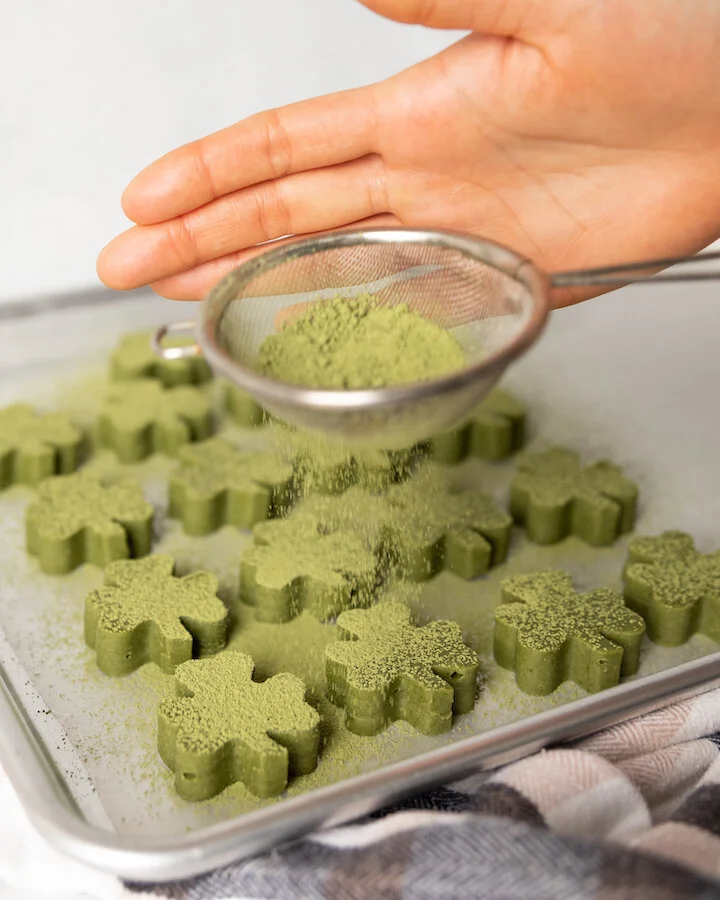
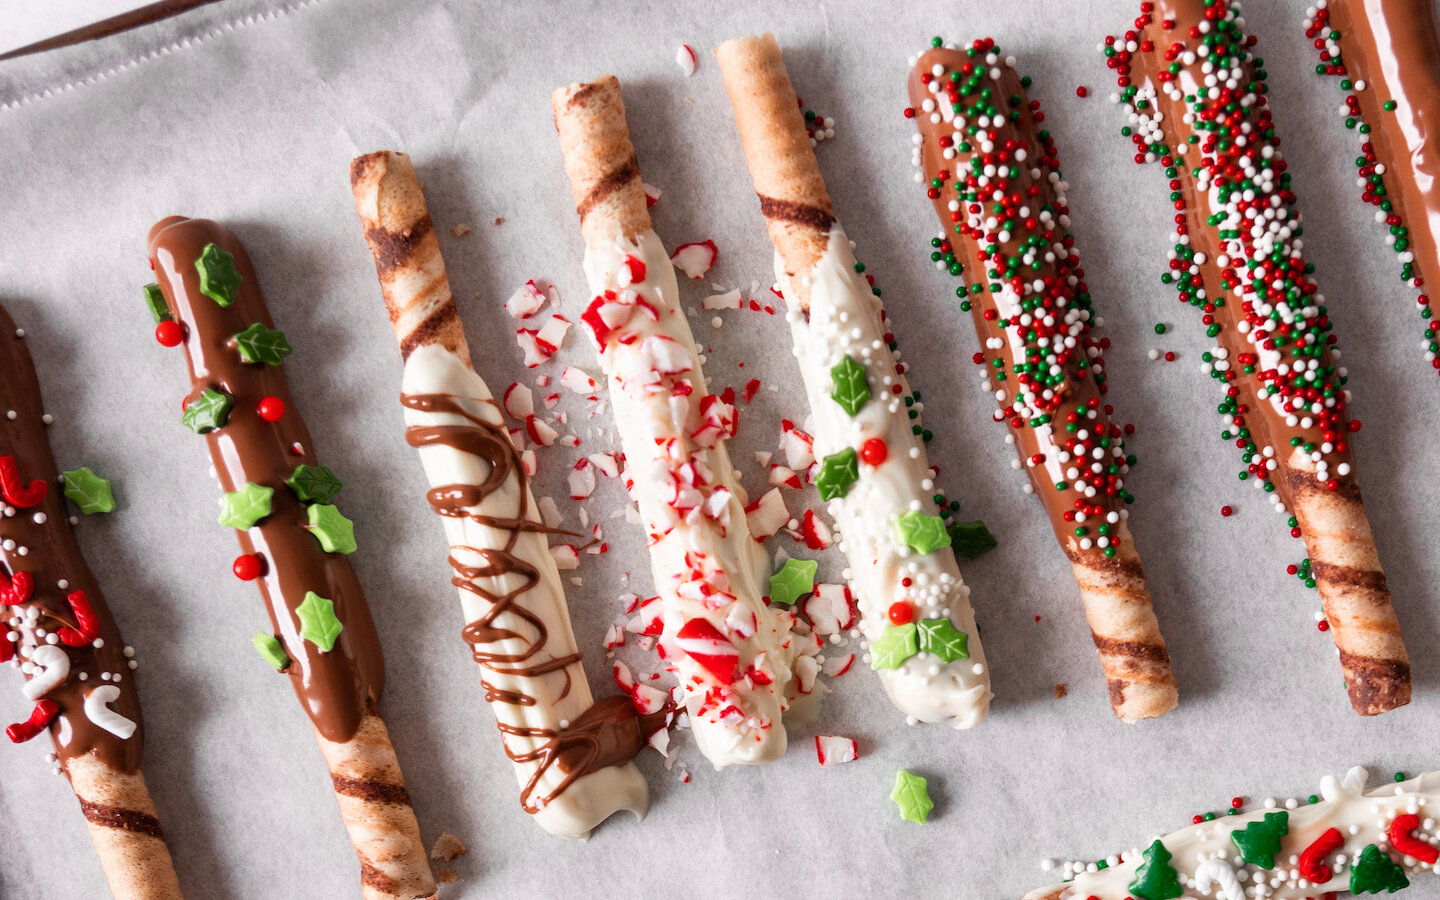
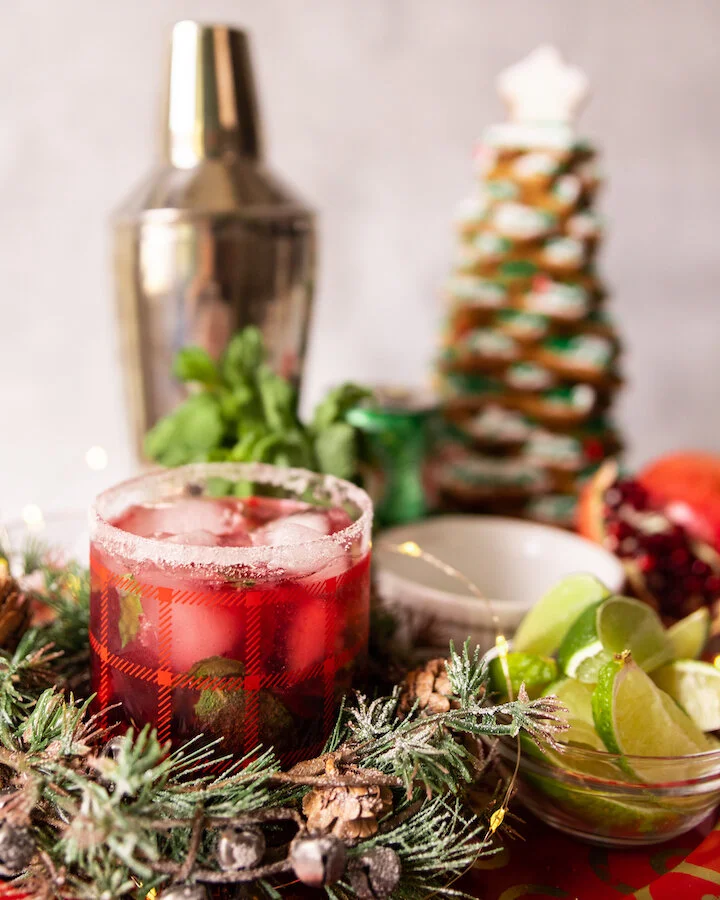
CHECK OUT THESE OTHER HOLIDAY RECIPES


HOW TO MAKE BAKED DOUGHNUTS:

Prep your garnish first by bringing equal parts sugar and water to a simmer before adding in one or two rosemary sprigs for flavor. Once it simmers for 1-2 minutes set aside to cool.

Preheat oven to 450 degrees.

In a large bowl, combine flour, nutmeg, sugar, salt and baking powder. Whisk until well incorporated.

In a second large bowl, combine eggnog, 1 egg (beaten), vanilla and butter (melted). Mix well.

Combine the wet ingredients with the dry ingredients and mix until the batter forms with no dry clumps.

Next, add batter to a pipping bag and pipe batter into a greased doughnut baking tray.

Bake for 8-10 Minutes until donuts become lightly browned and sponge-like. You can do the toothpick test to see if it comes out clean! Set aside when ready and allow to cool on a cooling rack before glazing.

While doughnuts are cooling, go back to the rosemary simple syrup you made earlier and dip a few small pieces of rosemary sprig inside it before setting on a rack till they become sticky. Once sticky, toss them in granulated sugar for a frosted look. Return garnish to cooling rack until you are ready to use them.

After you are done with the garnish, create your eggnog glaze by combining eggnog, sugar, and vanilla to a bowl wide enough to dip your doughnuts in. If your glaze is to watery, add more sugar. If it’s too thick, add more eggnog.

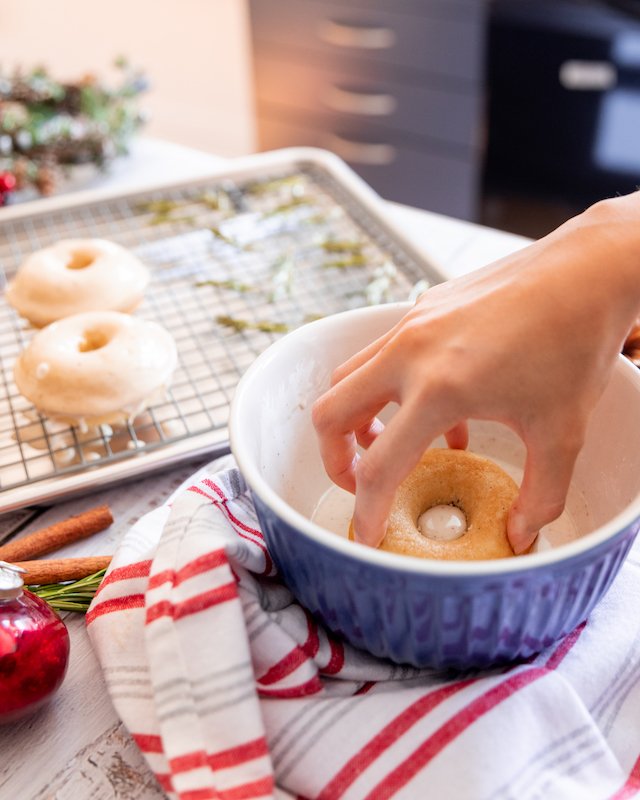
When doughnuts are cool, dip them in the eggnog glaze and place back on the cooling rack. Garnish with a frosted rosemary sprig and a dash of nutmeg before allowing the glaze and garnish to harden together on the cooling rack.

Enjoy!

P.s Although best fresh, these doughnuts can be stored in the fridge for up to a week.


FOLLOW ME ON INSTAGRAM @ISTHATSOH


I hope you enjoyed this Christmas dessert recipe for eggnog glazed baked donuts as much as I do. If you have any comments please leave them below and I'll be happy to answer them as soon as I can! Happy baking!!!


PIN THIS POST

EASY KENTUCKY BUTTER CAKE RECIPE WITH CARAMEL ICING


I remember the first time my mom made me this Kentucky Butter Cake with Caramel Sauce. It was a warm summer day, we had just finished dinner, and she brought out this freshly baked and still warm, Kentucky Butter Cake with a Caramel Icing. Although outside, you could smell the cake’s sweetness and I instantly noticed how moist and spongy it was as soon as I dove into it with my fork. It didn’t take long for me to request every cake have this amazing caramal glaze on it and ask for the recipe for my blog!

Why is it called Kentucky Butter Cake?

Funny you should ask because from what I have read, no body is really sure. I came across a story about it being a Pillsbury bake-off winner and then another story that debunked that so the real story behind this cake is stil unknown. If i had to guess though, I’d bet the cake originated from Kentucky, and since it has lots of butter, it’s called a Kentucky Butter Cake! One thing I do know though is that this cake is usually found with a butter sauce or icing not a caramel glaze. In my opinion though, the caramel glaze can’t be beat!

Since my first introduction i’ve already baked it nemerous times and everyone I’ve introduced it instantly seems to fall in love with this Kentucky Butter Cakes recipe too. I’m sure after you try it, you will too what caramel frosting on just about everything you eat as well! The best part about this Kentucky Butter Cake and Caramel Icing Recipe is that it is SUPER easy to make so you don’t have to be an advance baker to yield good results or enjoy this recipe!

I’ve created a quick tutorial video for you below for this Kentucky Butter Cake with Caramel Sauce recipe, so make sure to check it out below!

Happy baking!

* Please Note - Some links in this post may be affiliate links *

INGREDIENTS:

Serves 10
- Kentucky Butter Cake -


3 cups of All-Purpose Flour
1 TSP of Salt (Kosher is preferred)
1 TSP of Baking Powder
1/2 a TSP of Baking Soda
1 Cup of Unsalted Butter (cubed and brought to room temperature)
2 Cups of Granulated White Sugar
4 Eggs
1 TBSP of Vanilla
1 Cup of Buttermilk

- Caramel Frosting -

1 Cup of Brown Sugar
2 TBSP of All-Purpose Flour
3 TBSP of Butter (softened)
1/4 Cup of Milk
1 TSP of Vanilla Extract

You will also need:

A 10” bundt pan
Hand Mixer
Saucepan


CHECK OUT THESE OTHER DESSERT RECIPES


KENTUCKY BUTTER CAKE DIRECTIONS:

Preheat oven to 325 degrees and butter your bundt pan before dusting it with flour - I used a 10” pan!

In a medium bowl, mix all your dry ingredients (flour, salt, baking powder, and baking soda) together with a whisk until well incorporated.

Next, in a separate, larger bowl add your butter, sugar, vanilla, eggs, and buttermilk, and mix together on low for 30 seconds using a hand mixer before slowly incorporating your dry ingredients in 2-3 portions.

When the dry ingredients are fully added to the wet ingredients, increase the hand mixer speed to high and continue to beat for 3 minutes until the batter texture becomes smooth. Make sure to scrape the sides of the bowl to get the excess flour that likes to get trapped there!

Pour batter into your buttered bundt pan and bake for 65-75 minutes or until a toothpick comes out clean.

When the Kentucky Butter Cake is ready, remove it from the oven and set it aside to cool. I like to allow the cake to cool for 10 minutes before inverting it onto a serving plate.

CARAMEL ICING RECIPE DIRECTIONS

After the cake has cooled you can get to work on the caramel glaze!

Combine brown sugar and all-purpose flour in a bowl - whisk together until well incorporated.

Using a saucepan, add in your brown sugar/flour mixture, butter and milk. Bring ingredients to a rolling boil on medium-high heat, stir continuously.

Once boiling, allow it to continue to boil for 1.5 minutes before removing from heat and setting it aside to cool for about 5 minutes.

When the caramel icing has cooled, use a wooden spoon to beat the mixture so that it thickens. Add in your vanilla as you continue to beat the mixture (about 1-2 minutes) until it becomes a similar consistency to honey.

Pour the caramel frosting over the cooled Kentucky Butter Cake using the back of the spoon to help spread it around evenly. Set aside to cool as the caramel glaze will harden after a few hours.

This cake can be stored at room temperature in a cake stand for 3 days or in an airtight container!


FOLLOW ME ON INSTAGRAM @ISTHATSOH


I hope you enjoyed this Kentucky Butter Cake recipe with Caramel Icing as much as I do. If you have any comments please leave them below and I'll be happy to answer them as soon as I can! Happy baking!!!


PIN THIS POST

THE CAKE YOU DIDN'T KNOW YOU WERE MISSING - OLIVE OIL CAKE!

First of all, full disclosure - this Olive Oil Cake recipe was not an original recipe created by me but the joke about this cake with olive oil is that the direction for the original recipe are so confusing and convoluted that the first few times we made it, we did it wrong! LOL Has that ever happened to you? The even funnier bit of the story though was that everyone though the ‘wrong’ versions of this Olive Oil Cake was even better then the original/right version!!! They say baking is a science but in the case of this recipe, it only gets better the more you screw up! HAHA!

Anyways, the first time I heard of ‘olive oil cake’ I was not enthusiastic at all. The name to me is not appealing AT ALL and I was shooketh at just how amazing it actually. A staple in most Mediterranean kitchens, Olive Oil Cake is a light and airy cake, perfect for serving with tea or coffee as an afternoon snack. It isn’t overly sweet (even with the sugar topping) and when garnished with lemon zest (or any citrus works really) its delightful without being over powering. Also, since we used a bit of almond flour, the texture came out so moist! Perfect for dipping!

Anyways, I know you are going to just love this cake if you can just get past the name like I did so instead of doing a recipe review like I would normally with a recipe that is not mine, I have tweeked it so that the directions are much easier to follow AND so that you can have the benefits of our beautiful mistakes! Enjoy!

* Please Note - Some links in this post may be affiliate links *

INGREDIENTS:

Serves 8

- Spring Pan Prep -
2 TBSP of Olive Oil
2 TBSP of Sugar

- Cake Mix -

2 Cups of Cake Flour
1/3 Cup of Almond Flour
2 TSP of Baking Powder
1/2 TSP of Baking Soda
1/2 TSP of Kosher Salt

3 TBSP of Cointreau or other liquer like Grand Marnier, Amaretto or Sweet Vermouth
3 TBSP of Lemon Juice
2 TSP of Vanilla

3 Eggs
1 TBSP of Lemon Zest
1 Cup of Sugar

1.25 Cups of Olive Oil

- Extras -

2 TBSP of Sugar
2 TBSP of Olive Oil

- Optional Garnish -
1 TBSP of Lemon Zest

You will also need a hand mixer, 9 inch springform pan and parchment paper!


CHECK OUT THESE OTHER DESSERT RECIPES


DIRECTIONS:

Preheat oven to 400!

NOTE: After placing the cake in the oven reduce the heat to 350!

Prepare your spring form pan by coating it (sides too) with olive oil and lining the bottom with parchment paper. Coat parchment paper with more olive oil.

Sprinkle pan with sugar and coat evently, tap out any excess.

In a medium size bowl, mix the flour, almond flour, baking soda, baking powder, and salt in a bowl using a whisk. Eliminate any lumps that you see.

In another smaller bowl, mix together the cointreau, lemon juice, and vanilla.

In your largest bowl, beat eggs, lemon zest, and one cup of sugar together with a hand mixer at high speed until the mixture is very light/pale in colour - about 5 minutes

While still mixing on high speed, slowly stream in you olive oil until well incorporated and mixture thickens further.

Next, reduce your hand mixer speed to low and add in 1/3 of your flour mixture before alternating back and forth with 1/2 of the Cointreau mixture. You should start and end with the flour mixture!

Using a spatula, scrape the sides of bowl and fold in so everything is well incorporated before pouring the olive oil cake batter into the prepared pan.

Smooth the top out toward the edges from the middle before sprinkling the top with a little extra sugar! This is going to make it nice and golden brown.

Place pan in oven (remember to reduce the heat to 350!) and bake until golden brown - about 45 -50 minutes or until tester comes out clean.

Transfer cake to a wire rack to cool for 10 minutes before releasing the springform. You may want to run the edge of the pan with a knife to help loosen the cake from the sides of the pan

Poke holes on the top of the cake with a toothpick and drizzle 2 TBSP of olive oil into the cake and let it absorbe before serving.

OPTIONAL: You may want to sprinkle the top of the cake with extra lemon zest for garnish/decoration!

Enjoy!


FOLLOW ME ON INSTAGRAM @ISTHATSOH


I hope you enjoyed this olive oil cake recipe as much as I do. If you have any comments about this olive oil cake please leave them below and I'll be happy to answer them as soon as I can! Happy baking!!!


PIN THIS POST

TASTY CINNAMON ROLLS RECIPE!

Growing up I used to take the subway home from school and everytime the train would pass through one particular station, the smell of freshly baked, glazed cinnamon rolls would fill the car. I would have to practically hold myself down to stop me from getting off the train, running up the stairs and spending my allowance on one (soemthing I allowed myself to do on occasion). To this day, cinnamon rolls always remind me of simpler times and so I have begun to make them at home.

To me, the best traits of a tasty cinnamon roll is that it’s super fluffy, with an almost gooey center, has a flavourful cinnamon rich filling and of course, a decadent cream cheese icing. If this sounds good to you, you’re going to love this tasty cinnamon rolls recipe!

* Please Note - Some links in this post may be affiliate links *

INGREDIENTS:

Makes 9-12 Rolls
Time:
30 Min for Yeast to Activate, 1.5 Hours for Dough to Rise, 1 Hour for Rolls to Double, 35 Minutes for Cooking

Cinnamon Roll Dough
1 CUP of Warm Milk
1 TBSP of Vanilla Extract
2.5 TSP of Instant Dry Yeast
1/2 TSP of Salt
2 Eggs - at room temperature
1/3 CUP of Unsalted Butter - melted
1/2 a CUP of White Sugar
3.5 CUPS of All Purpose Flour
Pinch of Ground Nutmeg
1 TSP of Ground Cinnimon
Olive Oil - for greasing the bowl

Cinnimon Roll Filling

1 CUP of Brown Sugar
2 TBSP of Cinnamon
1/2 TSP of Nutmeg
1/3 CUP of Softened Unsalted Butter

Optional Topping While Baking

3/4 Cup of Heavy Cream

Cream Cheese Icing For Cinnamon Buns

4 OZ of Cream Cheese - softened
1/4 CUP of Unsalted Butter - softened
1 TSP of Vanilla
1/8 TSP of Salt
1.5 CUP of Powdered Sugar - sifted
2-4 TBSP of Half and Half (or Milk)


CHECK OUT THESE OTHER SWEET RECIPES


HOW TO MAKE CINNAMON BUNS:

Cinnamon Roll Dough

The first thing you need to do is make the cinnamon roll dough. In a mixing bowl, dissolve sugar in the warm milk before sprinkling in the yeast. Allow the yeast to proof until it rises, thickens and bubbles.

When ready whisk in eggs, vanilla, melted butter, and salt.

In a separate bowl, combine remaining dry ingredients - flour, cinnamon, and nutmeg - with sugar. Whisk until well incorporated.

Place mixing bowl with wet ingredients on your stand mixer and using a dough hook, gradually add the flour mixture to it about 1/2-1 CUP at a time.

Once a dough starts to form, remove mixture from the mixing bowl onto a floured surface and knead gently until a soft dough is formed that is no longer sticky.

Place the dough in a bowl greased with olive oil. Cover dough with a cloth or kitchen town and place somewhere warm where it will not be disturbed, to rise until it doubles in size (approximately 45 minutes to 1 hour).

Once dough has doubled in size, you are ready to preheat the oven to 350 degrees, grease a baking dish with butter ( around 9x9 inches), and prep your work surface with flour.

Cinnamon Roll Filling

Next, we need to make the cinnamon roll filling! In a bowl, combine the cinnamon, nutmeg, and sugar, and whisk together until well incorporated.

Roll out dough into a rectangular shape on floured surface until 1.4 inch thick.

Spread the butter out evenly on the surface of the dough before sprinkling the filling gernerously on top. Make sure to stay 1 inch away from one of the shorter edges of the rectangle.

When ready, start to gently roll the dough into a log starting from the opposite end of the unbuttered edge

Using a piece of unflavored and unscented dental floss cut rolls into 1.5 inch thick rolls.

Place rolls in your buttered baking dish allowing for room for them to expand further. When done, cover again with a cloth and place the rolls in a warm spot so they can again double in size.

Bake rolls for 7-10 minutes. Take out the roll and top each roll with a few tablespoons of heavy cream. This is optional but it does help them become super gooey and fluffy, so if you like fluffy cinnimon rolls I highly recommend doing this step! Return the rolls to the oven and continue to bake until they become a deep golden brown (approximately 25 minutes). If the rolls are getting a bit too brown at the 20 minute mark, I recommend covering them loosely with a sheet of foil and allowing them to continue to bake.

When done, remove baking dish from oven and allow to cool.

Cream Cheese Icing For Cinnimon Buns

While the rolls are cooling you can now work on the cream cheese icing for the cinnimon buns!

Whisk together cream cheese, butter, vanilla, 2 TBSP of half and half (or milk), and Salt in a bowl. Add in your powdered sugar bit by bit until fully incorporated. NOTE: You can use half and half (or milk) and confection sugar to adjust the frosting consistency to how you desire.

Spread the frosting over the warm tasty cinnamon rolls and serve! Keep rolls covered and refrigerated when storing.

Enjoy!


FOLLOW ME ON INSTAGRAM @ISTHATSOH


I hope you enjoyed this ‘tasty cinnamon rolls with cream cheese icing’ recipe as much as I do. If you have any comments please leave them below and I'll be happy to answer them as soon as I can! Happy baking!!!


PIN THIS POST

SHAMROCK MATCHA FUDGE

With spring now on the horizon I am looking forward to good weather and celebrating Easter and St. Patrick’s Day in March. To help me get in the festive spirit I decided to whip up some white chocolate fudge with a matcha dessert twist to help it not only turn green but become a perfect St. Patrick’s Day dessert. Although they are as delicious and can easily be cut into matcha squares, I decided to take the theme a little further using my little shamrock cookie cutter to achieve these adorable shamrock match fudge morsels. If you are a matcha lover or looking for new ways to use Matcha powder, you are going to love this St. Patrick’s Day Recipe. But don’t take my word for it, try for yourself. Enjoy!

* Please Note - Some links in this post may be affiliate links *

INGREDIENTS:

Apx 16 Shamrocks

3/4 CUP of Condensed Milk
1.5-2 TBSP of Powdered Matcha - depending on how strong you want the matcha flavour
14 oz White Chocolate
1/2 TSP of Salt
1 TSP of Vanilla Extract
1 TBSP of Matcha for decorative dusting at the end

You will also need:
1.5 Inch Shamrock Cookie Cutter
8x8 Baking Pan
Parchment Paper
A Fine Sifter
Spatula


OTHER NOTEWORTHY DESSERT RECIPES


DIRECTIONS:

Pour condensed milk into a bowl and sift in your matcha.

Using a double boiling method, stir the matcha into the condensed milk until it is well incorporated on a medium low heat.

Next, add in the white chocolate and continue to double boil until it has melted completely and is well mixed.

Next, add in your salt and vanilla, stir.

Pour mixture into lined baking pan and store at room temperature for 15 minutes before moving to the fridge for an additional 3 hours.

When fully cooled, cut out shamrock shapes using your cookie cutter and place on a non stick surface.

Sprinkle with more sifted matcha.

Store in fridge until you are ready to eat.

Enjoy!

These can be packaged and left in the freezer for a month.


FOLLOW ME ON INSTAGRAM @ISTHATSOH


I hope you enjoyed this recipe as much as I do. If you have any comments please leave them below and I'll be happy to answer them as soon as I can! Happy cooking!!!


PIN THIS POST