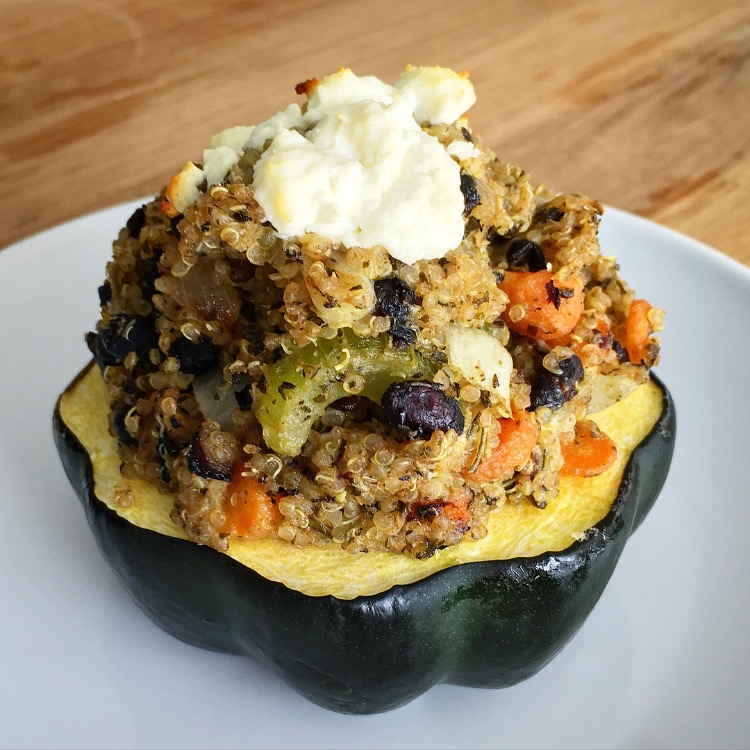
STUFFED ACORN SQUASH - VEGETARIAN AND VEGAN OPTIONS

I have tried many different squash recipes, but this has to be one of my favorites. My girlfriend Lili made it for me the other day when I went to her house for dinner and it was not only healthy, but really tasty so of course I had to share the recipe with you guys. You can add any veggies that you like and can even switch up the pesto for tomato sauce if you want. Be creative but most of all have fun!

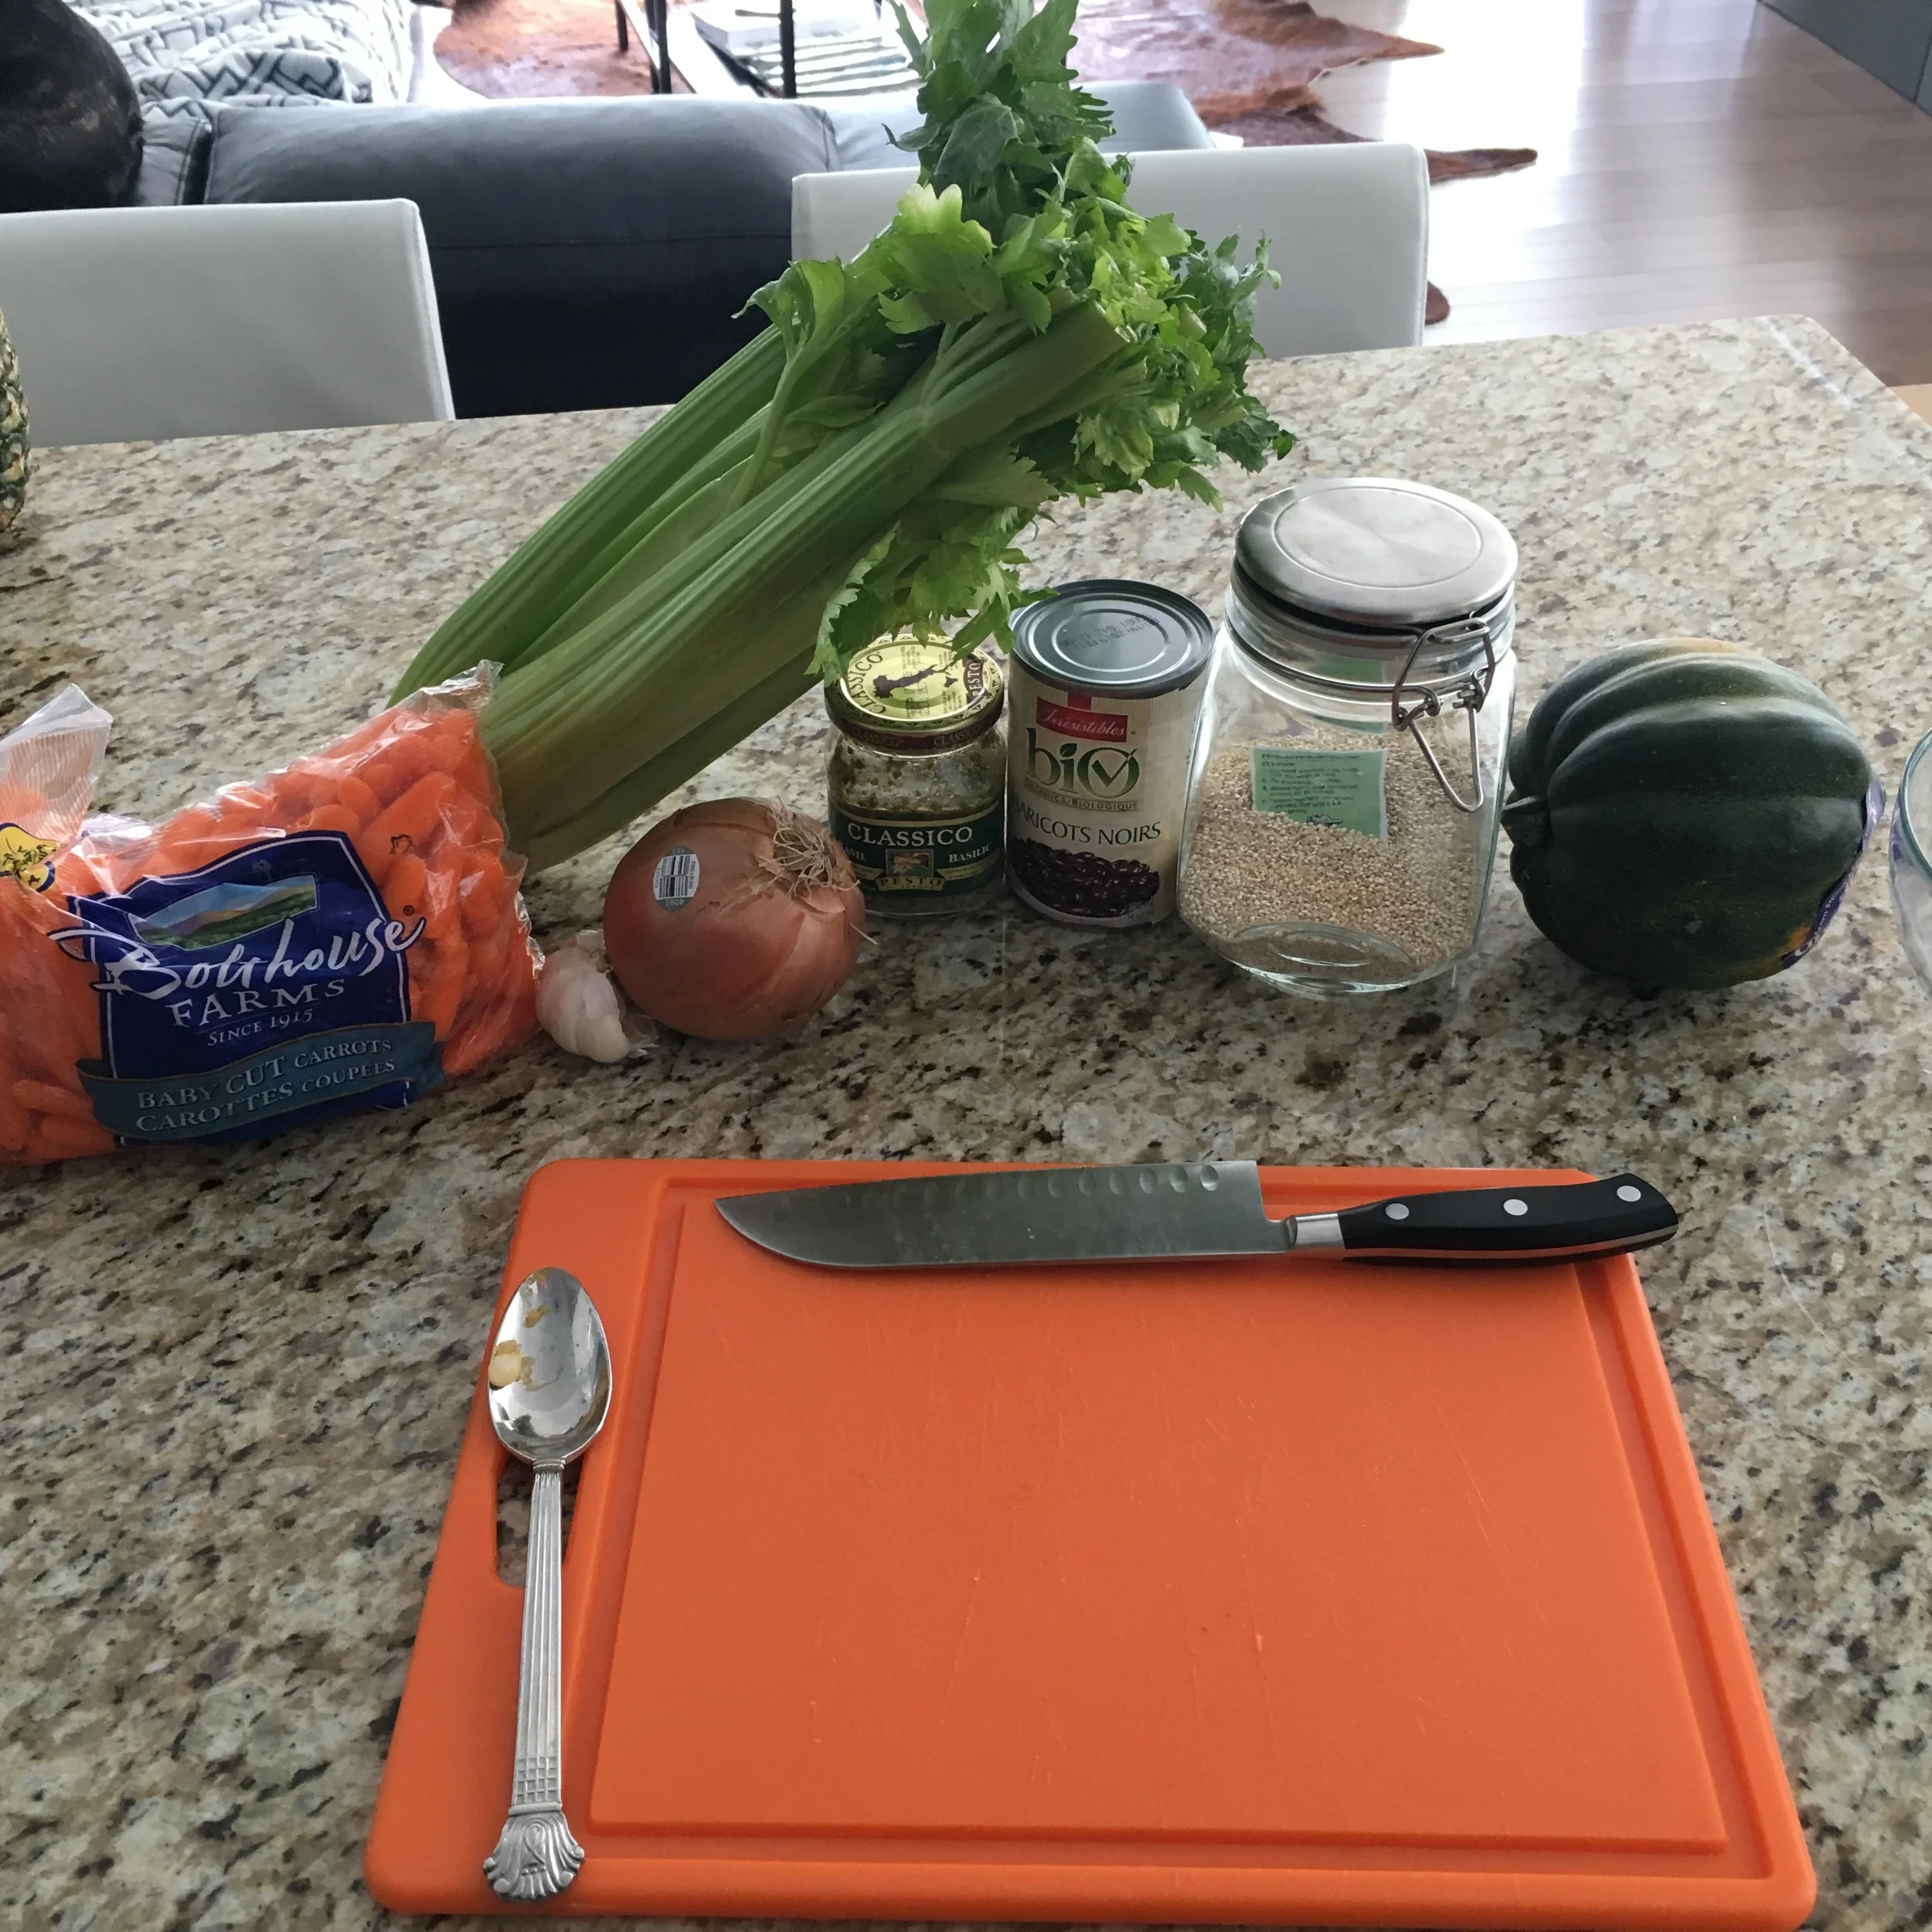
INGREDIENTS:

1 - 2 Acorn Squash
3/4 Cup of Uncooked Quinoa
1-2 TBSP of Olive Oil
1/2 Medium Spanish Onion (chopped)
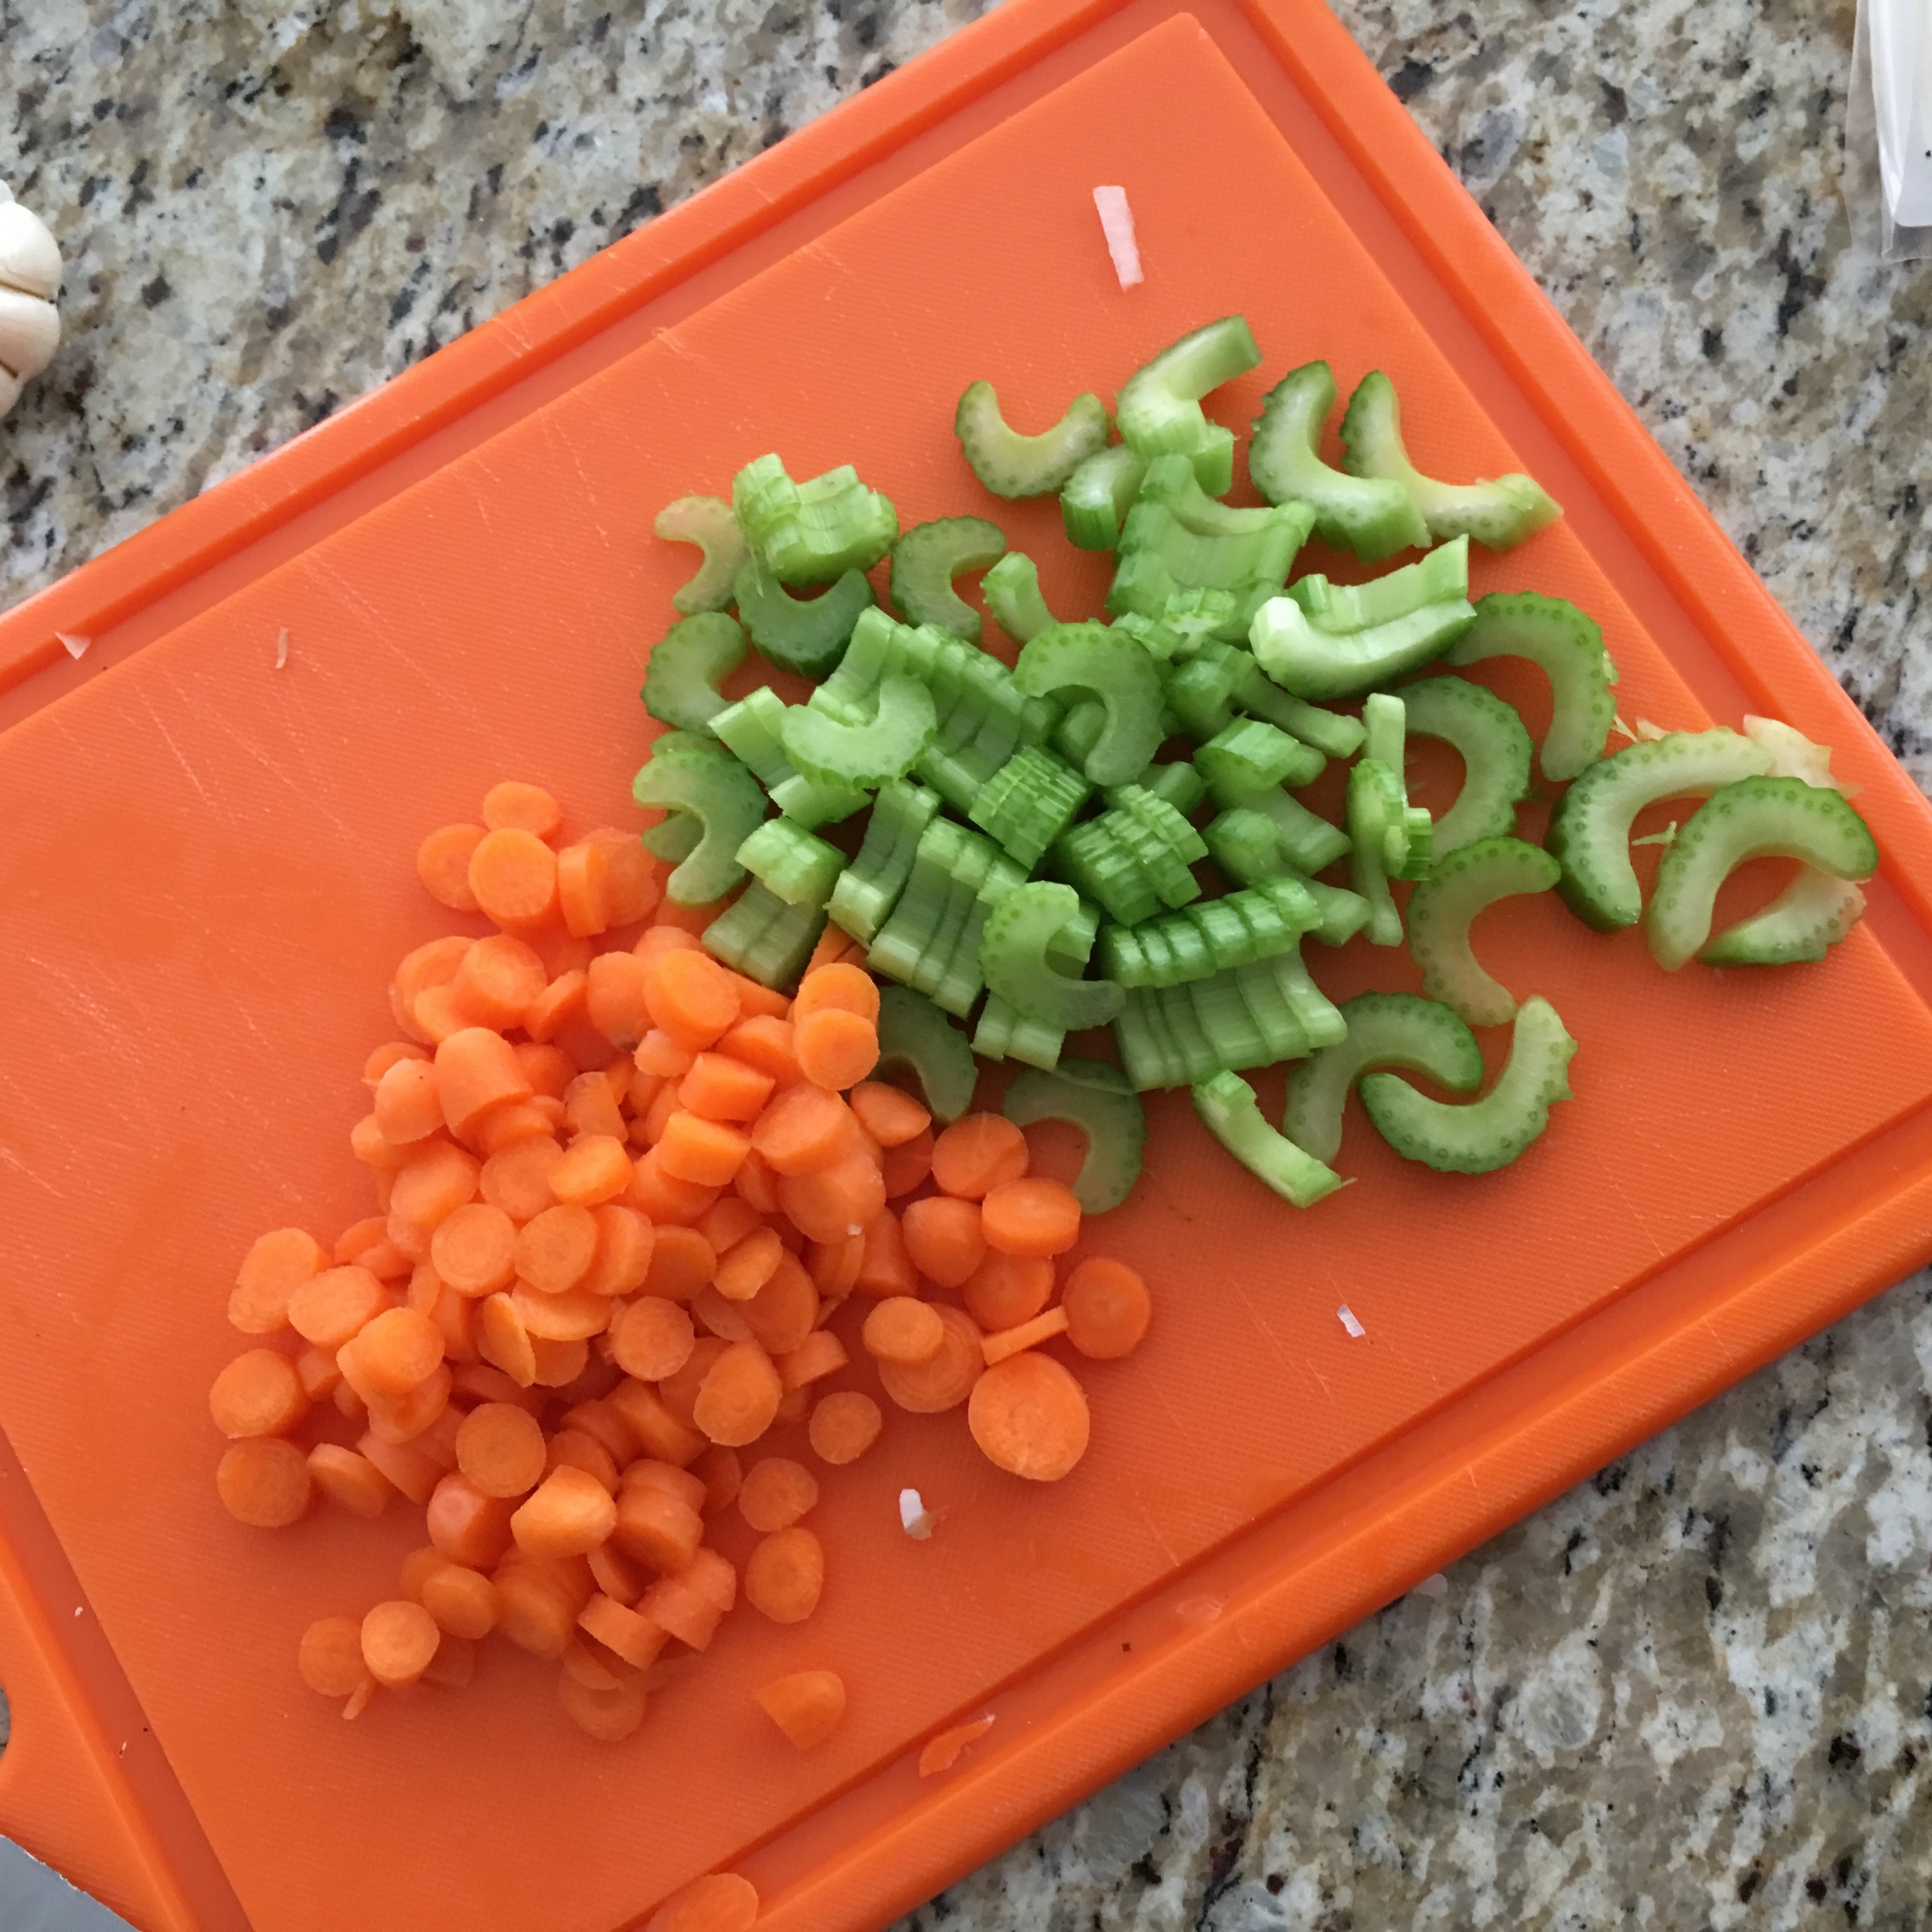
2 Celery Stock (chopped)
2 Clove of Garlic (minced)
1/2 Cup of Carrots (chopped)
1/2 Cup of Black Beans (drained and rinsed)
Pesto Sauce
2-3 TBSP of Goat Cheese, Feta Cheese, Halloumi (whichever you prefer/optional)
Salt and Pepper to taste

DIRECTIONS:

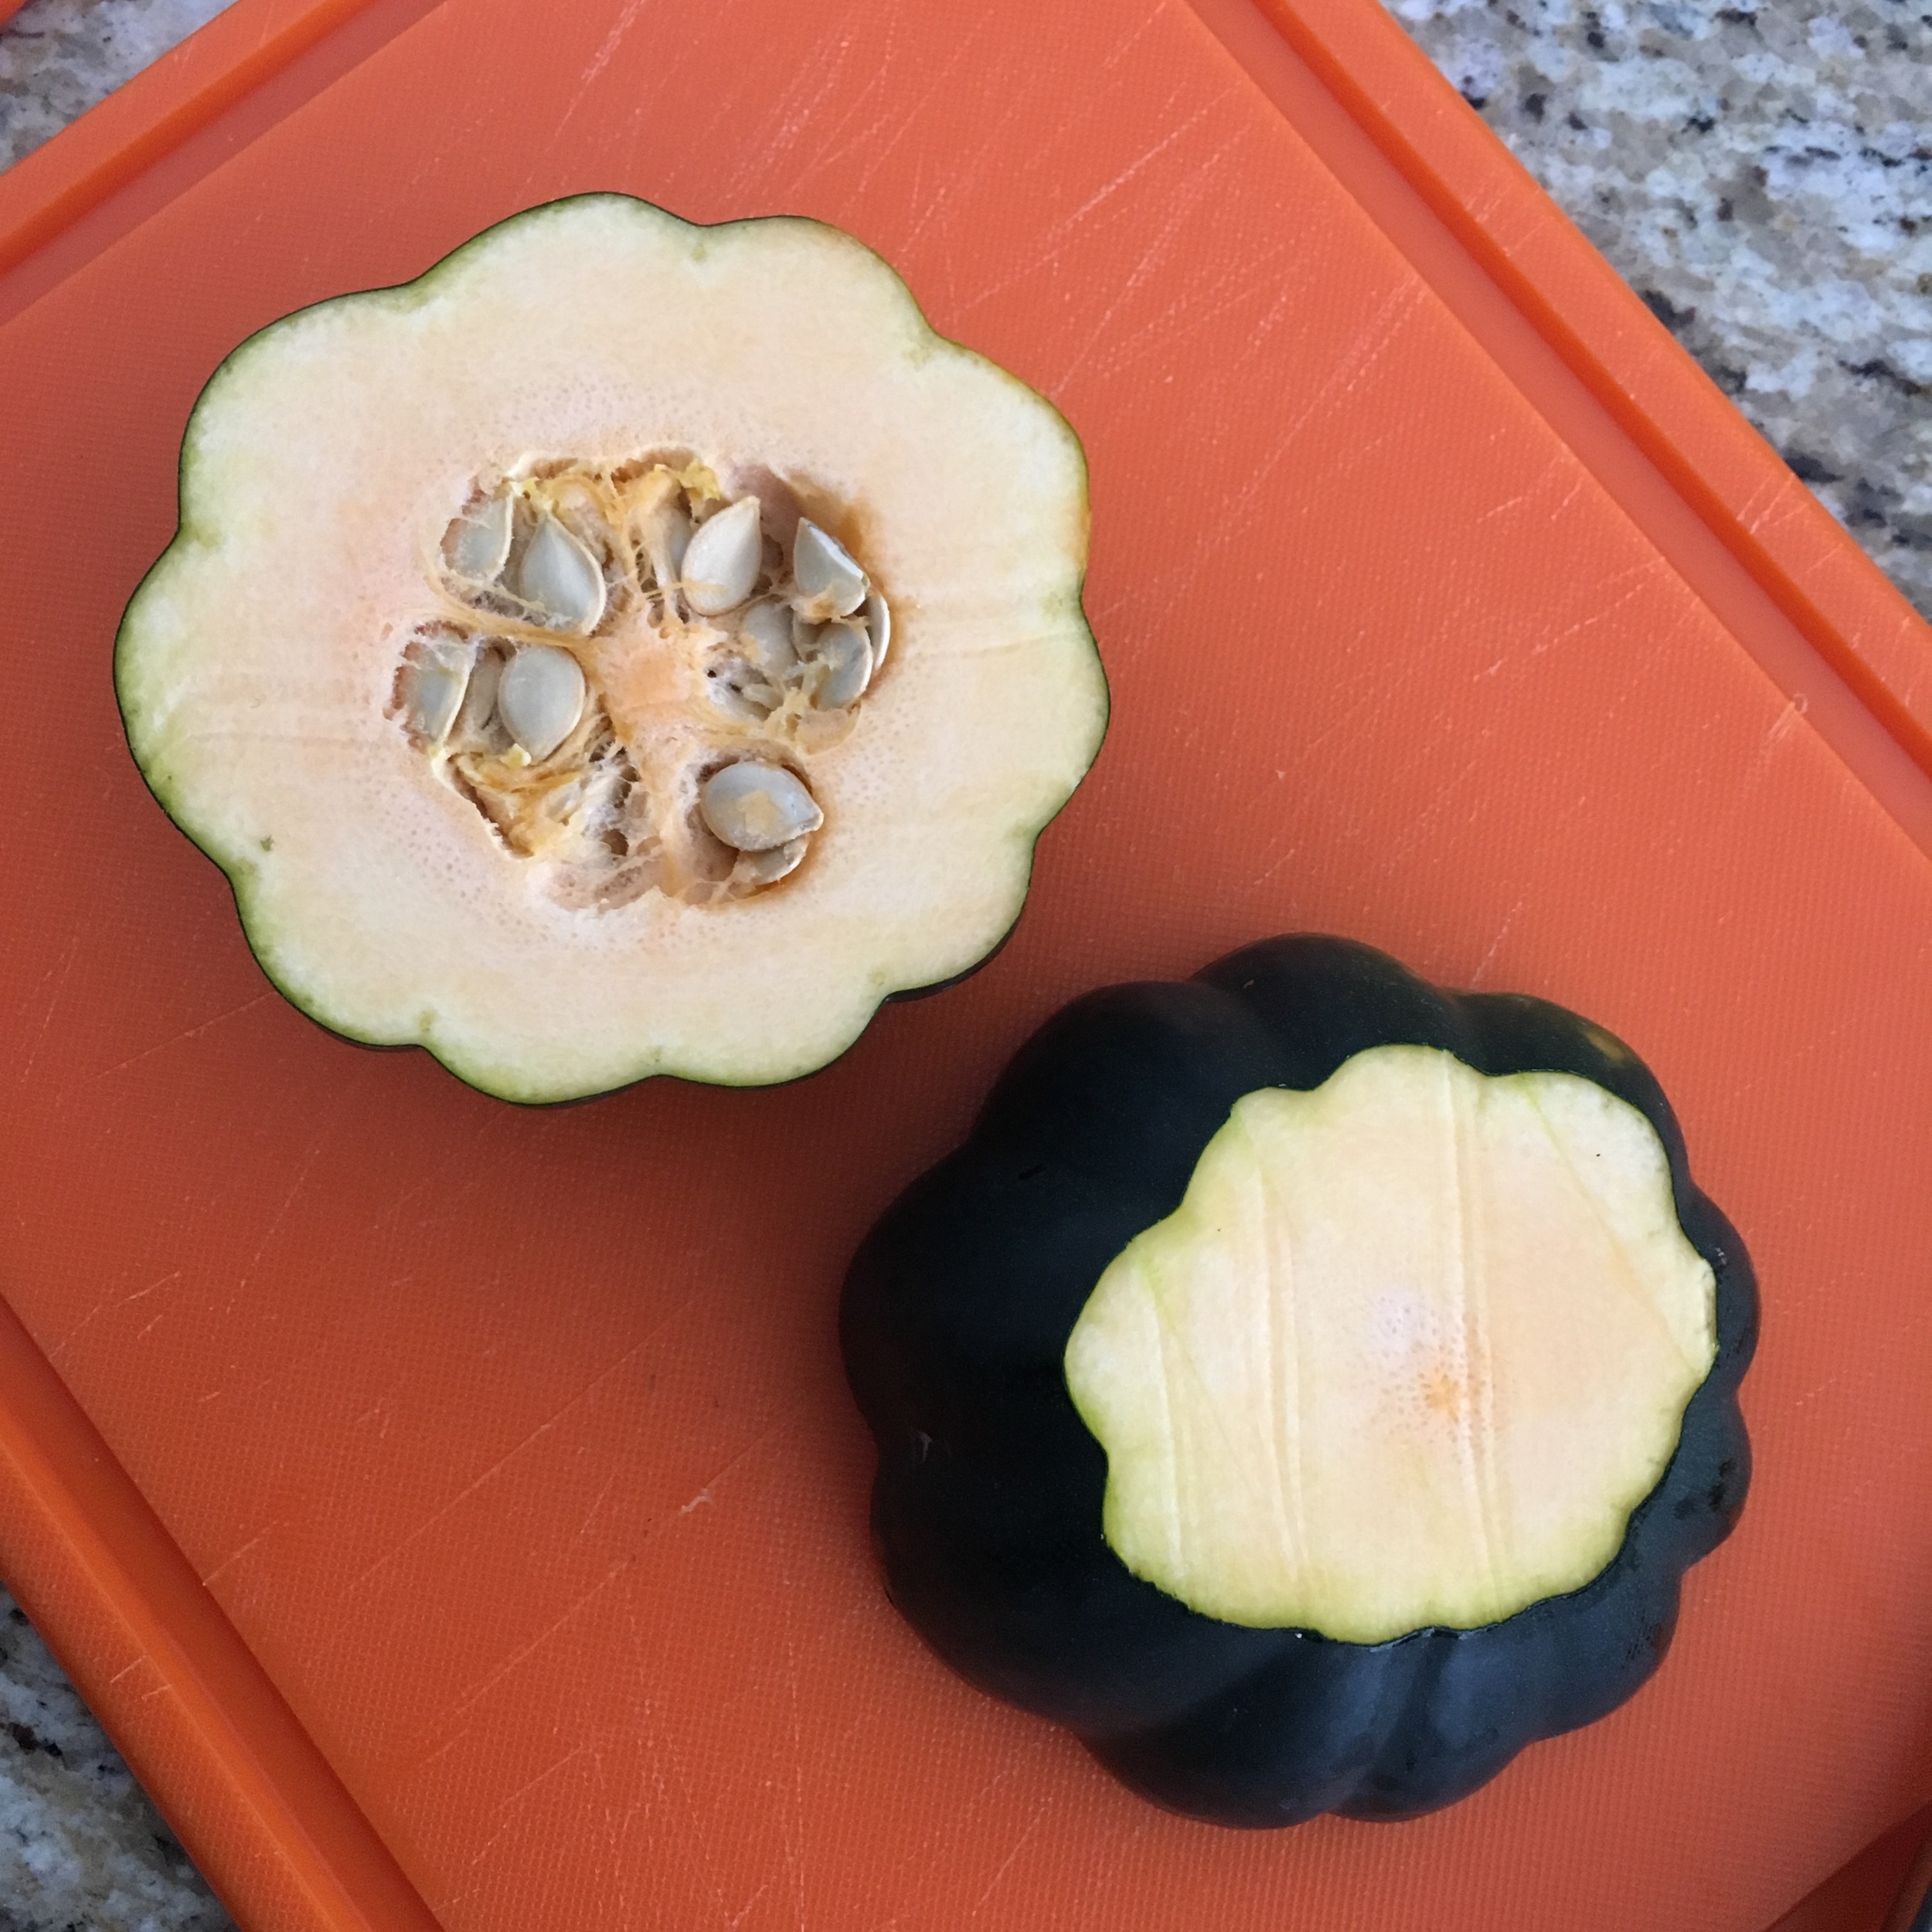
Preheat oven to 350 degrees. While oven is warming up go ahead and cut a small portion of the top and bottom of your acorn squash off to help it sit up straight. Next cut the squash in half, width-wise, and remove the seeds from the inside.

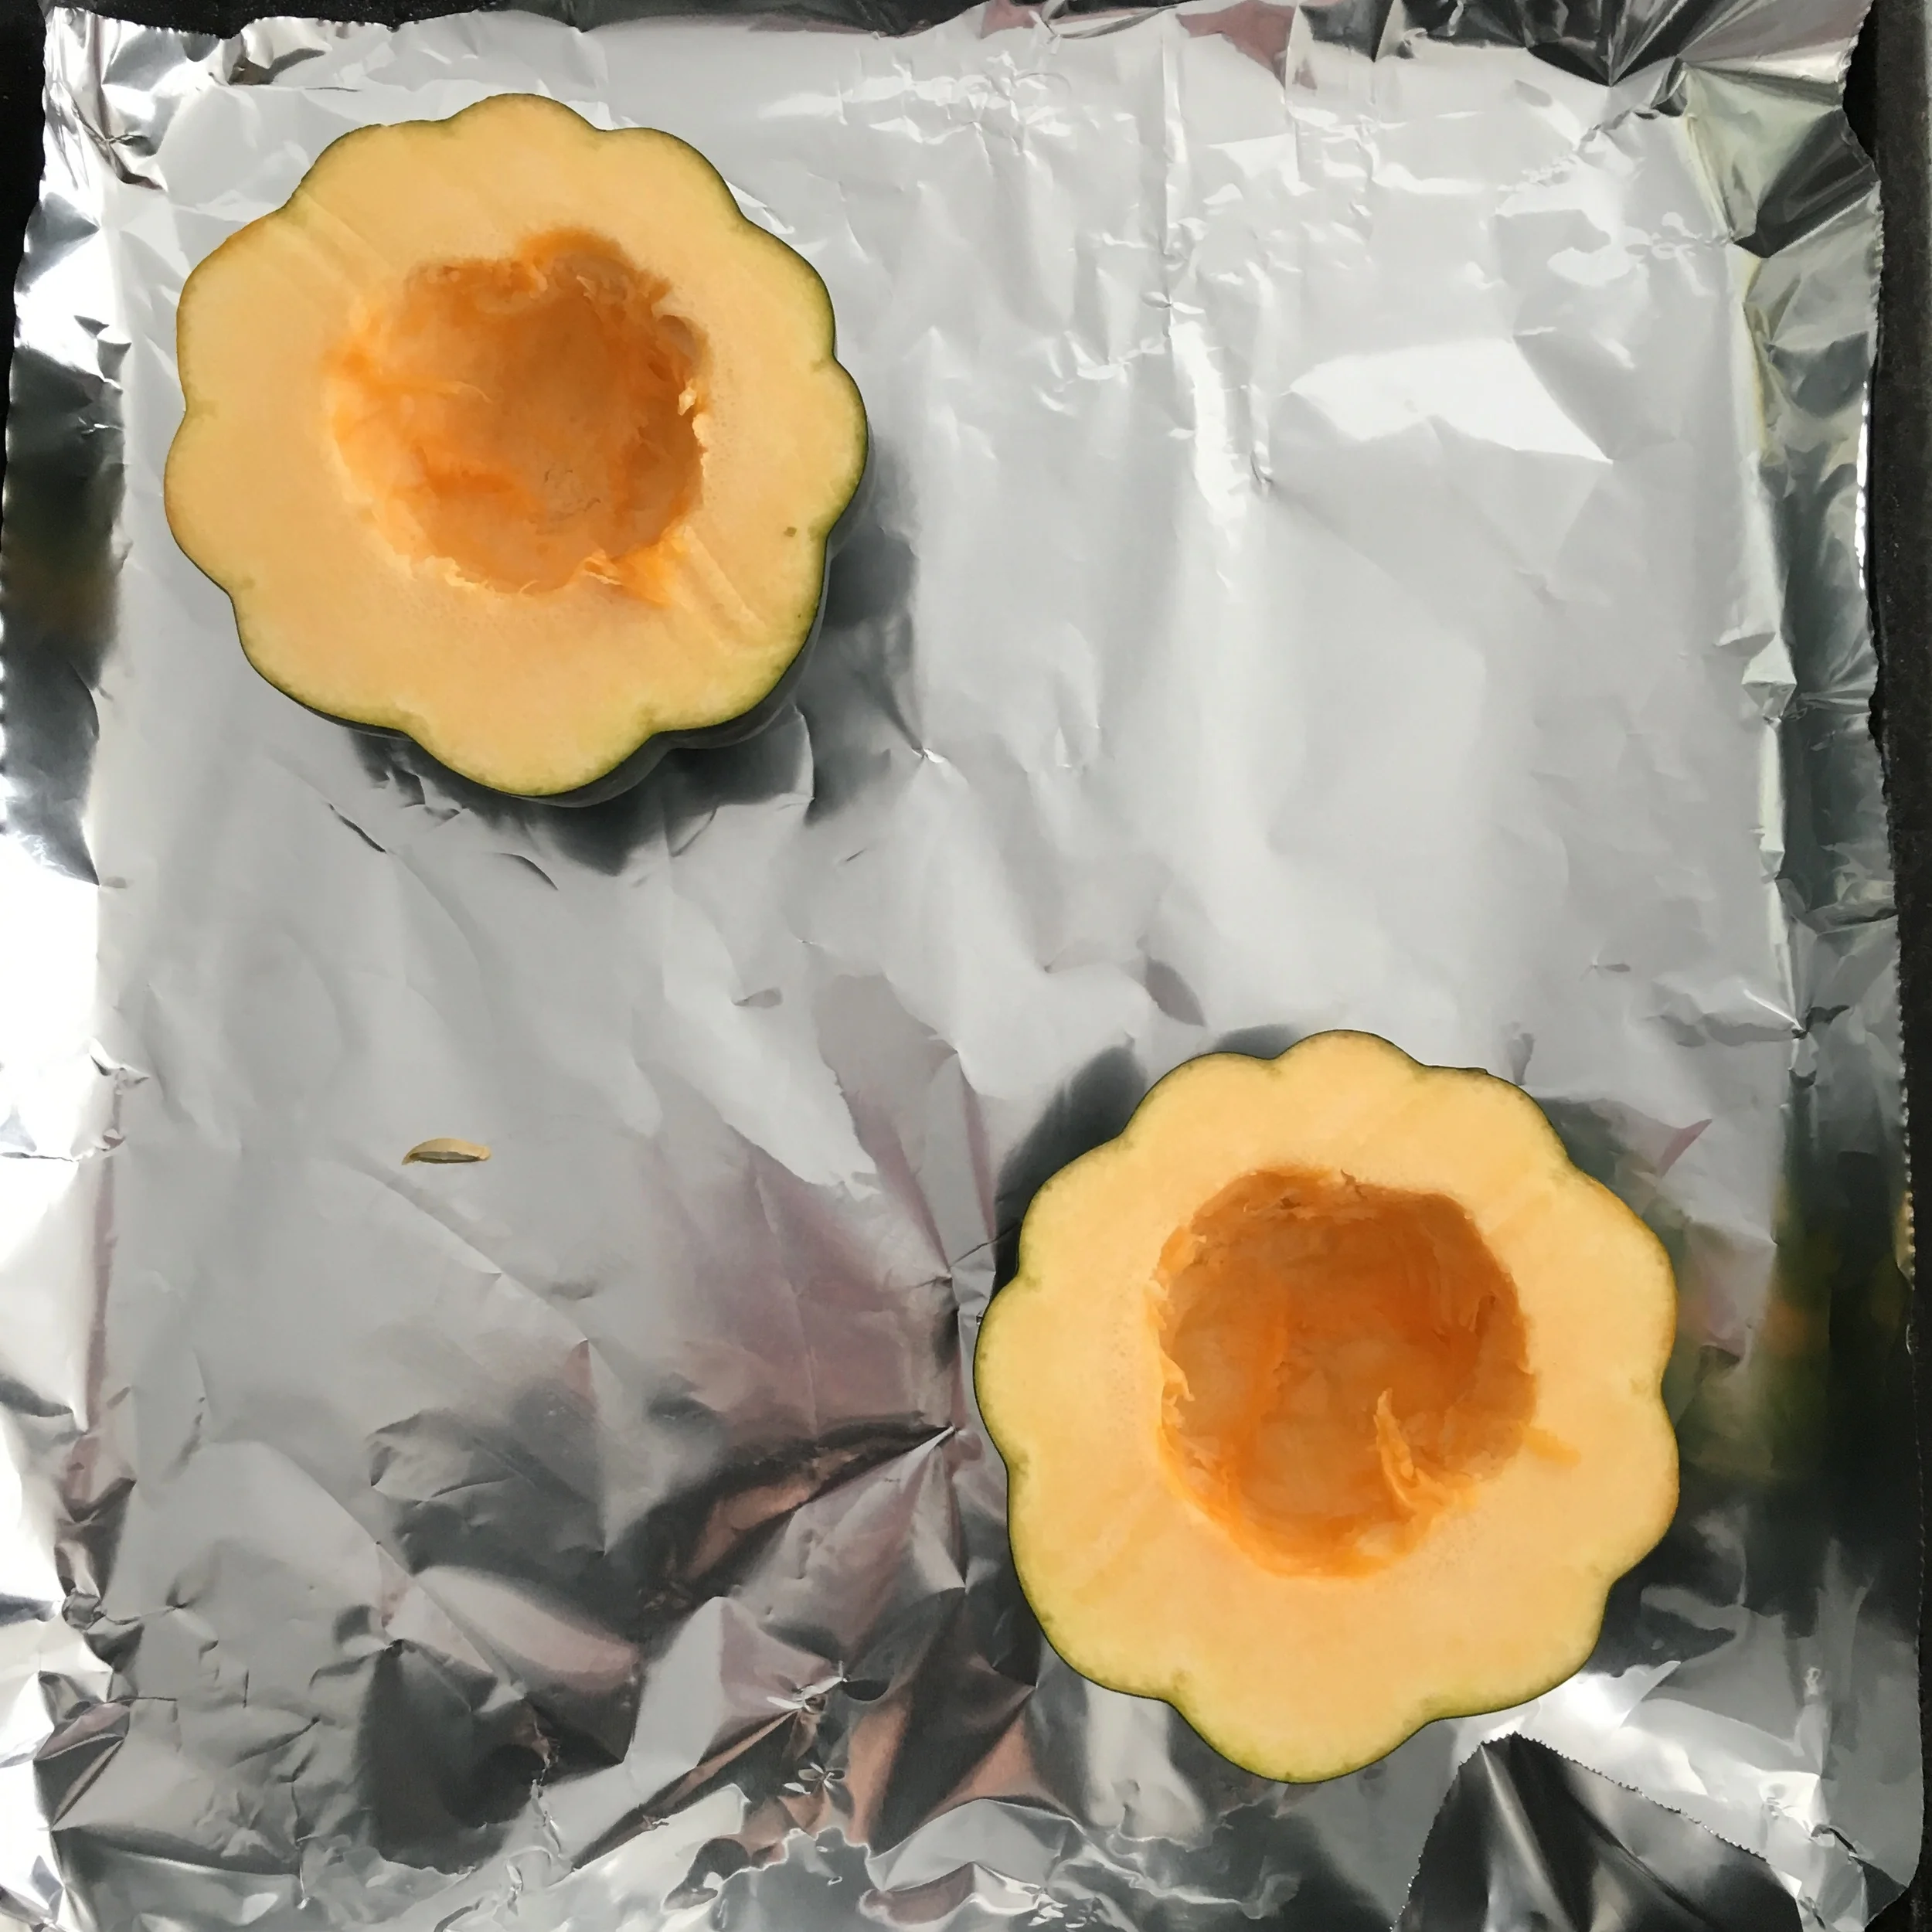
Place the squash on a baking tray that is lined with aluminum foil and bake for 30 minutes.

In the meantime make your quinoa.

While you are waiting for your quinoa to cook you can add the olive oil to a pan and throw in your chopped onions, celery, carrots, garlic and black beans. Sauté until the onions become translucent. I also like to salt and pepper my veggies as they are cooking

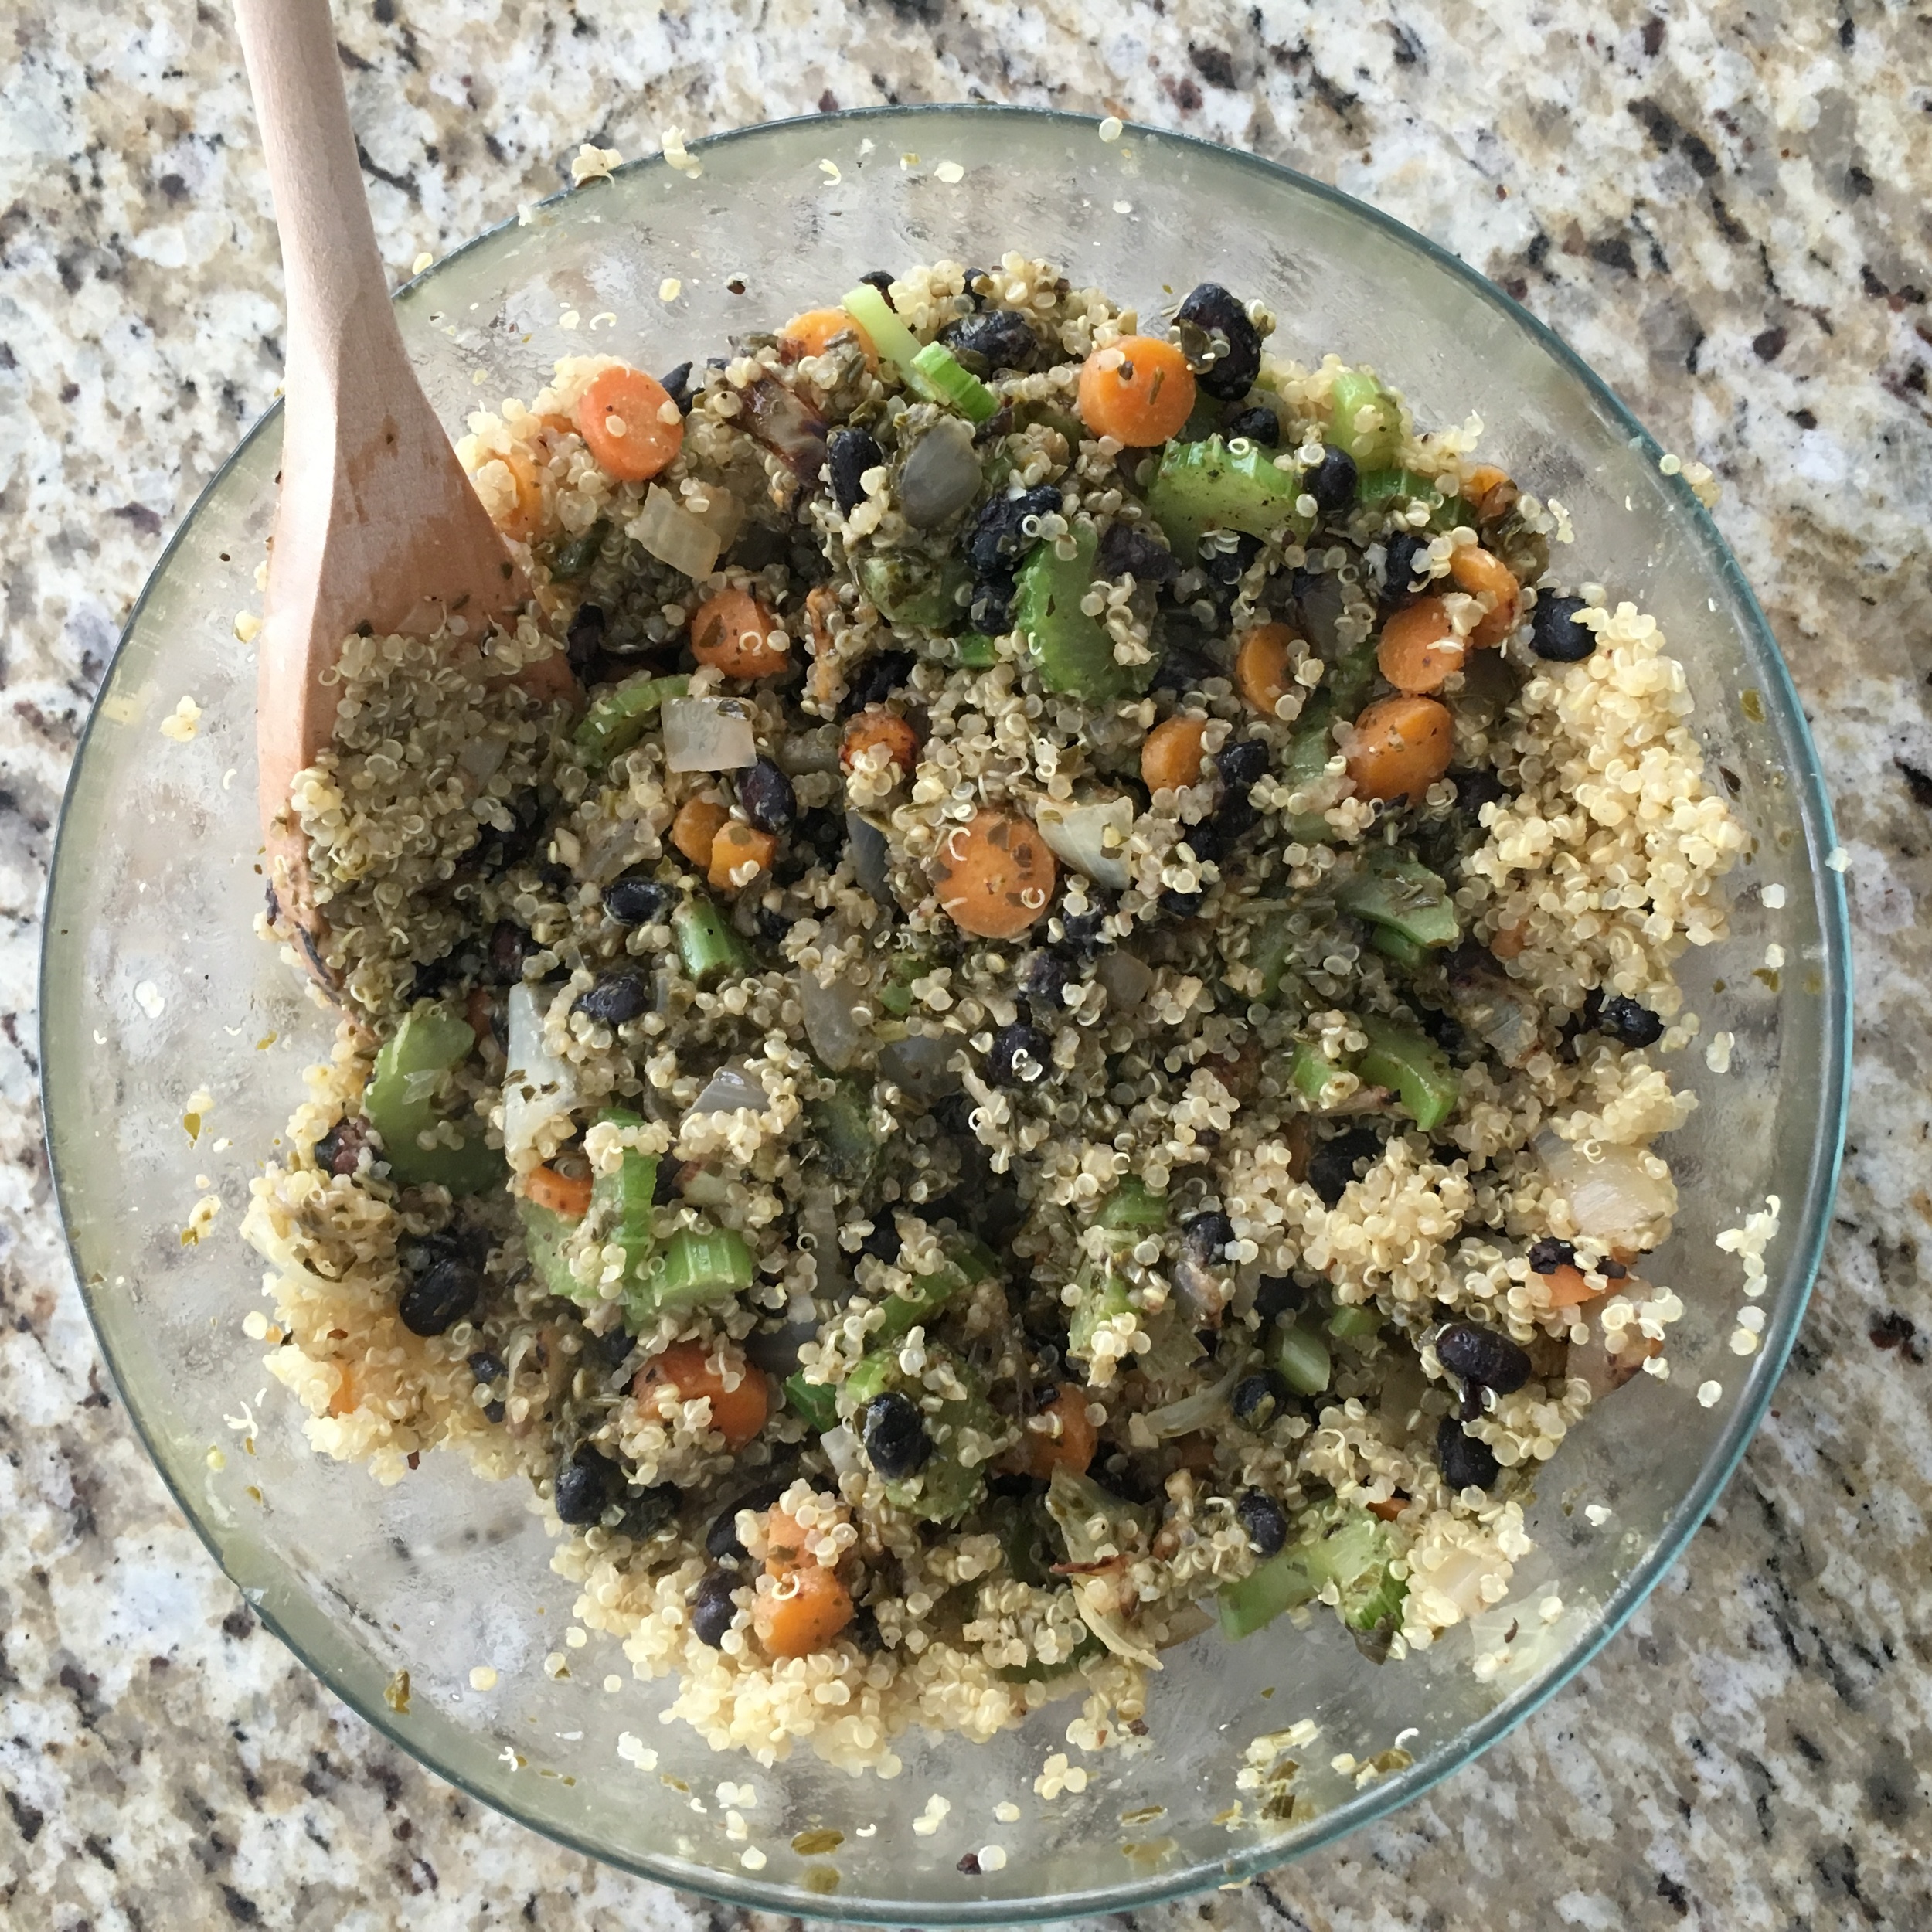
Once the quinoa is ready transfer to a bowl, add in your pesto and sauteed vegetables. Mix together. At this point you can add in your cheese if you want. Save a little for garnish!!

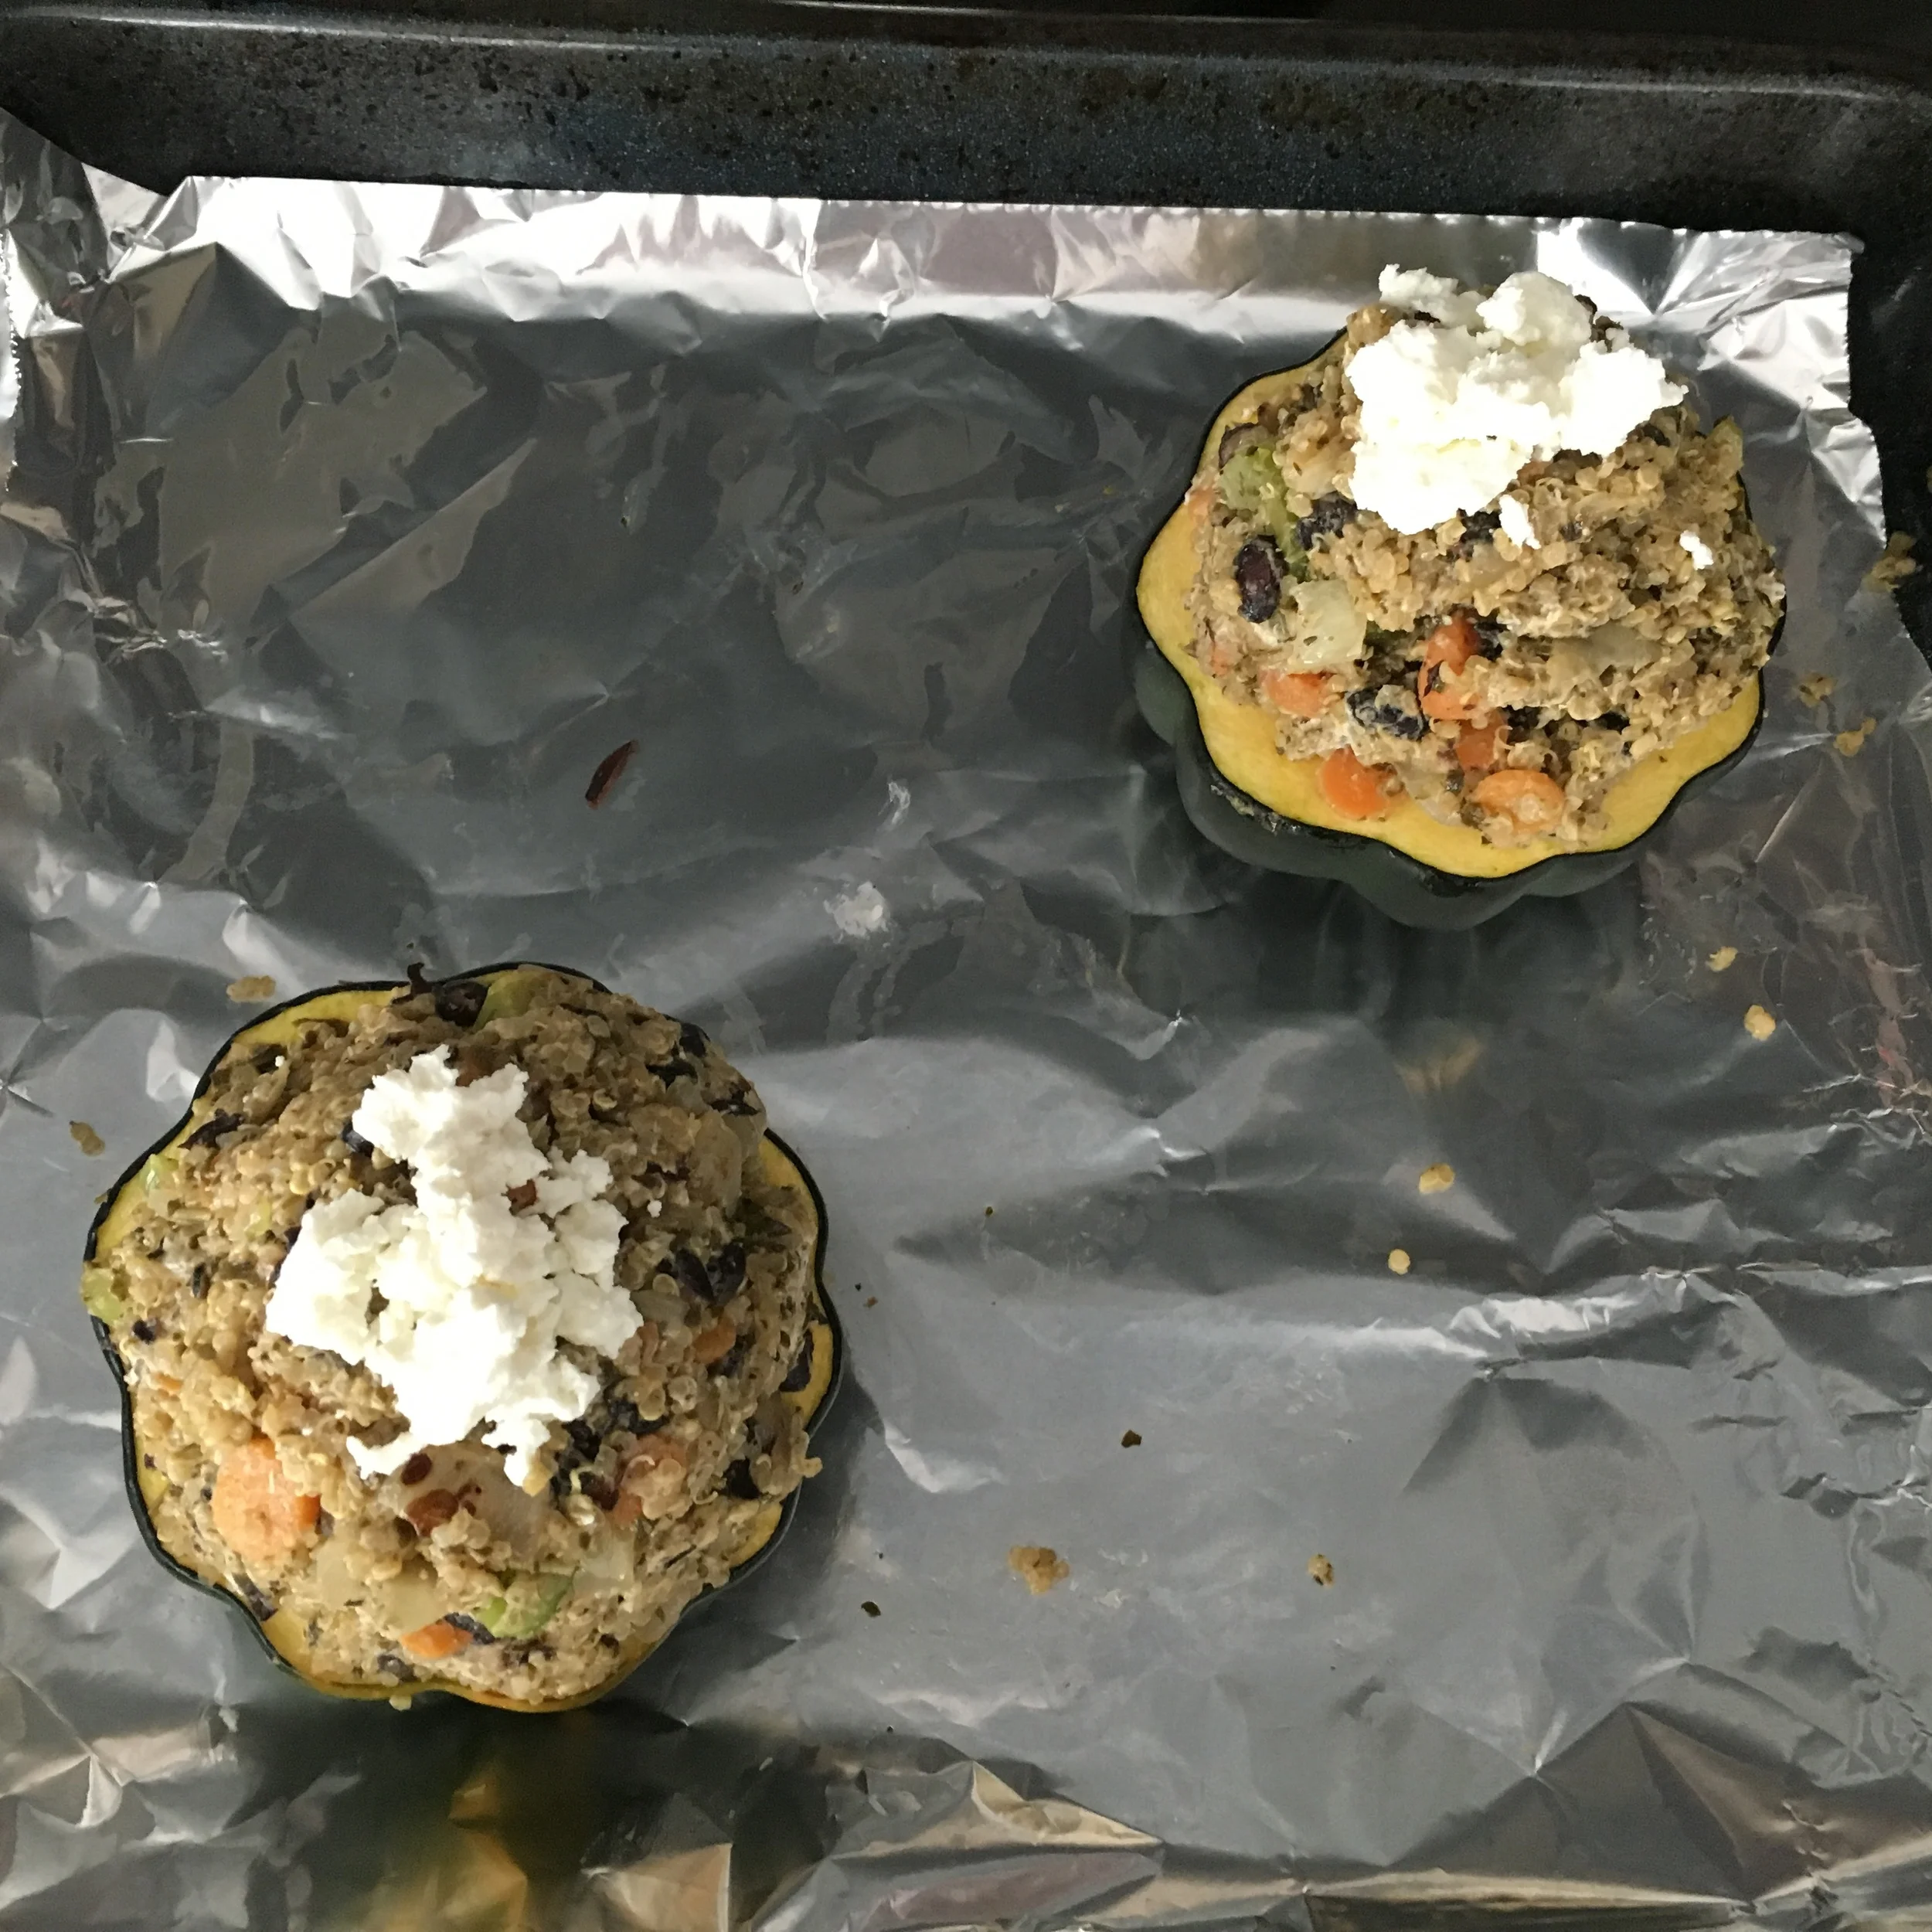
Once the squash has been in the oven for 30 minutes remove and stuff with the quinoa mixture. Garnish with cheese and pop back in the oven for an additional 30 minutes.

Once ready remove from oven and serve warm. Enjoy!


I hope you enjoyed this recipe as much as I do. If you have any comments please leave them below and I'll be happy to answer them as soon as I can!  Bon Appetite!!!

STUFFED & FRIED ZUCCHINI FLOWERS (SQUASH BLOSSOMS)

Okay so these fried zucchini flowers are actually amazing!!! I learned about them on my recent trip down to Todos Santos, Mexico and they are now one of my favorite new things. Think fried artichokes but stuffed with whatever your palate desires. You dont need to dip them in anything because they are delicious and flavorful all by themselves. You just need to try them! TRUST ME!

INGREDIENTS:

Stuffing - You can honestly do whatever you want here. I did the following:

1-2 Cups of Chorizo (taken out of its casing and pre-cooked)
1 Cup of Quinoa (pre cooked and cooled)
1/2 Cup of Cubed Cheese (I used a soft white cheese)

Olive Oil
12-20 Zucchini Flowers (washed)
2 Eggs (whisked)
1-2 Cups of All Purpose Flour
Salt (as desired)

DIRECTIONS

Cook your quinoa and let it cool.

Take your Chorizo out of the casing and fry it up. Once finished set aside to cool.

Once cooled mix your Chorizo, quinoa and cheese together. This will be your stuffing. Open the center of the flower and add in your stuffing (1-2 TSP) and set aside till all flowers are stuffed.

Once you are ready to fry up the flowers add oil to a pan and let it heat up on medium heat.

Roll your stuffed flowers into your flour followed by your egg wash and again in your flour before plopping it in the oil. Once four or five of them are in your pan make sure you rotate them so they dont burn and allow those to cook until they are golden. (If you notice that they are cooking to quickly and getting burnt turn the heat to low)

Once ready remove the flowers from the the pan and set aside on a plate covered in paper towel to absorb excess oil.

Continue battering and cooking the rest of your flowers until you are done. Lightly salt the plate full of flowers before serving!


I hope you enjoyed this recipe as much as I do. If you have any comments please leave them below and I'll be happy to answer them as soon as I can! Happy cooking!!!


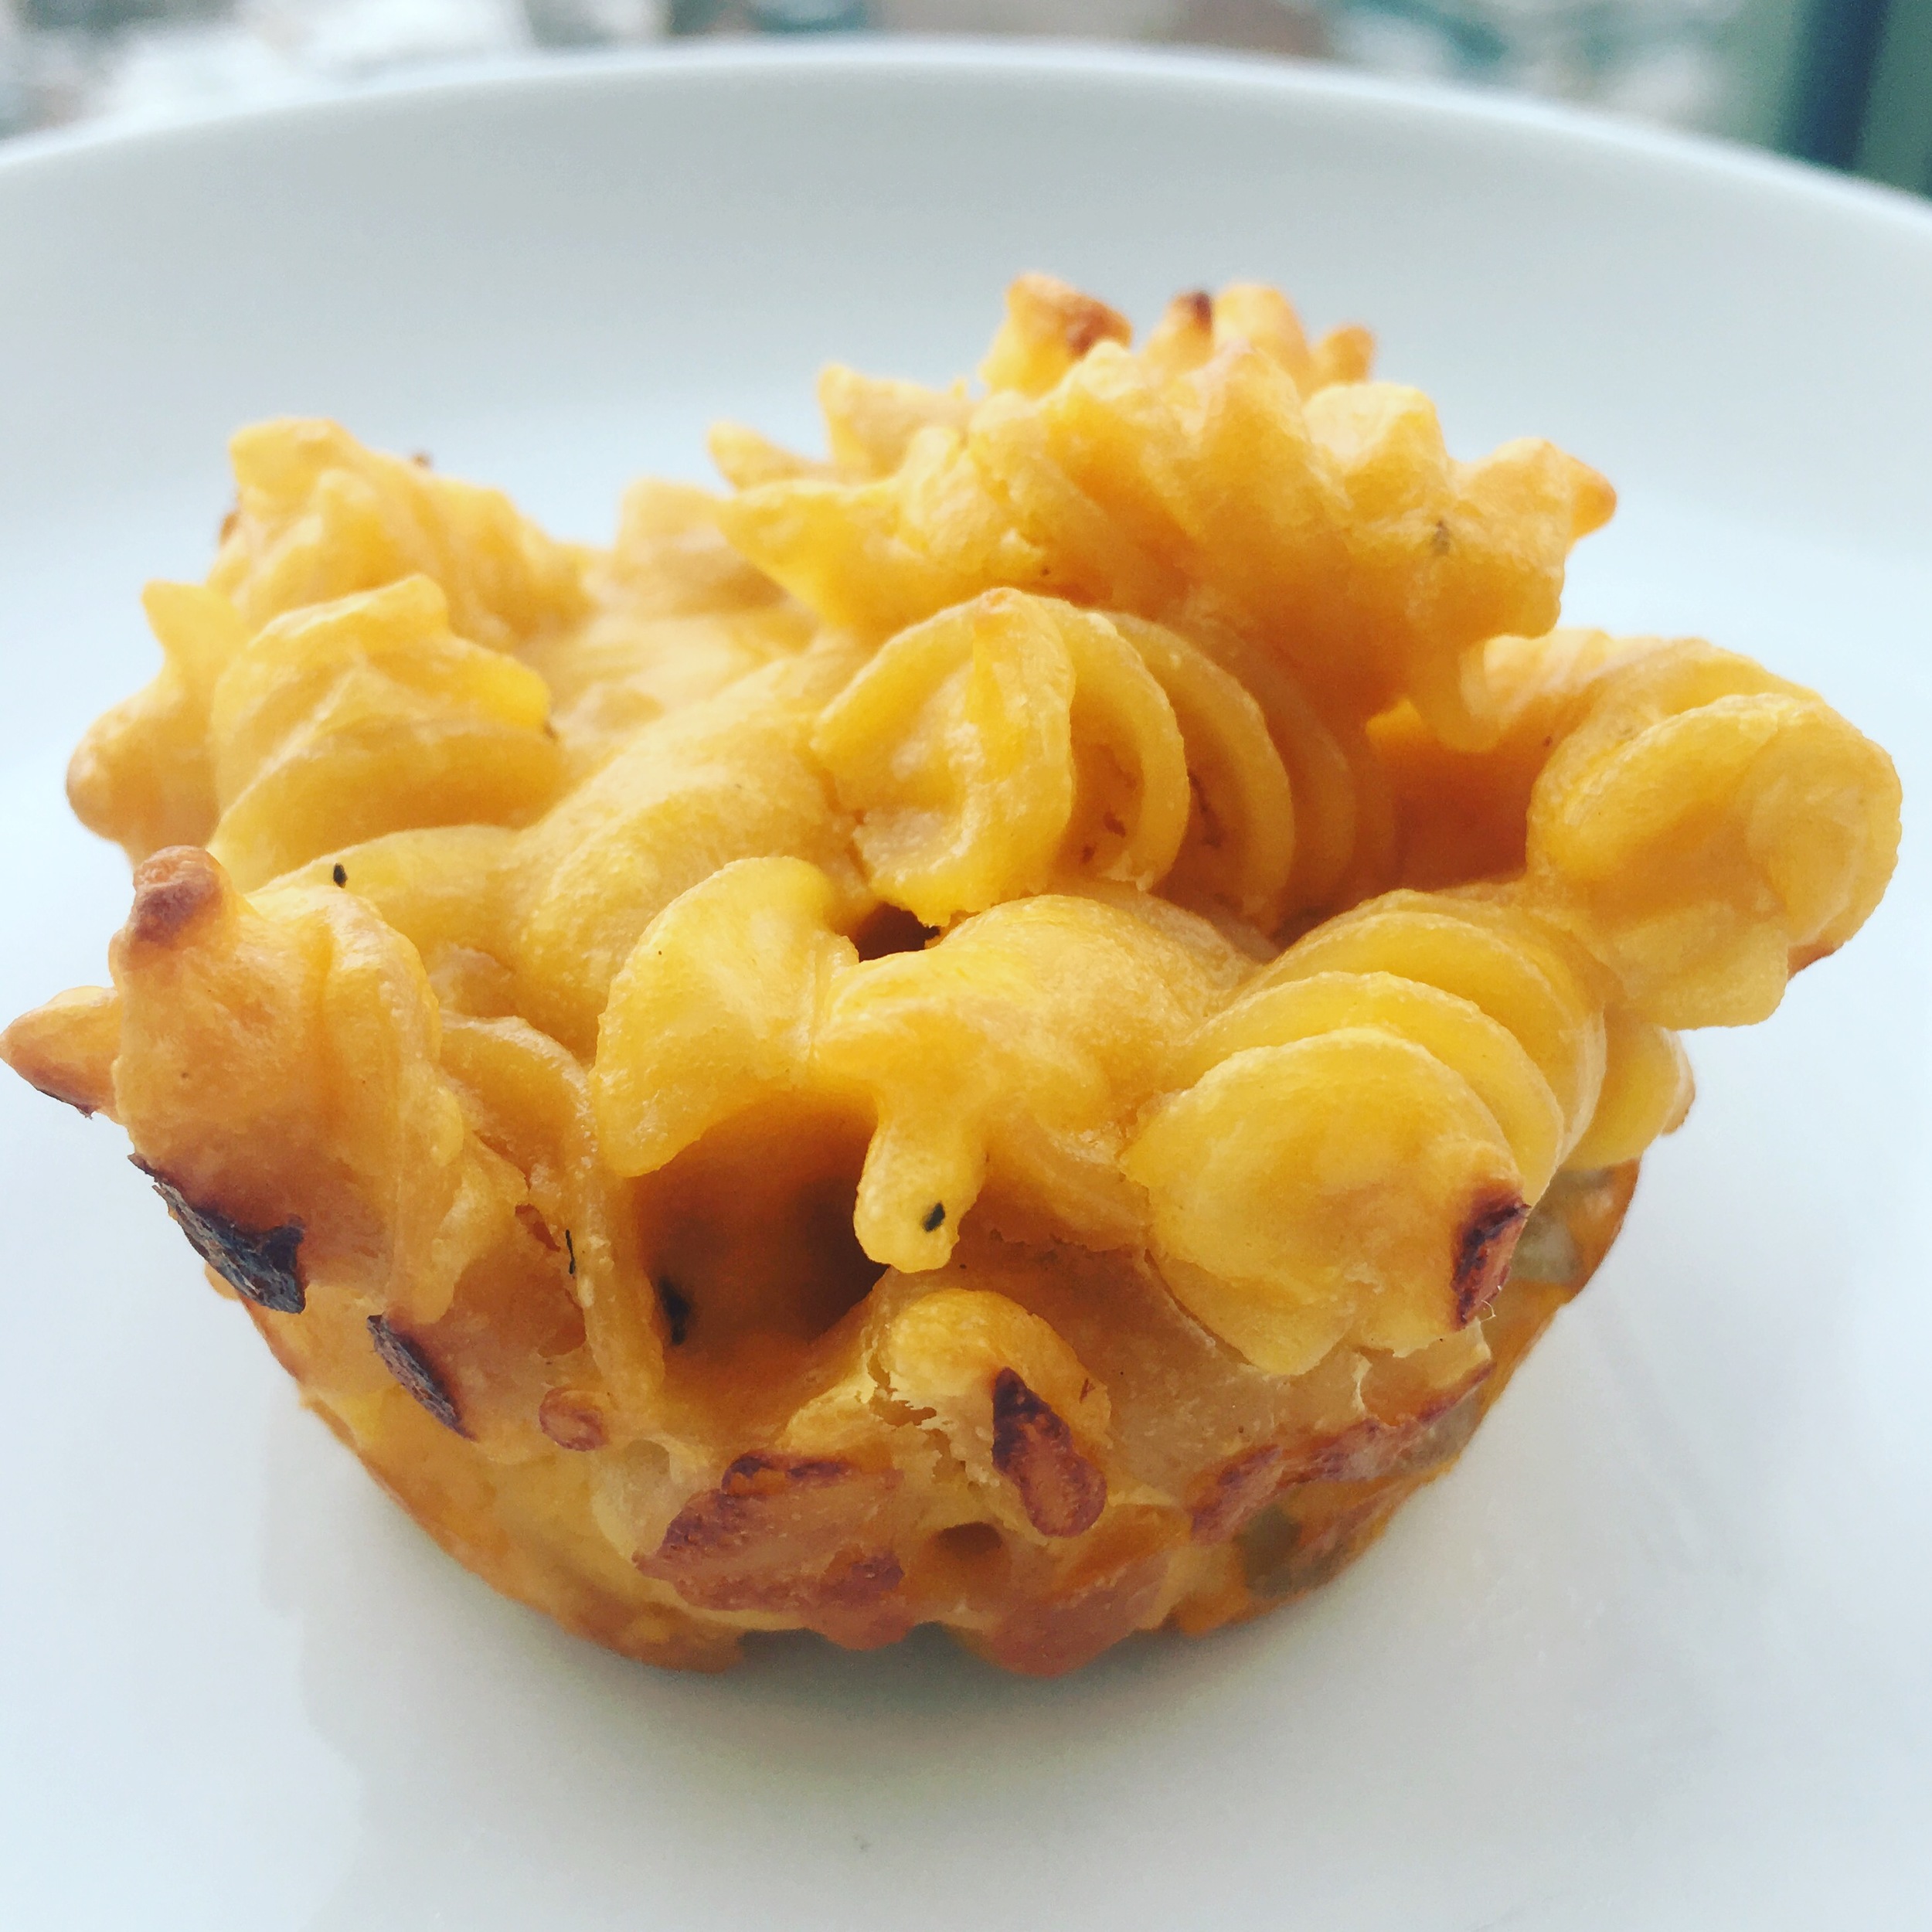
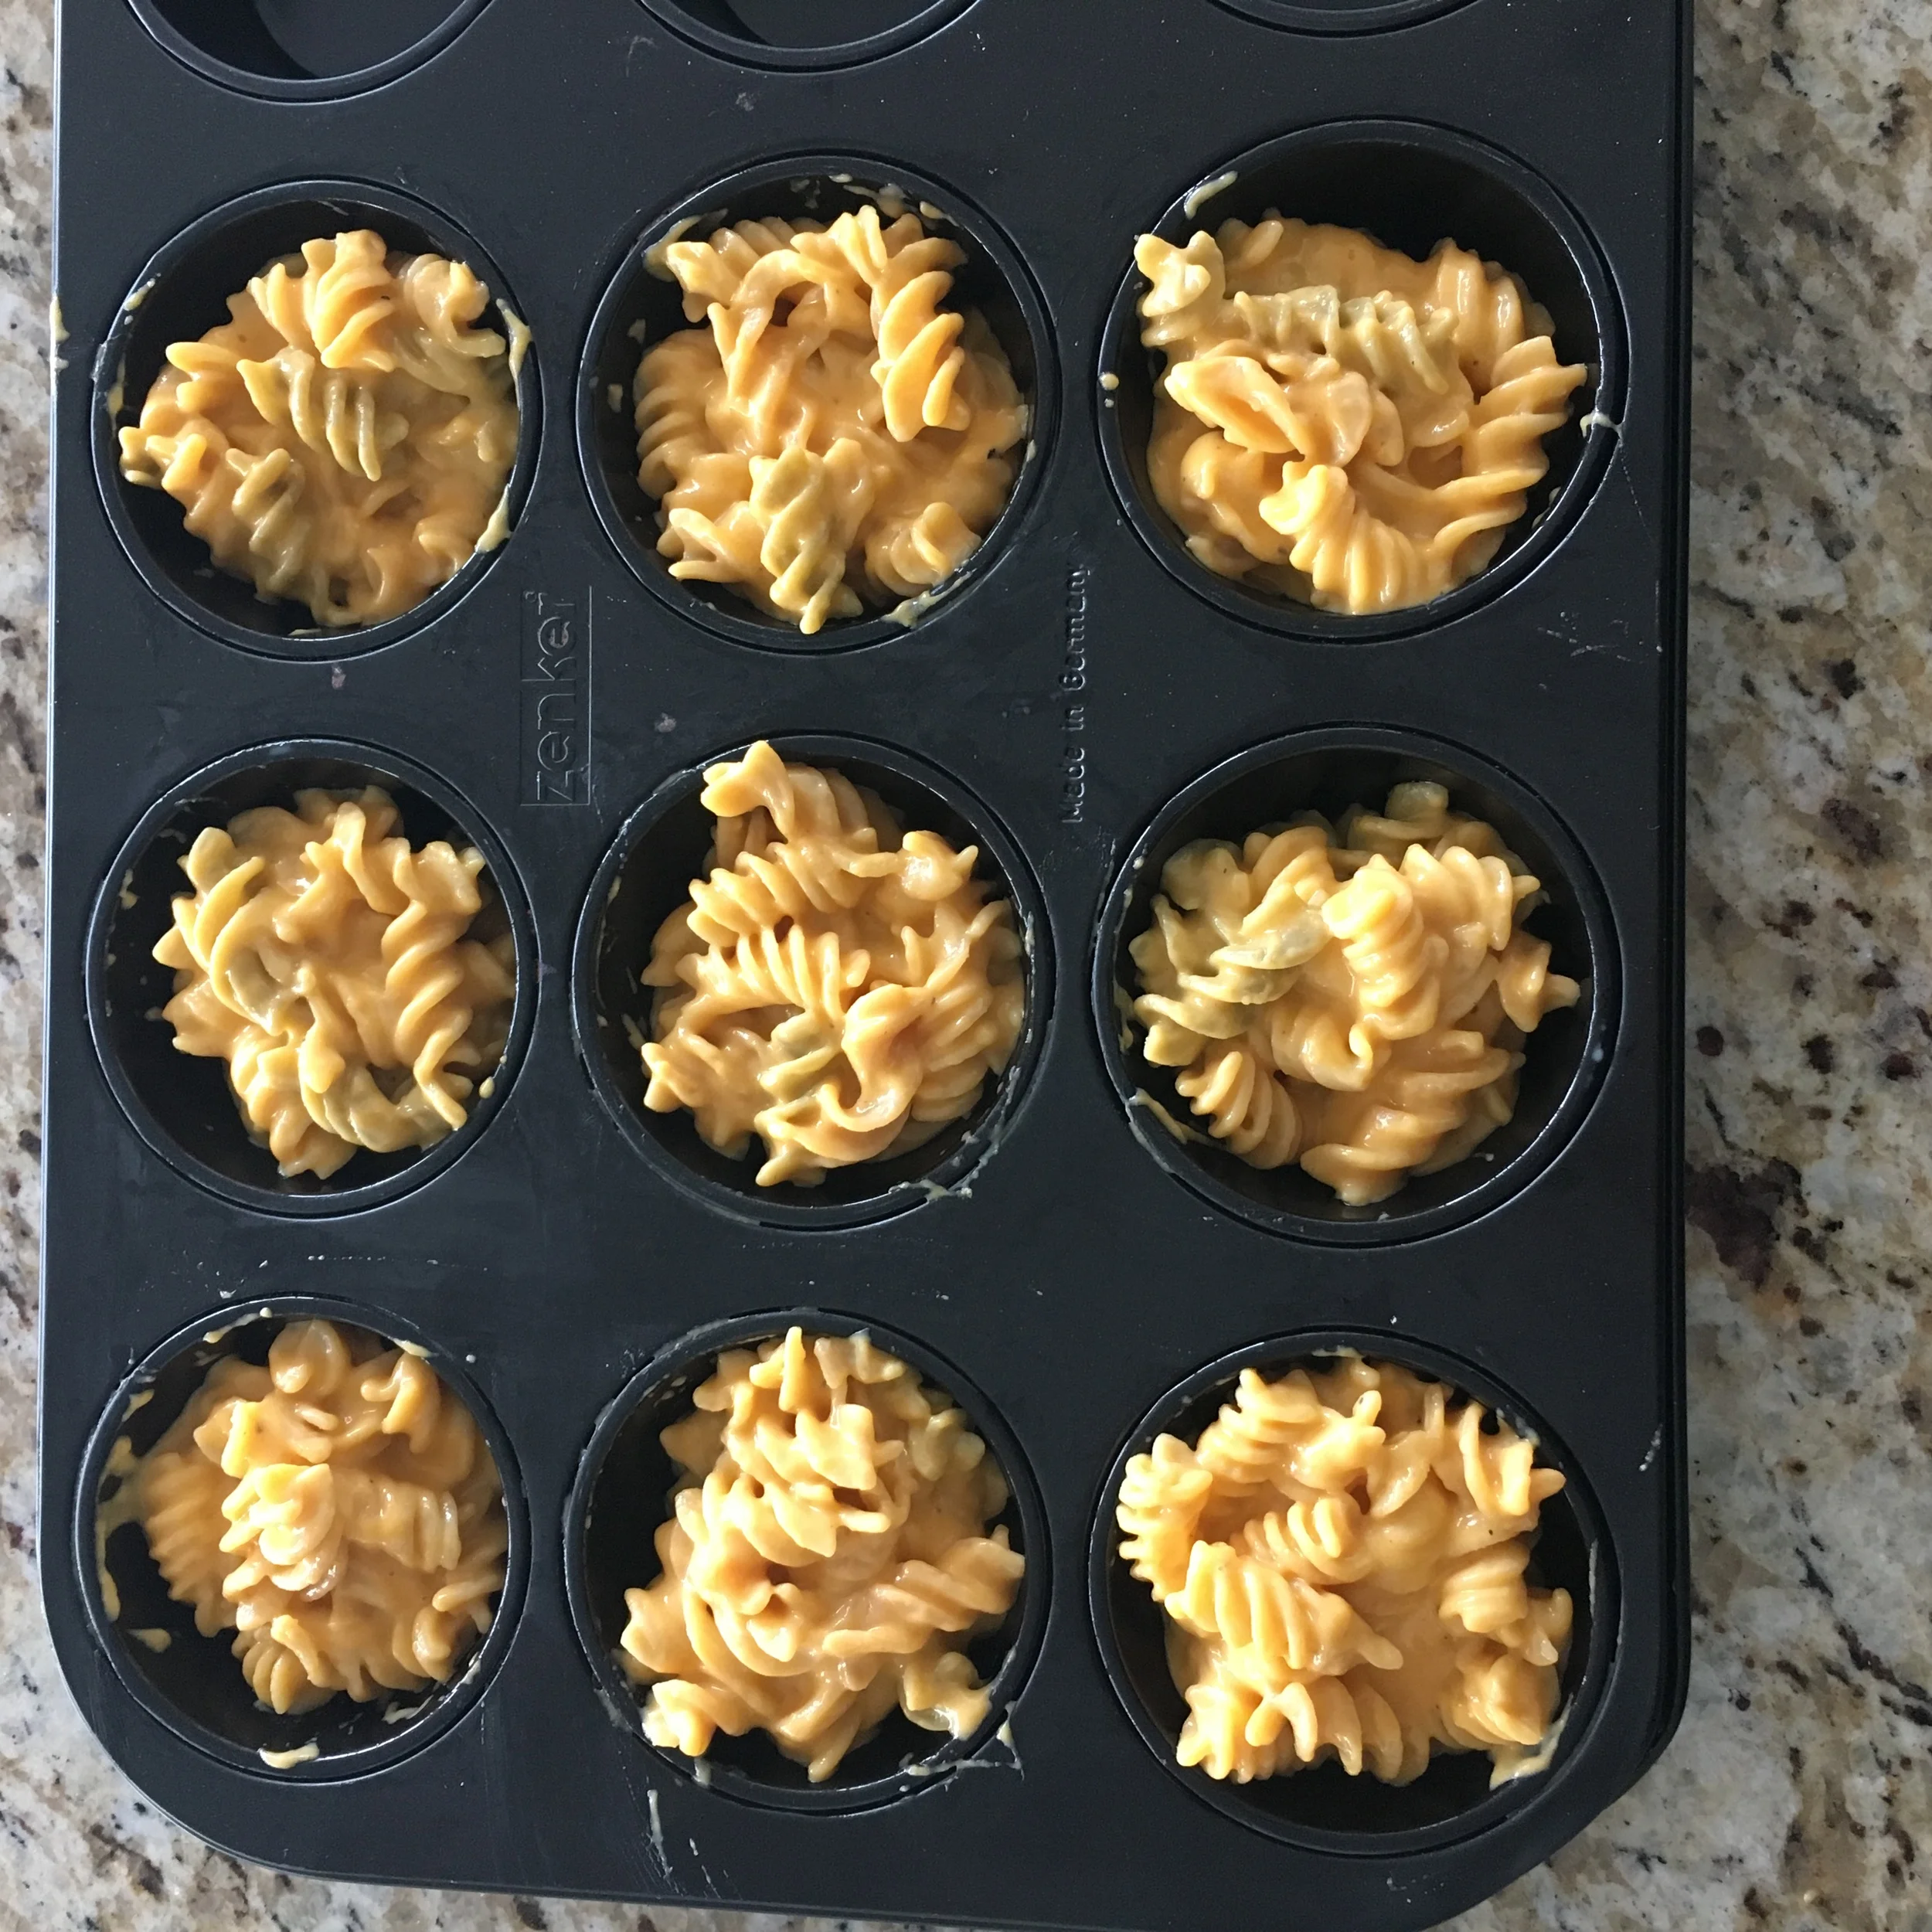
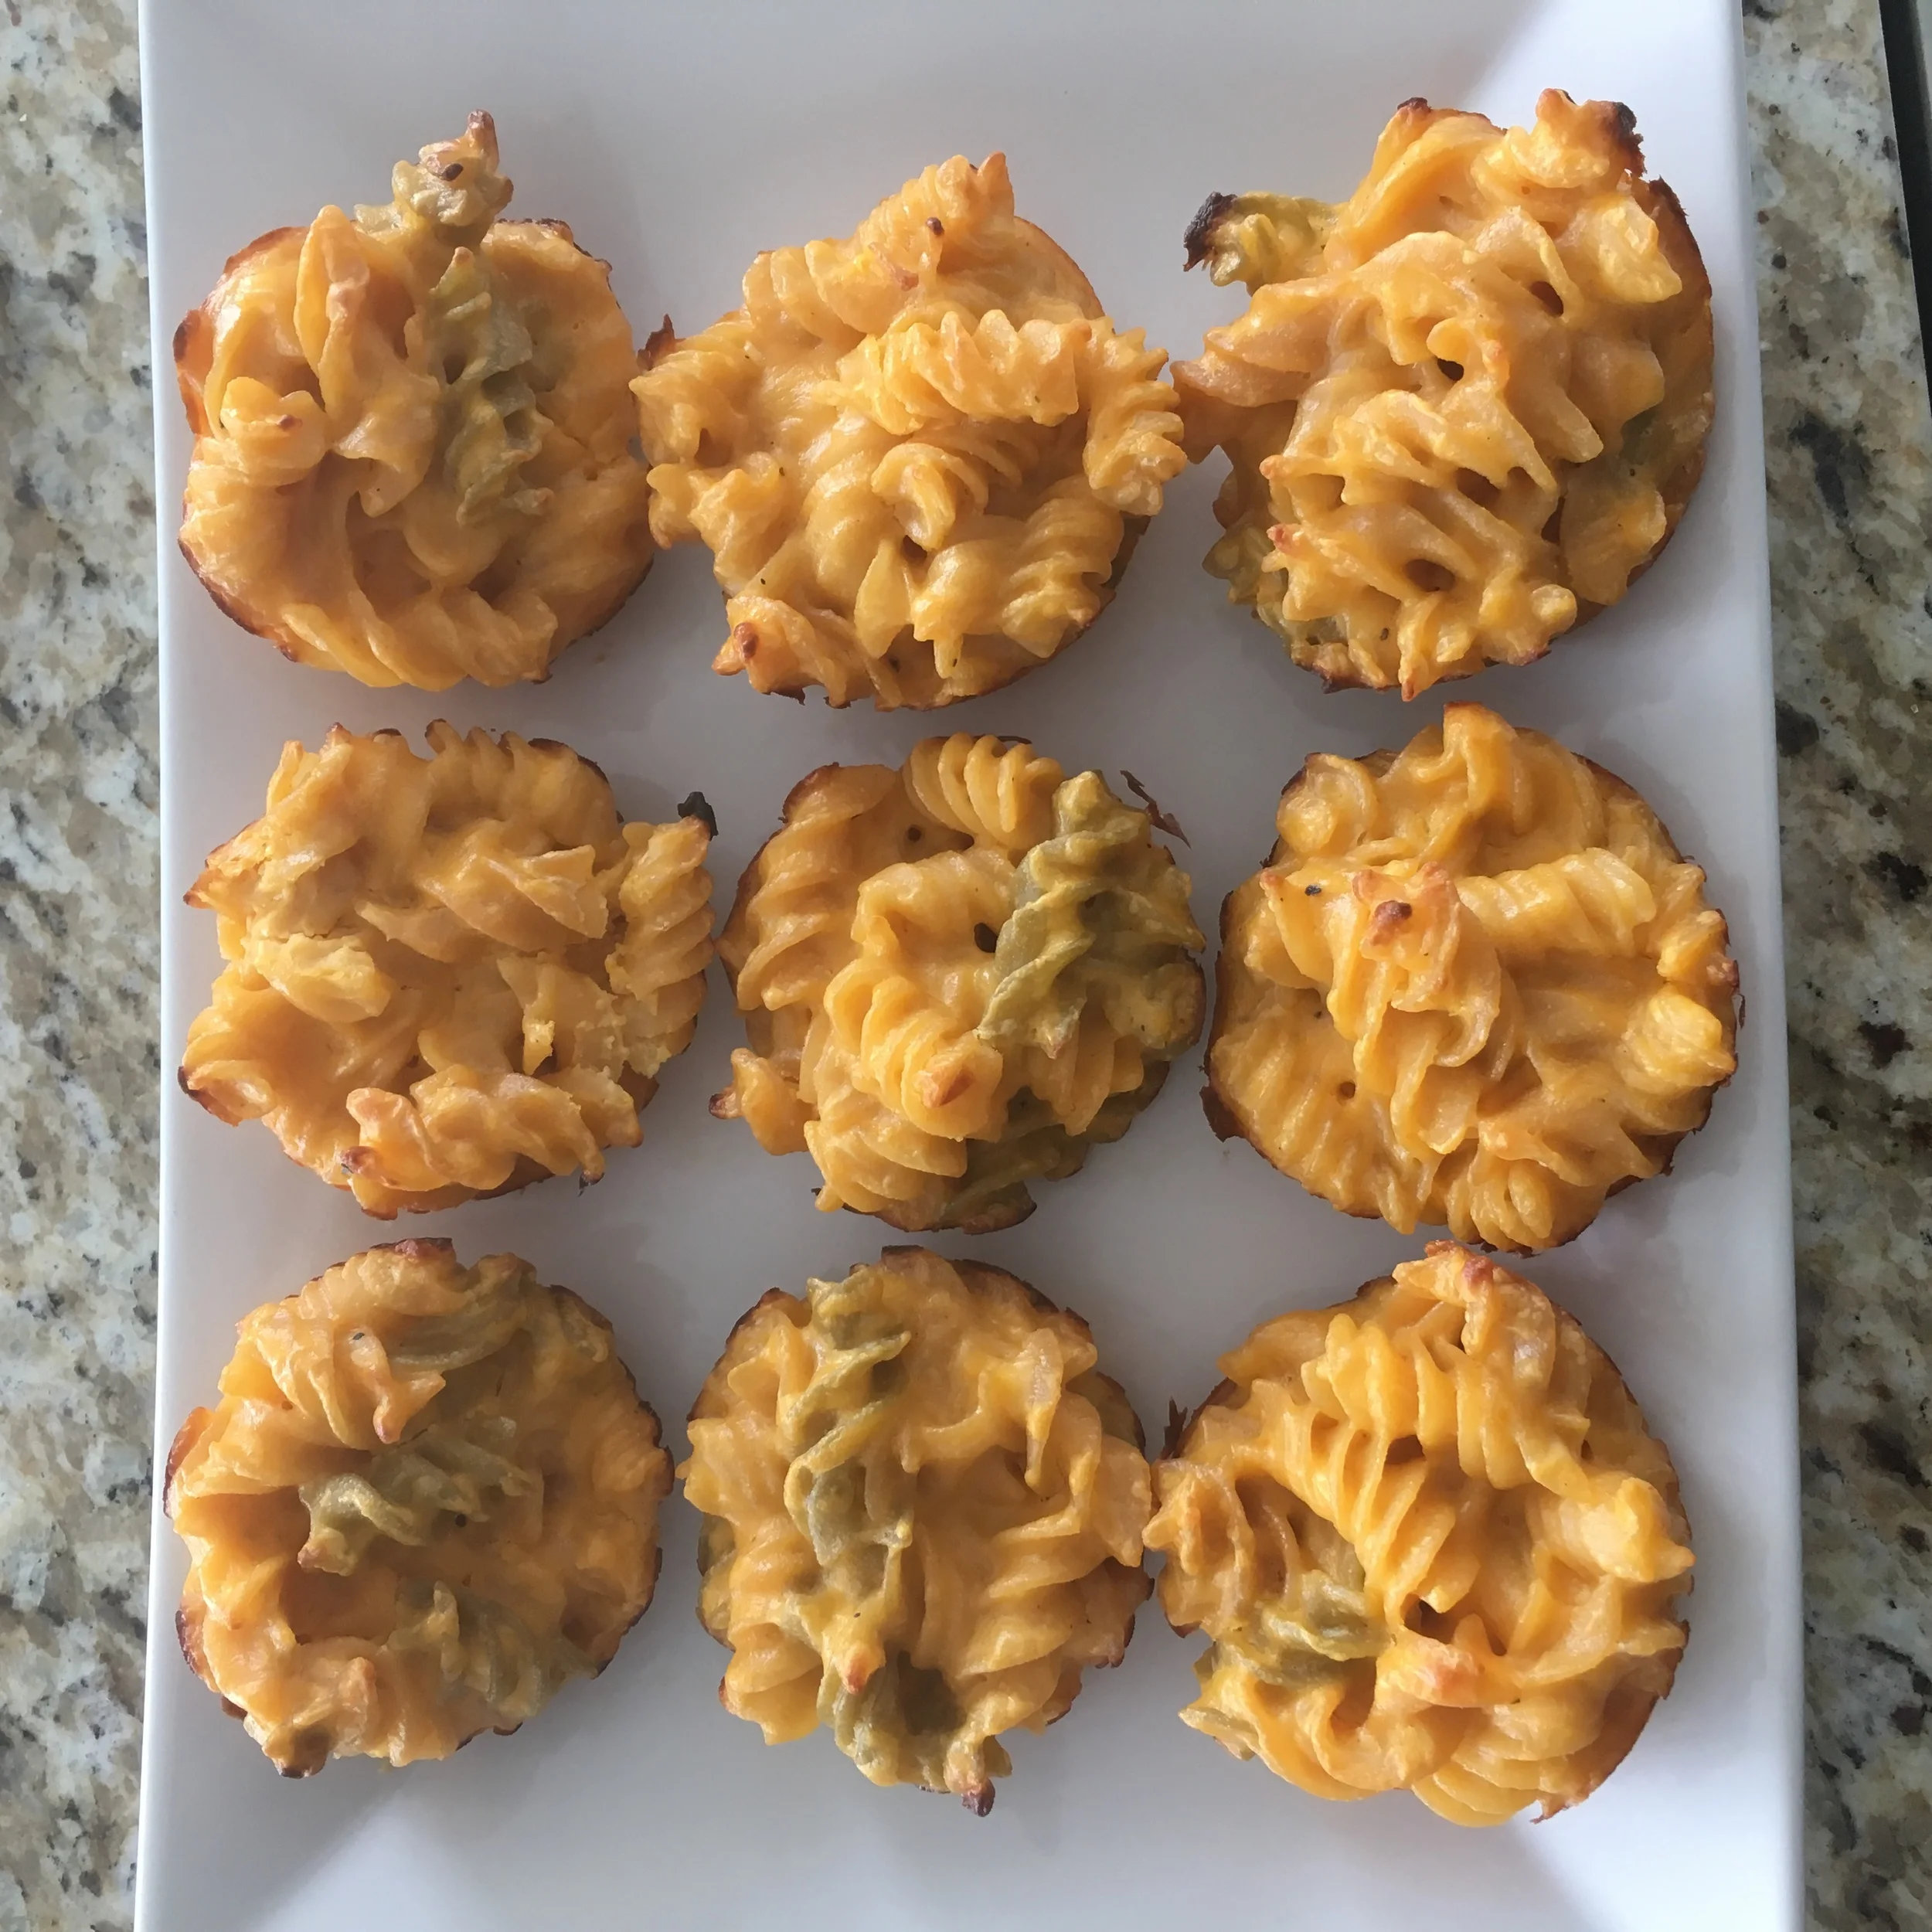
GLUTEN FREE MAC AND CHEESE BITES

I love me some good old mac & cheese!!!! Nothing says comfort food to me like a bowl of mac & cheese does. For me it always brings back childhood memories. Nowadays I find myself not eating so much of it because I am more calorie and health conscious but I'll admit these gluten free mac& cheese bites are great for any party that you may be throwing. They aren't difficult to make at all and kids love them for birthday parties. I'm totally going to add these to my Super Bowl menu this year! Enjoy

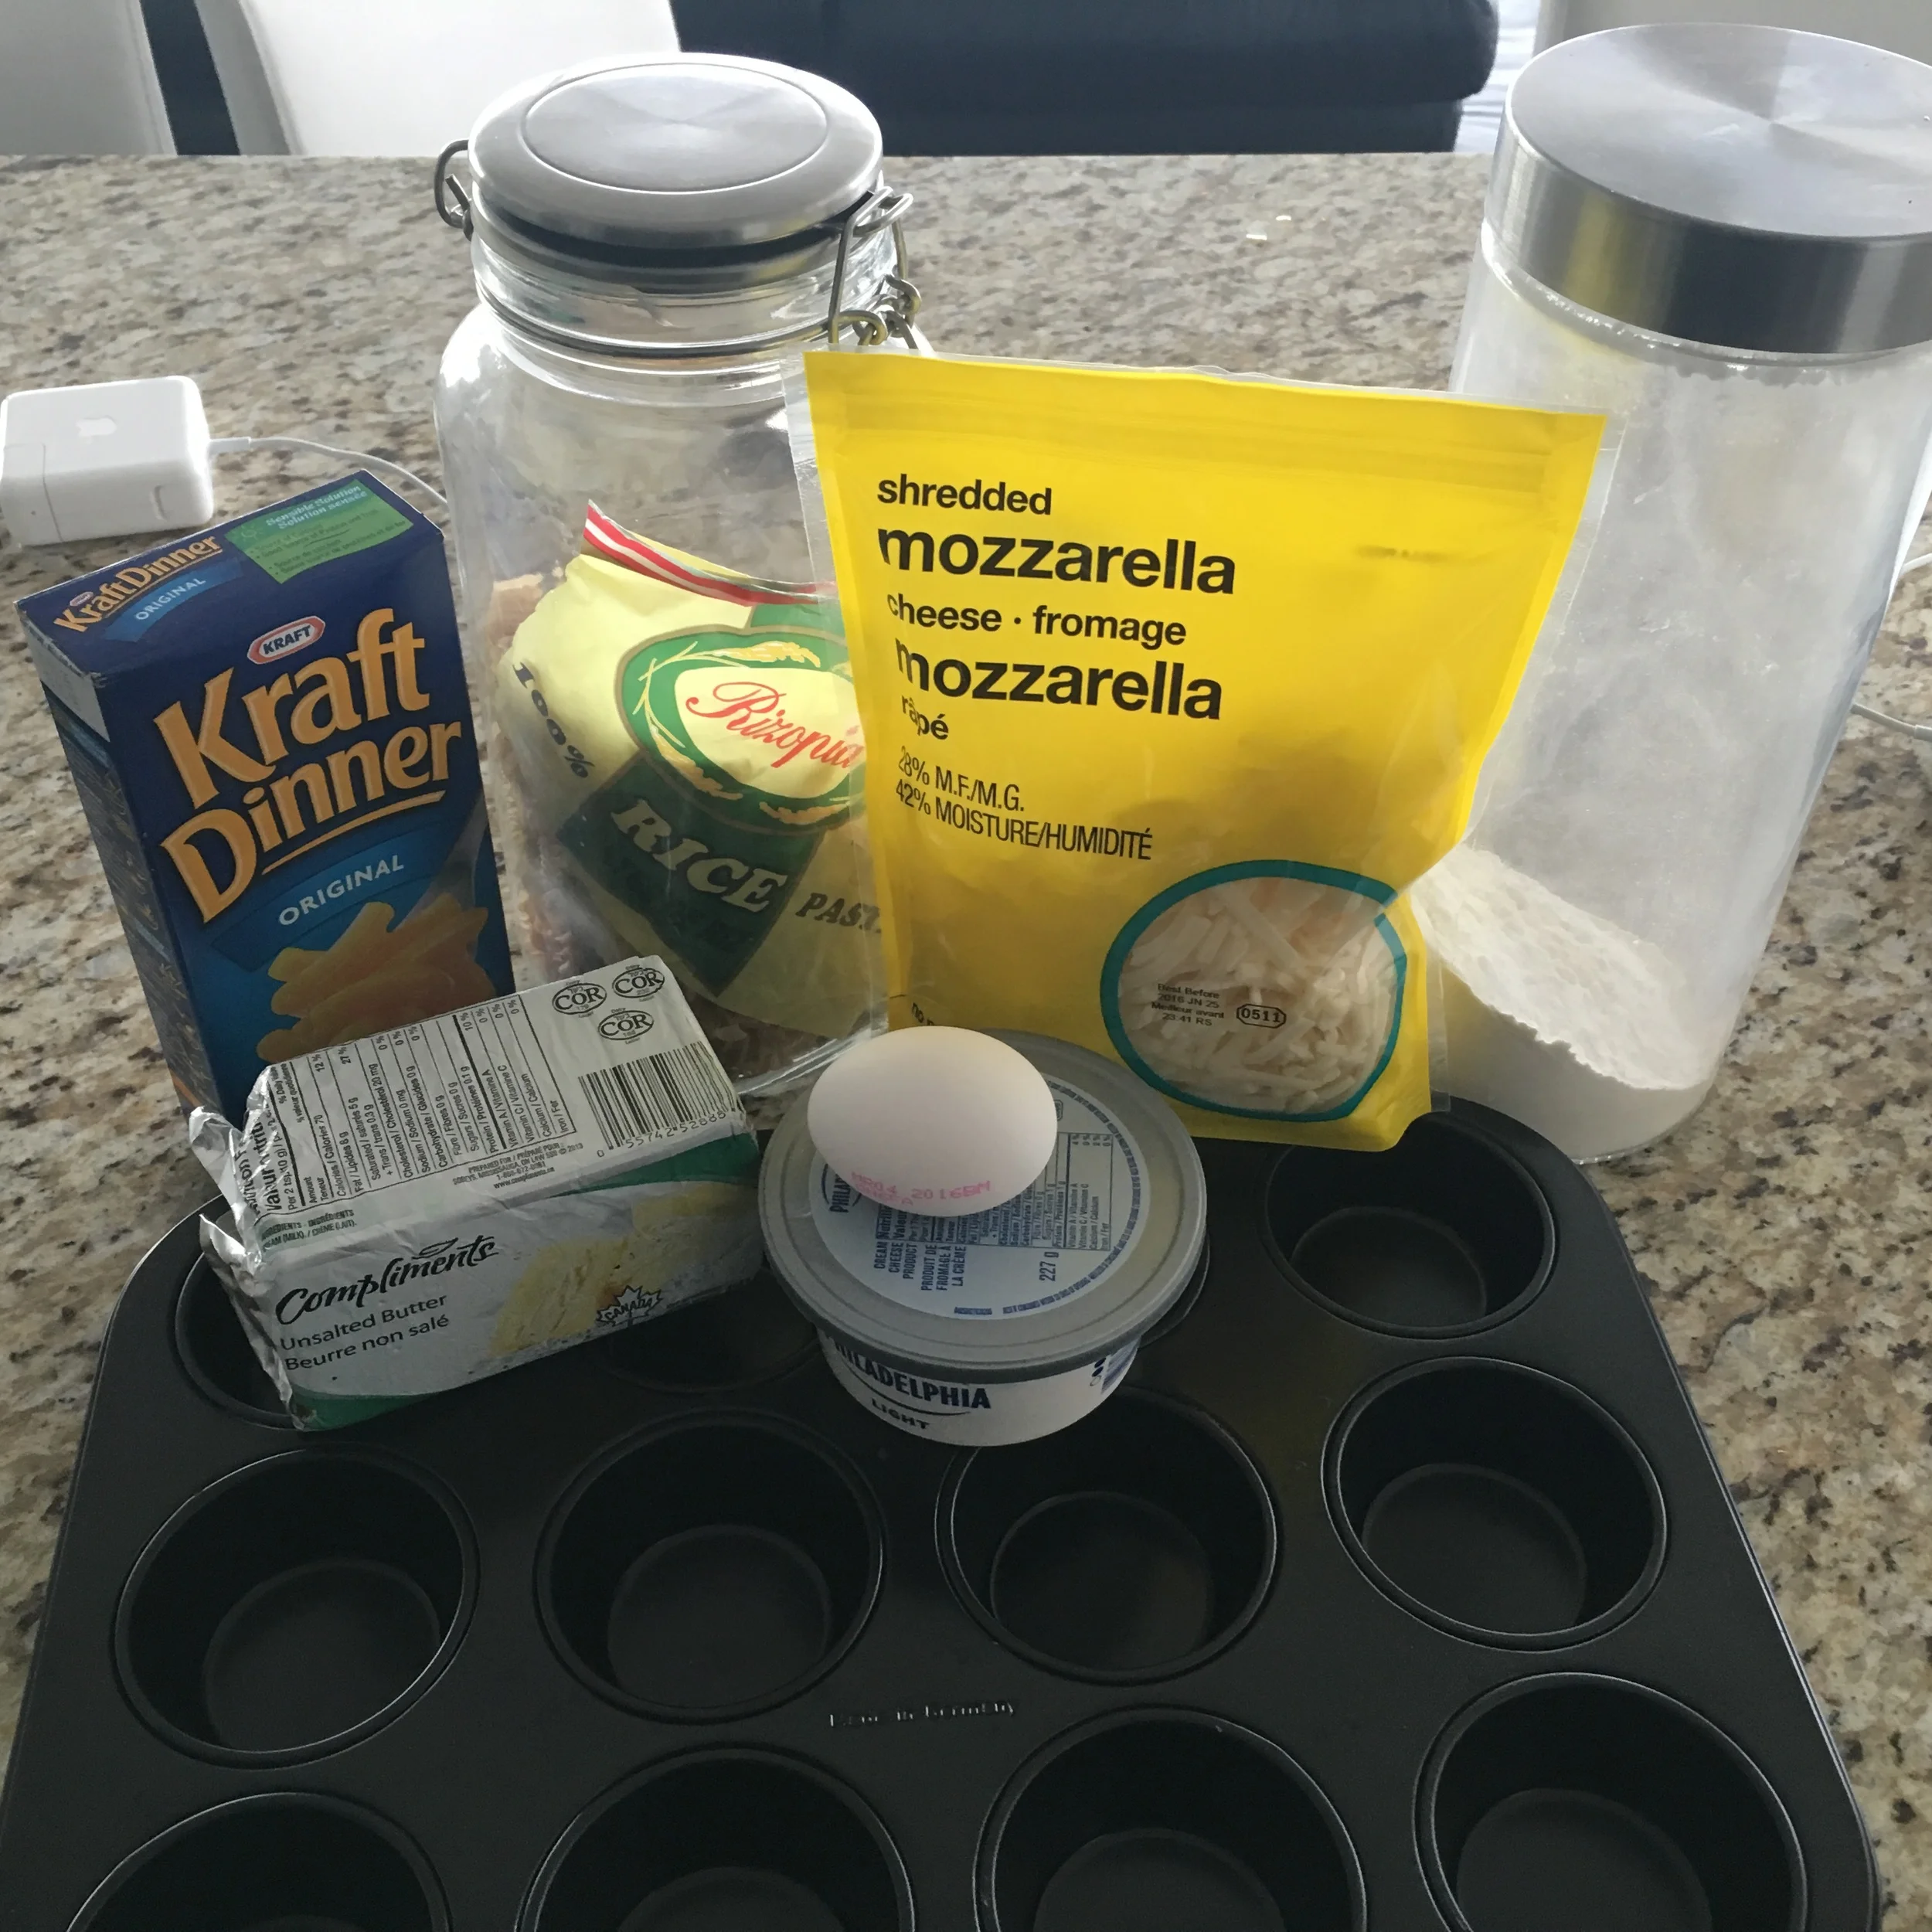
INGREDIENTS:

Rice Pasta (I substituted this for regular elbow pasta)
2 TBSP of Butter
2 TBSP of Quinoa Flour (I substituted this for flour)
1.5 Cups of Milk
2 OZ Cream Cheese
3/4 Cup of Sharp Cheddar Cheese
3/4 Cup of shredded Mozzarella (optional)
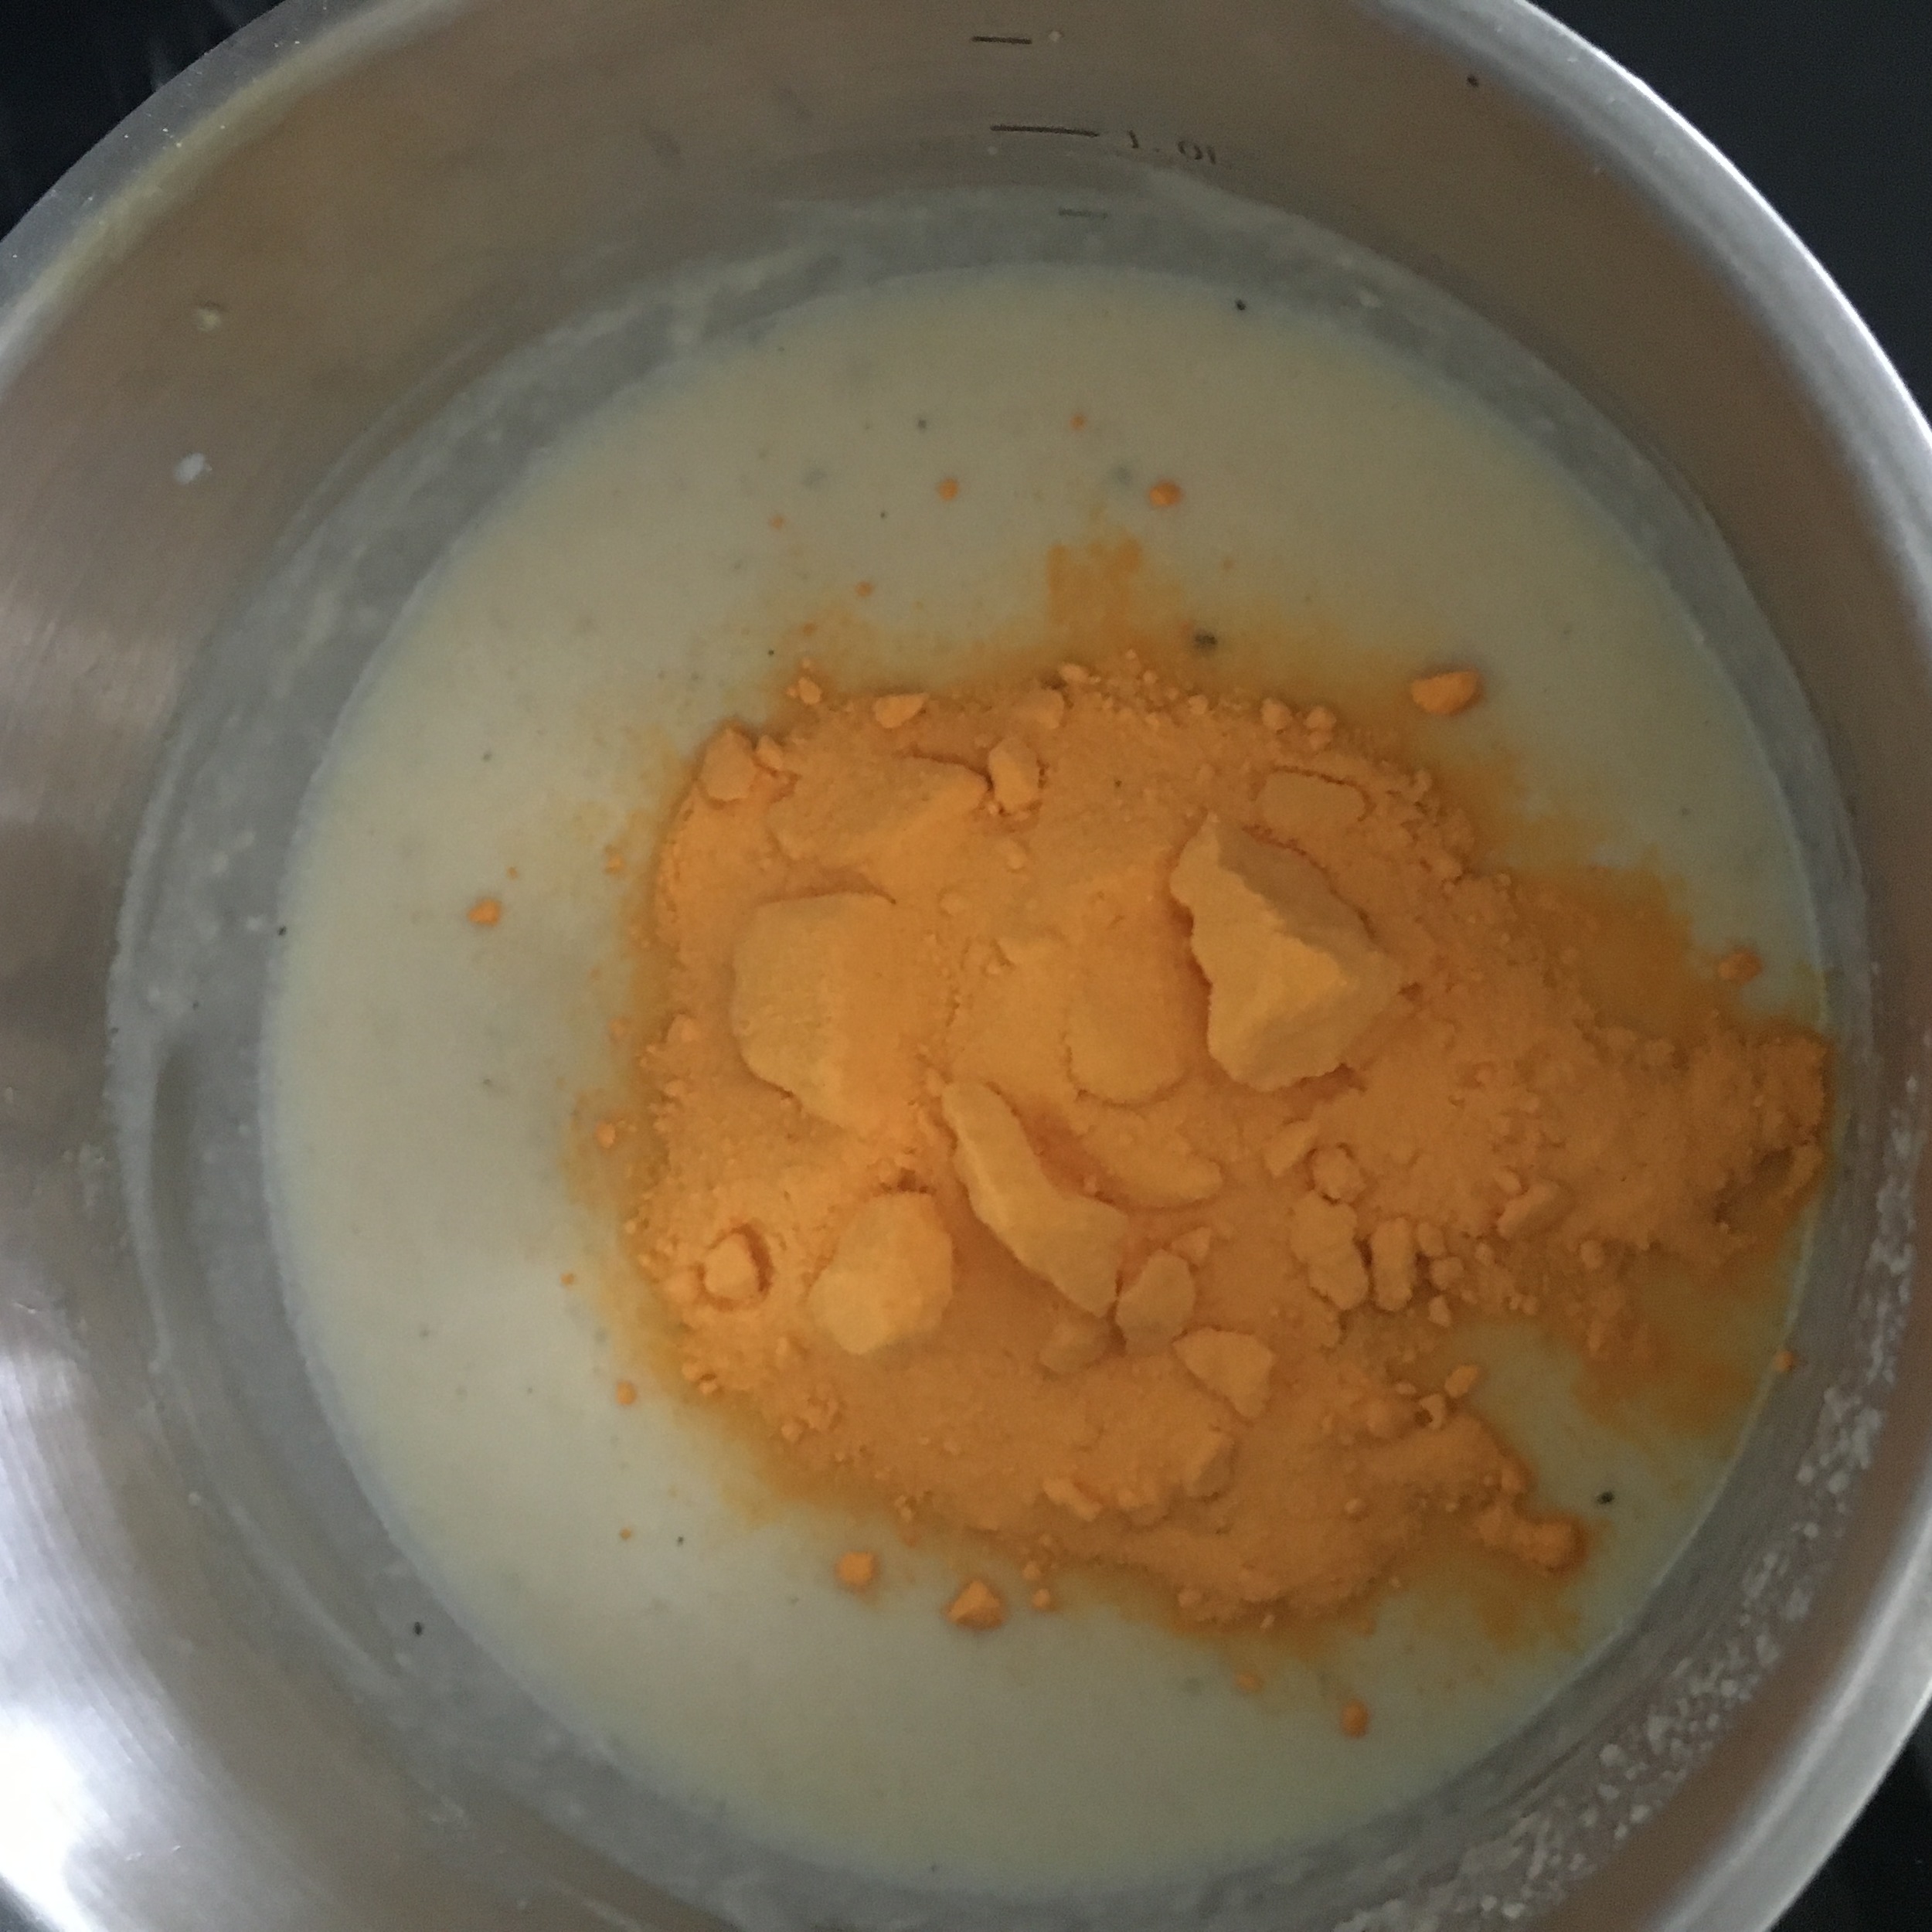
1 Packet of Kraft Dinner Powdered Cheese Sauce (optional)
Salt and Pepper (as desired)
1 Egg (whisked)

**You will also need a muffin tray that is sprayed with non stick cooking spray or buttered.


DIRECTIONS:

Preheat oven to 400 degrees

Boil water to make your pasta. Salt the water and throw in your pasta.

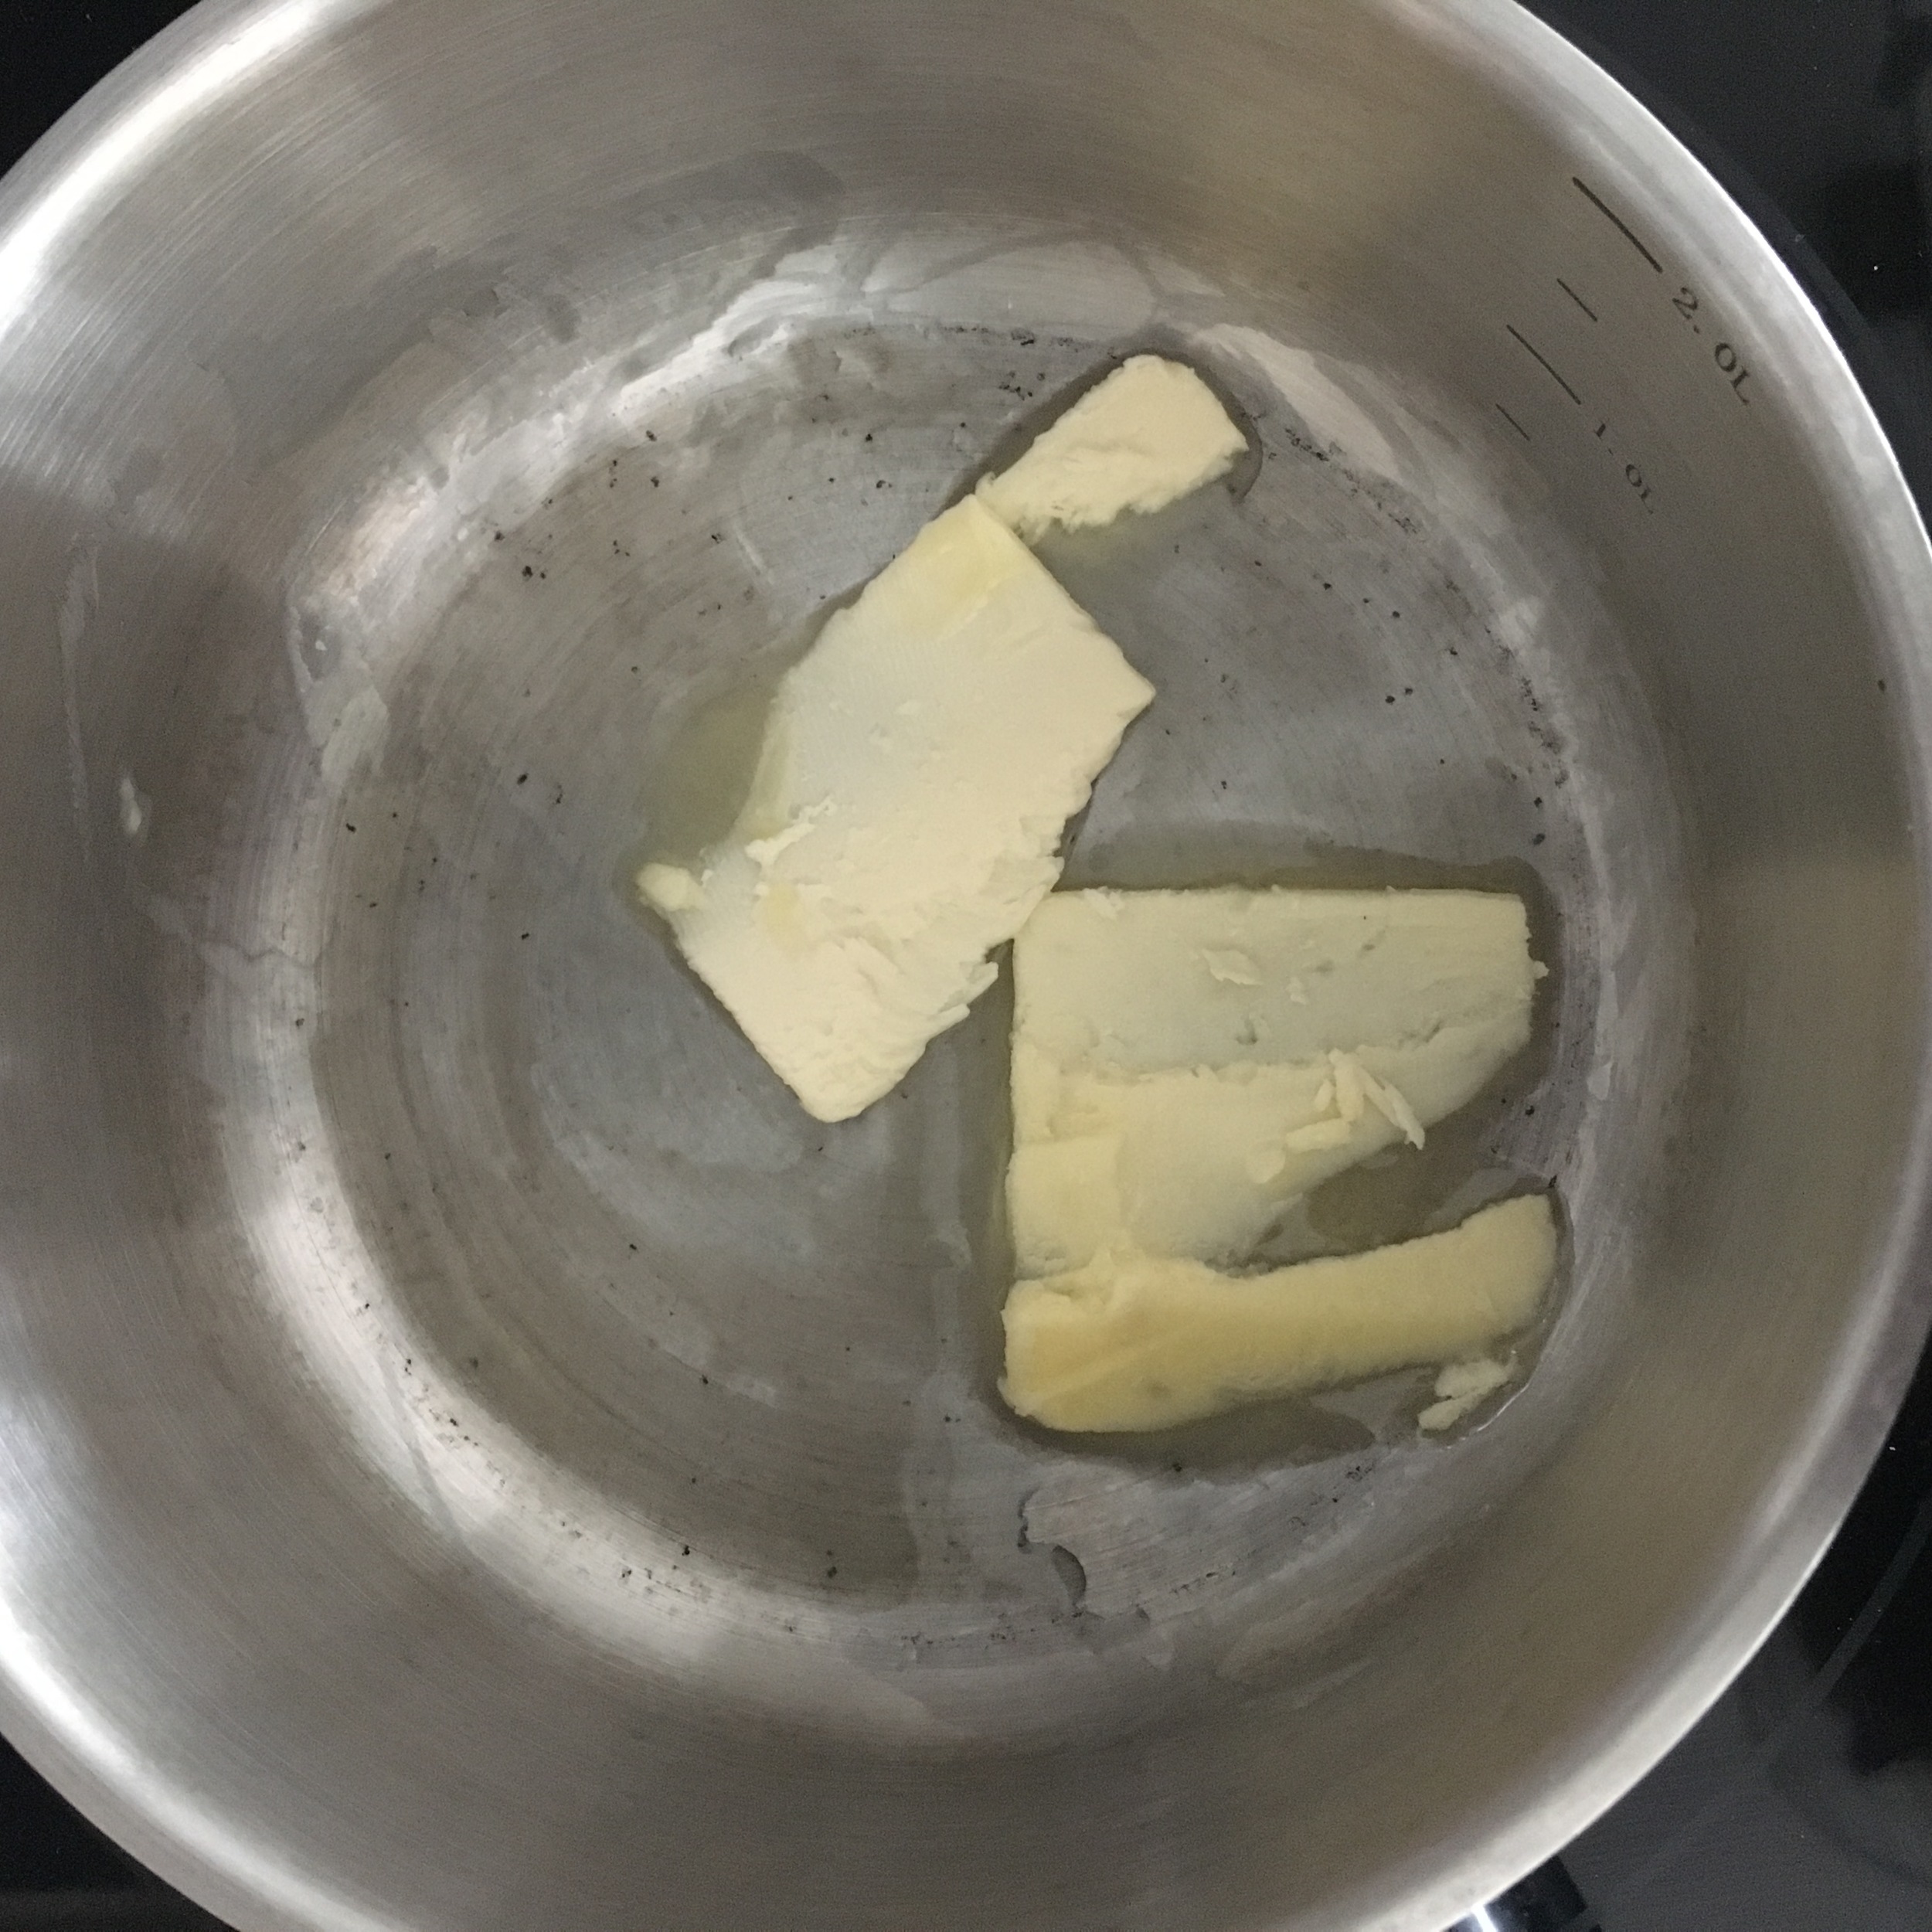
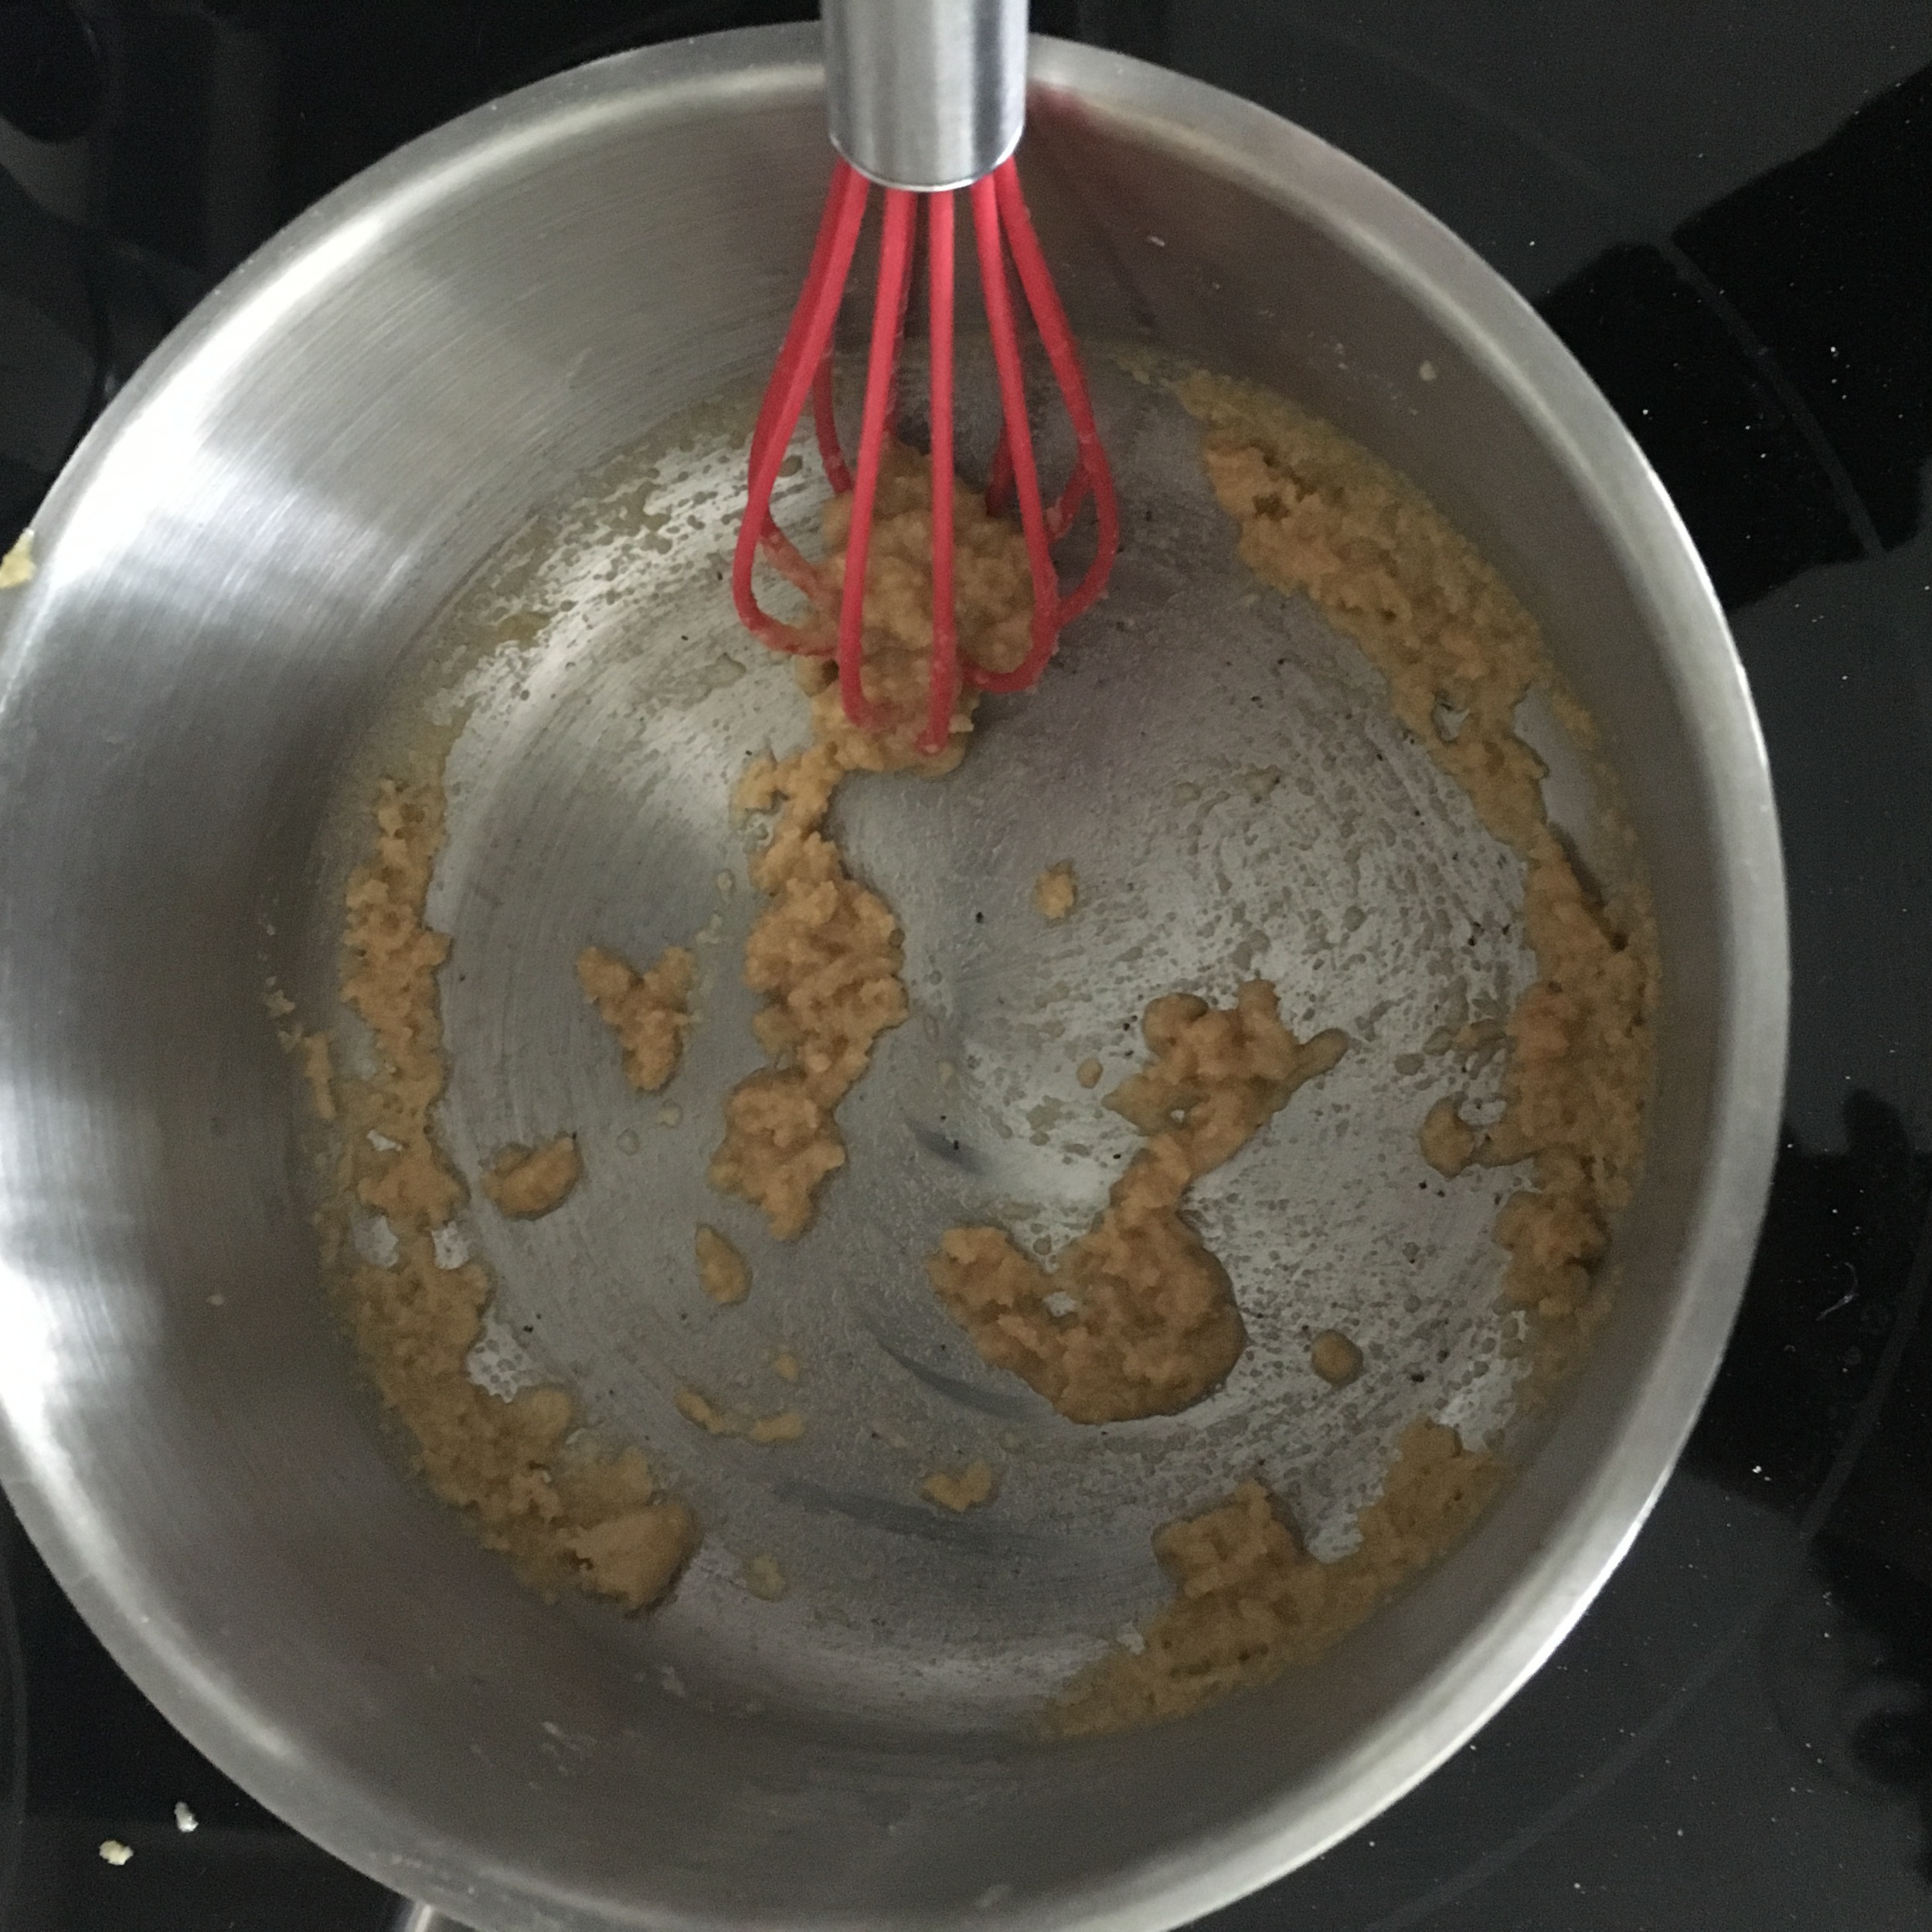
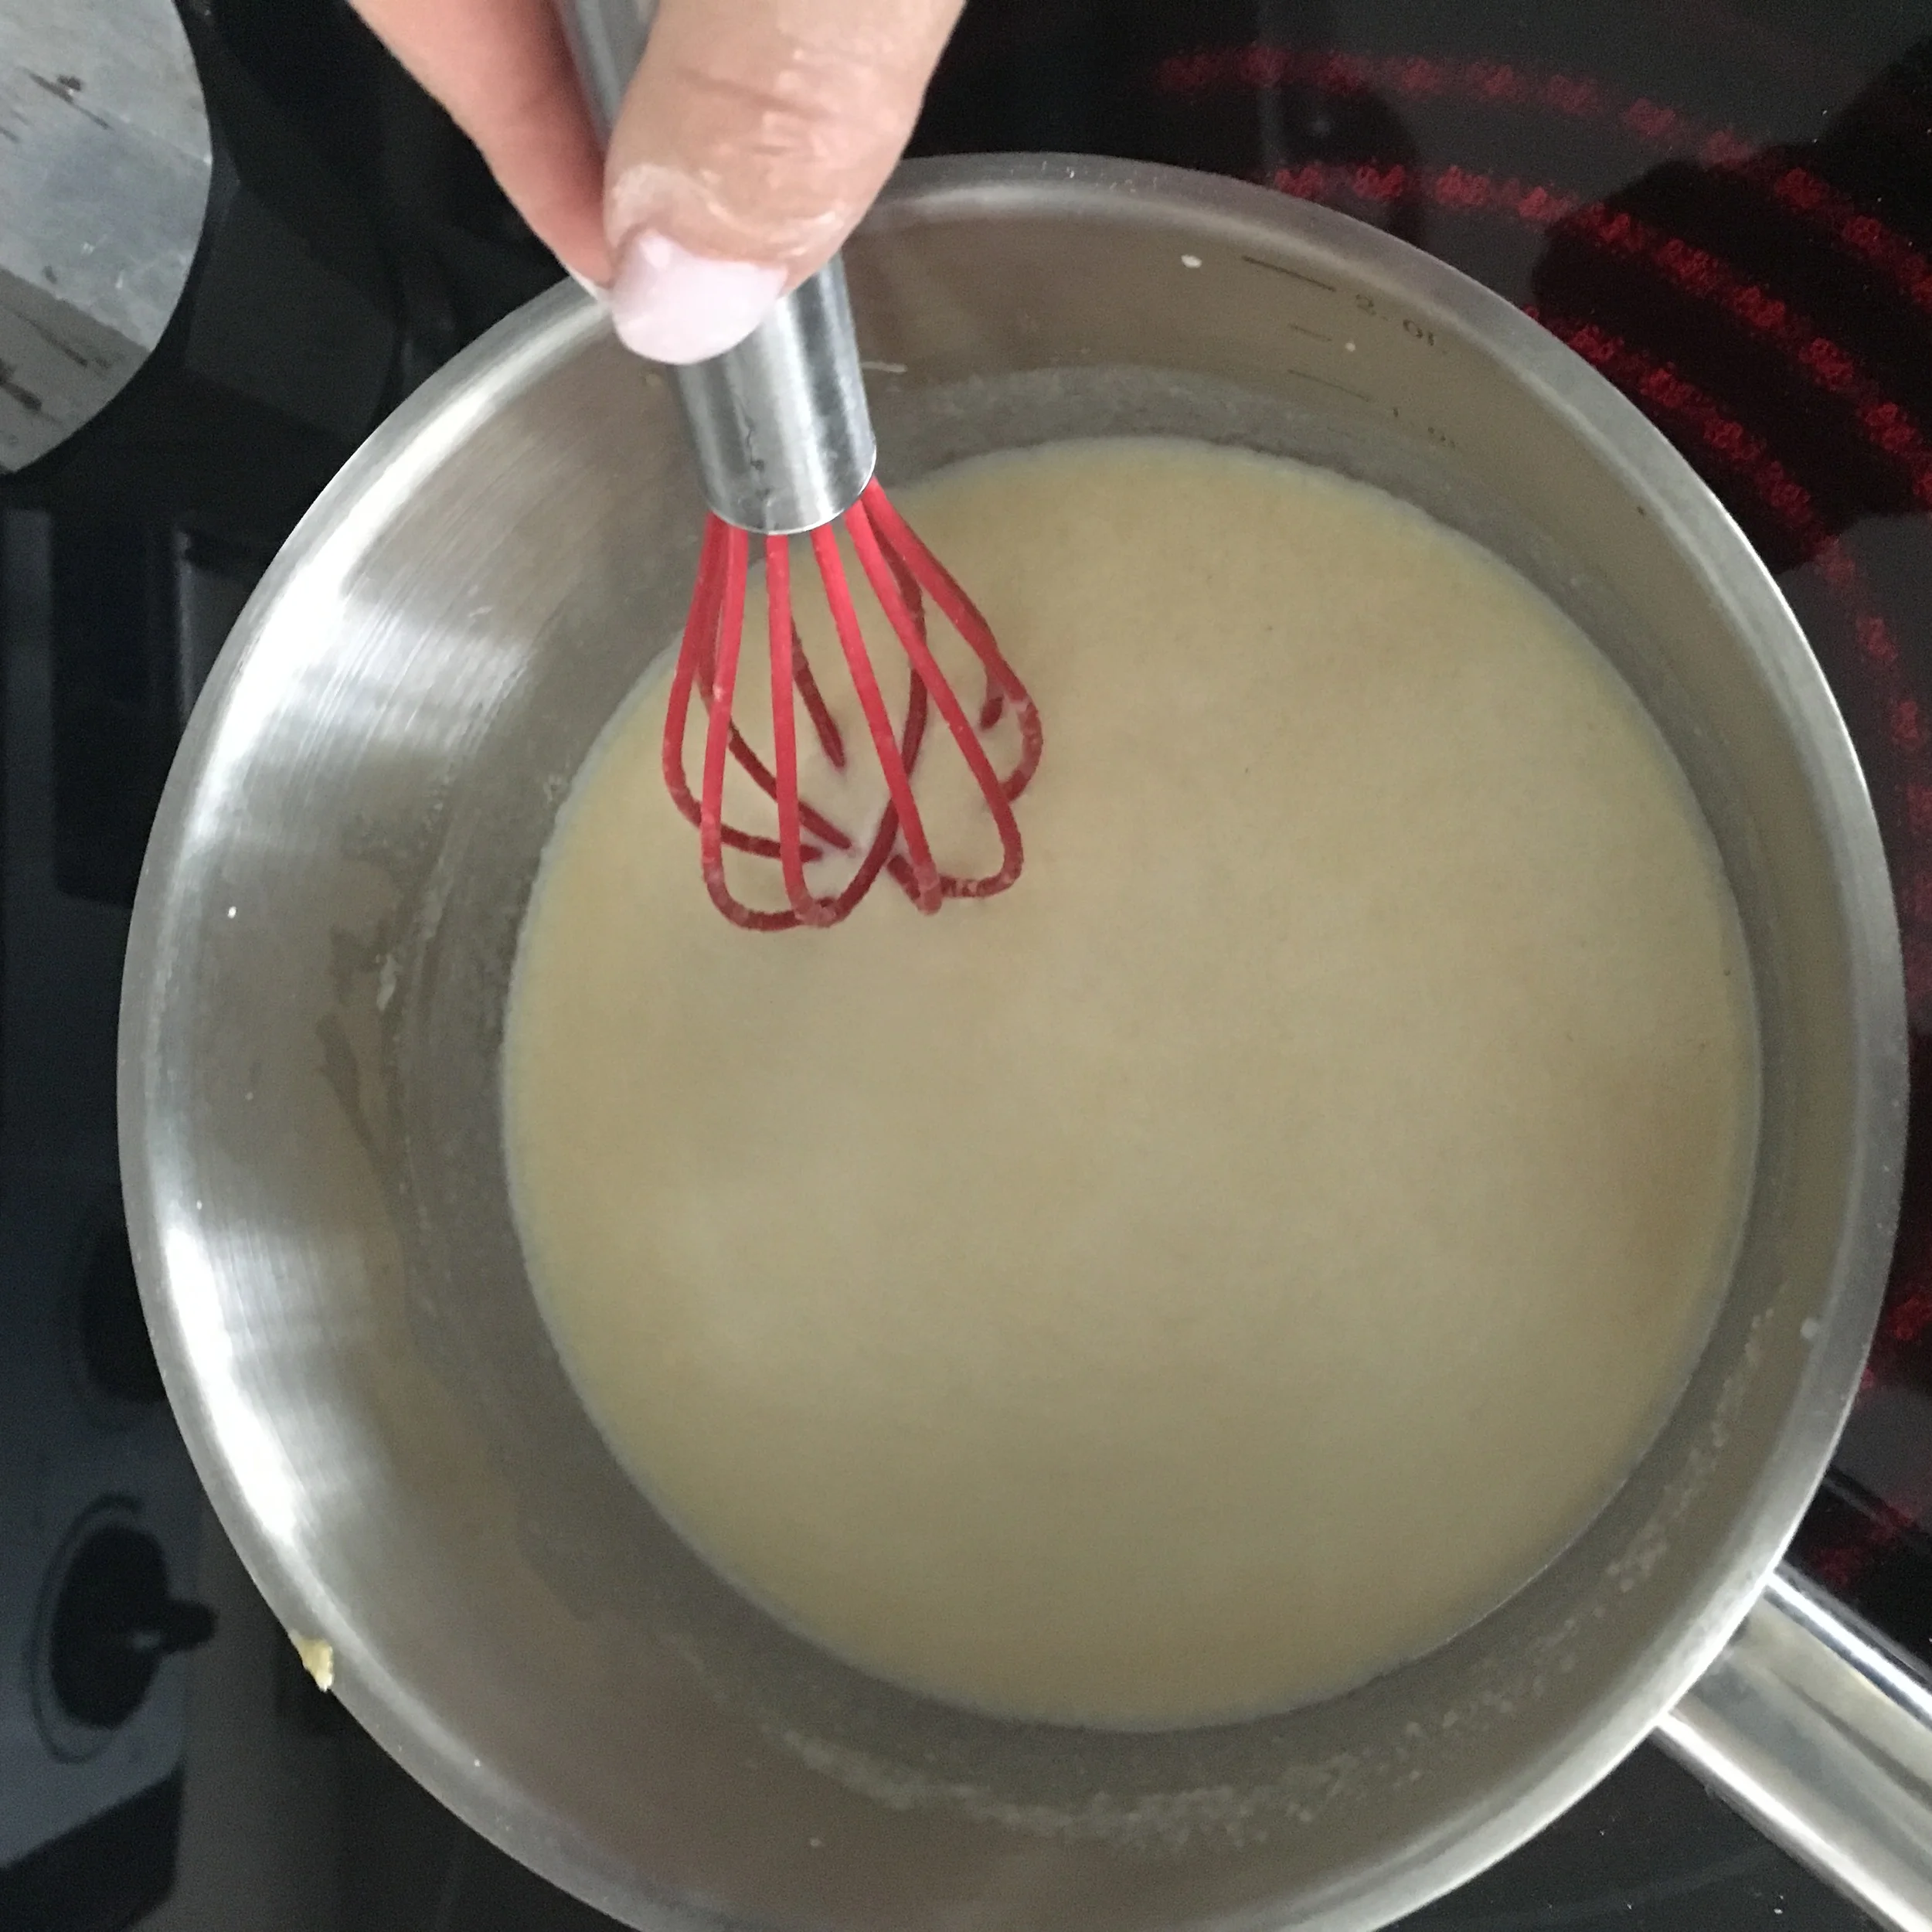
In a sauce pan add in your butter. Allow to melt on medium low heat then throw in your quinoa flour. Whisk together until fully incorporated. .

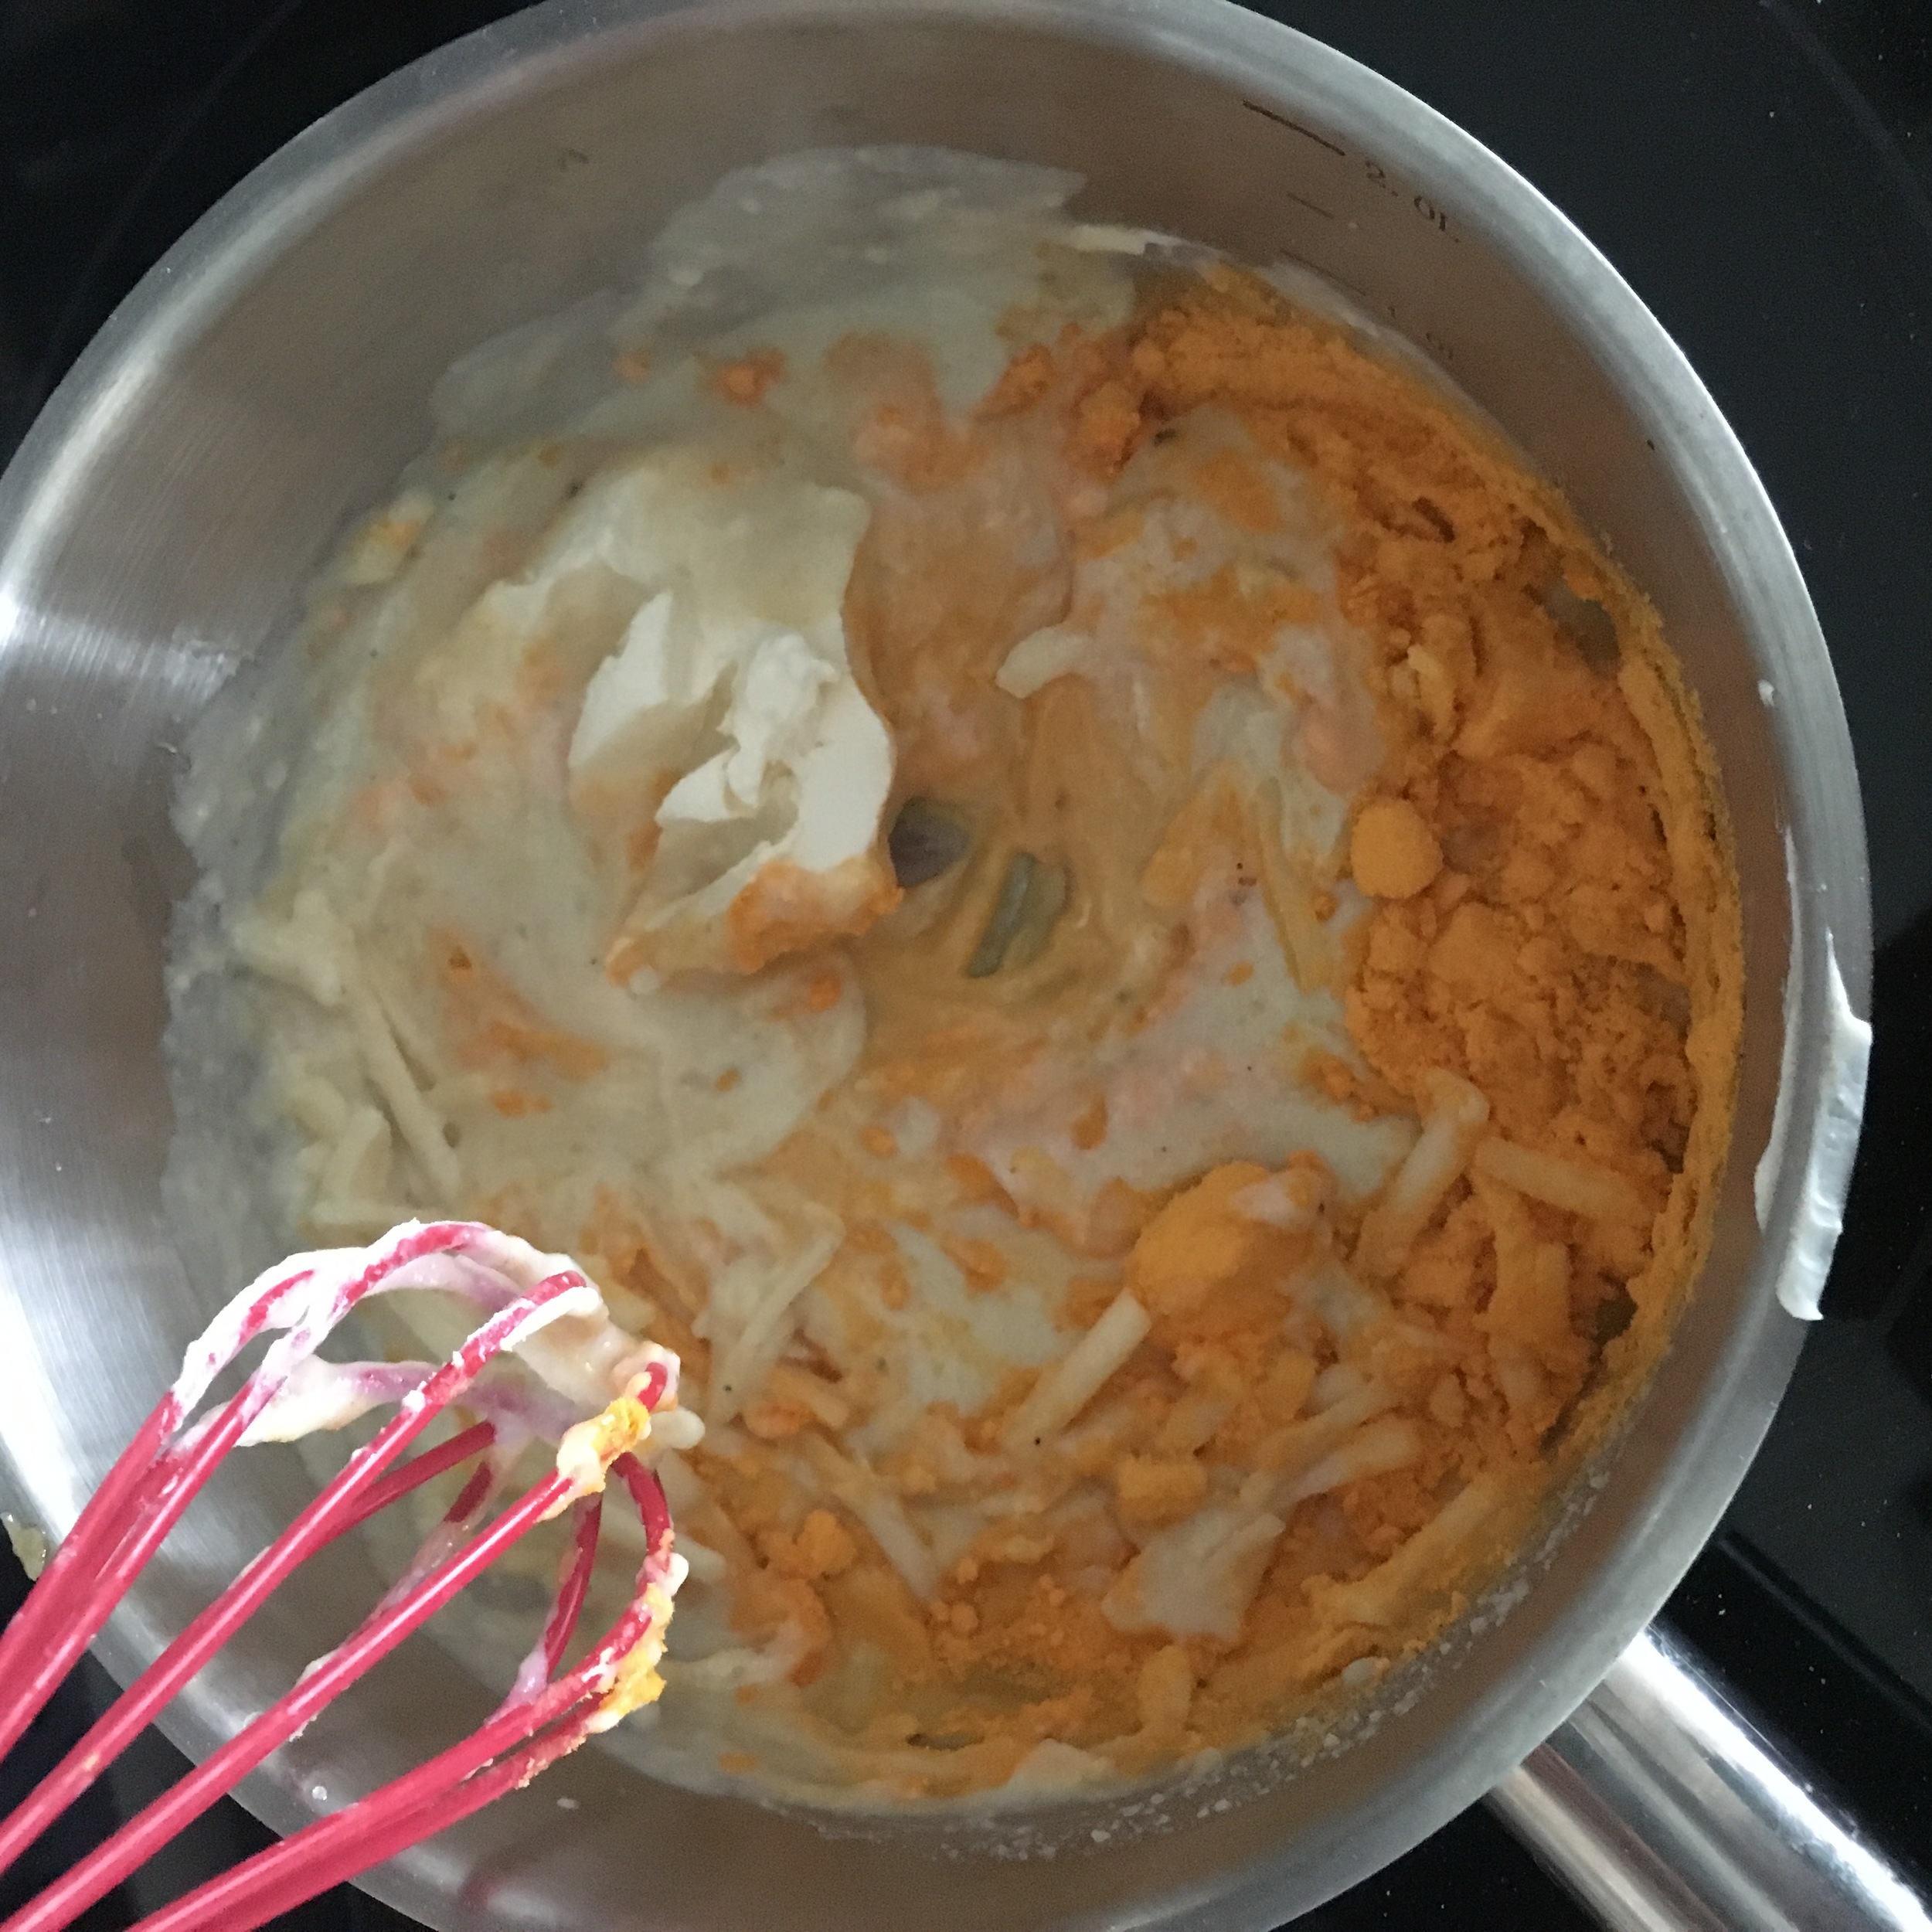
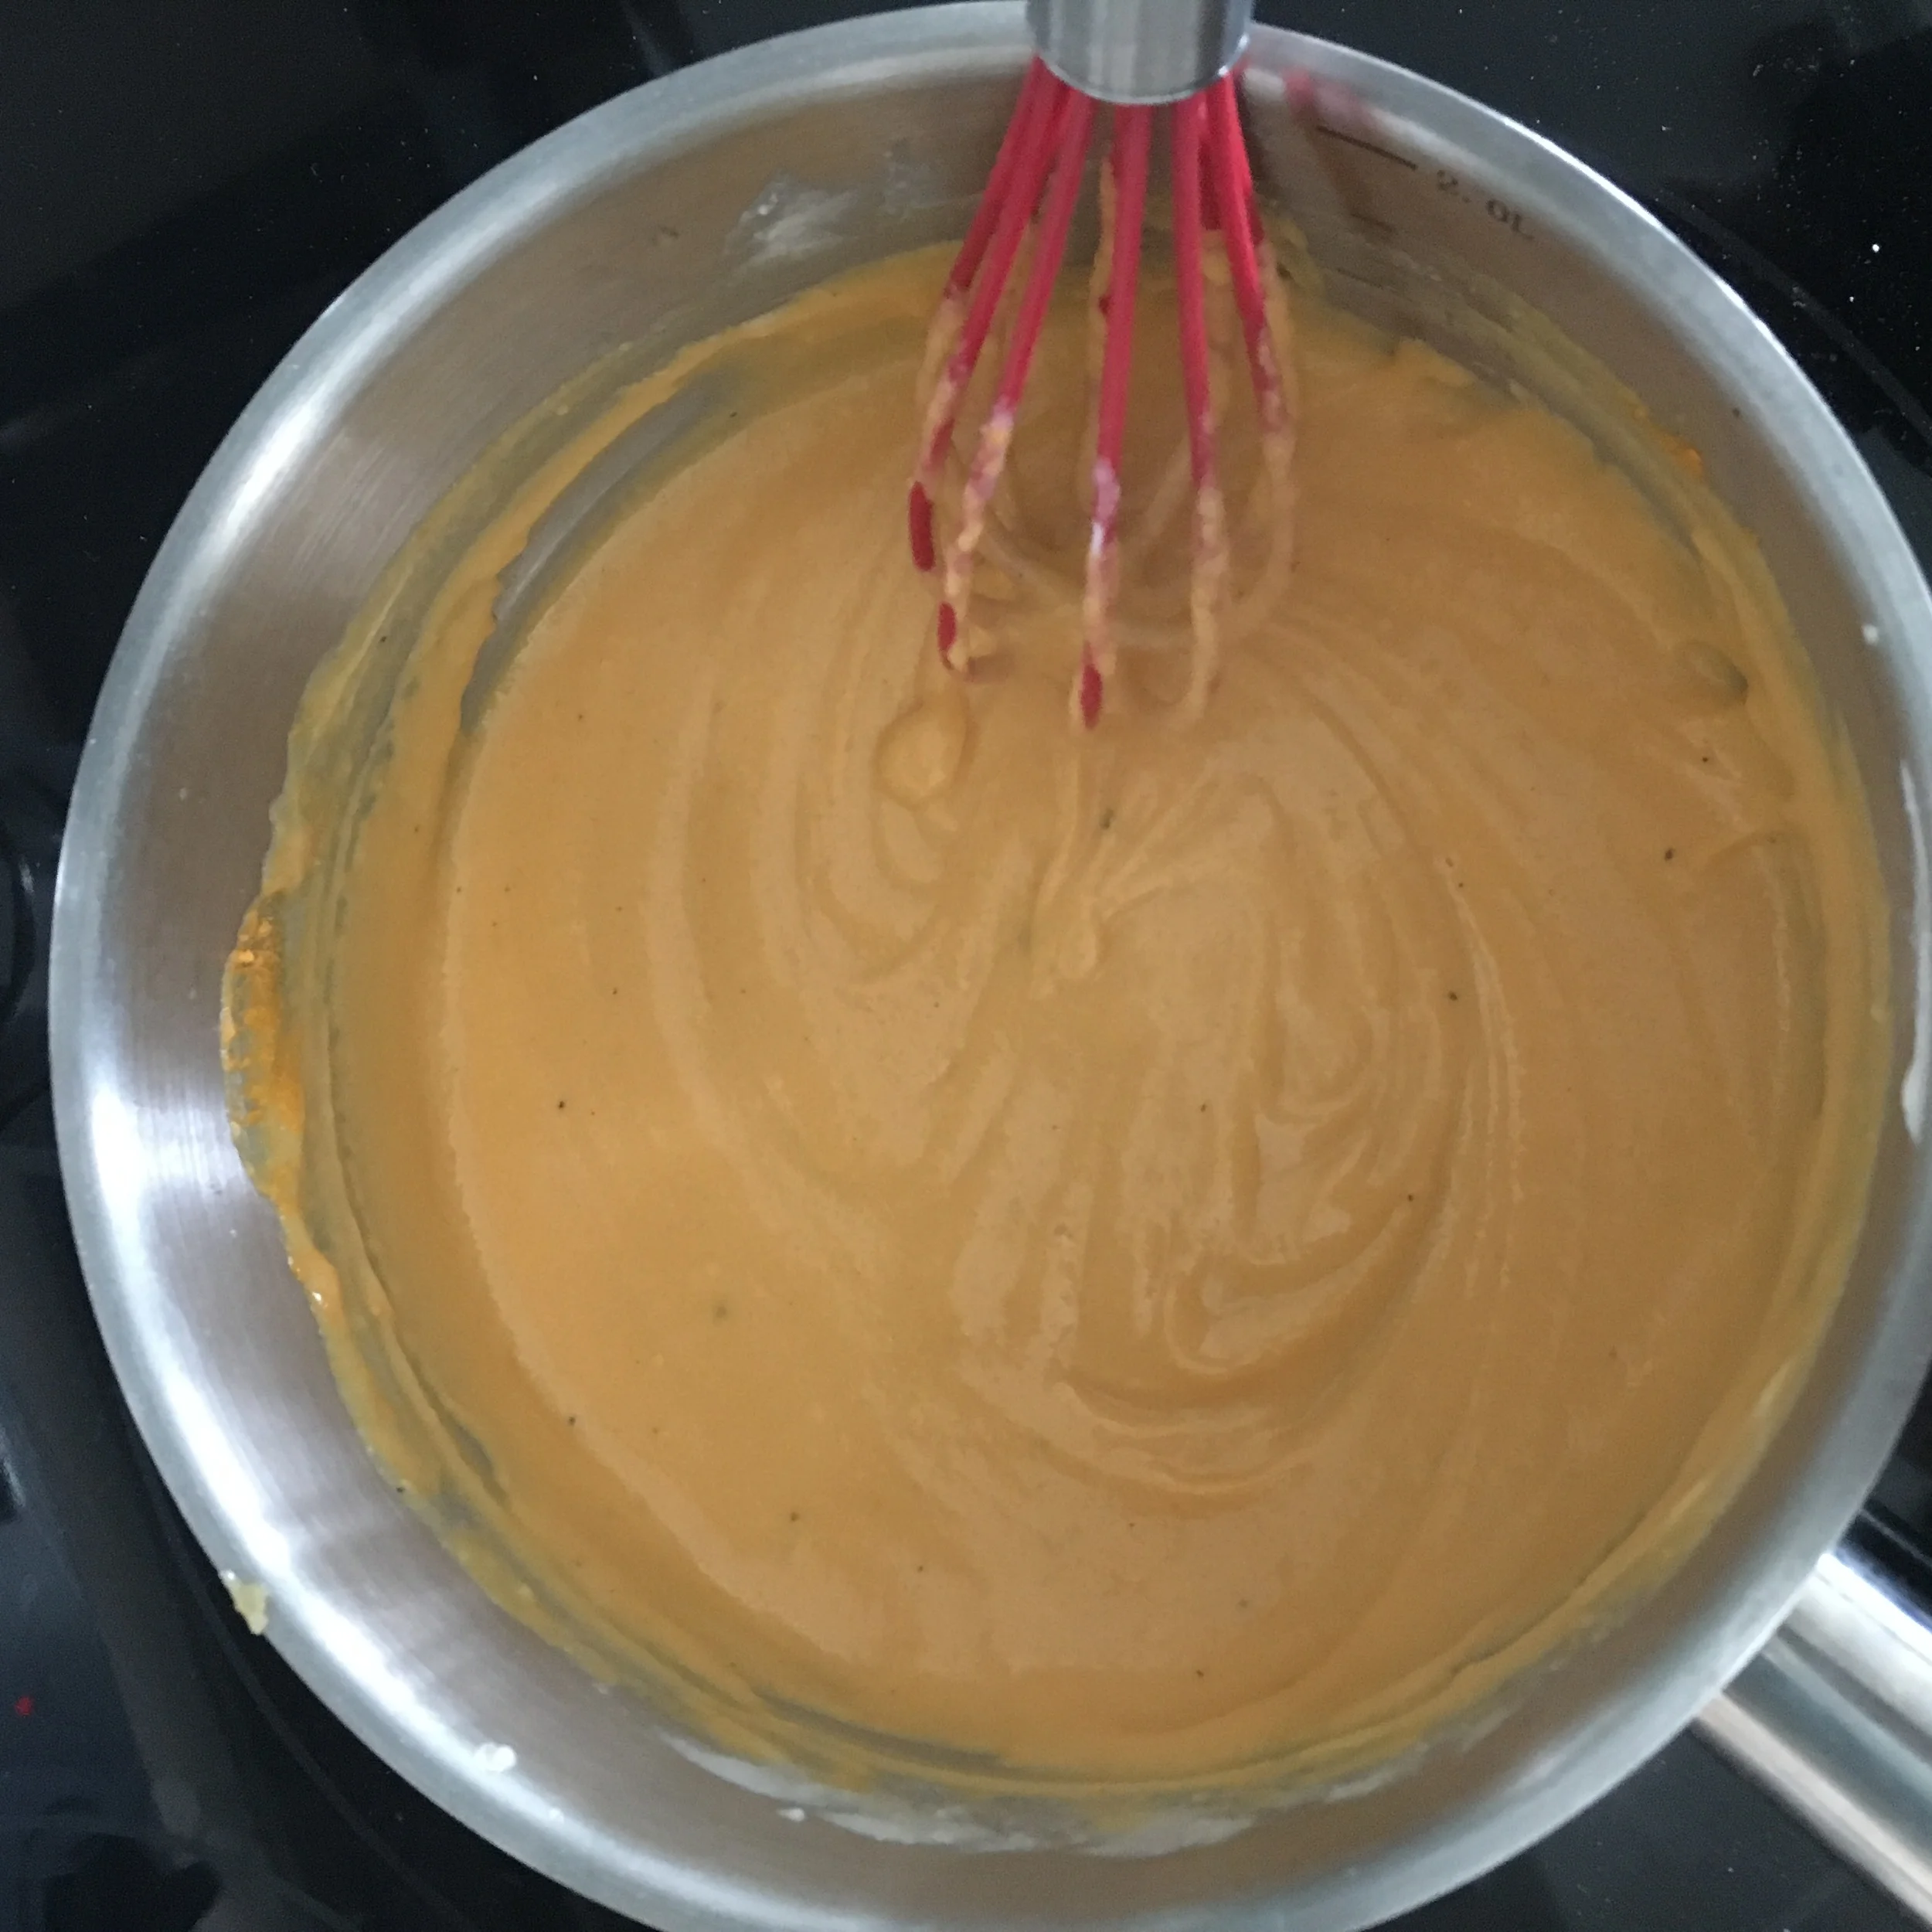
Next add in your milk slowly stirring with your whisk the whole time.  Allow milk to come to a simmer before removing from heat and adding in all your cheeses! Whisk together until smooth.

By now your pasta should be ready to be drained. Drain and allow access water to drip off before returning to pot. Add your egg to the pot with the pasta followed by the cheese sauce. Mix together so pasta is evenly covered. You can add pepper and salt now if you wish (remember that the cheese and butter does add salt to the dish already so you dont need much)

Scoop out pasta into your muffin tray (remember it has to be buttered or sprayed with non stick for easy removal later).

Place in oven and allow to bake for 16-17 minutes or until golden on the top!

Remove from oven and allow to cool for 5 minutes before removing from muffin tin.

They are now ready to serve! Enjoy!!!


I hope you enjoyed this recipe as much as I do. If you have any comments please leave them below and I'll be happy to answer them as soon as I can! Happy cooking!!!


TRADITIONAL MEXICAN CEVICHE

I love me some ceviche and I found that discarded avocado skins make a great serving device for dinner parties because they are easy to carry, they wont leak and they are of course biodegradable! Ceviche originally came from Peru but has since evolved and been expanded on with other South American cuisines. One of my favorite styles is typically seen in Mexican cuisines where they use whole white fish and habanero peppers to give it a refreshing and spicy flavor. Enjoy.

Makes 15 Avocado Cups (small servings)

INGREDIENTS:

2lbs of White Fish (Sea Bass works)
8-10 Garlic Cloves (chopped finely)
2 TSP of Salt
1 TSP of Black Pepper
1 Habanero (remove seed and chop finely)
4 TSP of Cilantro (chopped)
20 Limes (juiced)
1 Medium Red Onion (chopped finely)

DIRECTIONS:

Mix all ingredients except the onion in a bowl. Make sure all ingredients are covered in lime juice. Cover and place in fridge and allow to marinate for 2-3 hours.

After the two or three hours add the onion into the mix, place in avocado cups and serve.


I hope you enjoyed this recipe as much as I do. If you have any comments please leave them below and I'll be happy to answer them as soon as I can! Happy cooking!!!


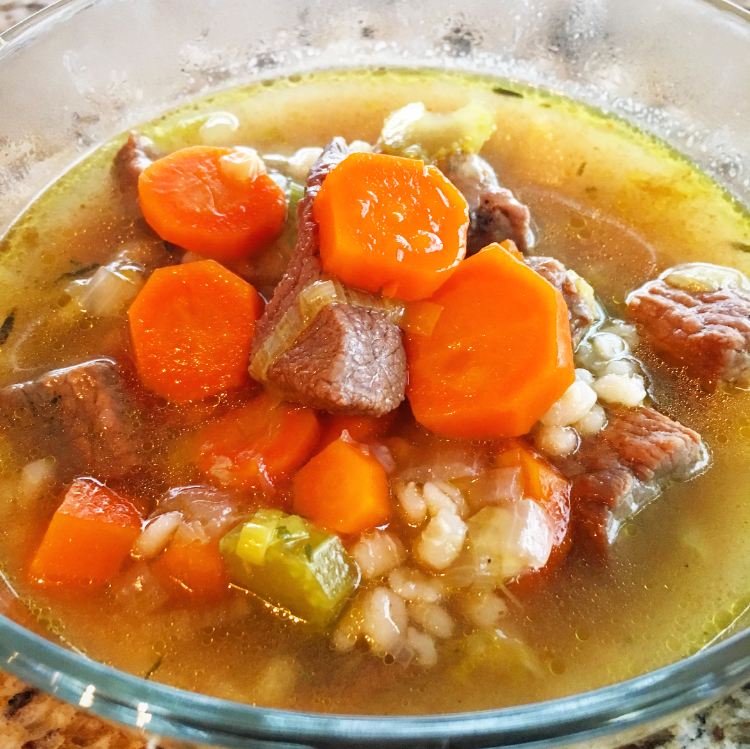
BEEF AND BARLEY SOUP


Beef and Barley soup is the quintessential fall/winter hearty soup. There are so many nutrients and vegetables in this soup that will pick you up if you are felling sick.  The beef and broth will also warm you right up on a cold day and give you the energy to continue on. My mom always made this soup when I was sick because she knows it was my favorite and I guess its only right to pay that forward. When I asked me mom to send me the recipe I was not really surprised to see it was a Barefoot Contessa recipe. Of course it is, she is queen - all hail the Contessa! Ill post the original link below. ENJOY!

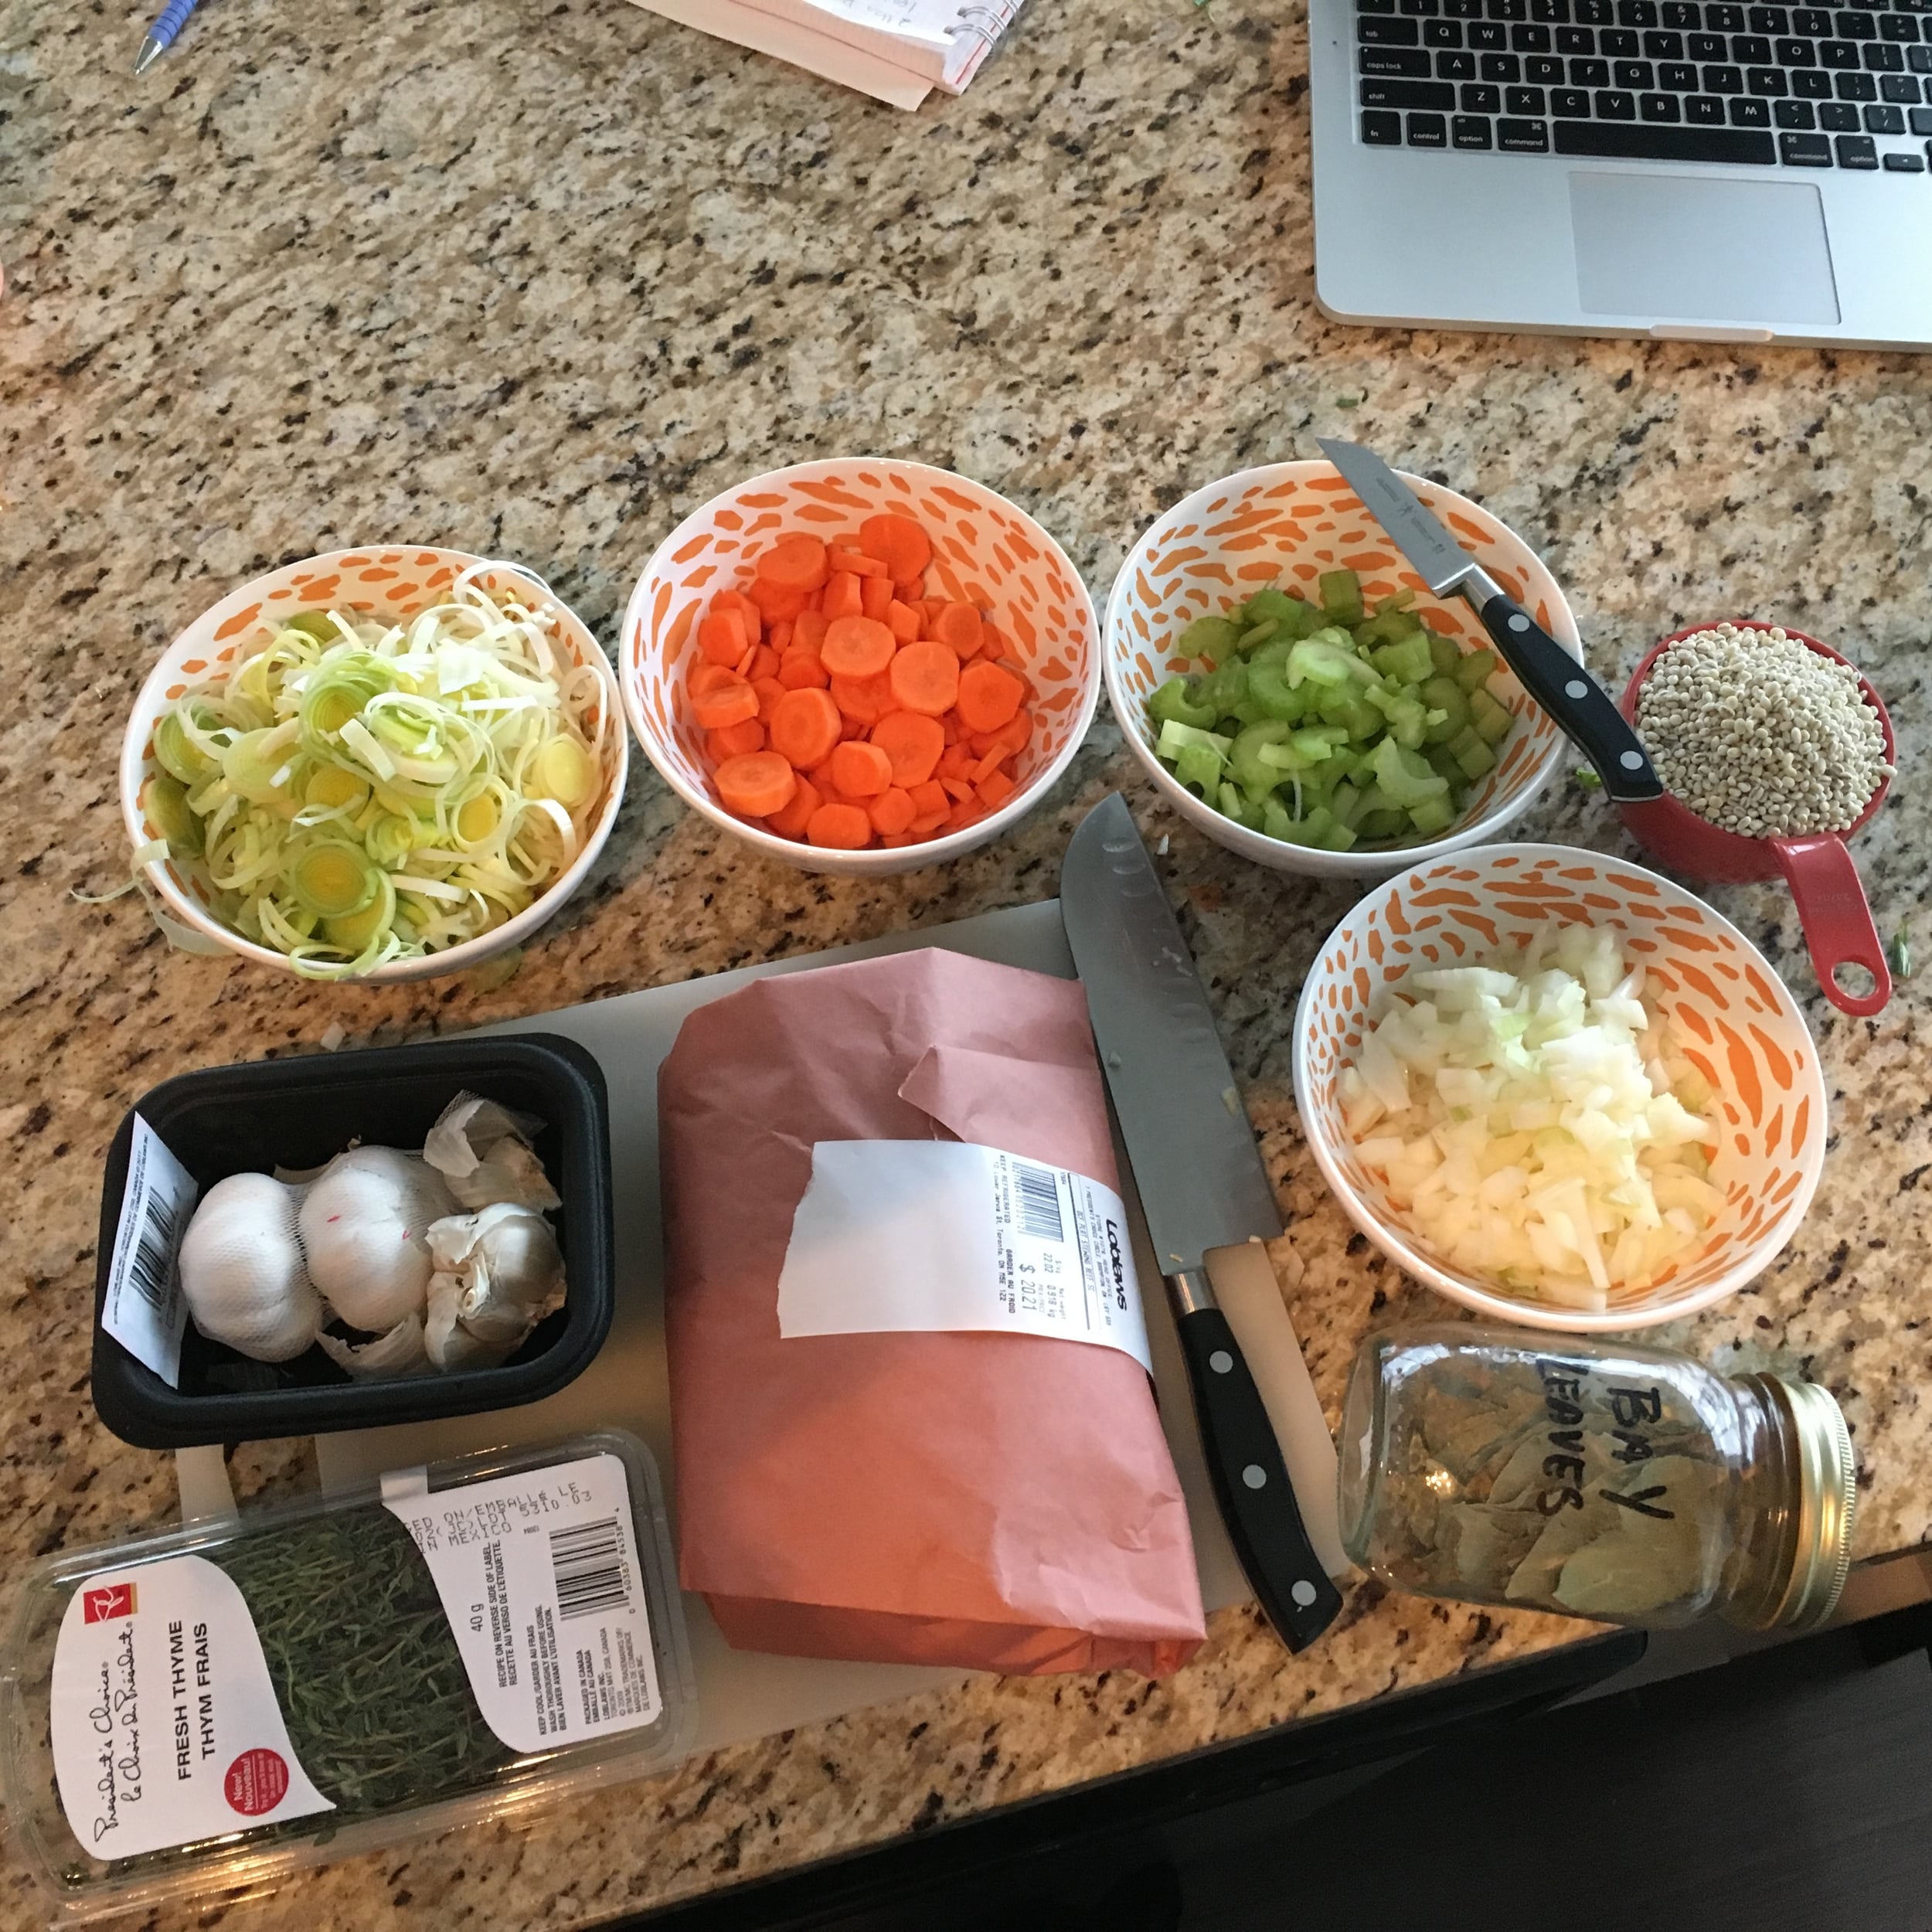
INGREDIENTS:

1 TBSP of Olive Oil
2 Lbs of Stewing Beef
2TSP of Salt (divided into 1 TSP portions)
2 TSP Pepper (divided into 1 TSP portions)
2 Cups of Leek (clean and chopped white bit - green bit is no good)
2 Cups of Carrots (peeled and chopped)
1 Large Spanish or Yellow Onion (chopped)
1 Cup of Celery (copped)
3 Bay Leaves
2 Stings of Thyme
8 Cups of Beef Broth
1 Cup of Uncooked Barley (rinsed)

DIRECTIONS:

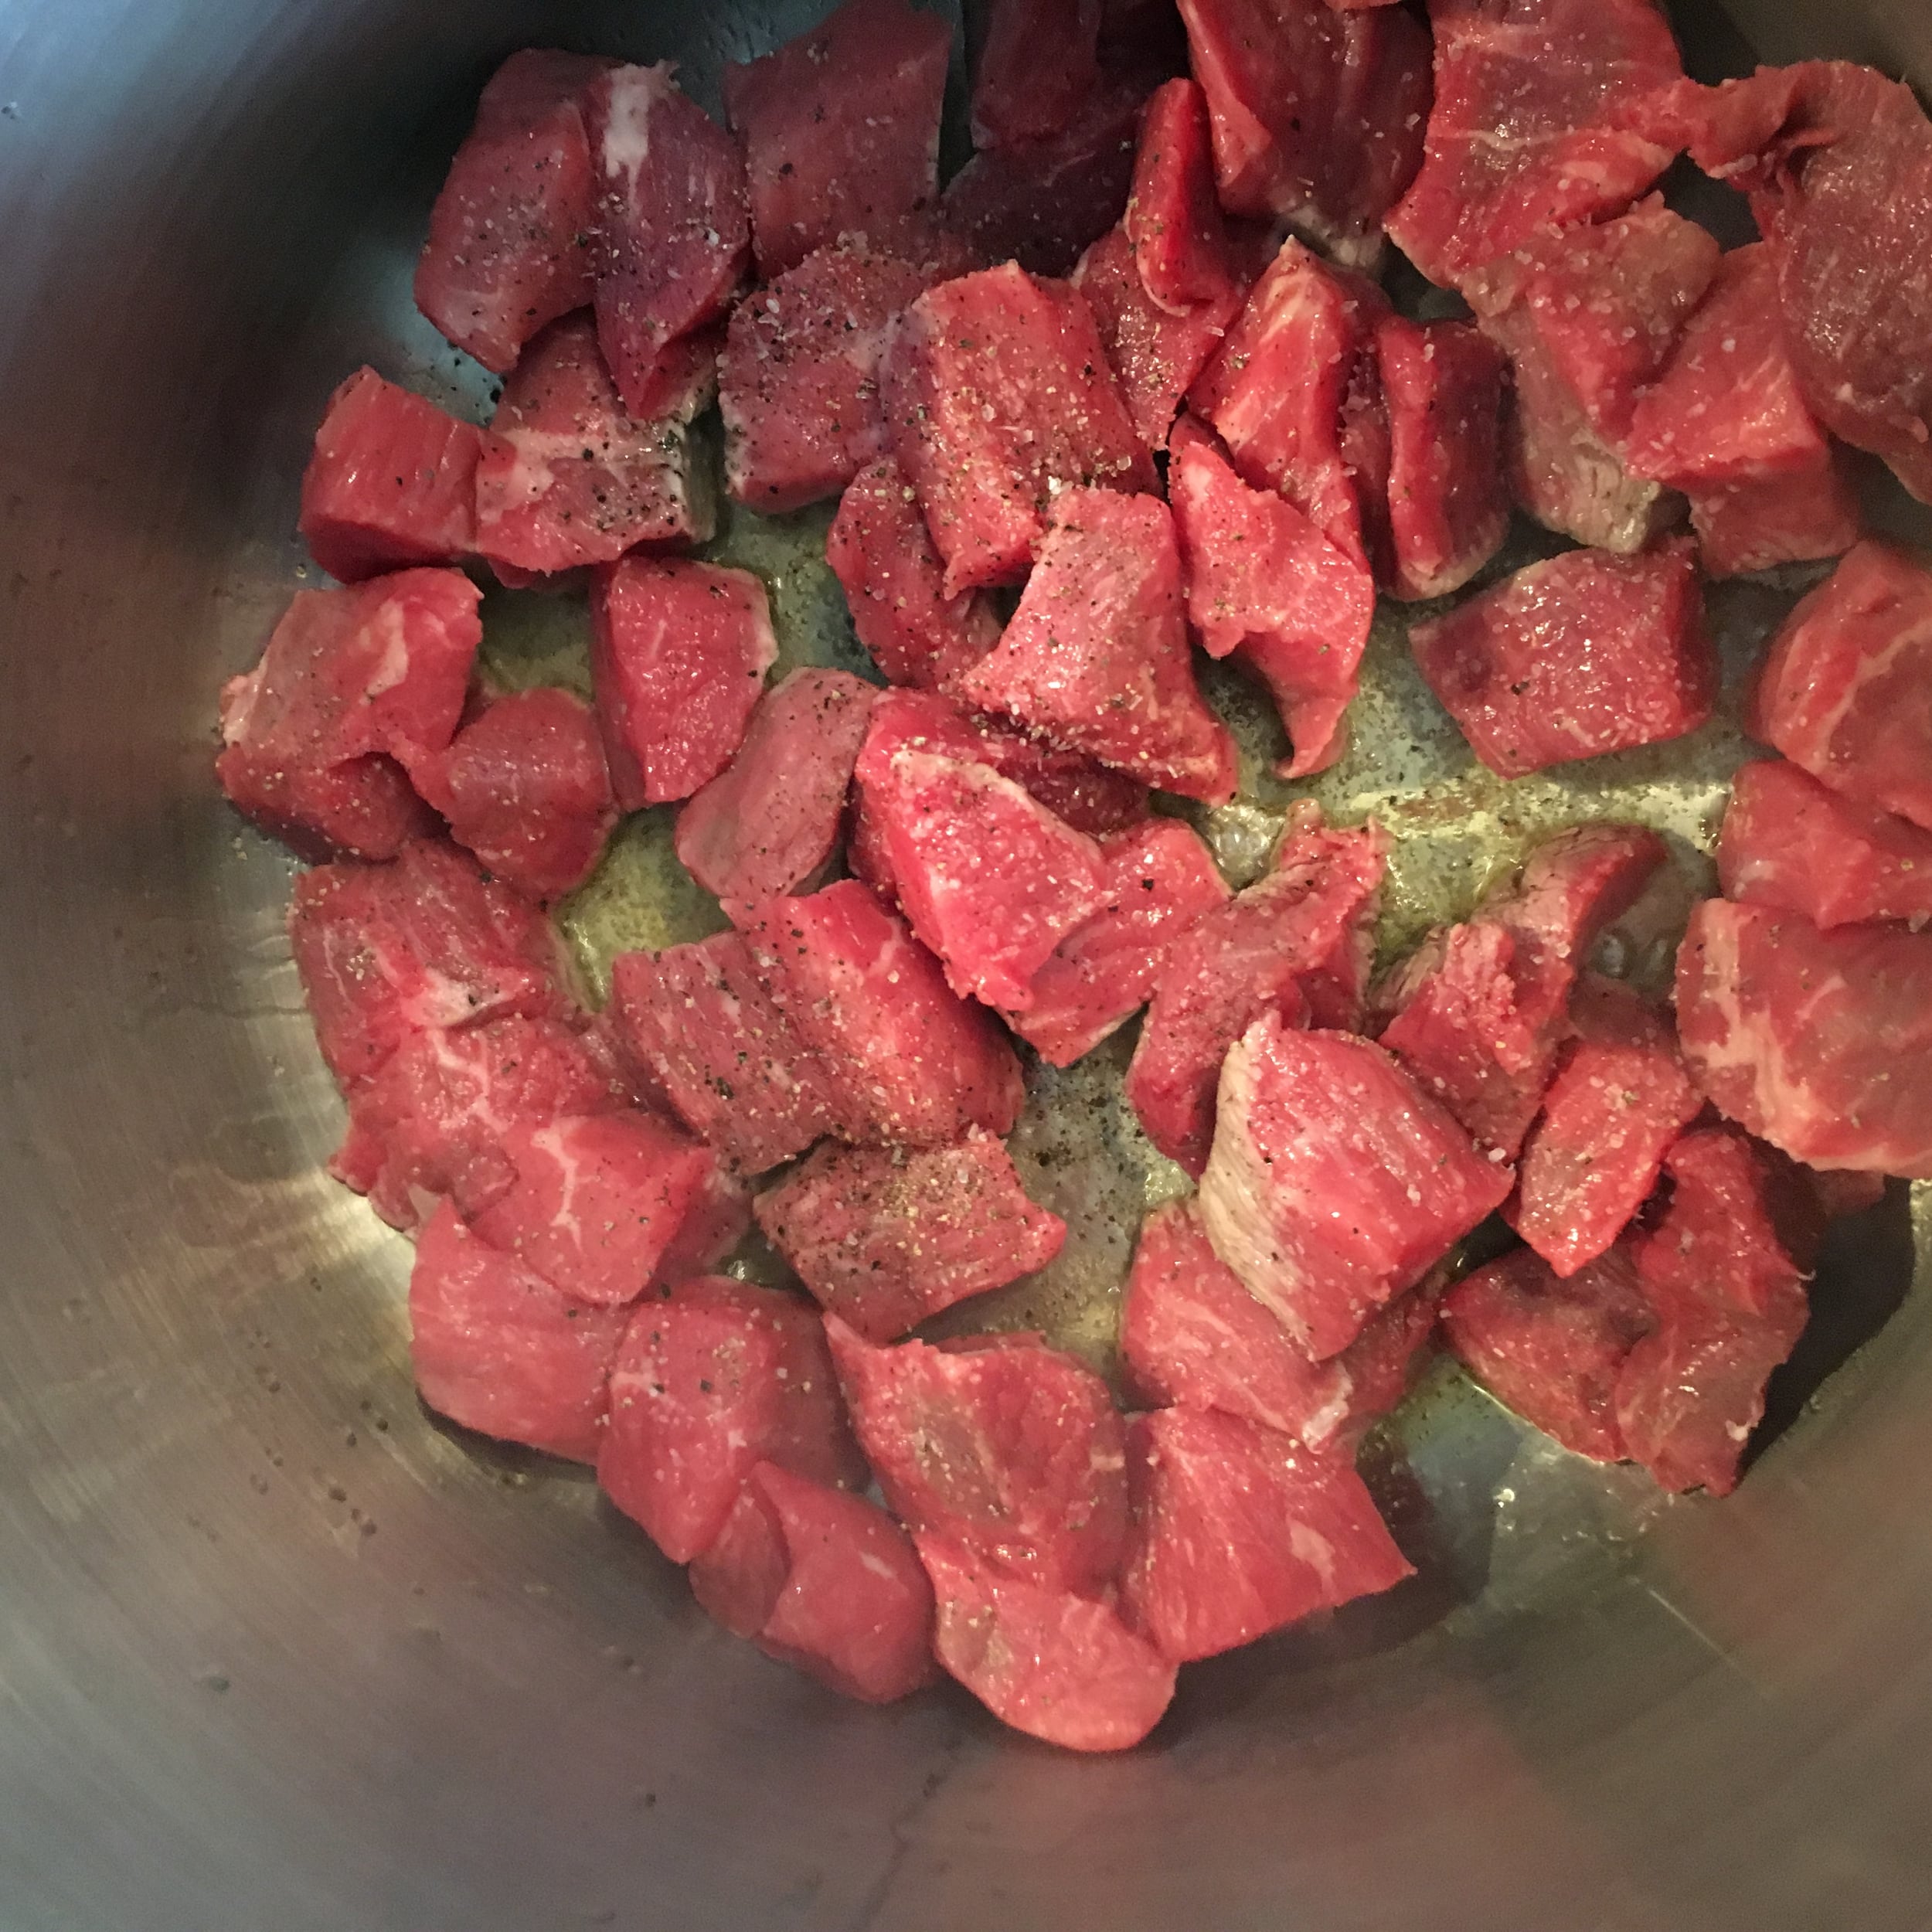
In a large pot heat up your oil on medium heat. Once ready throw in your stewing beef. Add 1 TSP of salt and pepper. Allow to cook for about 10 minutes stirring periodically. You want the beef to be browned on all sides and to let out the fat and juices.

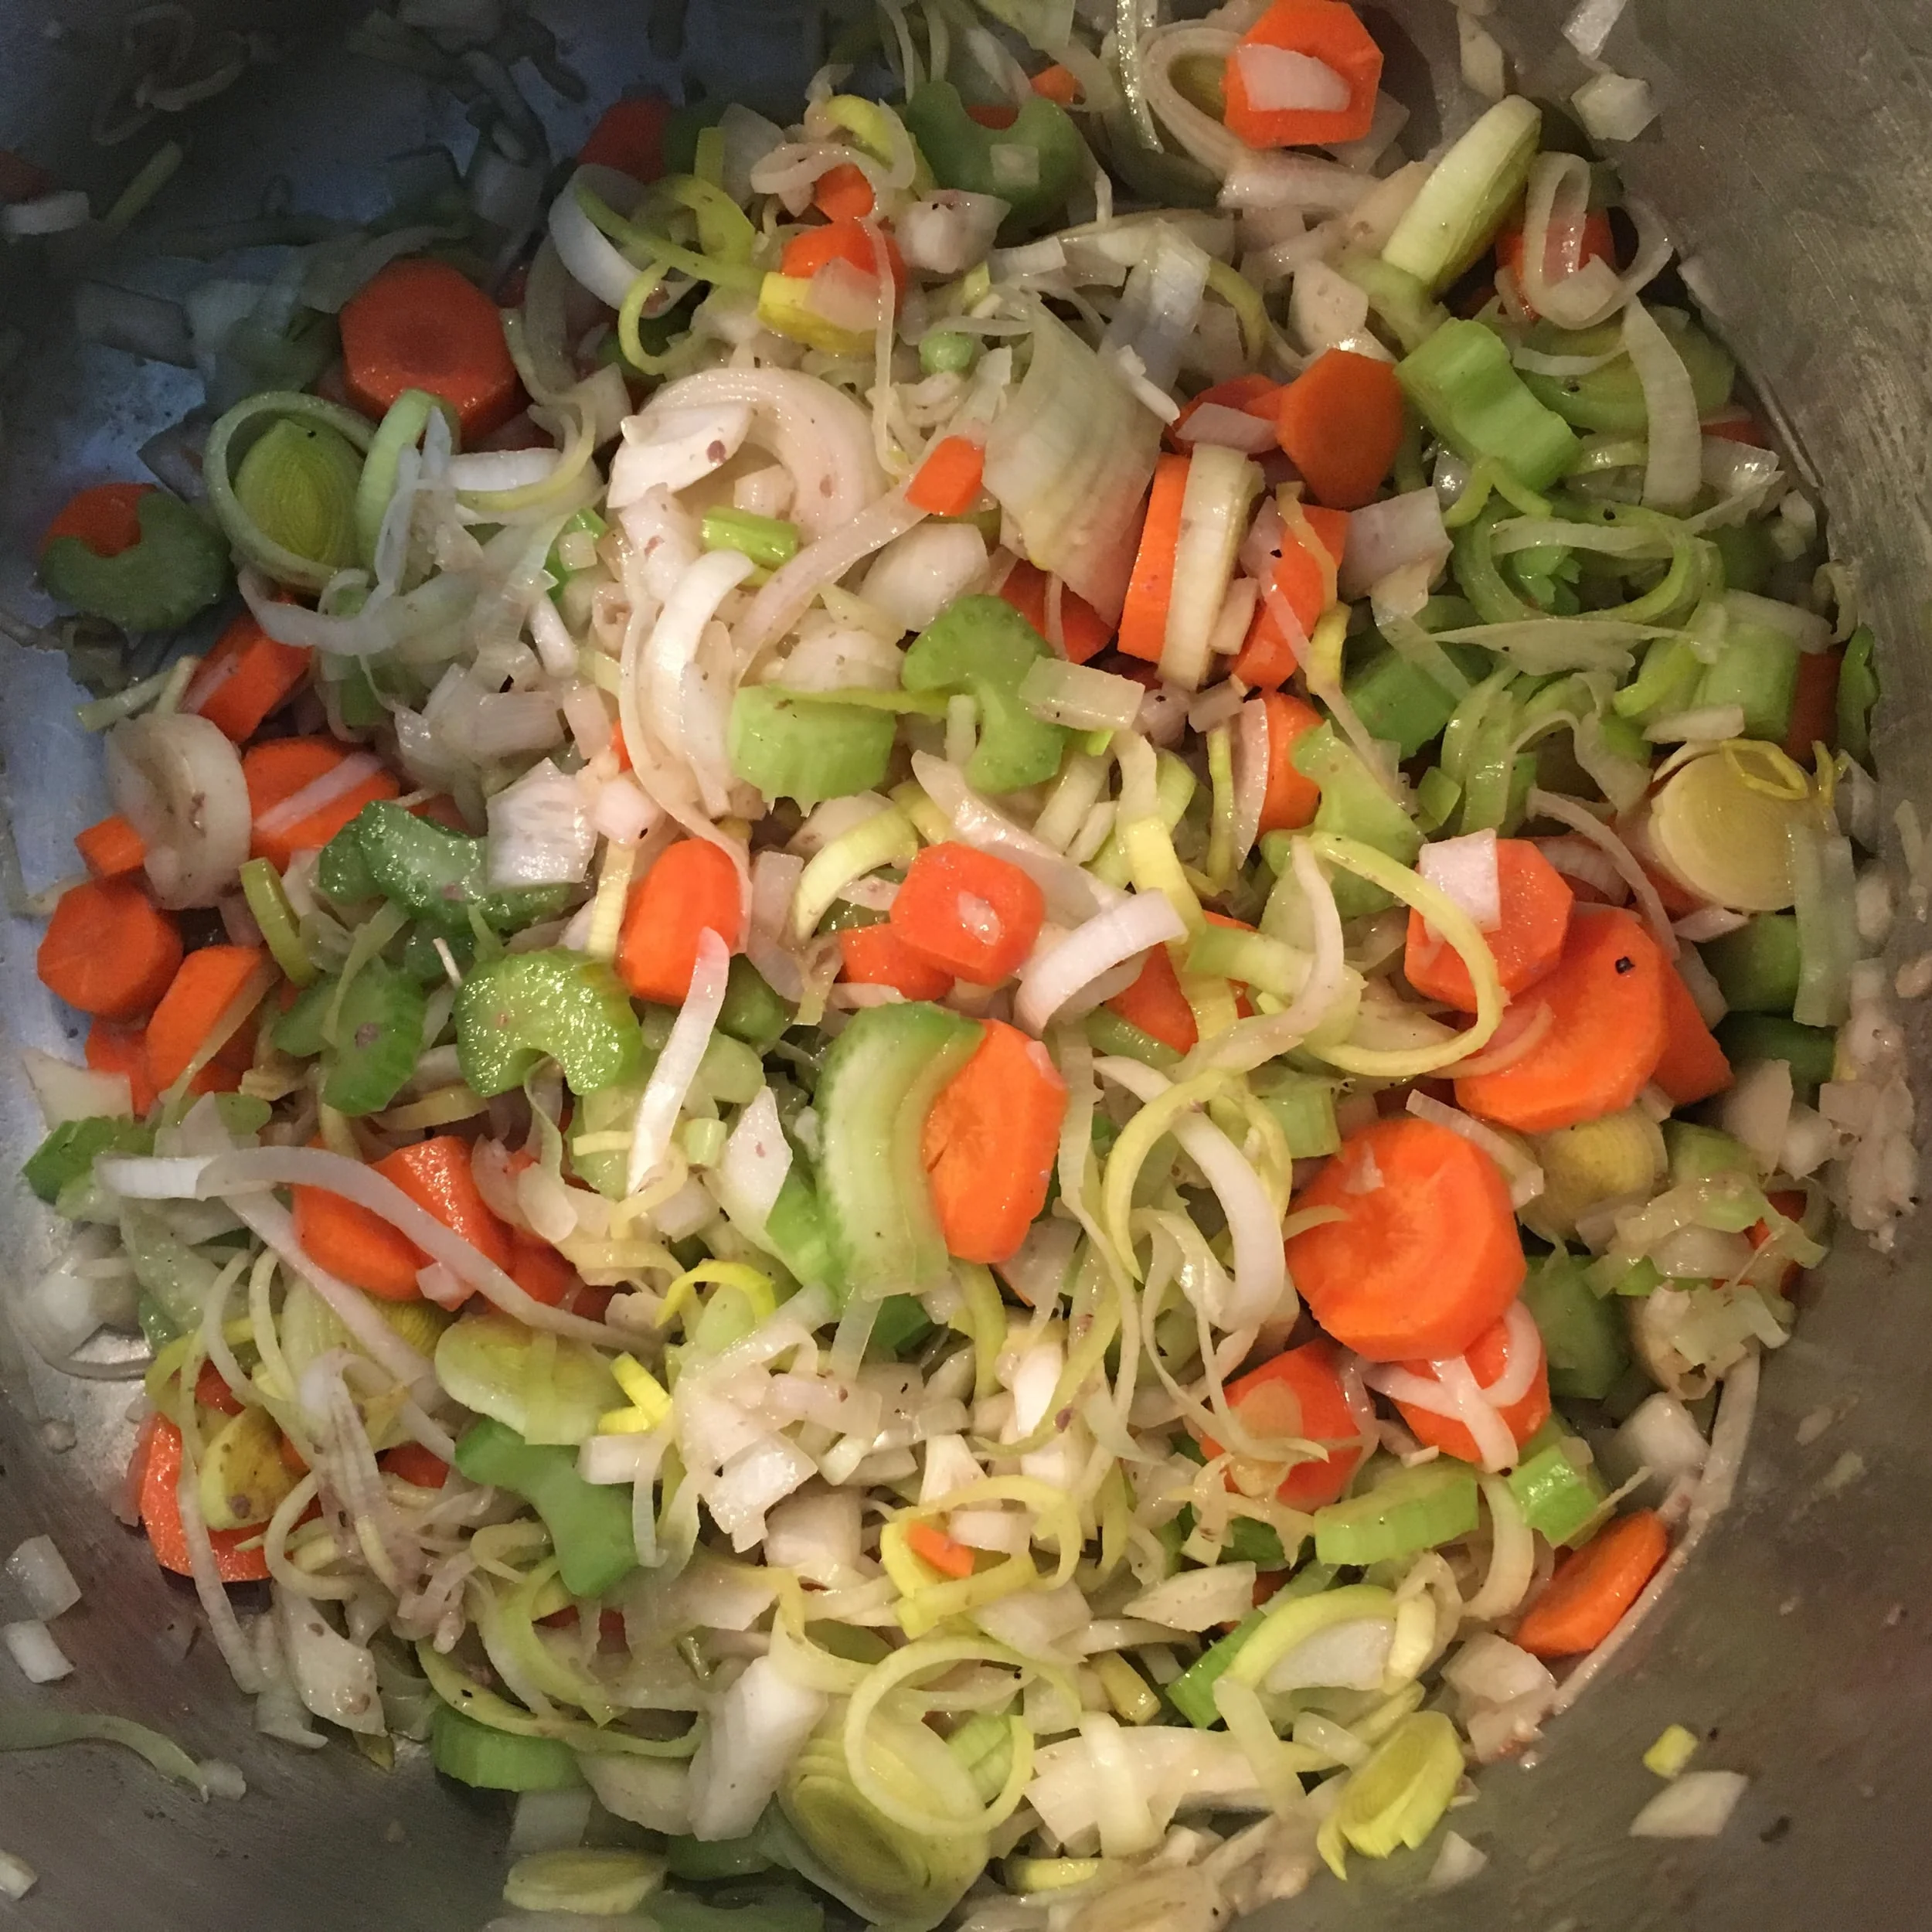
Once the beef is browned remove the beef and set aside but leave the juices!! We are going to use the juice to cook the vegetables so once the beef is out throw in the leeks, carrots, celery, and onion! Let that cook releasing the water from the vegetables and cooking them down for 10 minutes. They will also absorb some of the oils/fats left behind from the meat - YUM!

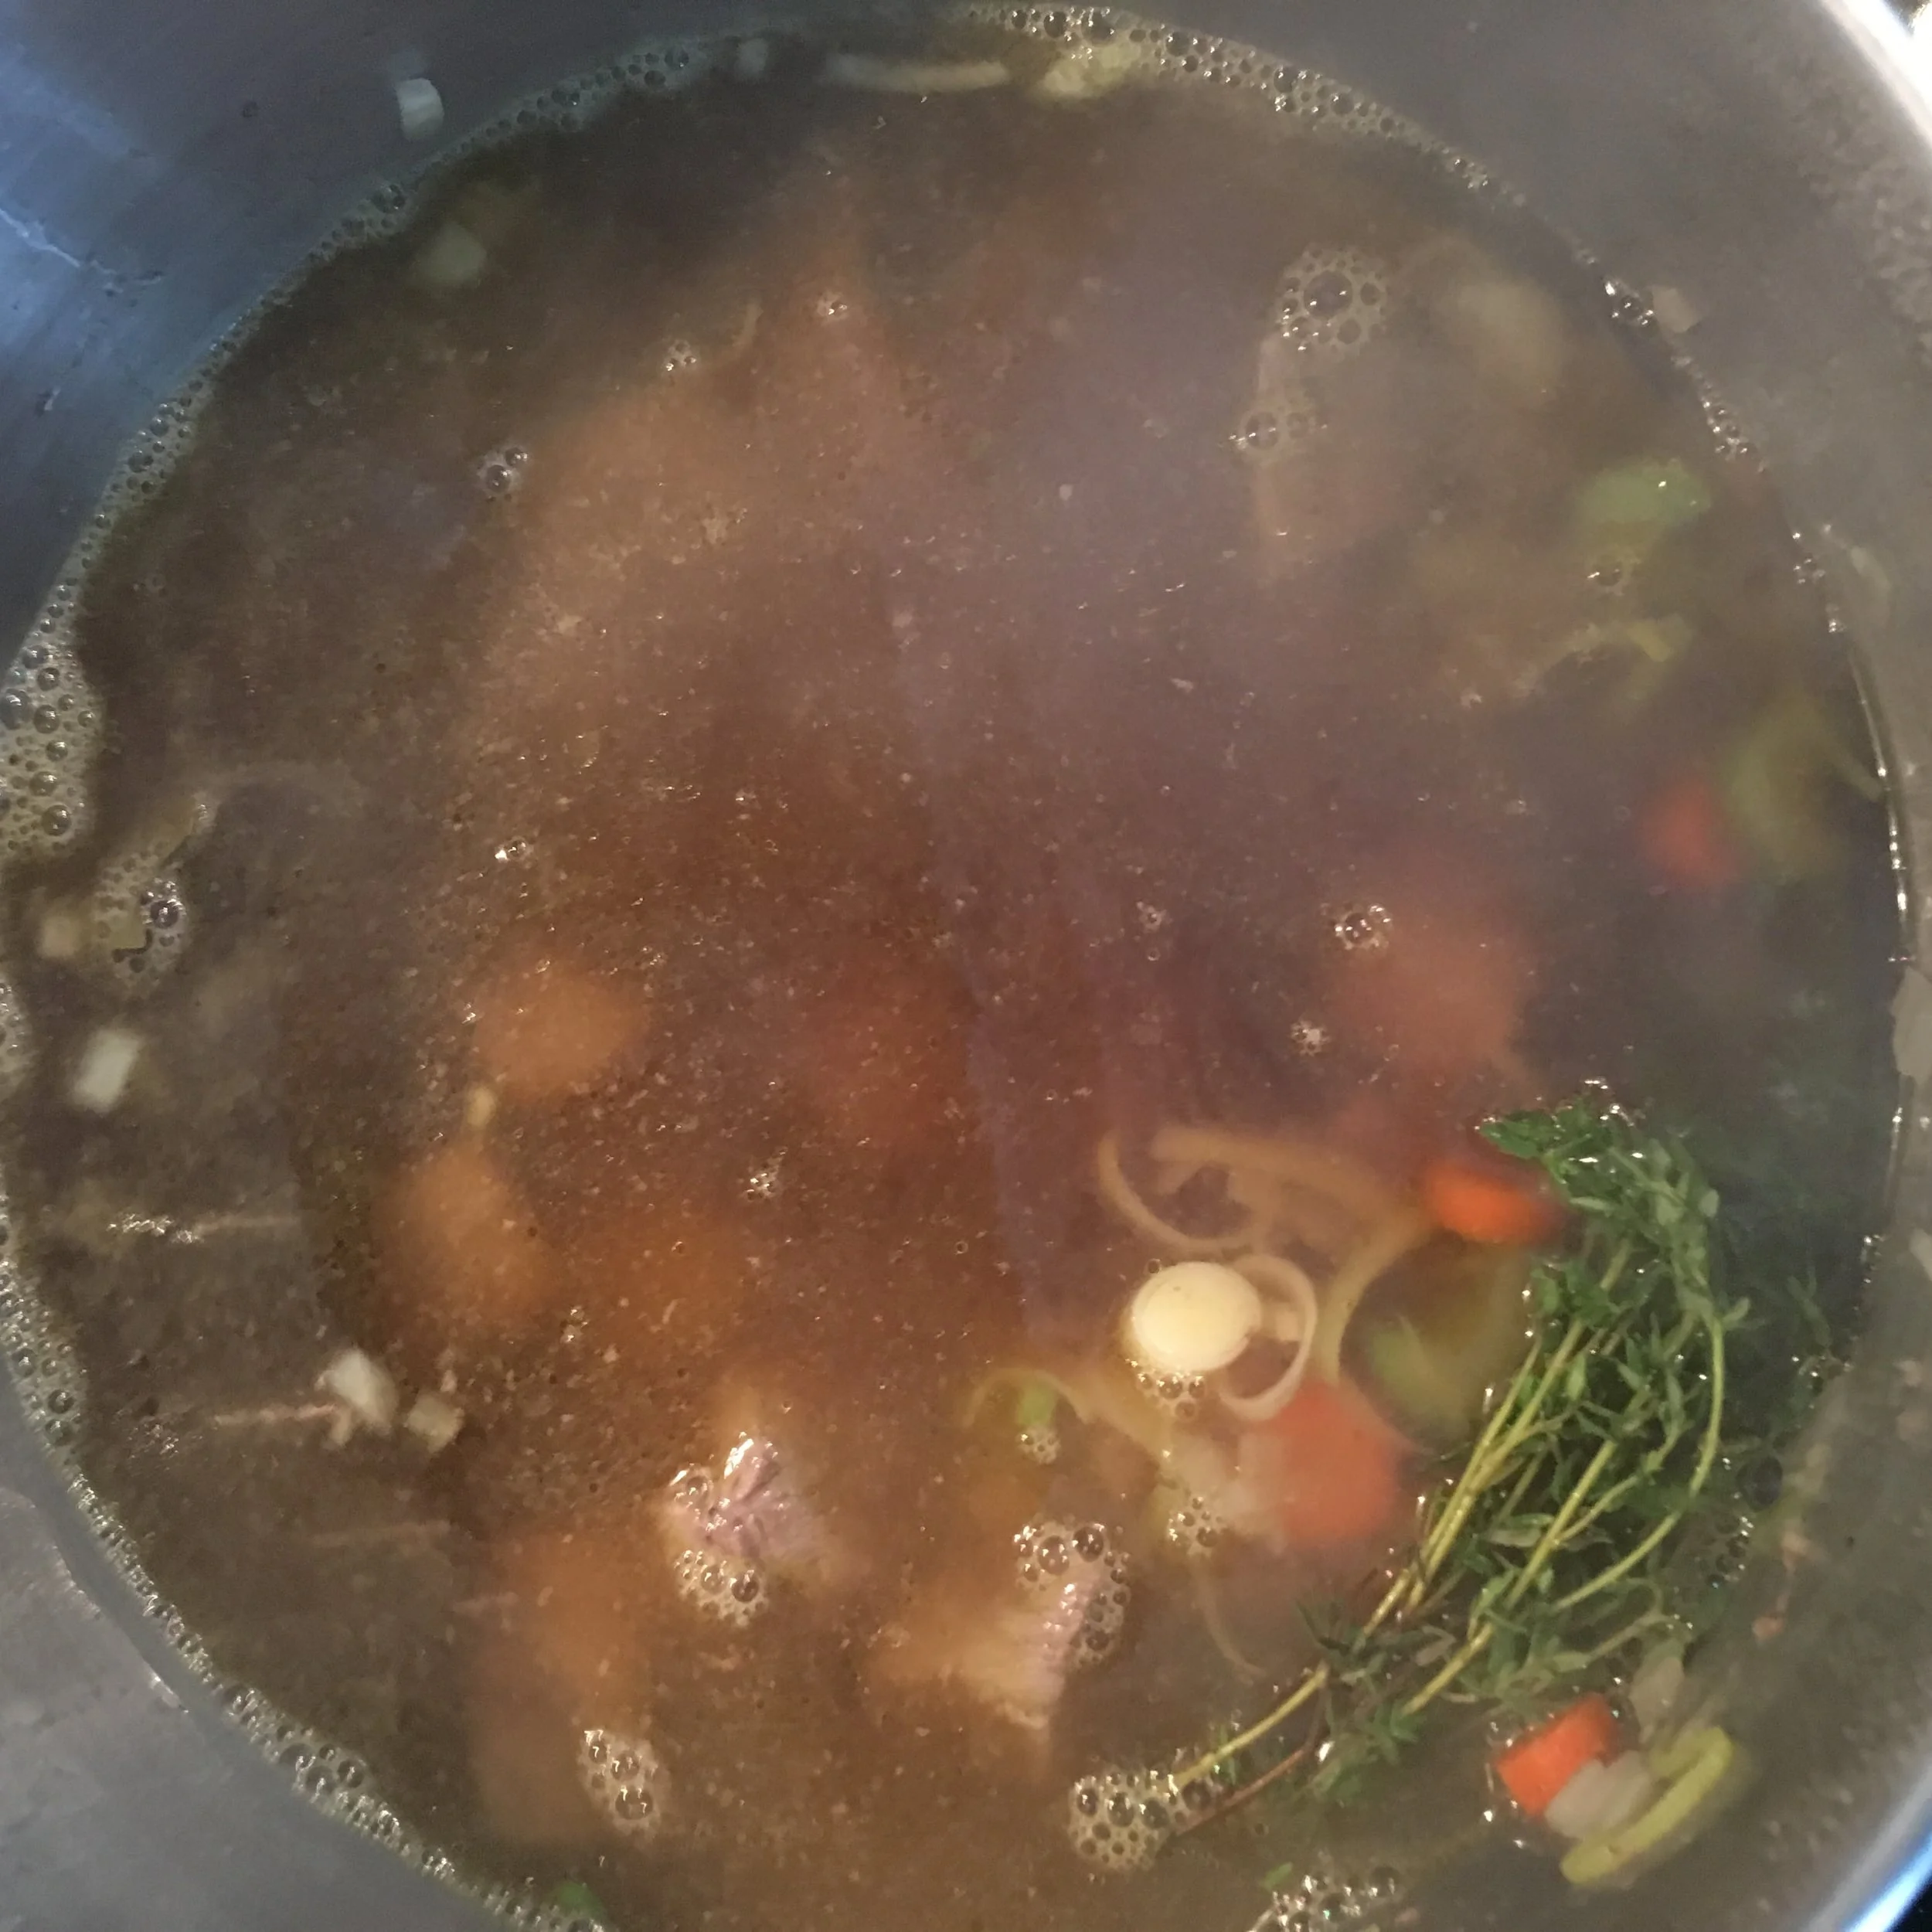
Once the vegetables are cooked down you can add your meat back in as well as your 2 springs of thyme, bay leaves, and beef broth. You can also add in your remaining salt and pepper at this time. Bring to a boil before lowering to a simmer and covering. You will need to let the soup continue to cook on a simmer for an hour.

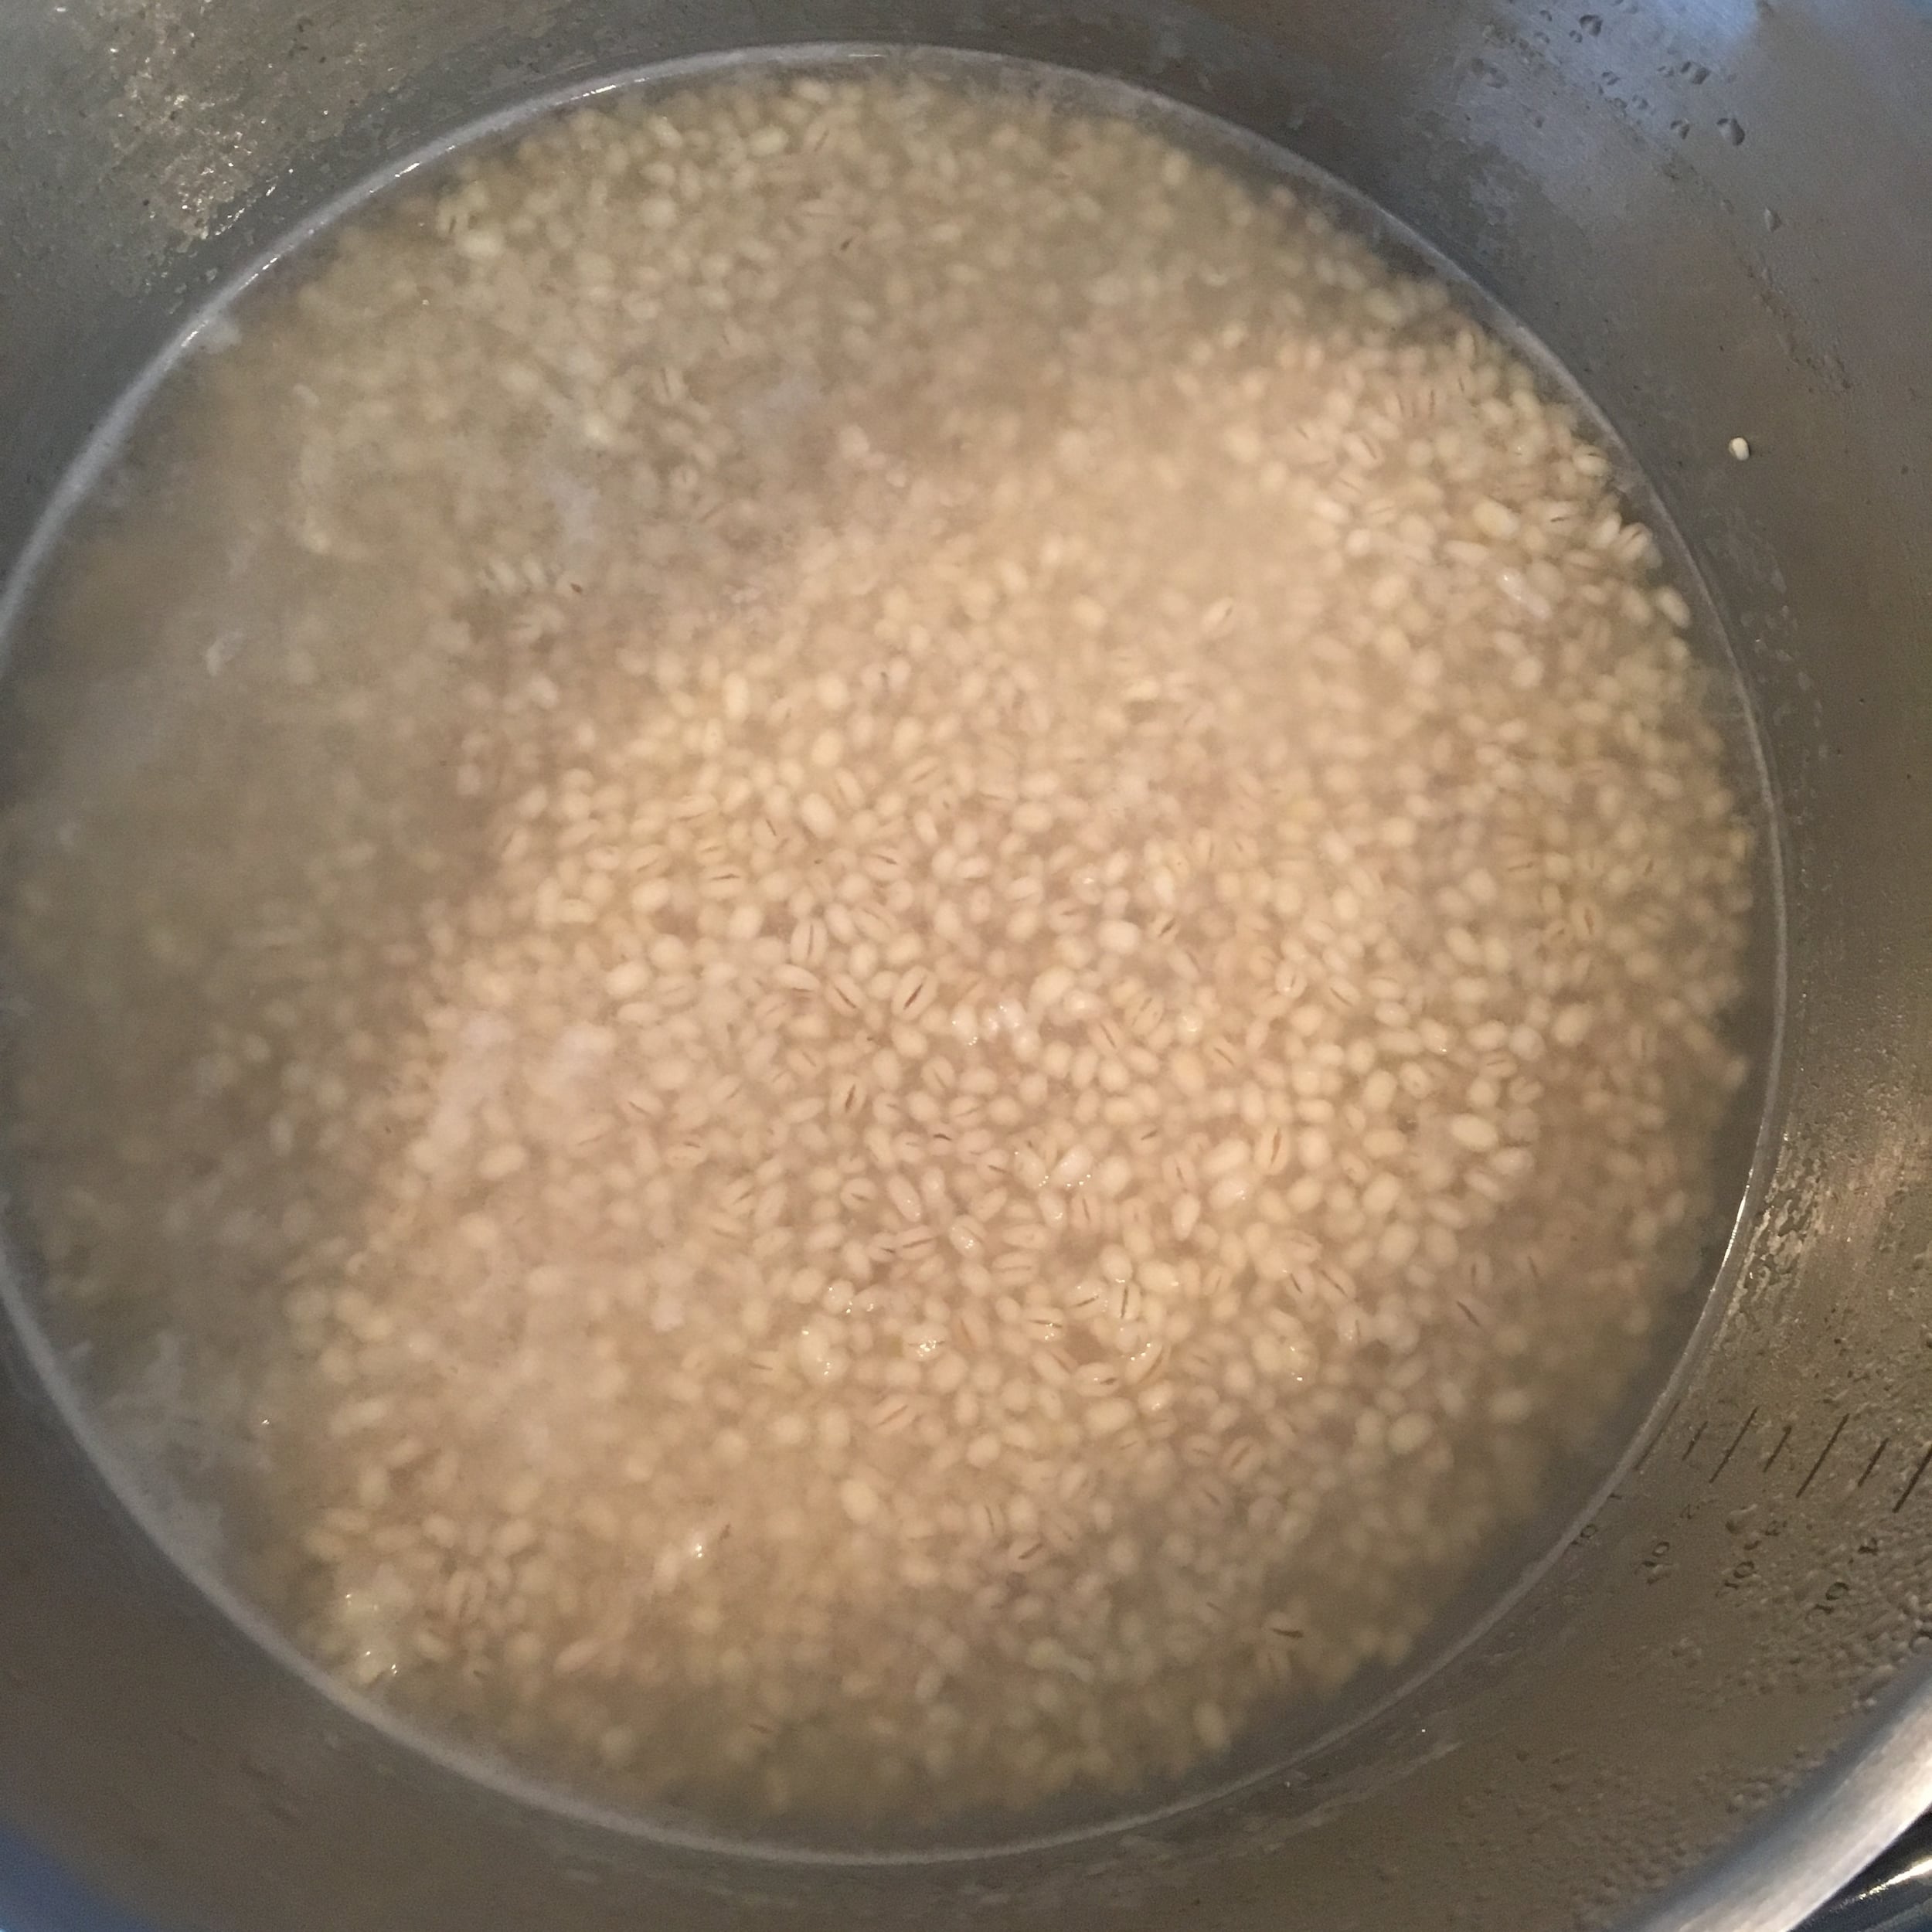
In the meantime, we are going to cook the barley so bring four cups of water in a separate pot to a boil and throw in your barley and reduce to a simmer. Let the barley simmer UNCOVERED for 30 minutes before you drain and set it aside.

When the 60 minutes are up for the soup throw in the barley and continue to cook for 15-20 minutes. Depending on how you like your soup you may want to add some salt and pepper before serving. Also, I like to remove the thyme and bay leaves so that they don’t get in people’s bowls.


Original Recipe -> http://www.foodnetwork.com/recipes/ina-garten/rich-beef-barley-soup-recipe.html

I hope you enjoyed this recipe as much as I do. If you have any comments please leave them below and I'll be happy to answer them as soon as I can! Happy cooking!!!