
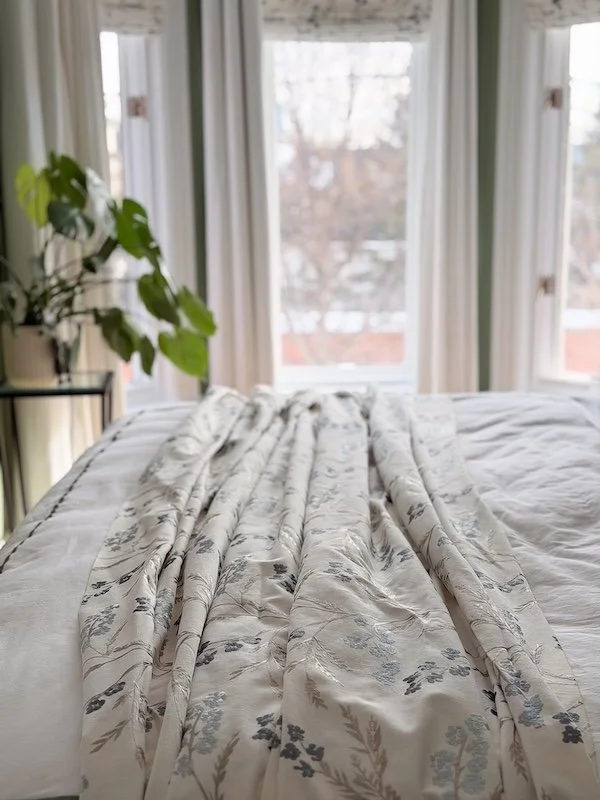
My king size bed feels even more elevated now thanks to my new bolster pillow!
* Please Note - Some links in this blog post are affiliate links *
Let’s make a custom bolster pillow!
I wish I could take credit for this DIY but I would be lying. The idea of making a custom bolster pillow came to me during a call with my designer at Blinds To Go. I told her in passing that I could sew and she suggested I try and add a bit of the embroidery fabric in my roman shades, across the bed. Such a brilliant idea! I couldn’t resist! Following my master bedroom refresh, I received a package from them with a little extra fabric for my bolster pillow! Wow! Thank you!
Before starting this project I first needed to decide on what size of bolster pillow I wanted. I took the fabric up to my room, laid it out and tried to envision it. I tested various sizes with my measuring tape and ended up landing on 40 inches. It felt like a good size for a bolster pillow given the other two layers of pillows already going on and felt well proportioned when matched with a 7 inch diameter.


Materials & Tools I used to complete this project:
Paper
Ruler
Pencil
Paper Scissors
Fabric Scissors
Non Woven Fabric - For Insert
Poly Fill - For Insert
White Thread
Sewing Machine
Sewing Needle
Fabric from Blinds To GO - for cover
Invisible Zipper - for cover
Cord Piping - an extra detail you can skip
Fabric Cover Button Kit - an extra detail you can skip
Bolster Pillow Insert Finished Dimensions: 42 inch long with 7 inch diameter - must be 2 inches wider to ensure the bolster pillow fills out nicely
Bolster Pillow Cover Finished Dimensions: 40 inch long with 7 inch diameter
Step 1: Bolster Pillow Insert


To calculate the pattern size for the insert you first need to start with the two end pieces. Simple add 1 inch to the finished diameter for seam allowance - so 7 becomes 8
Next, for the body you want to add 2 inch to the width - 40 becomes 42
and the length is calculated by multiplying the finished diameter by pie - 7 x 3.14 = 22 add 1 inch for seam allowance = 23
So 42 x 23 was the size of my body pattern!


With all my insert pillow pieces cut out, I could begin to sew them together making sure to leave a small hole in the body so I could get that stuffing in later. Once stuffed I could then just hand stitch the hole closed.
FOLLOW ME ON INSTAGRAM @ISTHATSOH


All the pieces for my bolster pillow cover are cut out and I am now ready to start sewing!
Step 2: Bolster Pillow Cover
With the insert done I could move onto my cover. Since this fabric has a pattern repeating on it I wanted to centre that fabric properly. To do so I folded it over and pinned it in place before measuring 20.5 inches from that fold. This would again give me enough fabric to achieve the finished 40 inch width I was after with seam allowance. For the length I used that same 23 inch measurement as before.
For the two end pieces, since I wanted a pleated look, instead of using the same circular pattern I used for the insert I instead cut two 6 inch strips the same length as the body (23 inches) to close the ends. If you don’t want to do the tuck or gather detail feel free to use the same pattern as before and cut out two flat end pieces.
With those three pieces cut out I could then begin to sew, starting with the invisible zipper. To ensure things line up you can pin the zipper into position as a guide like I did before sewing. With the invisible zipper in place you can close up the rest of the seam before pressing the seam allowance open and adding your cording detail. Feel free to skip this part if you don’t want this extra detail. I sandwiched the flange on my cord in-between my bolster body and end pieces and sewed it into the seam allowance. Once it’s all right side out this is what it should look like.

I tried to create even pleats before sewing everything together and into place.
Flipping It back inside out again you can begin placing your pleats as you like, pinning them into place. Alternatively, you can do a gathering stitch and gather the area evenly if you don’t want defined pleats. To help bring it all together, use an elastic band to tie all remaining fabric, making sure things are centred before stitching all layers together. You ideally need to close the hole. It should be so well tied off you should later be able to take that elastic off and it will stay.
ENJOYING THIS CONTENT? CHECK OUT SOME OF MY OTHER EPISODES AND BLOG POSTS!


Fabric Covered Buttons
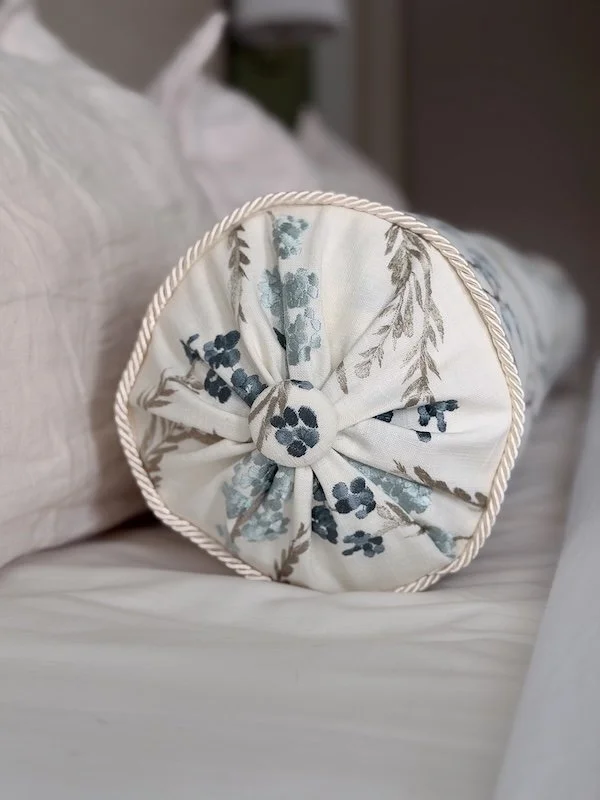
A close up of my new bolster pillow with cord trim and matching fabric covered buttons!
Once those holes were closed I used the fabric button kits I bought earlier, to make some quick fabric covered buttons. This was my first time making fabric buttons and I found it surprisingly easy thanks to the kit. The hardest part is deciding what section of the fabric you want to put on your button.
I attached my two fabric buttons to each end to my bolster pillow and wow! They finished everything off so nicely and made it feel super bespoke.


Thank you so much for joining me today and for checking out my new YouTube series Soh At.Home! If you have any questions or comments about this bolster pillow DIY and want to share your experience, please feel free to leave them below.
Before I sign off, I’d also like to say a big thank you again to Blinds To Go for sending me extra fabric but want to reiterate that, like always, all opinions remain my own.
Until next time,
- Soheila


