DIY NATURAL HAIR MASK TREATMENT

Quarantine has been a bit of an emotional roller coaster for many of us, myself included!

At first, I struggled to adapt to self-isolation and as a result, a lot of things I used to do beauty-wise, fell to the waist side. Now that time has gone by and I have had the time to properly adjust to the situation, I am trying to build a new and improved routine, one that involves a few extra self-love beauty practices like doing a DIY hair mask at home using natural ingredients.

Hair mask are great for a variety of reasons. For 1) they promote scalp health and can help balance the PH levels of your scalp making it either less oily or less flaky, 2) it can help strengthen the hair and reduce breakage, 3) it can add moisture back into your hair so that it feels softer and is shiny, and 4) it can actually help stimulate growth and thickness.

For me personally, I wanted to have something that added moisture back into my scalp and strengthen my hair so I used coconut oil, honey, banana, and egg in mine.

During the research and development phase of this blog post though what I quickly figured out about hair masks was that when it comes to ingredients any combination from the below list goes, it just depends on what kind of results you are after!

So next, I encourage you to take a look at the list of ingredients below and review their benefits before creating a hair mask that fits your personal hair needs.

HAPPY MASKING!


- STRENGTHENING PROTEIN -
Used to protect and strengthen hair, reduce breakage, make hair shiny, and cleanse the scalp.

  • Honey

  • Egg

- HYDRATION -
Used to add moisture back into the scalp and hair for less breakage, frizz, and more healthy feeling/ looking hair.

  • Coconut Oil

  • Avocado or Avocado Oil

  • Banana

  • Olive Oil

  • Yogurt

  • Mayonaise

- PROMOTE SCALP HEALTH -
Used to balance scalp PH levels, exfoliate your scalp and get rid of dandruff.

  • Apple Cider Vinegar - good for oily hair

  • Peppermint Oil - stimulates follicles

  • Cinnamon - exfoliates

  • baking soda - exfoliates

  • Lemon Juice - clarifies

  • Sugar - exfoliates

  • Baking Soda - clarifies and exfoliates


- HAIR GROWTH -
Used to nourish follicles for better/fast hair growth.

  • Castor Oil

To see a demonstration of me doing a DIY hair mask at home, check out the video below. Also, don’t forget to follow me on Instagram!

View this post on Instagram

At first, I struggled to adapt to self-isolation and as a result, a lot of things I used to do beauty-wise, fell to the waist side. Now that time has gone by and I have had the time to properly adjust to the situation, I am trying to build a new and improved routine, one that involves a few extra self-love beauty practices like doing a DIY hair mask at home using natural ingredients. Hair mask are great for a variety of reasons. For 1) they promote scalp health and can help balance the PH levels of your scalp making it either less oily or less flaky, 2) it can help strengthen the hair and reduce breakage, 3) it can add moisture back into your hair so that it feels softer and is shiny, and 4) it can actually help stimulate growth and thickness. For me personally, I wanted to have something that added moisture back into my scalp and strengthen my hair so I used coconut oil, honey, banana, and egg in mine. During the research and development phase of this video, I quickly figured out that when it comes to hair masks ingredients, any combination from a list of natural household incredients go, it just depends on what kind of results you are after! So next, I encourage you to take a look at the list of ingredients that I have posted on my blog and review their benefits before creating a hair mask that fits your personal hair needs. HAPPY MASKING! ::::: 📍 @seetorontonow. 📸 @apple Iphone XS Max #isthatsoh . . . . . #canadiangirl #prettylittleiiinspo #hairgrowth #hairtreatment #diyhairtreatment #healthyhair #scalphealth #torontoblogger #inspiremyinstagram #blondehair #softhair #hydration #toronto #torontohair #diyhair #hairsalon #torontolife #hairinspo #beautytutorial #torontoigers #hairtransformation #torontoliving #torontogirl #hairtutorial #selfcare #selfisolation

A post shared by SOHEILA HAKIMI | LIFE + TRAVEL (@isthatsoh) on


If you have any questions or comments about this blog post feel free to leave them in the comment section below.

BRIGHTENING TURMERIC FACE MASK - BENEFITS OF TURMERIC FOR SKIN

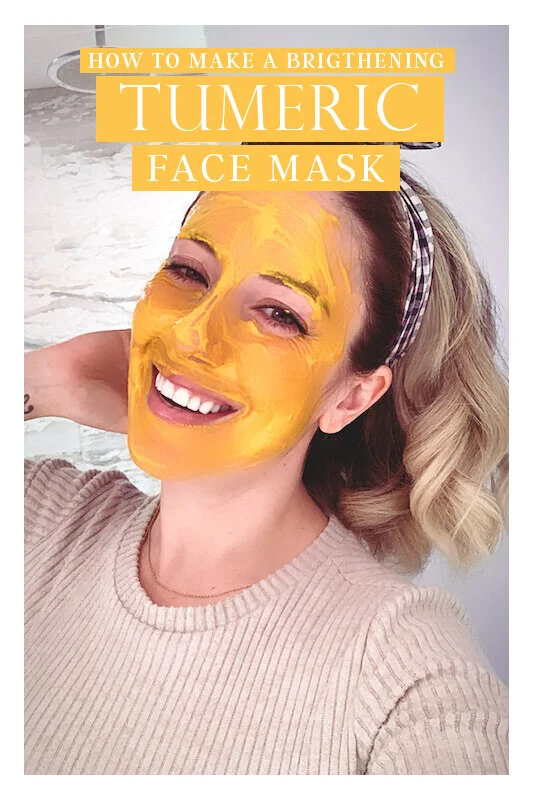
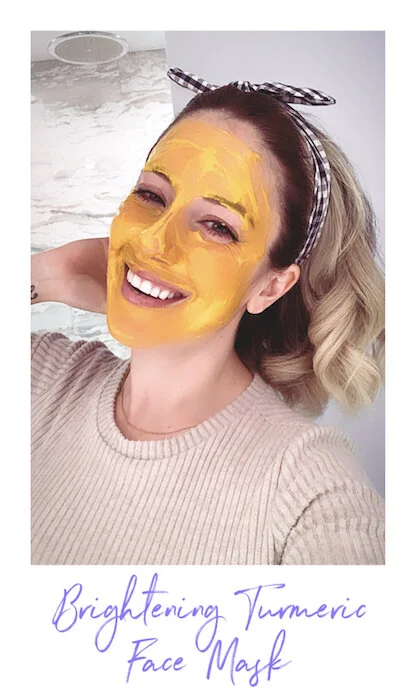
I have been trying to find ways to pass the time while in self-isolation and recently came across an amazing brightening face mask with turmeric that I wanted to share with all of you.

TURMERIC BENEFITS FOR SKIN

Turmeric is one of those magical ingredients that can do just about everything! It has spectacular antibacterial properties which are great for anyone who suffers from acne. It also is full of antioxidants which slows down cell damage from aging. It is an anti-inflammatory which means it will help reduce redness and any skin irritation, and lastly, it also makes for a great exfoliate! That is why I wanted to share this face mask with turmeric you so you can take advantage of all the amazing benefits of turmeric for skin right at home!

BEFORE YOU TRY THIS MASK OUT, I just want to warn you that TURMERIC DOES STAIN so be careful not to get it on anything you really care about and make sure to wipe your counter clean quickly to avoid any permanent markings. Also, when you go to remove the mask, I recommend using a dark towel or paper towel with some warm water and a cleanser to help it along.


CHECK OUT THESE OTHER BEAUTY DIY’S


INGREDIENTS:

1 Tsp of Turmeric
1 Tsp of Honey
1 Tbsp of Yogurt

DIRECTIONS:

- Mix all ingredients in a bowl until well blended.
- Apply to a clean face and let it sit for 10 minutes before washing it off in a circular exfoliating motion with warm water (you can use a paper towel to help assist with the removal).
- If you need more help you can use a cleanser.
- Follow the removal of the mask with a moisturizer to finish off the treatment.

View this post on Instagram

I have been trying to find ways to pass the time while in self-isolation and recently came across an amazing brightening turmeric face mask that I wanted to share with all of you. Turmeric is one of those magical ingredients that can do just about everything! It has spectacular antibacterial properties which are great for anyone who suffers from acne. It also is full of antioxidants which slows down cell damage from aging. It is an anti-inflammatory which means it will help reduce redness and any skin irritation, and lastly, it also makes for a great exfoliant! Before you try this mask out thought I just want to warn you that TURMERIC DOES STAIN so be careful not to get it on anything you really care about and make sure to wipe your counter clean quickly to avoid any permanent markings. Also, when you go to remove the mask, I recommend using a paper towel and a cleanser to help it along. INGREDIENTS: 1 Tsp of Turmeric 1 Tsp of Honey 1 Tbsp of Yogurt DIRECTIONS: -Mix all ingredients in a bowl until well blended. -Apply to a clean face and let it sit for 10 minutes before washing it off in a circular exfoliating motion with warm water (you can use a paper towel to help assist with the removal). -If you need more help you can use a cleanser. -Follow the removal of the mask with a moisturizer to finish off the treatment. I hope you enjoyed this little at home spa treatment! If you have any questions feel free to leave them in the comments below! - Soheila : #homesweethome #canadiangirl #selfcare #turmeric #facemask #distillerydistrict #torontoblogger #torontolifestyle #facial #selflove #selflovemovement #torontolife #torontobloggers #facialtreatment #stayathome #wellness #diyskincare #facialtreatment #athomefacials

A post shared by SOHEILA HAKIMI | LIFE + TRAVEL (@isthatsoh) on


FOLLOW ME ON INSTAGRAM @ISTHATSOH

Gallery Block
This is an example. To display your Instagram posts, double-click here to add an account or select an existing connected account. Learn more

I hope you enjoyed learning about turmeric benefits for skin and doing this little at-home spa face mask with turmeric! If you have any questions about turmeric for the skin or this face mask with turmeric feel free to leave them in the comments below!

- Soheila


PIN THIS POST

DIY MILK BATH

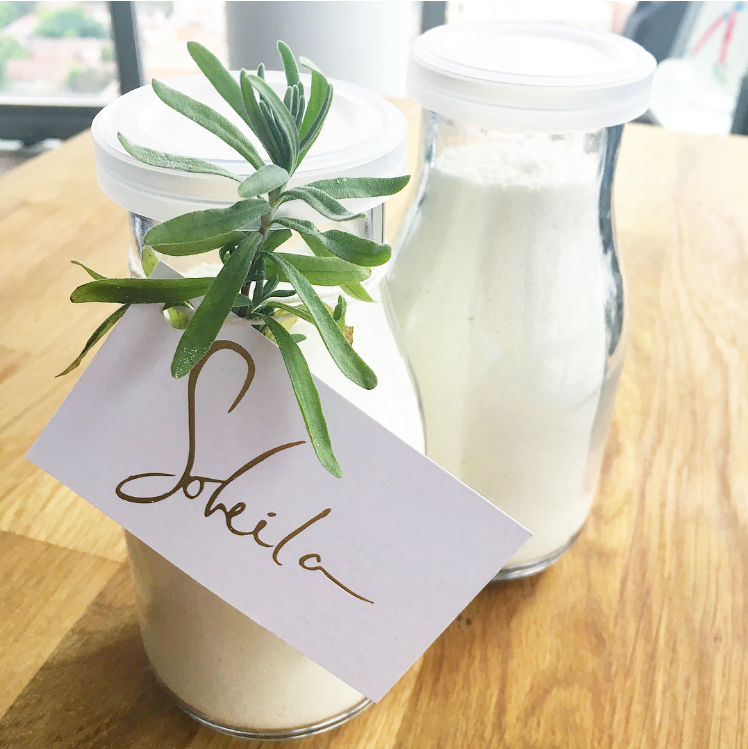
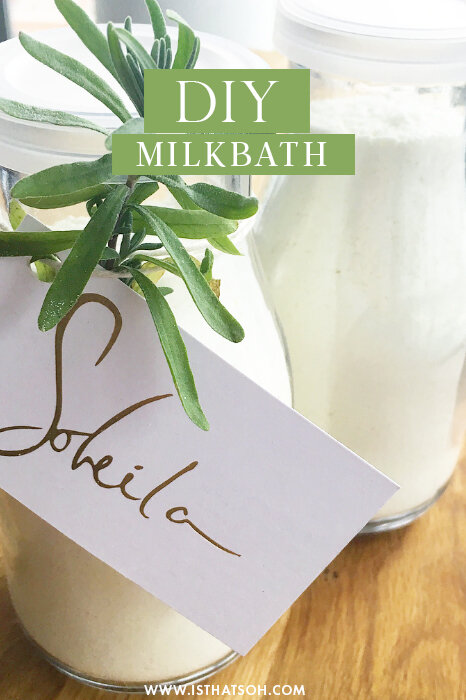
In ancient Egyptian times Cleopatra took milk baths to preserve her youthful appearance. Even Queen Elizabeth the 1st of England has historically acclaimed the beautifying benefits of these baths. Milk baths use lactate acid and alpha hydroxy acid to dissolve the proteins that hold together dead skin cells. The result of this is nice smooth moisturized skin! If you have irritated skin, dry skin, a sunburn, or even just itchy skin, this will definitely help relief some of those symptoms. I have even added Epsom salts to this recipe so that if you are sore from the gym you can get an extra benefit. ENJOY!

VIDEO IS POSTED BELOW

INGREDIENTS: - All of these products including the milk jars were purchased from Bulk Barn

3/4 Cup of Baking Soda
3/4 Cup of Epsom Salt
1 and 3/4 Cup of Whole Milk Powder
3/4 Cup of Corn Starch
10 Drops of Liquid Essential Oils (I used Lavender because I love the scent and find it calming but you can use whatever you like)

DIRECTIONS:

Mix all ingredients in a bowl.

I hope you had as much fun making this product and giving them away as much as I did! Please let me know your comments below or if you have any request!!!!! Id love to hear from you ♥ ♥ ♥


PIN THIS POST

BROWN SUGAR BODY SCRUB

One snowy winter day my darling friend Lili and I decided we were going to make some give away gifts for girlfriends. Valentines day was coming up and we thought a brown sugar body scrub would be perfect!! Who wouldn't love that, right!? The whole thing cost us about $100 each (including jars) and made for a fun activity to do inside on yet another crazy snow day.

If you are interested in trying to make the scrub yourself here is the recipe we used....

Ingredients:
Brown Sugar*
Vanilla sticks (one stick does two jars)
Coconut Oil (1/2 a cup per jar)
Shea Butter (one cup per jar)

*you will need to fill your jar about 3/4 the way full so keep that in mind and multiply by the # of jars you want to make
 

Directions:
Fill your jar about 3/4 the way full with brown sugar.
On a stove at low heat melt the Shea Butter, once it is a liquid add the coconut oil, stir and remove from heat. Let it cool slightly before adding it to the jar and stirring it in.
Slice a vanilla stick in half and remove the vanilla paste with a knife from the inside. Add the paste to the jar and stir. You can also cut the vanilla stick you scrapped in quarters and add it to the scrub for extra scent if you like. 

That's it!!! So easy right!?