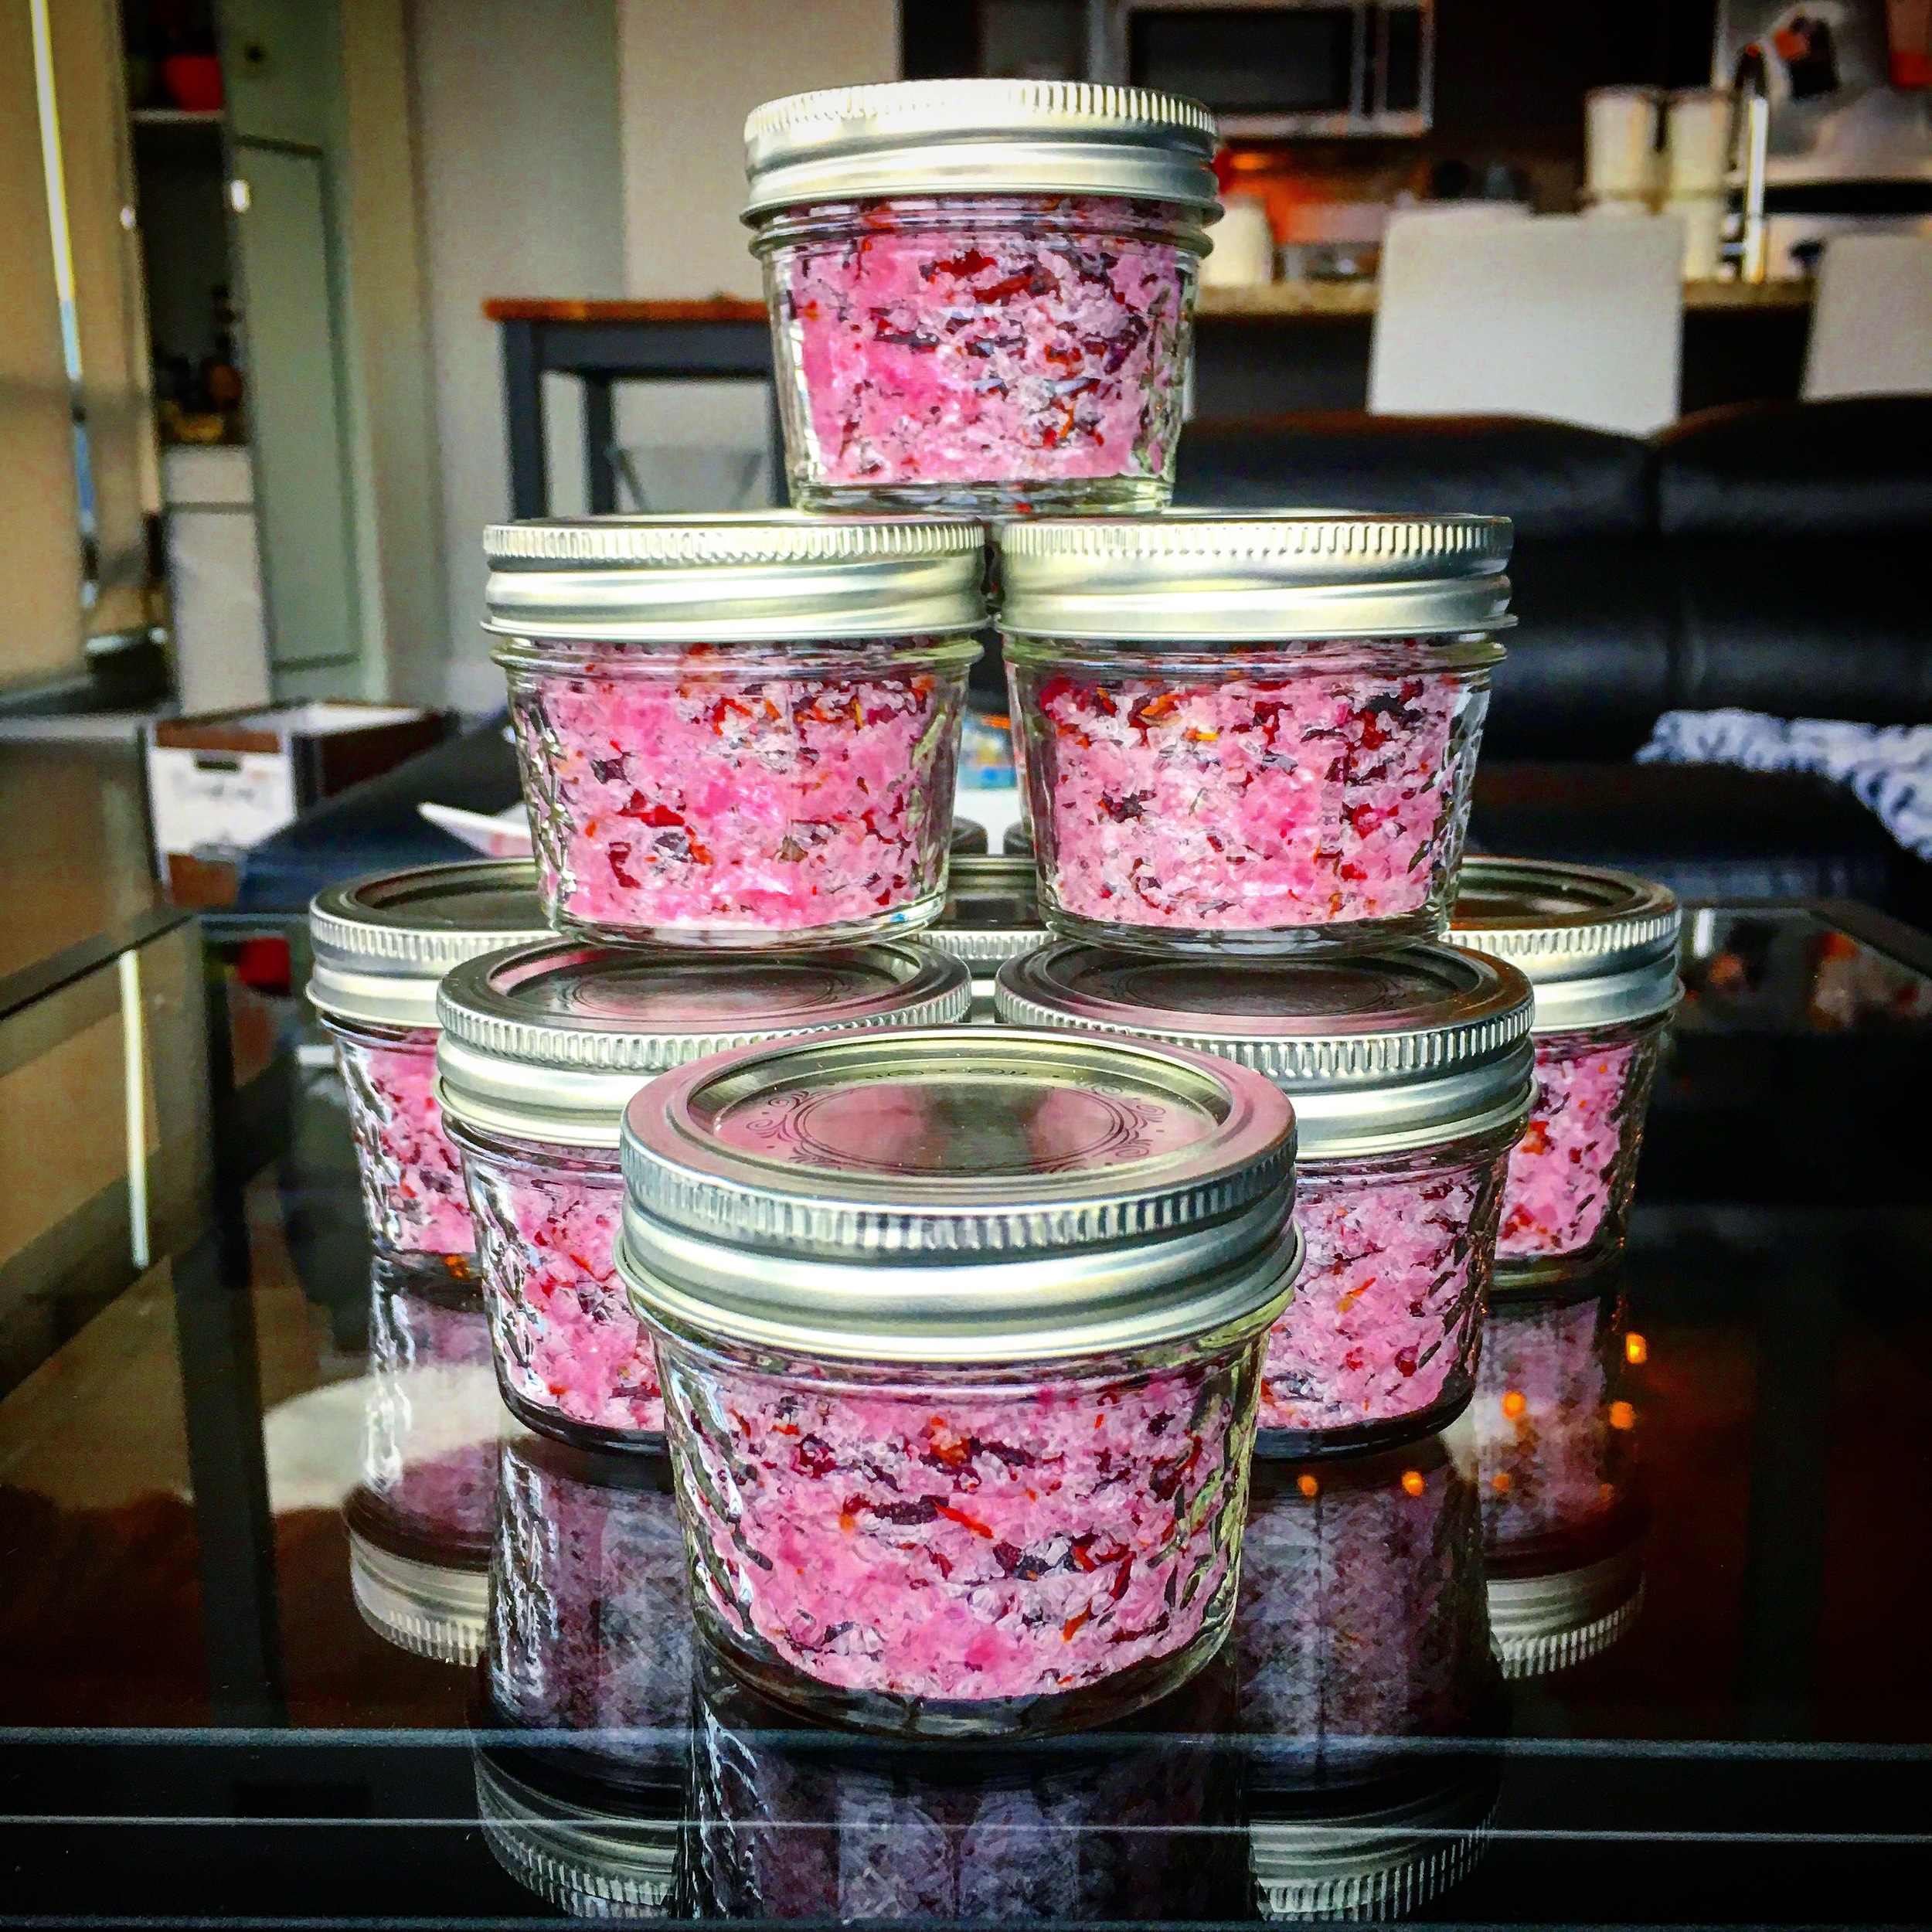
EXFOLIATING COFFEE & ACTIVATED CHARCOAL FACE MASK DIY

charcoal face mask DIY.jpg

Since I am already a huge fan of activated charcoal and all its detoxifying benefits, I thought I’d share one of my favorite ways to use it with you, in a face mask! Both my boyfriend (that’s right, this charcoal face mask works for men too) and I use this mask to get all the guck off our faces that build up both in our pores and on the surface of our skin throughout the week. The addition of coffee and coconut to this charcoal face mask DIY also adds a smell to the mix that awakens the sense and leaves your skin hydrated. Sounds pretty good, right?! If you are curious as to how to make this charcoal face mask DIY at home too, keep reading!

COFFEE AND ACTIVATED CHARCOAL FACE MASK BENEFITS

This all-natural face mask exfoliates, hydrates, and purifies your skin leaving it soft, smooth, and fresh. Activated Charcoal pulls impurities and toxins out of the skin while coffee grinds exfoliate dead skin cells away and coconut oil moisturizes. I recommend leaving this activated charcoal face mask DIY on for about 10-15 minutes before exfoliating and washing it off gently with warm water. For glowing skin, follow with vitamin C serums and your favorite moisturizer! ♥

* Please Note - Some links in this post may be affiliate links *

SHOPPING LIST:

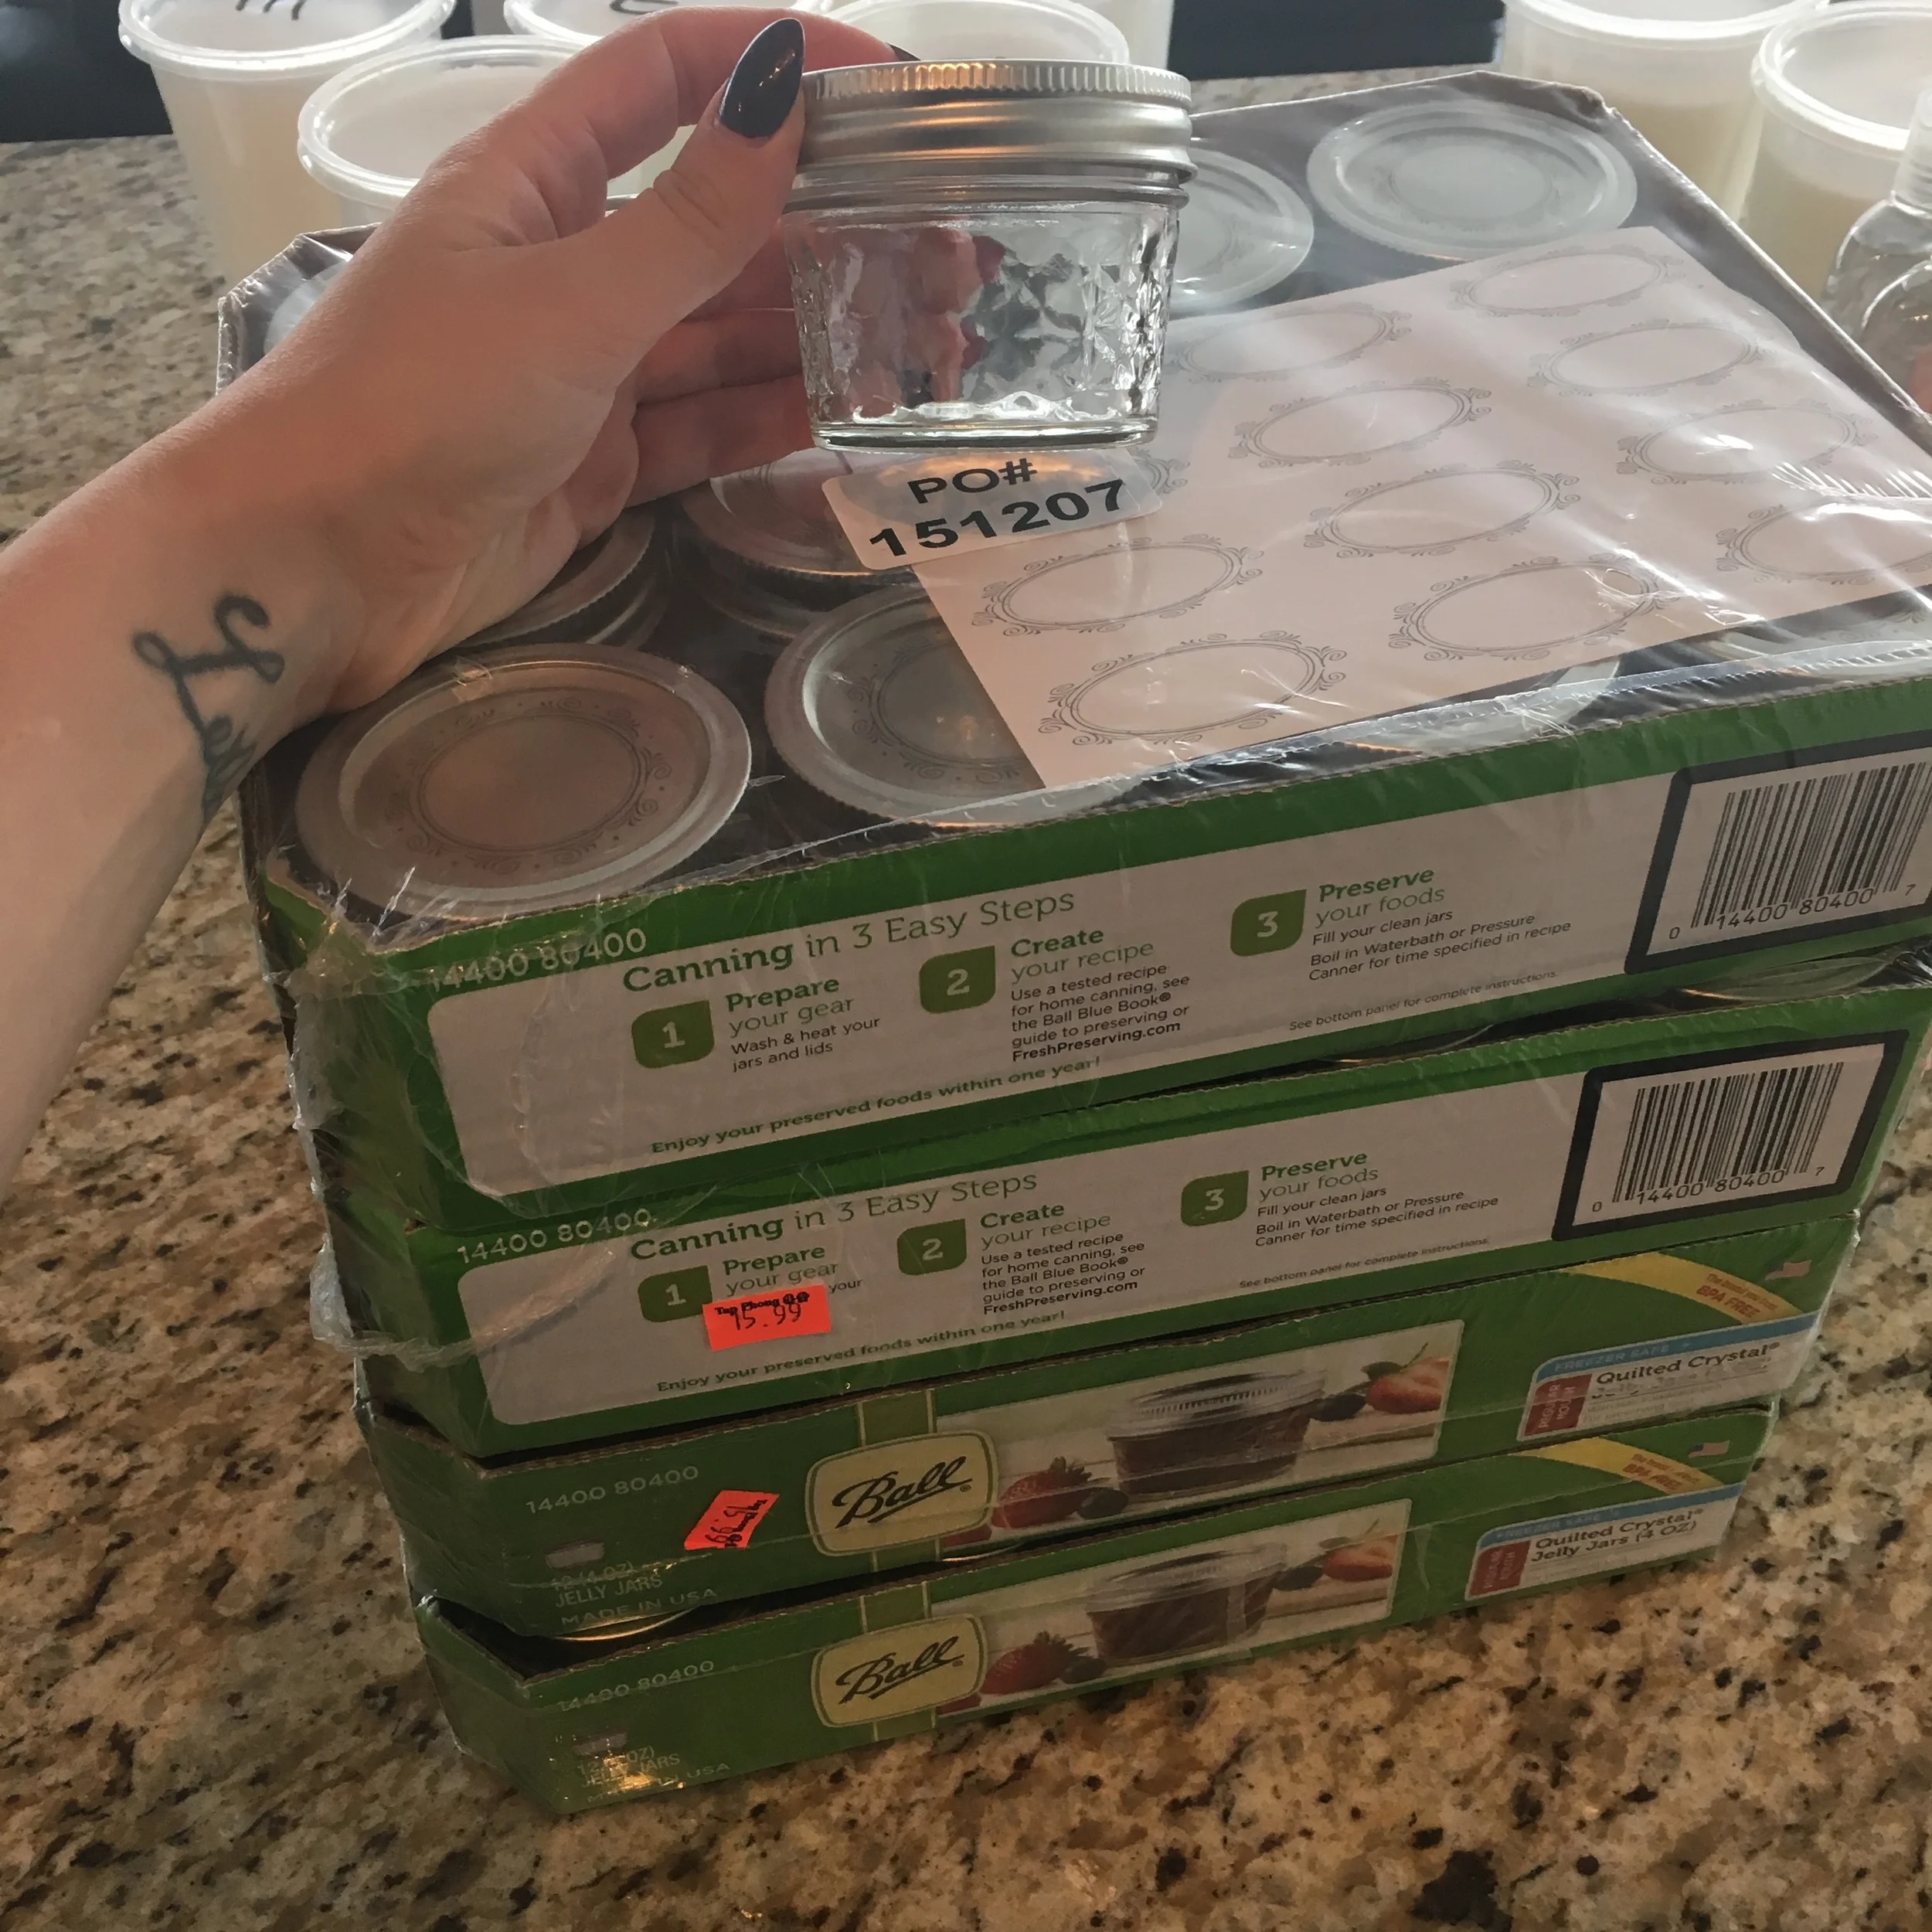
Small Containers - I used 4 oz Glass Jam Jars  
2.5 oz Organic Coffee Grinds (fine) - per jars you want to end up with so (2.5 x # of jars = how much you will need)
1.5 oz Coconut Oil***- per jars you want to end up with
Activated Charcoal - I got capsuled ones and removed the charcoal from the capsules, 1-2 for each 4oz jar
 

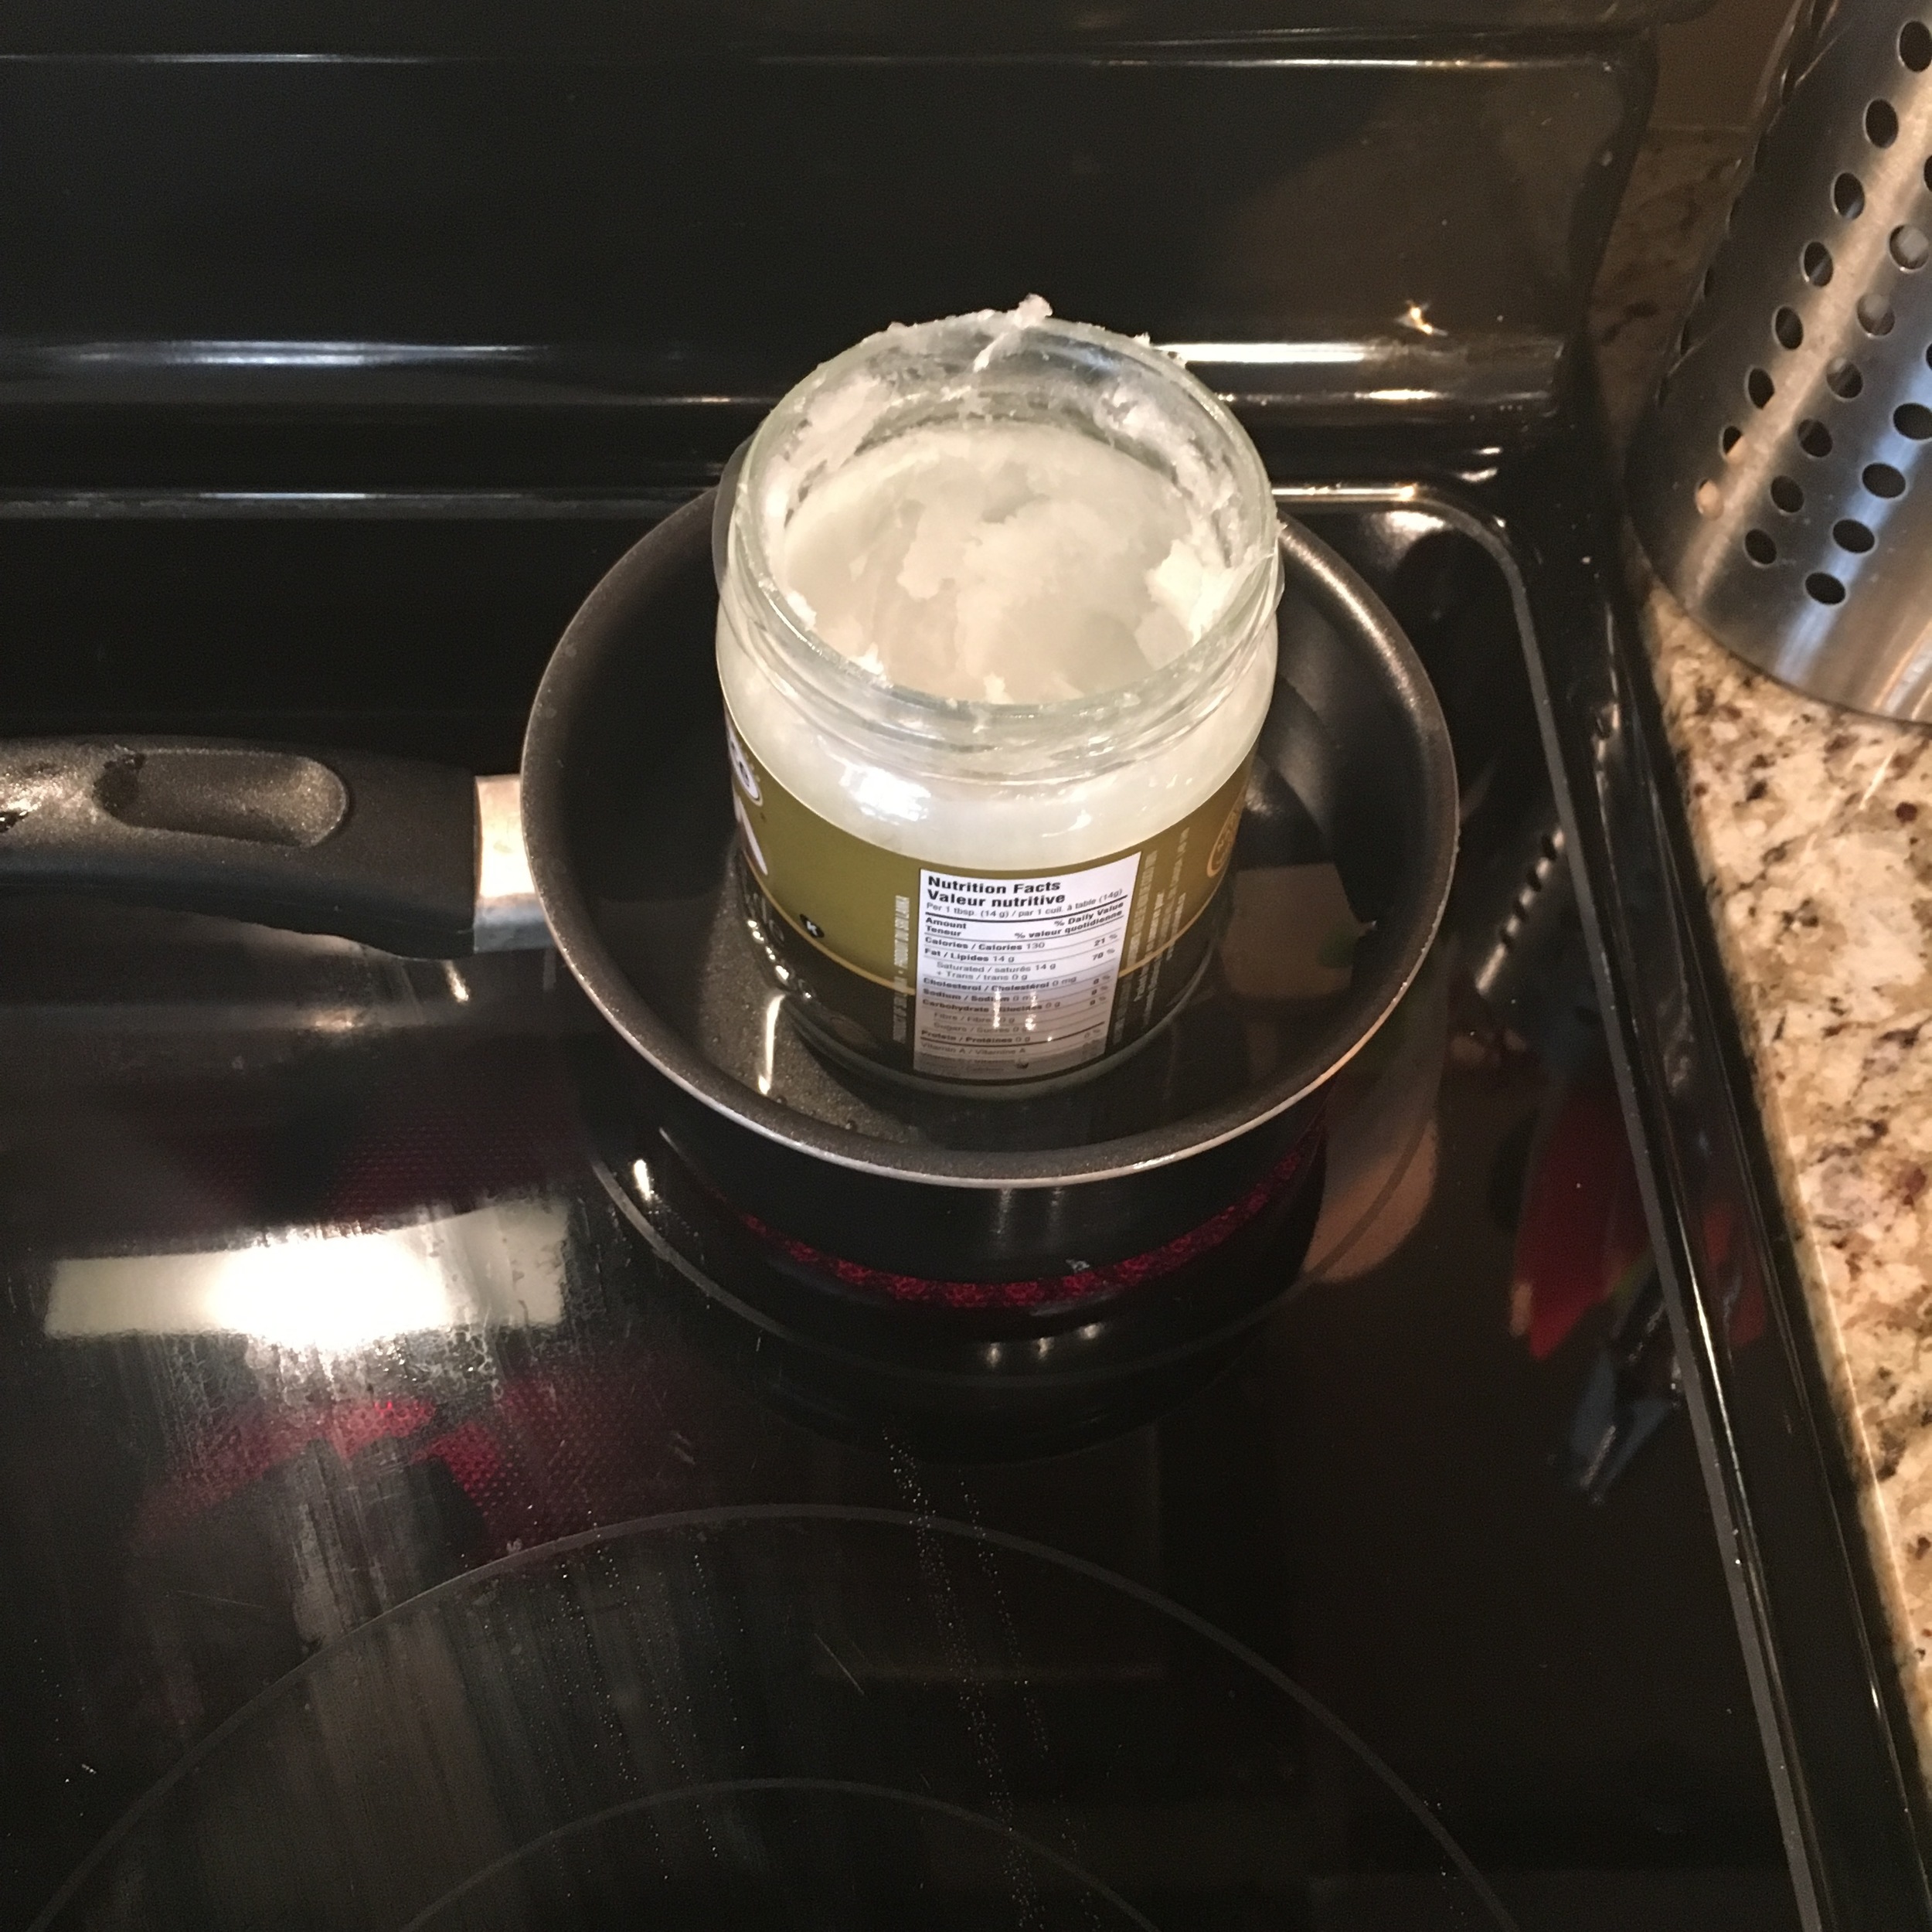
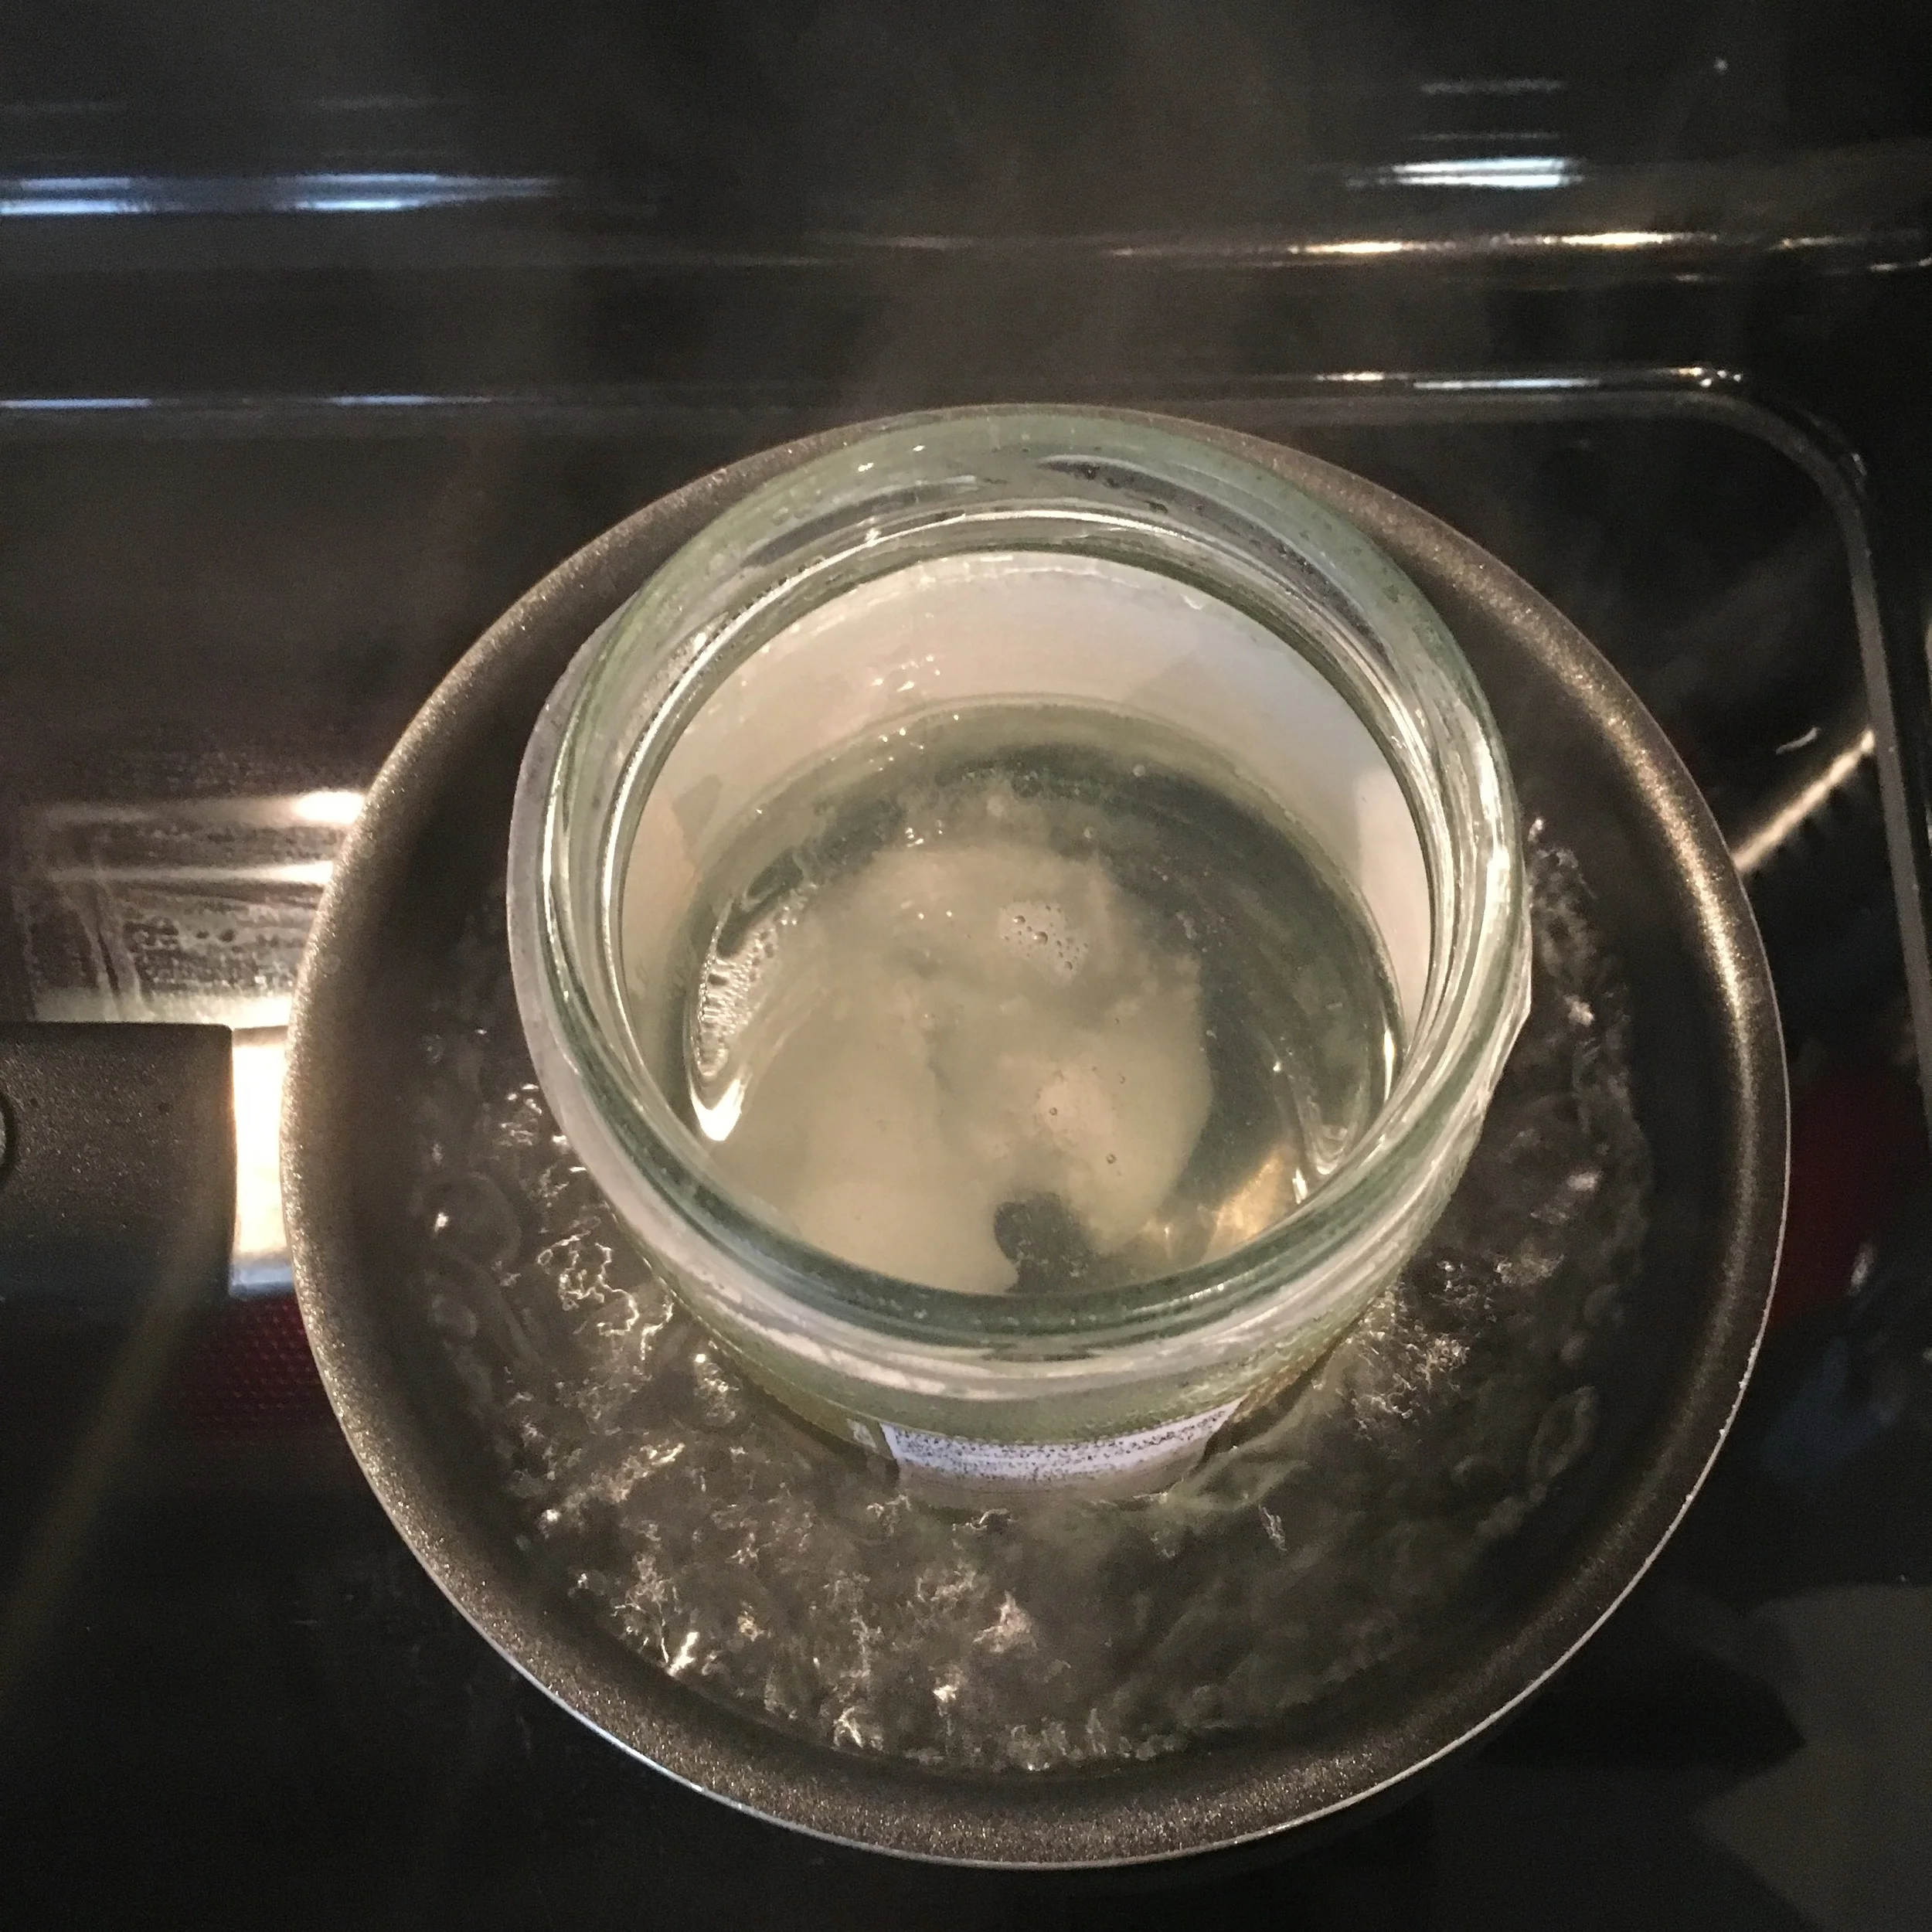
*** If you have a problem getting the coconut oil out of the container like I did I recommend using a technique called "sous-vide".  Please note that the container has to be made of glass to do this. To do this, placing the glass jar of coconut oil in a bath of water and heat the water up slowly in order to melt the coconut oil. Use a cloth when removing the glass jar from the bath as it will be hot. Pictures included below!


CHECK OUT THESE OTHER EASY DIY’S


DIRECTIONS:

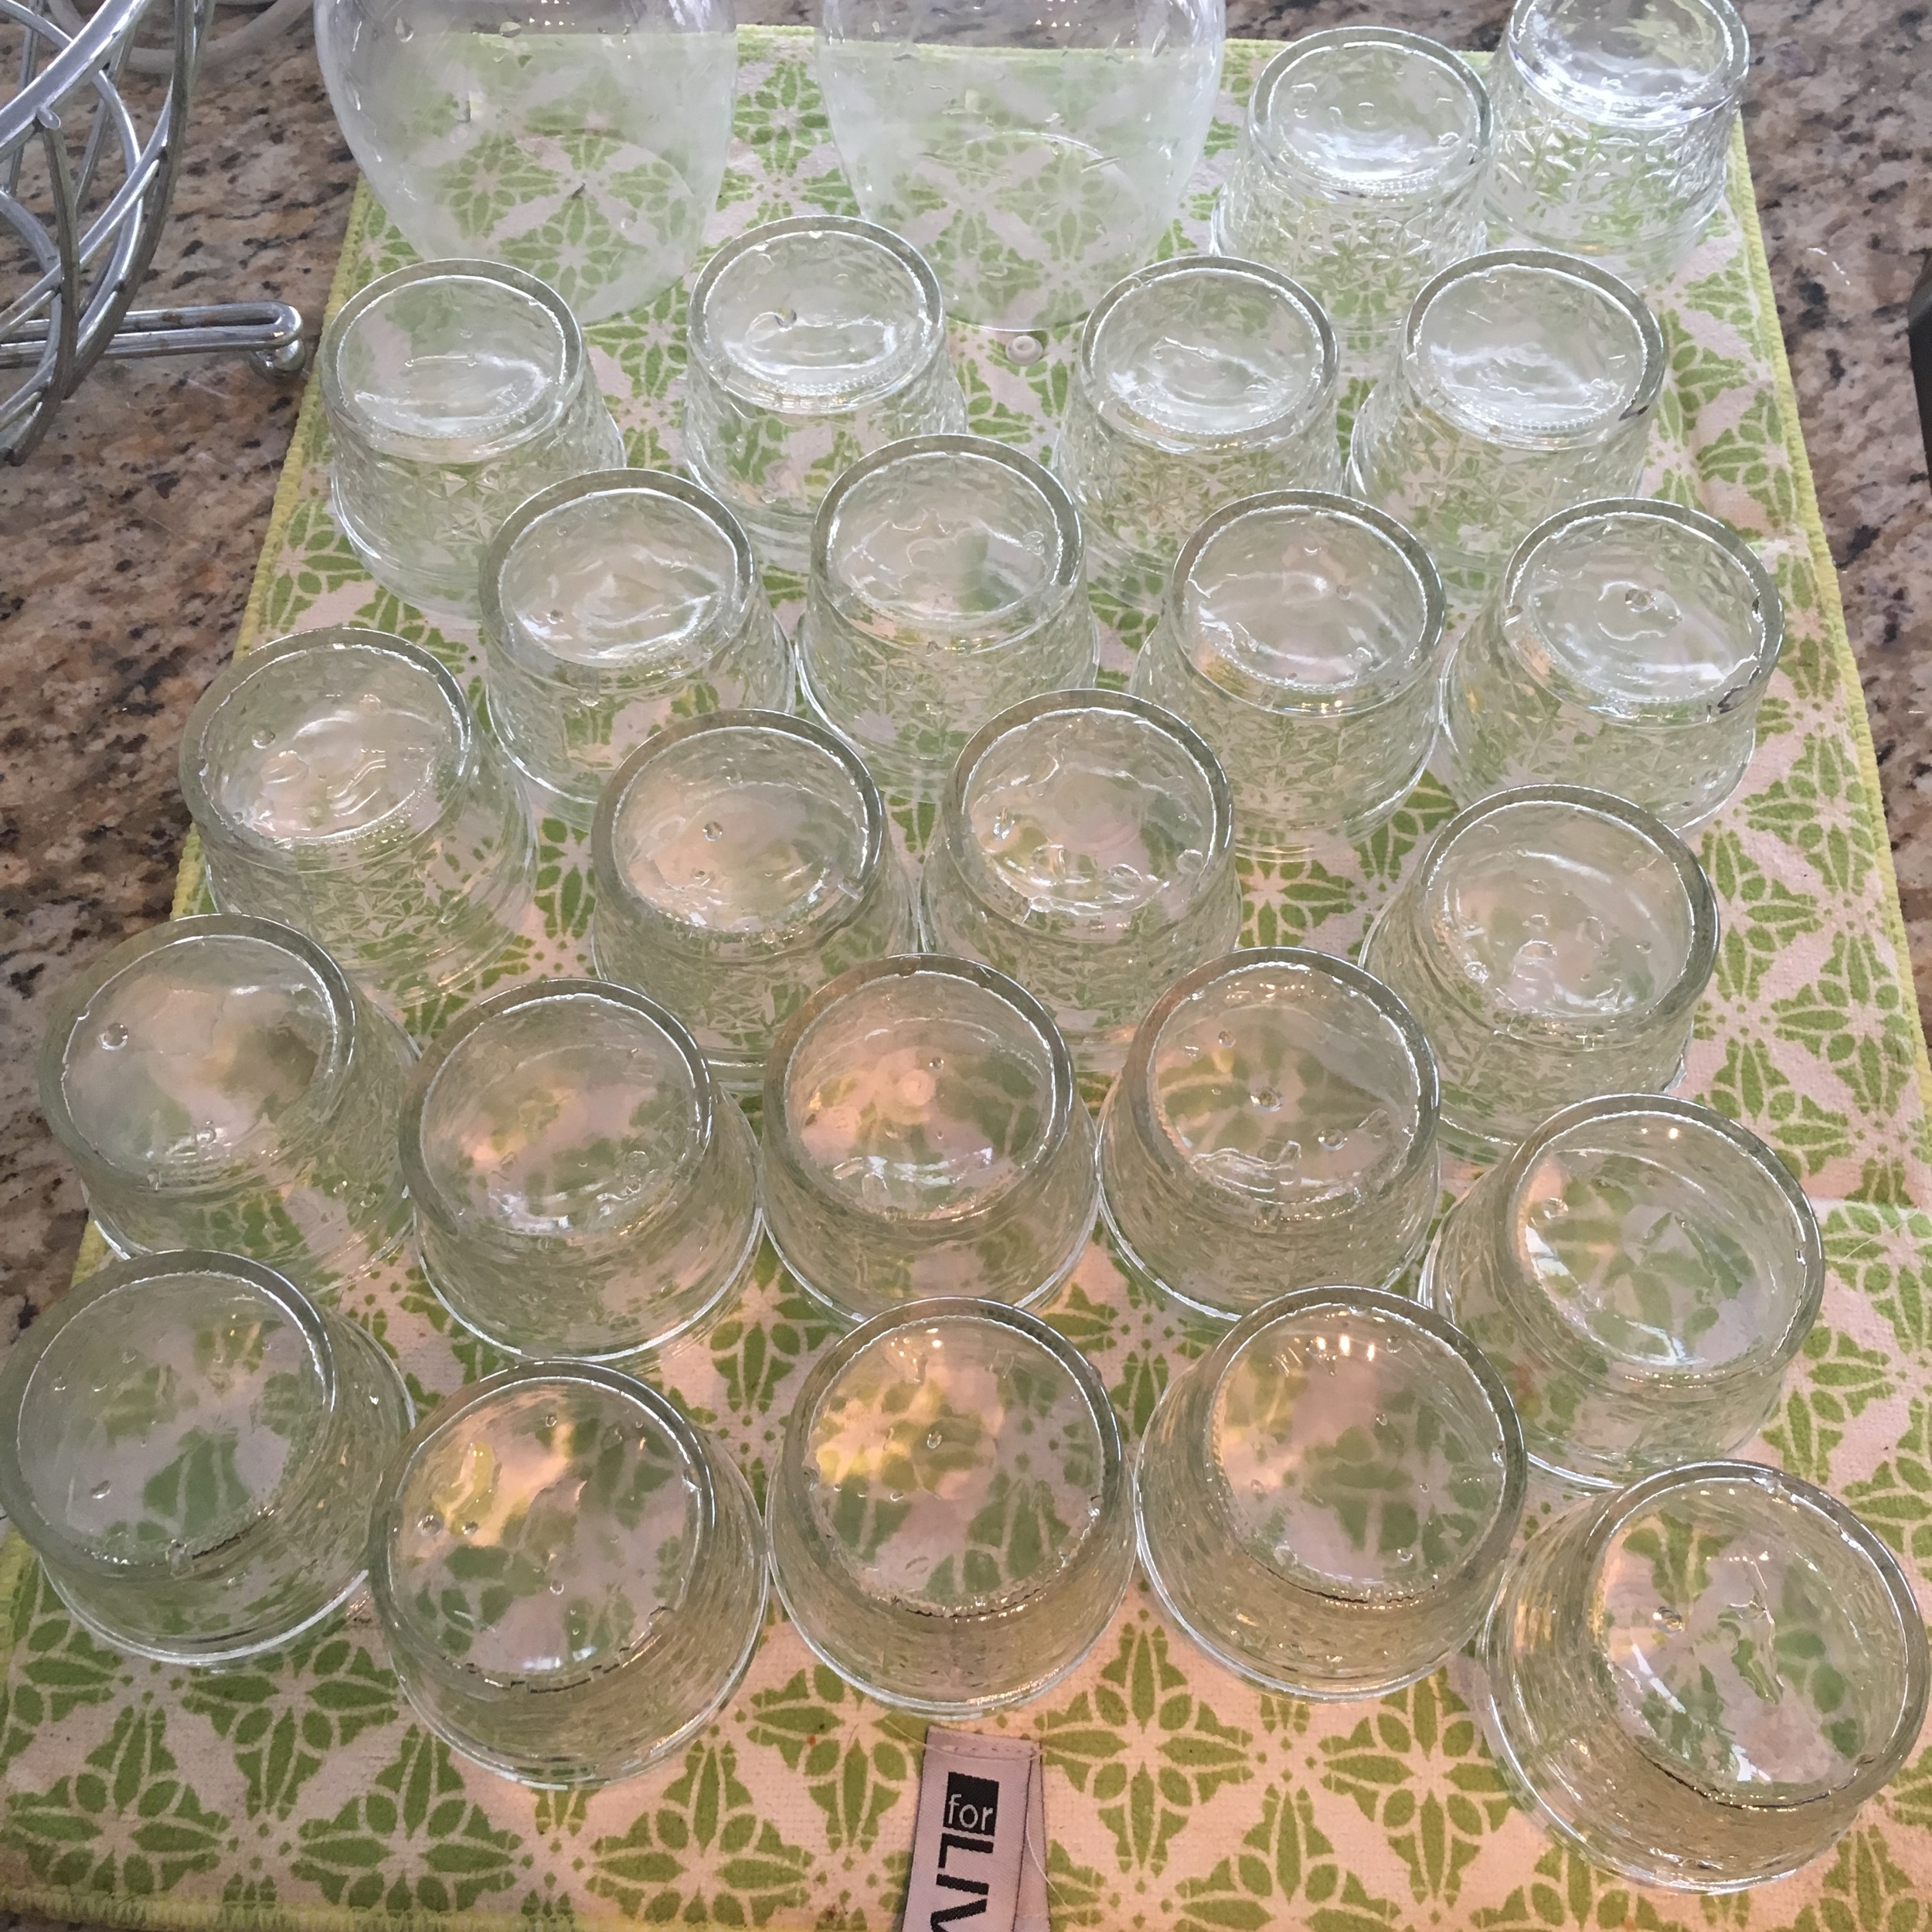
Wash and dry your jars fully

Place the coffee grinds in the food processor (you may have to do this in parts!) , add in your coconut oil and activated charcoal. Blend until well mixed well together.

If you did this in parts transfer food processor contents to a large bowl and repeat coffee, coconut oil, and charcoal mixture until everything is done. Mix large bowl contents together one last time with a whisk. The mask should look black and have a thick grainy consistency!

Scoop out and fill jars! 


FOLLOW ME ON INSTAGRAM @ISTHATSOH


I hope you had as much fun making this easy charcoal face mask DIY as I did! Please let me know your comments below or if you have any special requests!!!!! I would love to hear from you ♥ ♥ ♥


PIN THIS POST

THE IMPORTANCE OF SCALP HEALTH WITH PRAMASANA BY AVEDA

A couple months ago Aveda launched a collection of products dubbed the ‘Pramāsana' line and wouldn’t you know your girl got to try it out first hand. As a proud Leo-lady (I am woman hear me ROAR) you know I take huge pride in my mane and the Pramāsana line deals strictly with scalp health which is why I was so curious to learn more.

You may be asking yourself why is it so important to clean your scalp? And aren’t I doing that already every time I wash my hair? Well here’s a couple things that may surprise you off the bat:

  1. Your hair is alive only at the root so nourishing your scalp leads to better hair follicles/roots, faster growth, increased hair strength and better overall nourishment in the long run.

  2. When your root or hair follicle is ‘clogged’ hair growth is slow (and sometimes non existent), the hair that does grow is lacking nourishment and therefore can break easier and lack luster.

  3. Shampoo, conditioner, hair spray, moose, gels etc. can actually leave 'product buildup’ on your scalp. This with the added sebum (an oil that our body naturally produces to protect the scalp) and general air pollution, roots/follicles in your scalp can actually easily become clogged.

“Effective scalp cleansing can help normal skin cell turnover. Deep cleansing encourages a clean, healthy scalp.” - Dr. M. Julie Thornton, Ph.D., University of Bradford in the UK

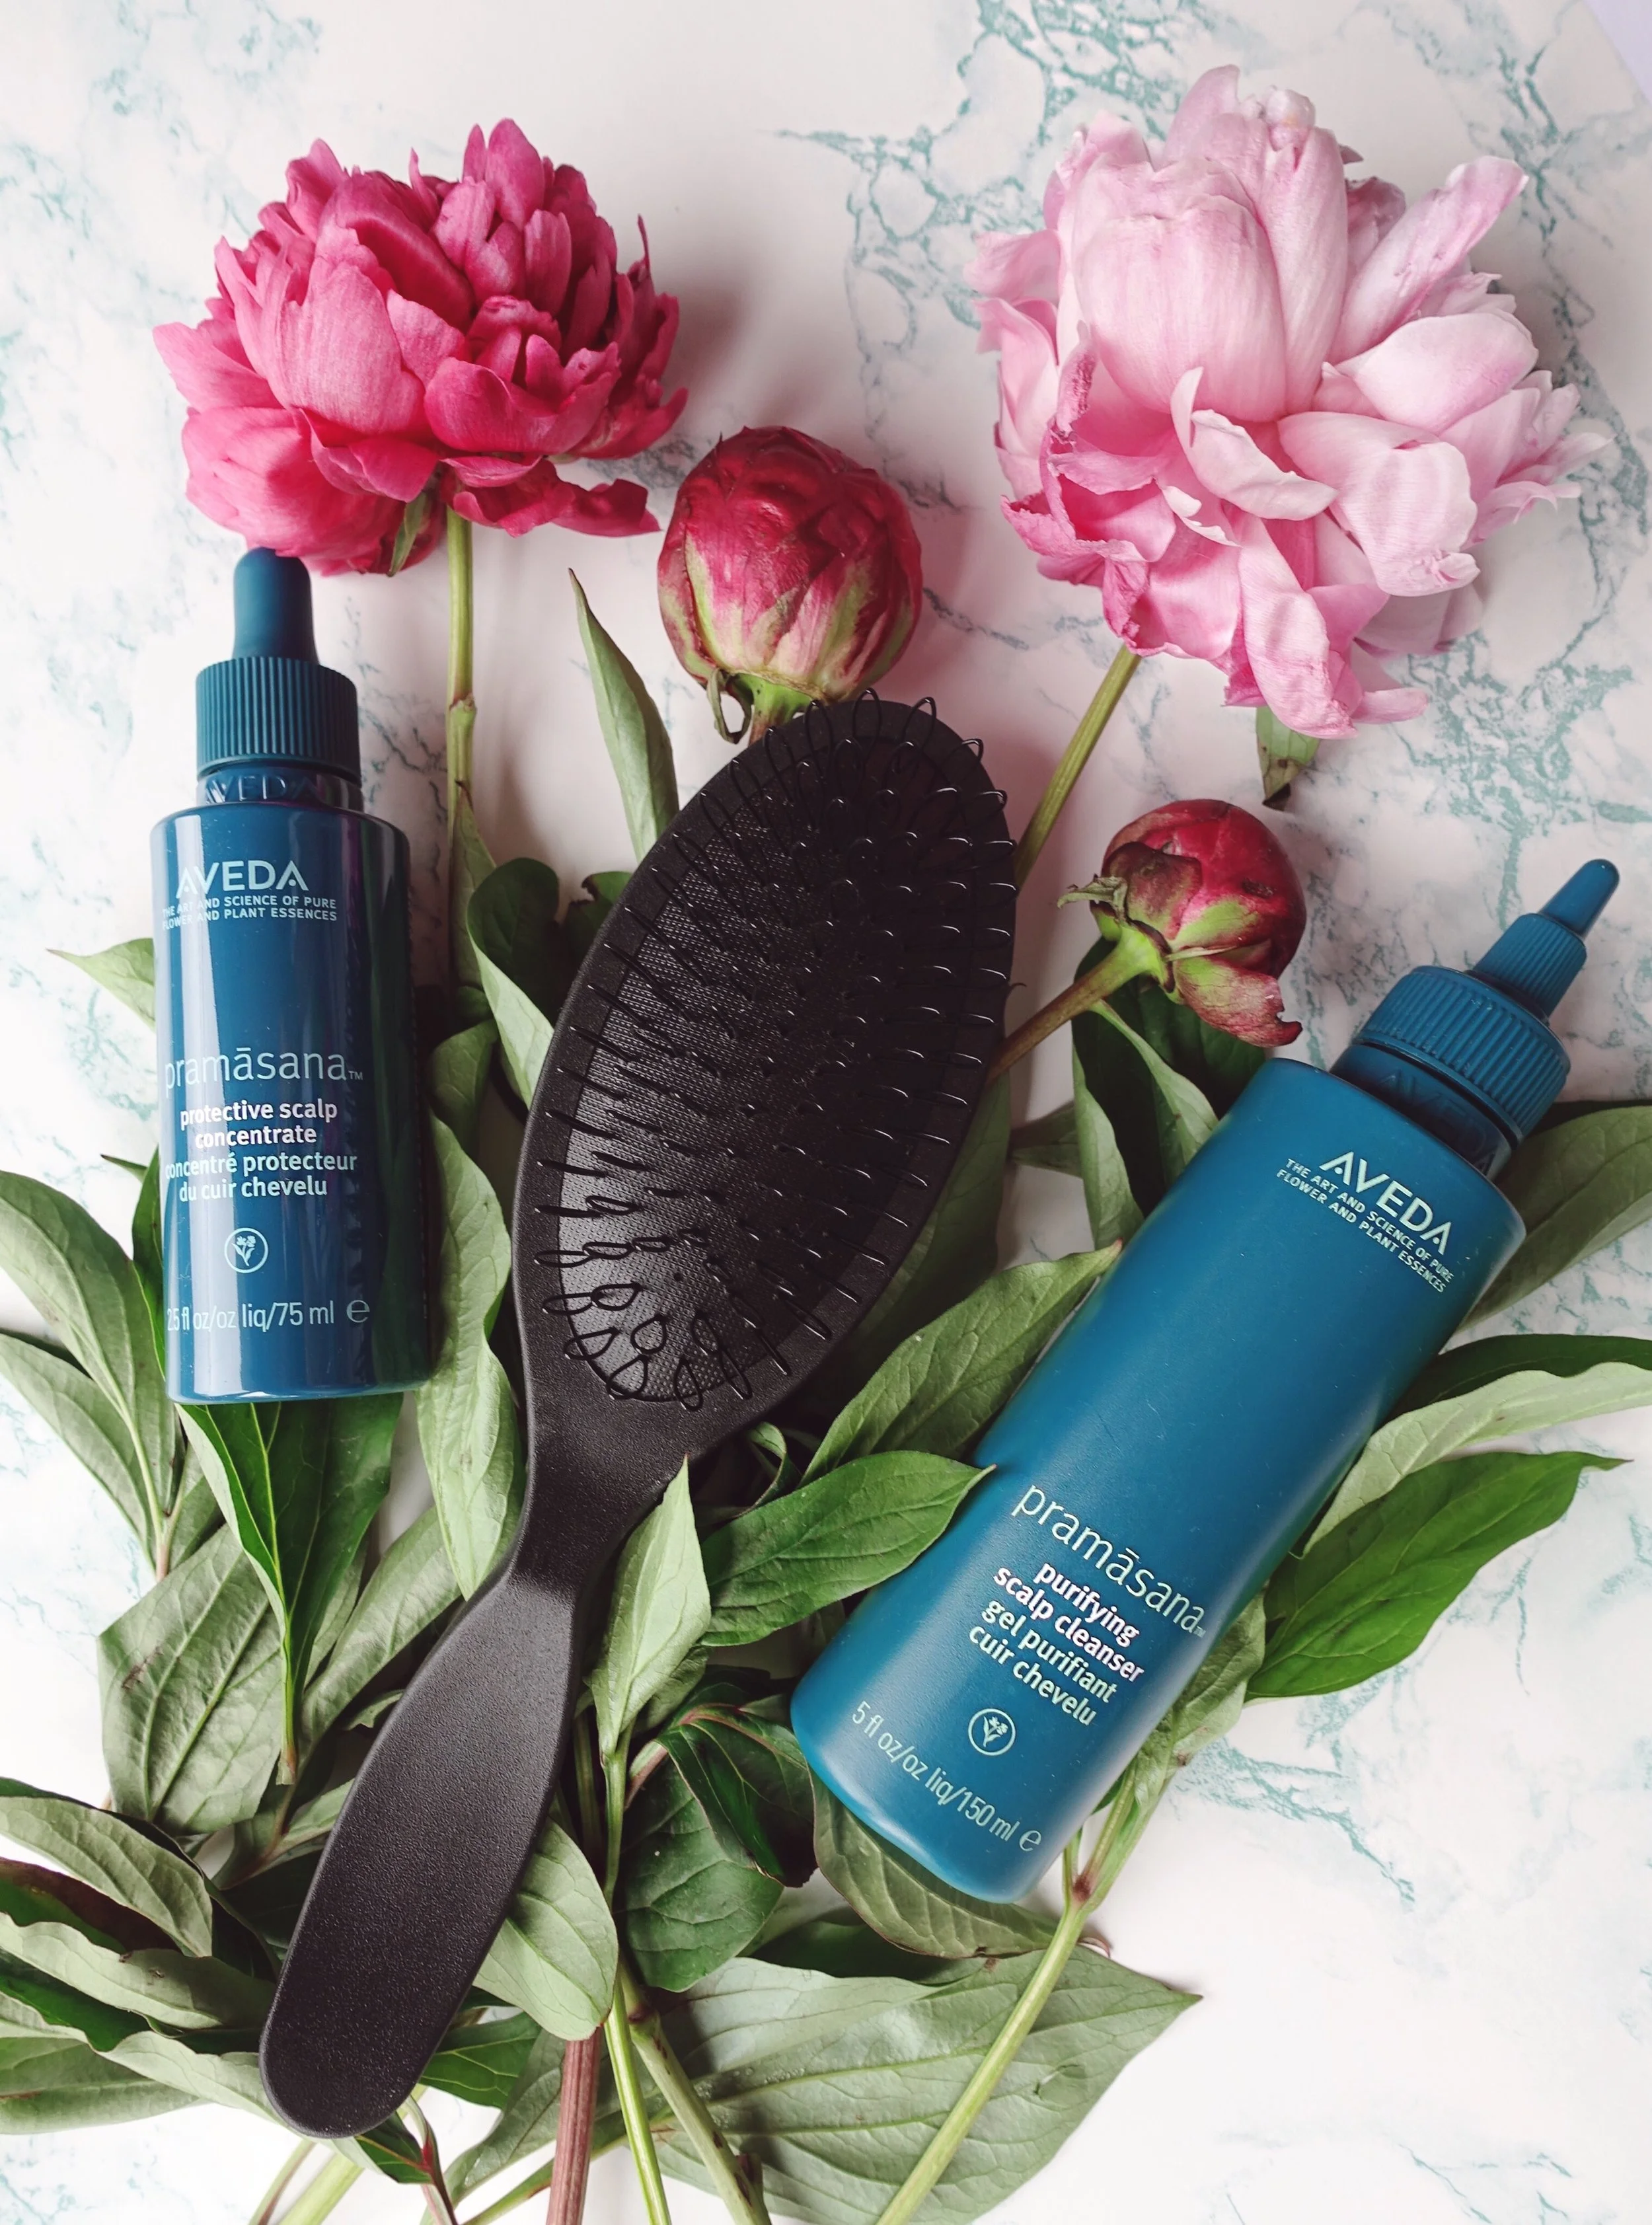
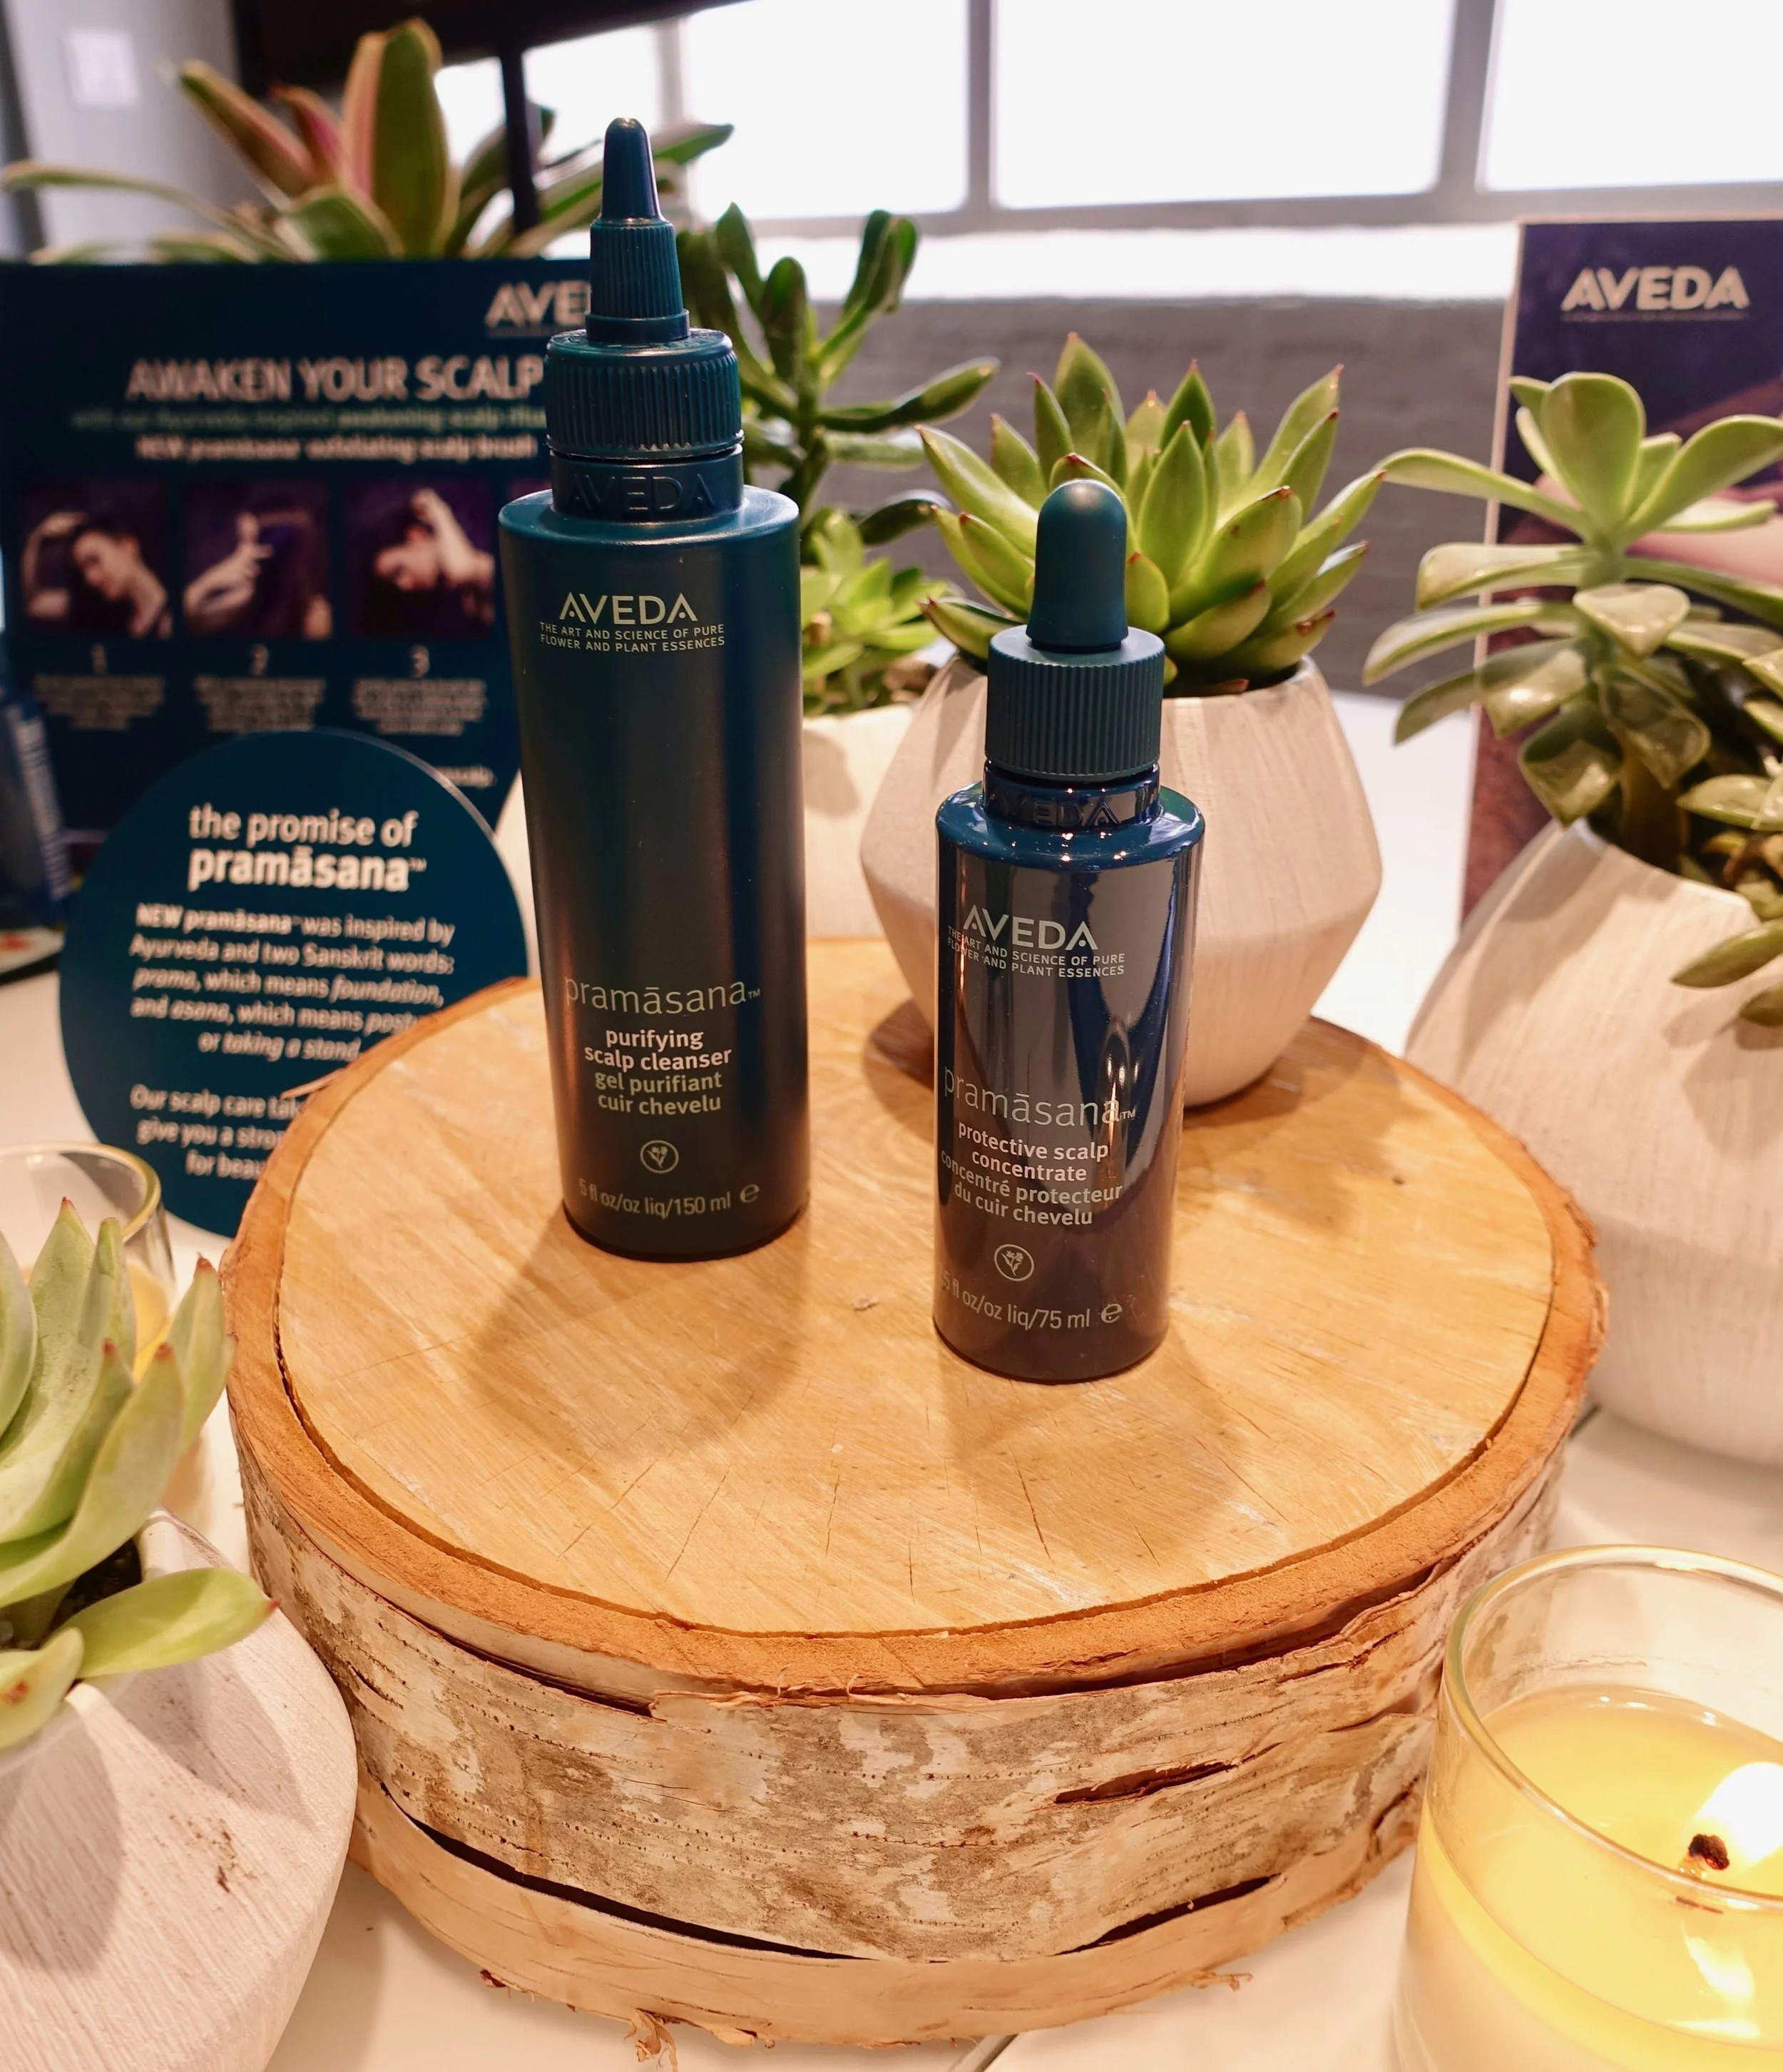
The Pramāsana Scalp Care line is made up of three parts - The Exfoliating Scalp Brush, the Purifying Scalp Cleanser, and the Protective Scalp Concentrate - and is 98% naturally derived. Although the product line is available at any Aveda store to take home you can also learn more and test out the line first at any Civello’s Salon. Part of my learning experience was receiving a full Pramāsana treatment at Civello’s Salon on Queen West and I’m happy to say I walked away being a believer in the importance of scalp health!

“Consider yours scalp the soil from which you hair grows. Once you think of it that way, it shouldn't be hard to understand why you might need to give it extra care.” - Justina Majia-Montanta, VP, Global Product Development at Aveda.


The entire treatment takes about an hour (or less if you are doing it at home) and is safe to do once a week. The first step to the treatement is to exfoliate your scalp using the Pramāsana ‘Exfoliating Scalp Brush’. This special brush has looped bristles designed to loosen impurities and buildup prior to cleansing all the while not tangle your hair. Simply place the brush on your head with a bit of pressure and move it around in small circles to massage the scalp. 3-4 minutes is really all you need!

Next apply the Pramāsana ‘Purifying Scalp Cleanser’ directly to your dry scalp (yes you haven't even wet your hair yet) and massage this in. You will notice right away that it starts to foam. This is the cleanser removing impurities and cleaning the scalp which will balance sebum levels and scalp pH. Again 3-4 minutes is really all you need!


Now is when you would wet your hair and add shampoo. Any shampoo can be used in conjunction with the Pramāsana line except Aveda’s Invati line because Invati has a scalp cleanser already in it that can cause your scalp to have adverse effects and actually become dry. So once your done with the Purifying Scalp Cleanser, wet and shampoo your hair as you normally would.

At this point in the treatment and if you are in an Aveda salon you can opt in for the Pramāsana ‘Nourishing Scalp Masque’ (available only at the salon) which is specifically designed to nourish your scalp after it is properly cleansed. Think of it as the serums or brightening mask you would apply before the moisturizer you would use. It’s an intensive hydrating and nourishing treatment for your roots!

“Cleanse your Scalp. Shampoo is for hair.” - Aveda


Whether you do the mask or not you can go ahead at this point and finish your routine of conditioning and washing your hair. Before you blow dry and add in your heat protection products now is when you use the Pramāsana ‘Protective Seal Concentrate’. This lightweight serum sinks into your scalp and nourishes the skin while also protecting it from further future build up. The Protective Seal Concentrate can be added to both wet and dry hair. In my case Gabo, my Senior Civello Stylist, applied it directly to my roots on the top horseshoe portion of my hair before massaging it in (again 3-4 minutes is really all you need) before finally blowdrying and styling my hair.


Further things I learned about the Pramāsana line:

  • The aroma features grapefruit, neroli and cypress!

  • The treatment at Civello is $65 without the ‘Nourishing Scalp Masque’ and is $95 with.

  • Both males and females should consider looking into the health of their scalp especially if they are experiencing hair loss, breakage or malnourished hair.

  • It doesn’t effect colour treated hair however it shouldn’t be done until 4-5 days after you get your hair newly coloured since your roots will be sensitive from the dyes you used during your colouring.

Lastly did you know that all Aveda products are cruelty free!? That’s right, no testing on animals! All of the products (except the Nourishing Scalp Masque) can be purchased in an Aveda store or at Aveda Salon’s and Spa’s and retail for:

Pramāsana Exfoliating Scalp Brush - $28 CAN

Pramāsana Purifying Scalp Cleanser - $45 CAN

Pramāsana Protective Scalp Concentrate - $57 CAN

I thoroughly enjoyed my treatment and, like I said before, walked away believing in the importance of a healthy scalp. It’s definitely safe too say that I will be using the Pramāsana line at home and incorporating it weekly into my routine - not to mention doing a whole lot more hair flipping! LOL

RODAN + FIELDS - MY FAVORITE NEW SKINCARE LINE

As a skincare junkie I am constantly looking out for new and exciting products. In order to fully understand the effects of certain skincare products you must be willing to try them out over a long period of time. Your initial introduction is always key and with any new product you should introduce it slowly into your regime, one product at a time. Introducing too many products at the same time could leave you wondering where that weird rash came from or why you seemingly have irritation or flaky skin. Another important factor in slowly introducing new products is that in order to gauge whether they actually work for you, you need to see how your body as a whole reacts over time. Your body is filled with hormones and females can experience increased oiliness or even adult acne when hormones become unbalanced.

As a teenager my skin was not always the best, but it could have been worse if my sister and mom didn’t introduce the importance of a skincare routine to me early on. In order to get me started my mom introduced me to the Proactiv brand which I used for a good portion of my high school life and probably ignited my monster obsession with skincare.

Rodan + Fields - 4 Step Skincare Lines: Redefine, Reverse, Unblemish, Smoothe

As a once upon a time Proactiv user I was very happy to hear that the original dermatologists who created the Proactiv brand developed a new skincare line called Rodan + Fields. After a quick online consulting using the R + F solution tool my skincare rep Heather was better able to understand my need and recommend a 4 step regime perfect for me. 

Starting off slow I first introduced the Deep Exfoliating Wash into my routine and instantly feel in love. The formula reminded me of one of my all time favorite exfoliating cleansers, but Rodan’s is at a way better price point! Its grainy like texture exfoliates and cleans my skin with the perfect amount of lather. My skin is left feeling super clean and smooth without being stripped of moisture. Over the course of a couple weeks I even began to see a decrease in the appearance of dark spots I acquired from a stint I went through with using tanning salons (before my better judgment kicked in).

Deep Exfoliating Wash - Step 1 in R +F's Reverse Line

After two weeks of using the Deep Exfoliating Wash I started to incorporate the toner into my regime. Although I really didn’t see that much of a difference in terms of decreasing uneven skin tone I did noticed that I started to experiences some dryness.

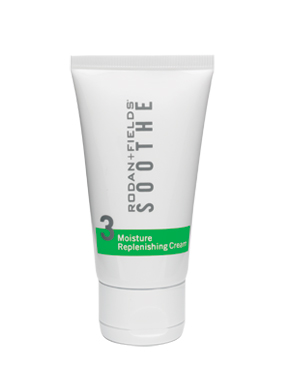
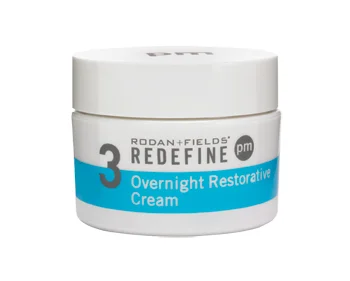
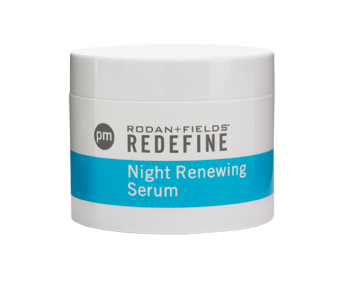
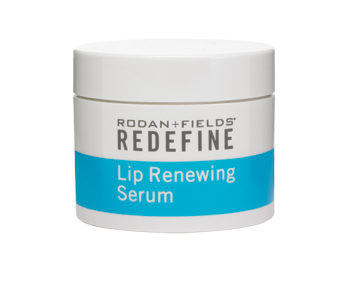
A couple weeks after I received the products my rep Heather reached out to me to see how I was making out. Once I conveyed my experience to her and told her about the dryness I was experiencing she told me that R+F allows for users to completely customize their 4 Step regime and offered to send me samples of two serums, one for the face and one for the lips, and two moisturizers, one for the day and one for night to try. Perfect!

Once these products were introduced to my skincare regime I was so happy to see my skin looking clearer, feeling softer and for the most part having an even tone. I’m especially surprised at how well my skin is holding up this winter with the crazy cold winds, friction from being bundled in big scarf’s, and the fluctuations in temperature!

Now having used R+F for almost 5-6 months I am happy to recommend their line to anyone dealing with skincare issues, anyone who wants to buy a skincare routine customized for them without spending crazy money or is a skincare junkie like me. No matter what you are, you can also be on your way to a clearer skin, just ask Heather!

HEATHER MORRISON - SKINCARE REP FOR RODAN + FIELDS

US readers can take the solution tool on Heather’s website to get a customized skincare recommendation:

https://hmorrison3.myrandf.com/Pages/OurProducts/GetAdvice/SolutionsTool

Canadian and Australian readers, please email Heather directly:

hmorrison3myrandf@gmail.com

I am also happy to announce that Heather will be giving away a free sample kit to the first 5 readers to get a consult!

DIY CINNAMON BUN LIP SCRUB

First thing I have to say about this lip scrub is YUM!!! I literally could eat this sugary goodness it smells so good. This all natural lip scrub will help you moisturize your lips and remove dead skin cells. Simply rub the mixture on your lips for two minutes before rinsing (or eating). ENJOY!

VIDEO IS POSTED BELOW

INGREDIENTS:

1/2 Cup of Brown Sugar
2.5 TBSP Coconut Oil
2.5 TBSP Honey
4 TSP Vanilla Extract
2 TSP Cinnamon

DIRECTIONS:

Mix all ingredients in a bowl.

I hope you had as much fun making this product and giving them away as much as I did! Please let me know your comments below or if you have any request!!!!! Id love to hear from you ♥ ♥ ♥

WAXON - TIPS FROM THE EXPERTS ON HOW TO AVOID A PAINFUL WAX

Summer is upon us and with it so is the need to get summer ready. Whether that means hitting the gym, shopping for your summer wardrobe or getting rid of unwanted hair we are all trying to feel good while wearing less.

Last week I got to team up with WAXON Waxbar owner and waxing expert Lexi Miles to find out about the business of waxing, how to get a less painful wax, and comb through some of the myths and questions I had about waxing. Here is what she had to say about her business and what WAXON offers their customers to ensure the best experience.

S - How long has it been since you started your business?

L - WAXON has been operating for four years now; our first location opened in 2012 in Toronto's Summerhill neighbourhood.

S - What inspired you to start a waxbar business and what did you hope to achieve by opening a waxbar?

L - As an avid waxer with a busy schedule I always found it hard to keep up with regular waxing without booking an appointment WEEKS in advance and having to pay a fortune just for a wax. I always found myself wishing I could find a high end, trendy environment with professional Waxologists and great prices that even accepts walk-ins. Enter WAXON Waxbar!

S - Where did you open your first waxbar? How many do you have now?

L - Summerhill is our flagship store that we opened in 2012 and we have since expanded WAXON to seven locations across Canada, including the GTA and Halifax. Our most recent expansions were to Burlington and Oakville.

WAXON - Summerhill Flagship Store

S - What makes Waxon standout from other waxbars?

L - WAXON’s mission is ‘Providing our Clients with the BEST wax experience every time!’. We pride ourselves on our superior service, trendy vibe and competitive prices. WAXON hires only the best Waxologists in the industry – all trained the WAXON Way using our exclusive wax, WAXON GOLD. 

S - What are some tips you can give to someone who has never waxed before?

 L - The 40-Year-Old Virgin experience doesn’t have to be your reality!  Go to an experienced Waxologist at a place that specializes in waxing and you will have a very different experience. Exfoliate and trim the hair (to the length of a grain of rice) beforehand to both prep and reduce discomfort during your wax. 

We also have numbing creams (BareEase for women and Numb Nuts for men) available that are mainly used prior to below the belt services.  


S - What can you do prior to a wax to help you have a less painful wax?

L - When it comes to waxing exfoliation is key! By removing dead skin cells that surround the hair follicle prior to waxing the hair will come out much easier and make for a less painful wax.

Keeping up with regular waxing every 4-6 weeks (no shaving in between!!) ensures the hair is at an optimum and even length which means there is less tugging on the hair follicle and less discomfort. The ideal hair length for a wax is a ¼ inch in length or the length of a grain of rice.

WAXON - Product Bar

HOT TIP: Try our WAXON On The Rocks 2 in 1 Body Scrub. It’s the perfect exfoliator and doubles as an exfoliator and body wash so its super convenient and gentle enough to use everyday! ($31.00 & available online)

S - How often or how long should I wait between waxes?

L - Everyone is different and each area of the body grows hair at a different rate. A general guideline for most areas is 4-6 weeks, but when it comes to underarms, brows or other facial waxing most clients come back every two weeks. The optimum hair length for waxing is ¼ of an inch (think a grain of rice) so however many weeks that takes for the individual is the perfect amount of time.

S - What makes Waxon’s ‘Gold Wax’ different?

L - Gold wax was inspired by my travels to salons in Spain. The hard wax is specially formulated for below the belt services and the ingredients are designed to reduce redness and discomfort to make for a less painful wax experience with more flawless results. 

Gold has two main ingredients that most other hard waxes lack - titanium dioxide (soothes skin during waxing and reduces redness afterwards) and mica (increases the wax's ability to grip hair resulting in more flawless results). This allows our Waxologists to achieve a faster wax service (15 min vs. 30 min anywhere else) with less discomfort. Not convinced? You need to try it for yourself to believe it!

S - What made you want to develop your own wax?

L - I wanted our clients to have the very BEST, most comfortable, flawless waxing experience, every time. Our highly skilled Waxologists and custom technique already set us apart from other wax bars, but if there was a wax that reduced redness, nourished the skin and removed even the finest hair with minimal discomfort wouldn’t that be amazing, right?! So I worked hard to develop WAXON GOLD with a team of experts and I believe that’s exactly what we’ve achieved but you’ll have to try it for yourself and feel the difference!

S - What can people do post-wax to reduce the amount of ingrown hairs?

L - The best way to prevent and eliminate ingrown hairs is to frequently wax - we recommend every 4-5 weeks. When the hairs are shorter and on the same growth cycle it reduces the pull during a wax service, allowing the hair to be removed more effectively which prevents ingrown hairs.

Also, exfoliate at least 2-3 times per week to remove dead skin cells – ingrown hairs are caused by hair not being able to break the surface and grow normally above the skin because of the layer of dead skin so the hair curls back under.

For a deep exfoliation try WAXON'S handmade Loofah Scrub $11.00 each or three for $30 (Available online at waxon.ca).

S - What is the difference (in terms of results or re-growth) between threading and waxing your brows?

L - The only difference between threading and waxing is the method of hair removal. The hair is still being removed from the root with both techniques so it does not affect the rate of hair growth.
Although our wax is designed to be gentle on the skin people with extra sensitive skin benefit greatly from threading!

S - Where do you see the future of Waxon going? Will you perhaps incorporate other spa services?

L - We choose to focus on one thing, waxing, and to do it flawlessly. Our passion and expert knowledge of waxing is what sets us apart from the rest, so this is something we don’t plan on changing.

WAXON Waxbar plans to continue to expand its existing concept nationally through both Corporate and Franchise development so stay tuned for locations popping up near you. We are also always on top of new beauty care regimes constantly developing new products under our WAXON Cocktail Body line of products. New product releases coming soon!

S - Truth or Myth: When you are stressed or have just finished your menstrual cycle you can be more sensitive when getting a wax?

L - Hormone levels and stress can have a big affect on how sensitive you are during a wax, so we do recommend, if you are sensitive to come outside of the week before and after your period. That being said everyone is different and if you are seeing an expert Waxologist using a premium wax you will immediately notice a difference in pain when compared to your average nail salon or spa.  

A lot of clients ask us if they can get waxed during their period and the answer is yes! However we do recommend taking an Advil before your appointment, as it will be a little more painful at this time.

S - Truth or Myth: Everyone is different when it comes to what part of his or her body is the most sensitive to wax.

L - Truth! Everyone has a different pain threshold so what may be painful for one person could be a breeze for someone else. If you’re a first time waxer and are very nervous about the pain, we have numbing creams available that will help numb the area and cut the level of pain you experience. After your first WAXON wax, we’re convinced that you’ll see it’s not as bad as you thought and you may even ditch the numbing cream for good!

BAREASE NUMBING CREAM $12.00 available at all locations

S - Truth or Myth: The more you wax the fewer ingrown hairs you will have.

L - Truth! The more you wax the more likely all of the hair will be on the same growth cycle, ideally every 4 to 6 weeks, this means that during a wax all of the hair is being removed with ease and there is less trauma to the skin and hair follicle which causes ingrown hairs.

As you continue to wax overtime hair becomes finer and finer, helping to combat ingrown hairs because coarse hair is more likely to become ingrown.

The great news is that over time you will stunt the hair growth and some hairs may never return! Yay!

PRINCE REIGNS INGROWN HAIR SERUM $32.00 at all locations or available to purchase online here www.waxon.ca/products

HOT TIP: Prince Reigns Ingrown Hair Serum is the very best (and an Oprah favourite!) to eliminate and prevent ingrown hairs from coming back. 

S - Truth or Myth: Waxing makes hairs grow fewer and finer with each visit.

L - Truth! Anyone who has been waxing for years will agree that overtime hair becomes finer and more sparse. An added bonus to long term waxing is that you will end up waxing less because you are actually stunting your hair growth.


Well there you have it! A few tricks and tips to ease you into your next (or first) waxing session. I hope you found this helpful and if you have any questions or comments please feel free to leave them below and I will try my best to answer them.