AUGUST FAVS!

Your girl is back with a new video and this time I am spilling the beans on all my August hair care and skincare favs!

I have been so fortunate to be able to try so many new products these past couple months - some of them I purchased, some of them other bloggers recommend to me, some of them brands have sent with hopes to make it into a video like this. Ready to see who made the cut?! Keep watching!!!!!

If you follow me on my social platforms you would of seen by now that in conjunction with this video I am also doing a giveaway! I have accumulated as many full size samples of these products as I could so that I could share them with you because I wanted you to try them out for yourself!

To enter the giveaway you must:
- Already follow me on Instagram! If you don't just go ahead now and hit that follow button
- Tag a friend in the comment section on Instagram you think would also like this giveaway!
- Subscribe to my YouTube channel and like this video!

DAS IT! I will be checking so make sure to do all those things.

Contest is open until Friday September 1st 2017!

AND NOW for my usual disclaimer: Although I have worked with some of these brands in the past on campaigns or have been sent products from some of these brands this video was NOT sponsored. I am not getting paid for this video however these brands were nice enough to give me some product to pass onto you! YAY

I also just wanted to remind you to subscribe to my channel and follow me on my social handles if you aren't already! When you follow me I know I am dong a good job and will be more amped up to produce more videos and do more giveaways for you!

Alright lets do this!

Subscribe to my channelgoo.gl/iidBfF
Instagramgoo.gl/n8WdGv
Snapchatgoo.gl/vBsoGd
Twitter goo.gl/xR6W14
Periscope ▷ SoheilaOnline

Want more of my shenanigans! Bring it on!

Soft Cut Crease Makeup Tutorial goo.gl/cah1rm
Copper Red Smokey Eyegoo.gl/9He6nD
Tartelette In Bloom Palettegoo.gl/LFqwEq

Products I Showed You In This Video

L'Oreal Professionnel - Mystic Hair Oil
Garnier Whole Blends - Honey Treasures Repair Shampoo -
Product donated to giveaway by Sheblogs!
LaCoupe ORGNX - Coconut and Macadamia Oil Intensive Repair Treatment
Lush - Bubbly Shower Gel
L'Oreal Professionnel - Liss Unlimited Leave In Conditioner
Anthony - Aluminum Free, Alcohol Free, Paraben Free, Sulphate Free, Deodorant
Anthony - Shaving Cream
Vasanti - Brighten Up! Exfoliating Cleanser
Aveda - Tulasara Wedding Masque - available at Aveda Experience Centers and Salons
Cake Beauty - 'Do Gooder' Dry Shampoo


If you have any questions feel free to leave them in the comments below along with any tutorial request you may have! That's it for today and i'll see you guys again soon!

xo

-Soheila

HOW TO: L'OREAL COLORISTA

Can I get a WOOP WOOP! Seriously though guys, I'm on a roll with these videos! HAHA

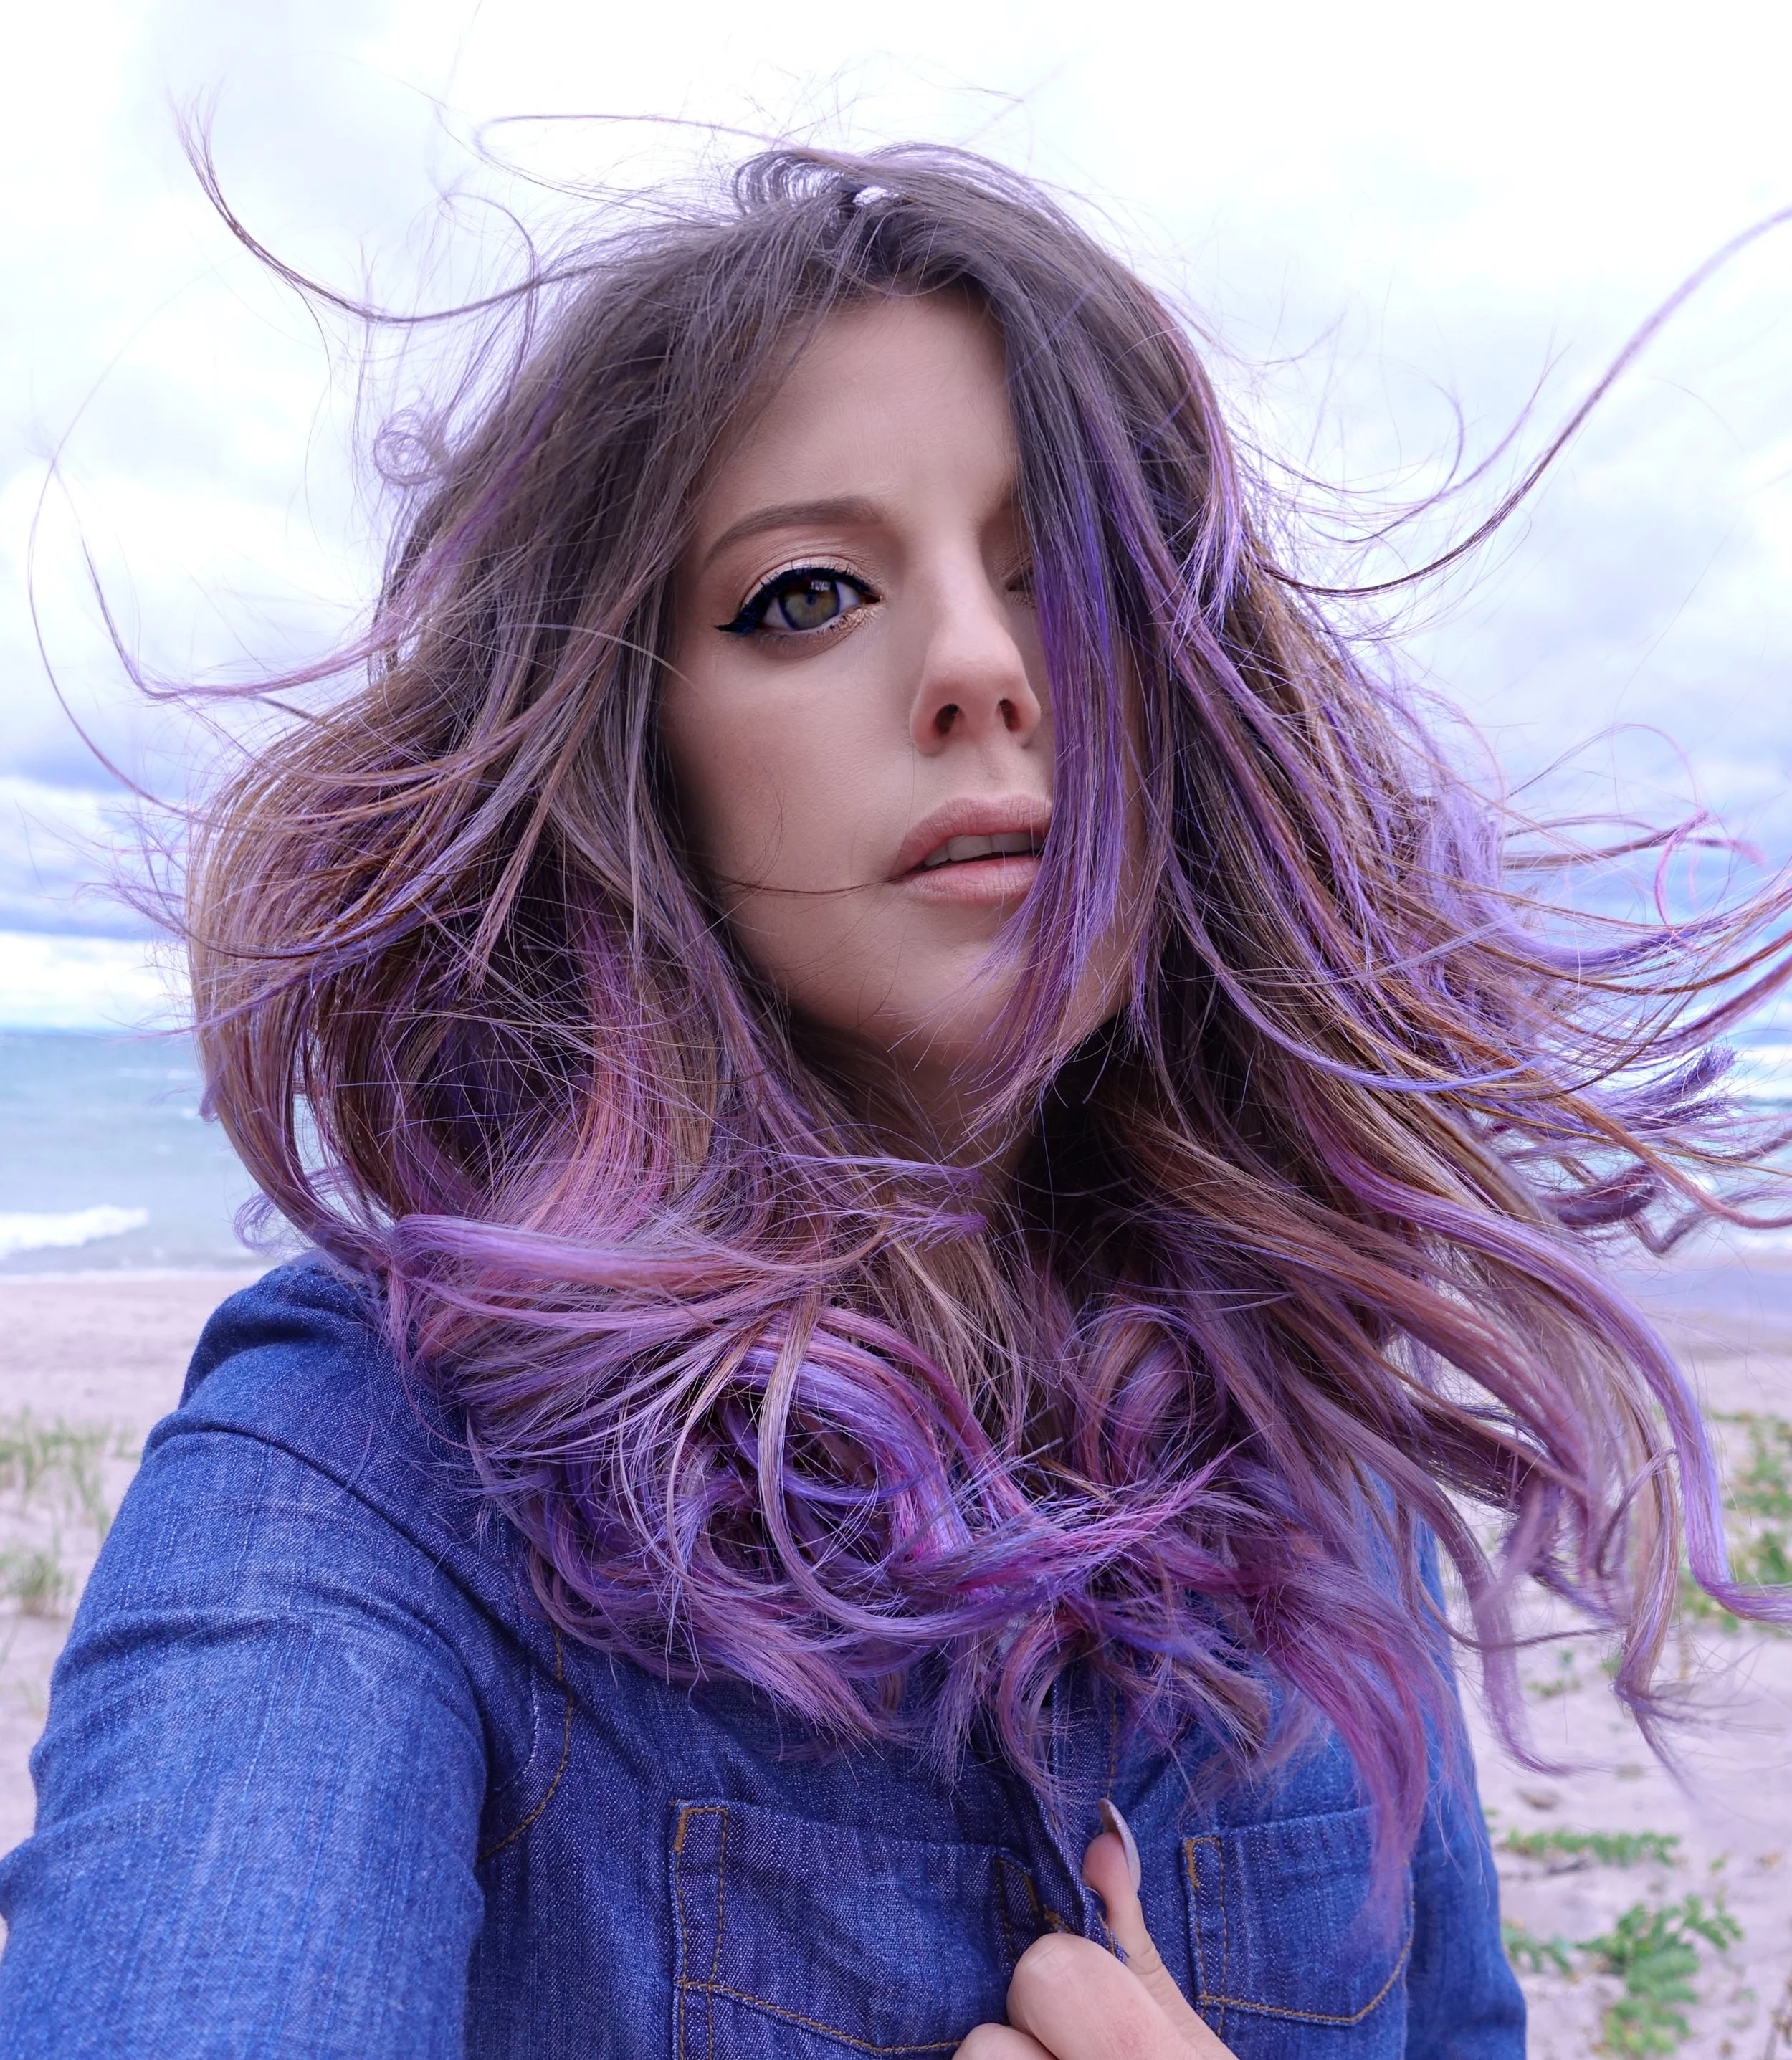
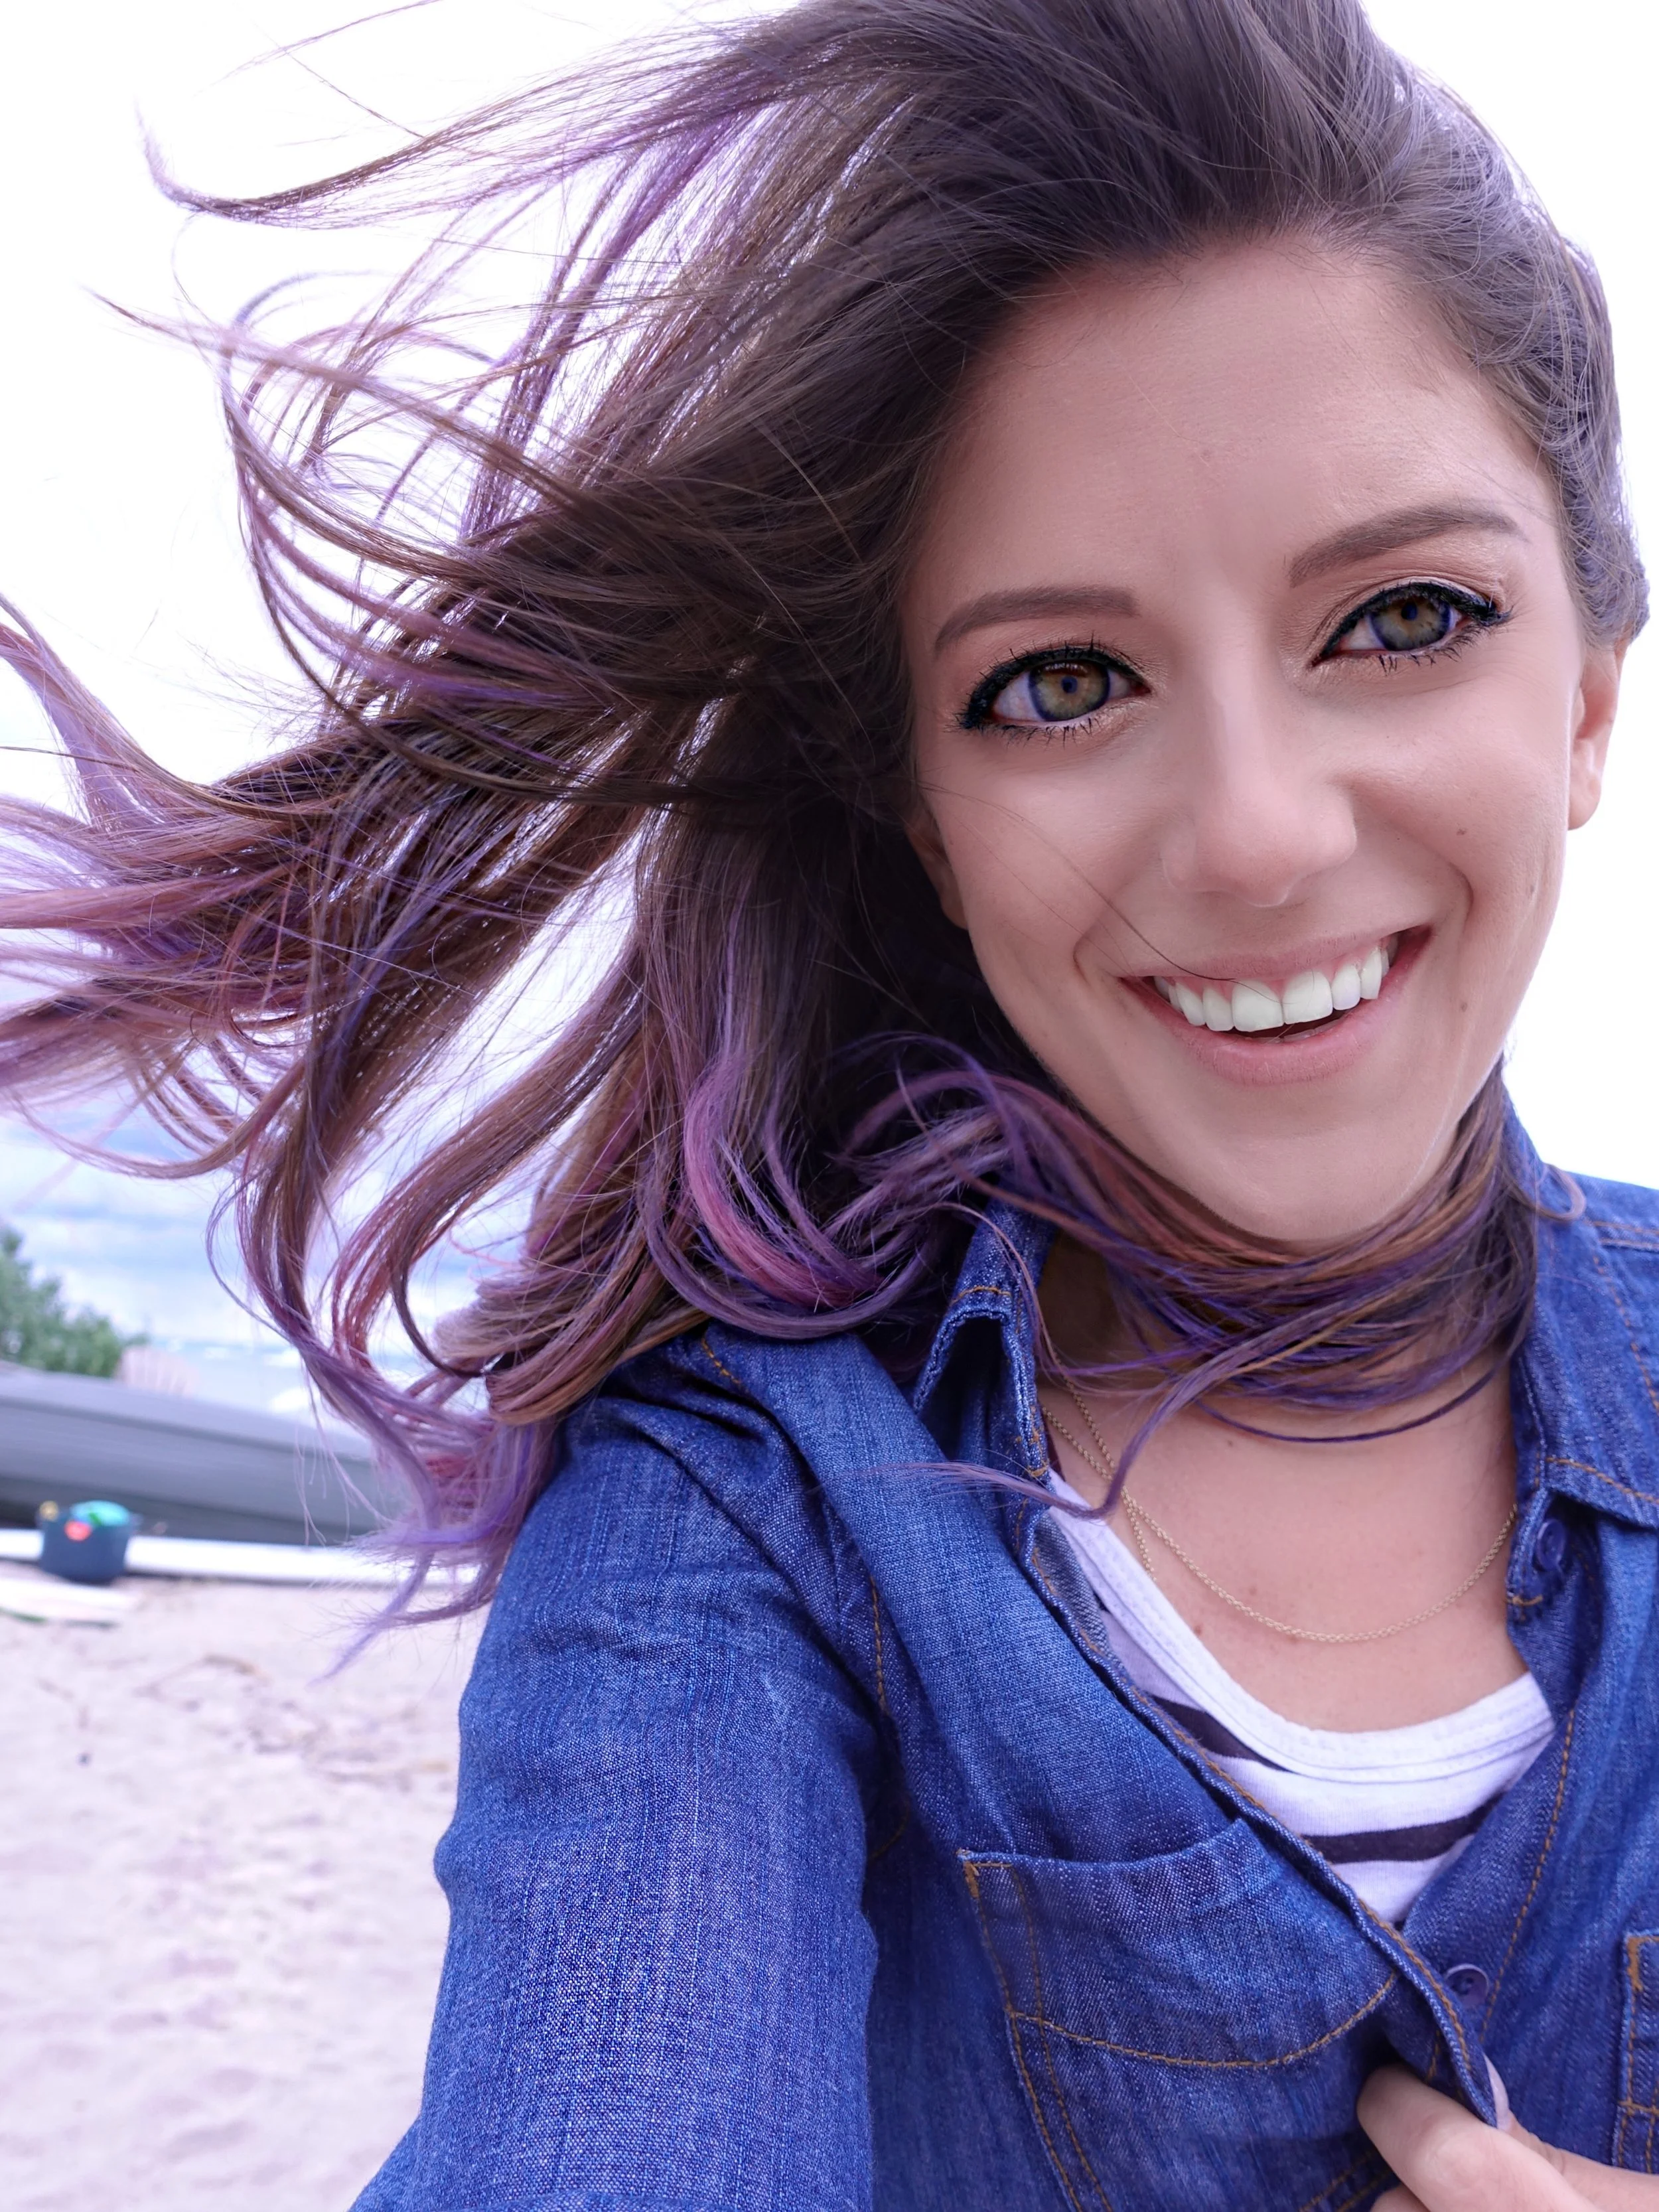
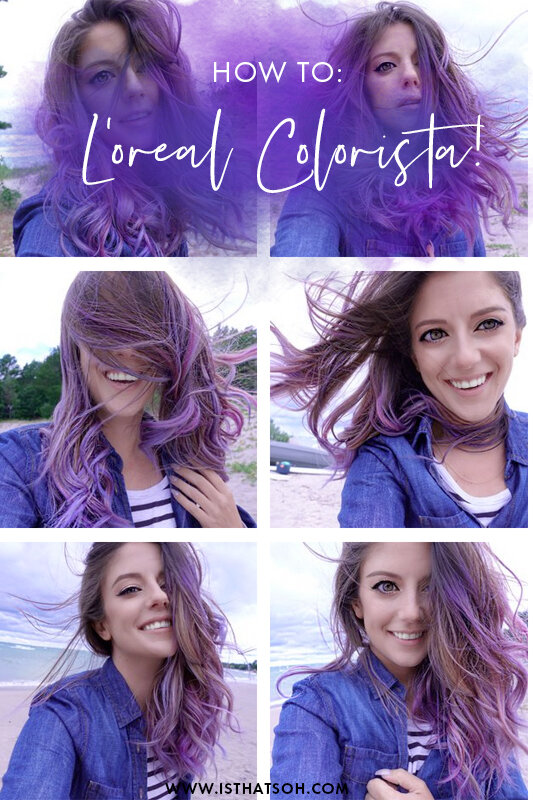
So as many of you know I dyed my hair ‘purple’ recently (I really used three shades - Colorista Purple, Colorista Ice Blue, and Colorista Indigo). If you didn't see my Snaps/Instastory (...I see how it is....) then you would have missed me talking about how I wanted to go silver ever since I had a dream where my hair was silver. Anyways, wouldn't you know it but the universe a couple of weeks later would sent me some L'Oreal Colorista hair dye - now that's freaking serendipitous if you ask me.  Next thing I know I'm dying my hair, at home, by myself with absolutely no experience. THAT'S RIGHT FOLKS I DID THIS ALL BY MYSELF!


FOLLOW ME ON INSTAGRAM @ISTHATSOH!


In this video, I share with you a couple of really good tips and tricks on how to do this at home. Make sure to take your time, half the work when coloring your hair is prep so be patient. I'm also going to list a bunch of good tips below for you so make sure to check those out.

If for some reason you thought this was going to be another makeup tutorial you are sadly mistaken my friend but fret not, here is one of my recent previous videos -> 'Mauve Glitter Cay Eye Makeup Tutorial!'

***Although ONE Instagram post for this L'Oreal Colorista campaign was sponsored this video was certainly NOT. I am not getting paid for this video however once I posted the sponsored photo everyone asked me how I did it and well let’s just say I'm glad I filmed my process.

I also just wanted to remind you to subscribe to my channel and follow me on my social handles if you aren't already! When you follow me I know I am doIng a good job and will be more amped up to produce more videos for you!


CHECK OUT THESE OTHER BEAUTY POSTS!


PRODUCTS I USED IN THIS TUTORIAL


L'Oreal Colorista in
Colorista Purple, Colorista Ice Blue , and Colorista Indigo (3 Colours Total all 'Cool Tones')
- each box comes with a brush for application and a couple of sets of gloves!

YOU WILL ALSO NEED


- A t-shirt you don't care about
- A towel to sit on so you don’t stain your chair!
- A hairbrush
- A hair sectioning comb
- Small plastic elastics
- Bowls covered with a plastic bags (I used three - one for each colour)

TIPS AND TRICKS!


- If you zigzag the top section you will be able to see the colours underneath better and it won’t be so stark on top and obviously one colour.
- These colours in particular are made for blonde hair which is why it showed up more prominent on the areas that were previously blonde so make sure you have good colours for your hair colour.
- I did a test the night before at the back of my neck to see if I liked all three colours together before I started.
- Make sure the sections at the front of your face are symmetrical and that the colours you use for the front piece horizontal from each other are the same all the way up.
- After the 30 minutes is up and it's time to wash out the dye use only shampoo, conditioner will make the colour fade out faster.
- If you don’t want it as dark then alternatively use conditioner when you wash your hair so that the colour will fade out more.


If you have any questions about L’Oreal Colorista feel free to leave them in the comments below along with any tutorial request you may have! That's it for today and I'll see you guys again soon!

xo

-Soheila


PIN THIS POST

CLASSIC ABH AND MAC EYE LOOK

WOW look at me, posting another makeup tutorial for you guys without a million years going by! LOL! As promised here is another makeup video for you guys. Also before I dive into it I just wanted to let you know that this is an open space - if you guys have any suggestions as to what type of content you want to see or eye looks you want me to recreate just hit me up in the comment section below.

OKAY so to kick things off today I decided to do a classic eye look tutorial using mostly Anastasia Beverly Hills and a little MAC Cosmetics. I kept it short with this tutorial and focuses mostly on the eye look. I made sure to still elaborate on some tricks and techniques I use to make it worth your while though. I can honestly spend so much time on my eyes blending until its perfect so sometimes a more in-depth tutorial is needed. If you want to see my face routine you can do so in my previous video -> 'Mauve Glitter Cay Eye Makeup Tutorial!'

This video is not sponsored but I am going to list all the products that I used for you guys below so you can purchase them/find them. I also just wanted to remind you to subscribe to my channel and follow me on my social handles if you aren't already! When you follow me I know I am dong a good job and will be more amped up to produce more videos for you!

Alright lets do this!

Subscribe to my channelgoo.gl/iidBfF
Instagramgoo.gl/n8WdGv
Snapchatgoo.gl/vBsoGd
Twitter goo.gl/xR6W14
Periscope ▷ SoheilaOnline

Want more of my shenanigans! Bring it on!

Soft Cut Crease Makeup Tutorial goo.gl/cah1rm
Copper Red Smokey Eyegoo.gl/9He6nD
Tartelette In Bloom Palettegoo.gl/LFqwEq

Products I Used in This Tutorial:

- Eye -

Anastasia Beverly Hills - Eyeshadow pans in Orange Soda, Sienna and Deep Plum
Smashbox - Cream Eyeshadow in 'Stone'
MAC Cosmetics - Loose Pigment in Plum
Anastais Beverly Hills Renaissance Palette - Vermeer for Inner Corner Highlight
Kat Von D - Tattoo Liner in Trooper
NYX Cosmetics - Vinyl Liquid Eyeliner in Black
Doucce Cosmetics Ultra Precision Eye Liner in 500 (Black)
Velour Lashes - 'Lash in City'
L'Oreal Voluminous Waterproof Mascara in Black Brown

- Face -

NYX - 'Dose of Dew' Highlighter Stick
Make Up For Ever - Sculpting Duo - Highlighter
Urban Decay - 'All Nighter' Setting Spray
Lip Lacquer Lip Gloss

- Brushes -
Smith Cosmetics - 232 Large Blending Brush
Smith Cosmetics - 230 Small Blending Brush
MAC - 195 Brush
MAC - 242 Brush
School Brush - Small Angled Brush
School Brush - Small Flathead Brush
Skone - Smudger Brush

If you have any questions feel free to leave them in the comments below. Also don't forget to leave a comment below if you have any requests!!

See you soon xo

-Soheila
MAUVE GLITTER CAT EYE MAKEUP TUTORIAL

Hey Darlings!

So happy to be back filming a makeup tutorial for you guys! As most of you know I moved a couple months back and haven't been able to get back into gear until now - such is life! I am back now and will be pedal to the metal here on in - PROMISE!

So to kick things off I decided to do a 'Mauve Glitter Cat Eye Makeup' tutorial. This is actually way more then just a eye makeup tutorial because I show you my complete up-to-date face application as well! Obviously it is going to be a little longer because I do my full routine so you can skip forward to eyes at 7:41 apx if that is what you're most interested in!

This video is not sponsored but I am going to list all the products that I used for you guys below so you can purchase them/find them. I also just wanted to remind you to subscribe to my channel and follow me on my social handles if you aren't already! When you follow me I know I am dong a good job and will be more amped up to produce more videos for you!

Alright lets do this!

Subscribe to my channelgoo.gl/iidBfF
Instagramgoo.gl/n8WdGv
Snapchatgoo.gl/vBsoGd
Twitter goo.gl/xR6W14
Periscope ▷ SoheilaOnline

Want more of my shenanigans! Bring it on!

Soft Cut Crease Makeup Tutorial goo.gl/cah1rm
Copper Red Smokey Eyegoo.gl/9He6nD
Tartelette In Bloom Palettegoo.gl/LFqwEq

Products I Used in This Tutorial:

- Face -

It Cosmetics - Bye Bye Under Eye Waterproof Concealer in Neutral Medium
Maybelline - Fit Me 'Hydrate + Smooth' Foundation in 110 Porcelain
Beauty Blender
Urban Decay - 'Naked Skin' Concealer in Fair
Laura Mercier - Translucent Loose Setting Powder
Too Faced - 'Milk Chocolate Soleil' Matte Bronzer
Urban Decay - 'Beached Bronzer' in Bronzed
Benefit Cosmetics - 'Watt's Up' Soft Focus Highlighter
Becca Cosmetics - Pressed Highlighter in Opal
Charlotte Tilbury - 'Cheek to Chic' Blush
Urban Decay - 'All Nighter' Setting Spray
DLS - Lip Gloss in Bare
Essence - Clear Gloss in Pure Chic

- Brow -

NYX Cosmetics - Micro Brow Pencil in Taupe
Make Up For Ever - Brow Liner in the shade 20
The Balm Cosmetics - MaryLou-Manizer Highlighter

- Eye -

Tarte - Tartelette Palette - shades Power player, Natural Beauty and Care Giver
Too Faced - Natural Love Palette - Fairytale
Urban Decay - Heavy Metal Glitter Eye Liner in Midnight Cowboy
Kat Von D - Tattoo Liner in Trooper
NYX Cosmetics - Vinyl Liquid Eyeliner in Black
Doucce Cosmetics Ultra Precision Eye Liner in 500 (Black)
Velour Lashes - 'Lash in City'
L'oreal Voluminous Waterproof Mascara in Black Brown

- Brushes -
MAC - 195 Brush
Morphe - MB13 Brush
MAC - 135
Luxie - 522 Tapered Highligher Brush
MSC - 129 Blush Brush
MAC - 224 Blending Brush
INSPR - 282 Brush

If you have any questions feel free to leave them in the comments below. I'd also love to hear what you guys are interested in seeing/learning so if you have any suggestions leave them below!

See you soon xo

-Soheila
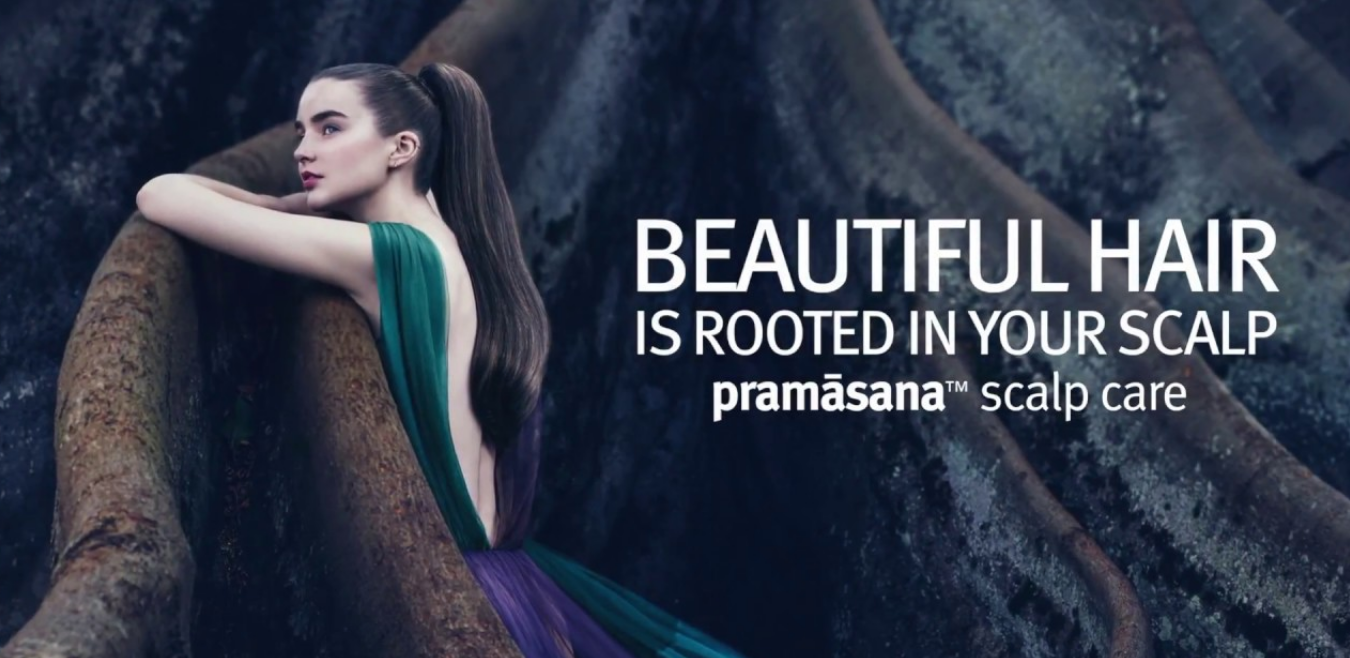
THE IMPORTANCE OF SCALP HEALTH WITH PRAMASANA BY AVEDA

A couple months ago Aveda launched a collection of products dubbed the ‘Pramāsana' line and wouldn’t you know your girl got to try it out first hand. As a proud Leo-lady (I am woman hear me ROAR) you know I take huge pride in my mane and the Pramāsana line deals strictly with scalp health which is why I was so curious to learn more.

You may be asking yourself why is it so important to clean your scalp? And aren’t I doing that already every time I wash my hair? Well here’s a couple things that may surprise you off the bat:

  1. Your hair is alive only at the root so nourishing your scalp leads to better hair follicles/roots, faster growth, increased hair strength and better overall nourishment in the long run.

  2. When your root or hair follicle is ‘clogged’ hair growth is slow (and sometimes non existent), the hair that does grow is lacking nourishment and therefore can break easier and lack luster.

  3. Shampoo, conditioner, hair spray, moose, gels etc. can actually leave 'product buildup’ on your scalp. This with the added sebum (an oil that our body naturally produces to protect the scalp) and general air pollution, roots/follicles in your scalp can actually easily become clogged.

“Effective scalp cleansing can help normal skin cell turnover. Deep cleansing encourages a clean, healthy scalp.” - Dr. M. Julie Thornton, Ph.D., University of Bradford in the UK

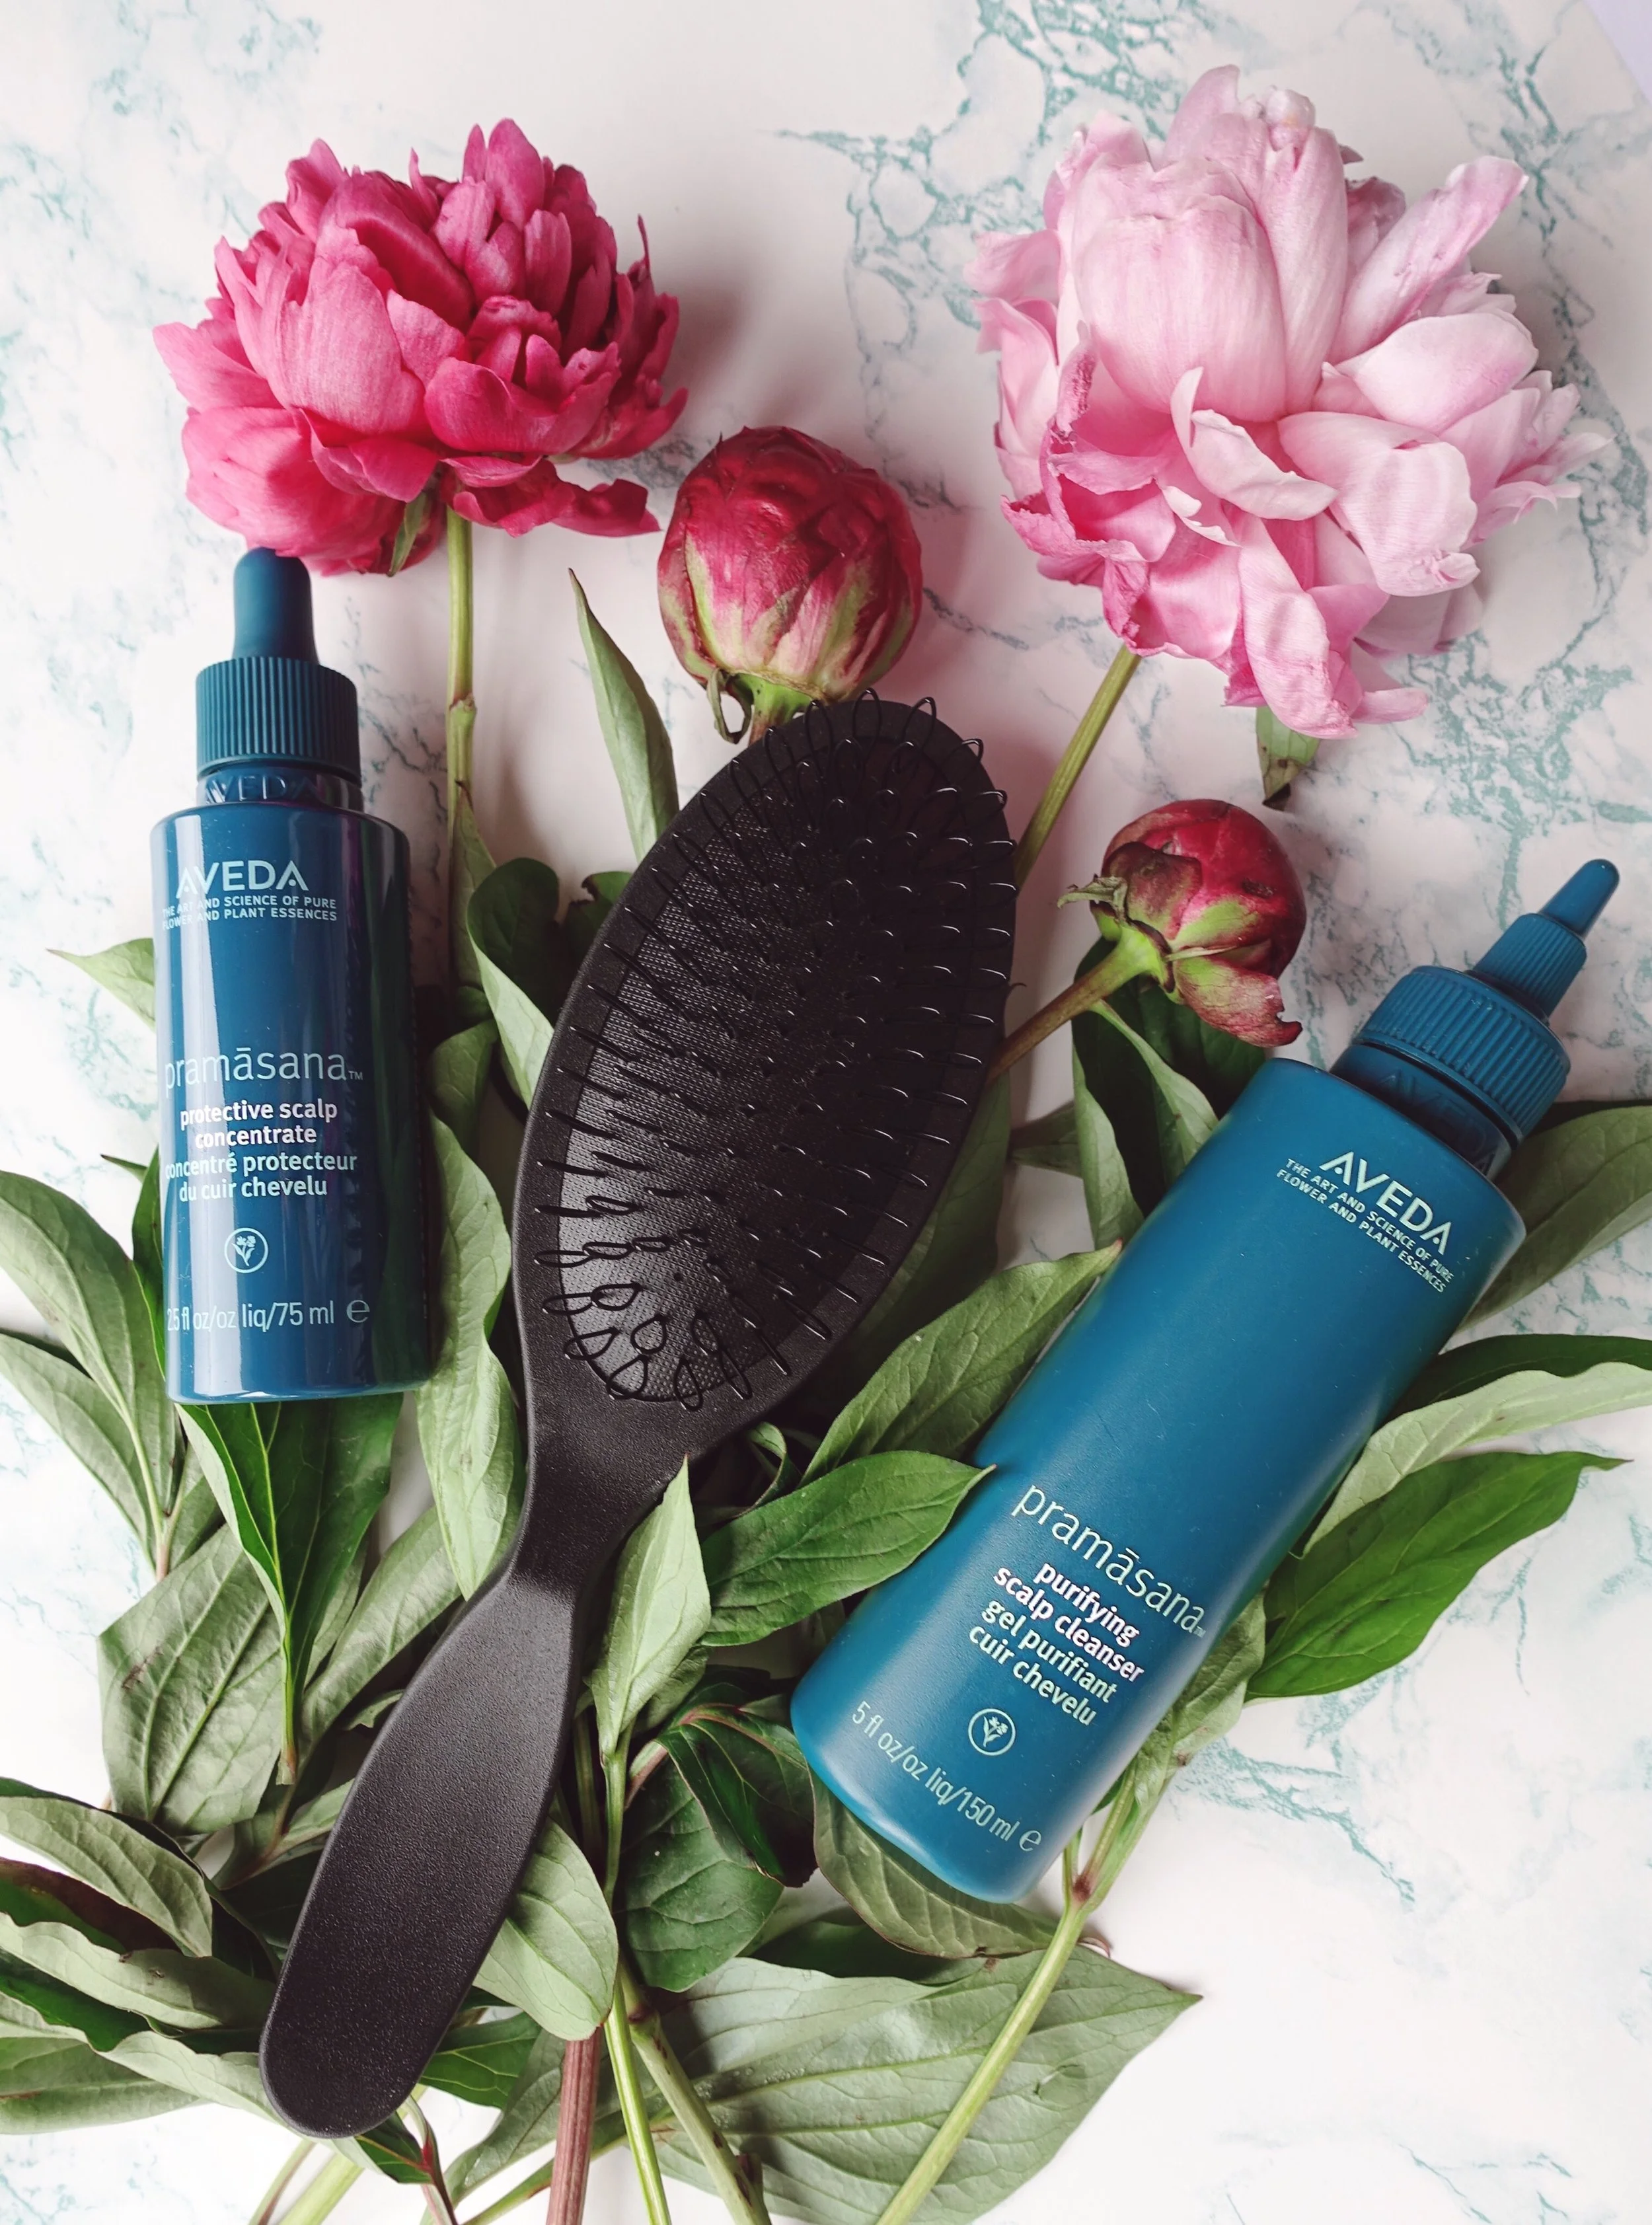
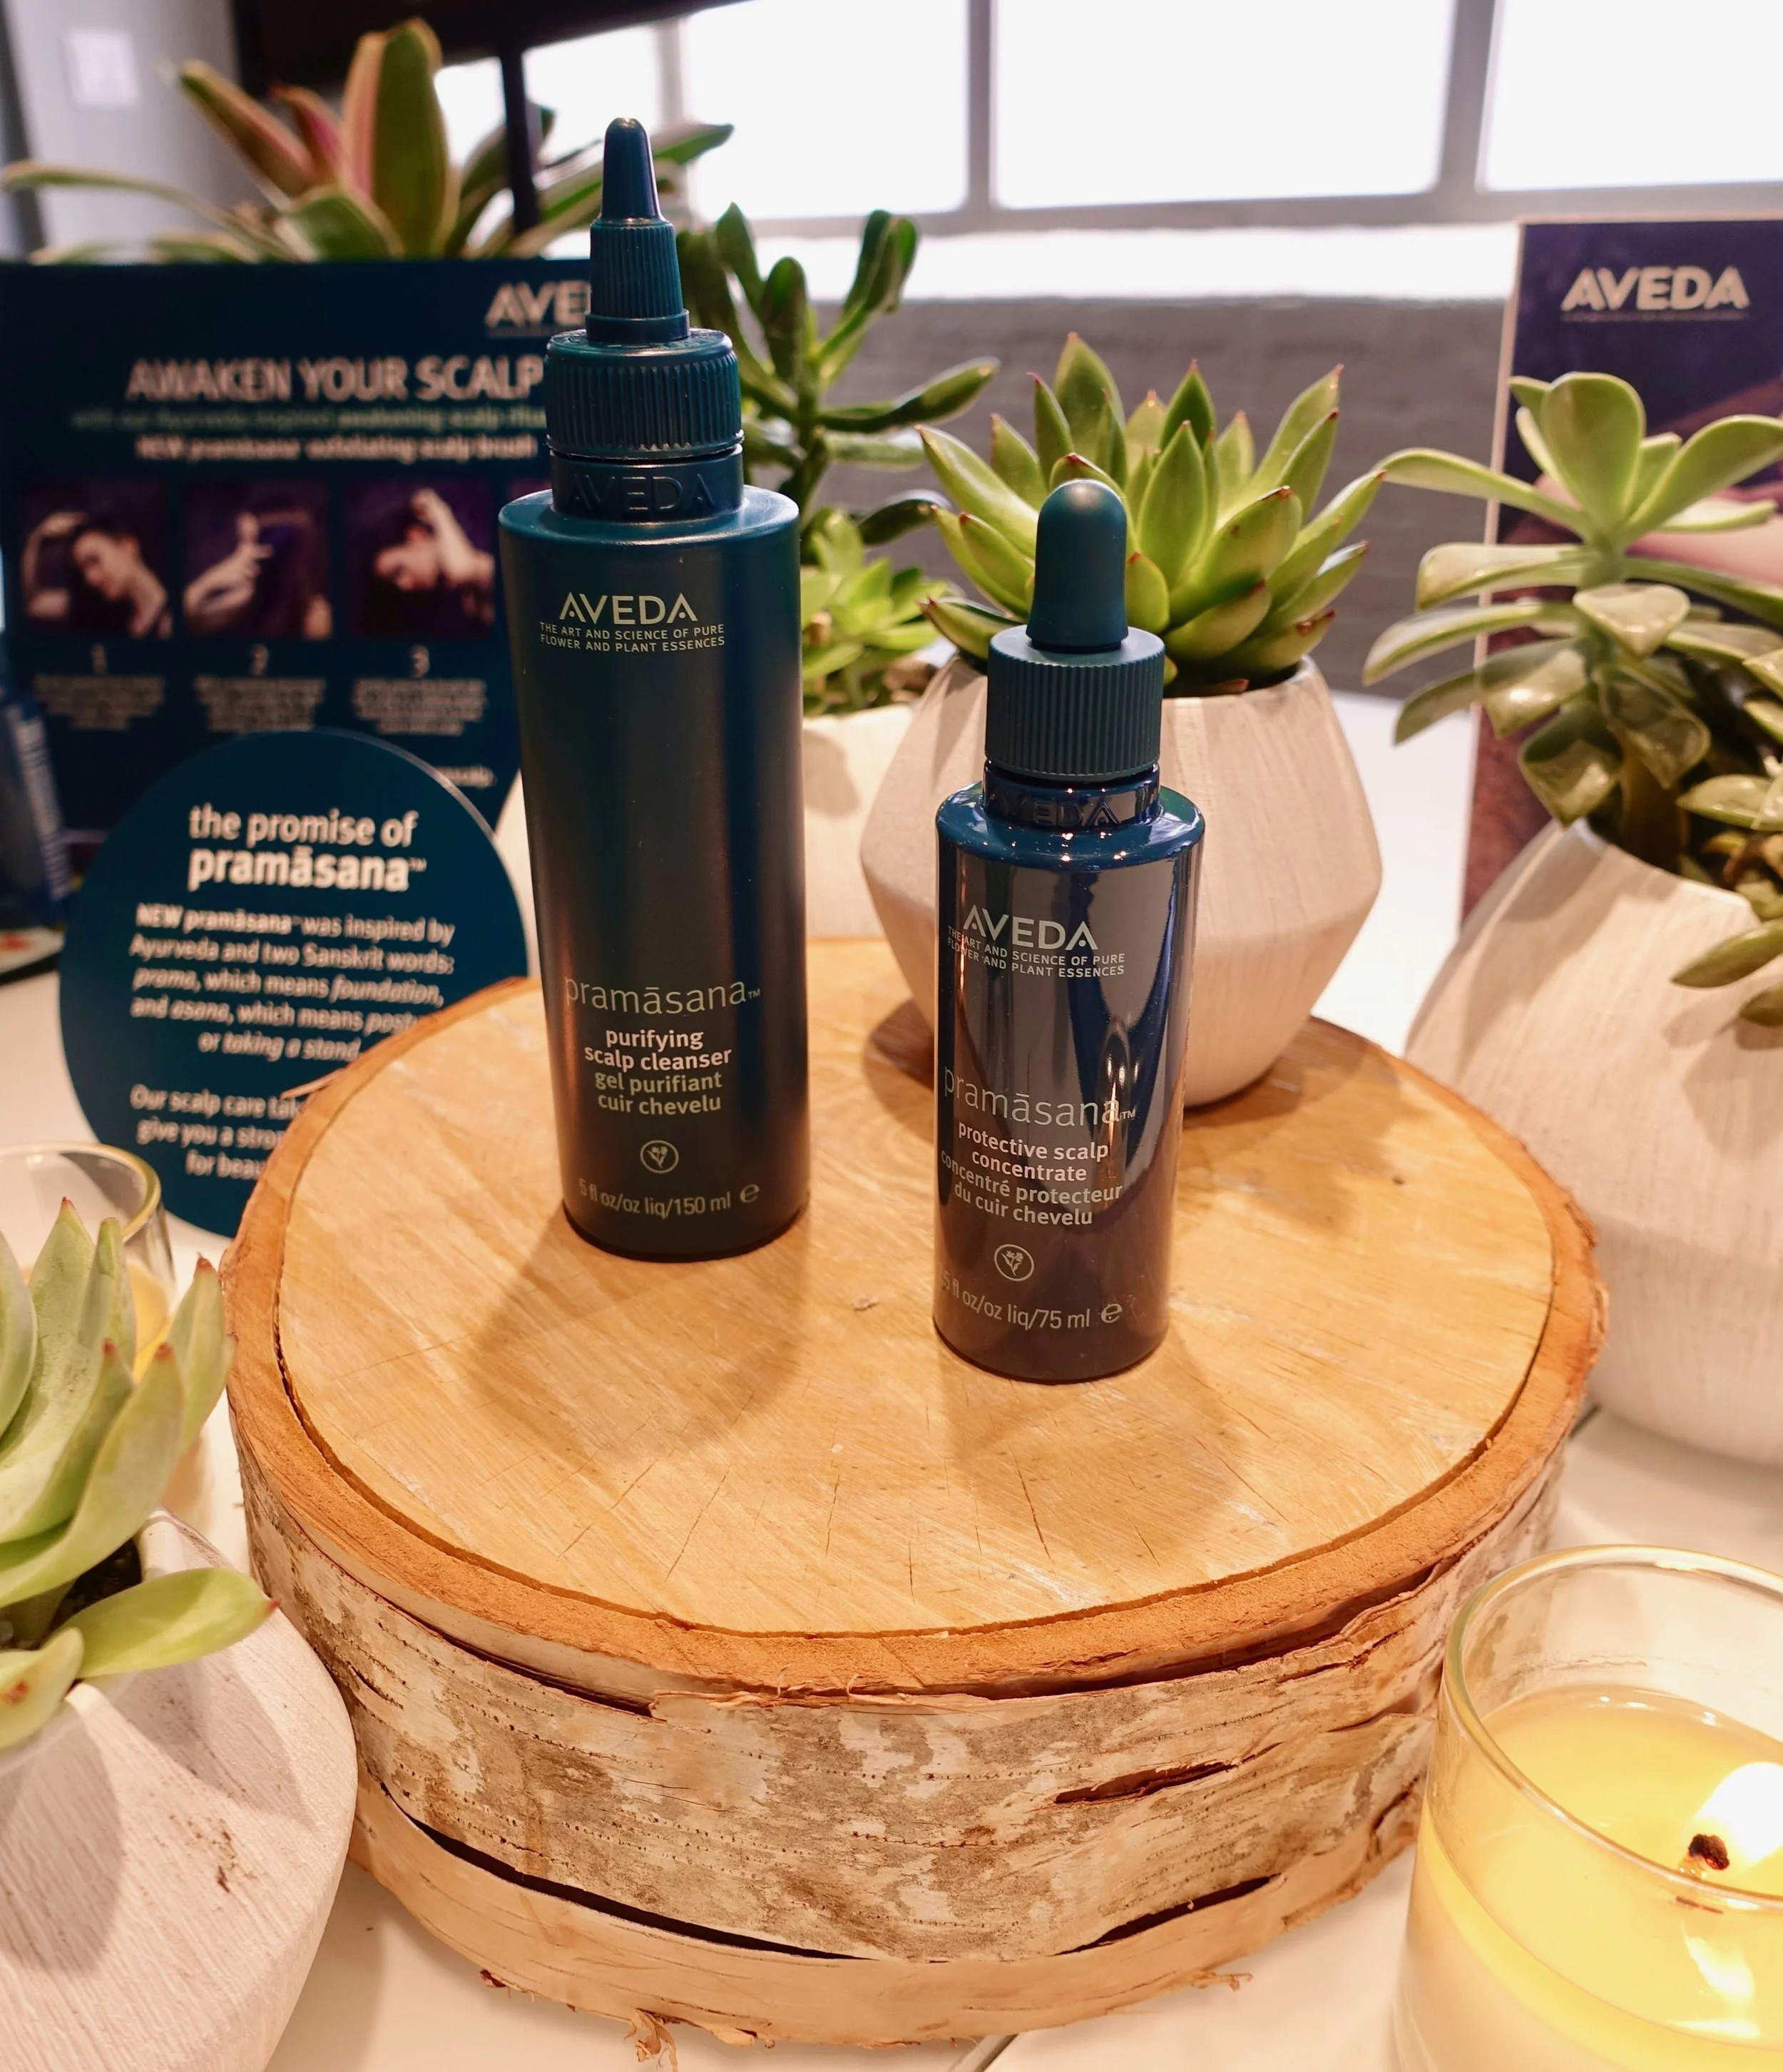
The Pramāsana Scalp Care line is made up of three parts - The Exfoliating Scalp Brush, the Purifying Scalp Cleanser, and the Protective Scalp Concentrate - and is 98% naturally derived. Although the product line is available at any Aveda store to take home you can also learn more and test out the line first at any Civello’s Salon. Part of my learning experience was receiving a full Pramāsana treatment at Civello’s Salon on Queen West and I’m happy to say I walked away being a believer in the importance of scalp health!

“Consider yours scalp the soil from which you hair grows. Once you think of it that way, it shouldn't be hard to understand why you might need to give it extra care.” - Justina Majia-Montanta, VP, Global Product Development at Aveda.


The entire treatment takes about an hour (or less if you are doing it at home) and is safe to do once a week. The first step to the treatement is to exfoliate your scalp using the Pramāsana ‘Exfoliating Scalp Brush’. This special brush has looped bristles designed to loosen impurities and buildup prior to cleansing all the while not tangle your hair. Simply place the brush on your head with a bit of pressure and move it around in small circles to massage the scalp. 3-4 minutes is really all you need!

Next apply the Pramāsana ‘Purifying Scalp Cleanser’ directly to your dry scalp (yes you haven't even wet your hair yet) and massage this in. You will notice right away that it starts to foam. This is the cleanser removing impurities and cleaning the scalp which will balance sebum levels and scalp pH. Again 3-4 minutes is really all you need!


Now is when you would wet your hair and add shampoo. Any shampoo can be used in conjunction with the Pramāsana line except Aveda’s Invati line because Invati has a scalp cleanser already in it that can cause your scalp to have adverse effects and actually become dry. So once your done with the Purifying Scalp Cleanser, wet and shampoo your hair as you normally would.

At this point in the treatment and if you are in an Aveda salon you can opt in for the Pramāsana ‘Nourishing Scalp Masque’ (available only at the salon) which is specifically designed to nourish your scalp after it is properly cleansed. Think of it as the serums or brightening mask you would apply before the moisturizer you would use. It’s an intensive hydrating and nourishing treatment for your roots!

“Cleanse your Scalp. Shampoo is for hair.” - Aveda


Whether you do the mask or not you can go ahead at this point and finish your routine of conditioning and washing your hair. Before you blow dry and add in your heat protection products now is when you use the Pramāsana ‘Protective Seal Concentrate’. This lightweight serum sinks into your scalp and nourishes the skin while also protecting it from further future build up. The Protective Seal Concentrate can be added to both wet and dry hair. In my case Gabo, my Senior Civello Stylist, applied it directly to my roots on the top horseshoe portion of my hair before massaging it in (again 3-4 minutes is really all you need) before finally blowdrying and styling my hair.


Further things I learned about the Pramāsana line:

  • The aroma features grapefruit, neroli and cypress!

  • The treatment at Civello is $65 without the ‘Nourishing Scalp Masque’ and is $95 with.

  • Both males and females should consider looking into the health of their scalp especially if they are experiencing hair loss, breakage or malnourished hair.

  • It doesn’t effect colour treated hair however it shouldn’t be done until 4-5 days after you get your hair newly coloured since your roots will be sensitive from the dyes you used during your colouring.

Lastly did you know that all Aveda products are cruelty free!? That’s right, no testing on animals! All of the products (except the Nourishing Scalp Masque) can be purchased in an Aveda store or at Aveda Salon’s and Spa’s and retail for:

Pramāsana Exfoliating Scalp Brush - $28 CAN

Pramāsana Purifying Scalp Cleanser - $45 CAN

Pramāsana Protective Scalp Concentrate - $57 CAN

I thoroughly enjoyed my treatment and, like I said before, walked away believing in the importance of a healthy scalp. It’s definitely safe too say that I will be using the Pramāsana line at home and incorporating it weekly into my routine - not to mention doing a whole lot more hair flipping! LOL