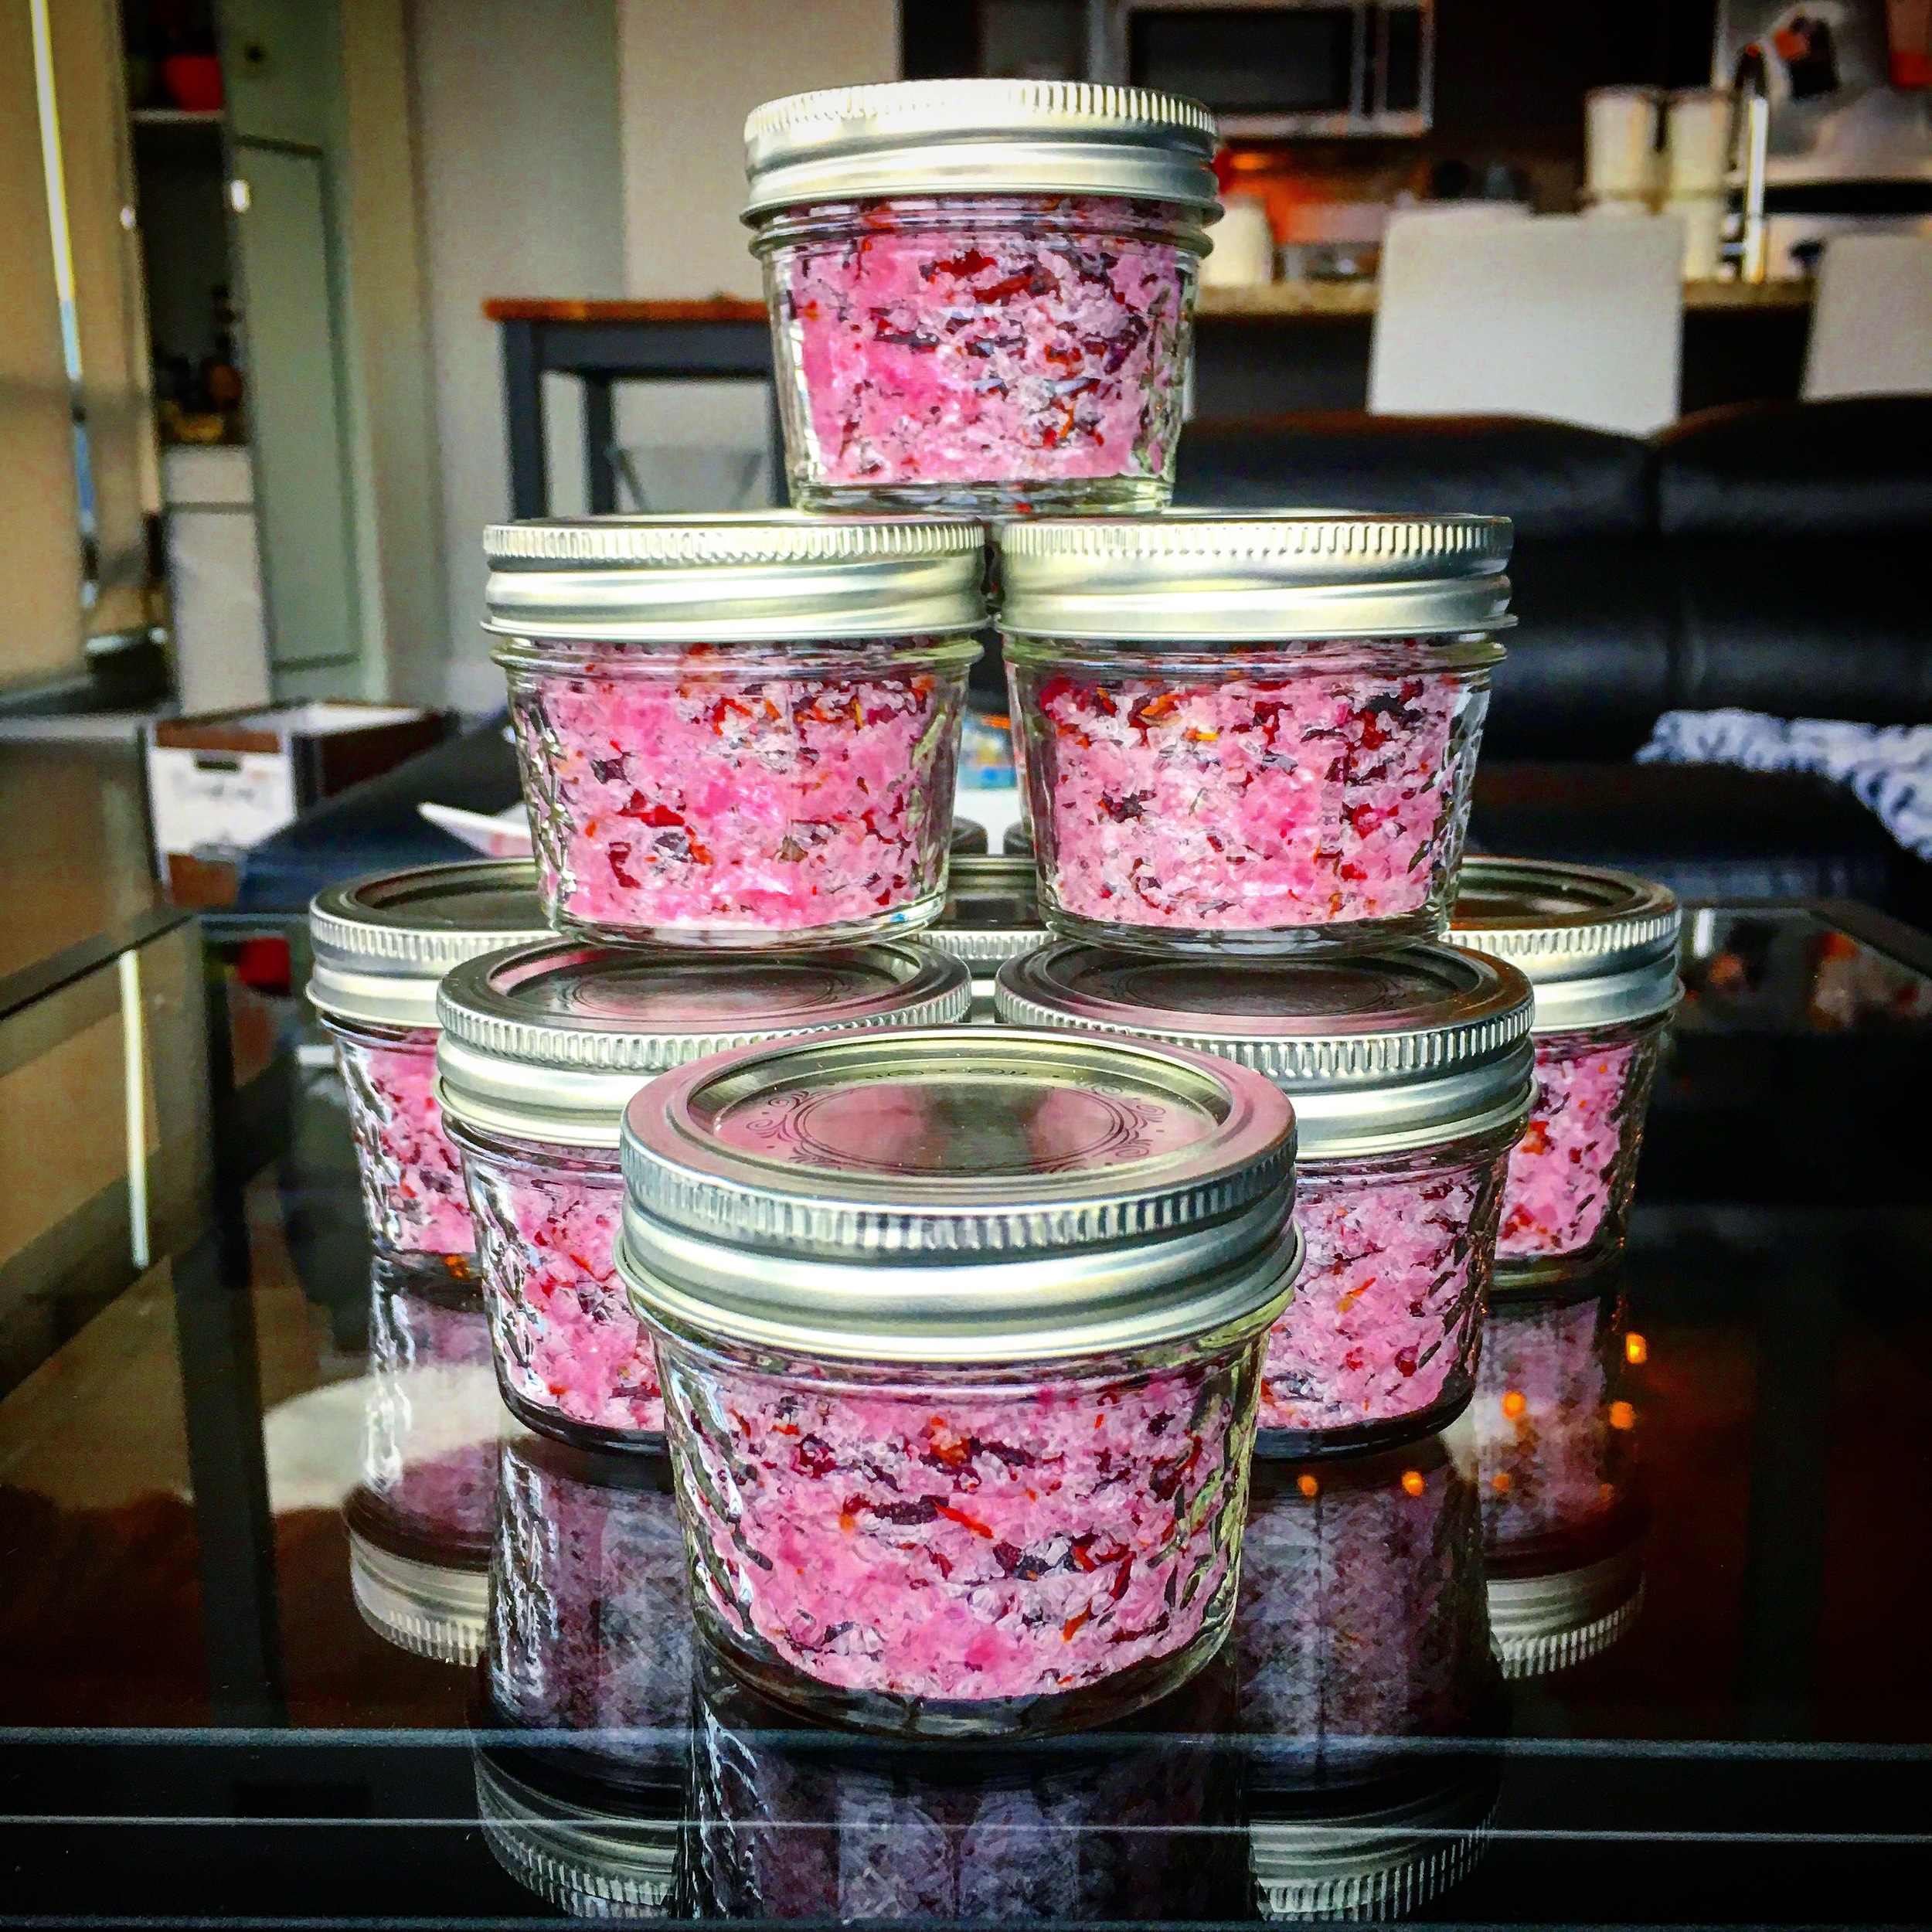
Bath bombs can run you $5-$6 a pop at the store but they are so easy to make and don't take that long. They also make a great gift idea!!! Bath bombs are made up mostly of baking soda which is great because it is a natural remedy for common skin problems. Taking a bath in baking soda can help neutralize skin acidity and promote elimination of toxins, this can help refresh your skin and renew/soften your skin if it is dry. Bath bombs also contain Epson salts which is a great ingredient that can relieve sore muscles, help with colds and congestion and help relax the nervous system. Okay, so ready to get started???
YIELDS: 6-7 Big bombs or 30 Small bombs
INGREDIENTS:
DRY -
2 Cup Baking Soda
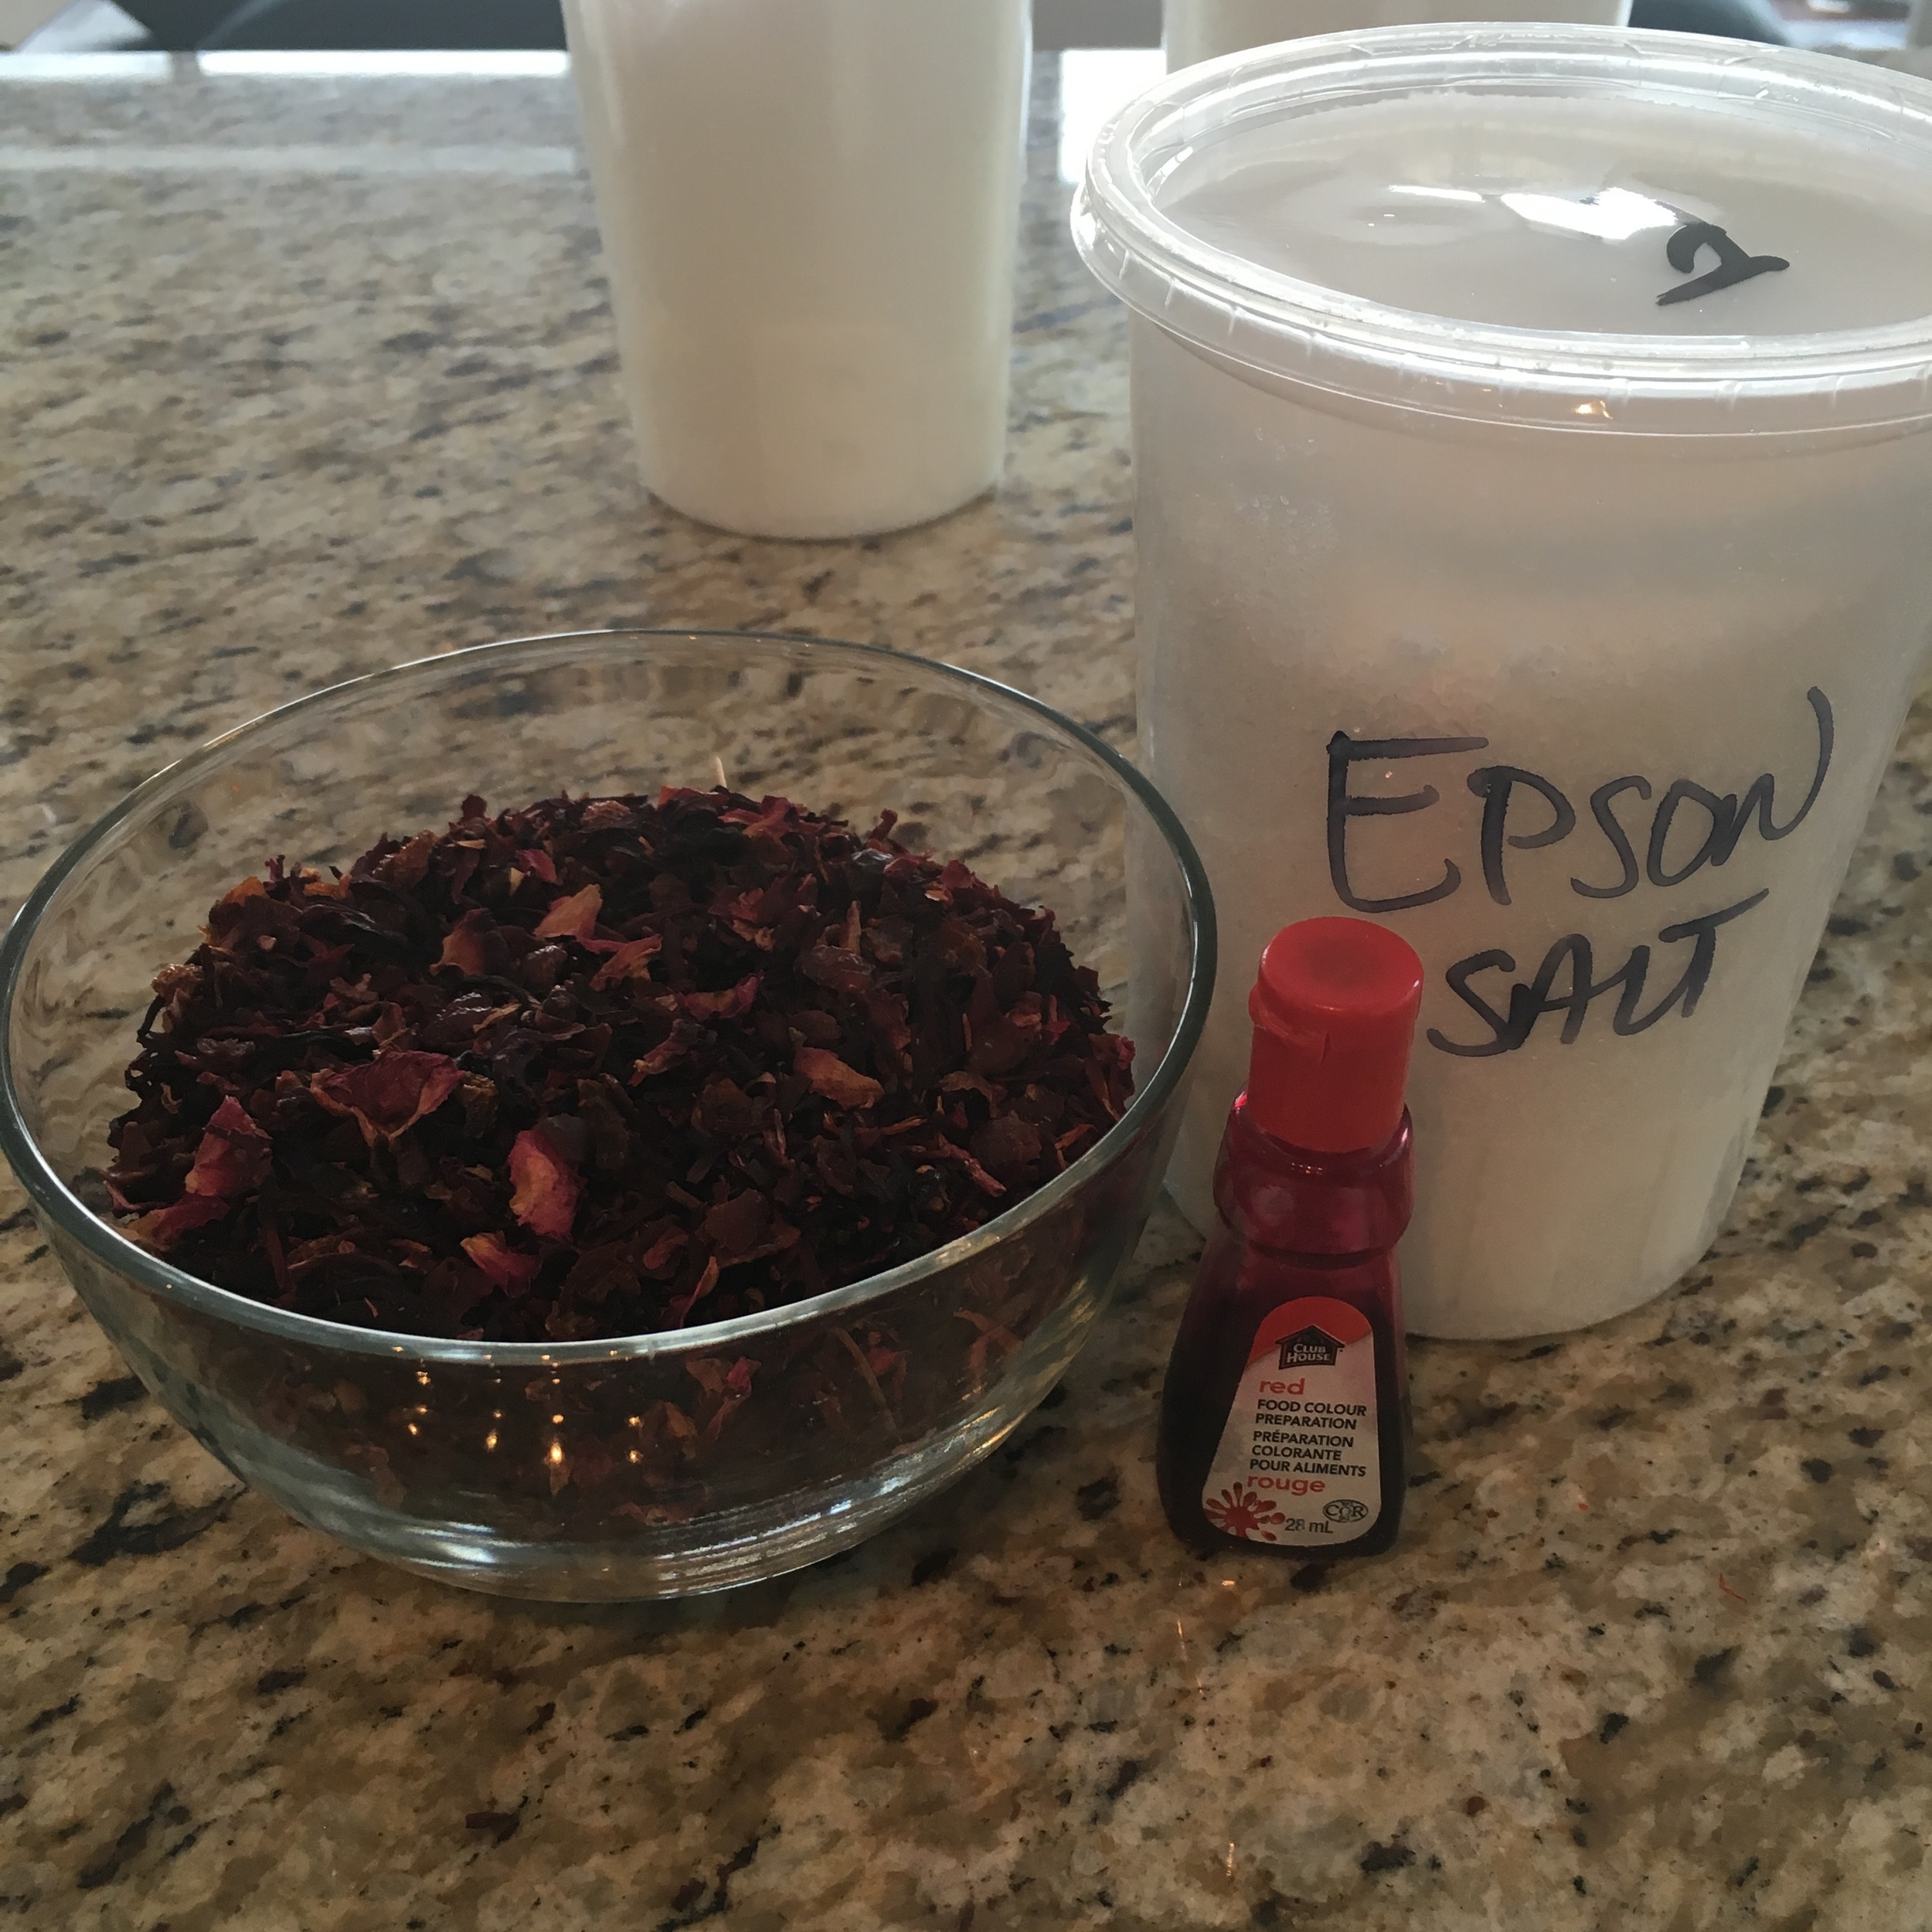
1 Cup Epson Salts
1 Cup Cornstarch
1 Cup Citric Acid (this when mixed with baking soda helps it fizz when it hits the water!! VERY IMPORTANT)
WET -
6 Tsp. Olive Oil
4 Tsp. Essential Oil (If you are using a strong scent like Lavender or Mint you can use a little less. If you are using softer scents like lemon or grapefruit add more.)
2 Tsp. Water
Food or Soap Coloring (as many drops as you need to reach your desired colour)
Bowl
Whisk
Mold (open face is fine if you do not have a bath bomb mold/case)
DIRECTIONS:
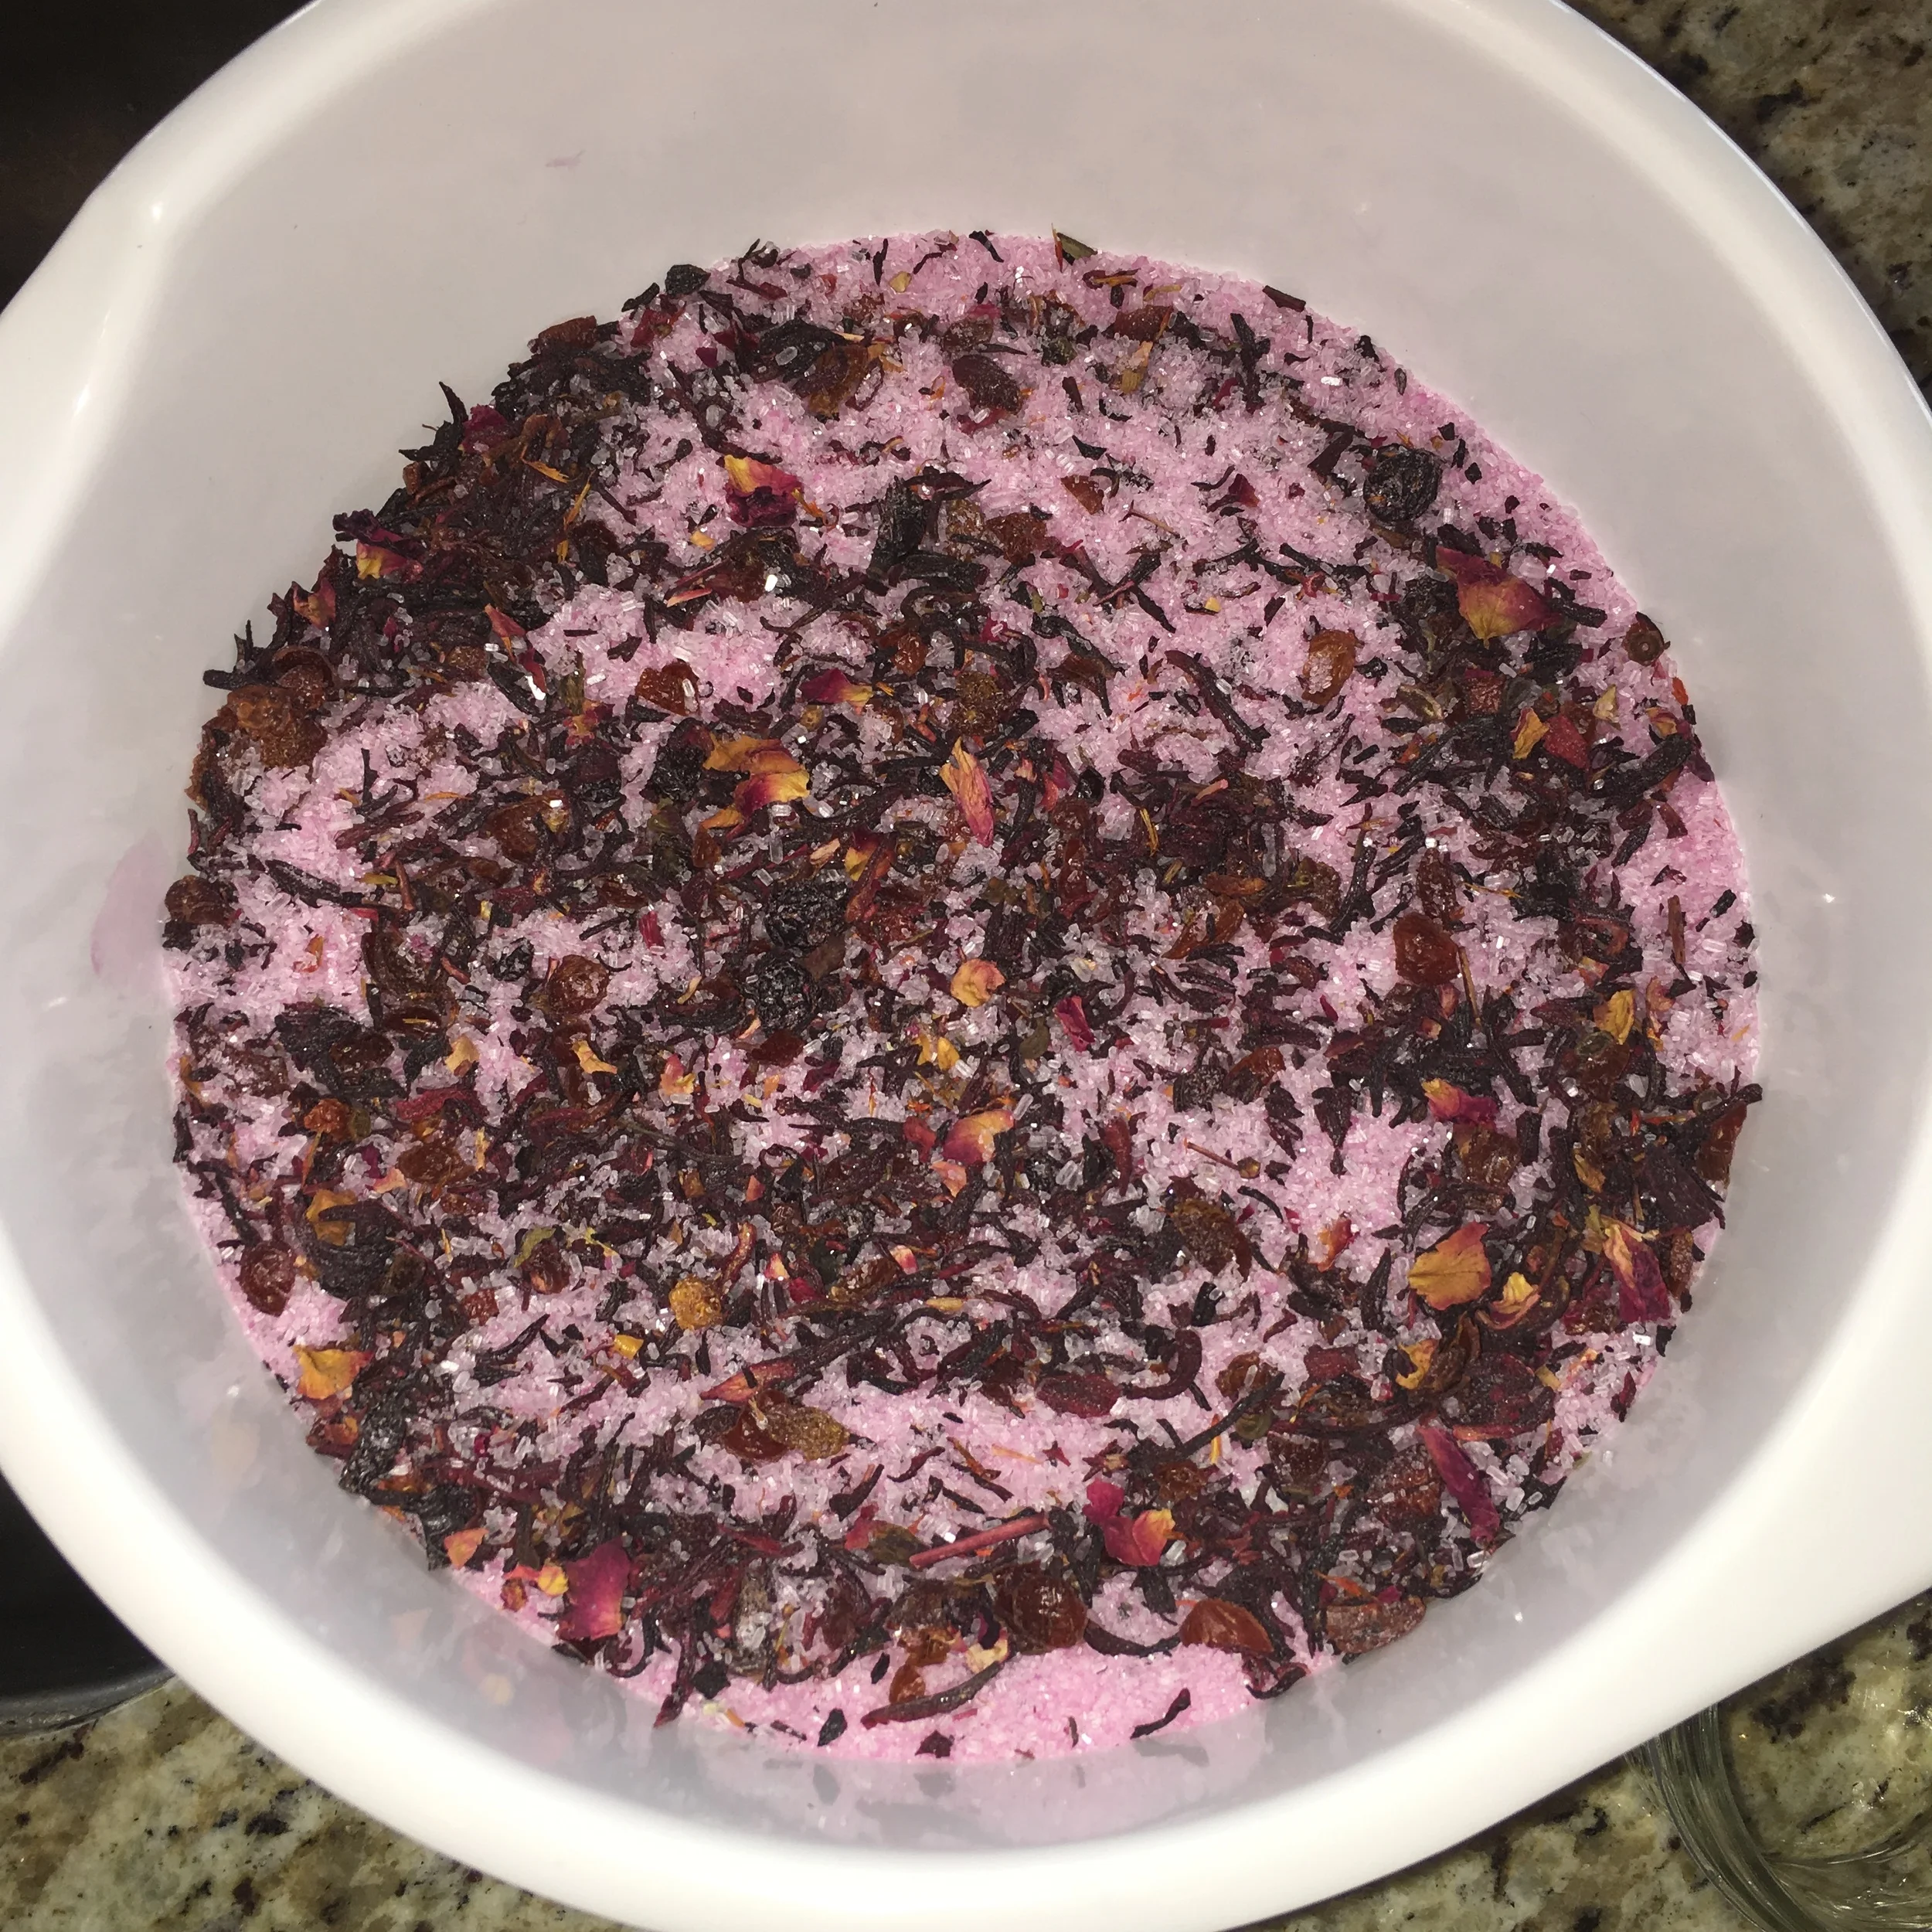
First add all the dry ingredients together in a bowl and whisk so that it is evenly spread out.
Next in a jar or cup add all the wet ingredients together and mix well with a fork.
Slowly, bit by bit (no more then 4Tsp at a time) add the wet ingredients you just mixed to the dry ingredients. Be sure to stir well after each time you add the wet ingredient so that It does not fizz up too much and the colour spreads out evenly. After you add the wet ingredient to the dry ingredients you will notice it will start to get clumpy but keep whisking and it will smooth out.
Once all the wet ingredients are added to the dry ingredients and whisked together nicely you can fill your molds! Make sure to pack in the mixture so that it binds better in the mold. Once nicely packed you can tap on the outside of the mold gently to release the bomb.
I would recommend sitting it somewhere to dry for one to two days before packaging them to ensure they do not crumble. If you want to use it right away that is okay just put the bomb in the fridge for 30 minutes so it will maintain its shape.
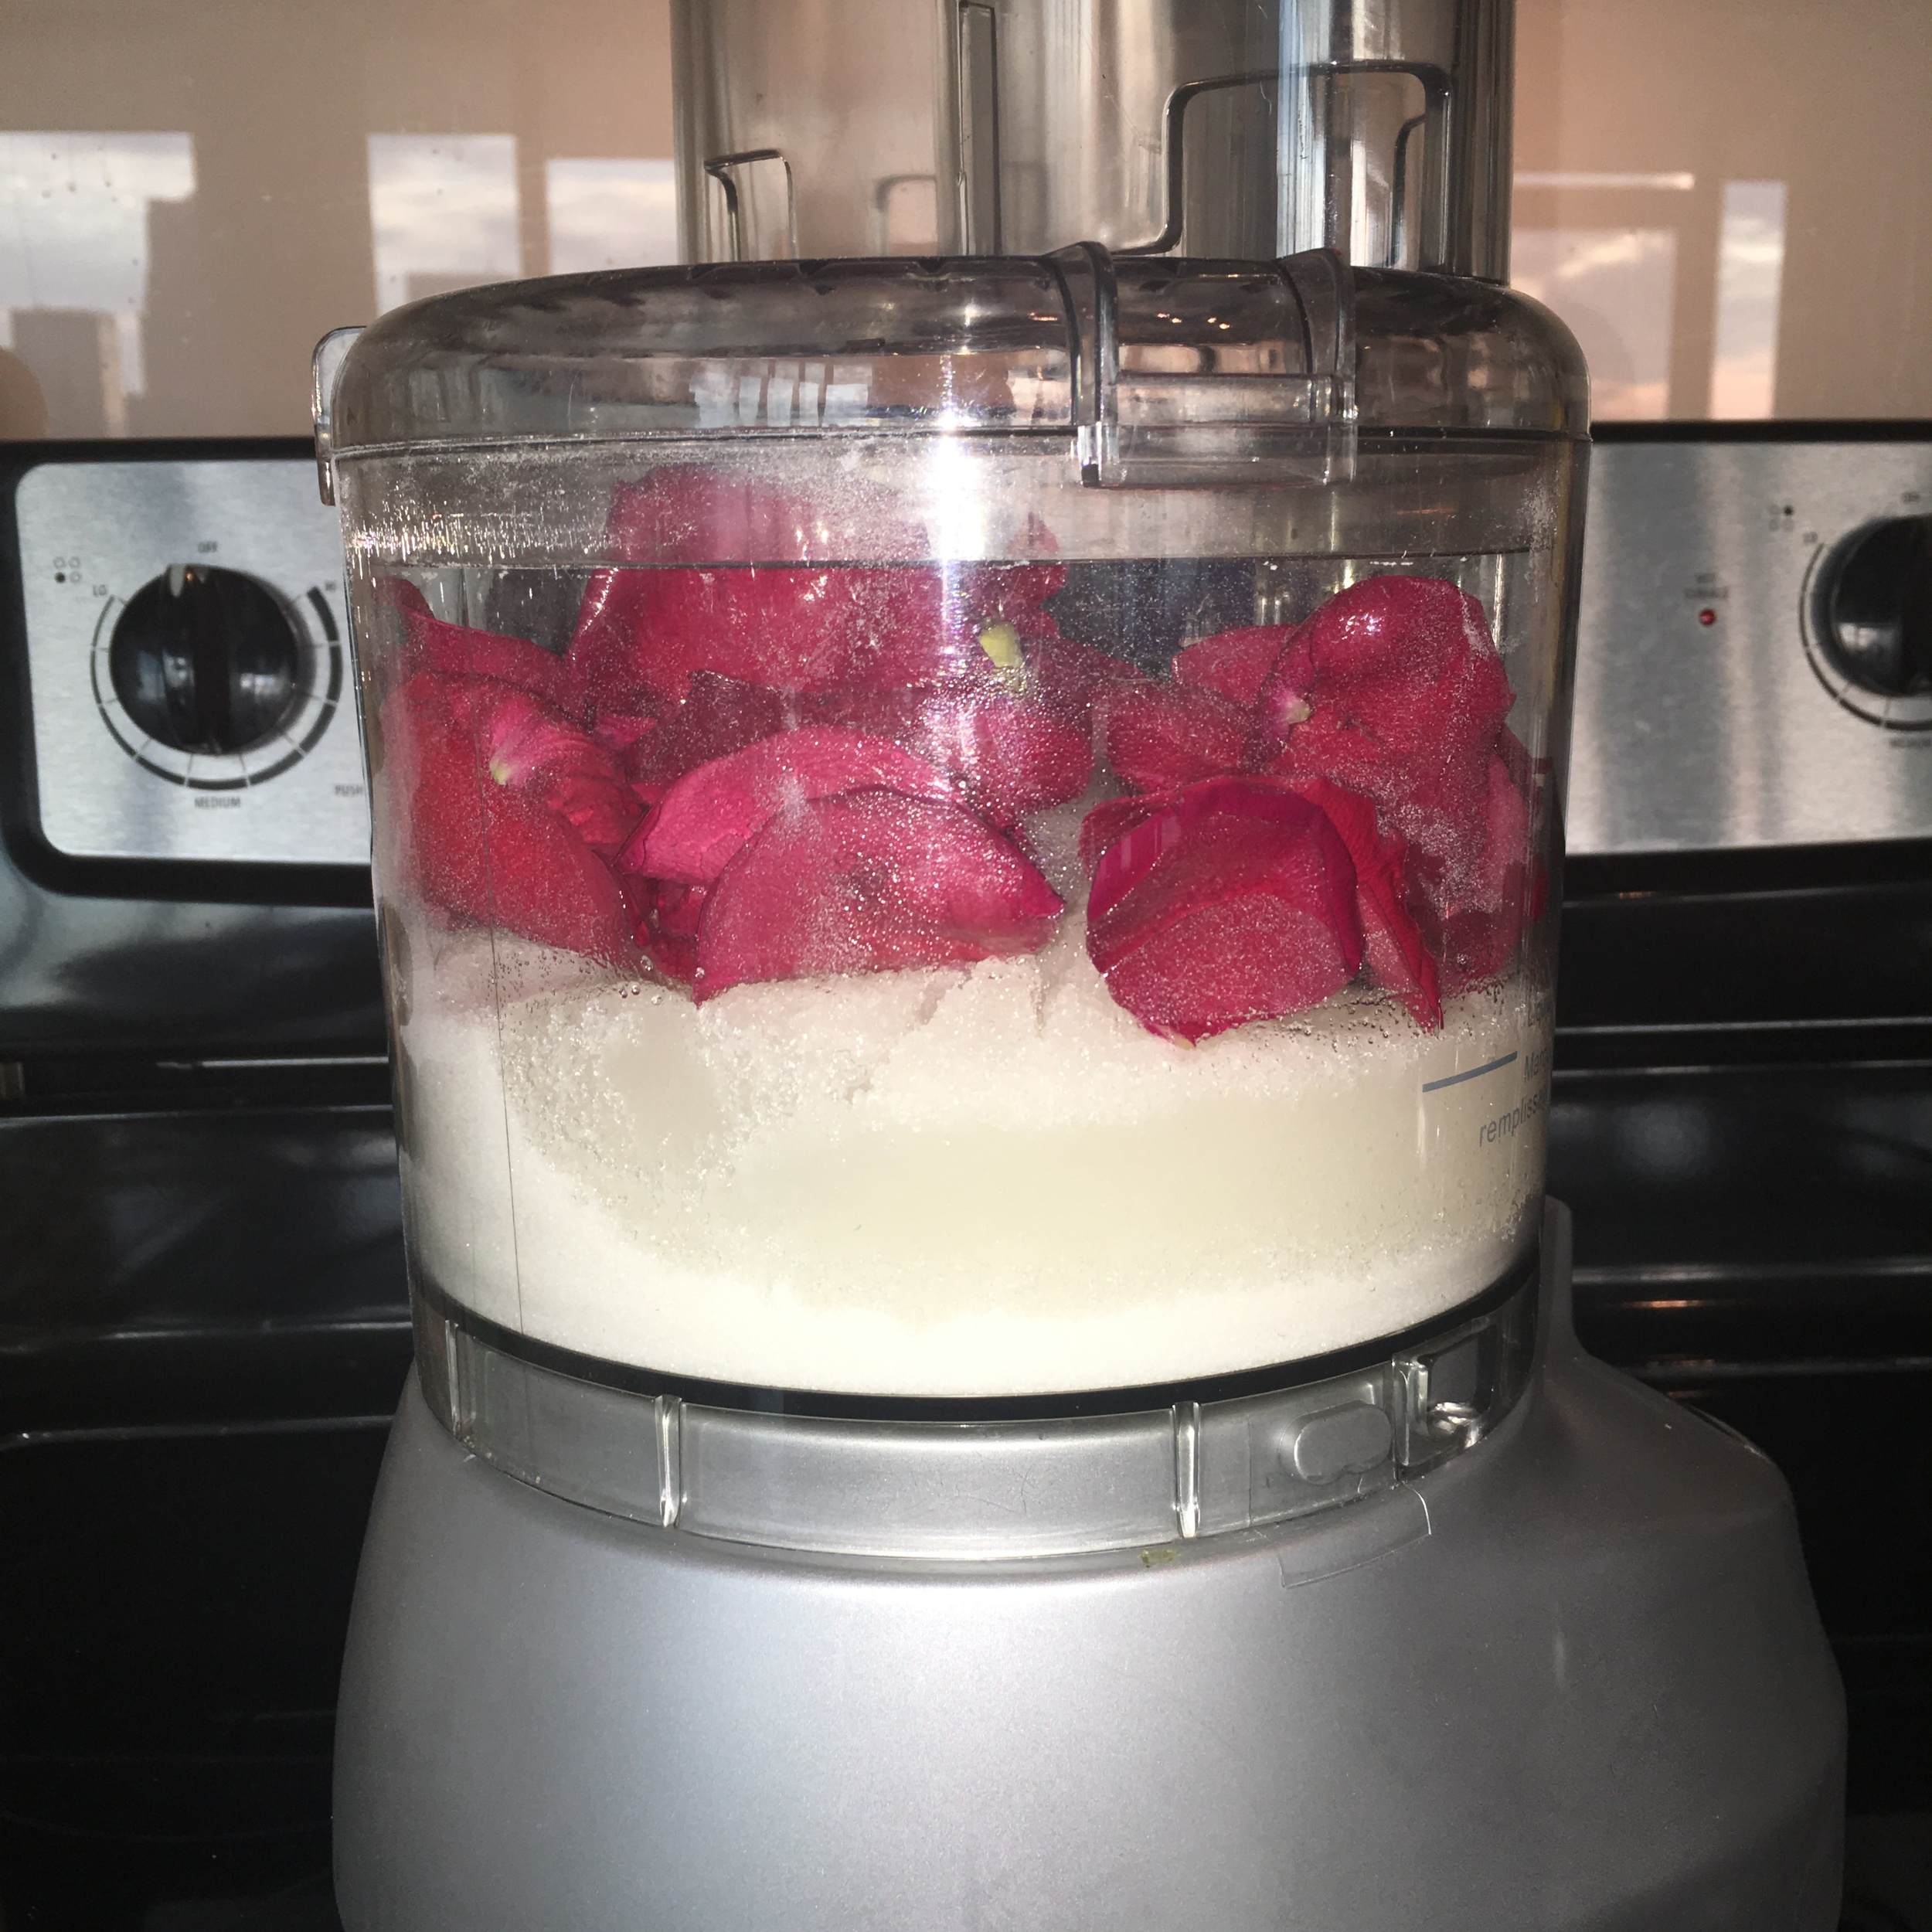
Also if you want to add flower petals to the mixture you can do thatjust make sure they have been dried before hand or if you have a bomb mold you can always add a surprise in the middle before you close the two bomb halves.
Did you have fun doing this project??? Have any project to recommend? Let me know in the comments below!

