KETO CREAMY AVOCADO PESTO WITH ZUCCHINI NOODLES!

After Christmas, I starting to feel like I had really over done it this holiday season. With all the parties and dinners I was really starting to feel unhealthy. I knew I was in need of making some serious changes to my diet. Both my mom and my boyfriend have been eating KETO for awhile and both of them would sing me praises about their new KETO lifestyle. Both said that eating KETO for them has provided them with great energy, they don't ever feel hungry, and both have experience weight loss. My mom who suffers from bad inflammation not only had lots of energy and lost weight, but she also started to feel better and was able to move around more without feeling as much pain. Fast forward to now - I have been on KETO for a month and I have lost 5 lbs! I get to eat full fats like avocado, butter, and olive oil, and never feel drained of energy.

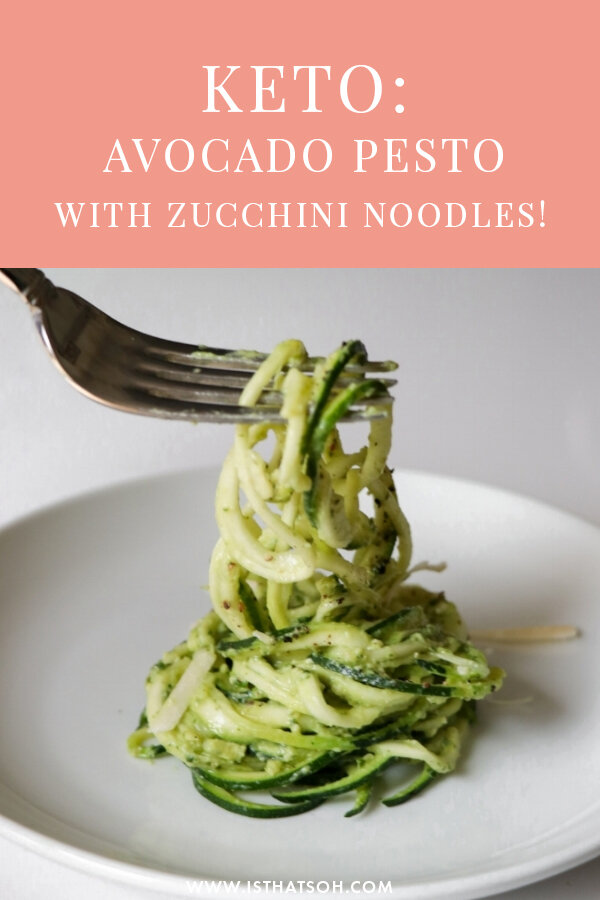
When I started on the diet I was looking for some recipes and realized there aren't that many out there there were actually healthy and KETO.  So here is a delicious recipe that I altered and made my own to help you get started. It can also easily be transitioned to a Vegan recipe by removing the cheese. ENJOY!

Good for 6 People

INGREDIENTS:

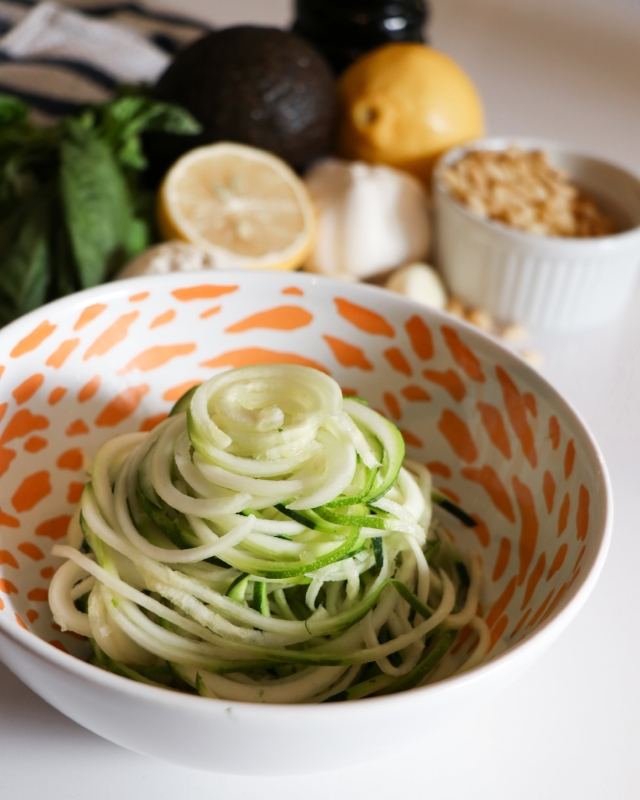
4 Zucchini Large - (1 zucchini can usually feed 1.5 people regular portion sizes)
1 TBSP of Olive Oil
1.5 Large Avocados
1 Cup of Fresh Basil Leaves (Washed and left on paper towel to dry)
2 Cloves of Garlic
1/3-1/4 Cup of Pine Nuts (depends on your palette)
2 TBSP of Lemon Juice
1 Cup of Grated Parmesan Cheese
3 TBSP of Olive Oil
Large Pinch of Sea Salt
Cracked Pepper

YOU WILL ALSO NEED:

-A Spiralizer
-A food processor

spiralized zucchini.jpg

DIRECTIONS:

Spiralize your zucchini and set aside on a piece of paper towel so that all the excess water/juice is absorbed.

In the food processor add in your avocado, basil, garlic, pine nuts, lemon juice and grated Parmesan. Pulse until basil is finely chopped and you have a creamy consistency. While the motor is still running add in your 3 TBSP of olive oil. When finished add a large pinch of salt and pepper to taste and mix in until well incorporated.

In a skillet add 1 TBSP of olive oil and let it heat up on medium heat. When ready add in your spiralized zucchini and let cook until soft (around 2-3 minutes).

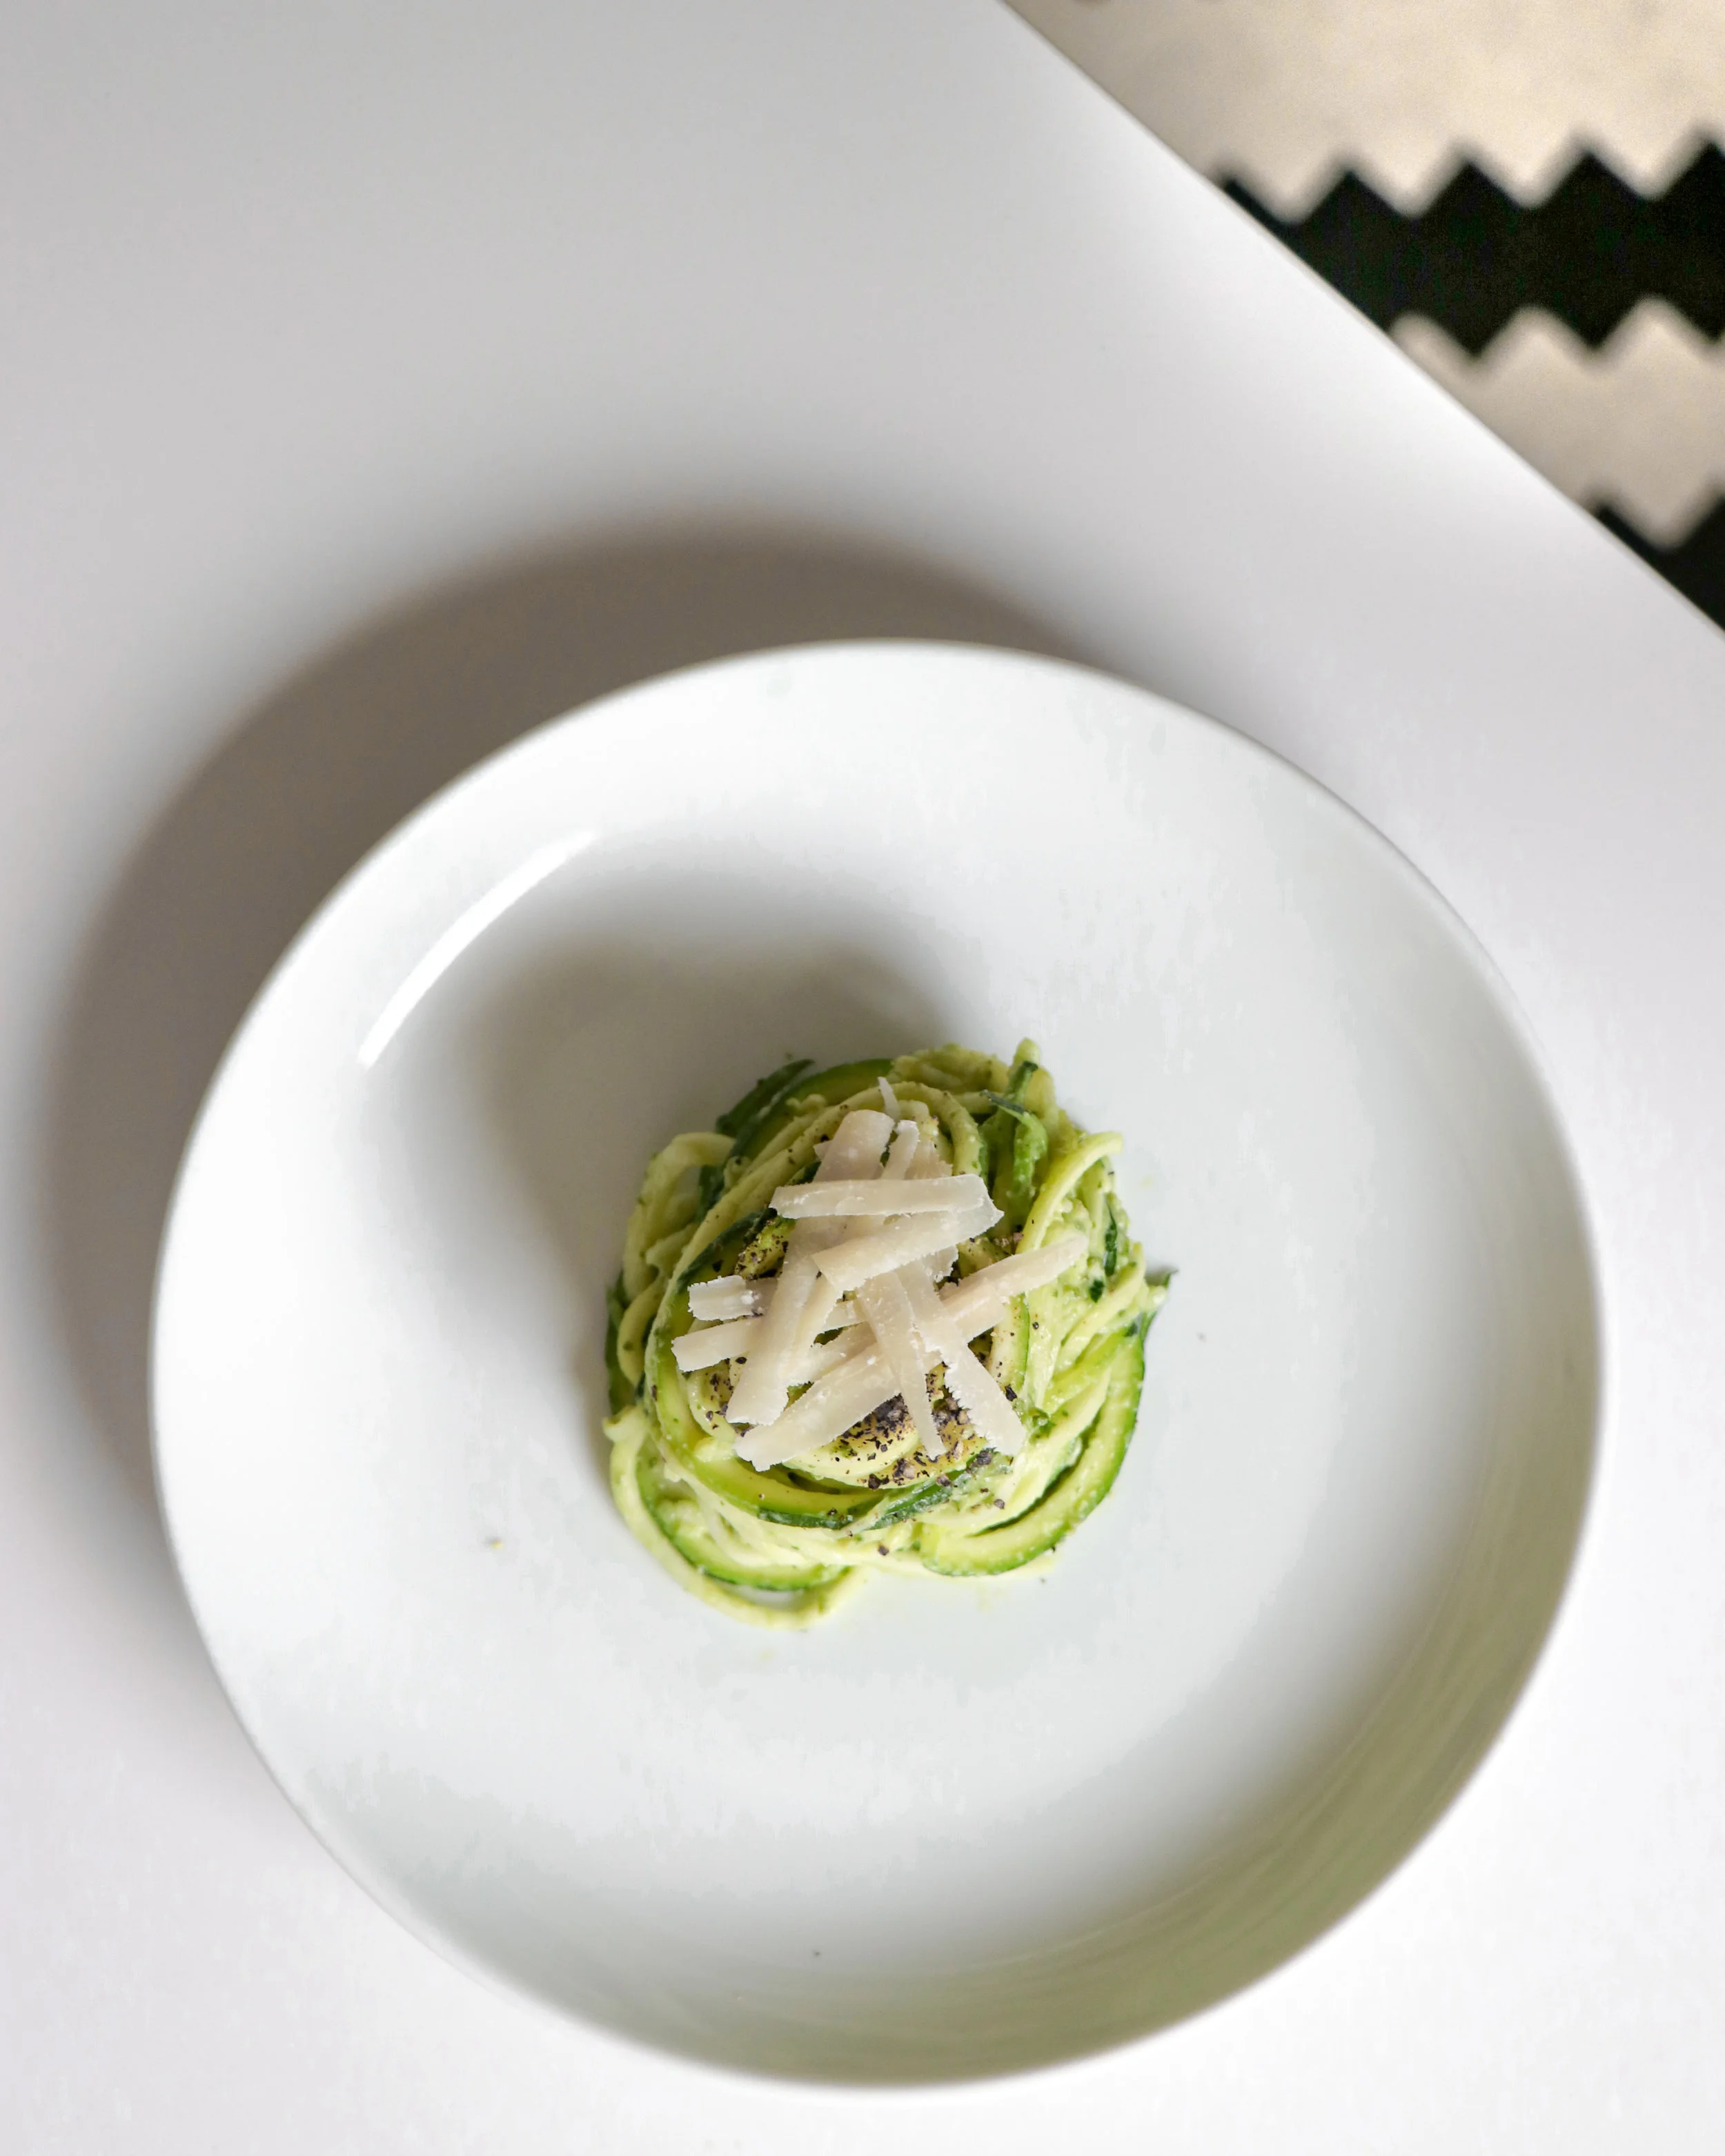
Once ready, move cooked zuchinni to a bowl and toss n the avocado pesto (there will be pesto left over don't feel like you have to use all of it). Garnish with Parmesan cheese and serve!

*This recipe can easily become vegan if you remove the cheese!

Enjoy!


If you like this recipe or have any comments/questions, feel free to leave them in the comment section below!


PIN THIS POST

POMEGRANATE SOUR - HOLIDAY COCKTAILS WITH NEW SINGLETON OF DUFFTOWN TAILFIRE SCOTCH WHISKY #SPONSORED

image3.jpeg

Although it has been a while since I was in university, there is always something about this time of year that fills me with excitement. Like the thought of seeing old friends and faces and celebrating around the tree with family. Although we may no longer be coming home from school after being away all year, the holidays are one of my favourite excuses to gather with my family or reunite and celebrate with old friends!

Whether you’re hosting a party or going to one, I love using festive occasions as an opportunity to share something new with those close to me. This year, I’ve discovered something new I want to share with friends and family and with you! Singleton of Dufftown Tailfire. This new whisky, with its signature rich, fruity taste, makes the perfect addition to any holiday celebration or better yet, a great host or hostess gift!

As the weather gets colder and your cheeks get rosier, there’s no better way to warm up your belly then with this delicious winter cocktail. Singleton of Dufftown Tailfire’s vibrant and enticing character comes from its maturation in ex-sherry casks, it elicits notes resembling a juicy, red-berry freshness and sweet vanilla aromas, making it a perfect pairing with another seasonal favourite - pomegranate. So… drumroll please!

Pomegranate Sour

INGREDIENTS:

1.5 oz. Singleton of Dufftown Tailfire
1 oz. fresh lemon juice
0.5 oz. egg white
0.5 oz. simple syrup
2 oz. of fresh pomegranate juice
Mint for Garnish

DIRECTIONS:

- Dry shake all ingredients.

- Add ice. Shake again.

- Strain (use a fine strain) (looks great in a seamless wine glass or old fashioned glass)

- Garnish with mint


If sweet cocktails aren’t your thing, Singleton of Dufftown Tailfire is also great served over ice due to its easy-drinking fruity notes.

So next time you’re wondering what you can treat your guests to, take note of Singleton of Dufftown Tailfire. A simple sip of this festive, inspired cocktail, paired with the joy of seeing friends and family and you’re holiday-ready! Remember to please celebrate the holidays responsibly.

Happy Holidays!

PEEK-A-BOO SHORTBREAD LINZER COOKIES

The Best Shortbread Linzer Cookie Recipe

It's not always easy to keep up financially with the holidays. Although I love giving people gifts and putting a smile on my friends and family members faces, my thoughtful nature can get quiet expensive if I'm buying everyone gifts. That is why during the holidays I love to bake! Putting your efforts towards spreading holiday cheer through making something can often be the perfect gift to share with loved ones. One of my go - to holiday gifts this year are these super cute peek-a-boo shortbread snowflakes. I filled mine with my favourite jam, Bonne Maman but you can use Nutella, Dulce De Leche, or whatever filling you like! Enjoy!


FOLLOW ME ON INSTAGRAM @ISTHATSOH


Peek a boo jam filled shortbread snowflakes

INGREDIENTS FOR SHORTBREAD LINZER COOKIES:

1 CUP of unsalted softened butter
3/4 Cup of Icing Sugar
1/2 TSP of Vanilla Extract
1/4 TSP of Salt
2 Cups of All Purpose Flour
1/2 Cup of your favorite jam!

*you can dust the cookies with icing sugar at the end for extra effect!

STRAWBERRY JAM

LOOKING TO DO SOME HOLIDAY BAKING? CHECK OUT THESE OTHER FUN RECIPES!


HOW TO MAKE SHORTBREAD LINZER COOKIES:

In a mixer or by hand place softened butter, sugar, vanilla, and salt in a bowl and mix until well incorporated. 

Add in your all-purpose flour bit by bit till a dough starts to form. (TIP: If it is too sticky you can always add a little bit more flour at the end)

Once the dough is formed wrap in plastic wrap and place in the fridge for 20 minutes.

Once ready, preheat oven to 325 degrees.

Roll out dough between two pieces of wax paper! Use snowflake cut out to make your desired shape and place on a baking tray lined with a cookie sheet or wax paper. Half of these will become 'Peek-A-Boo' tops to the cookie (TIP: Once on the baking tray it is easier to make the smaller inside 'Peek-A-Boo' cut-outs using a smaller snowflake and extracting the inside cut out with a toothpick!)

When ready place in the oven for 20 minutes or until cookies become golden on the edges. Rotate the trays halfway (about 10 minutes).

Let cool before sandwiching a layer of jam between the bottom full shortbread cookie and the 'peek-a-boo' cut out top shortbread cookie!

Enjoy!


If you like this Shortbread Linzer Cookie recipe or have any comments/questions, feel free to leave them in the comment section below!


PIN THIS POST

HOLIDAY GINGERBREAD COOKIES

THE BEST GINGERBREAD COOKIE RECIPE!

Queue the Christmas music, ......"It's beginning to look a lot like Christmas!"
The holidays are a great excuse to get together with family and celebrate. With all the parties and gatherings you are going to this year perhaps a little baking session is needed. Here's an easy and fun gingerbread cookie recipe that is not only delicious but great for any party. This year I was even thinking I could write people’s names on them and use them as place cards on a dinner table! Or keep some blank cookies for my nephew and nieces to decorate as a pre-dinner activity. I recently made a 3D gingerbread Christmas tree which turned out amazing! The creative opportunities are endless! Enjoy!

Makes about 30 cookies


FOLLOW ME ON INSTAGRAM @ISTHATSOH


INGREDIENTS FOR GINGERBREAD COOKIES:

1/3 of a Cup Butter (unsalted) - softened
1 Cup Granulated Sugar
1 Large Egg - at room temperature
1/3 of a Cup of Fancy Molasses
2 and 3/4 Cups of Flour (All Purpose)
1 1/2 TSP of Ginger
1 TSP of Cinnamon
1/2 TSP Baking Soda
1/4 TSP Ground Cloves
Pinch of Salt

*You will also need cookie cutters and icing!


LOOKING FOR SOME FUN HOLIDAY BAKING? CHECK OUT THESE OTHER RECIPES!


HOW TO MAKE GINGERBREAD COOKIES:

Blend softened butter and sugar together until fluffy. Add in your egg and fancy molasses.

In a separate bowl mix your flour, ginger, cinnamon, baking soda, ground cloves, and salt. Whisk until well mixed.

Slowly start to add your flour mixture into your butter mixture until a dough starts to form. You may want to finish it off with your hands.

Make two dough balls from the mixture and wrap in plastic wrap before placing them in the fridge for an hour.

After an hour, remove the dough balls from the fridge and let them rest for 10 minutes before rolling them out to 1/4 inch thickness. I used my clean countertop to roll the dough out and placed wax parchment paper on top of the dough for easy rolling.

Cut out your shapes and place them on a baking tray lined with parchment paper. Place each shape 1/2 - 1 inch apart because the cookies do spread out and puff up a little.

Bake 350 degrees for 10-12 minutes. 10 if you want them soft and 12 if you want them crunchy.

Remove from oven and allow to cool down before decorating.


If you like this gingerbread cookie recipe or have any comments/questions about how to make gingerbread cookies, feel free to leave them in the comment section below!


PIN THIS POST

A GOOD CUP OF COFFEE - MY INSPIRATION FOR A TIRAMISU RECIPE #SPONSORED

Having recently witnessed my first Japanese tea ceremony I learned that the beauty behind the  ceremony is not only drinking tea and sharing the tea with others, but the consciousness of every action, movement in preparation, presentation, and enjoyment. The ceremony in fact is much more about reflection, meditation, and living in the moment than just drinking tea.

Although I am not much of a tea drinker I too am a creature of routine and morning meditation. Much like the Japanese tea ceremony, I have a series of actions, movements, and preparations I do to get ready for my day. One such action that must always occur is my morning coffee. When all is still dark and silent I sneak downstairs quietly to my kitchen, turn my stove on until I hear the familiar clicks of my gas stove and wait for the kettle to boil. During this time of patiently waiting for the water to boil I meditate and reflect on how I am feeling, how I slept, and let both my body and mind consciously connect while taking deep breaths and listening to the background sounds of slowly bubbling water.

With the whistles of my kettle I am brought back to the moment and like a dance I have performed hundreds of thousands of times previously, a series of moments I can practically do with my eyes closed, I gather all the instruments and ingredients I need to make my first cup of coffee. With each deliberate movement I am now focused and have only one goal - to achieve the perfect cup of coffee.

With the help of my Melitta ‘Pour Over Coffee Brewing Cone’, I am in control of how much coffee I want to make and how strong I want to make it. Usually for my morning coffee I use 4 tablespoons of coffee and make two cups - one I like to drink when it’s fresh and hot and the second I let cool for an ice coffee later. No matter what your coffee preference, weather you like your coffee flavoured, bold, dark roast, organic or even on the go - you can make coffee your way every morning with Melitta Pour Over Coffee.  

Once ready and when the rich aroma of my perfect cup of coffee hits my nose I like to move to the couch, cuddle up to my little Frenchie who is often still snoozing and take a moment to enjoy what I have created. With each sip my mind turns on and I am able to reflect and focus on what I want to accomplish in my day ahead. Believe it or not sometimes great inspiration is born in these still moments of reflection. Today as I was sipping my morning coffee I reflected on a cooking class I did on my recent trip to Italy. Inspired by both the memory and my morning cup of coffee I decided to turn that second cup of coffee into a delicious Tiramisu dessert I learned. And with that memory and inspiration I here leave you with a recipe for creating your own delicious Tiramisu and encourage you to find the joy and inspiration hiding in your own perfect cup of coffee. Enjoy.

Tiramisu Recipe

Good for 4 people

INGREDIENTS:

4 Egg Yolks
4 TBSP of granulated sugar
400g or 1 3/4 Cups of Mascarpone cheese
1 Box of Ladyfingers Biscuits
Coco Powder
1 Cup of Melitta Pour Over Coffee - room temperature
*Optional - Add some almond extract or rum (just a few drops) to the cream to add another layer of aroma

DIRECTIONS:

Making the Cream

Mix the egg yolks with the sugar using a whisk until a soft cream starts to form.

Add the Mascapone cheese in bit by bit being careful not to dissolve the texture.

Once a nice cream base is formed if you want, you can now add in a couple drops of your almond extract or rum for additional aroma.

Making the Tiramisu

Fill the bottom of an individual sized mason jar, teacup or if you only want to make one large one for a group, cake pan with a layer of cream.

Next dip the lady finger (you may need to break it in half depending on what you are using to hold your tiramisu) into the coffee quickly so it gets submerged but doesn’t crumble from holding to much liquid. Place a lady finger layer on top of cream layer.

Repeat alternating these two processes of cream and ladyfinger until individual mason jar, teacup or cake pan is full. Add final layer of cream to the top if you did not end with cream and sprinkle sifted coco powder over top. Store in fridge until ready to serve.


If you like this recipe or have any comments/questions, feel free to leave them in the comment section below!


Although this post has been generously sponsored by Melitta Canada, the opinions and language are my own, and do not reflect Melitta Canada.


Find out more about Melitta at Melitta.ca